
How To Make A DIY Wine Bottle Tiki Torch
How To Make A DIY Wine Bottle Tiki Torch
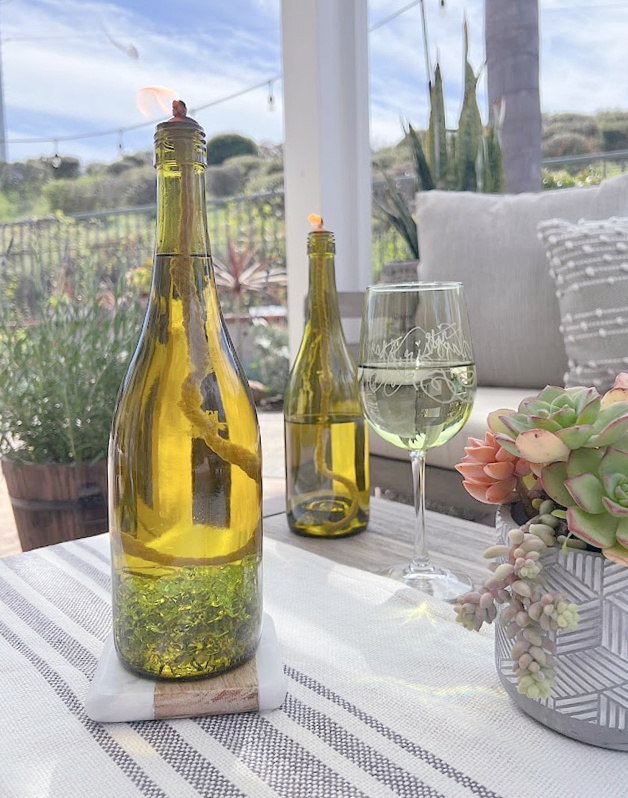
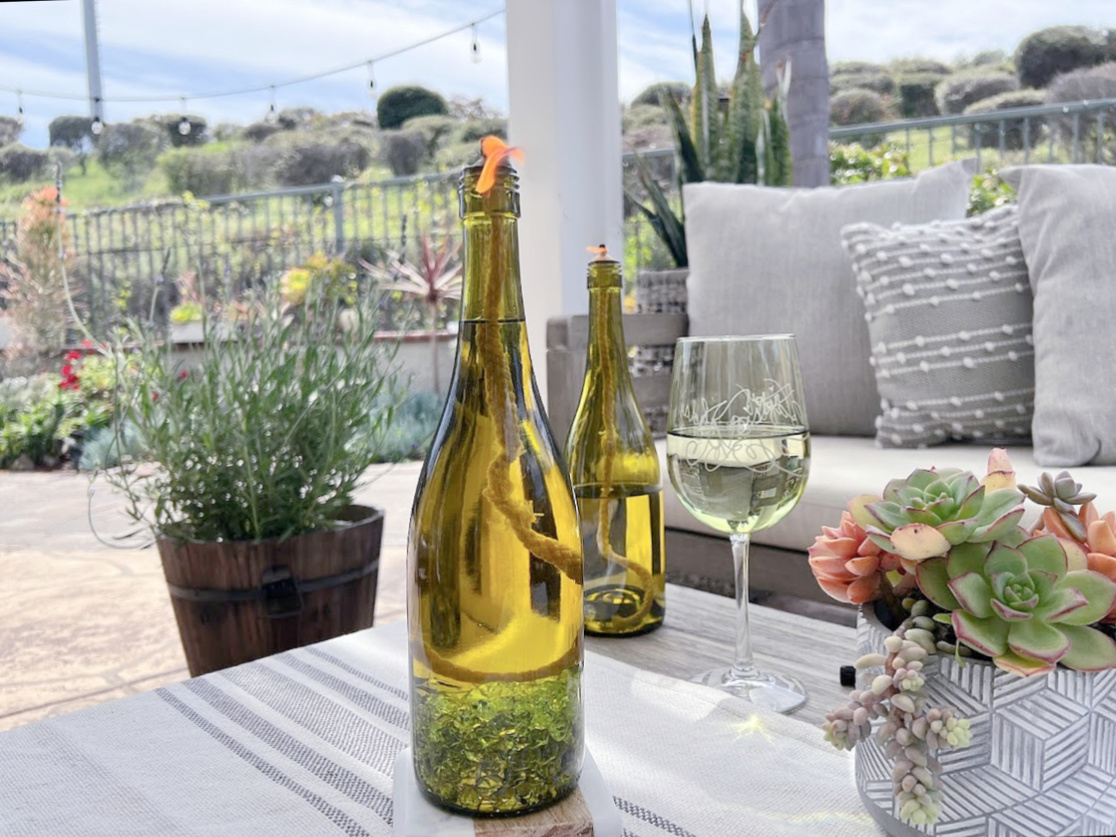
DIY tiki torches made from wine bottles are one of those projects that look way more impressive than they actually are to make. If you have empty wine bottles on hand, you’re already halfway there — just add a wick kit and tiki torch fuel, and you have a beautiful, functional torch that fits right into any outdoor entertaining area. I’ve been making these for a few summers now, and they never fail to get compliments.
This post was updated from a post published in 2023
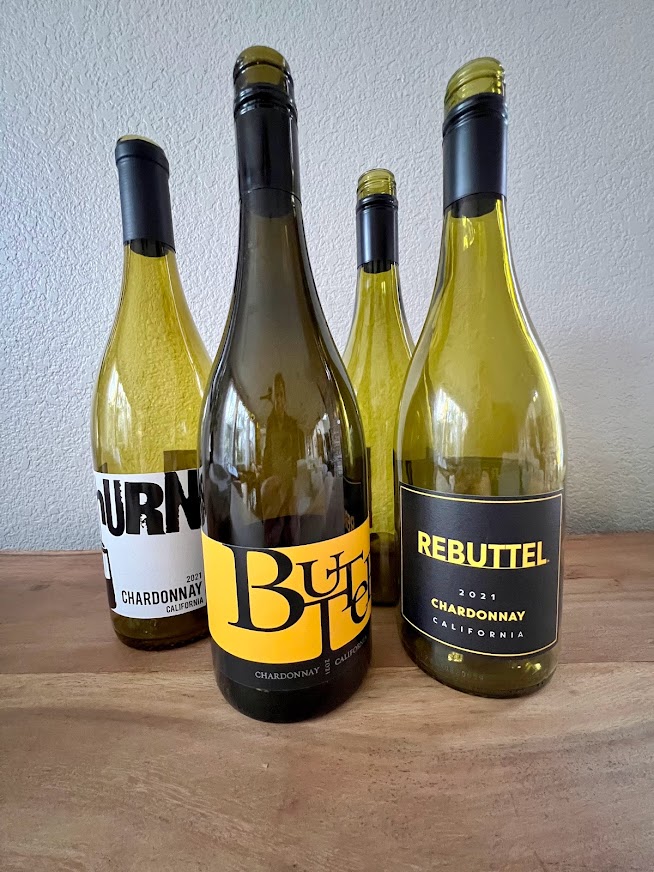
I have been saving all the wine bottles so I could get ready for today’s post!
For this project, I purchased a Wick Candle Lamp kit from Amazon for $9. Please read the reviews; some aren’t so great, while others are much better. I’m not going to link to the one I purchased, as it was frustrating to work with. For a few more dollars, I listed a good one below. I’ve also shared in the tutorial how you can make your own with just a few minimal supplies.
Supplies
To make your own wine bottle tiki torch, you don’t need much. I picked up most of these supplies on Amazon, but you can also find the copper coupling and Teflon tape at Home Depot if you’d rather skip the delivery wait. Affiliate links are included below — I earn a small commission at no extra cost to you, full disclosure.
- Empty wine bottles or leftover wine bottles (whiskey bottles work great too — any glass bottle with a standard neck works)
- Tiki replacement wick or a Wick candle lamp kit
- Tiki torch fuel
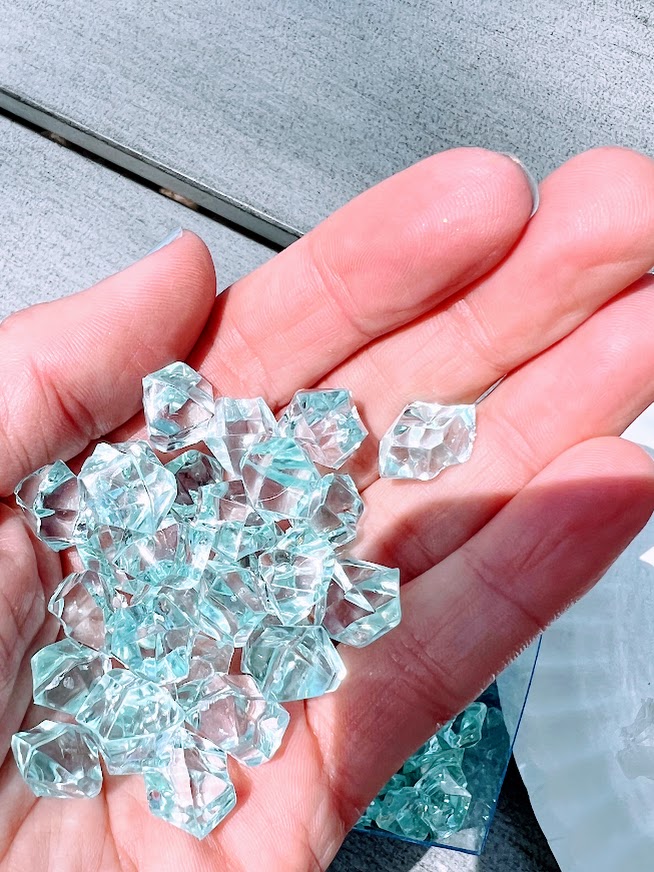
- Small rocks for the bottom of the bottle (optional but pretty)
- Copper coupling and Teflon tape if going the DIY route
- Hot glue and pliers
- Funnel
- Pliers and hot glue (optional)
- Lighter or matches
Best tiki torch fuel for wine bottle torches
This is the question I get asked most, so let’s clear it up before we get into the steps.
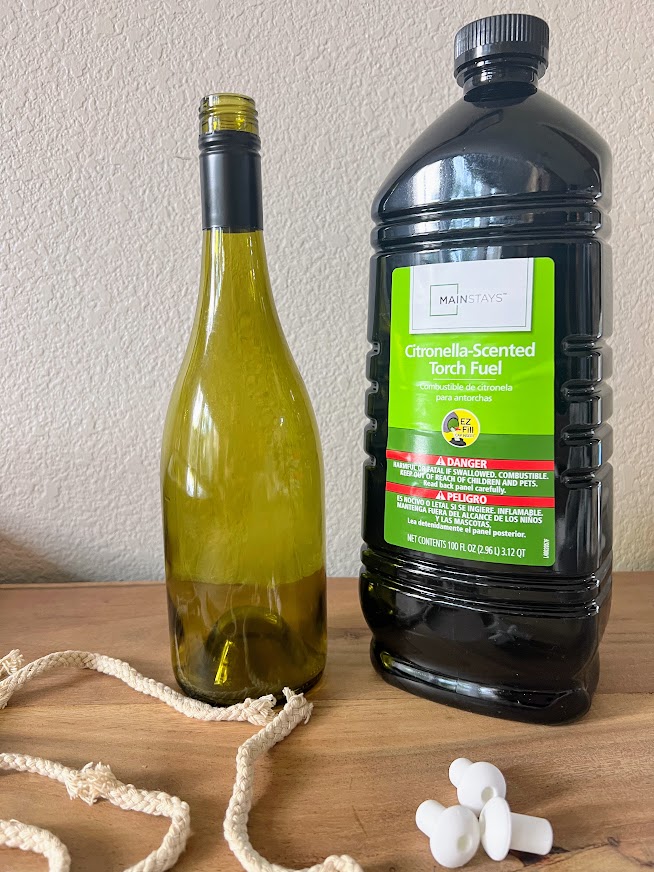
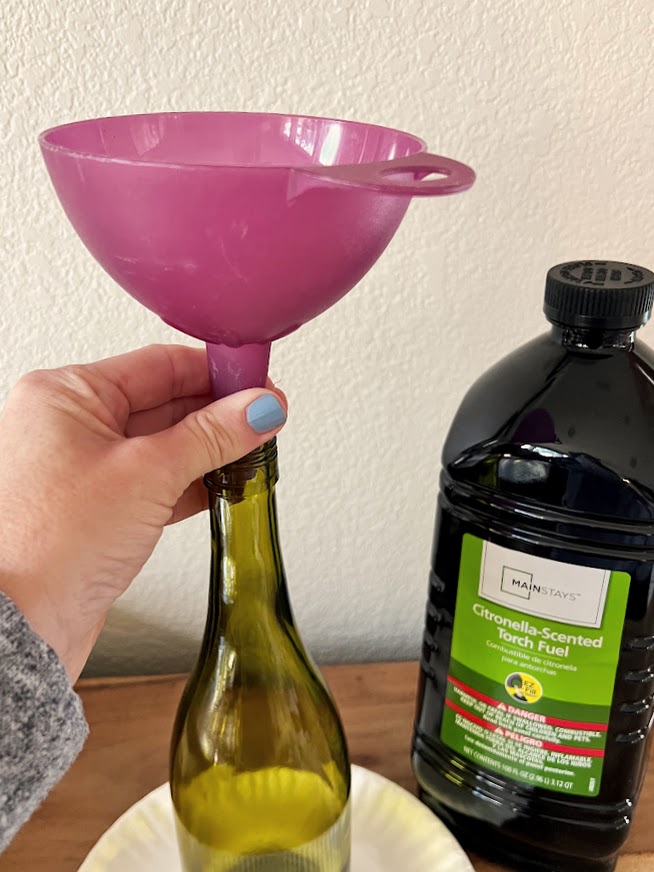
The best fuel for a wine bottle tiki torch is standard paraffin-based tiki torch fuel — the same kind you’d use in a bamboo torch. You can find it at most hardware stores or order it online. If you want to keep the bugs away at the same time, look for a blend that already contains citronella oil. That’s what I use, and it works really well for summer nights on the patio.
A few things people ask about that don’t work: distilled water obviously won’t burn, but some people wonder if it can be mixed with the fuel to stretch it — don’t bother, it just kills the flame. Isopropyl alcohol will technically burn but it burns too hot and too fast for a wick this size, and it’s not safe to use in an open glass bottle outdoors. Stick with proper tiki torch fuel.
For the amount of fuel, fill the bottle about halfway to three-quarters full. A standard wine bottle holds enough tiki torch fluid for several hours of burn time. When you’re done for the night, a simple bottle cap or cork keeps the fuel fresh and prevents evaporation.
If you want to make a homemade recipe, a popular option is mixing citronella oil with a carrier oil like mineral oil — it burns cleanly and smells great. Just know it won’t burn quite as bright as commercial tiki torch fuel.
Two ways to make the wick assembly
This is where most tutorials skip over the details, so I’m going to give you both options clearly.
Option 1: Wick candle lamp kit (easiest)
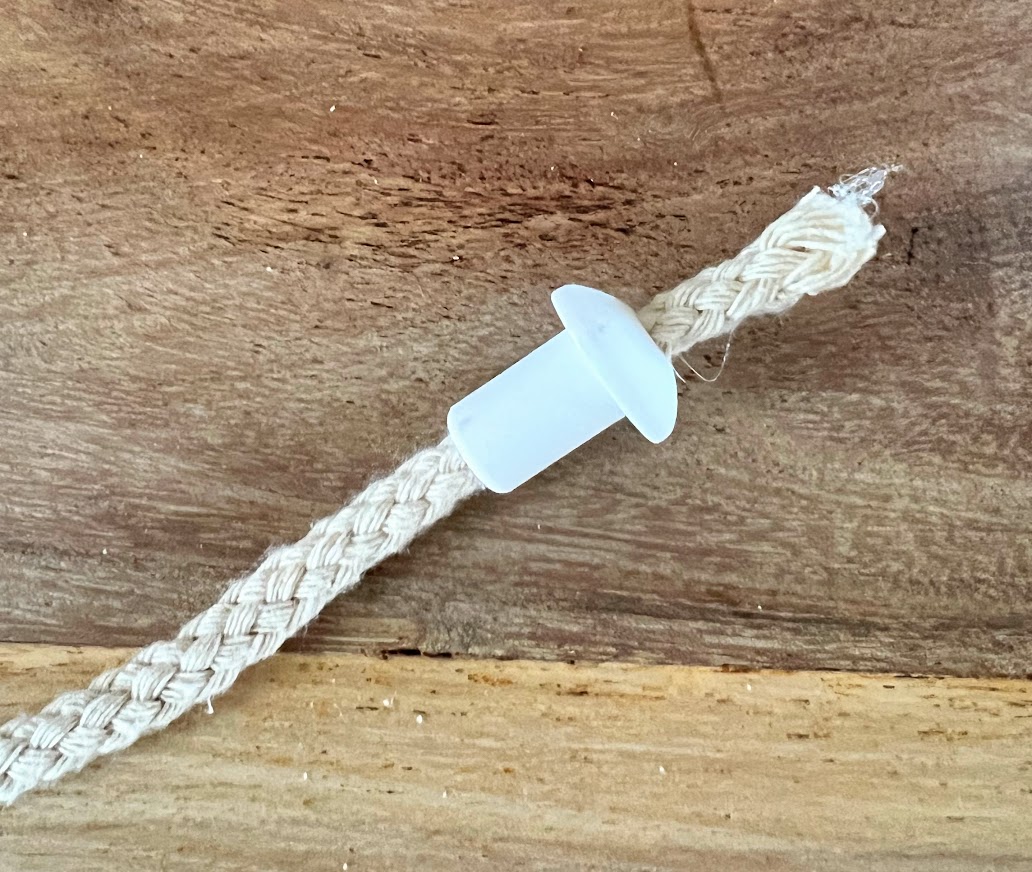
A wick candle lamp kit is the easiest route, especially if this is your first tiki torch. The kit comes with a ceramic or metal wick holder that sits snugly in the mouth of the bottle — you just need to make sure it’s a tight fit for your specific bottle. Most kits include a tiki replacement wick already threaded through, but if yours doesn’t, use a little bit of hot glue on the end of the wick to thread it through the small hole and use pliers to pull it through.
I’d recommend checking reviews before buying — some kits are frustrating to work with and not worth the low price. Spend a few extra dollars for a well-reviewed one and you’ll have a much better experience. Look for one with free shipping if you’re ordering close to when you need it, since delivery times vary.
Once assembled, the wick should sit about a quarter to half an inch above the top of the holder. That’s the perfect size for a clean, steady flame.
Option 2: Copper coupling from Home Depot (cheaper)
If you’d rather not wait for a kit to arrive, this is the easier way to go if you already have a Home Depot nearby. You’ll need a copper coupling that fits snugly into the opening of the bottle — the neck of the bottle on most standard wine bottles takes a half-inch coupling well, but bring your bottle in to check the fit if you can.
Here’s how to assemble it: wrap the outside of the copper coupling with teflon tape until it’s thick enough to press in firmly into the mouth of the bottle with no wobble. Some people use electrical tape instead, which works fine too — a wrapped coupling either way is what you’re after. Thread your tiki wick through the top plate connector opening, leaving about a half inch sticking out above the copper cap. A little bit of hot glue around the base of the wick inside the coupling helps keep everything in place.
This method costs less than a dollar in hardware if you already have tape on hand, and honestly the result looks identical. The only downside is you’ll need to source the tiki wick separately — Hobby Lobby usually carries them, or order online.
Step-by-step instructions
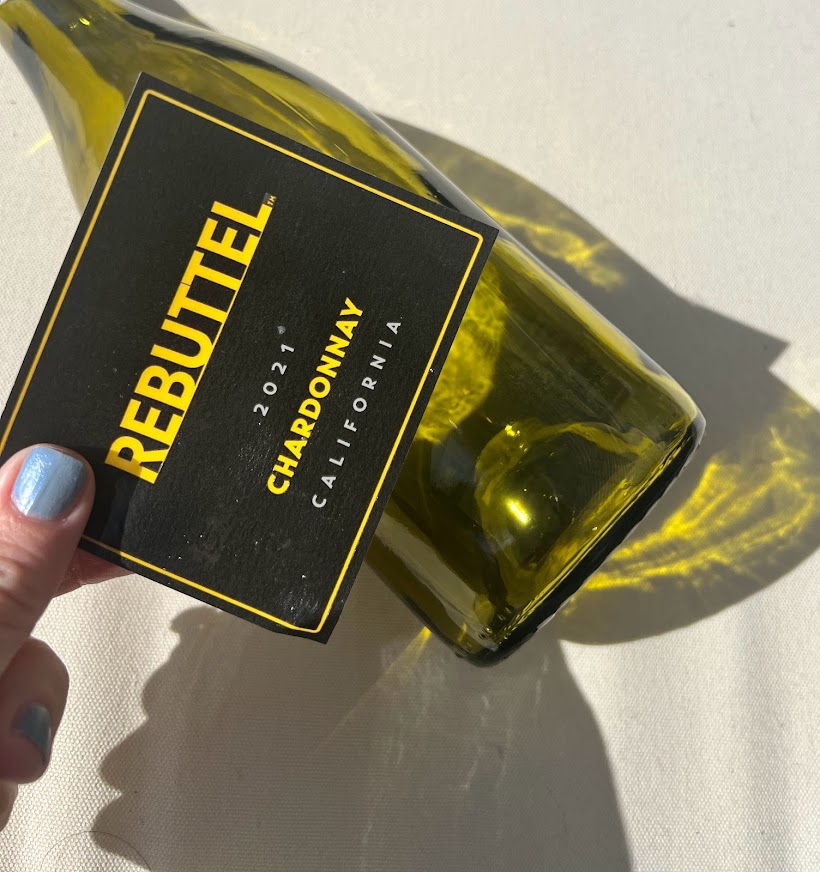
Step 1: Remove the labels from your empty wine bottles. Soak them overnight in warm soapy water and most labels slide right off — no scrubbing needed. Dry the outside of your bottle completely before moving on.

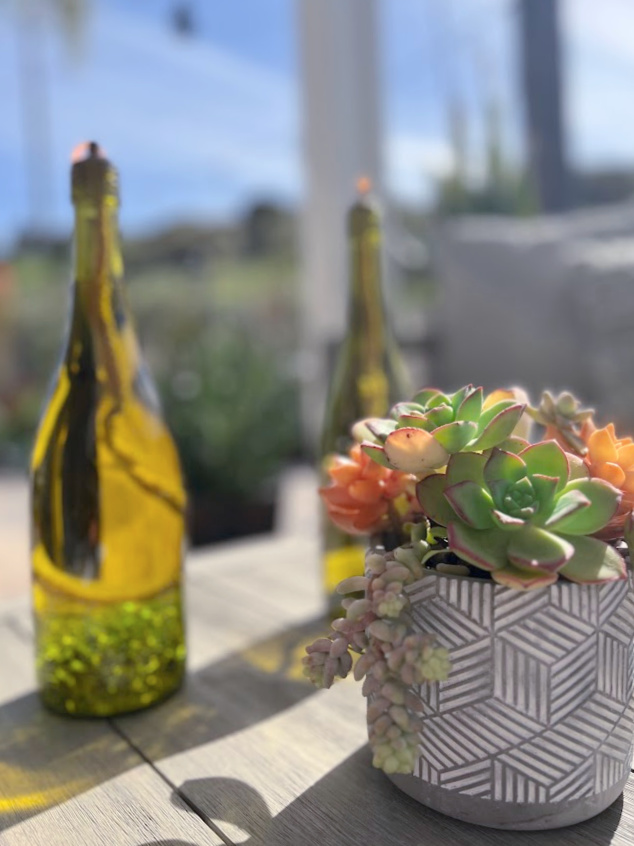
Step 2: If you’re adding decorative small rocks, drop them into the bottom of the wine bottle now, before the fuel goes in. They sit at the bottom of the bottle and give it a really polished, finished look through the glass.
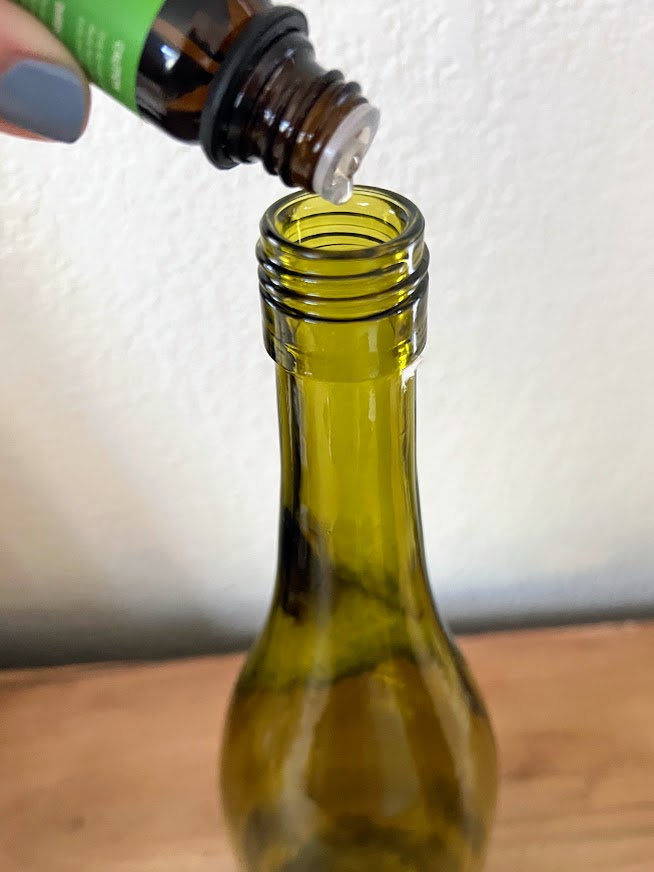
Step 3: Using a funnel, fill your bottle with tiki torch fuel to about halfway or three-quarters full. Don’t fill to the top — you need room at the bottom of your bottle’s neck for the wick assembly to sit properly, and overfilling is a safety issue.
Step 4: Thread your tiki replacement wick through your wick holder or copper coupling. The wick needs to reach down into the fuel at the bottom of the wine bottle while leaving a little bit sticking out above the opening of the bottle — about a quarter inch is ideal.
Step 5: Press the wick assembly firmly into the mouth of the bottle. It should be a tight fit with no wobble. If it’s loose, add another layer of Teflon tape or electrical tape to the outside of the coupling until it sits snug.
Step 6: Let the wick soak for 10 to 15 minutes before lighting. This is the step most people skip and then wonder why their new tiki torch won’t light. The tiki wick needs time to draw the fuel up before it catches a flame.
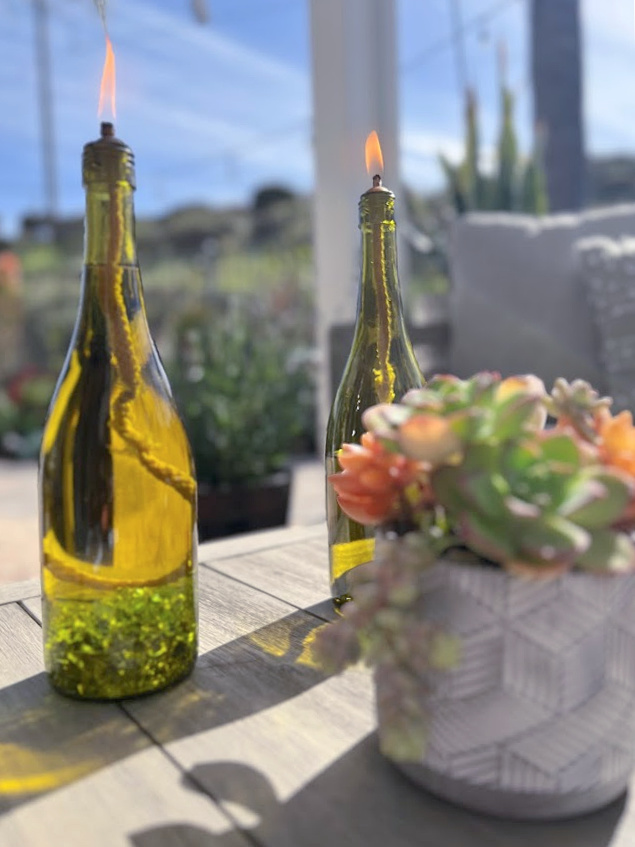
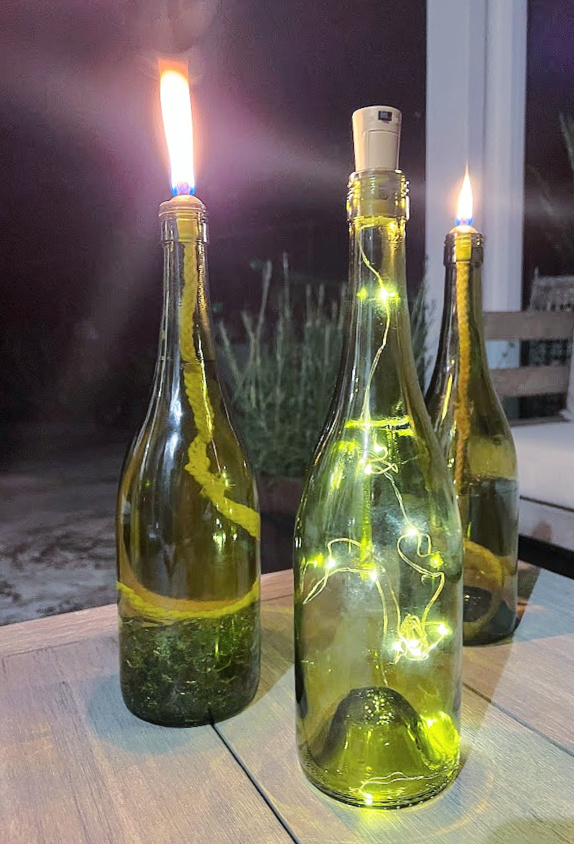
Step 7: Light with a lighter or matches and enjoy. You now have a beautiful new tiki torch for your outdoor entertaining area.
Enjoy your new wine bottle tiki torch! It’s a pretty tabletop decor piece that you can fill with citronella oil to help keep the bugs at bay.
Tips, safety, and troubleshooting
A few things worth knowing before you set these out for outdoor gatherings:
Always keep your wine bottle tiki torch at a safe distance from anything flammable — furniture, fences, overhanging plants. A good idea is to set them on a flat, stable surface where they can’t tip. Because they’re glass, they’re heavier at the bottom of the bottle which actually makes them more stable than bamboo torches on flat ground, but don’t leave them on uneven surfaces.
Never leave a lit torch unattended, especially around kids or pets.
If your flame keeps going out, the most common reason is that the wick hasn’t soaked long enough, or the wick is sitting too high above the wick holder. Push it down so just a little bit is exposed and try again.
To keep the pesky bugs away, use a tiki torch fuel that already has citronella oil in it, or add a few drops of your own to the fuel before filling. Eucalyptus and peppermint essential oils are also a good idea for extra bug-repelling power — added bonus, they smell amazing on summer nights.
When you’re done, cap the bottle with a cork or bottle cap to keep the fuel from evaporating. Solar lights are a fun alternative if you want ambiance without a flame on nights when fire isn’t practical.
Frequently asked questions
Can I use any glass bottle to make a tiki torch? Yes — any glass bottle with a standard-sized neck works well. Empty wine bottles are the most popular because of the perfect size of the opening, but whiskey bottles, olive oil bottles, and even large hot sauce bottles all work. Just make sure the neck of the bottle is narrow enough to hold your wick assembly snugly. Thrift stores are a great place to pick up interesting bottles if you want variety without finishing a bottle of wine first.
Where can I buy the supplies? The tiki torch fuel and tiki replacement wick are easiest to find online. For the copper coupling and teflon tape, Home Depot or any hardware store carries them. Hobby Lobby sometimes carries wick kits in its candle-making section. If you want everything in one shot, a candle lamp kit from Amazon covers most of what you need.
How long does the tiki torch fuel last? A standard wine bottle filled three-quarters full will burn for several hours, depending on how high the wick is set. A shorter wick exposure means a smaller flame and longer burn time. Store leftover fuel in its original container, capped tightly.
Can I use isopropyl alcohol or distilled water instead of tiki torch fuel? Isopropyl alcohol burns but is not safe for this use — it burns too hot and too unpredictably in an open glass bottle. Distilled water won’t burn at all. Stick with proper tiki torch fuel or a citronella oil blend for safe, reliable results.
How do I store the torch when I’m not using it? Cap the mouth of the bottle with a cork or bottle cap and store upright somewhere cool and out of direct sun. Don’t store near any open flame or heat source. The fuel keeps well for a full season this way.

Deter Those Pesky Bugs
The oil I purchased had citronella oil already in it, which helps to deter bugs, especially mosquitoes during the hot summer months. However, you can add your own essential oil to your wine bottle to repel insects as well.
Some of my favorites are:
Eucalyptus essential oil
Peppermint essential oil
Tea tree essential oil
Sage essential oil
Thyme essential oil
Cedar Wood essential oil
Closing
Making your own wine bottle tiki torch is such a fun way to upcycle something you’d otherwise recycle — and the result looks like something you’d pay good money for at an outdoor decor shop. I hope you give it a try at your next outdoor gathering. And hey, finishing a glass of wine to get your bottle ready is a pretty solid bonus.
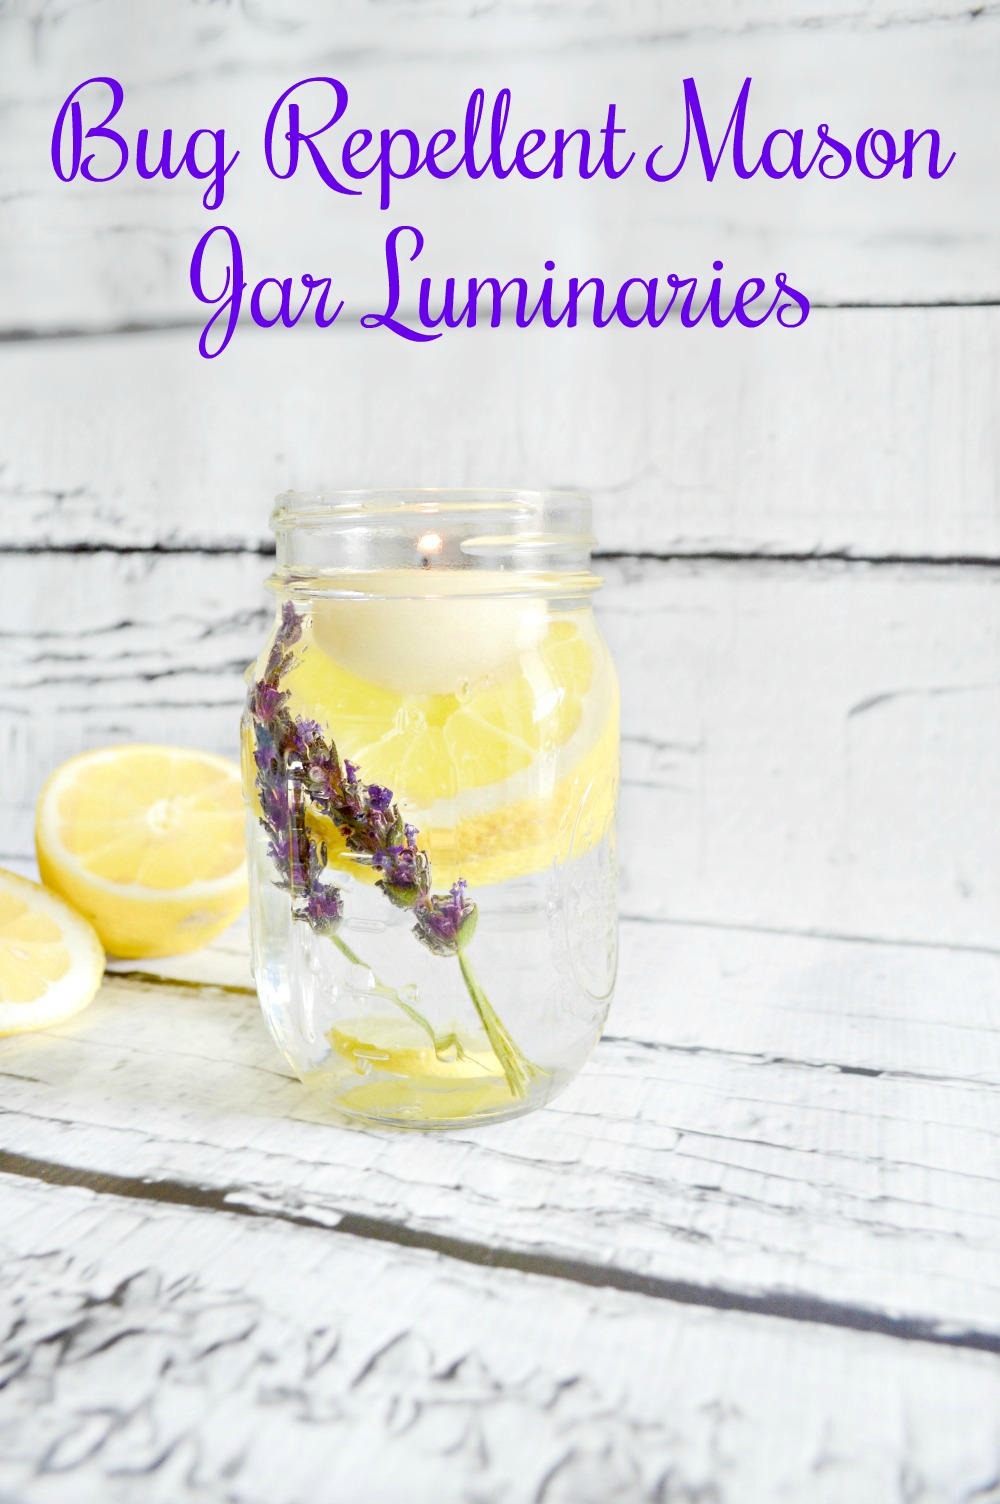
If you loved this project, you might also enjoy my bug repellent mason jar luminaries and my post on essential oils that repel insects naturally — both perfect for summer nights outside. I love my fairy lights for wine bottles, they are battery-operated, you can buy some with solar lights!
Save this project to Pinterest so you can find it when summer rolls around!
If you’re looking for essential oils to keep bugs away, I have the perfect blog post for you here!
Another effective tool that I use and love is the DynaTrap.The UV light and TiO2 coating lure flying insects to the trap, then the powerful, whisper-quiet fan sucks them into the basket, no zapping involved!

See what everyone else made out of their recyclables this month for Earth Day!
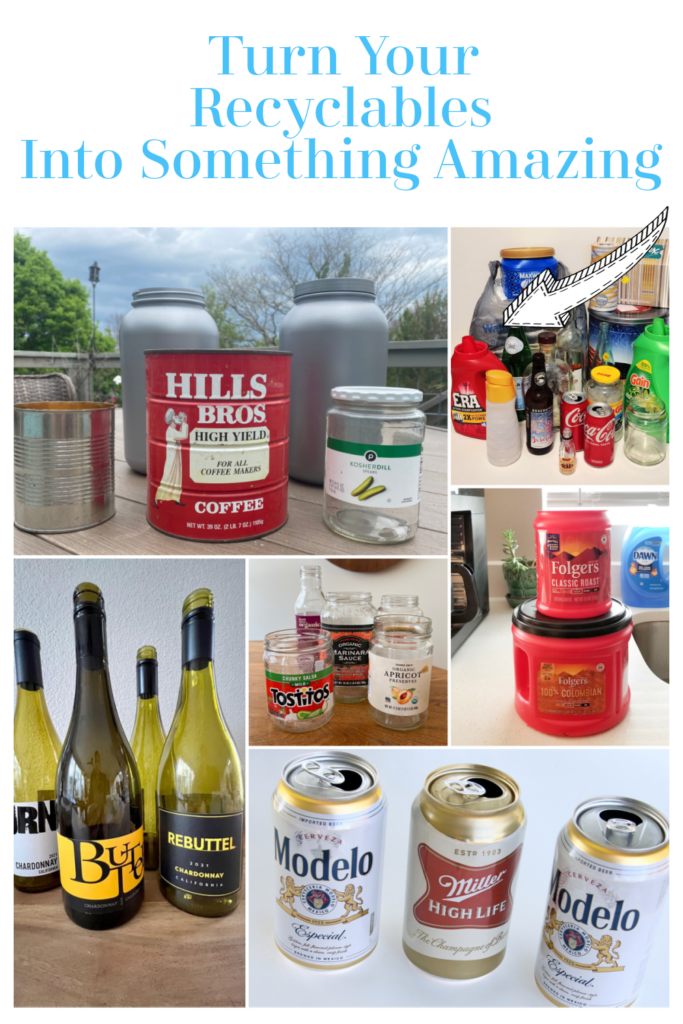
My Repurposed Life DIY Upcycle Ideas from Your Recycle Bin
My Uncommon Slice of Suburbia DIY Wine Bottle Tiki Torch
Sadie Seasongoods Upcycling a Coffee Canister with Cork Fabric
Organized Clutter Recycling Bin Propagation Station
Shop At Blu Recycle Bin Craft for Earth Day
Petticoat Junktion How To Upcycle Aluminum Cans Into Vases
Here are more fun ideas from the past


Kristin,
I love your tiki torch wine bottles! It looks really cute with the decorative rocks.
pinned!
gail
Thanks Gail!
Oh Kristin! How very simple and easy , yet beautiful! I want to do all of these projects for my deck. Stay tuned!!
I know, such fun projects from everyone, the perfect start to earth day!
These are super cool- but of course, I always love any of your projects that show your backyard! 😉 AND a project reason to get a couple of extra bottles of wine!
Ahhh thanks Sarah!