
How To Create A Driftwood Finish
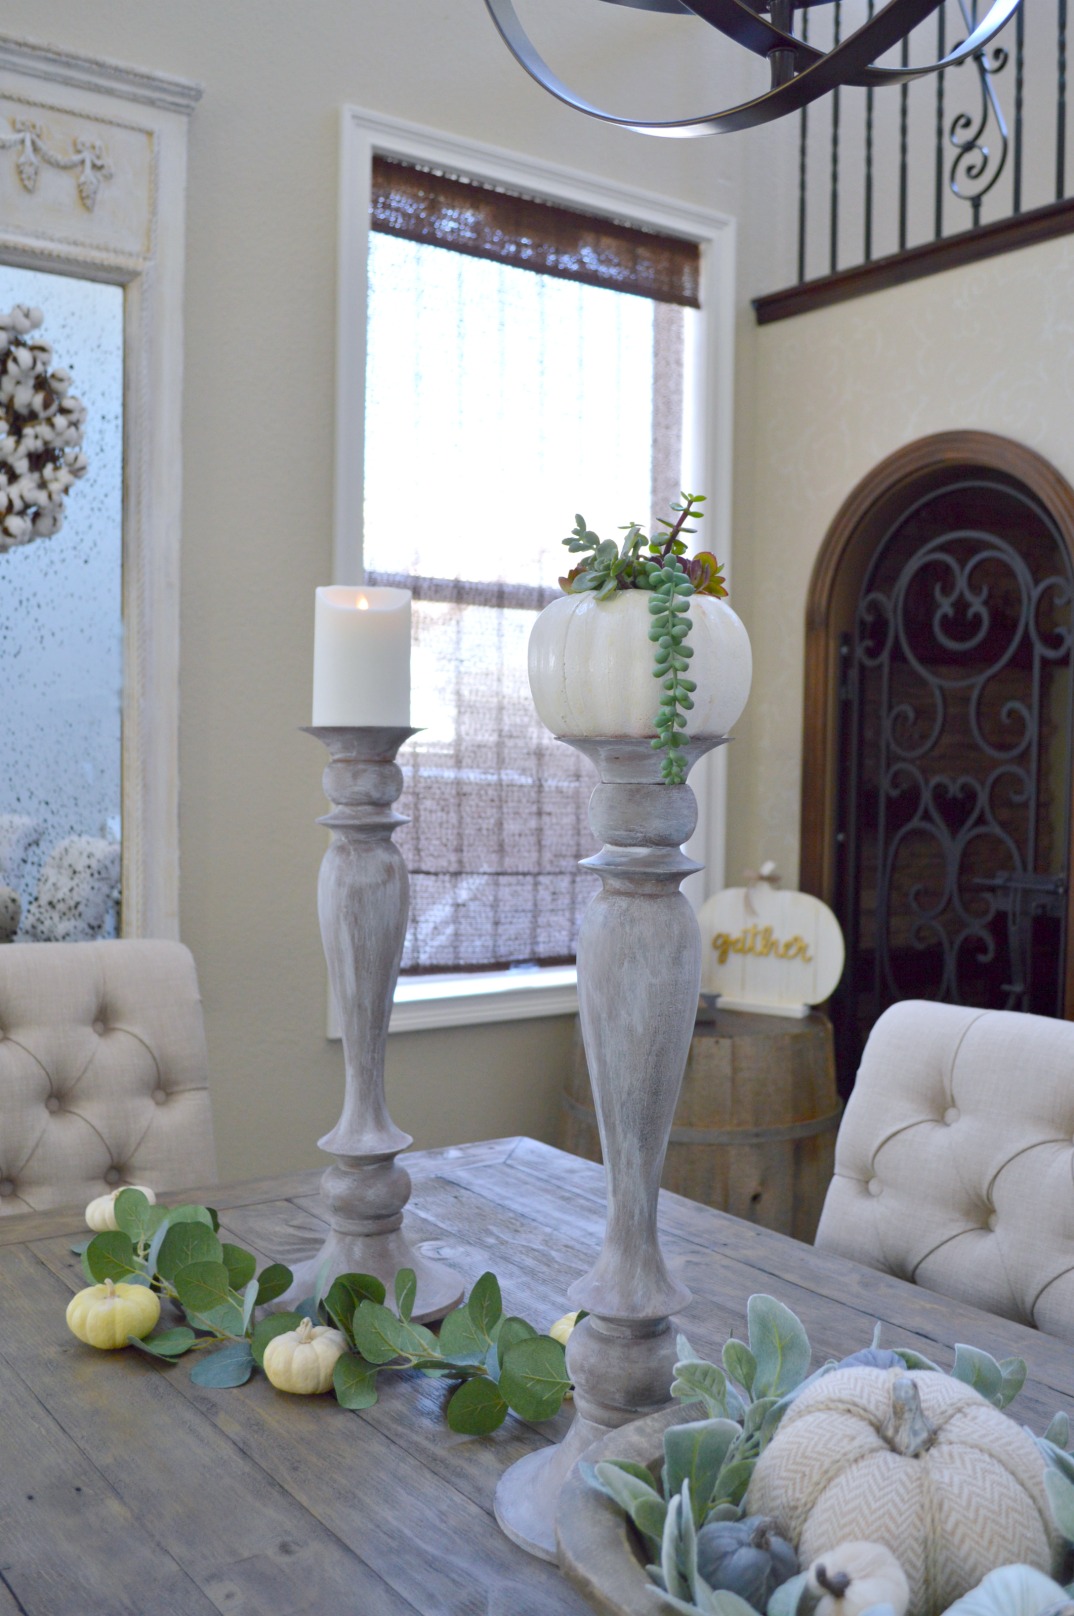
Today I’m teaching you how to get the look of driftwood using Americana Decor Chalky Paint. I love the look of driftwood, however, these pieces can come with a hefty price tag. I scored these dark brown candlesticks at the thrift store for $3 each. They still had the Pottery Barn stickers on the bottom so I’m thinking they cost a pretty penny back in the day. Using chalk paint I was able to achieve a driftwood look with no sanding or priming. You can use this method on a large piece of furniture (future plans for this) or a small accessory like these candlesticks. A great DIY tutorial that will give any piece an instant update!
Here they are before I got my hands on them, they really are beautiful!
![]()
Note: Affiliate links attached below for your convenience
Before I start on the tutorial, I wanted to mention that I have transformed pieces in the past with stain but that involves sanding and you really don’t know what the final outcome will be. The stain will take on a different look depending upon the type of wood. That’s why I loved this method, I had complete control of how the end product would look. I have also noted what each color is (tan/dark brown/gray/white) in case you have similar colors on hand.
Supplies:
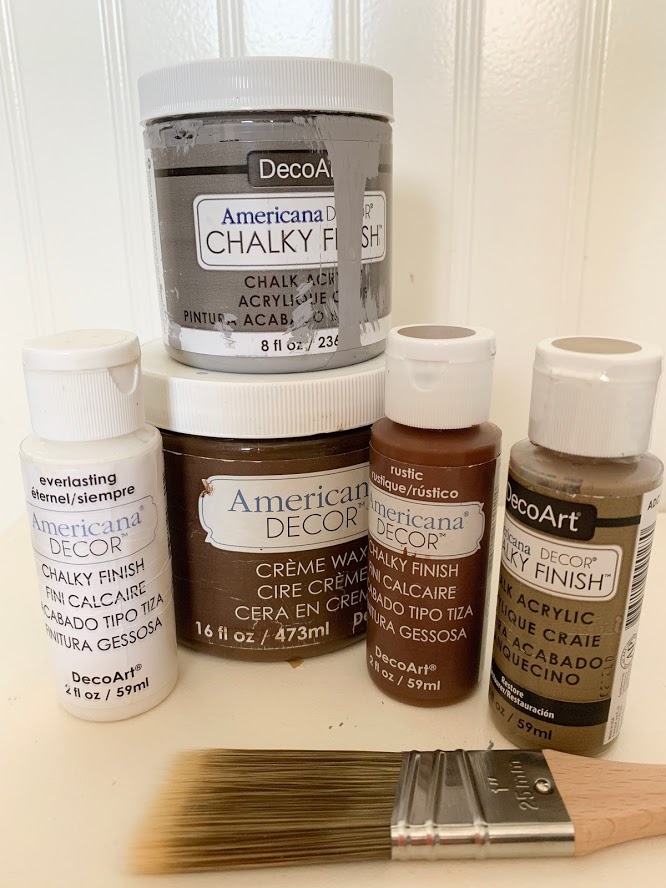
DecoArt Americana Decor Creme Wax, Deep Brown
Americana Décor Acrylic Chalky Finish Paint: Everlasting White, 8 oz
DecoArt ADC-25 Americana Chalky Finish Paint, 8-Ounce, Rustic
DecoArt Ameri Americana Decor Chalky Finish 8oz Artifact
DecoArt Ameri Americana Decor Chalky Finish 8oz Restore
Clean Rags
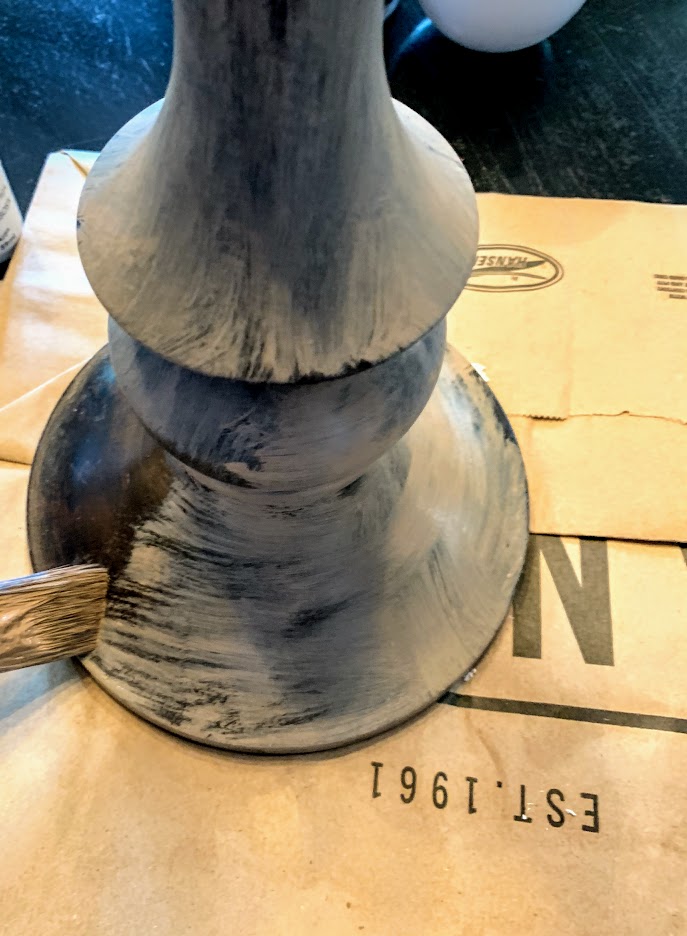
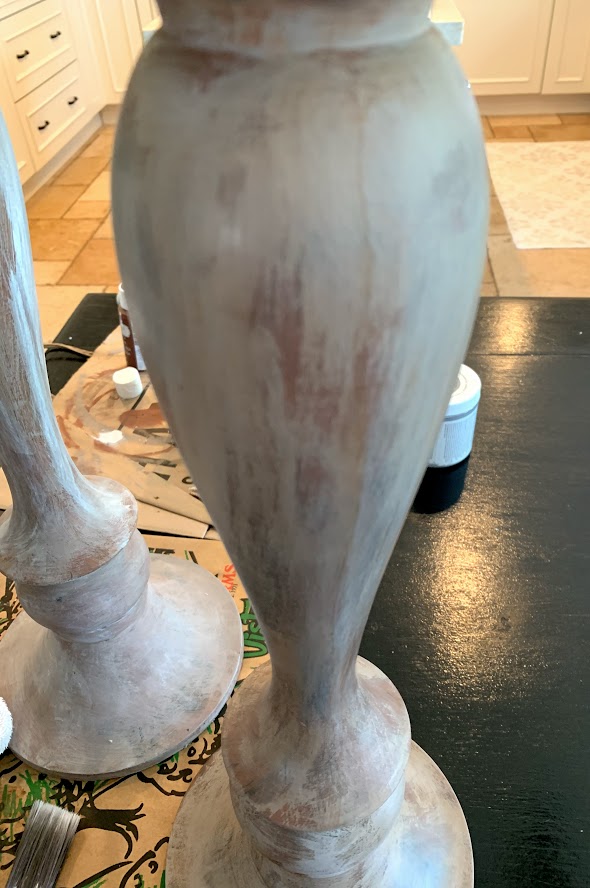
Step 2: Dry brush the color RESTORE for your first coat and let dry. It’s fine if you have a few bare spots. Drybrushing is when you dip your paintbrush into the paint but the brush is still relatively dry. When painted on the surface, it creates uneven streaks, almost a scratchy appearance.
Step 3: Dry-brush a light coat of Rustic Chalky paint over the tan, again it does not need to completely cover the tan, let dry.
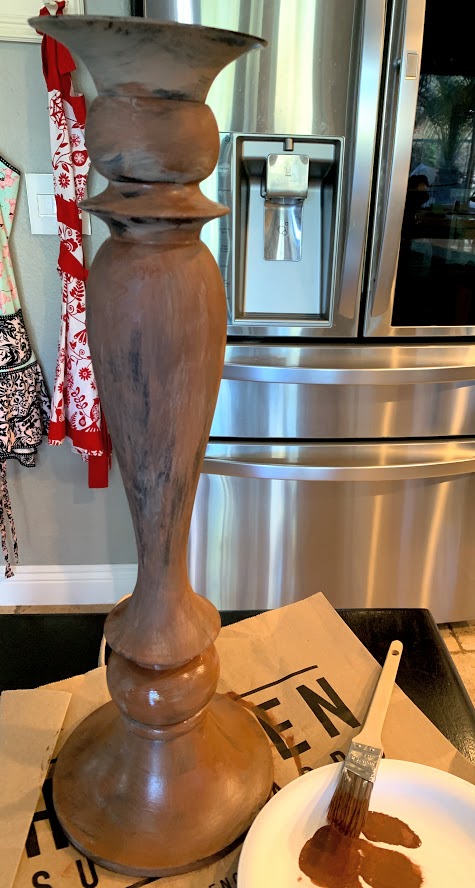
Step 4: For the third coat of paint, mix equal parts of your Artifact and Restore together. Dry brush a light coat of this over your entire piece. In areas I felt it was too dark I would use a damp rag and lightly wipe it off. In areas where I felt it needed more, I added more. You really can’t make any mistakes, allow this coat to dry.
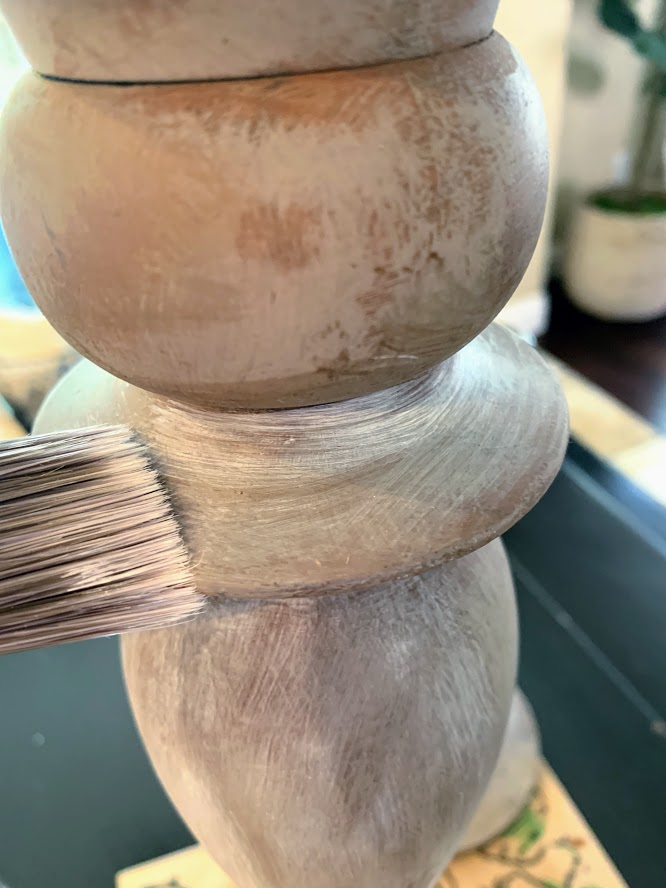
At this point you might be done, you just need to add the dark wax. When I compared the candlestick to our dining room table (the color I was going for) I decided I wanted the candlesticks to be a little bit lighter.
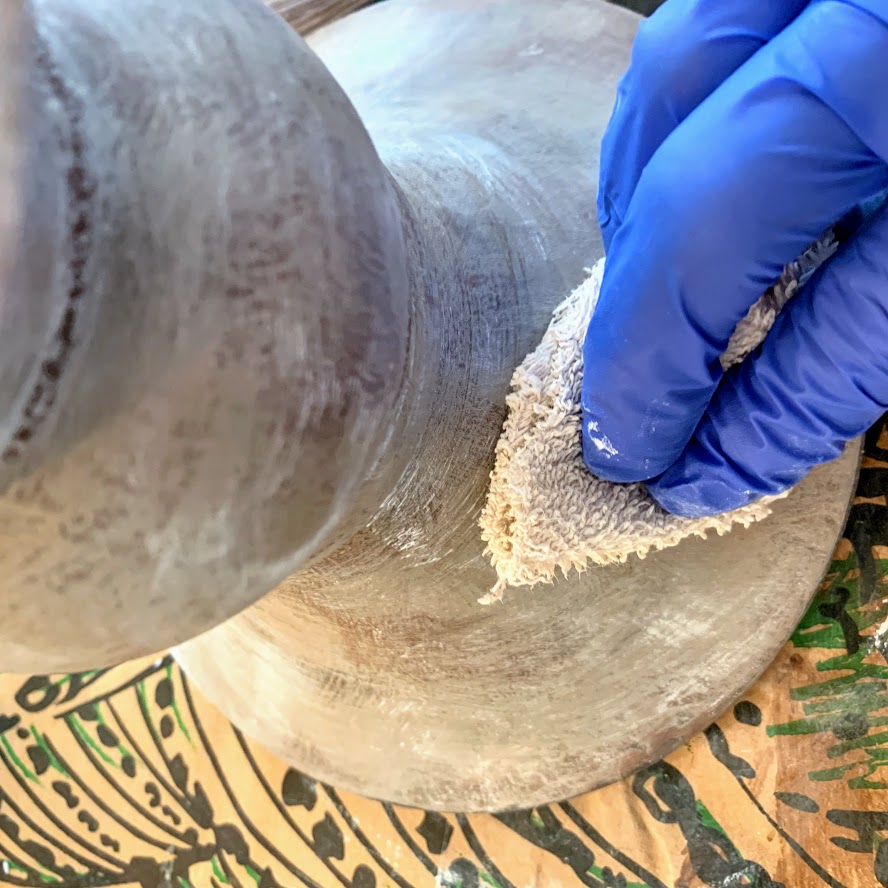
Step 5: Dry brushed a layer of Everlasting Chalky Paint and wiped it off with a slightly damp cloth until I achieved the look I was going for.
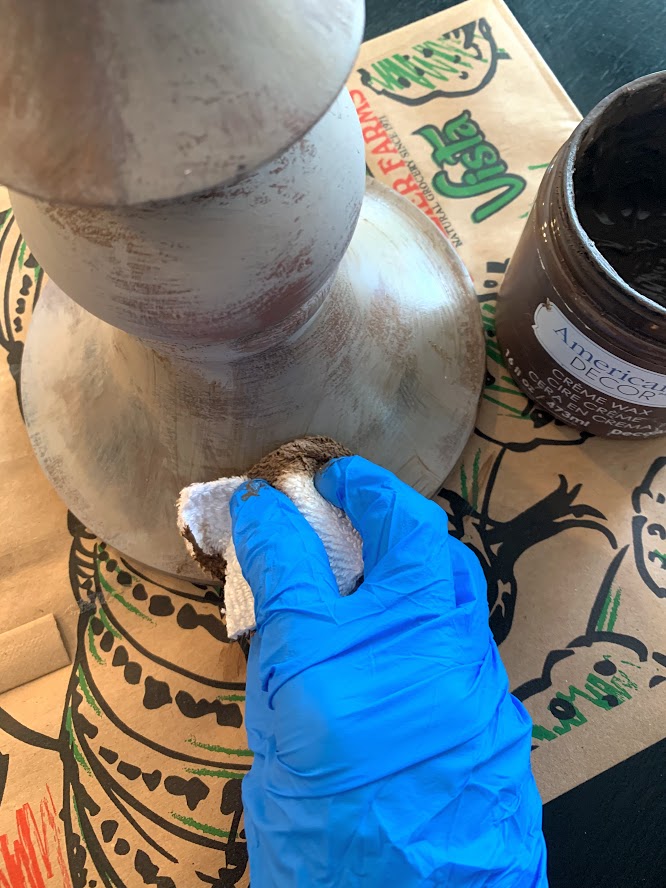
Step 6: Add the dark cream wax to protect the piece.
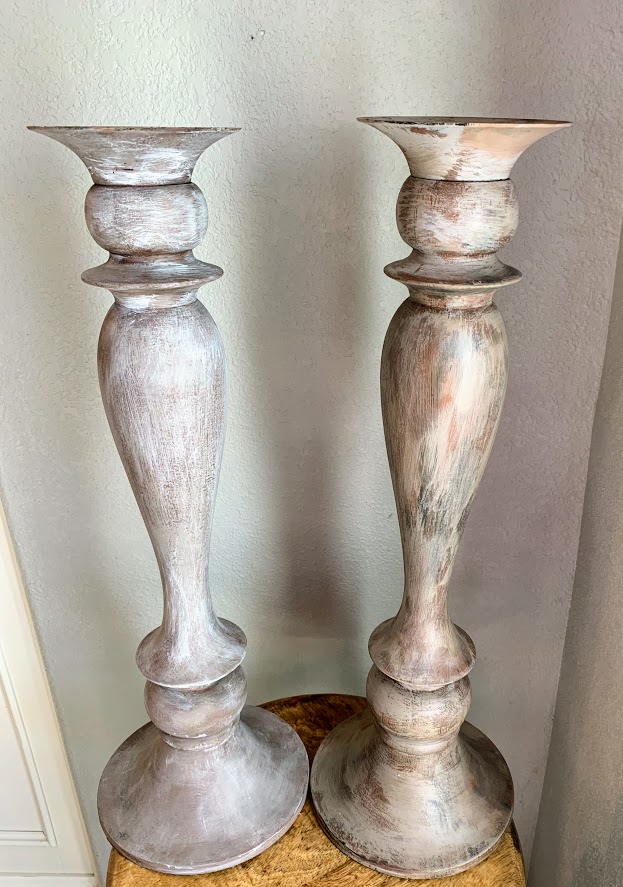
Here is a side by side comparison of the candlesticks. The one on the right is before I added a layer of white, the one on the left is with the layer of white paint.
This is why I love this technique, it truly is impossible to mess up. If you aren’t satisfied with how your piece looks, you simply add another layer of paint. Just keep dry-brushing on layers until you love the result.
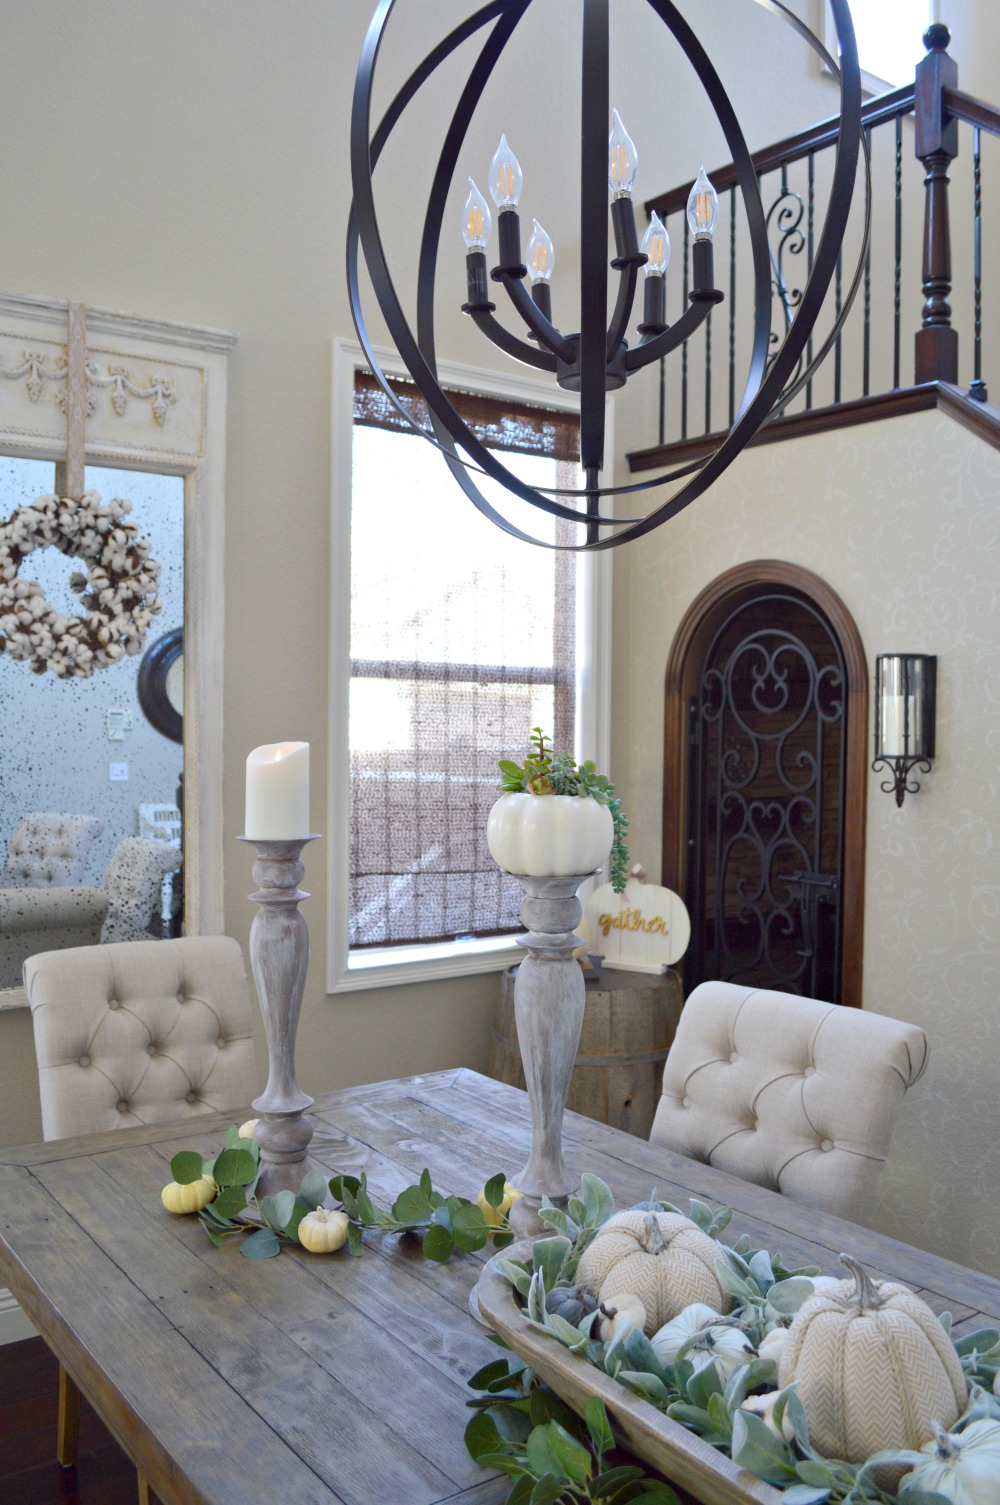
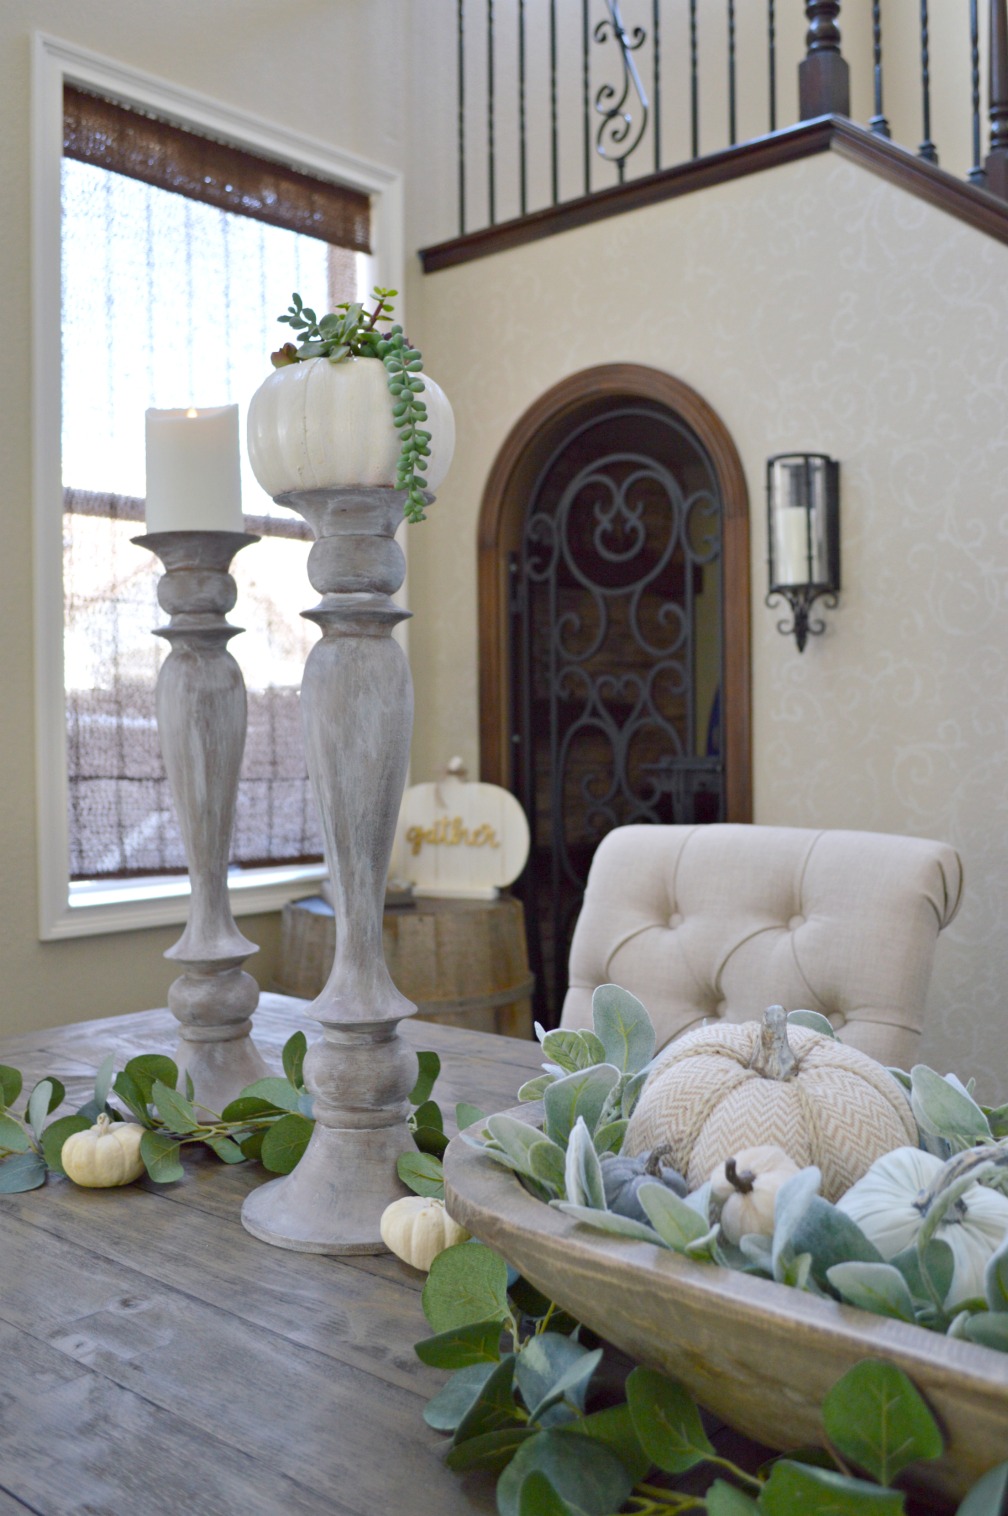
Voila
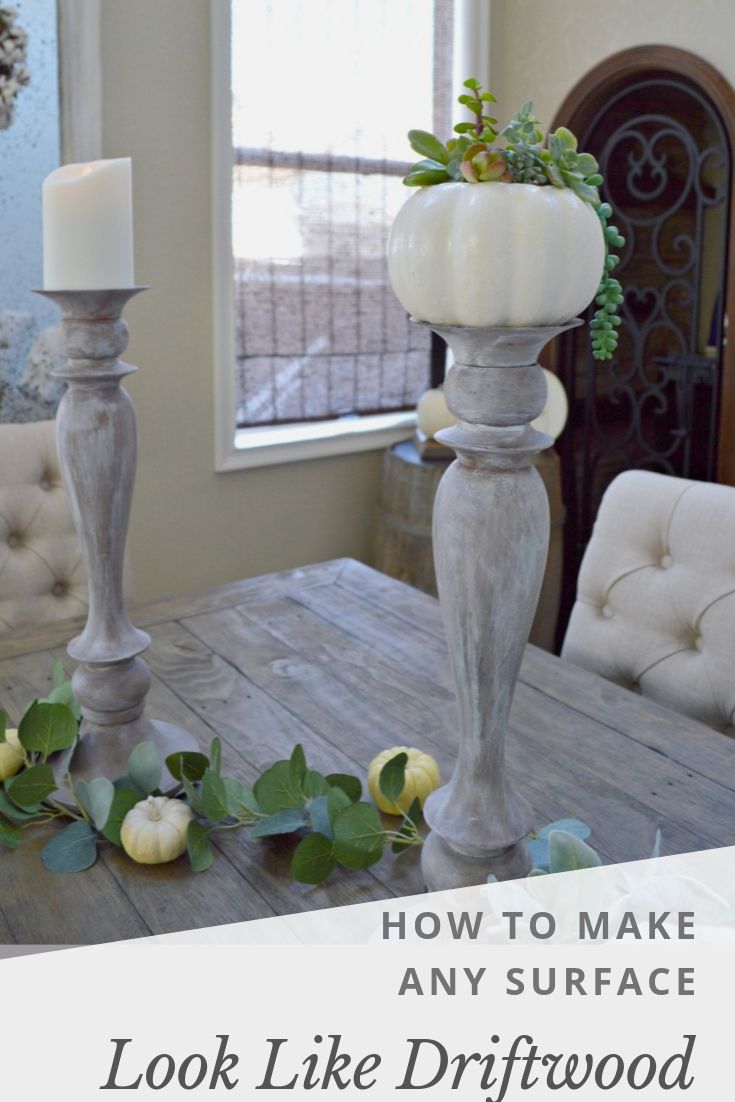
I made some more Pumpkin Succulent Planters like last years, (you can find the tutorial here) and added it along with a candle to give the table an Autumn feel.
It’s Thrift Store Decor Day, come see what all the other ladies did with their thrift store finds this month, I see lots of candlesticks in there!
![]()
DIY Rustic Candle Holders Our Southern Home
Buffalo Check Fall Tray Domestically Speaking
Ladder Back Chair Makeover My Repurposed Life
Shabby Chic Wreath The Petticoat Junktion
Recipe Box Makeover Refresh Restyle
Creepy Halloween Craft with Hazard Labels Sadie Seasongoods
How to Create a Driftwood Finish Uncommon Slice of Suburbia
Copper Wall Sconce House of Hawthornes

Thank you so much for stopping in today, you can find more of my Thrift Store Projects Below.


Kristen,
whoa! If I did this, they’d look like a hot mess. Pinning so I can try to do something like this without messing it up. Your tall candlesticks are gorgeous! I love all the cute pumpkin decor you have. Perfect.
gail
I think you would work magic on a piece like this! 🙂
They turned out beautiful!! Love the new look, your fall table is gorgeous!
Pinned it!
Debbie
Thank you so much Debbie!
I absolutely LOVE how these turned out! I really need to get some brown to have on hand. Beautiful tablescape!
Thank you, Christy, love your candlesticks as well 🙂
Those turned out great! Your fall table is looking pretty festive too. I’m going to check out how you made your succulent pumpkins!
Thanks Pam, the pumpkins were super easy and fun to make as well 🙂
All those layers make sure a gorgeous faux driftwood finish!
Thank you so much Maryann!