
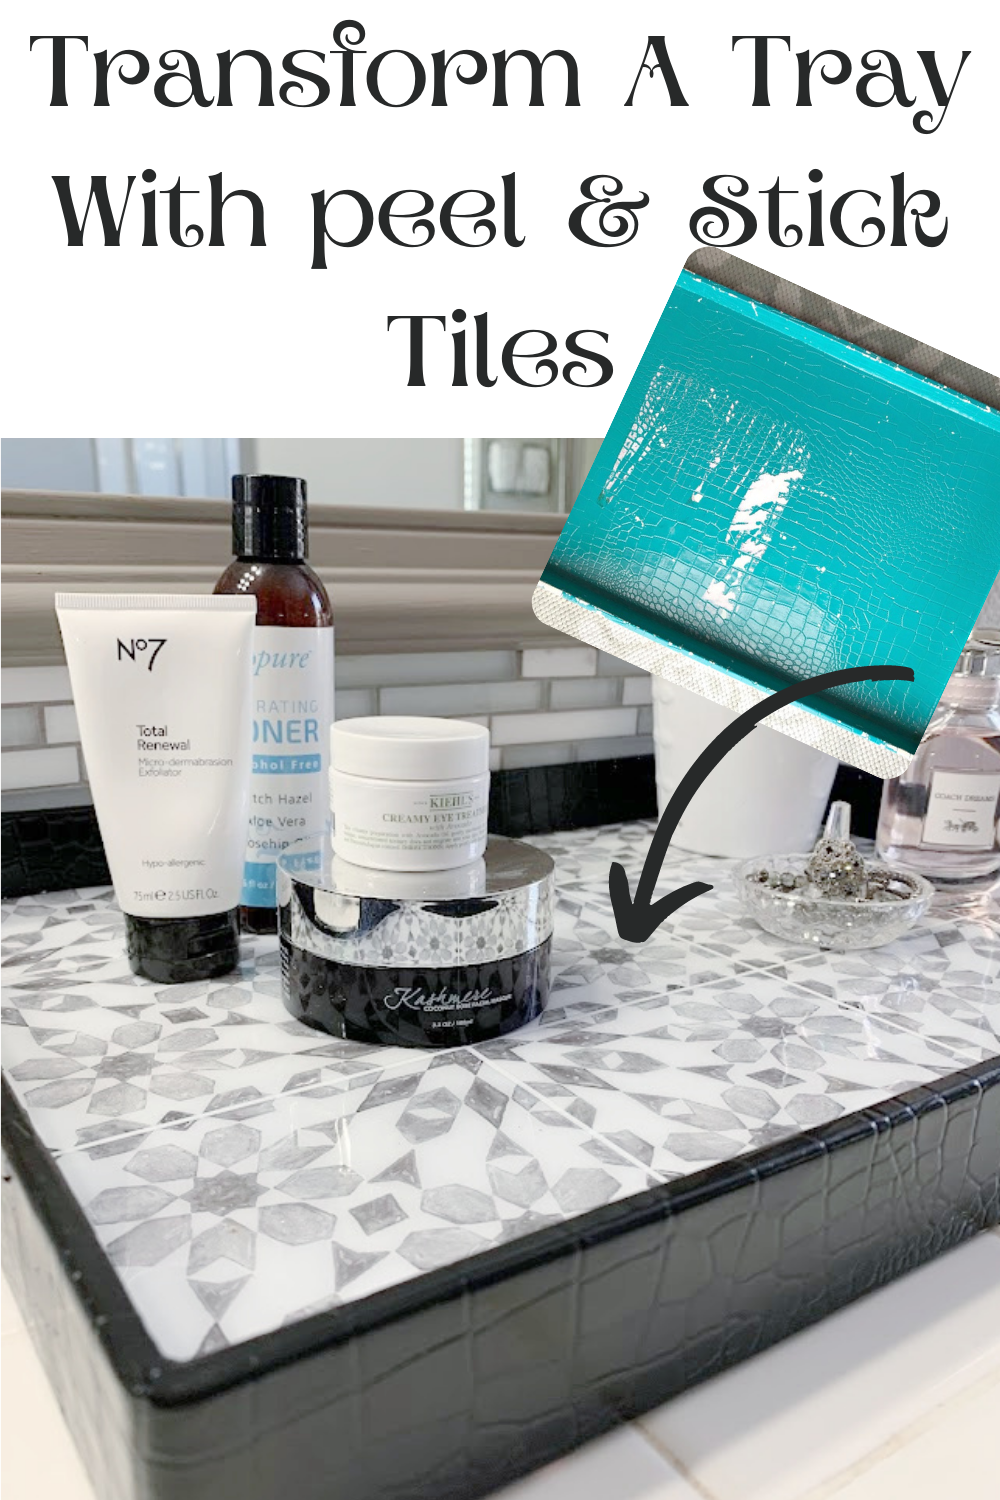
Tray Makeover Using Peel And Stick Tiles
Learn how to makeover A tray using peel and stick tiles. This easy and affordable project reduces both the time and materials needed for a tiling project, the possibilities are endless!
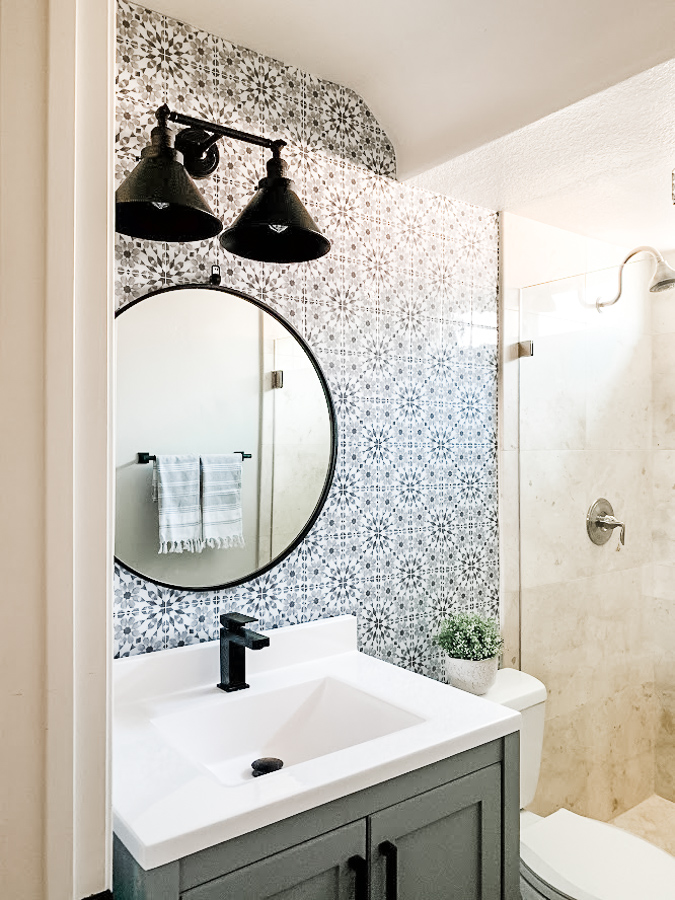
What are Peel and Sticks Tiles you ask? They are the perfect option if you are on a budget, living in a rental, or just don’t want the mess of a full tile job! It’s the perfect material to update a floor or a backsplash, their adhesive backing sticks to a variety of surfaces. I used it in our downstairs bathroom as an accent wall and loved the outcome!
It’s thrift store day so make sure you check out all of the amazing makeovers at the end of this post!
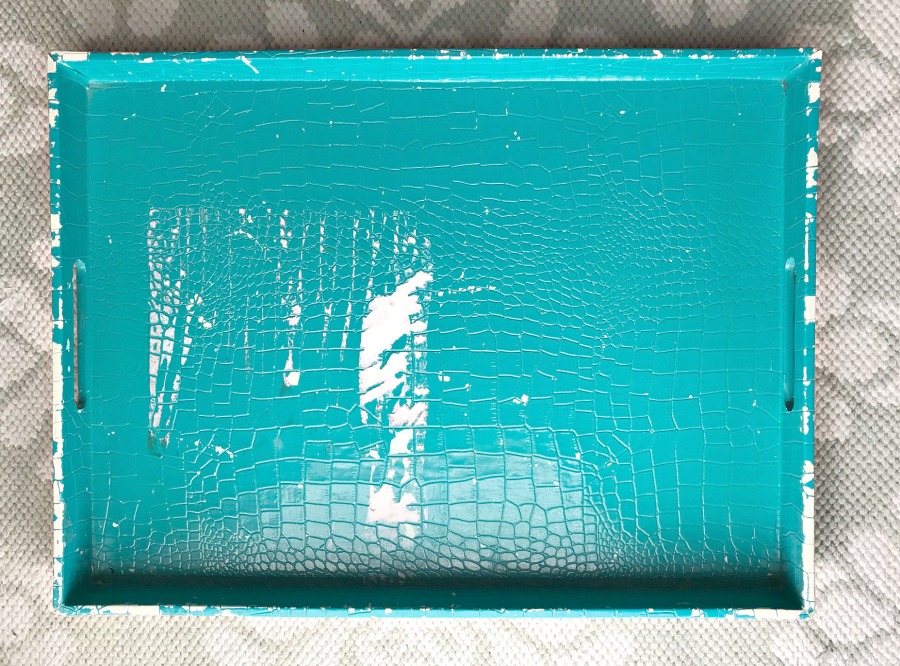
Here is my tray before, a $3 score at a thrift store a few years ago.
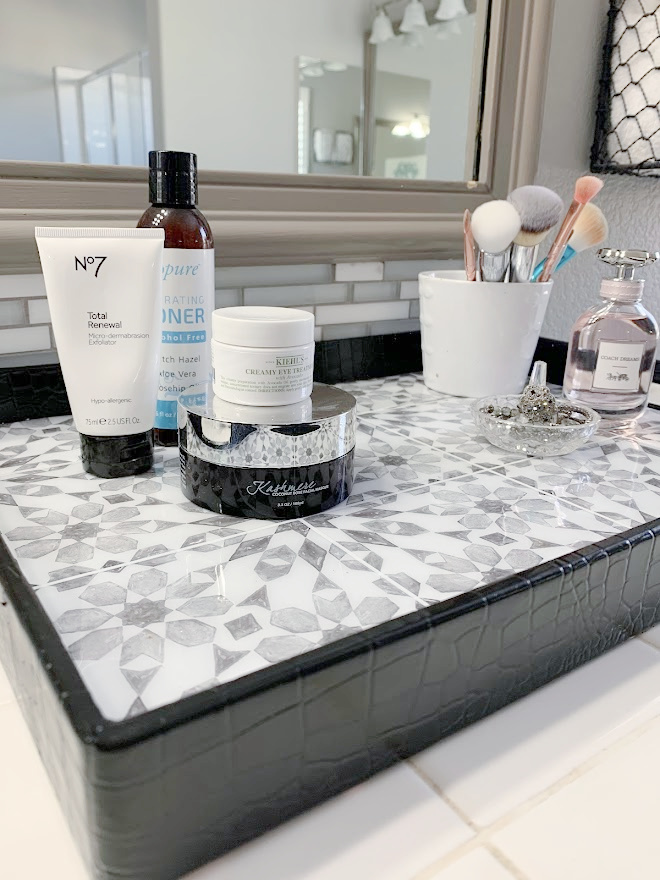
And here it is after

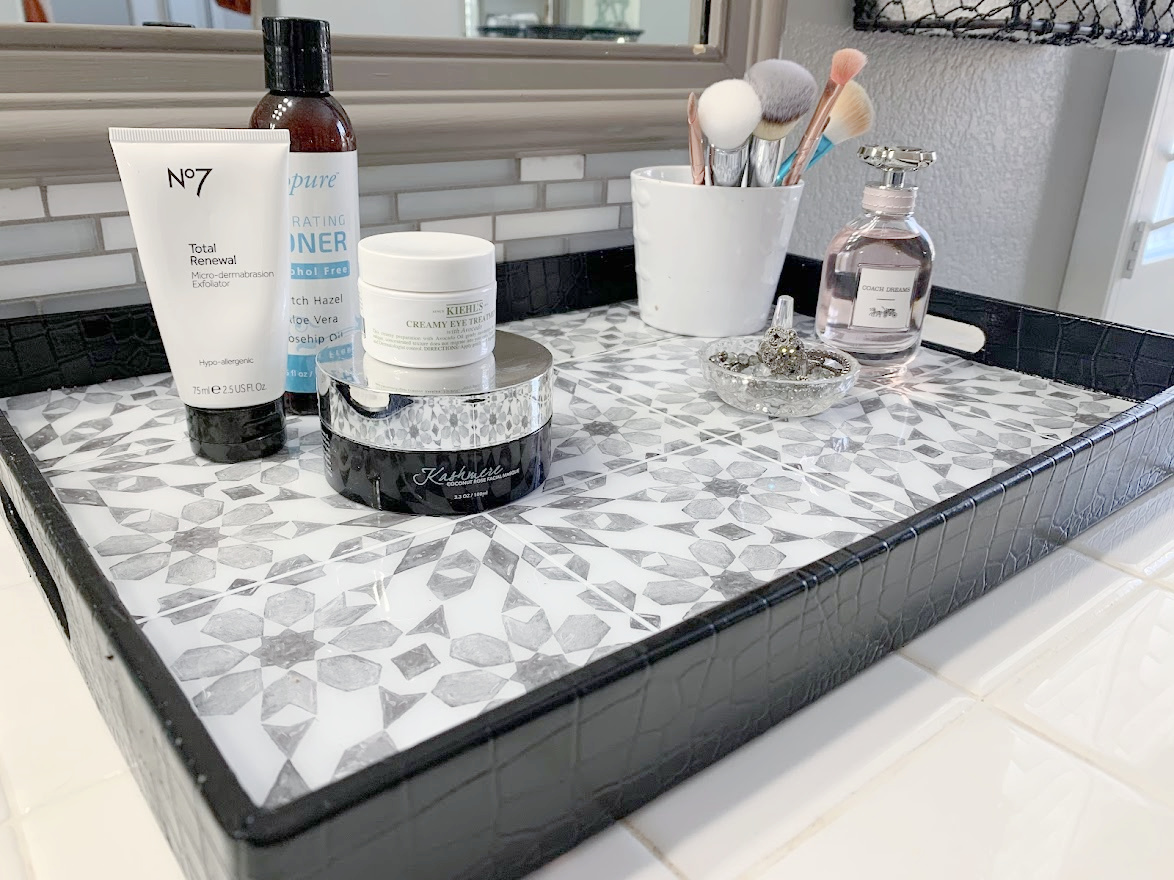
This tray might look familiar to you, yes I have made this tray over before and I still absolutely love it BUT I might have unintentionally ruined it. The Mod Podge I used on this project was not waterproof. Although they do sell it. ,the ingredients used are somewhat water-resistant, but not waterproof however that wasn’t the problem. I spilled a brand new face serum on the tray, my heart literally sunk, that stuff is not cheap, and did I mention it was brand new. Anyway, the oils in the serum left a large stain so it was in need of another makeover. I decided this time around I wanted it to withstand any type of spills since this tray holds all my lotions, face creams, etc.
Affiliate links are listed below
Supplies
Peel and Stick Tile (It’s back in stock and on sale)
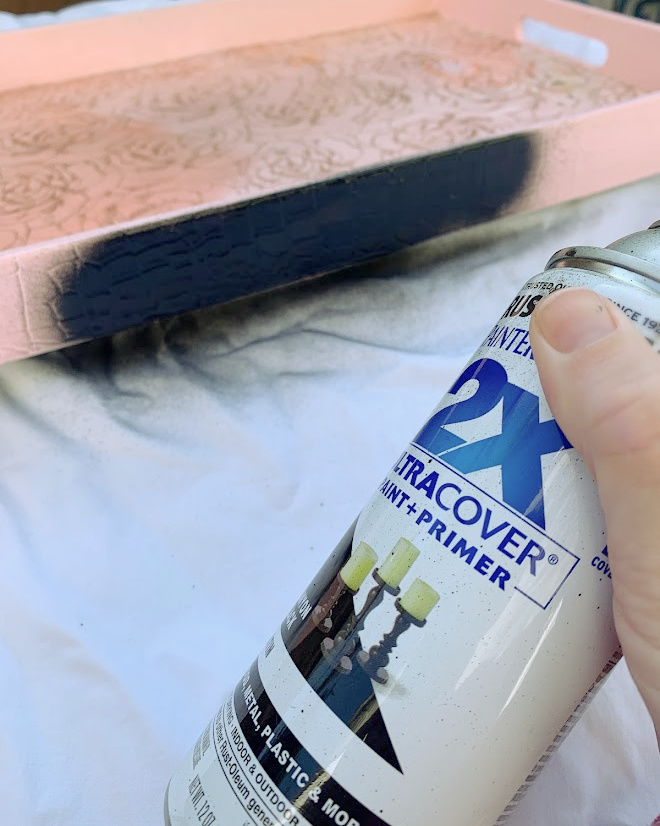
Spray paint (Optional) I used Rust-Oleum Painter’s Touch 2X Ultra Cover, Satin, Black
A tray
Scissors
Rag and detergent for cleaning
Ruler and Pencil
Directions
Clean the tray with a damp rag and a mild detergent. Allow the surface to dry completely
You can skip this step but the pink and the tiles weren’t looking so great together so I gave it a quick coat of black spray paint.
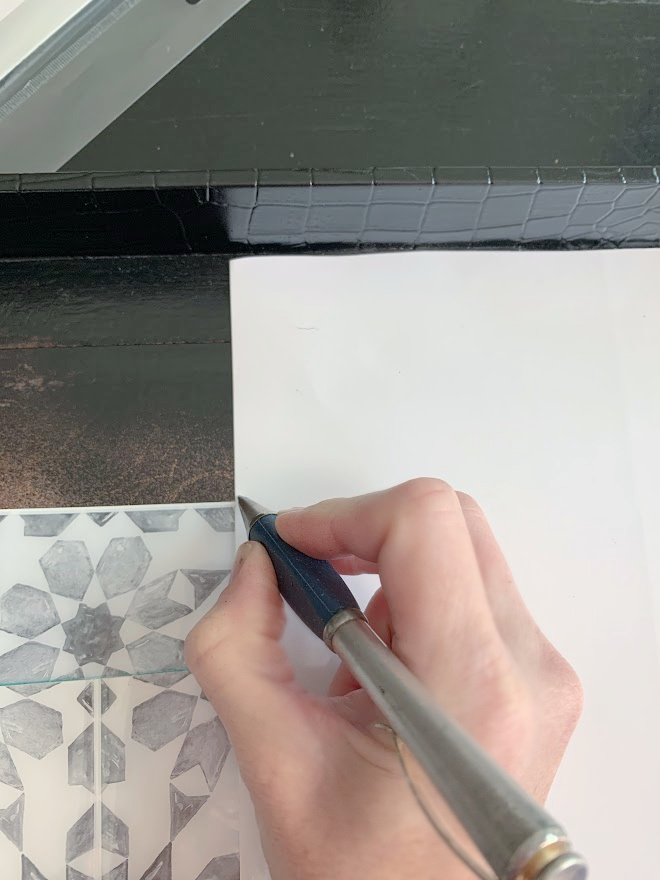
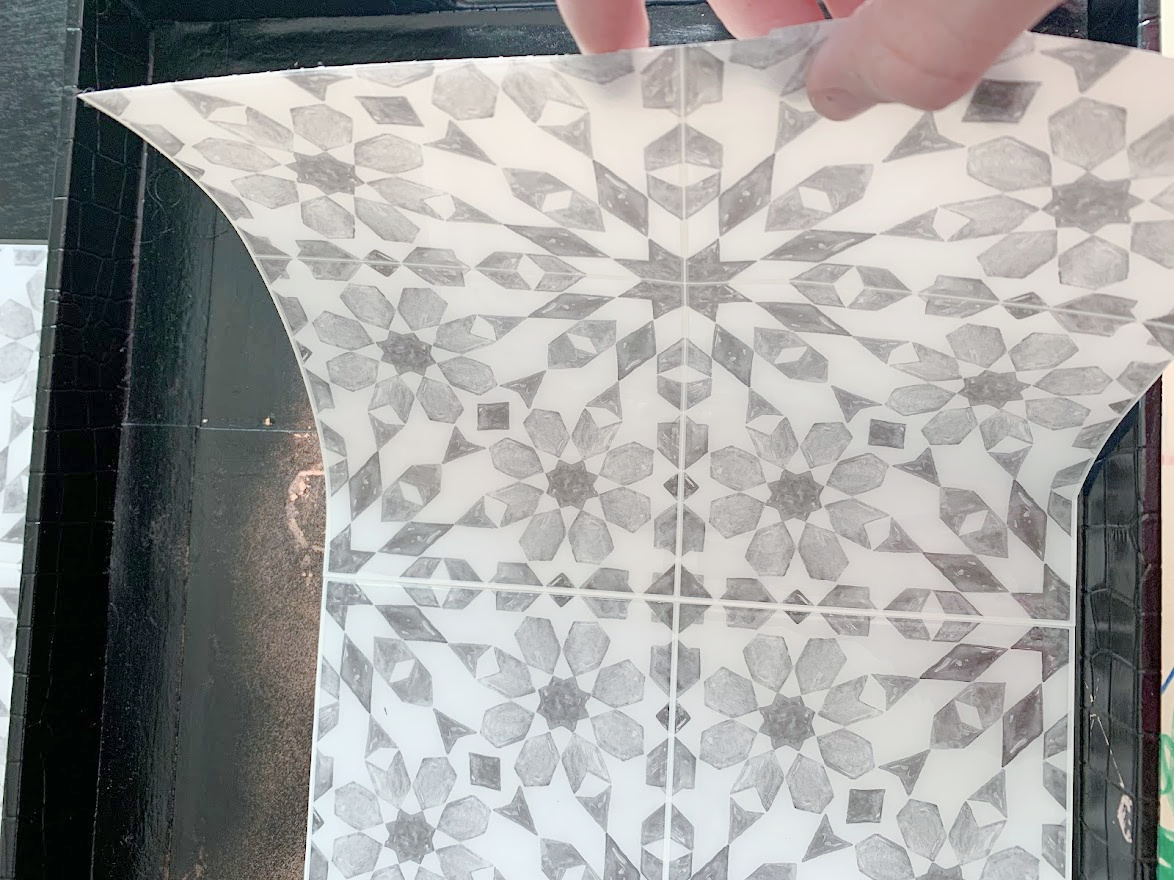
Start laying out your tiles and measure accordingly. Fill the remainder of the tray with the tiles until you reach the edges of the tray, you will need to make cuts at some point.
I used a paper template to get an accurate measurement and then cut the tile. Each tile’s edges should butt up tightly against the tiles next to it; leaving zero space.
Remove the backing of the tile and press lightly to align the first tile then press firmly on the tray.
Take the protective sheet of the front and smooth it out, I used a ruler for this.
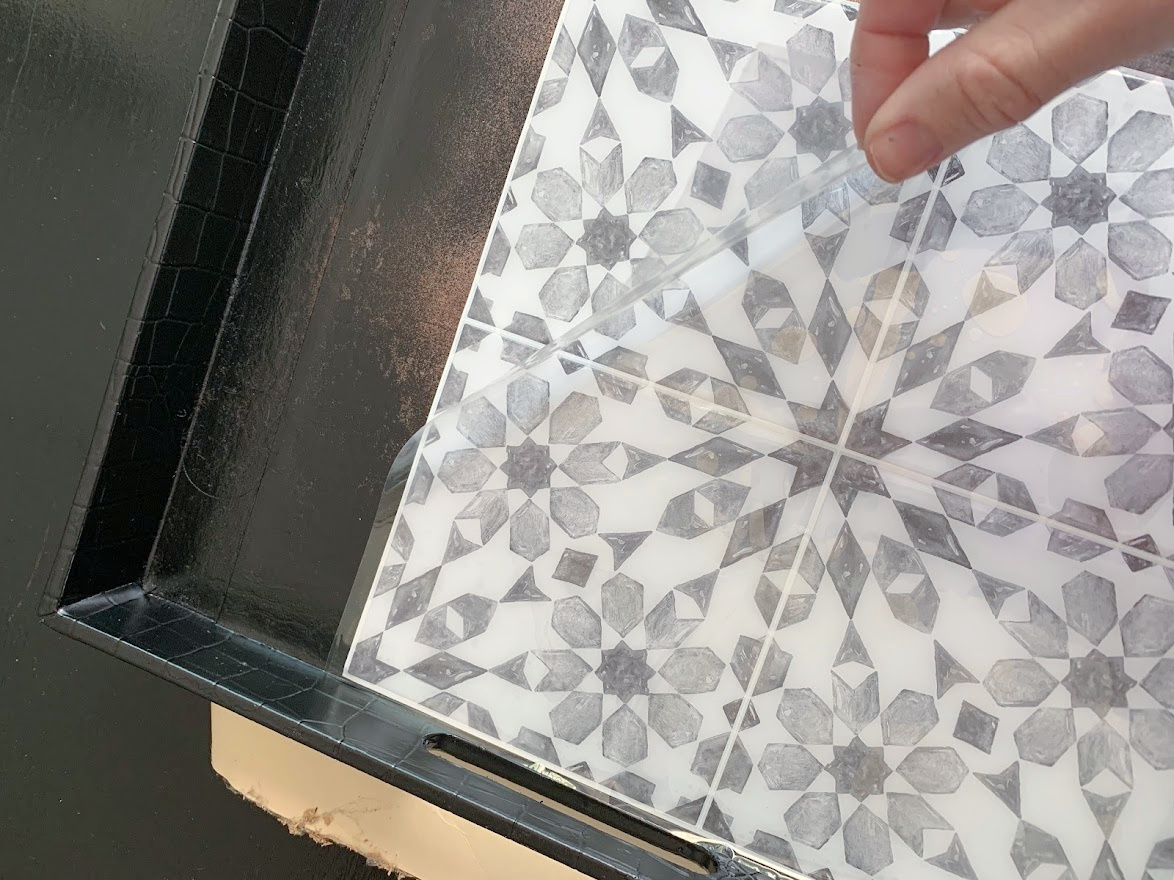
The adhesive is very strong, once you place it, it sets in within seconds. If you make a mistake and have to take the tile off, it will possibly remove whatever is underneath. (If you are doing a wall or a table it will take off the paint) Be careful the back of the tile doesn’t touch the tray that has been spray-painted that will be seen. I learned that the hard way and had to touch up a few spots.
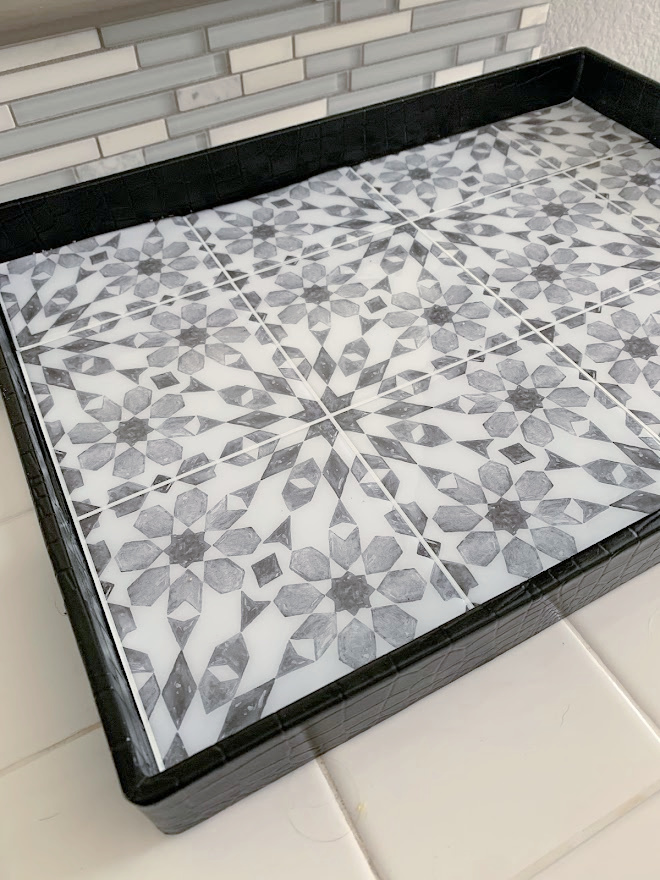
And that is literally it, this project took me under 30 minutes (minus the drying time). I think this was one of the easiest thrift store projects I have done yet.
The best part about Removable Tiles is that it already comes with an adhesive backing all you have to do is just attach it where you would like.
I don’t think I need to worry about spills anymore!
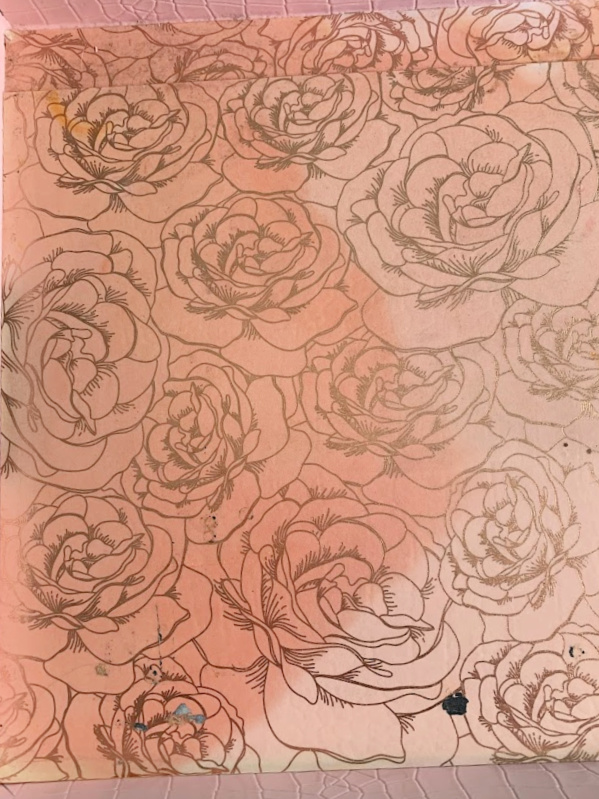
And here is the first makeover, completely different vibe right! It’s amazing how color can completely change the look of something!
![]()
Here is the same tile in the bathroom and a link on how to install it on a wall.
This was my first quarantine project of 2020. I’m not going to lie, it was extremely time-consuming but I’m so thrilled with the end result.
.
More Creative Ways To Use Peel and Stick Tiles
Create a Feature Wall As I did in our bathroom
Update a piece of furniture such as a coffee tabletop or an outdoor table
Not ready to tear out your flooring, this is the perfect option.
Under a sink to protect your cabinets (I’m doing this)
Use it as a backsplash for your kitchen or laundry room
Let’s see what everyone else did with their thrift store finds this month, I can’t wait!

Thrifted Spice Rack Repurposed As Christmas Decor Shelf
Autumn Leaf Dishes for Fall Decor
Small Hanging Christmas Display
Tray Makeover Using Peel And Stick Tiles
DIY Outdoor Two Tone Furniture Finish
Easy Layered Chippy Paint Finish
We will be taking next month off but be sure to check out our handmade Christmas gift ideas.

Thank you so much for stopping in today, it means the world to me!


Kristin I love this! How super easy especially when you have leftover tiles. Such an easy surface to easily wipe clean. So practical!
Thank you so much Sue!
I have been thinking about trying a project with peel and stick tiles! I love your tray and choice of tiles.
Thank you so much Carlene!
Those peel and stick tiles are amazing! I haven’t used them, but this inspires me to give them a try! Pinned!
Thank you Cindy, they are super fun to work with on a small project but a little overwhelming on a large project but with that being said I would still do it again.
Looks so modern and updated now – great tray makeover!
Thank you so much Maryann!
I’ve been thinking of trying a project with the peel-n-stick tiles ever since I saw your bathroom! The tray is a fabulous idea!
Thank you so much Pam!
Oh no, spilling the serum!! I can completely empathize with how your heart sank when that happened. Your refreshed tray looks marvelous, though- I LOVE the idea of using peel and stick tiles like that!
Thank you, Sarah, not a fun moment. Maybe if it happens again I can scoop it up from the tile instead of it soaking into the paper lol
hmmmm you really have me thinking about this! I have some tiles left over from my backsplash. I may want to keep a couple in case I need them down the road, but I had to buy a whole package for ONE tile.
Really great makeover on the tray, I love the look and the way it’s going to last (until the next time you make it over) heheheh
pinning!
gail
Thank you so much Gail, I was trying to use “real tile” and it was a pain, this was a quick and easy fix. 🙂