
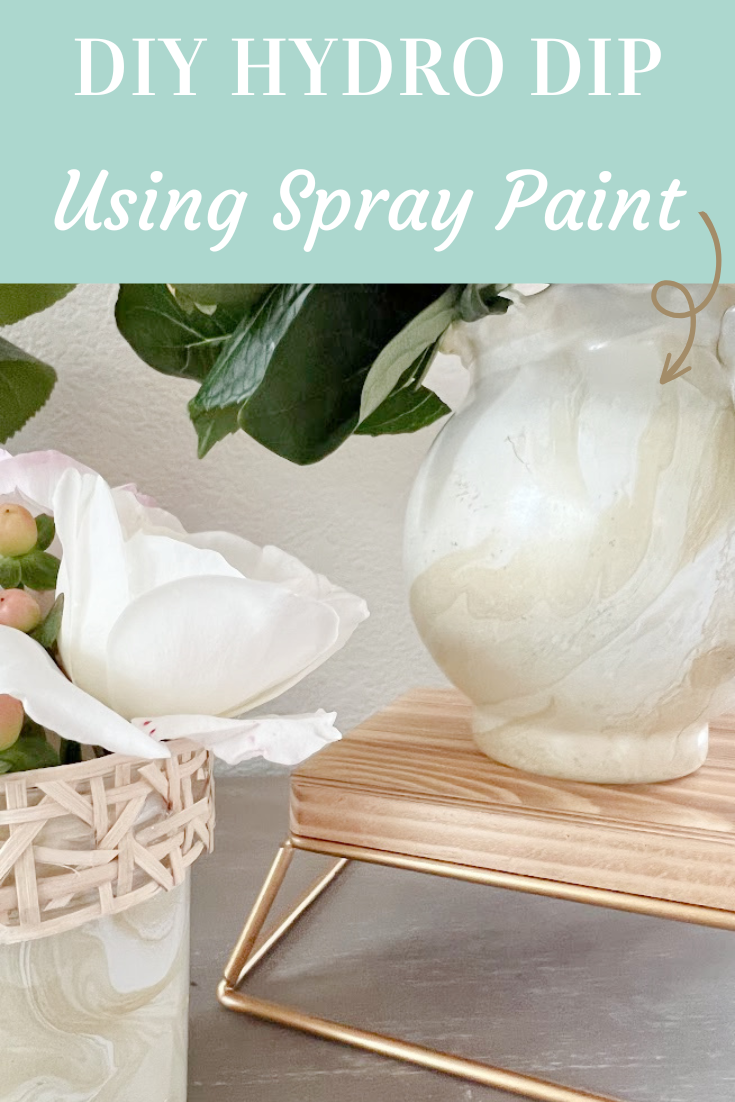
How To Hydro Dip Vases With Spray Paint
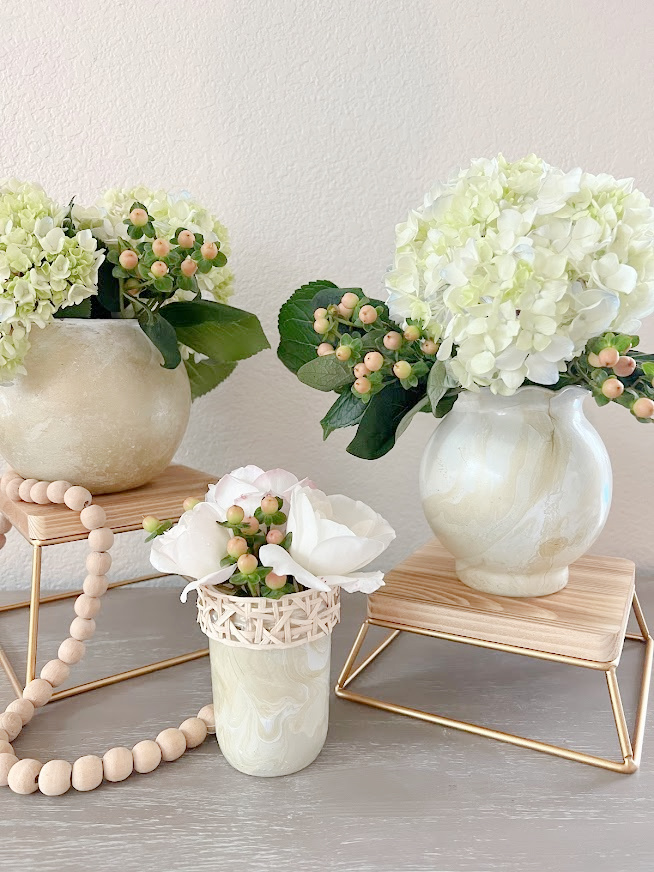
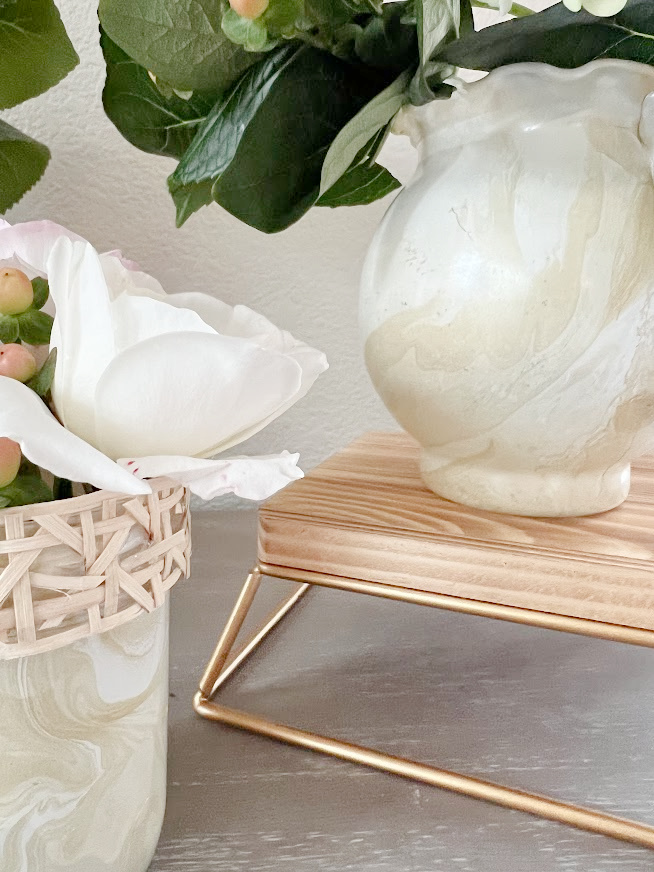
Today I’m showing you how I easily transformed a glass vase into a marble vase by hydro-dipping with spray paint. This DIY project is such a fun way to turn a generic vase into a chick and modern piece of art. It’s a great way to customize so many items with colors that fit your home décor.
Hydro dipping works when the spray paint is on the surface of your water, it does not mix, so when you submerge the object, the paint sticks to the base coat providing a waterproof sealant on the outside of the object and giving it a marbled effect.
Essentially it’s water transfer printing; the design that you created on top of the water transfers onto your object. Pretty straightforward.
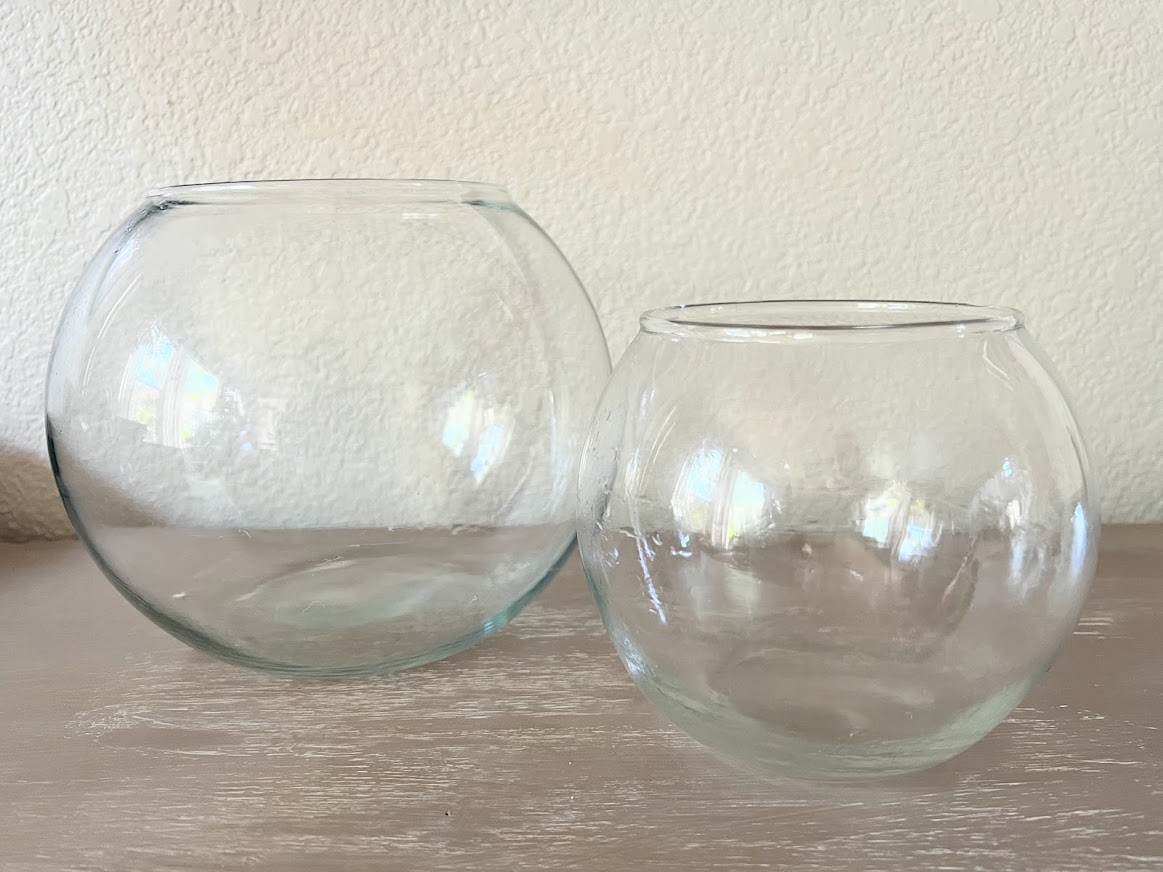
Here is the before of a few vases I found while thrifting, I always stock up on vases. I love giving flowers as much as I love receiving them. I can usually find them for about 1 dollar sometimes less, the bigger one looks like it might have been a fish bowl and it was $1.50 still a good deal! It’s Thrift Store Decor Day, make sure you check out all of the other projects at the end of this post!
Although I used gold and white for my project, you can use all sorts of fun colors and get super creative.
Affiliate links are listed below
Supplies:
Vases
Gloves
Acrylic Spray paint I used Gold and White (gloss, metallic or satin work best and I highly recommend Acrylic paint)
Container, It needs to be taller and wider than your vase. I recommend at least 2 ½ times bigger in size.
Paper towels
Acrylic top coat- clear (optional)
Warm Water
Directions:
Step 1. Clean The Vases with a little soap and water and let dry
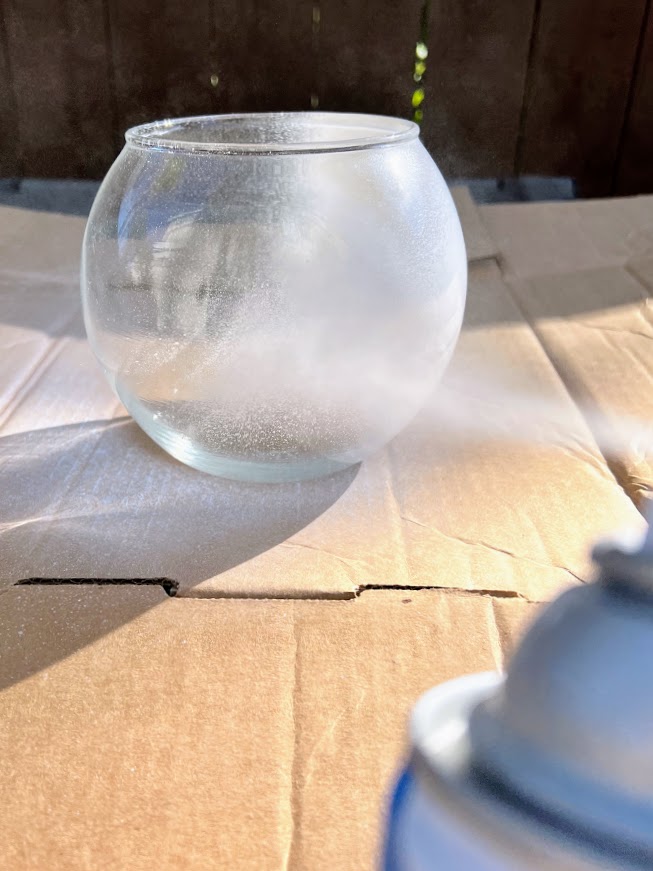
Step 2. Apply The Base Coat
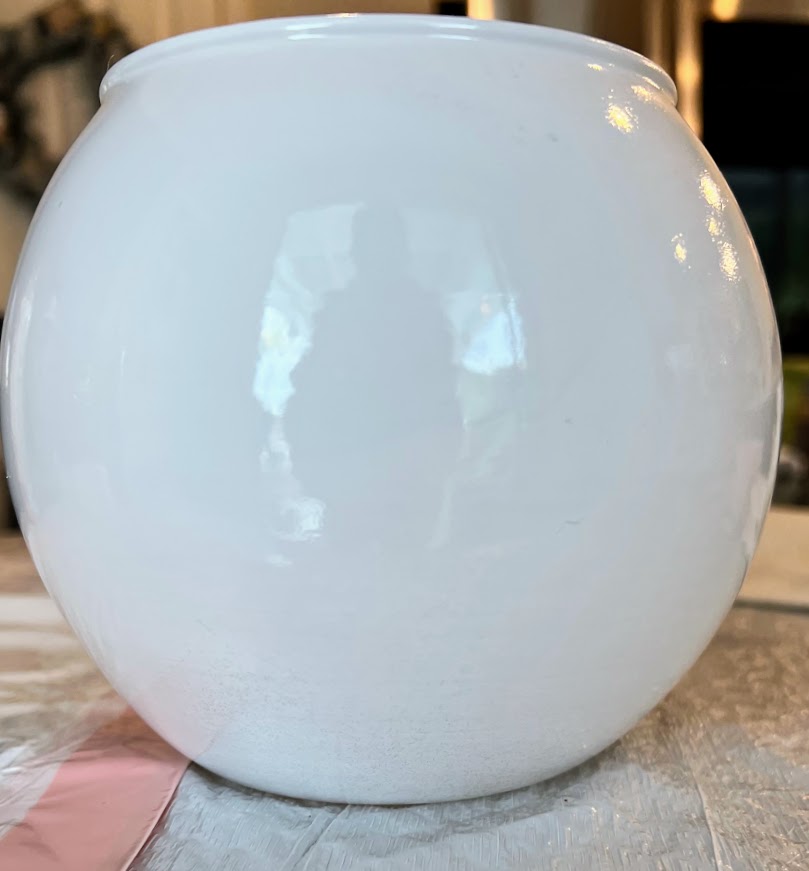
Prime your vase with a light coat of paint and primer in one and allow it to dry. You can use any color, I used white.
Step 3. Prep For Hydro Dipping
Fill the bucket about 3/4 full of water, your container needs to be large enough to completely submerge your item. I would recommend you use an older container that you don’t care about, if you can’t find anything, line it with a trash bag so you don’t ruin the container.
Pre-shake each can of spray paint before you start to dip the vase, you will still need to shake each can before you dip but not for a full 2 minutes.
Spray a shot of paint into the center of the container of water, and repeat with each color, I recommend about 3 shots of each color. Use as many colors as you want.
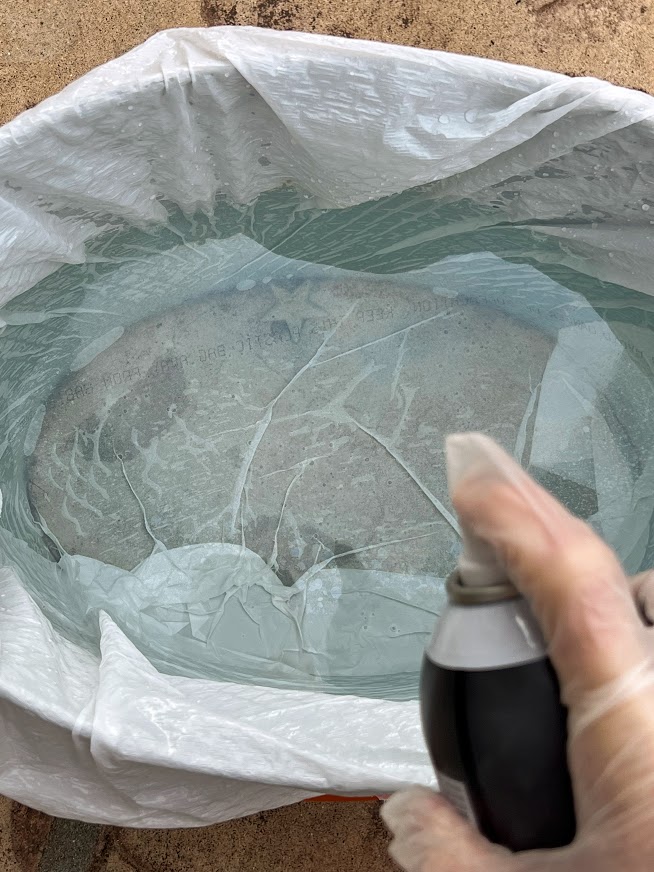
As you spray your colors onto the top of the water. You will see the color migrate to the outside and float on the water’s surface, that’s ok. Spray the colors next to one another for best results. You can use a stick to swirl the paint around to create different patterns before you dip your object or leave it as is, it’s up to you.
Step 4. Hydro Dip The Vases
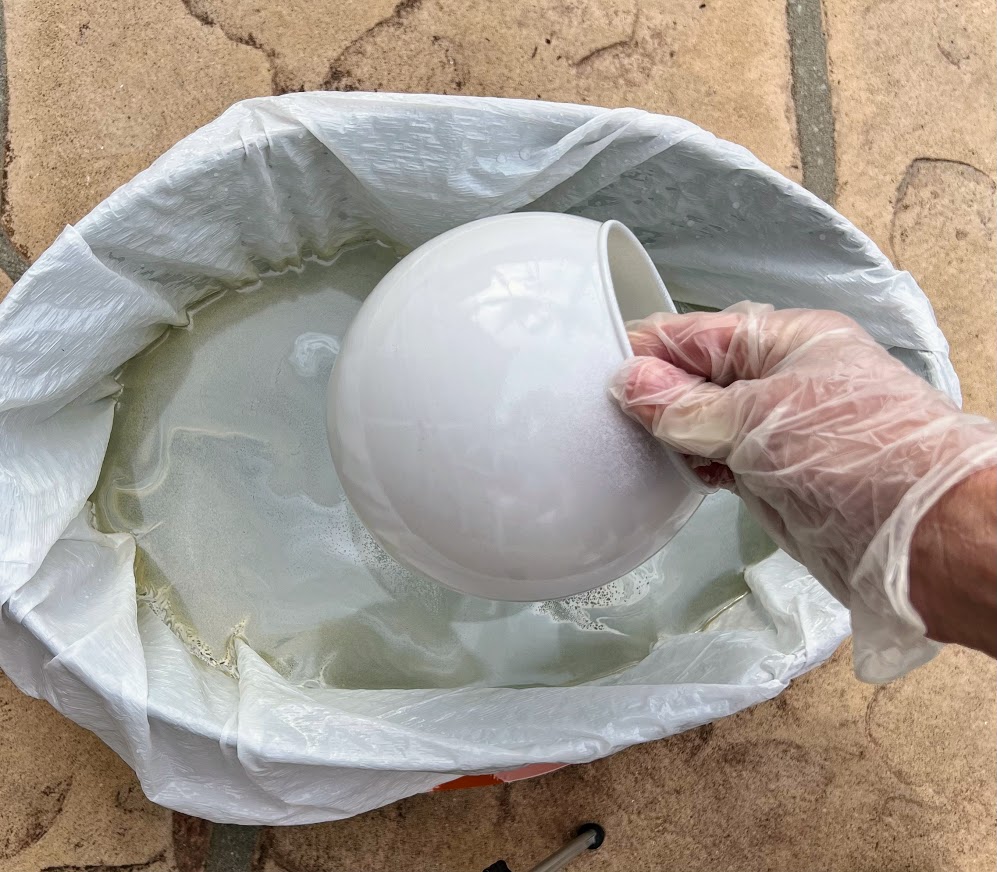
If your hand fits inside the openings this is the easiest way to hold the vase. If not you will need to use some type of Handel. You could also dip the vase by holding the top edge but you will need to touch it up after.
Dip your object slowly into the water which allows the color to adhere to your object as it submerges. Look for the best-colored area to dip it into.
Before you remove your object, check to see if there is any remaining paint on the surface of the water, if so, be sure to use an object to remove the paint away from the water before you pull the design back up from the water.
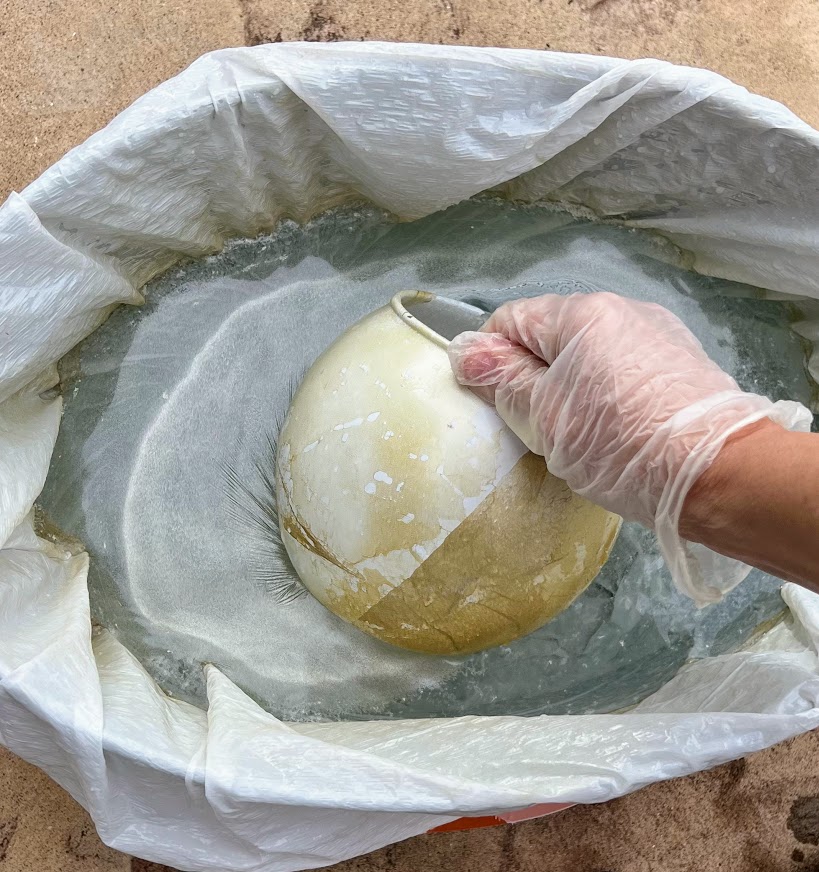
As you remove the vase and bring it to the surface of the water, twist it slightly for more of a movement effect or pull it straight up, it’s completely up to you.
Set aside and place on a paper towel to remove excess water. Let dry completely.
For your final stage and after it’s fully dried, you can use a clear coat spray to protect your work of art. If you use a high gloss it will give it an extra shine.
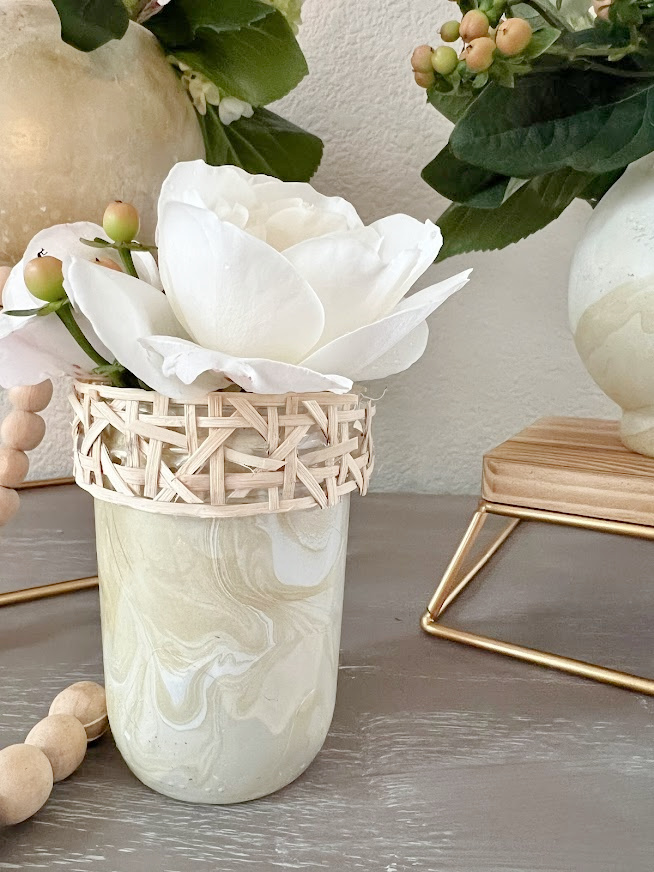
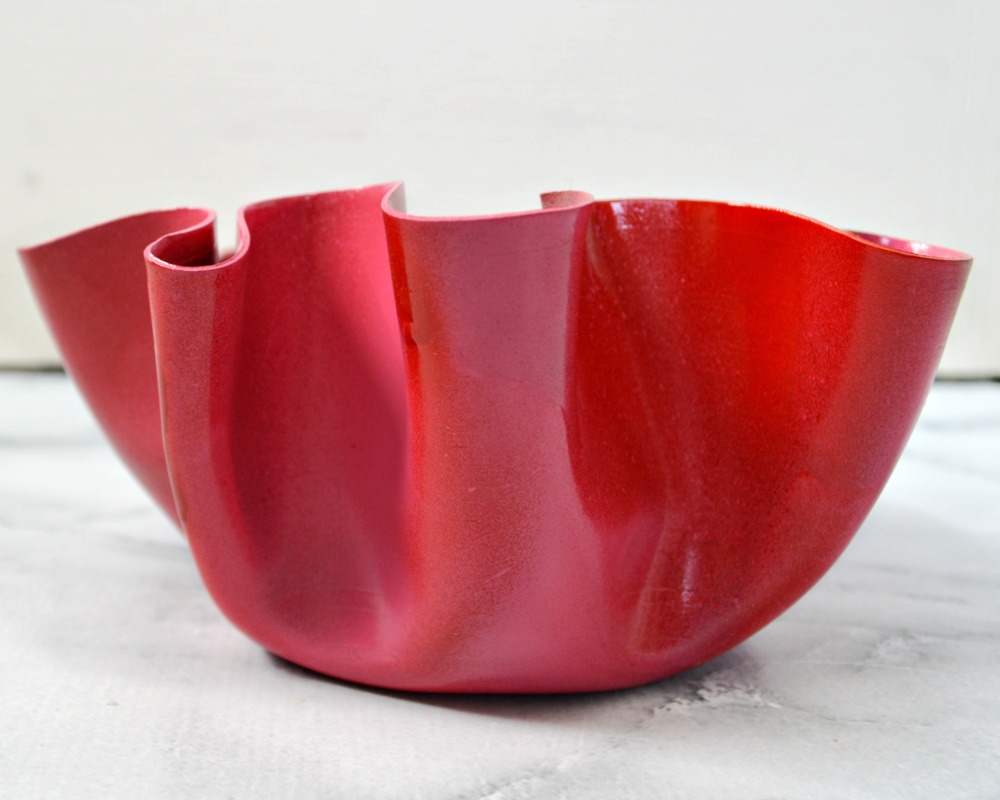
I love how each one turned out so differently.
Notes:
If you missed a spot or made a mistake you can always re-dip your project. I redipped the gold vase twice, however, I like it better with equal parts of gold and white.
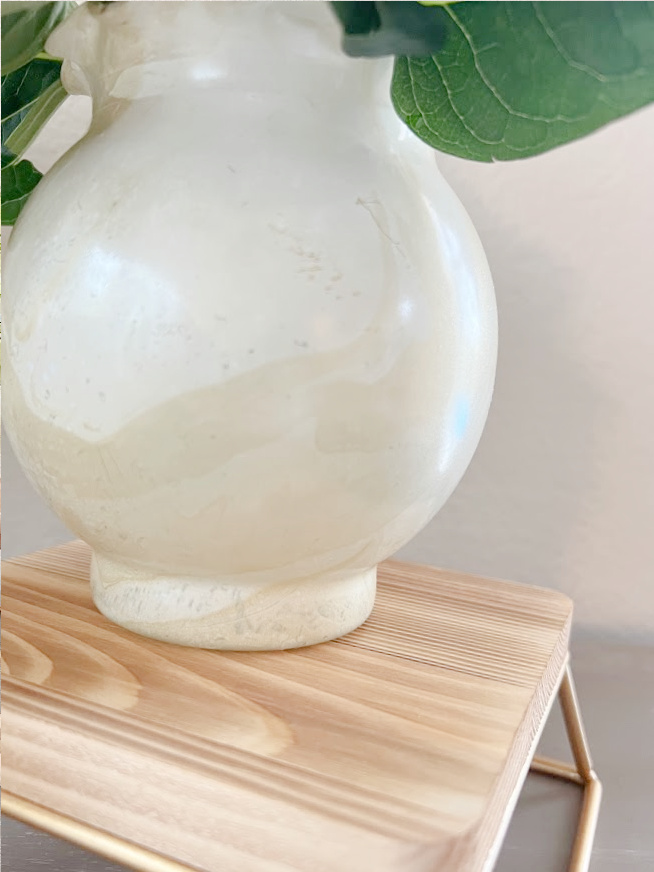
If you forgot to move the paint out of the way prior to removing the vase or maybe you just didn’t get it all out, You might see little bits of what looks like grains on the vase, if that is the case, after it has dried for about 10 minutes I simply took my bare hand and went over it to smooth it out. You want to wait because if you do it right when it comes out of the water you will remove the paint.
There are so many different techniques and I did try the nail polish and acrylic paint method and it was a big fail, I’m sure it was me but I have to say this method was super easy. I would highly recommend practicing first on a few bottles you have laying around before you dip your real piece. Although it is easy you want to make sure you have the hang of it.
I do not recommend using this on items that will not come in contact with food.
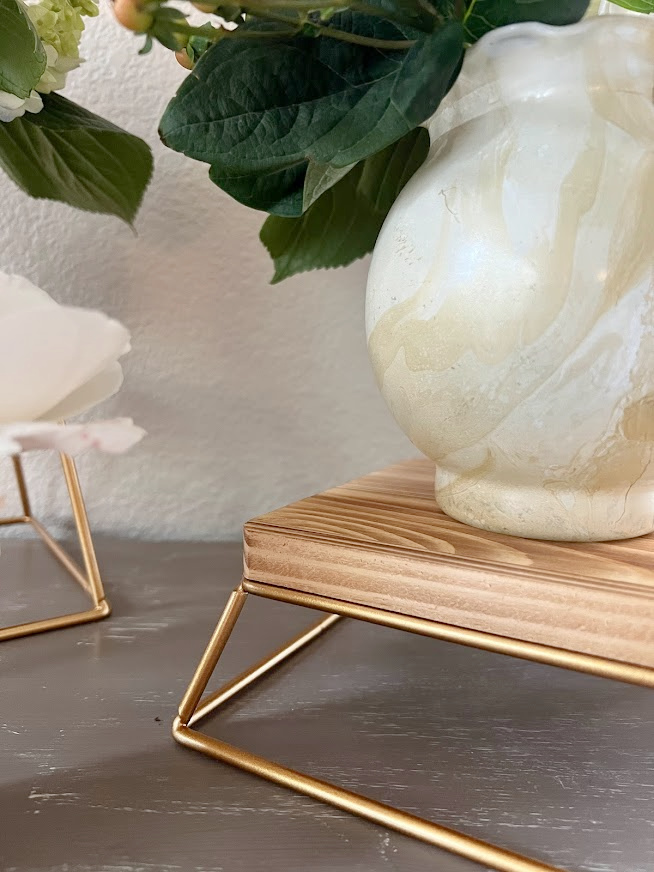
Same vase different side, I love the movement of the design.
The possibilities are endless at to what can be Hydro Dipped
Easter eggs
Christmas Ornaments
Shoes
Canvas Art
Flower pots
Wine bottles
Coffee Mugs
Planters
Jewelry Holder
Glass Jars
You can watch a tutorial on this process right here
Let’s see what all of the other ladies did for their thrift store challenge, I know it’s going to be amazing. PS I don’t get to see their afters until the day the post goes live, so I’m always so excited to click over! The links below are in the order of the picture collage.

How To Hydro Dip Using Spray Paint My Uncommon Slice of Suburbia (that’s me)
Vintage Jewelry Projects Shop At Blu
Updating and Decorating with Thrift Store Art Our Southern Home
Get Organized With an Updated Magazine Rack My Repurposed Life
Updated Rattan Wicker Lamp Domestically Speaking
Washboard Cabinet Makeover Organized Clutter
Hanging Necklace Holder Petticoat Junktion
Wooden Sleigh for Winter Decor Sadie Seasongoods
Upcycling Junk – 3 Easy DIY Ideas Reinvented Deleware
Thank you so much for stopping in today, have a great rest of your week!


This is so super cool, Kristin! I love how they turned out- makes me want to give it a try.
Thanks Sarah!
So cool Kristin! I want to try asap… so many options you could do with this technique.
I know, my mind is swirling with ideas 🙂
Oh, my goodness!!! I have never heard of this, but it will definitely be on my list. I am blown away by the outcome. It looks so expensive.
Thank you so much Christy, just make sure you practice on a piece (wine bottle etc) to get your technique down. 🙂
I have never seen this technique! I love it. You chose the best paint colors.
Thank you Carlene, can’t wait to dip some more pieces 🙂
This is AMAZING Kristin! Looks like Mother of Pearl to me which is my absolute favorite!
Ahhh Thank you Julie!
Kristin,
Wow, I love how your vases turned out. Great tips and tutorial for hydro dip painting!
pinned!
gail
Thanks so much Gail, it was fun to make
Kristin, I’ve tried this technique before on pumpkins! The colors were vibrant and they turned out great. But I absolutely love your color combination! I will try some vases with these colors. Just lovely! Pinned!
Thank you so much Sue, I can’t wait to try it out on other items.
Omgoodness this is beautiful! I’ve not heard the term hydro dipping but I did do this to some small acorns once. They were kinda tiny so it was hard to manage. I love how your glass vases turned out Kristin! Pinned 🙂
Thank you so much Cindy 🙂
I’m amazed with this hydro project and can’t wait to try it! Excellent tutorial Kristin!
Thank you so much, Michelle!!! I appreciate it
Thanks for the tutorial, Kristin!
Make sure to join us over at the Creative Crafts Linky Party every Wednesday through Sunday
https://creativelybeth.com/creative-crafts-linky-party/
Followed and Pinned!
Creatively, Beth
This vase is so pretty that I just had to share it! I’m excited to tell you this post will be featured in this week’s Tuesday Turn About Link Party! Thanks for sharing your creativity and we hope to see you at the party this week! Pinned!
Thank you so much, Cindy, that is so sweet of you, I really appreciate it! xo