
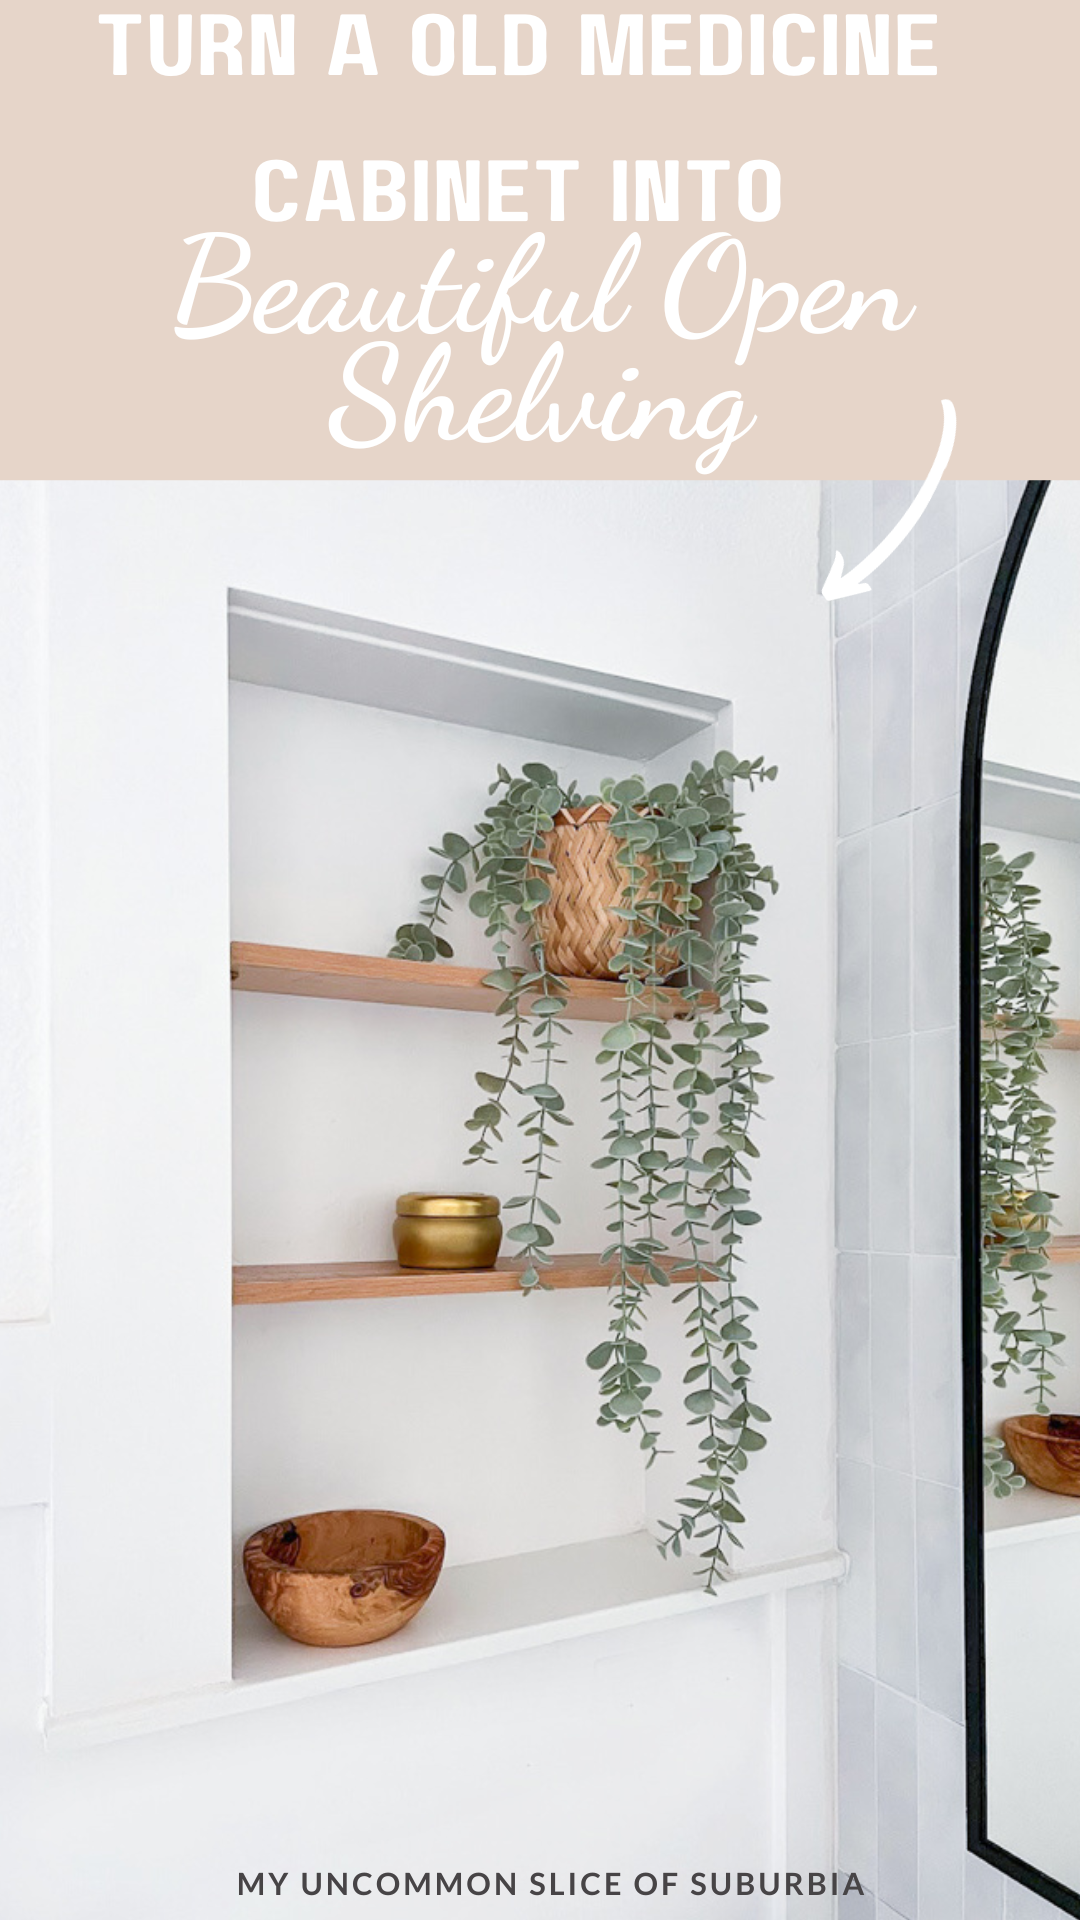
How To Turn An Old Medicine Cabinet Into Open Shelving
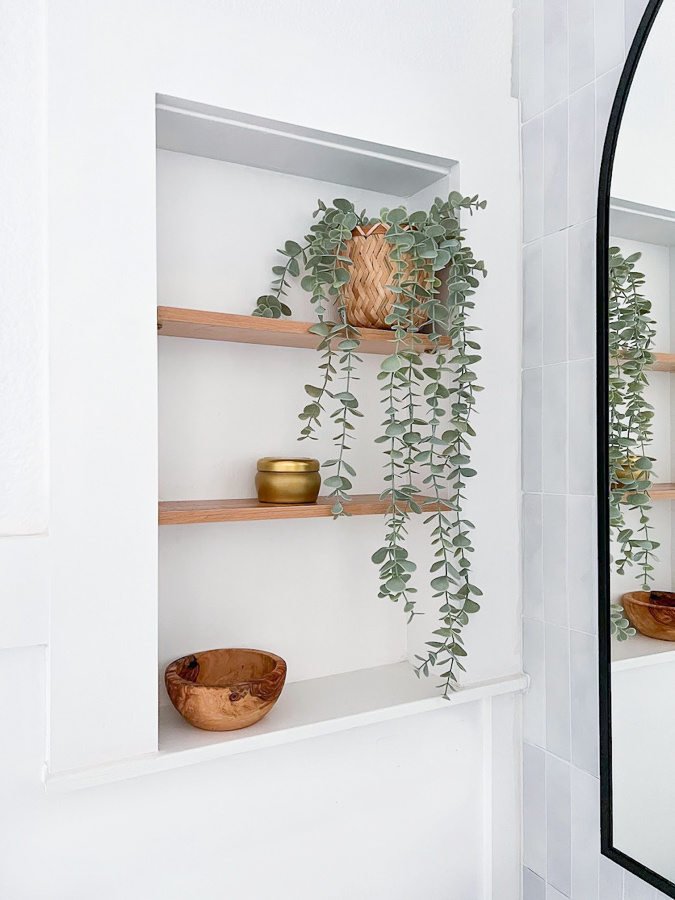
If you’re looking for a creative way to revamp your bathroom and add extra storage, consider turning your recessed medicine cabinet into open shelving for a brand new look. This DIY project was an easy way to create beautiful bathroom storage and made a big impact on this bathroom redo!
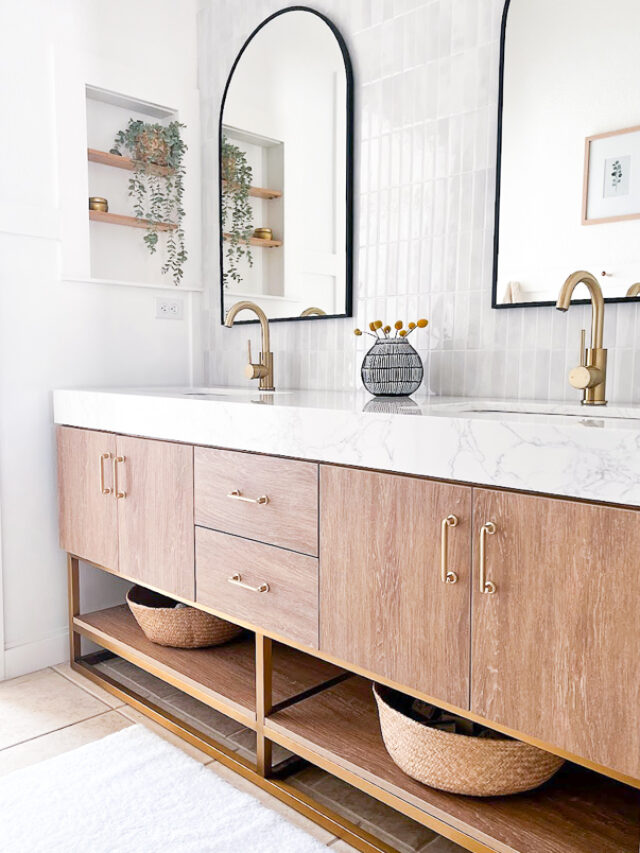
Link to Vanity
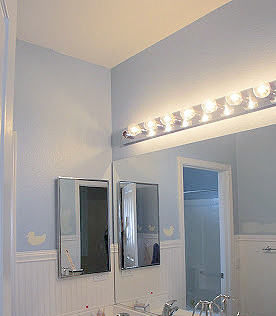
I’ll admit, they serve their purpose, and in our case, a bunch of crap shoved in and forgotten about and let’s not mention hello 1990’s lol. I had to go back about 11 years ago to dig up this picture. Ray had removed the cabinet and trashed it before I had a chance to snap a picture, whoops.
Affiliate links are listed below
Materials You’ll Need:
- Wood-Filler (this is my favorite, very easy to work with)
- Nail gun and nails
- Caulk gun and Caulk
- Tape measure
- Pencil or marker
- Hammer if not using a nail gun
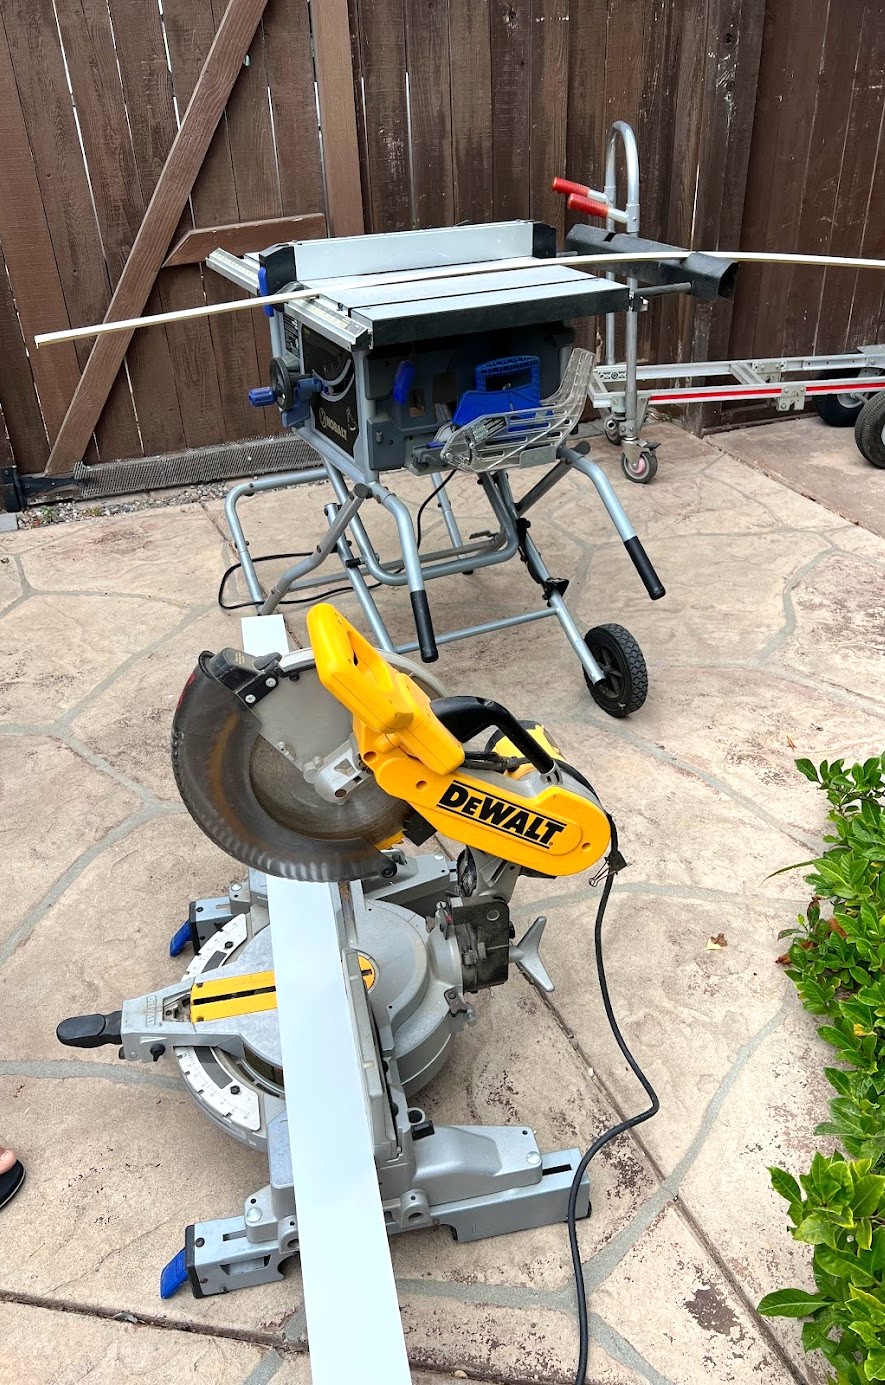
- Miter saw
- Safety Glasses
- Paint and Paintbrush
- Sandpaper
- Wood Glue (optional)
- Molding of your choice
- MDF Casing
- Drywall (Optional)
- Level
- Shelf brackets
- Wall anchors and screws
- Wood shelves
First Step Remove the Old Medicine Cabinet
Empty cabinet and remove the back of the cabinet from the wall. Use a screwdriver to take out any screws or fasteners holding the mirrored medicine cabinet in place, it should then just come right out.
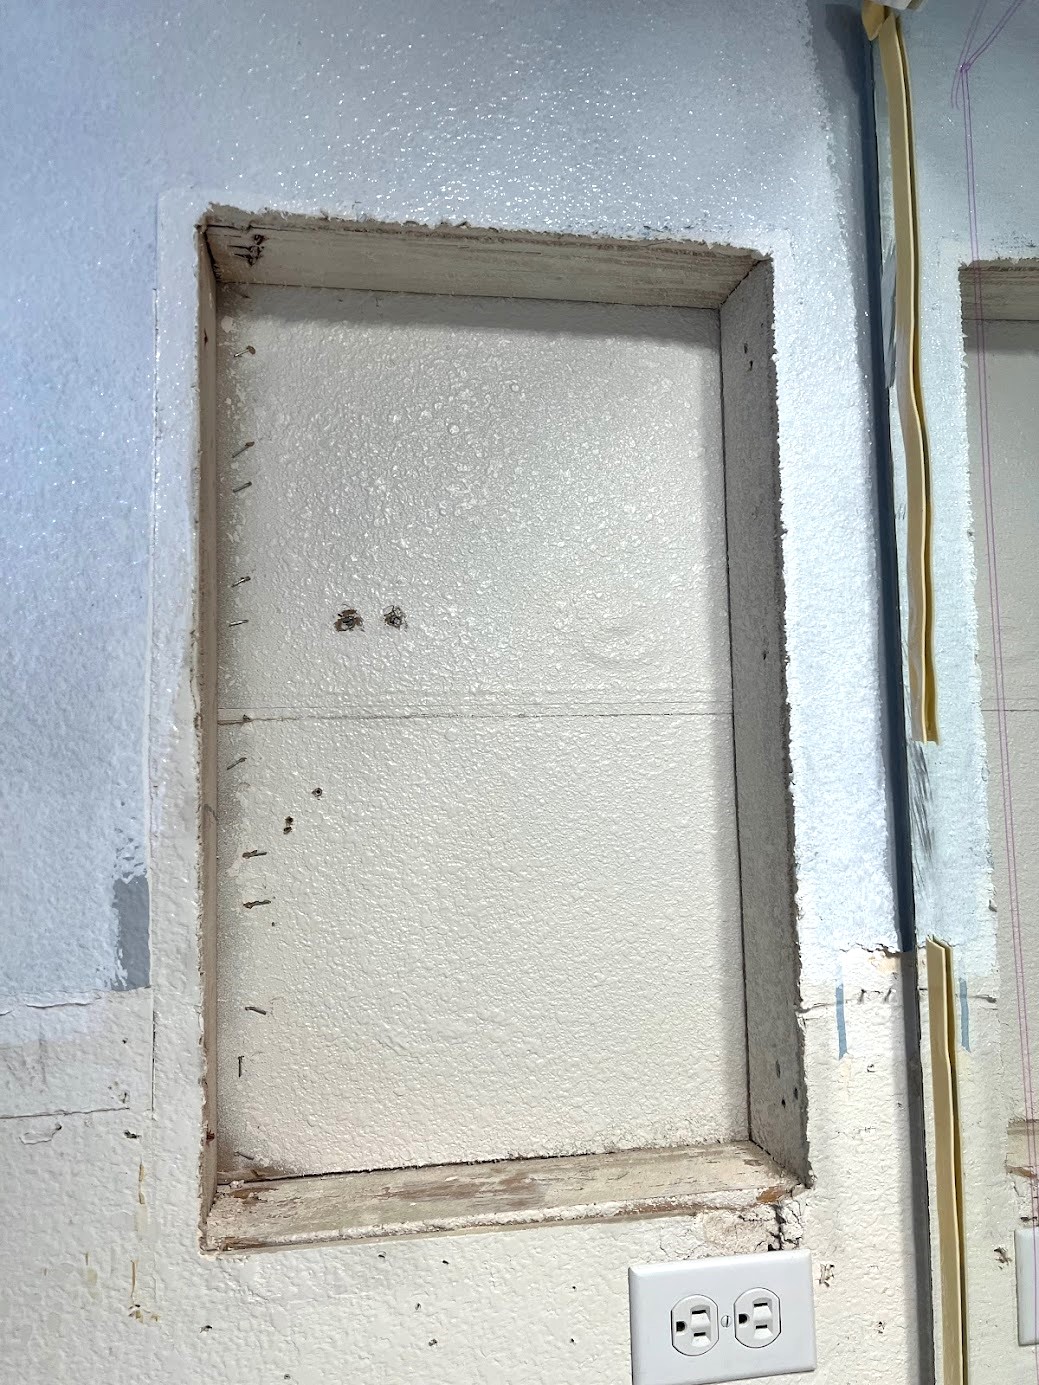
Step 2: Prep the Wall
Basically, you are just building an open frame with 2 shelves. We were going to tile the back part but decided it could get too busy looking so we just placed a new piece of drywall in the back. We did not texture it, just painted it. You could also use plywood.

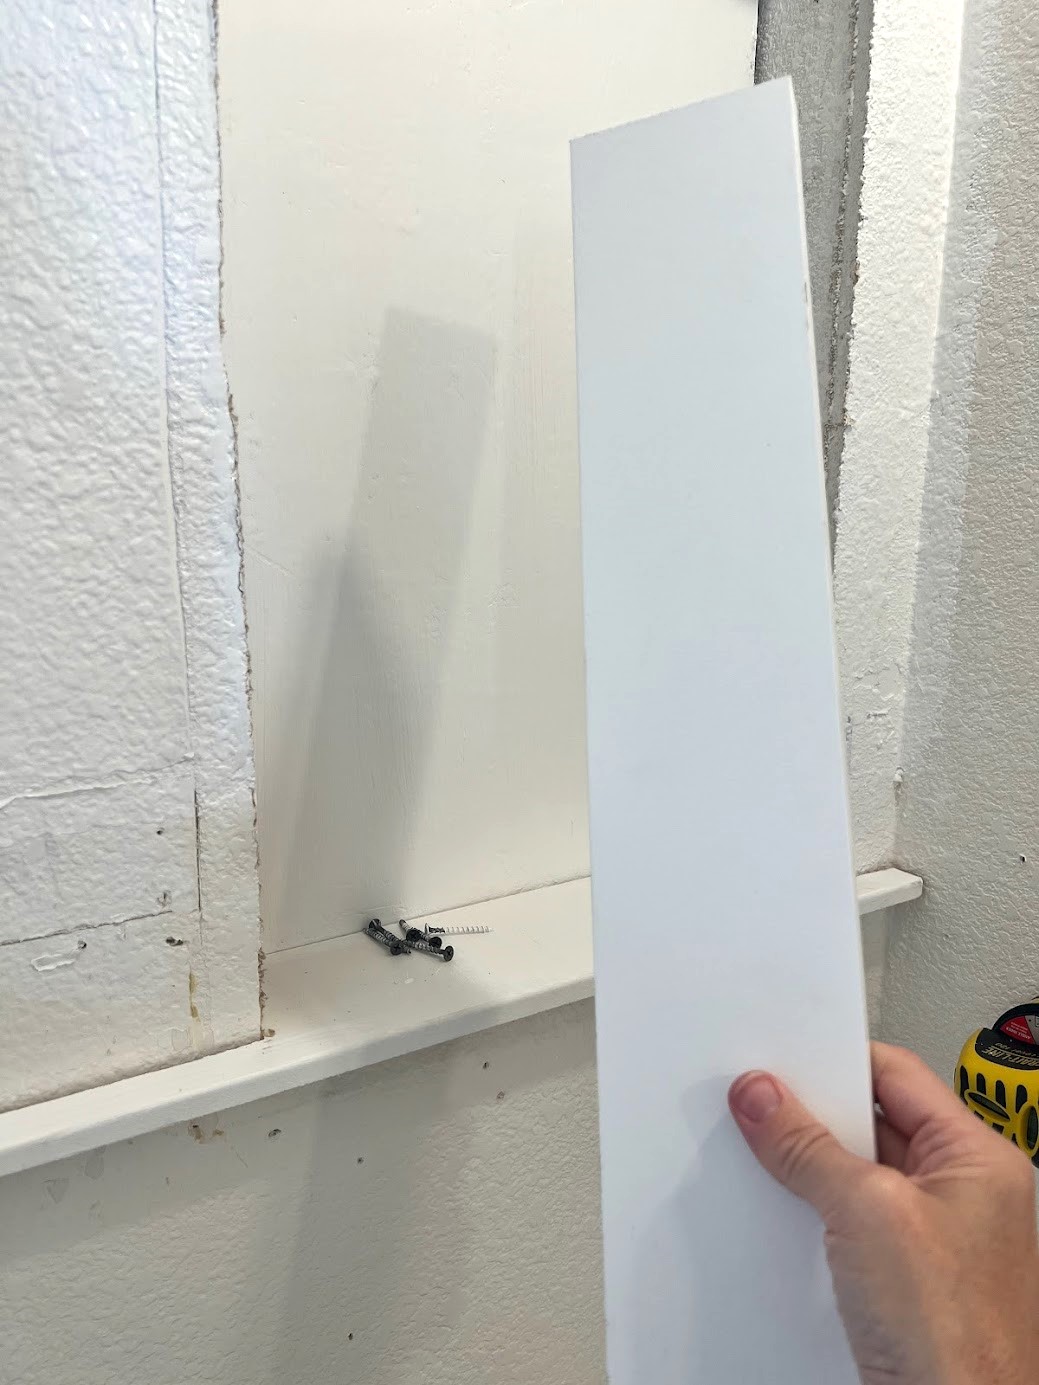
Step 3: Create A Box
Create a box that is flush with the inside of where the old medicine cabinet used to be. You are basically making a photo frame. (MDF casing at any local hardware store works well for building your box)
Measure the length width and depth of the inside of the box. Cut all four sides of your box using a table saw, these are just straight cuts.
You can assemble the box before inserting it like we did with our window trim. If so, leave a little less than ¼ inch of space when measuring so your inside box has room to slide in.
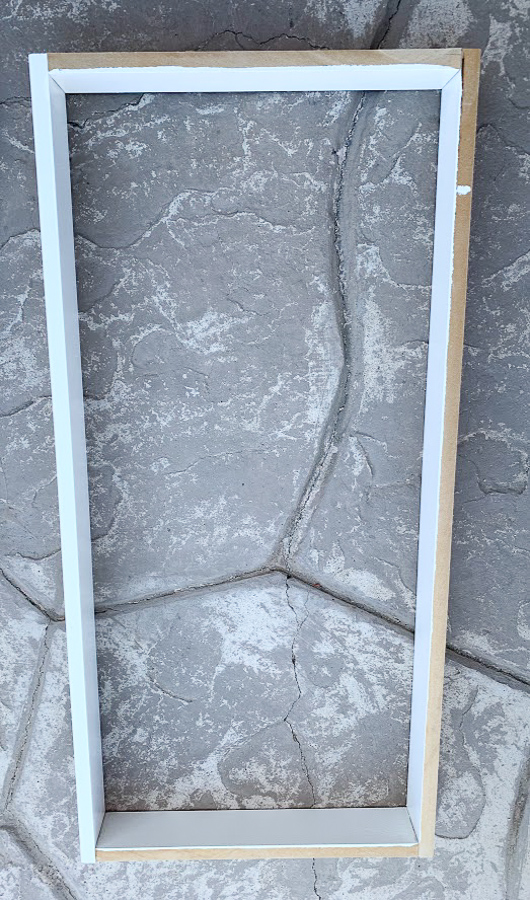
Or you can assemble the box inside the cabinet, using a nail gun at each corner. Make sure to watch your hands when using a nail gun. You can use wood glue or construction adhesive to add strength to your corners.
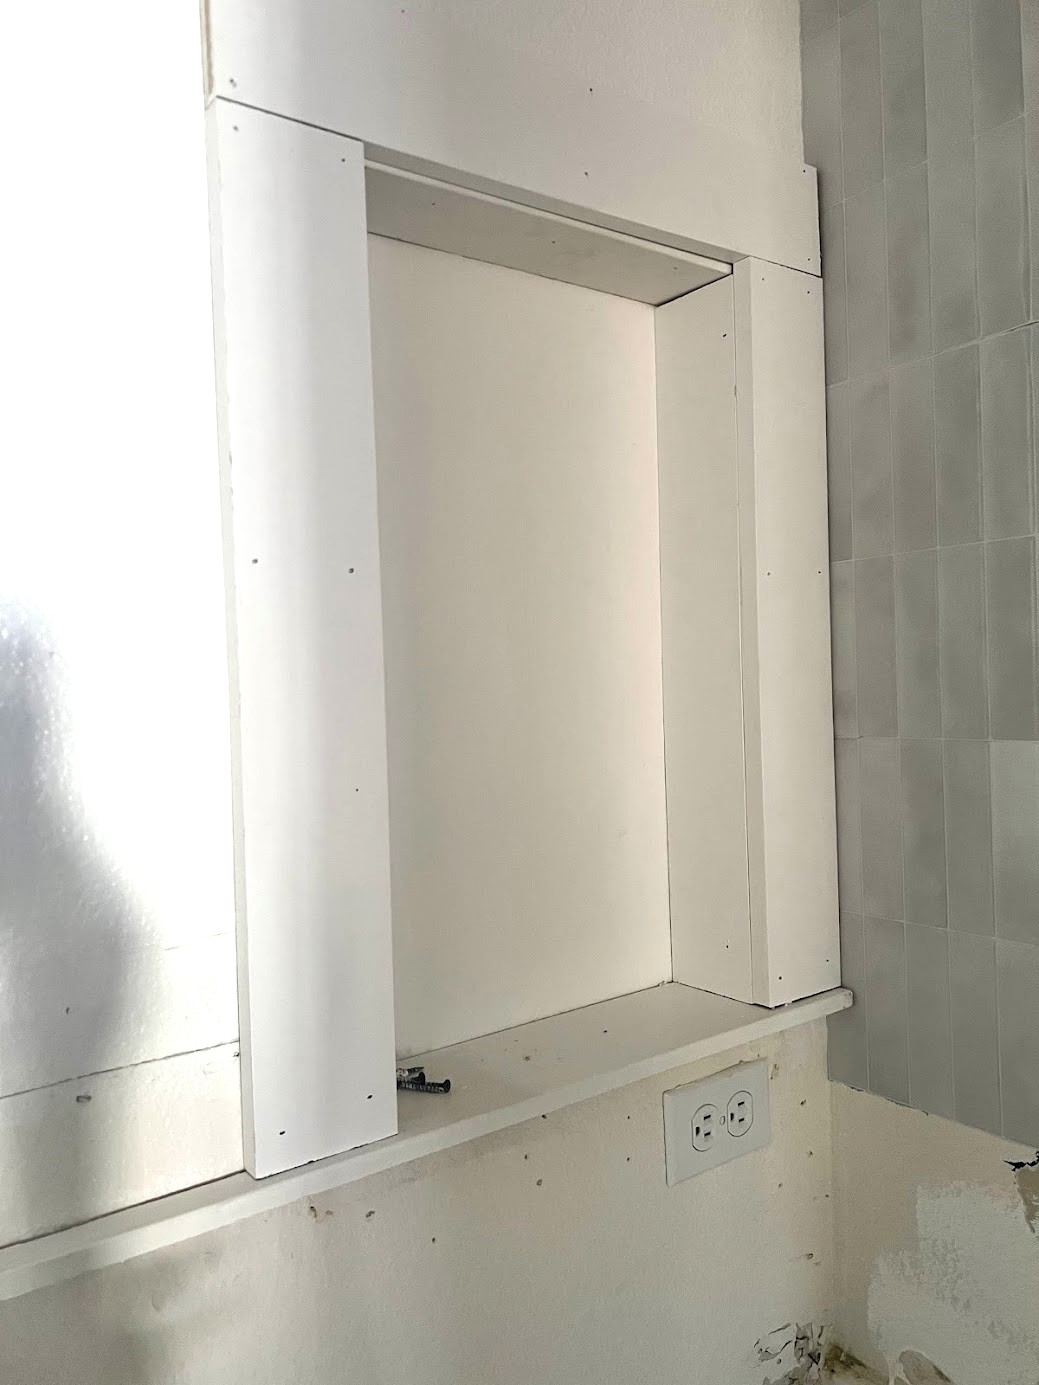
Step 4: Frame out the Box
Add molding of your choice to serve as a frame for the open shelving. The molding covers up the edges of the rough drywall. Make sure everything is securely nailed into place.
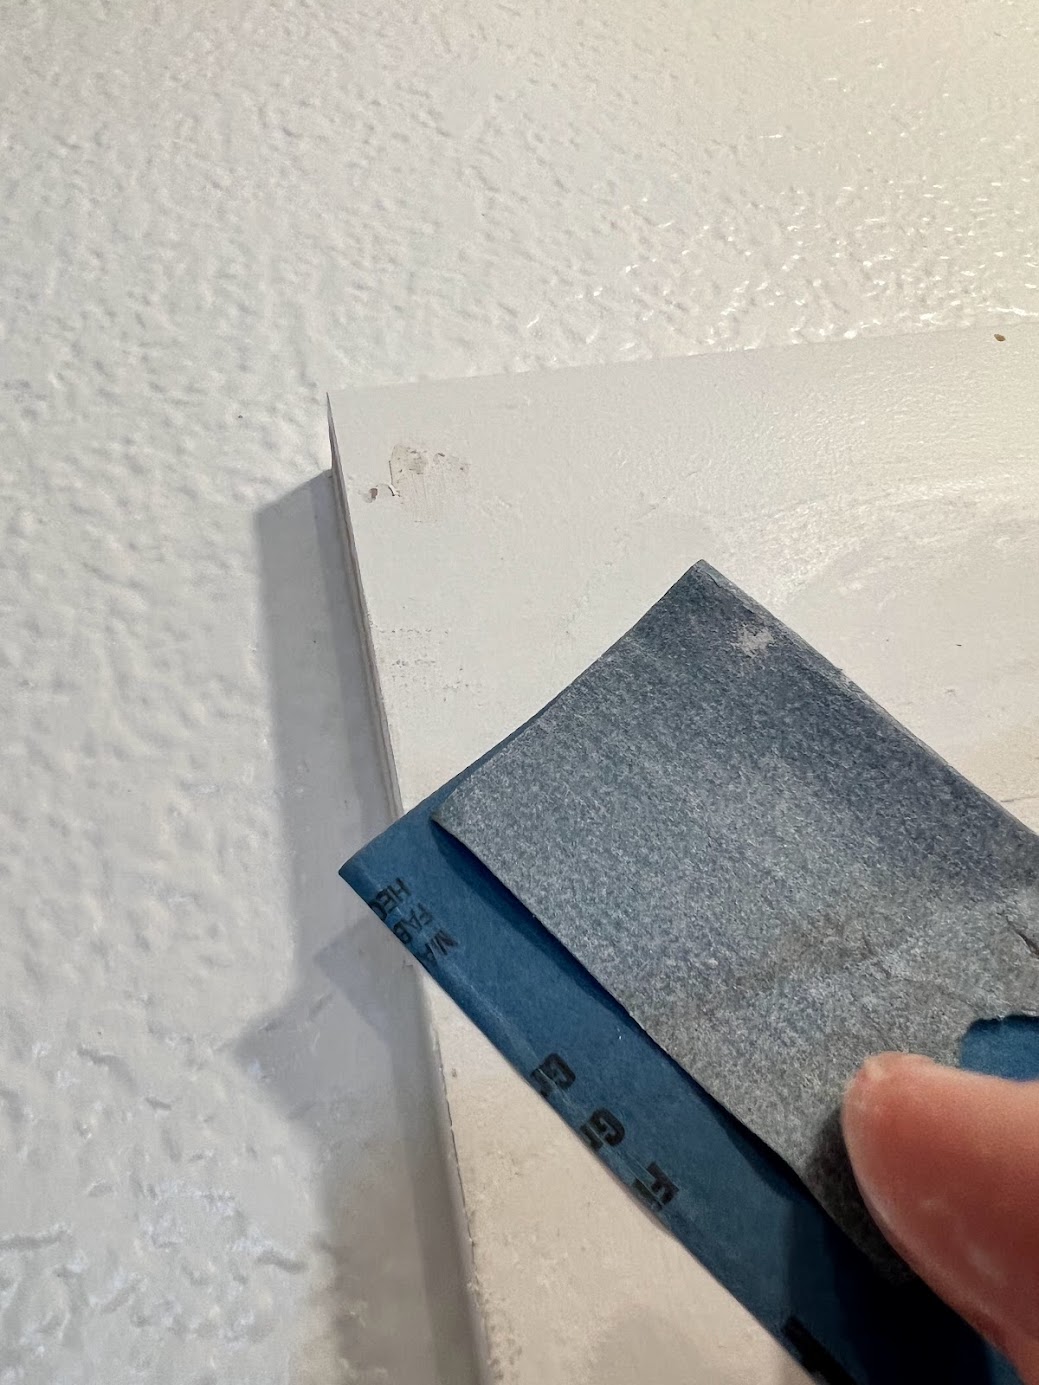
Step 5: Fill, Smooth, Caulk and Paint
Fill the nail holes with wood filler or putty. Push putty into the holes. Use a putty knife to smooth the filler material and scrape off any excess. You’ll then need to wait for it to dry. You want a smooth finish, if it’s not smooth, sand down the excess filler with 120-grit sandpaper or a sanding sponge.
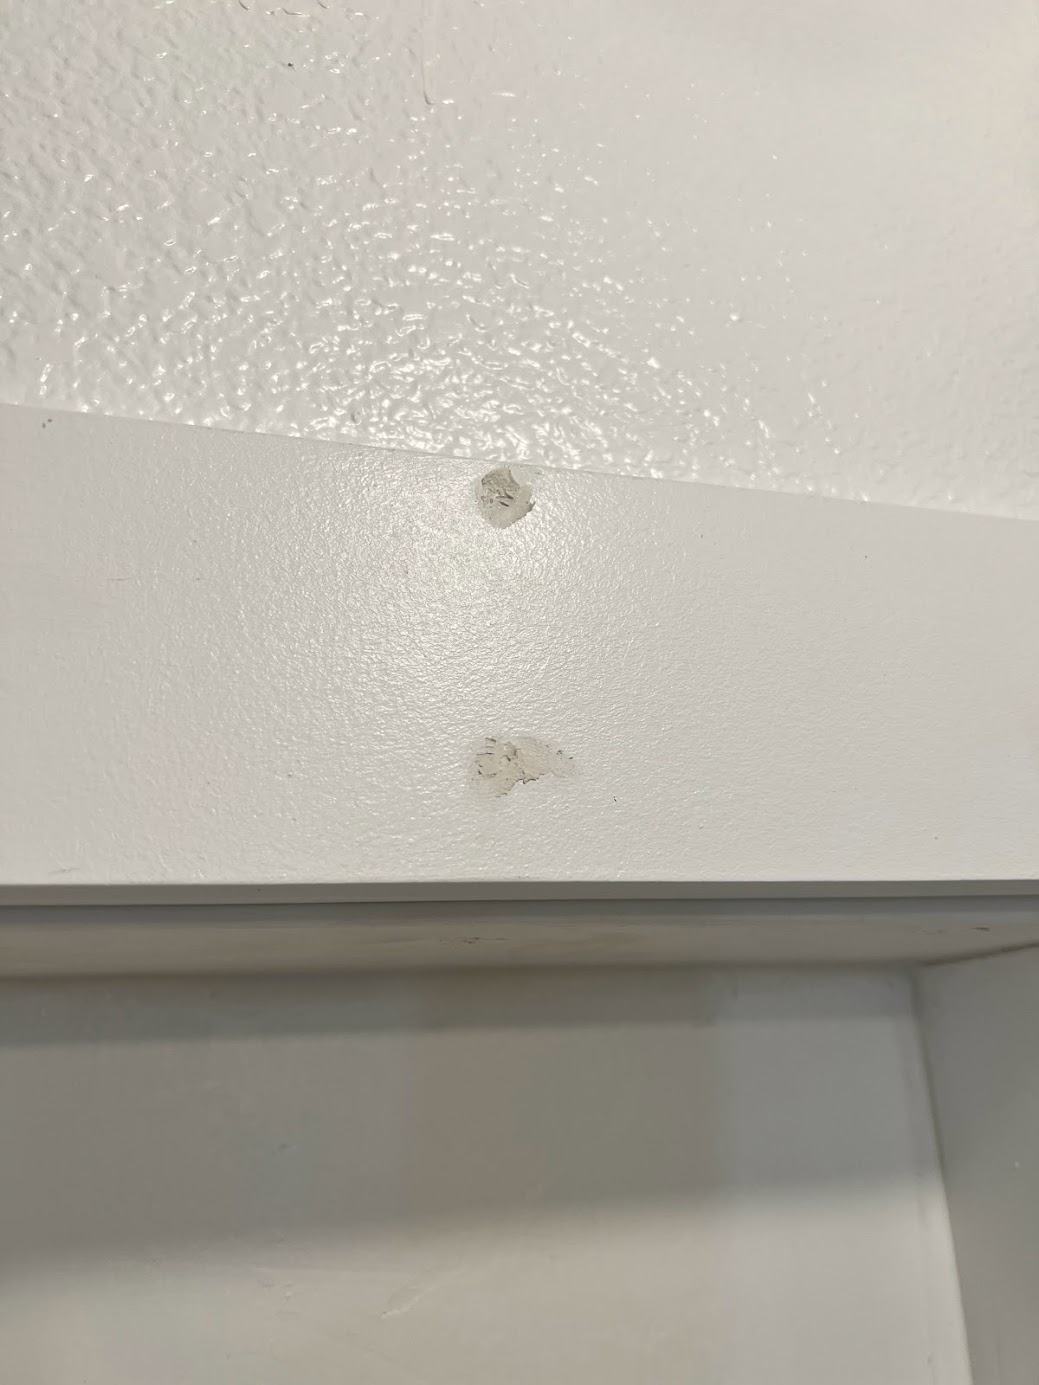
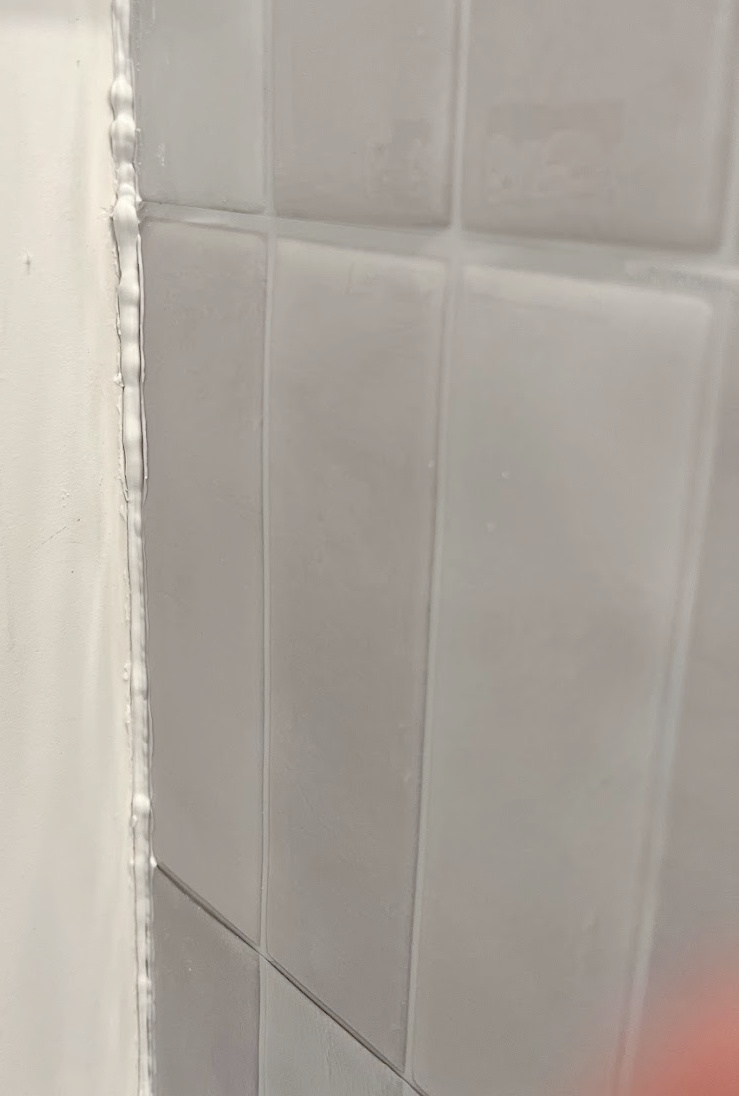
Apply paintable caulk around the trim to fill any gaps. Spread the caulk all the way around the trim, smoothing the caulk with a moistened sponge or finger and taking away any excess caulk.
Step 6: Paint the New Box and Frame
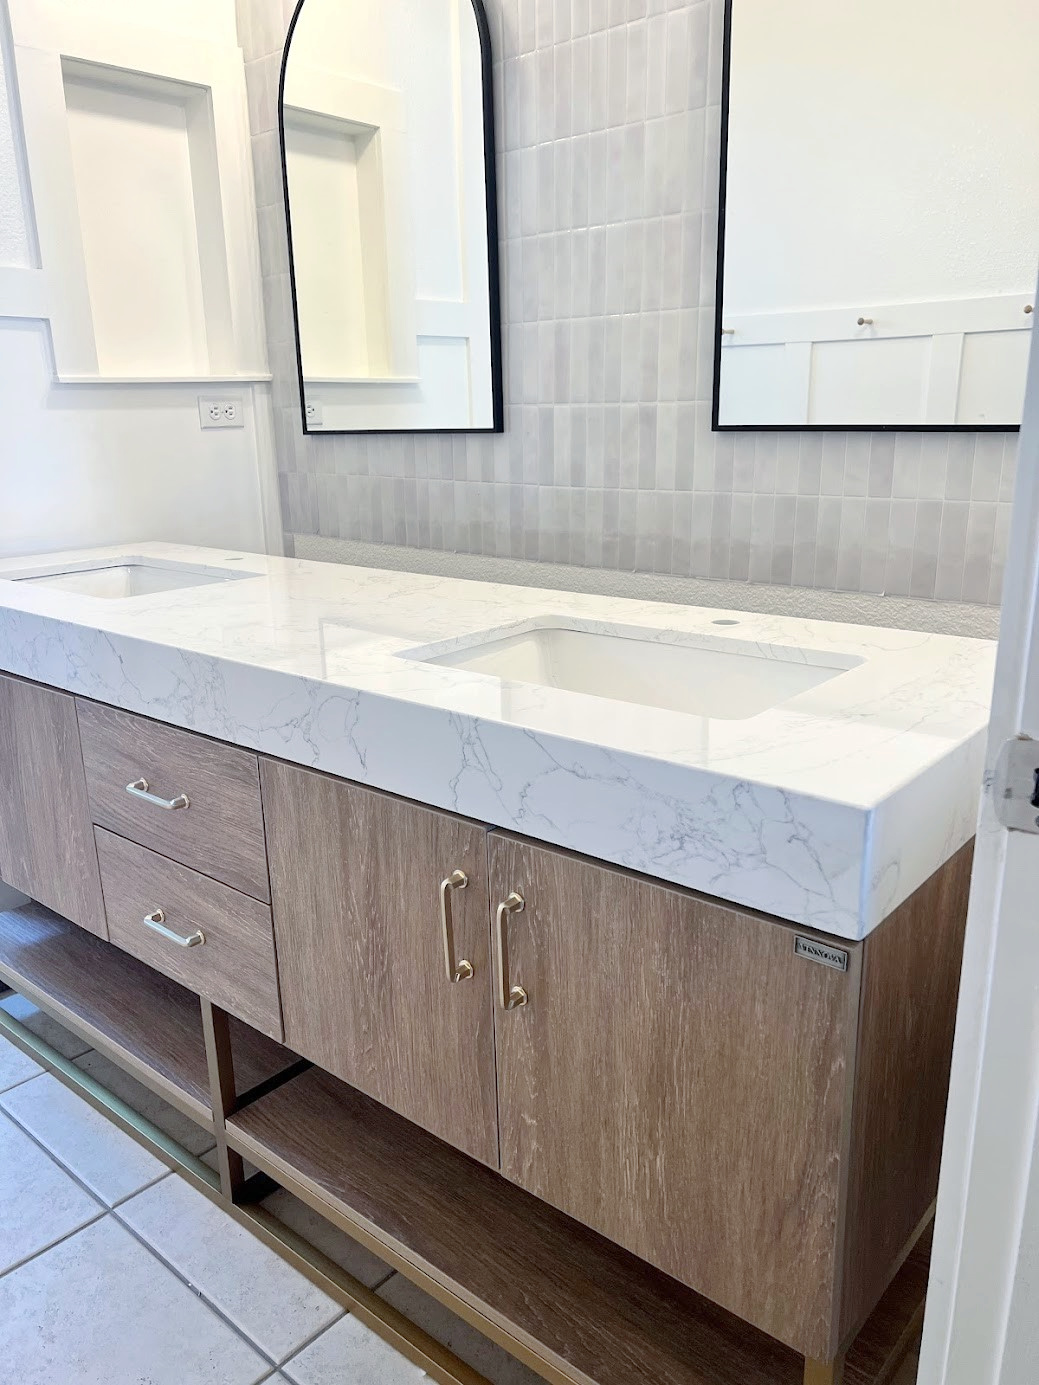
At this point, everything should look pretty smooth, and it’s time to paint. I painted the whole bathroom with a satin finish. We finally found some 3 men who would bring up our new vanity: 3 guys, 30 minutes, $160, yikes! If you do order this vanity, I would pay the extra fee to have them bring it into your home, but since I found it on the marketplace for a steal, that was not an option for us.
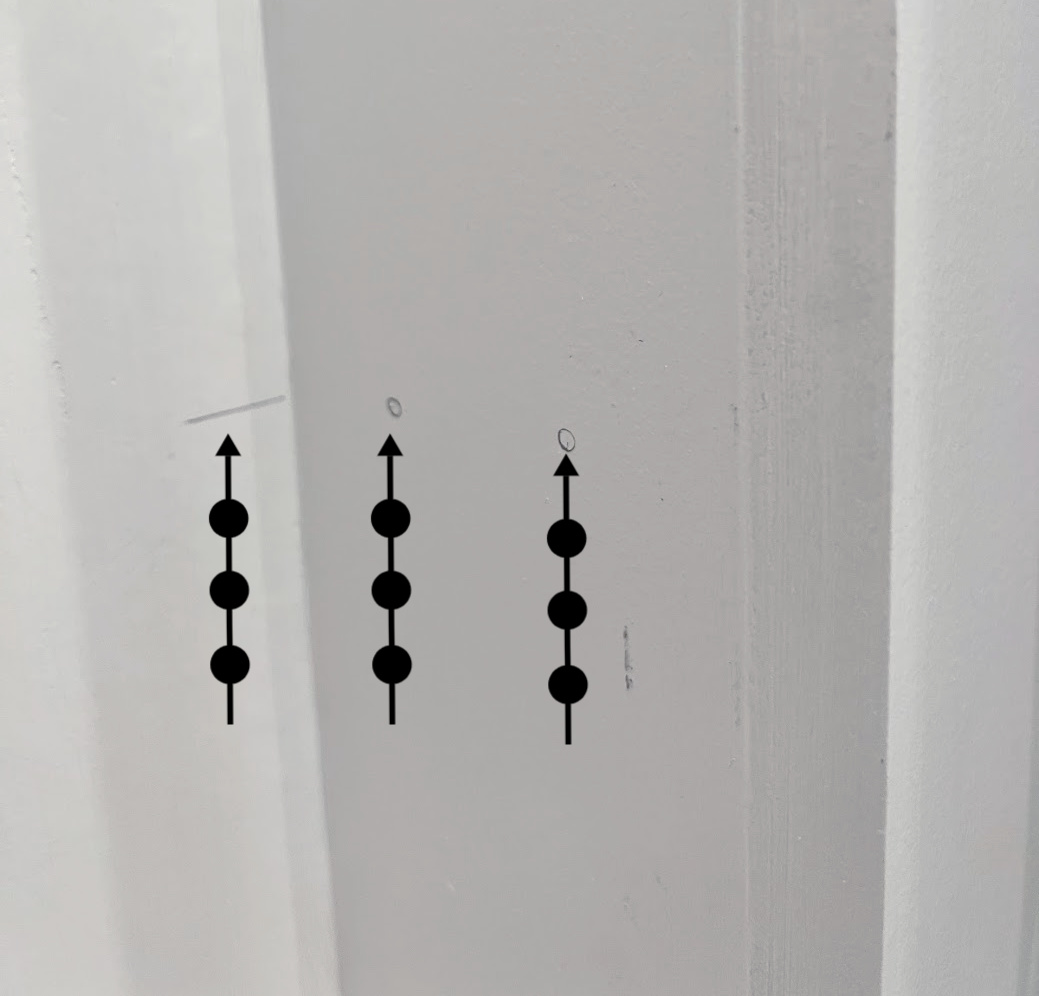
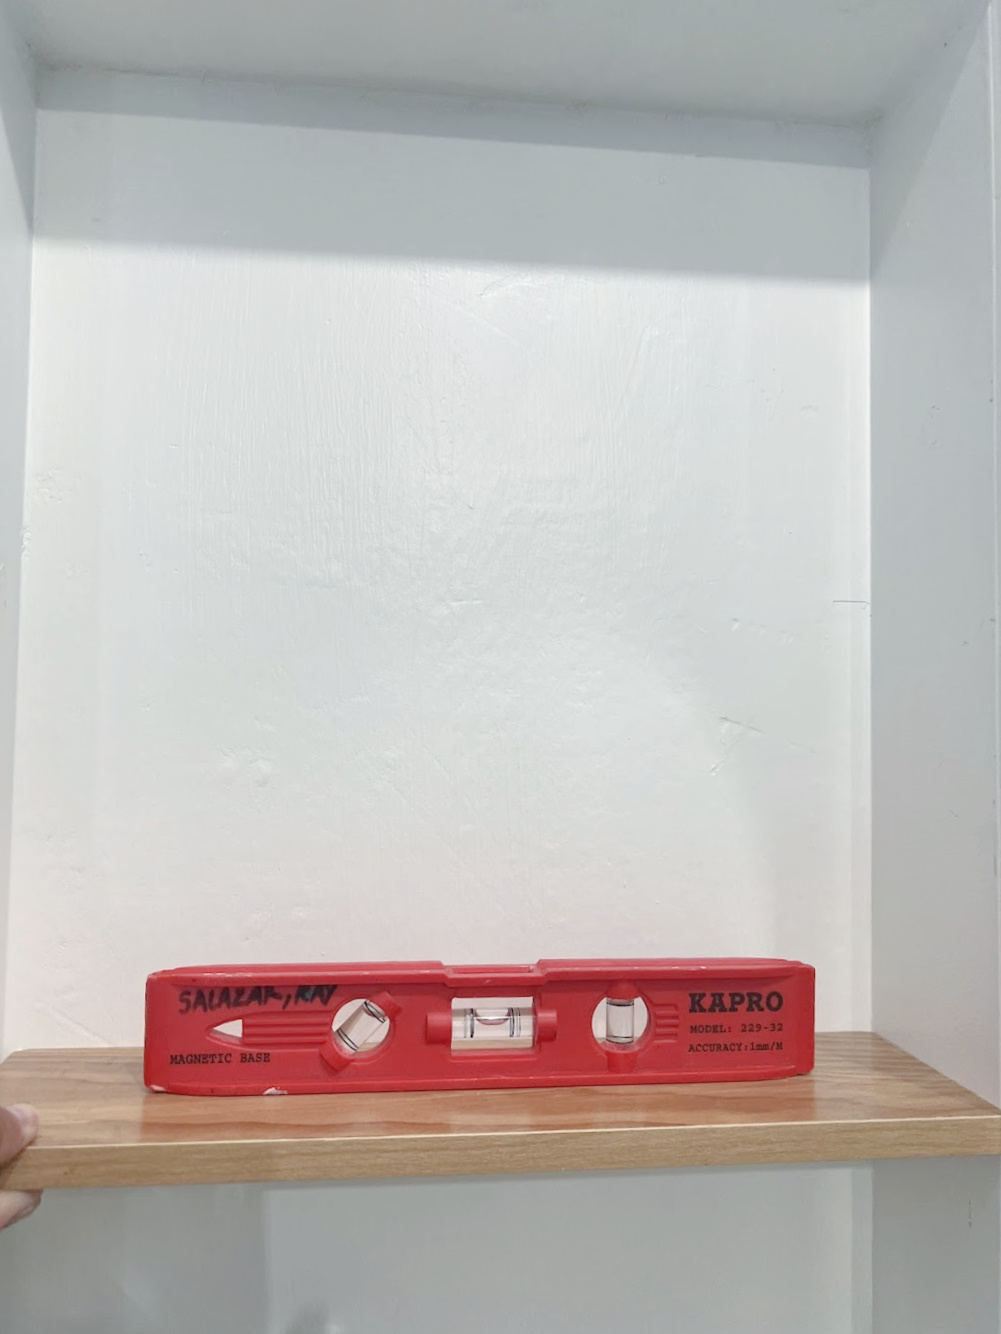
Step 7: Determine the desired height and spacing for your shelves.
Mark where the brackets will be installed using a measuring tape and a level. Ensure the spacing is even and that the shelves are level.
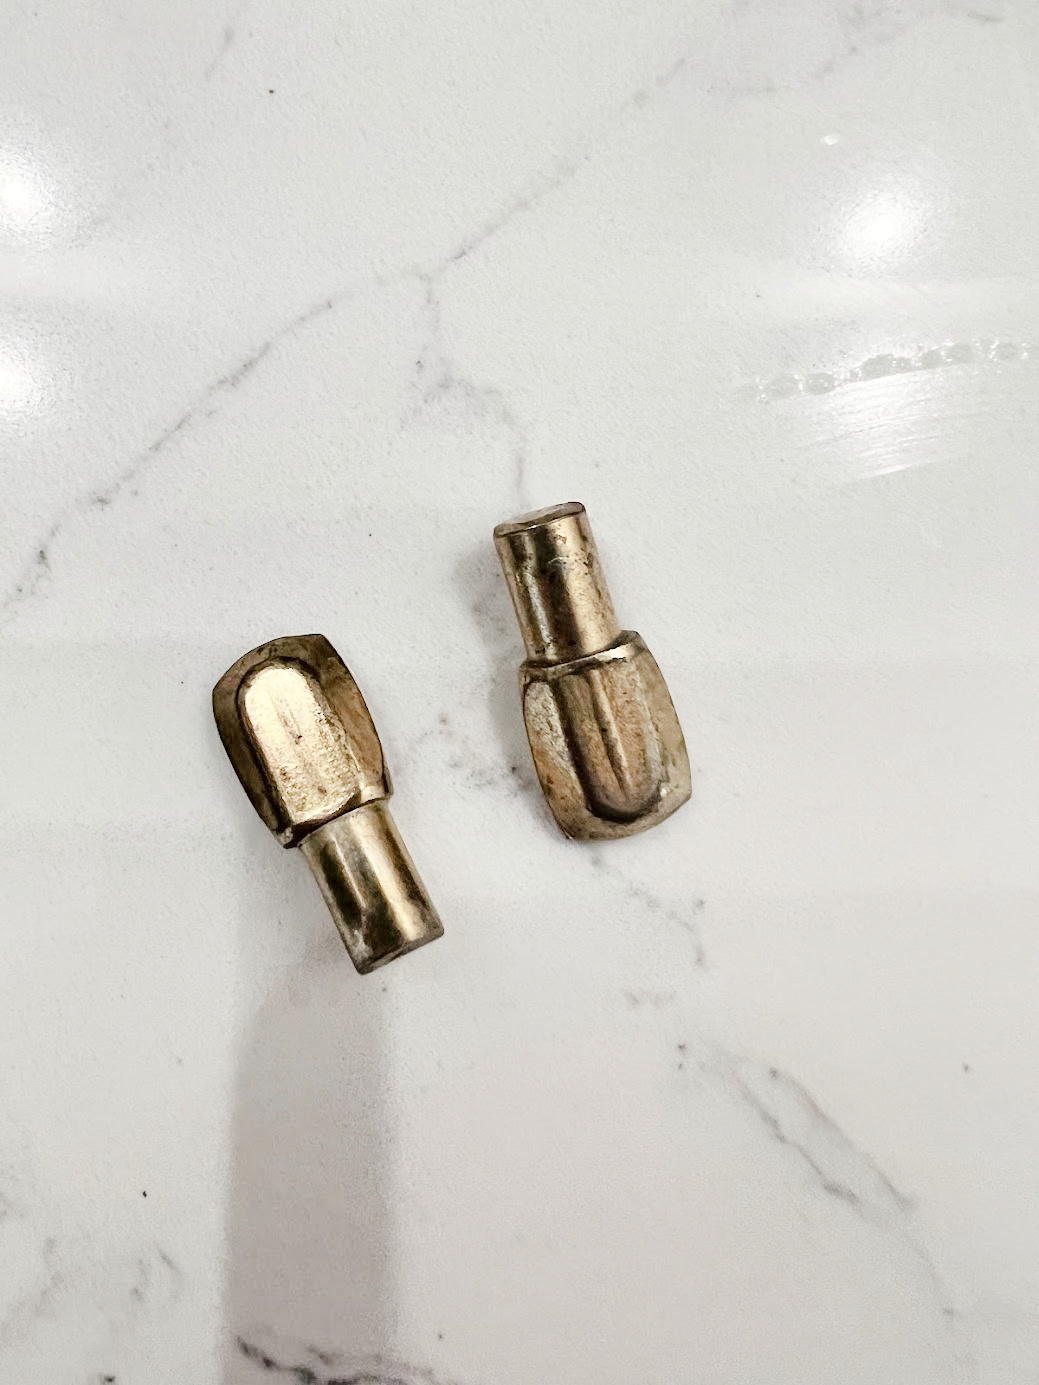
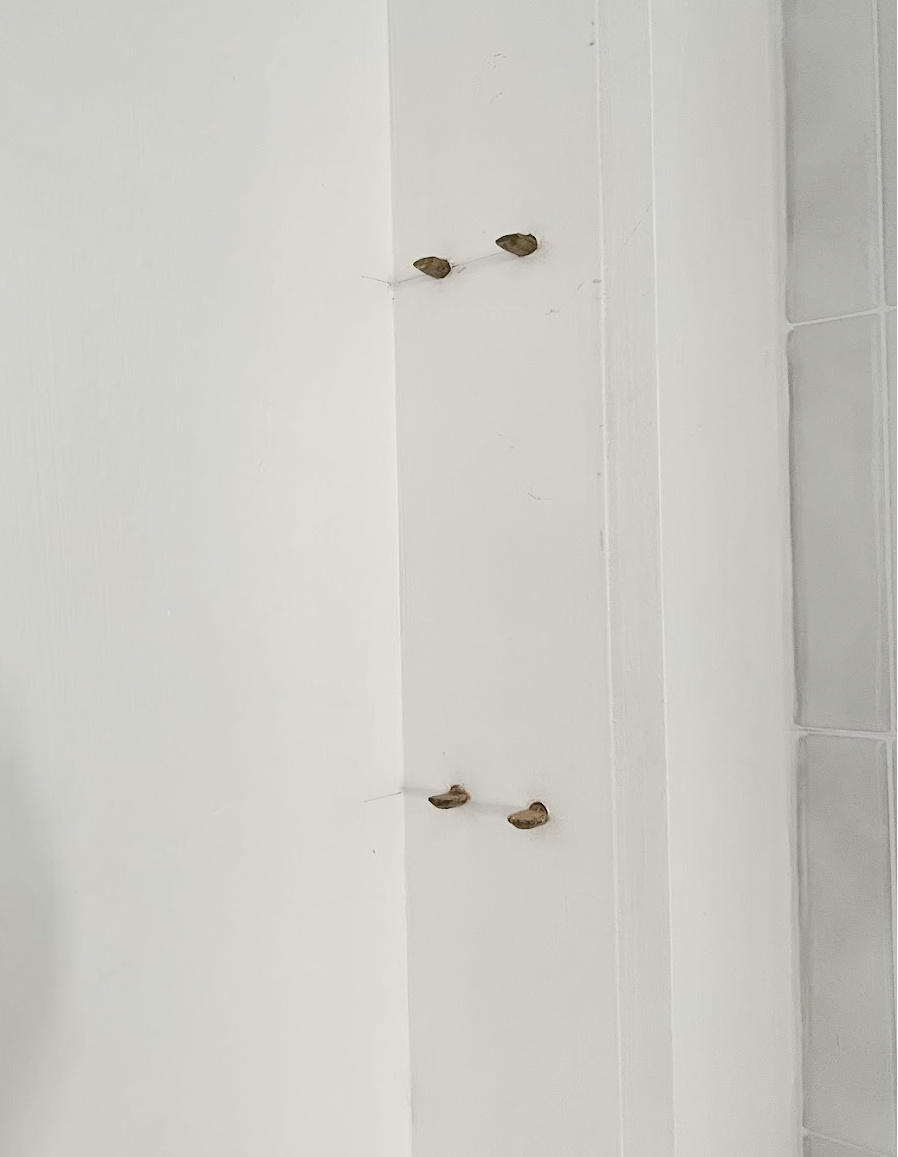
Step 8: Install Shelf Brackets
Attach the shelf brackets to the wall using wall anchors and screws. Make sure they are securely fastened and leveled. If you plan to put heavy items on your shelves, use heavy-duty brackets and anchors for added support. I polished these up, and they work great since nothing heavy is going on the shelves and the shelves themselves are lightweight.
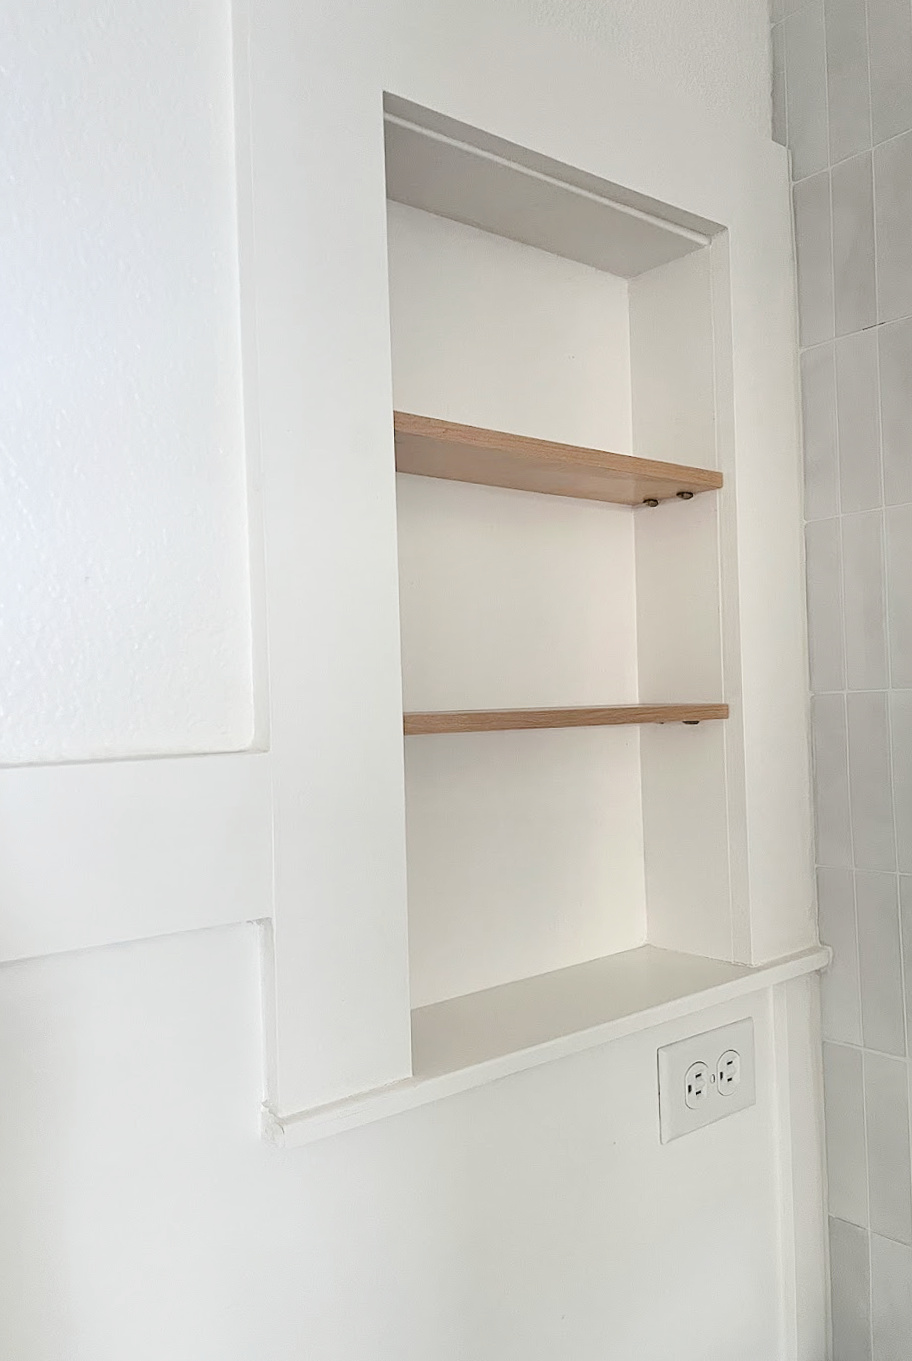
Step 9: Add the Shelves
Place your pre-cut wood shelves onto the brackets. Ensure they are level and secure. You can choose to add as many shelves as you need, depending on the height of your cabinet and the items you want to display.
Step 10: Decorate and Organize
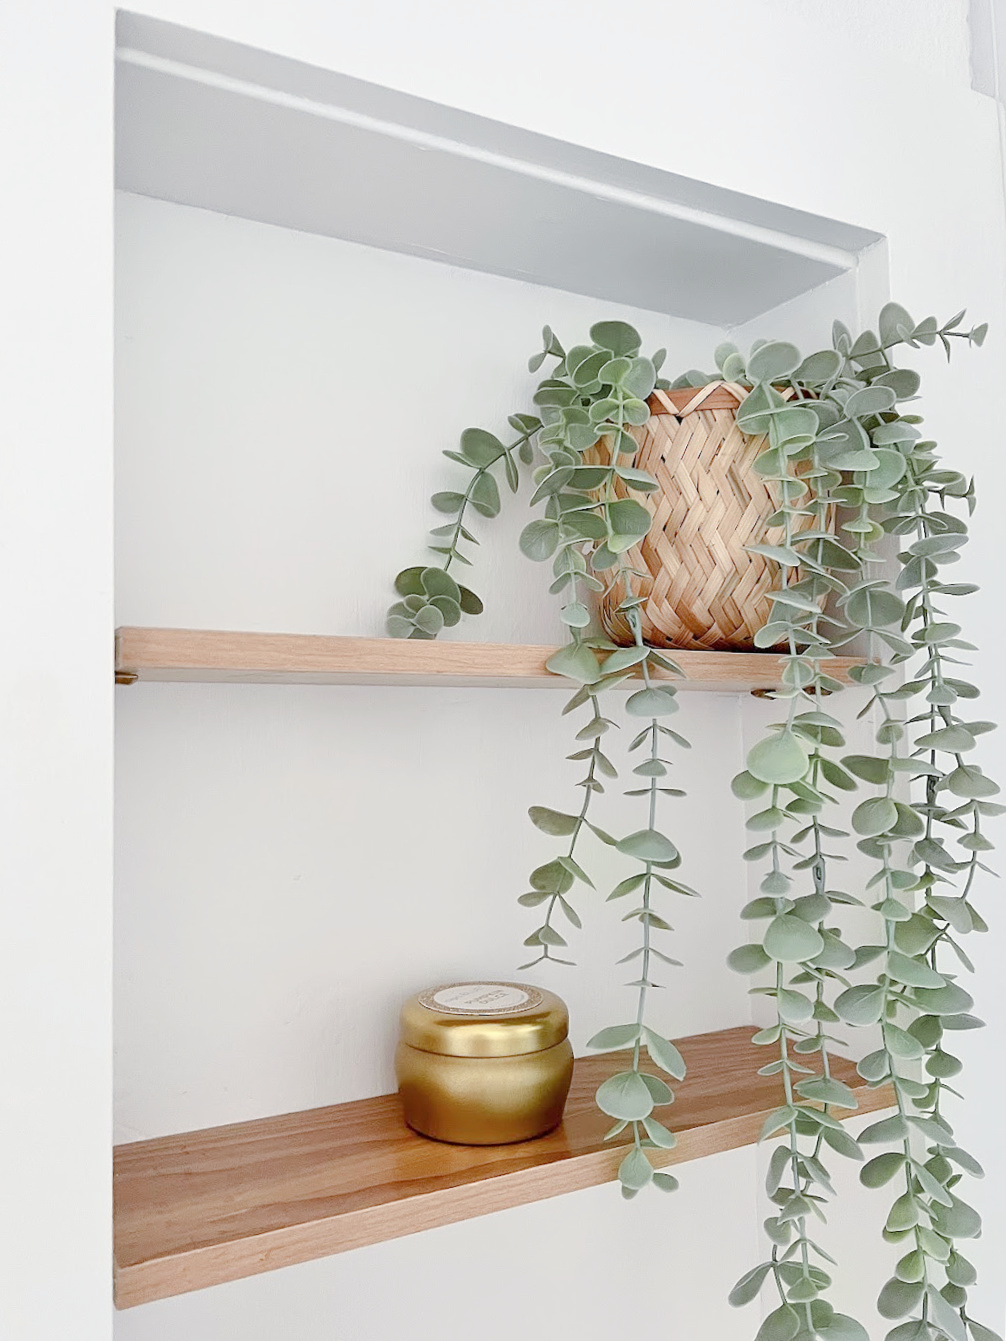


Now comes the fun part, not only is this practical, but also a great way to showcase your favorite items!
A few Ideas:
Cotton balls inside a glass jar
Small plants
Scented candles
Stylish containers to store bathroom products
Your favorite toiletries
Other ideas for the back of the Cabinet
Tile, but remember to add a backer board
Removable wallpaper
Peel and stick tile
Paint using a contrasting color
This medicine cabinet makeover was such a simple project and made a huge difference in bringing new life into the bathroom while adding functional storage and a touch of style. I love the open storage space and can’t wait to transform all of our builder-grade medicine cabinets, only three left in the house. Let me know if you try this simple installation in your own bathroom!
You can see how we installed peel-and-stick tile HERE.
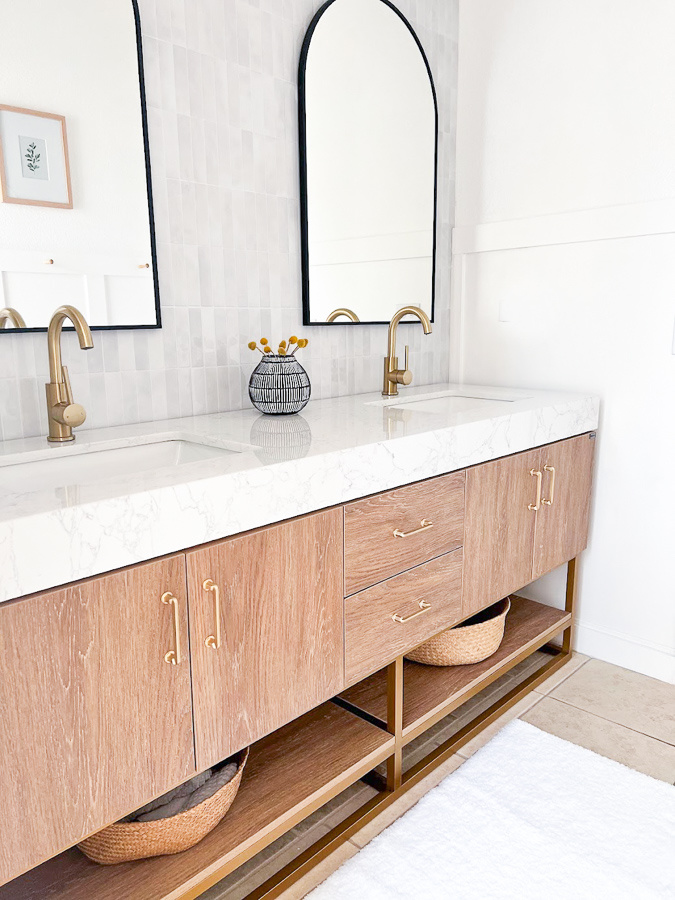
Links to products used in the bathroom, I’ll be sharing the full reveal very soon!

Lights
Faucets
Vanity
Mirrors
Wood Pegs
Black Hooks
And a look back at where we started, you can see all of the transformations of this bathroom here.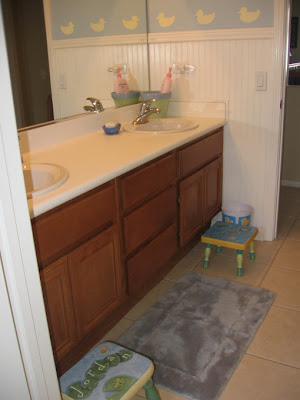

I absolutely love this idea! Transforming an old medicine cabinet into open shelving is such a creative way to repurpose furniture. The before and after photos are inspiring, and I can’t wait to try this in my own home. Thanks for the great tips!
I absolutely love this idea! Repurposing an old medicine cabinet into open shelving is so creative and adds such a unique touch to any space. Thanks for sharing the step-by-step process – I can’t wait to try this project in my own home!
Thanks so much!
Thank you for the step by step! Which shelves did you use? Did you cut and stain or have a link to share?
Thank you for the step by step! Which shelves did you use? Did you cut and stain or have a link to share? Thank you!
These were scrap wood pieces we had. But if you decide to buy raw wood you could stain it using minwax color wash, they have some really pretty colors. Or I have this tutorial that would give you the same look: https://myuncommonsliceofsuburbia.com/how-to-make-a-painted-surface-look-like-wood/ You could also make a paint wash using Behr Paint “Grizzly” and water. It might be a little darker but will give you a really pretty finish.
What a fantastic idea! I love the transformation you did with the medicine cabinet. It really adds character to the space and is such a simple way to refresh a room. Can’t wait to try this in my own home! Thank you for the inspiration!