
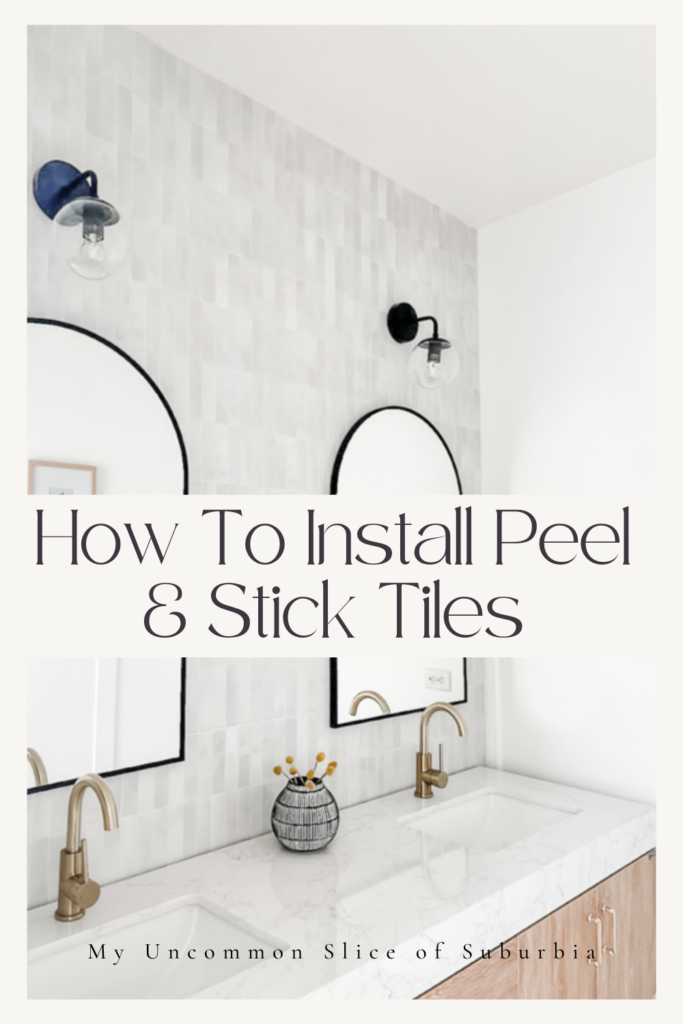
How to Install Peel And Stick tiles On A Wall
DIY Guide: Installing Peel and Stick Tiles for a Quick and Stylish Upgrade
Are you looking to revamp your living space without the hassle of a full renovation? Peel and stick tiles are a great option and the answer you’ve been searching for! These self-adhesive wonders offer a simple and cost-effective way to transform your floors or walls. In this step-by-step guide, we’ll walk you through the process of installing peel-and-stick tiles to a wall, helping you achieve professional-looking results that look like the real thing!
The whole bathroom for the most part is completely finished thanks to my husband working tirelessly after work and on the weekends, I’ll be sharing more later this week!

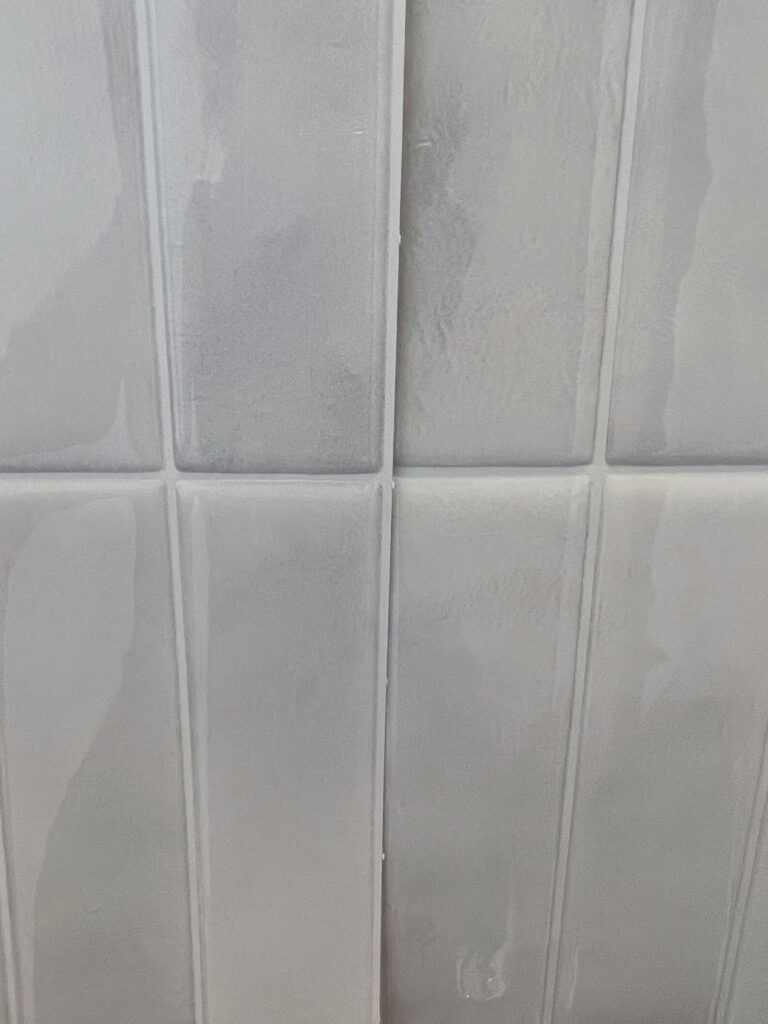
I ordered lots of samples and went with the Smart Tiles, style Moroccan in the color Essauira White.
Quick Links:

Lights
Faucets
Vanity
Mirrors
Wood Pegs
Black Hooks
And a look back at where we started, you can see all of the transformations of this bathroom here.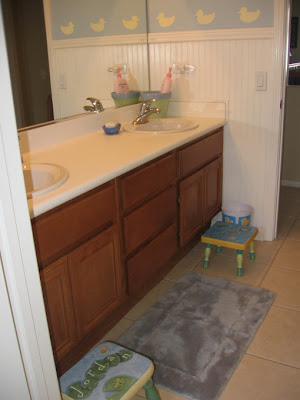
It’s not white, it’s more on the gray side. What I like the most about these tiles is that they allow you to reposition the tiles during installation and they will set firmly onto the wall within 48 hours after being stuck to your surface. Trust me, you will make mistakes along the way and will have to reposition the tile, and with these stick vinyl tiles, it makes it so simple to reposition. With the last peel-and-stick that I used in the downstairs bathroom, when I repositioned a tile, it took parts of the drywall off which caused me to waste a few tiles. These tiles were on the pricier side, but they are high quality and have a ton of positive reviews.

Our Total Cost
12 packs (5 tiles in a pack) for a total of $285.00 (there was a $9 coupon applied to each pack after purchase)
Our Total Time
I want to say about 12 hours. I spent 9 hours the first day. My husband finished the last row for me for about an hour, and then the following day, another two hours caulking and making sure everything was adhering etc.
affiliate links are listed below
Follow the manufacturer’s instructions for the specific peel-and-stick tiles you’re using. These particular tiles take 48 hours to become permanently applied. Different products may have slight variations in installation methods and recommended tools.
Materials You’ll Need:
- Peel and stick tiles of your choice
- Sharp Utility knife, box cutter or sharp scissors
- Tape measure
- Straight edge or ruler
- Pencil or marker
- Level
- Cleaning supplies (TSP)
- Optional: Primer or flat paint for specific surfaces
- Optional: Laser
- Optional: Liquid Nails
- Optional: Caulk
Determine the square feet
The first step is to figure out how many tiles you will need to purchase. Most sites will have a calculator you can use where you plug in your square feet and it determines how many tiles you need to purchase. I had 4 tiles left over in the end, so my calculations were spot on. They usually have you order 10% more (for mistakes). Since I had done this before, I ordered 5 extra tiles and only wasted 1. Not too shabby!
Prepare the Surface
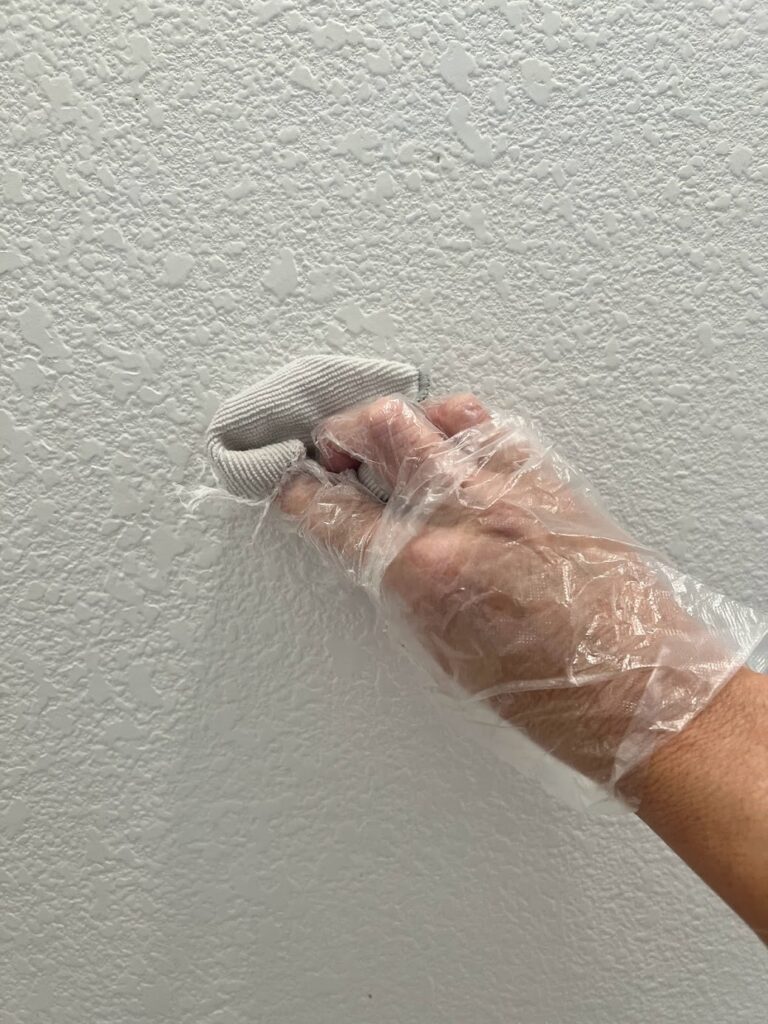
Before diving into the installation process, ensure the surface is clean, smooth, and free of debris. This particular tile company recommended TSP as the cleaning agent. This step is super important as a clean surface ensures optimal adhesion and a long-lasting finish. If your surface is uneven or porous, applying a primer can help create a better base for the tiles. When we took the builder-grade mirror down, the construction glue tore off parts of the drywall, so we patched it using joint compound and a putty knife, and I applied a primer so the tile had something to adhere to.
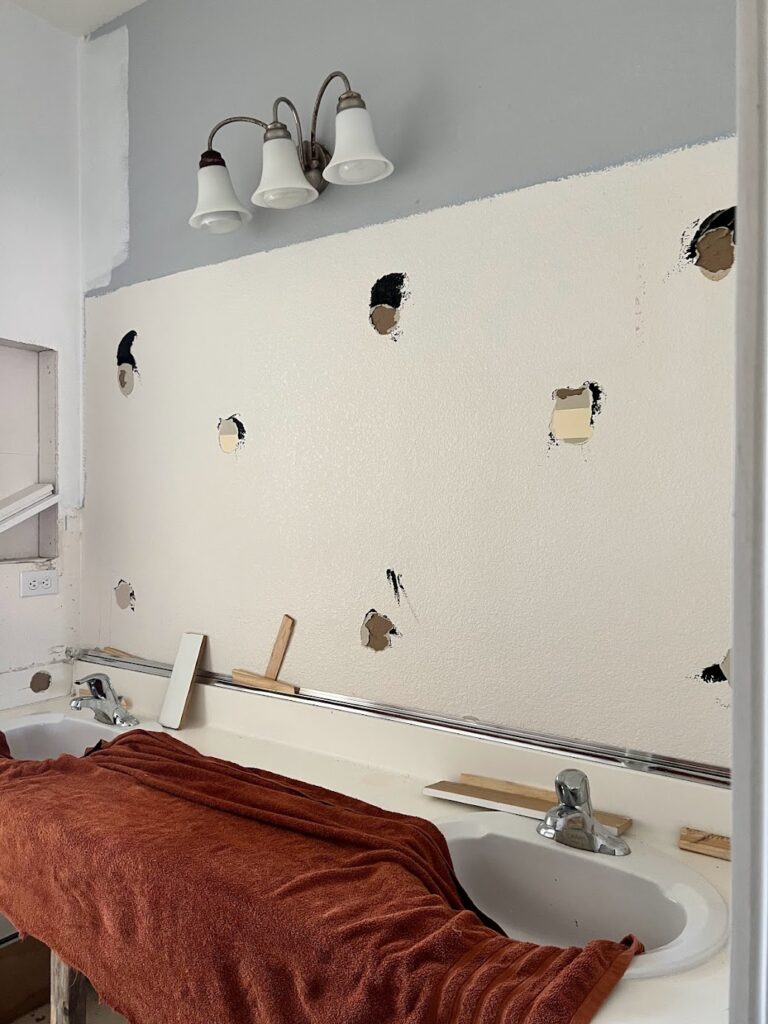
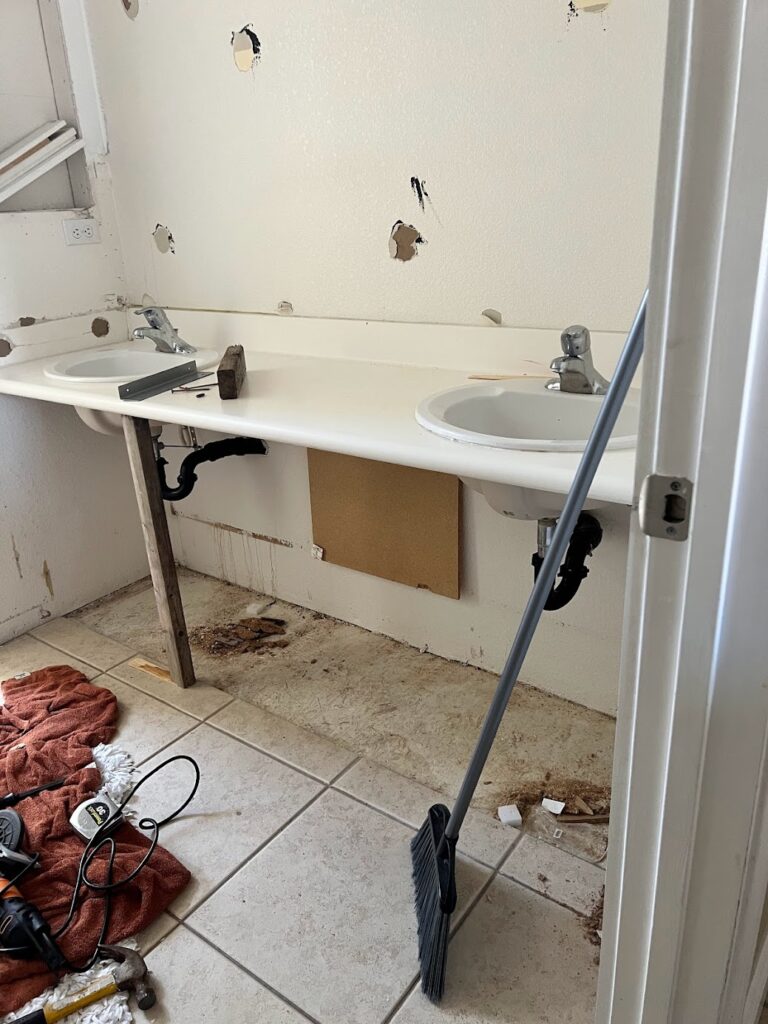
We supported the old vanity with a bracket and a 2×4 so the boys could still use the sinks while we were working on the bathroom. This was the last thing to go, and it wasn’t easy.
Measure and Plan
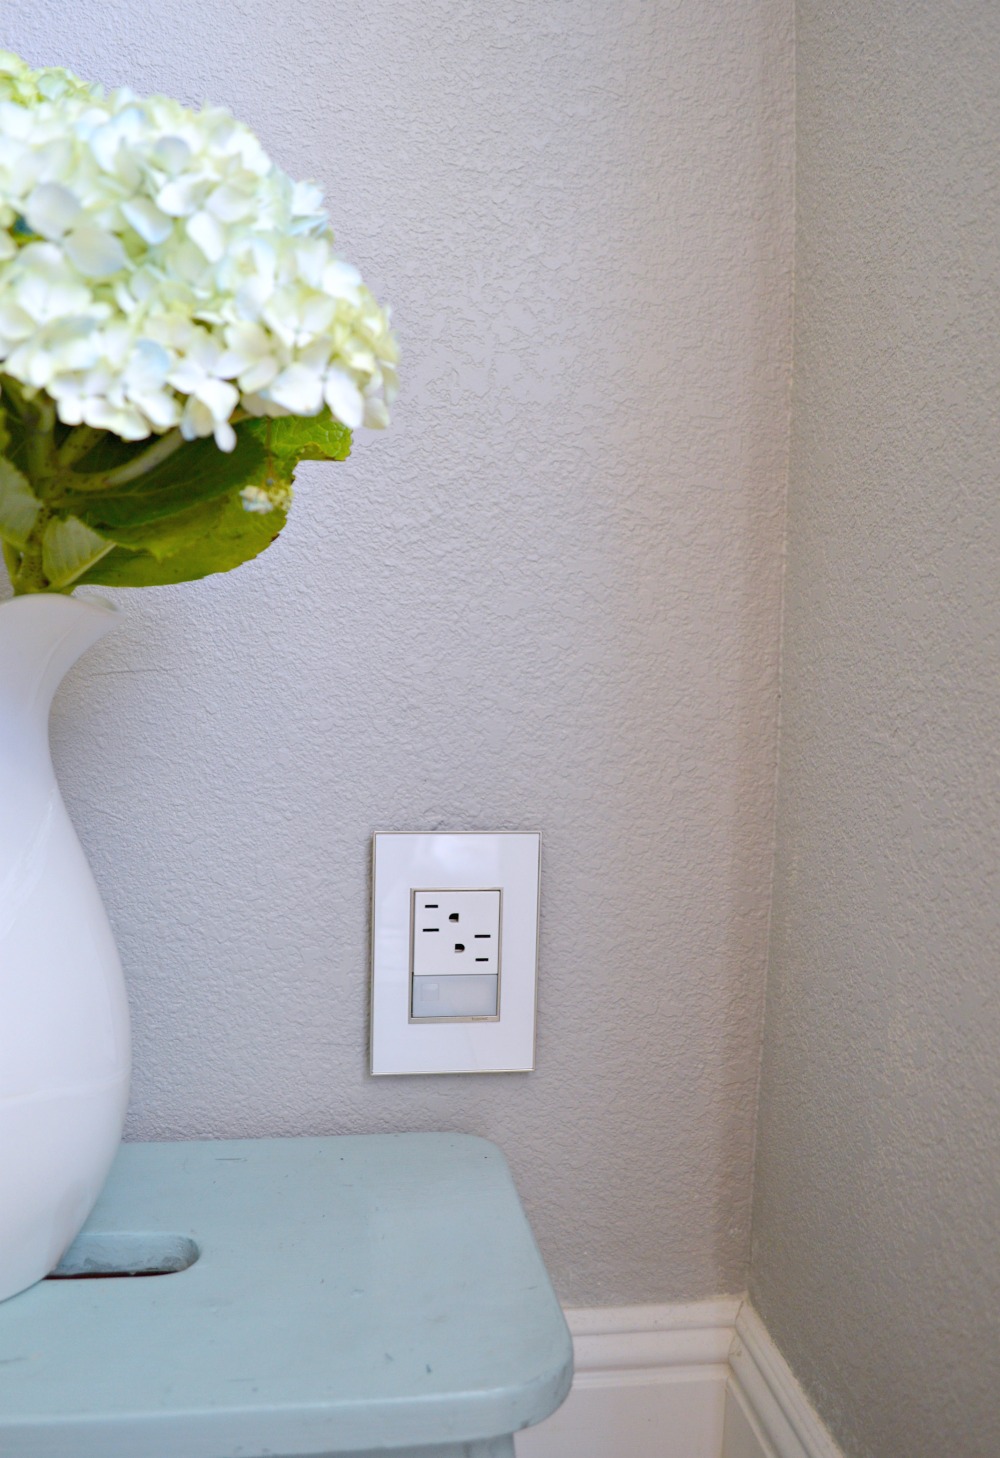
Measure the dimensions of the area where you intend to install the tiles. Planning ahead will help you determine the layout, especially if you need to cut tiles to fit around obstacles like corners and outlets.
Find Your Starting Point
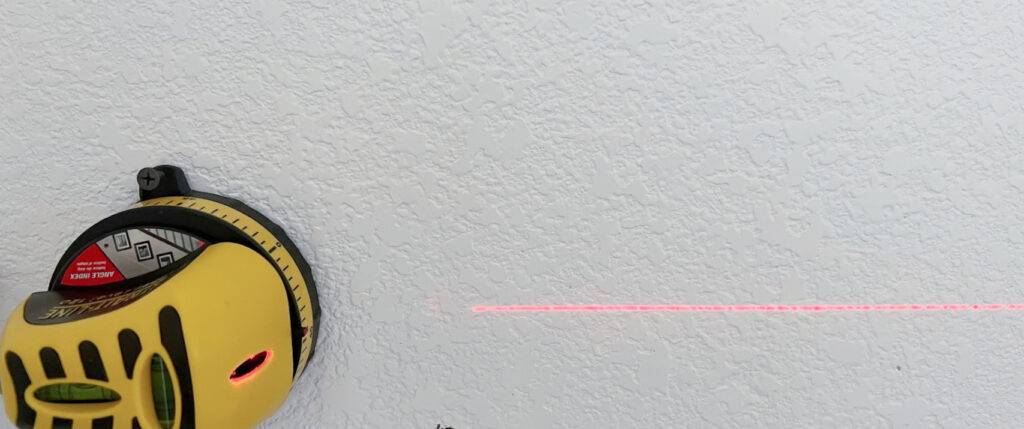
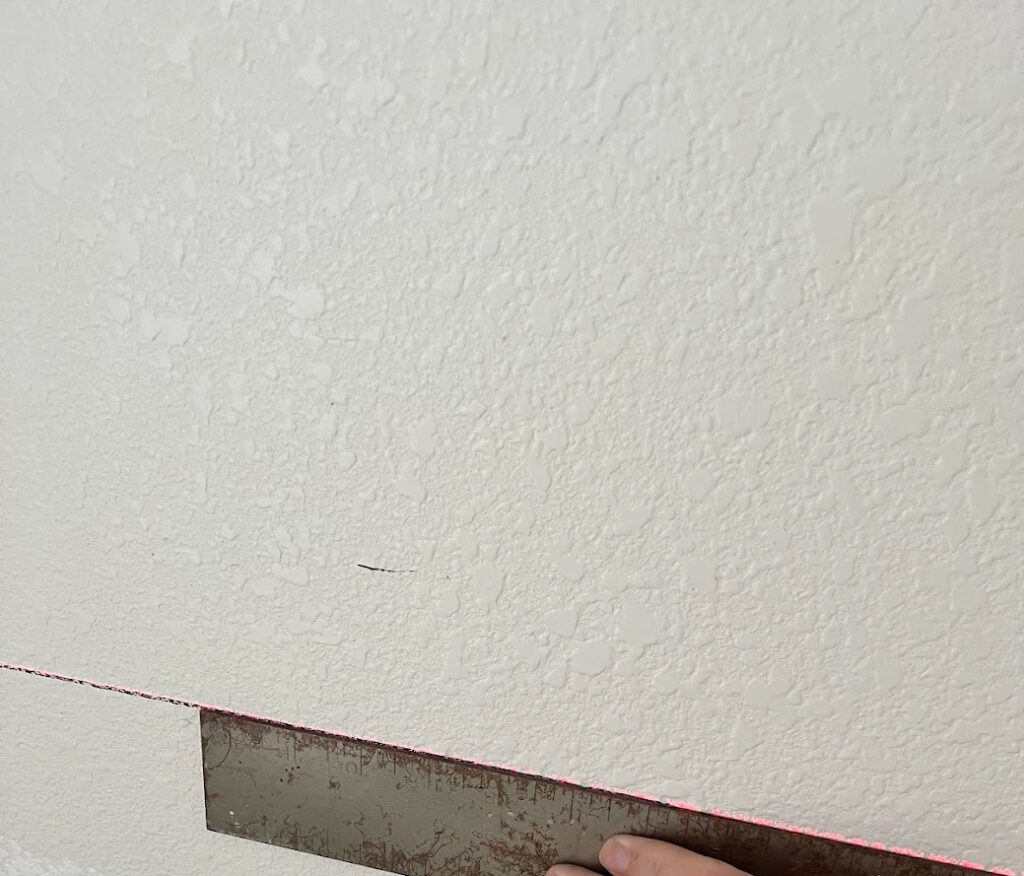
Select a starting point for your installation. This is typically a corner or a central point in the room. We used a laser, which is a great way to get a level line. However, you could also use a level and proceed to mark your wall with a leveled and straight line at the height of the 1st row of tiles to mark where the top of your tile will line up.
Install the Tiles
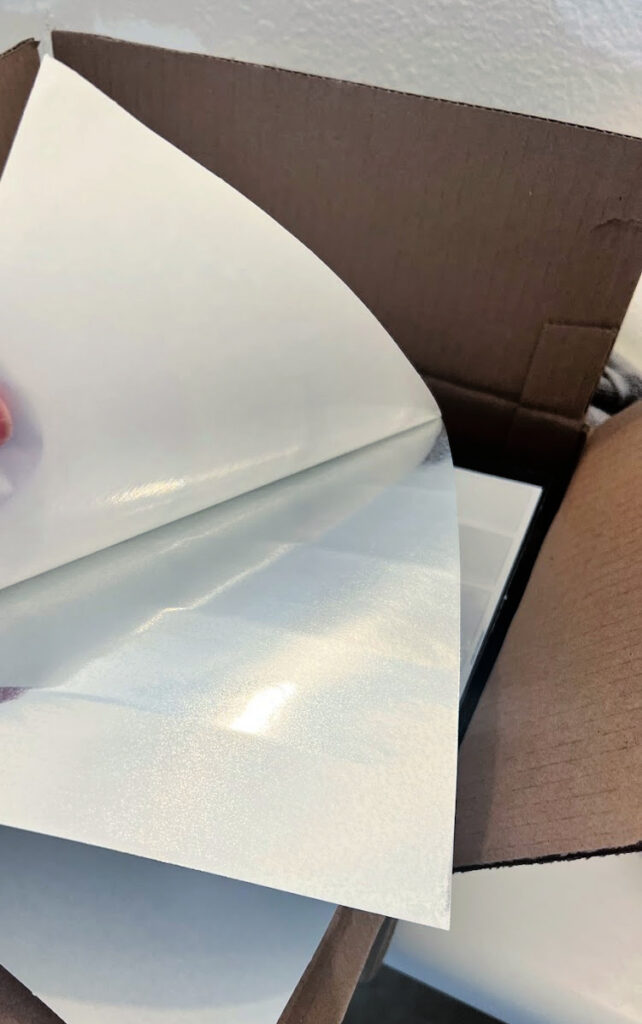
Peel off the paper backing of the first tile to expose the back of the tile, which is the adhesive side. Stick the tile backsplash to your wall on the horizontal line that you marked. It’s important to take the extra time on that first row!
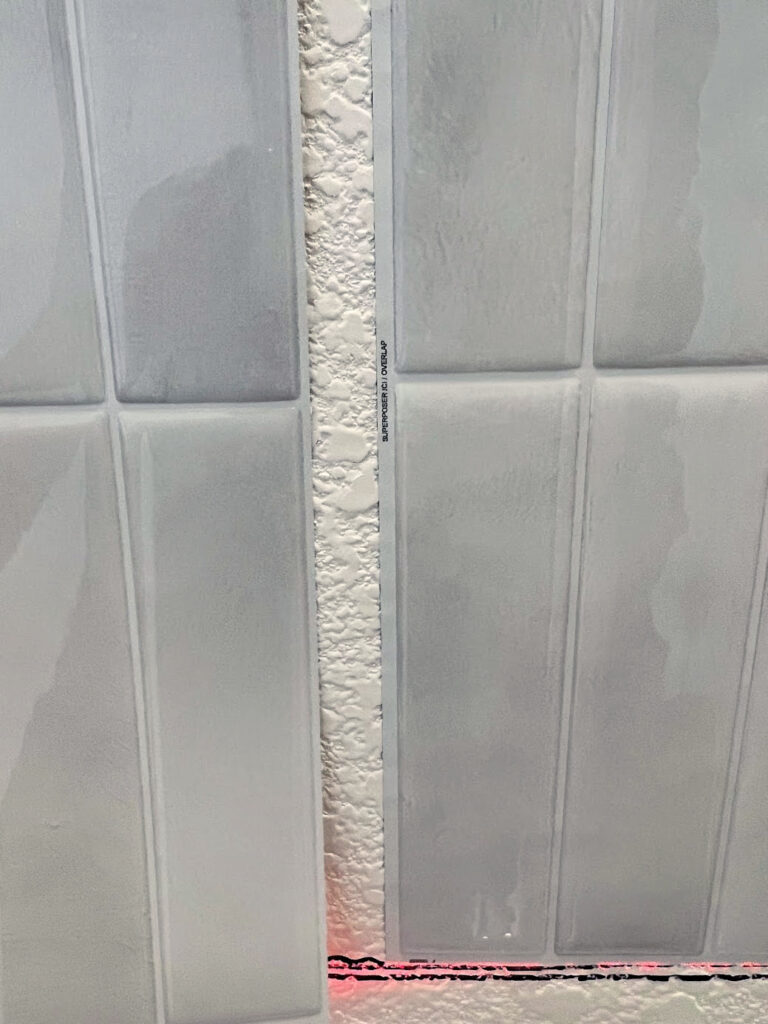
Press the tile firmly onto the surface, making sure it’s level and properly aligned with adjacent tiles. Apply one tile after another, assuring that the tiles are straight and that the grout lines are overlapped. (Not all tiles from different companies will have an overlap so make sure you read the directions)
Repeat the process for the entire wall, removing any excess of the tile at the beginning and end of the rows if needed by cutting edges.
In the areas where we patched the walls, we used liquid nails for a little extra adhesive and peace of mind.
Cut Tile
When you reach the end of a row or need to fit tiles around corners and obstacles, like electrical outlets/outlet covers, you’ll need to have special cuts. If it’s a tight spot, I will sometimes use a template using scrap paper so I don’t waste any tile. You could also use a cutting mat for a perfect cut.
- Measure the space that requires a tile.
- Mark the measurement on the backing of the tile.
- Use a utility knife or sharp scissors to cut along the marked line making sure you have a straight cut. (You could even use a tile cutter)

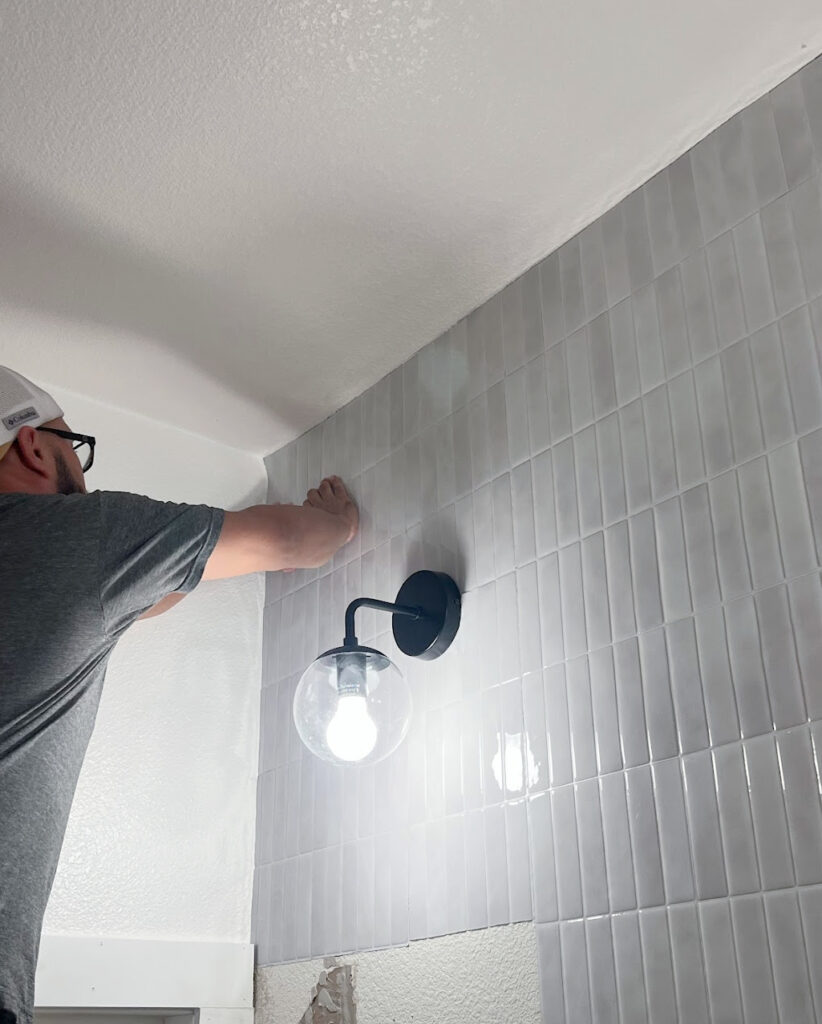
Ray to the rescue!
Final Touches
Once all the tiles are in place, use a roller or your hands to firmly press down on the entire surface. This ensures proper adhesion.
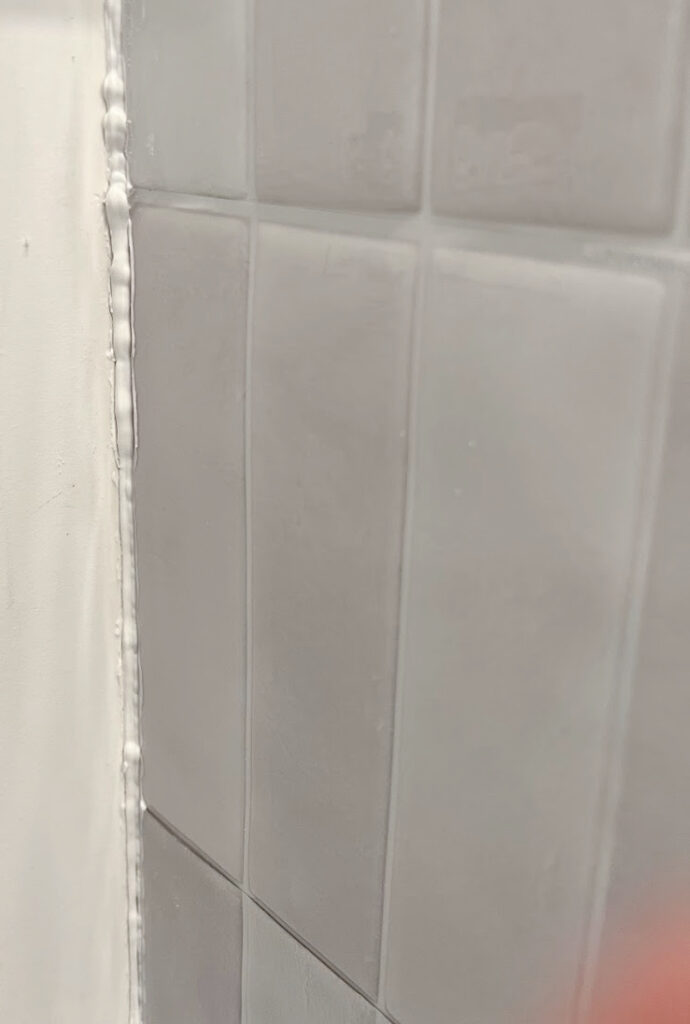
If there are gaps along the edges, consider using trim pieces or caulk to provide a finished appearance and seal any gaps. We used caulk, and it really made a big difference.
Allow for Adhesion Time
Follow the manufacturer’s instructions for the specific peel-and-stick tiles you’re using. These particular tiles take 48 hours to become permanently applied. In general, avoid heavy traffic on the newly installed tiles for 24-48 hours to allow the adhesive to fully bond. We also didn’t allow the boys to shower for 2 days, so we didn’t have to worry about moisture.
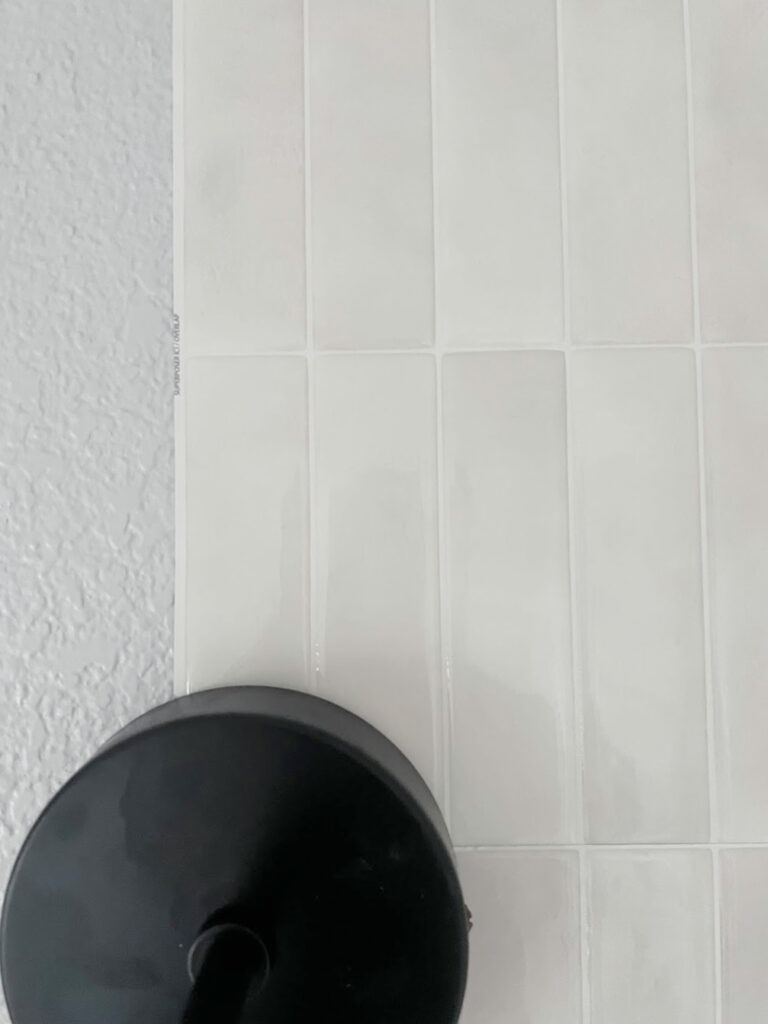
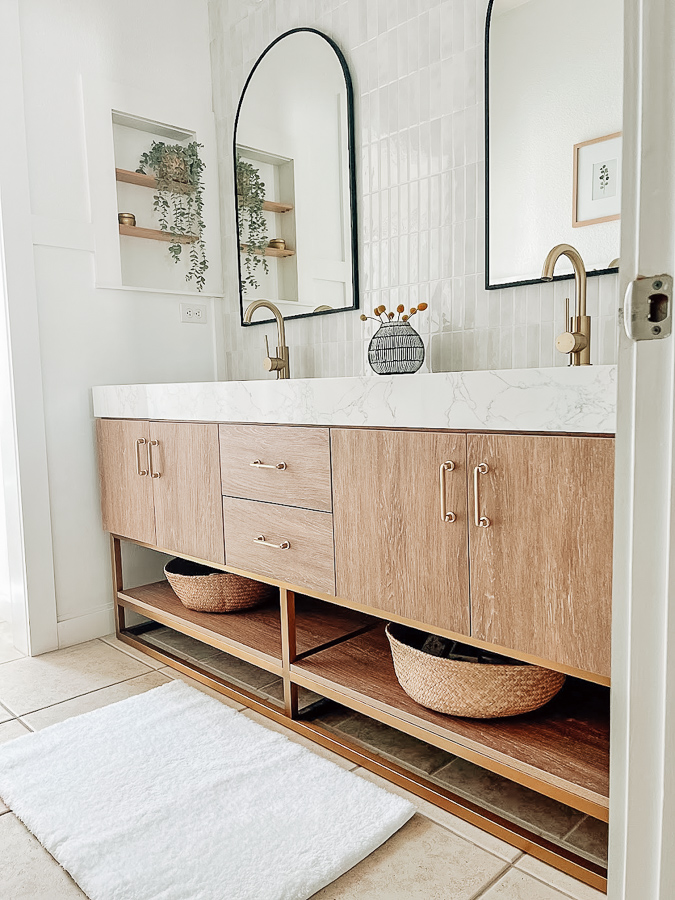
As you can see, to save on cost, we did not tile where the mirrors were going. This is where the laser and the straight lines really come in handy! 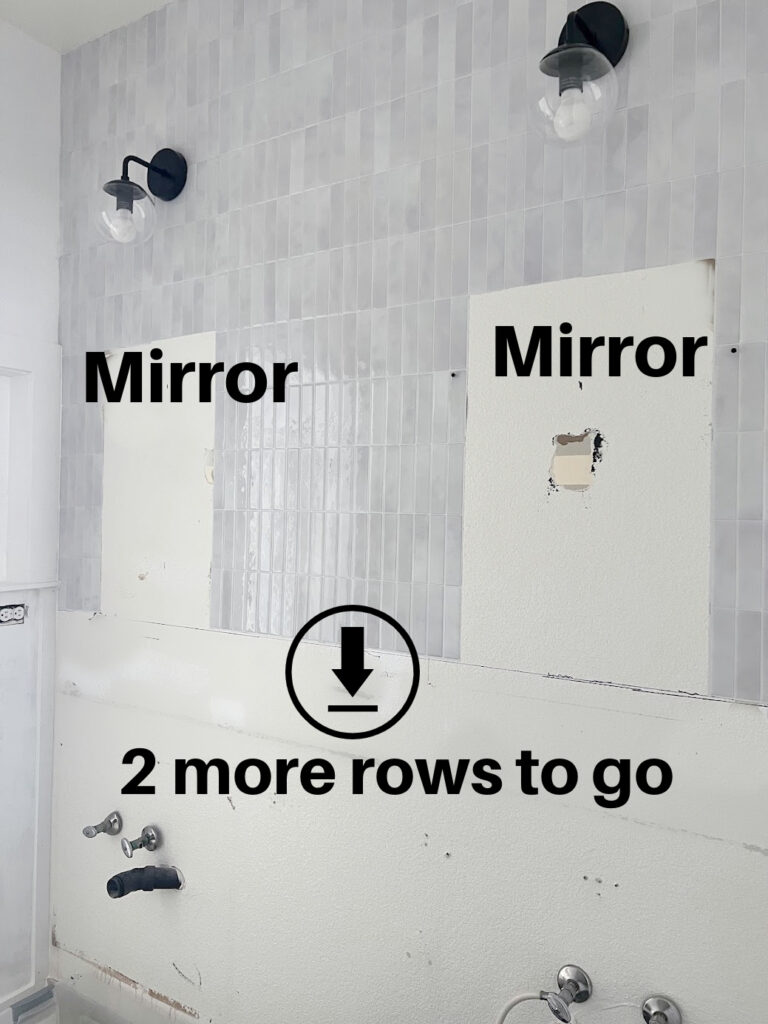 All Done!
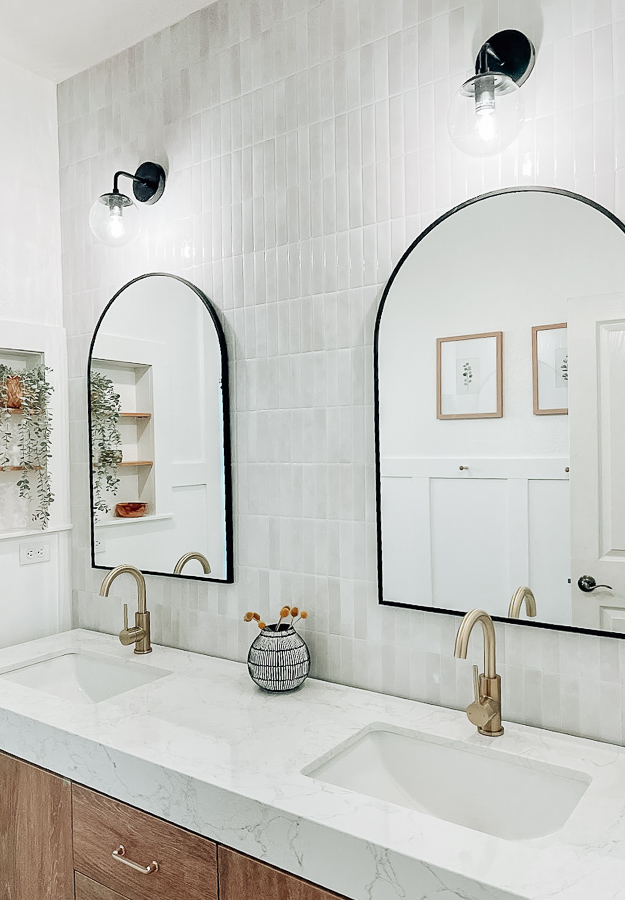
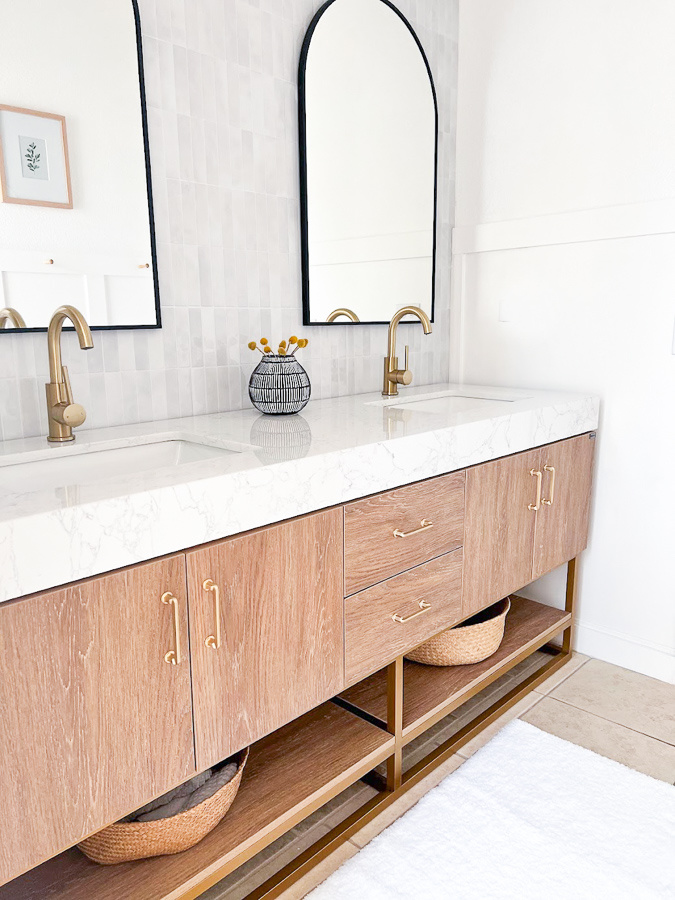
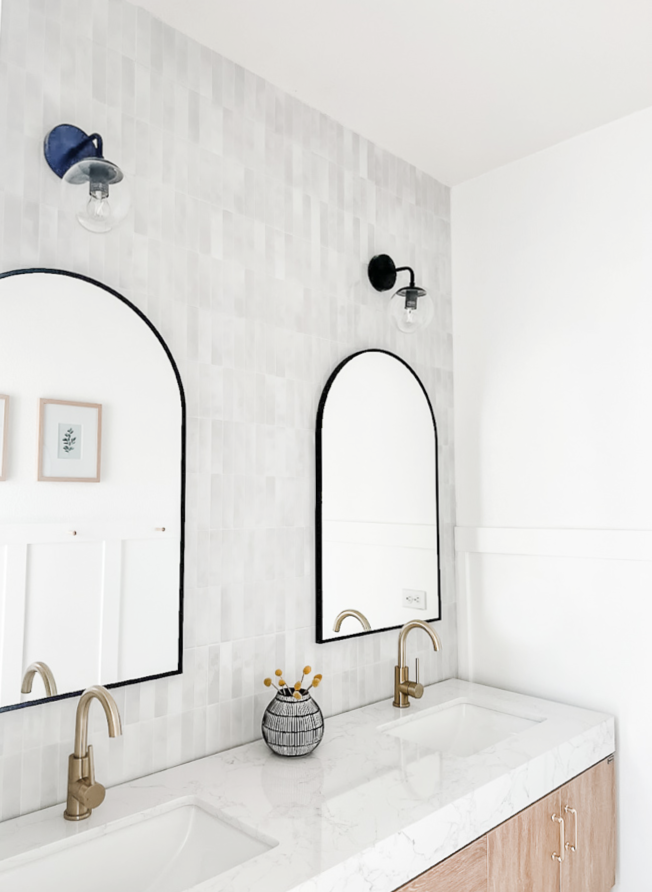
Was this an easy DIY project? Yes and No. You are literally just sticking the tiles to the wall, but because walls are not even, it can get a little tricky and at times frustrating, but trust me, in the end, it is 100% worth it! These are such a good option instead of using regular tile or ceramic tiles, and will give any space a fresh look with that wow factor!
I’ll be sharing more on the board and batten, the medicine cabinet removal, and much more over the next few days! 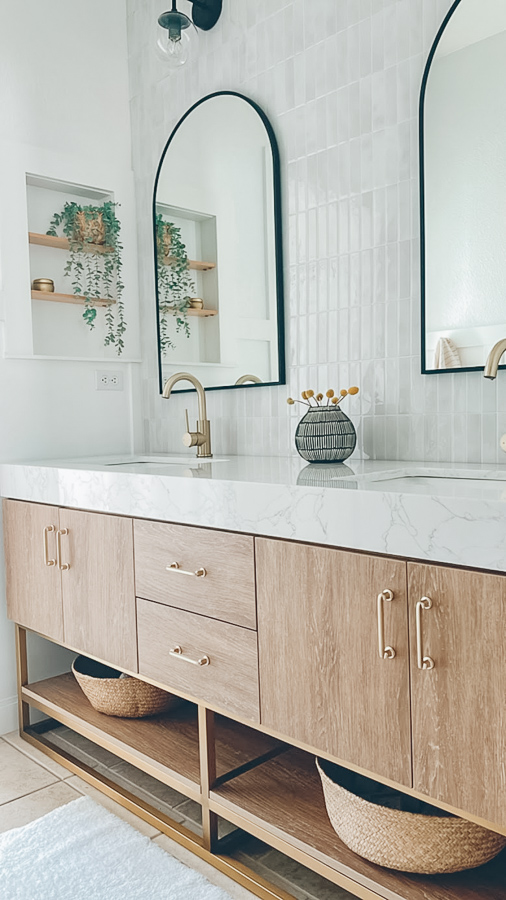
Areas for peel and stick
Bathroom floor
Kitchen Backsplash
Over old flooring or existing tile
Accent wall in the dining room
Laundry Room
With just a few tools and some patience, you can easily upgrade your space with peel-and-stick tiles, it will definitely make a huge difference.
It’s a relatively simple DIY project that can greatly enhance the appearance of a room! Enjoy your newly transformed space!
Links to products used in the bathroom:
Lights
Faucets
Vanity
Mirrors
Wood Pegs
Black Hooks
And a look back at where we started, you can see all of the transformations of this bathroom here.

Wowie! I bet the kids feel like a million bucks brushing their teeth in there! What a beautiful transformation. I will save this for our next place!!
Thanks Julie, I can’t wait to see where you end up buying!!!
This looks awesome. I might going to try it in the laundry room
Thank you so much Monika, let me know if you have any questions along the way! Have a great weekend!
This bathroom is so grown up now! It’s gorgeous. I never would have guessed those were peel and stick tiles! Great directions.
Thank you Marie xo
Amazing transformation! Your bathroom is gorgeous—great ideas for tile, lighting, vanity, and hardware.
Thank you Kippi!!
LOVE this project, Kristin, and I’m so glad you shared it on Tuesday Turn About. I’m happy to be featuring your peel and stick wall tile install tutorial at this week’s party! Pinned!
Thank you Julie!! I’ve been praying for you and your mom. xo
I’m so excited to try this! Great tutorial. I had such a hesitation before but you’ve answered my questions. Love the look and your new bathroom is stunning!
Thank you so much Cindy, let me know when you are done, would love to see it!!
Great post! I love the idea of using peel and stick tiles for a quick update. Your instructions are super clear, and the photos really help visualize each step. Can’t wait to try this out in my own space! Thanks for the inspiration!