
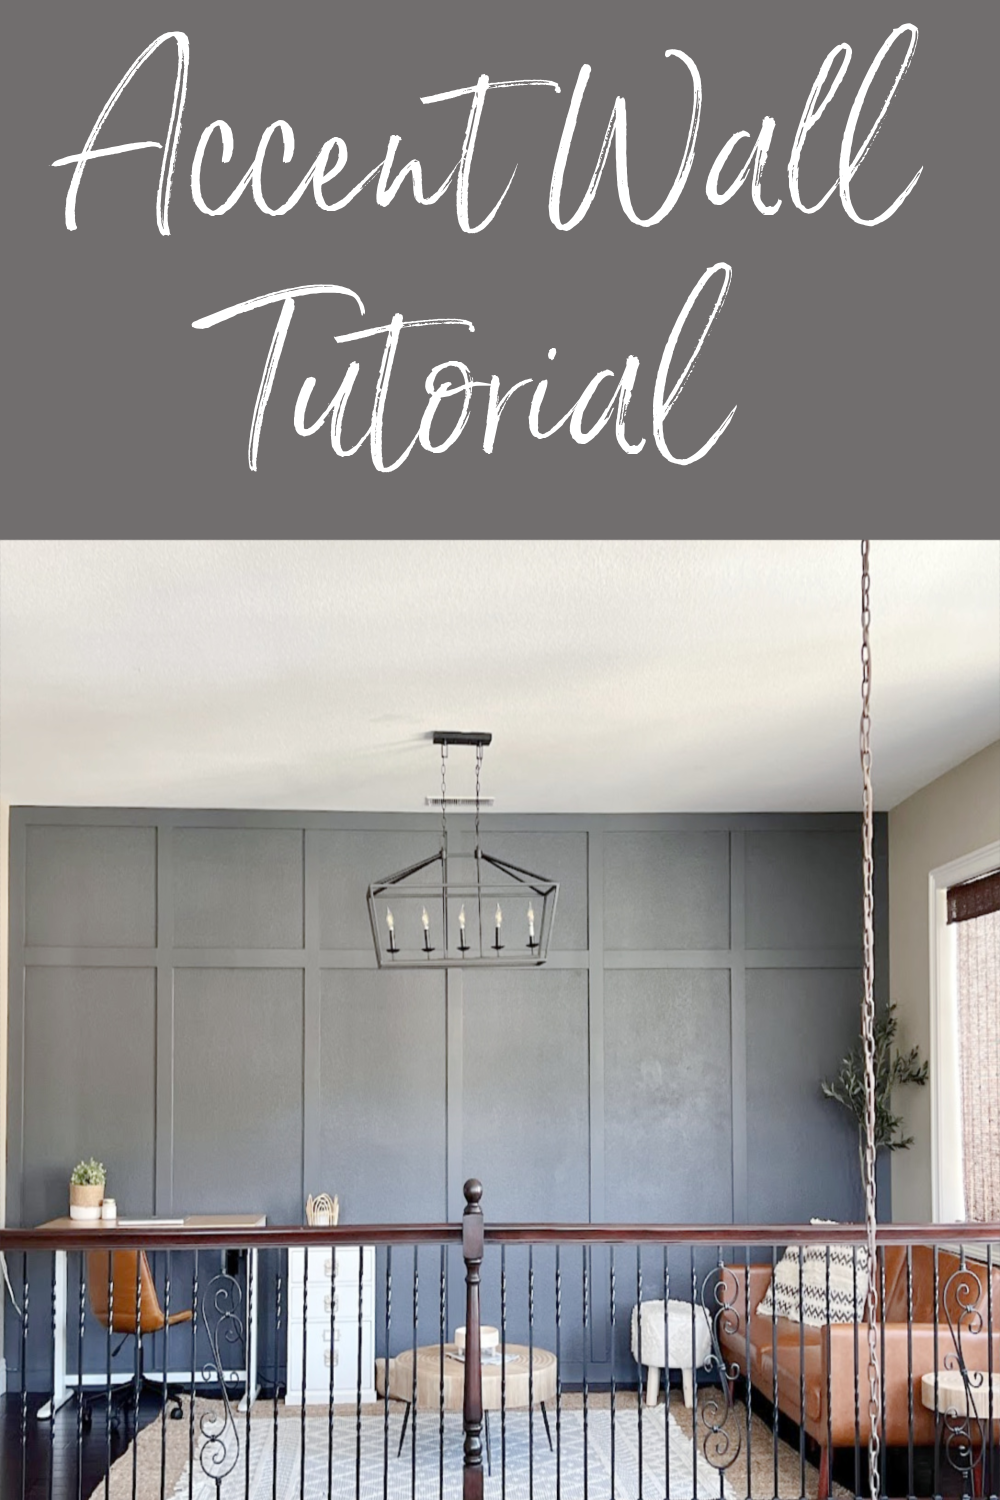
How to create A DIY Wood Accent Wall
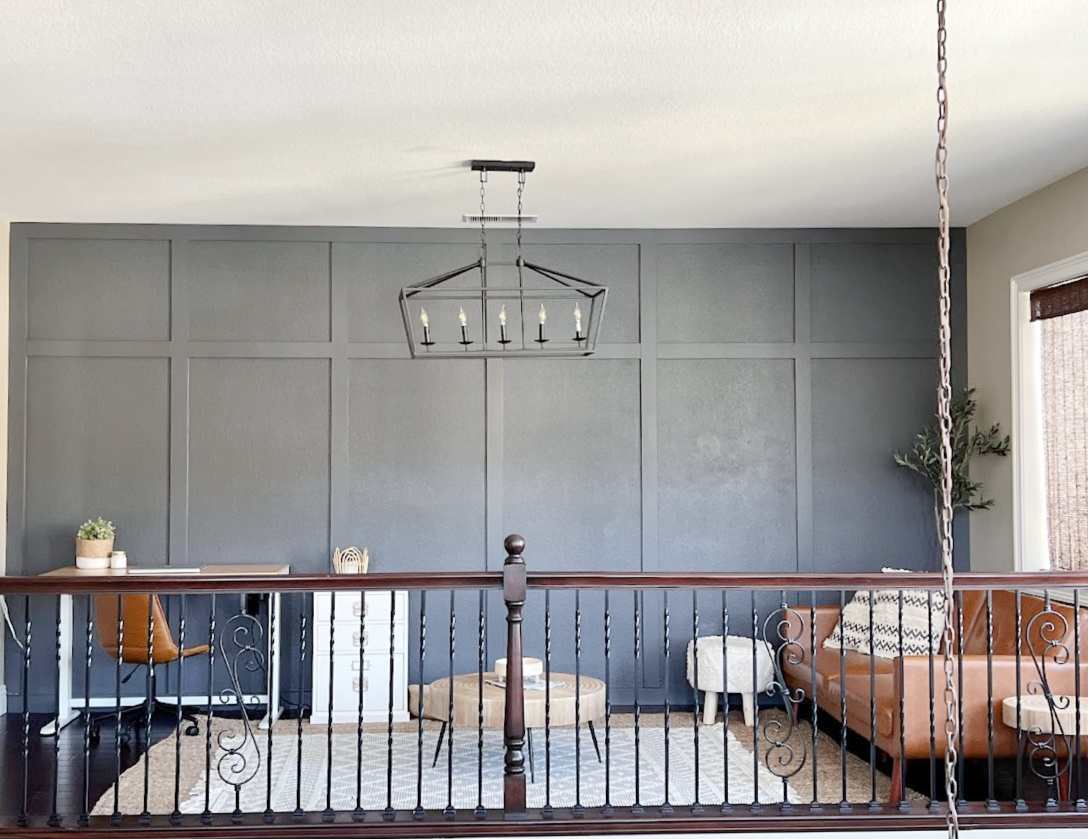
Create a gorgeous DIY wood accent wall and completely change the look of your space. This project was simple, affordable, and fun to do! This traditional wall trim adds so much character to a builder-grade home and gives the space an instant update. Since I first published this post in 2022, we have made some changes to the loft. I just need to update everyone with some new pictures. Here is how it looks today in 2026.
This may look intimidating, but really, it’s not a difficult project. This was our first time, and you could easily finish this in a day. However, with Ray’s insane work schedule, we worked a little bit every day for about 5 days. I would say it took about 8 hours, and that includes paint drying. The hardest part was figuring out how I wanted the wall to look and then figuring out the math. You definitely need the right tools for this DIY project. If you don’t have all the correct tools, I know hardware stores will rent them to you.
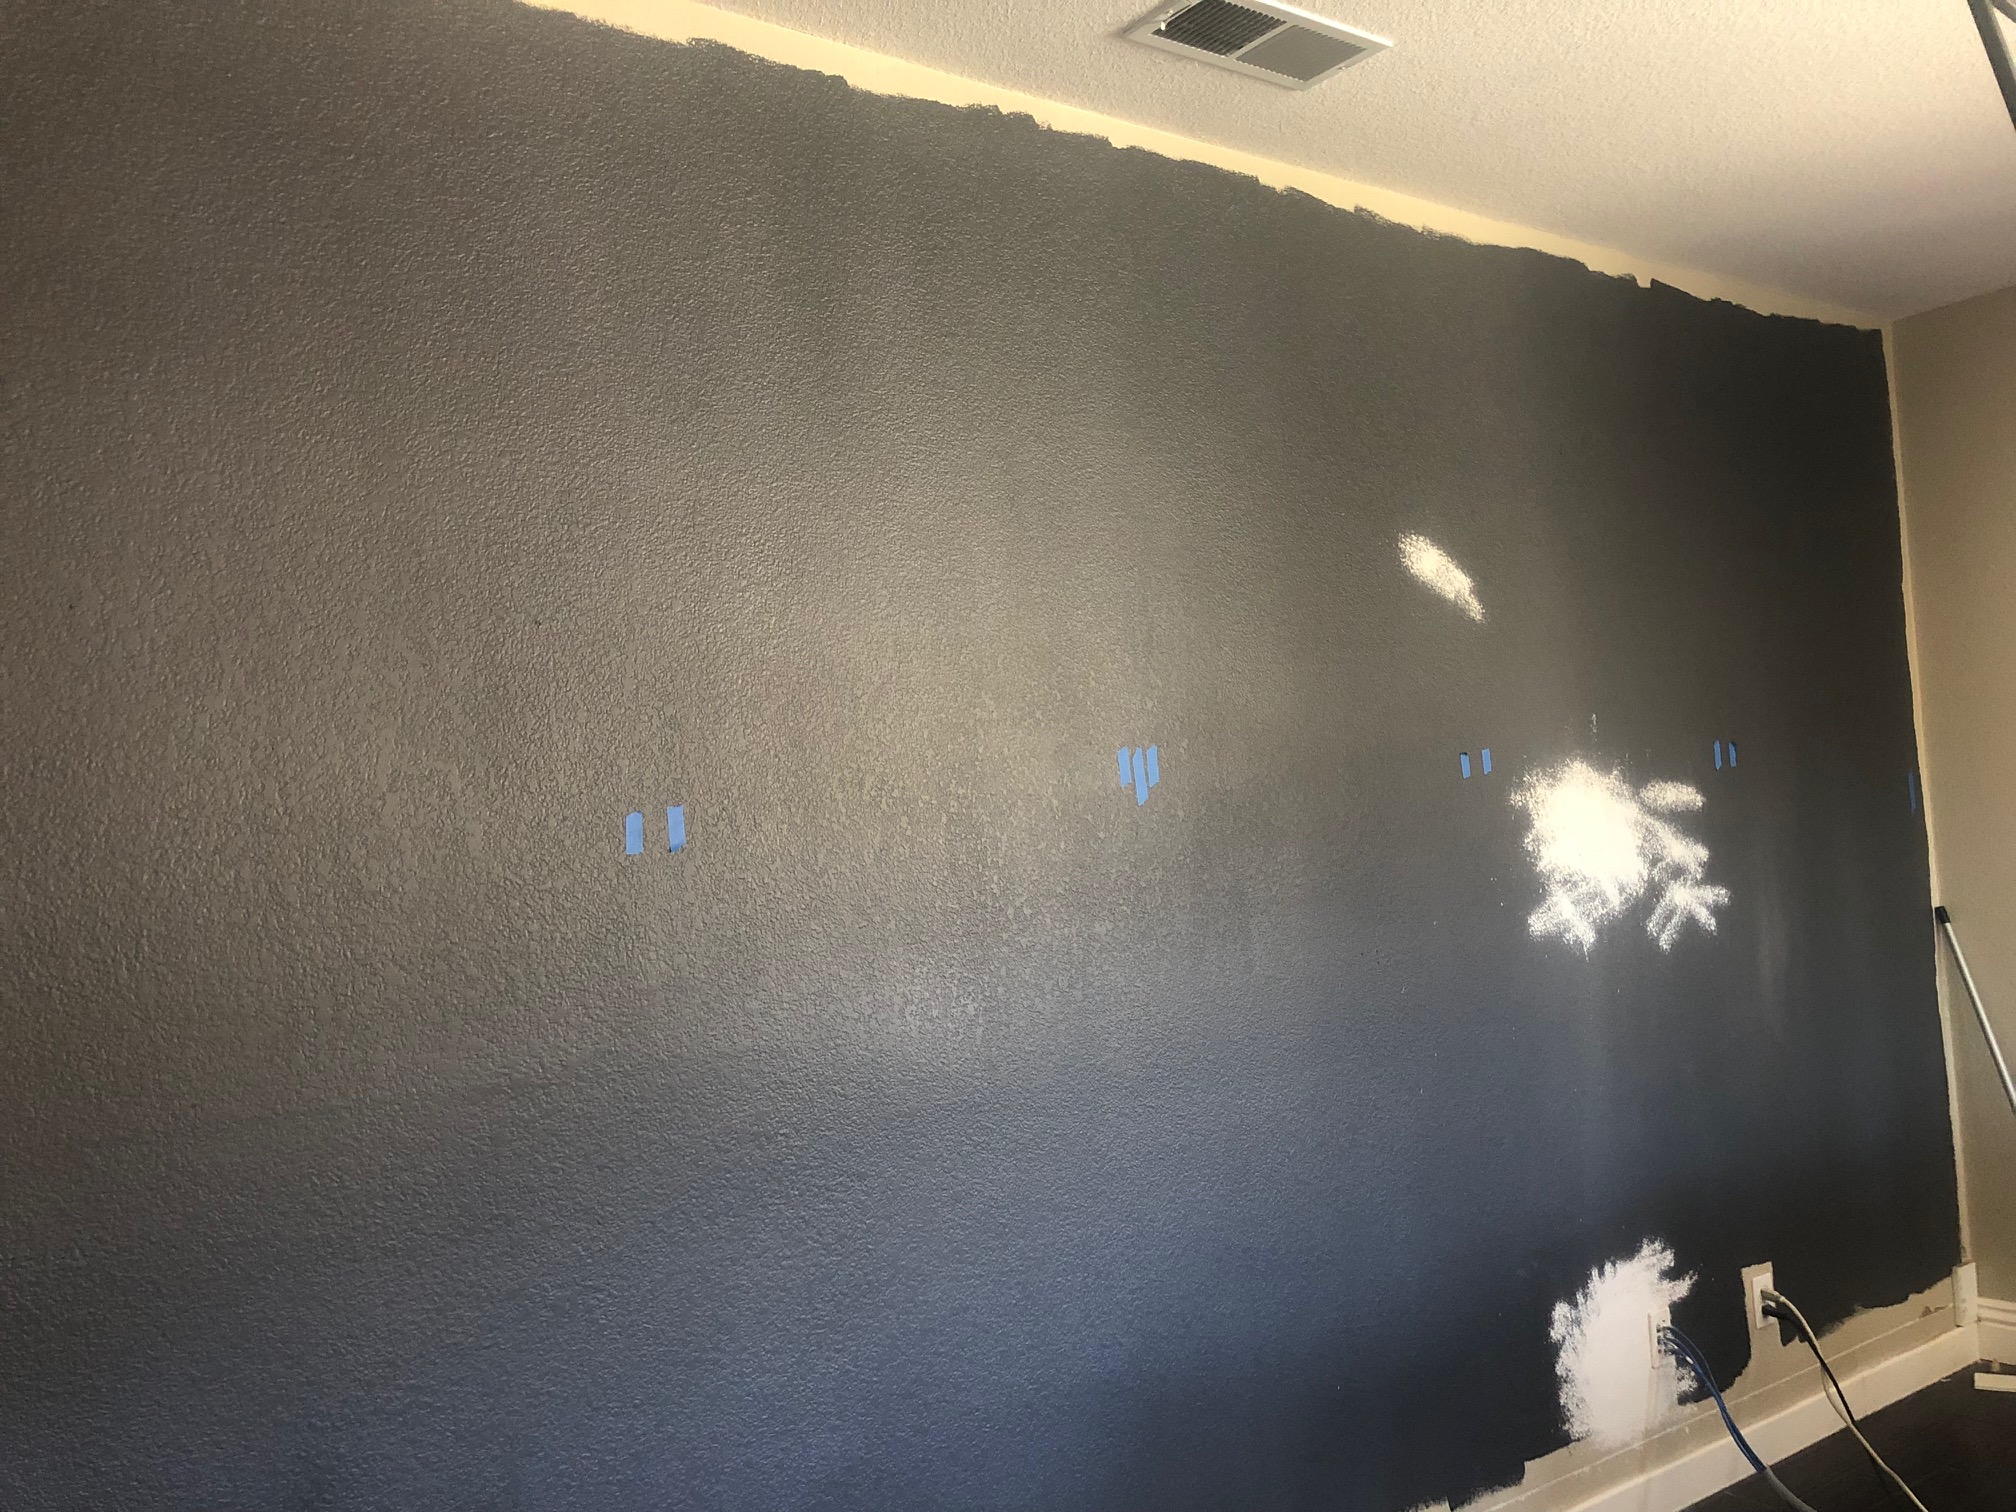
Our wall is 9 feet tall by 18 feet wide. I knew I wanted 6 squares, which are seven vertical lines and 1 horizontal line. There is 31 1/2 inches between each line and we went 1/4 way down from the top for our horizontal line. (26 inches from the top) I wish I could explain the math for you, but that probably isn’t a great idea. We mapped it all out on a sheet of paper and then put tape up on the wall to visualize it.
This post contains affiliate links. By clicking a link and making a purchase, you can help support my blog at no additional cost to you!
Materials Needed:
- Wood/MDF in the width you want. We used 1×4 in 12 feet in length. We used 12 boards in total
- Backer board to make walls smooth (optional)
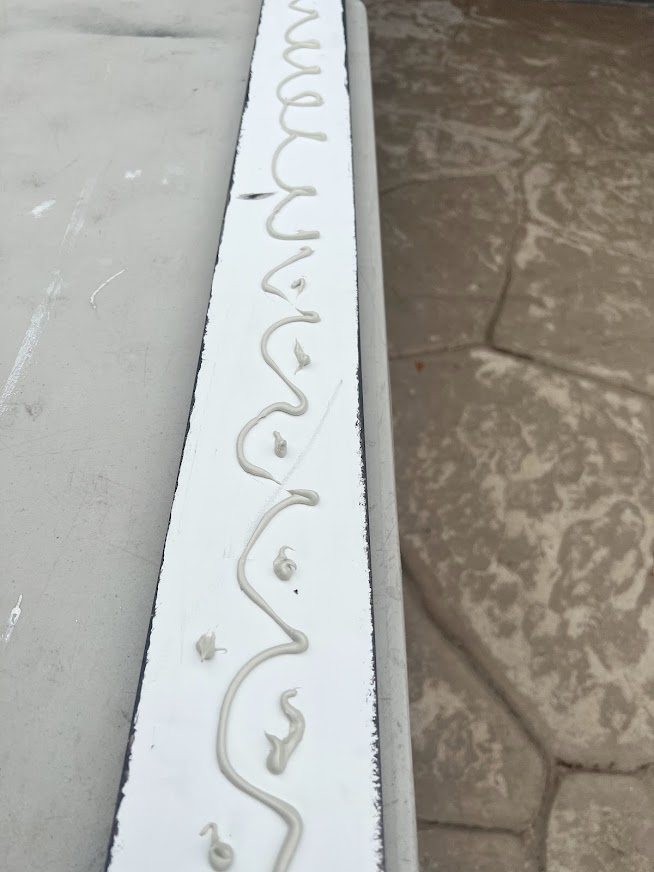
- Construction adhesive like Liquid nails
- Wood filler or wood putty I love dry Dex because it goes on pink and turns white when dry
- Sanding Block
- Paintable Caulk
- The paint we used Peppercorn from Sherwin-Williams
- Paint roller, tray and angled brush or regular paintbrush for the baseboards

Tools Needed:
- Miter saw
- Level
- Dremel Only if needed
- Measuring tape
- Stud finder
- Utility Knife, Prybar, and Hammer (only if needed to remove old baseboard)
- Brad nailer and nails
- Jig Saw (if needed to make cutouts for outlets)
Textured Wall:
To panel or not to panel. Our walls have a medium texture to them. It’s noticeable but not hugely noticeable if that makes sense. My friend has done a similar wall twice. Once adding paneling and the second time not adding the paneling. She said she could barely see the texture, so we decided to save time and money and not panel the wall.
However, if you want to make the wall completely smooth, then I would attach a 1/8″ panel board (plywood) cut to size on the wall. Most home improvement stores have them, and I know Home Depot will cut them for you as well.
Paint the walls
I started by painting the wall, no cutting in needed. I wish every paint job were like this! Next, I painted all of the MDF boards in the garage. You could wait to paint everything in the end, but it was just easier for me this way.
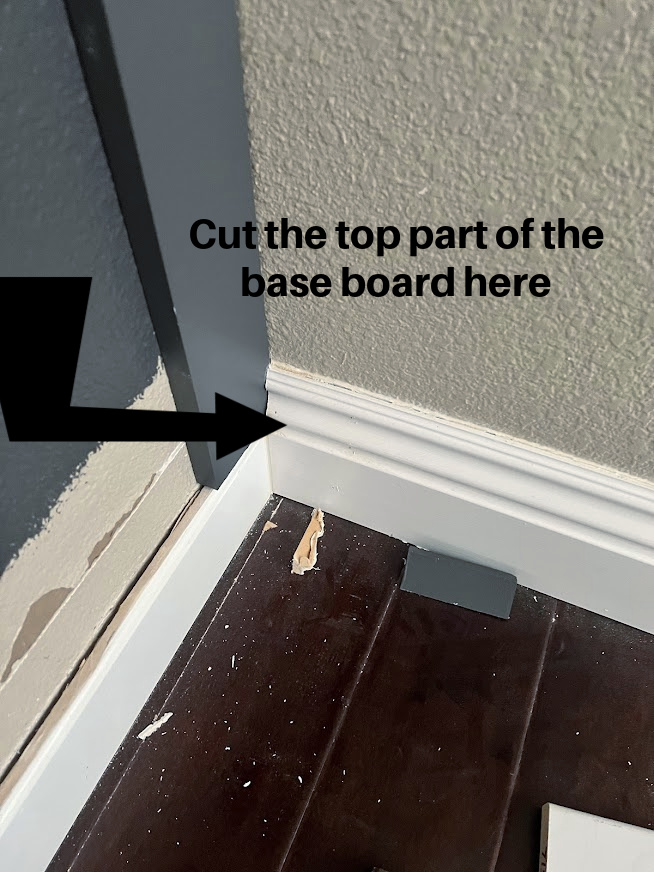
Remove existing baseboards from the bottom of the wall
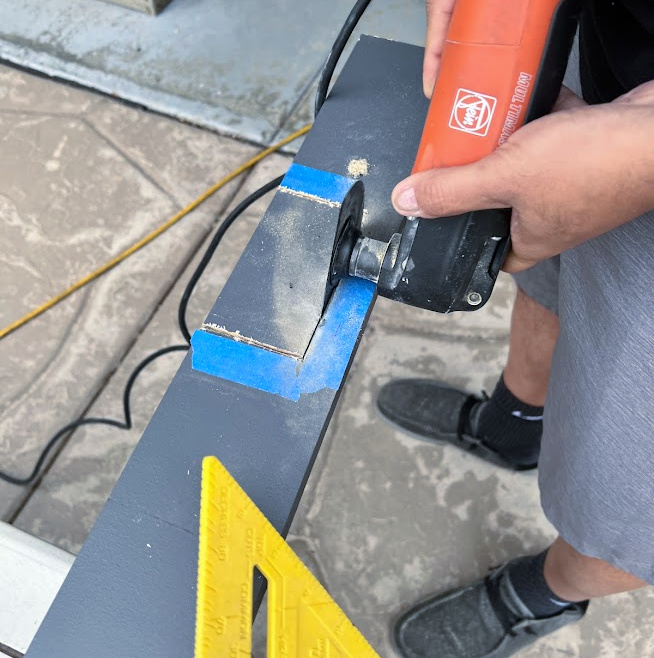
Because of the style of our baseboards, we decided we only needed to remove the upper portion of the baseboard. No one would ever know the baseboard would be 1/4 inch smaller than the other boards. We used a Dremel to remove the top. If you are removing the whole baseboard, score the top and corner caulk lines with a utility knife. Then, use a pry bar and hammer to remove the baseboard from the wall. Another option is to leave the existing trim in place and put the new board over the top of that.
Attach Boards
You’ll want to cut each of your boards one at a time, measure, and measure again. Most walls are not straight, and ours most definitely are not.
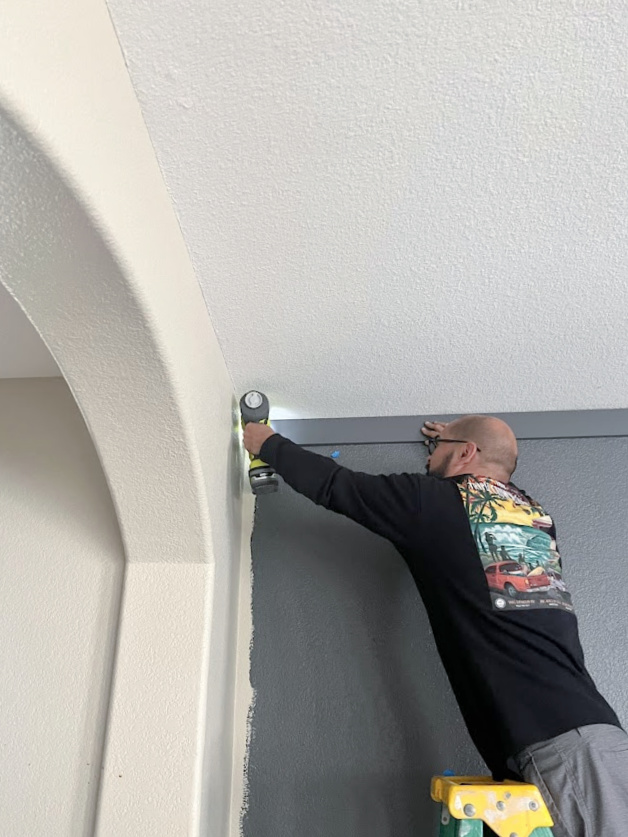
We framed the wall, think of it as a big picture frame, beginning with the top, then the bottom (we already had the bottom), and then moved on to the sides. Apply liquid nails on the bottoms of each board and apply them to the wall, making sure the board is level. Next, find your wall studs and make sure the board is secure with brad nails. My husband loved using his cordless nail gun for this project. I even did a few, and it was so easy.
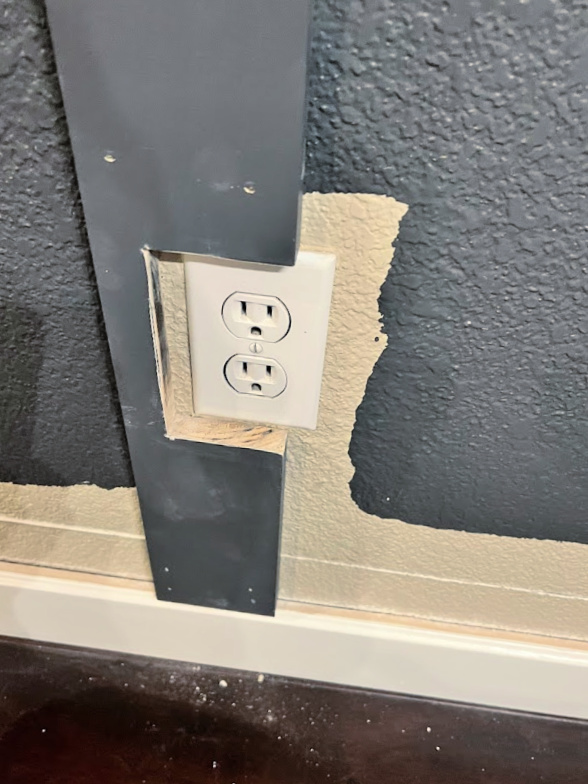
Lucky us, every outlet hit the board. We cut notches using a jigsaw.
Now it is time to move onto the vertical boards, we had 31 1/2 inch distance between each board.
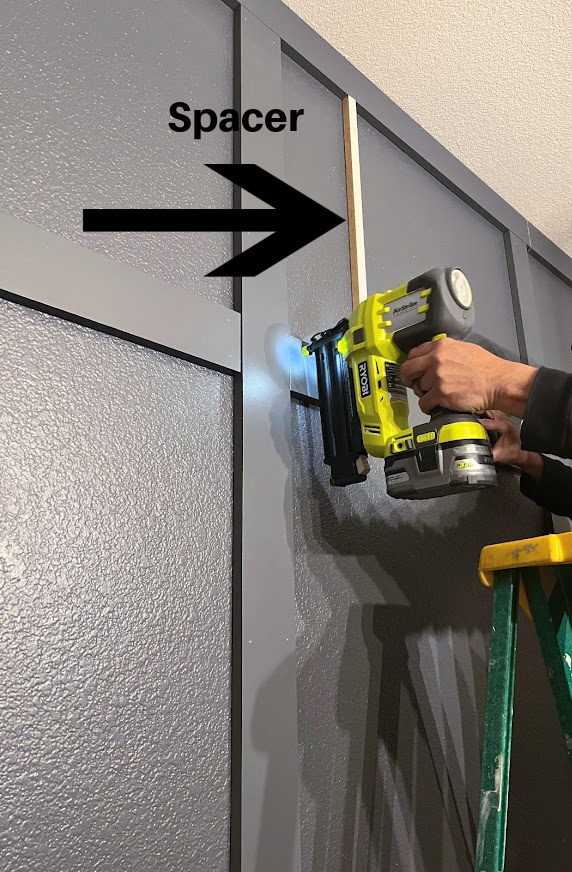
 Once the vertical pieces were attached, we cut and attached the horizontal pieces. We only opted for 1 board, just a personal preference; we went about 1/4 down from the top of the wall. Mark the wall where they should go, again, making sure they are level. We used a spacer from leftover lumber to make sure that everything was even!
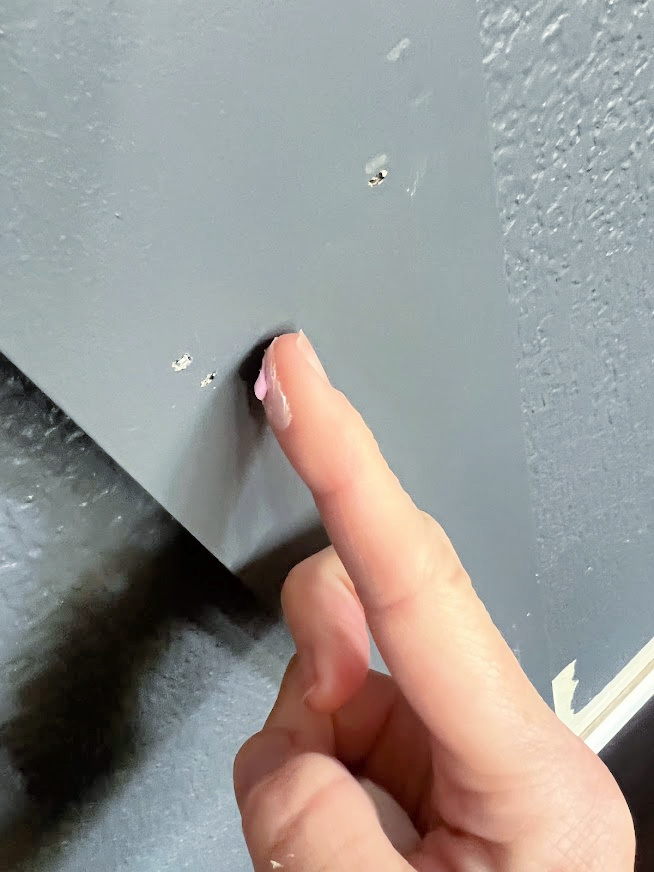
Wood Filler
You will need to fill in all the nail holes from the nails. Simply, use your finger to fill the holes. Once it is dry, use a sanding block to lightly sand down the wood filler so it is flush. I like to have a baby wipe or a damp cloth nearby to wipe my finger in between filling the holes.
And even though I feel like we measured and measured again, we were short 1 board, back to the store we went and purchased an 8-footer.
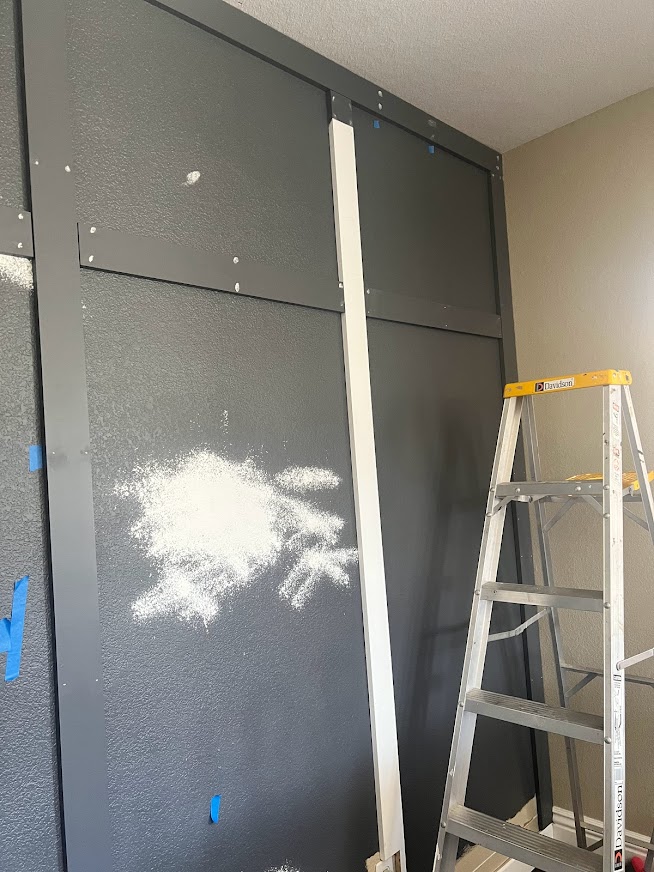
We also had to patch some pretty big holes in the wall. Our TV was mounted here, and we ran cords behind the wall so they wouldn’t be seen. So we added drywall and then textured the wall the best we could to make it a match.
Caulk
Next, we sealed all of the edges and seams of the boards with caulk. To caulk seams, run a small bead of caulk where the trim pieces meet the wall, and smooth it down with your finger.
Paint
Paint over all the places you caulked and filled to make sure the entire wall is the same color. Paint any other places that need touch-ups.
You can read all about the desk here.
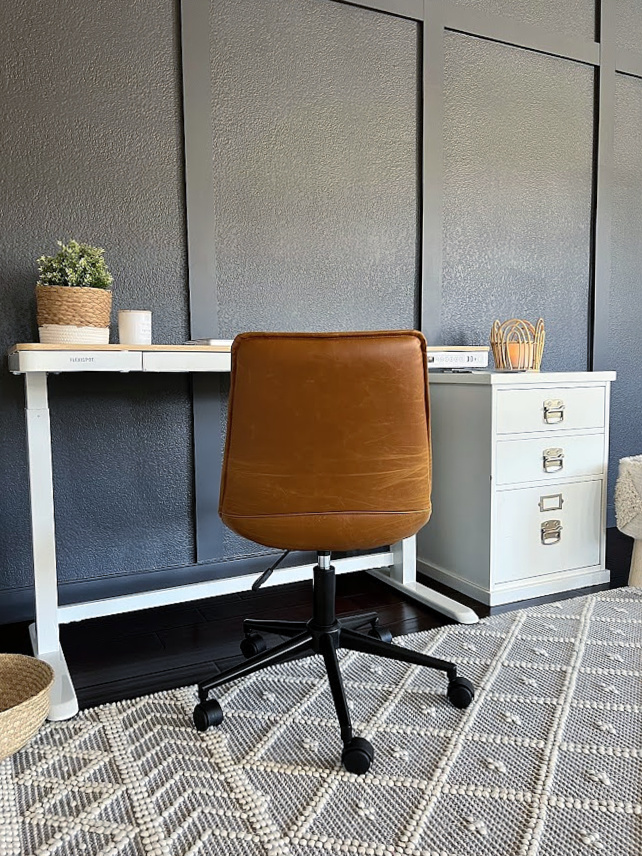
I’ll be sharing more of the space later this week with product links.

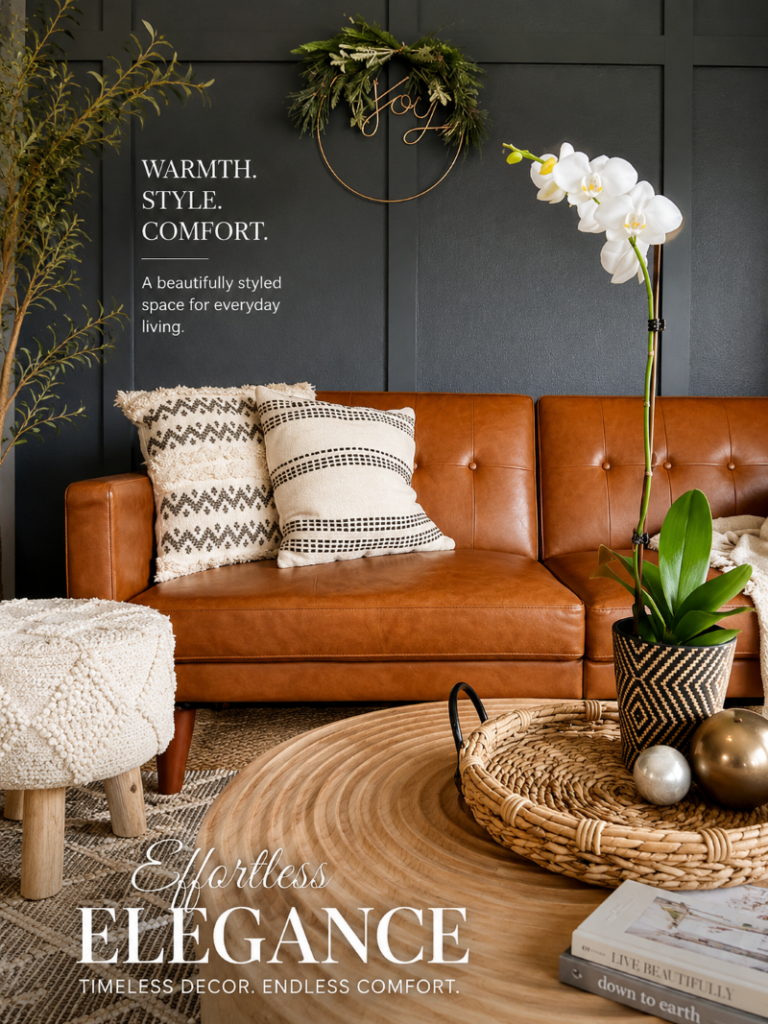
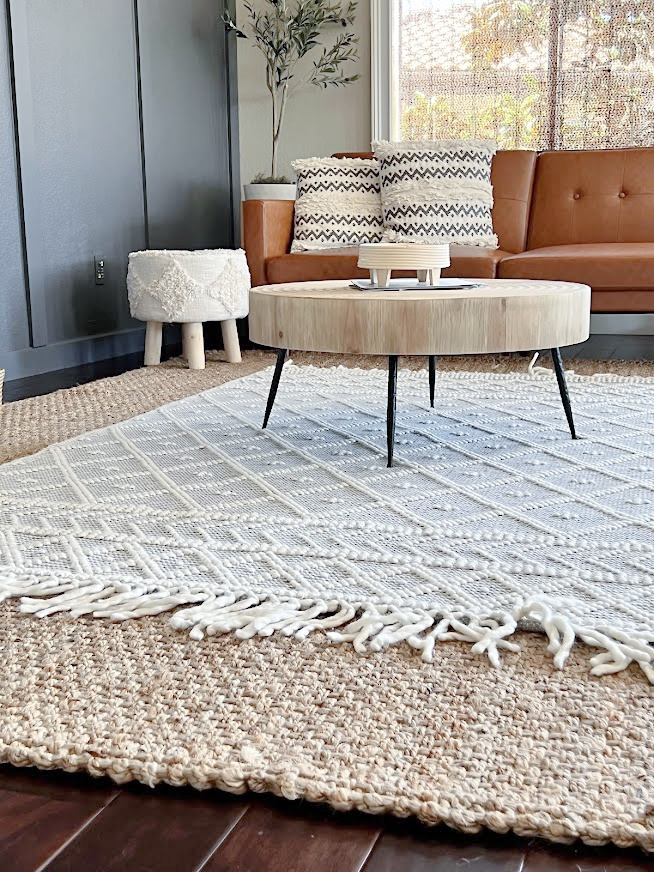
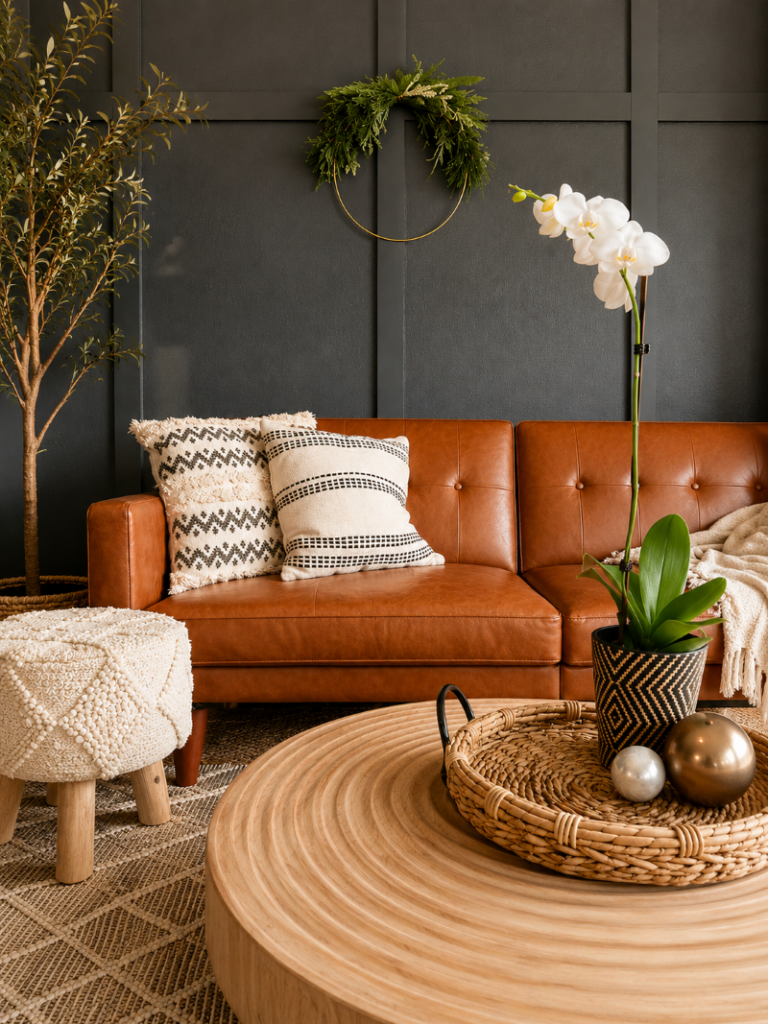
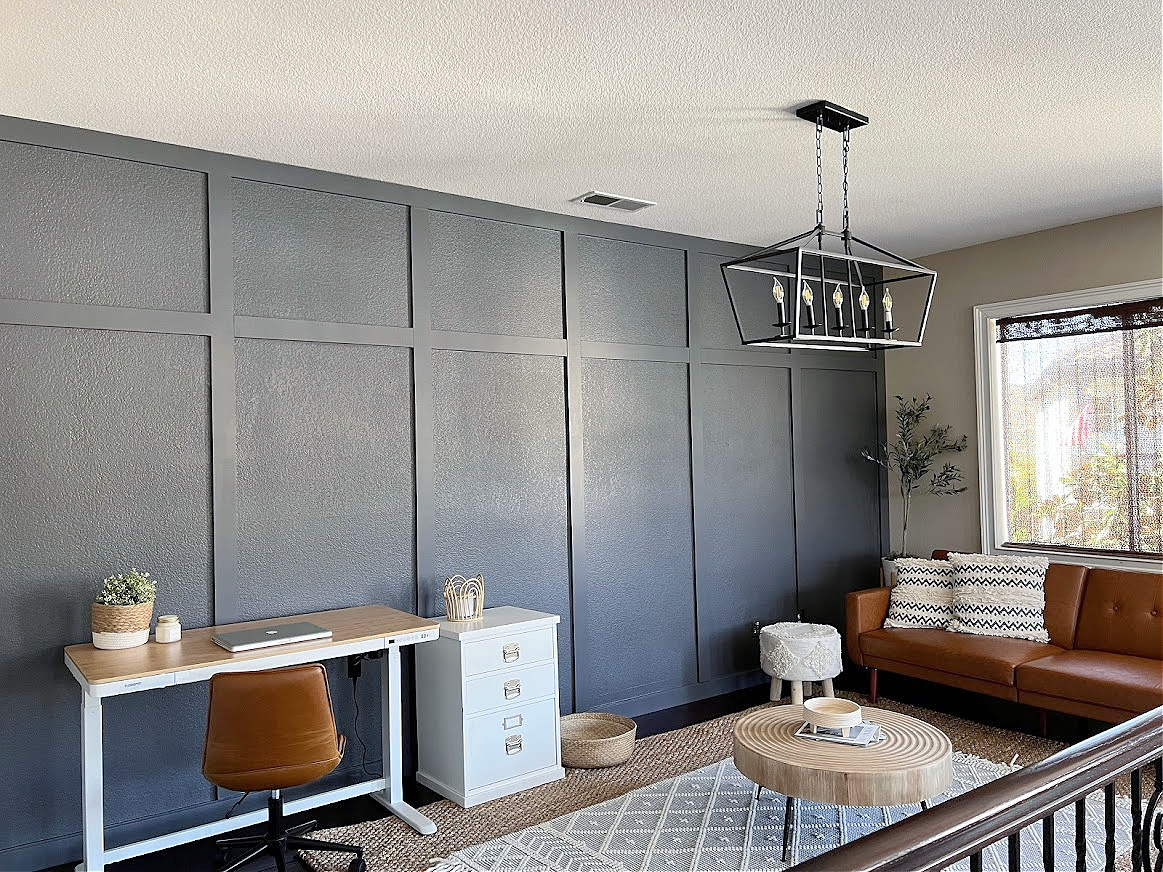
We are so pleased with the finished product and how this wall turned out. It completely transformed the space and gave the loft a modern look! An affordable way to give a blank wall some character, add a focal point, and elevate your space.
This wooden accent wall would be the perfect look in a dining room, home office, living room, or really anywhere in the home!
Thanks so much for stopping by today, friends! Have you used wall trim in your home? If so, I would love to see your finished projects! I hope this step-by-step tutorial helped you out today.


Thanks for the great tutorial, Kristen. I’ve been wanting to do this type of treatment on a wall in our living room but was a little afraid of it. With your information I think I can handle it. I actually love the texture in the panels so I think I will definitely skip that step.
Thank you so much, Janet, I appreciate your kind words 🙂 It really was not a difficult project, just lots of steps and trying to figure out the design and the math. I can’t wait to see what you do!
Wonderful accent wall design. Your paint color choice is gorgeous too.
Happy Spring,
Kippi
Thank you so much Kippi
Wow, what a difference the accents make to the wall. You did a great job.
Thank you so much Anita!
WOW thank you for the detailed tutorial, I feel like this is something I might be able to accomplish. It looks beautiful and I really love the paint color.
Thank you, Tiffany, let me know if you give it a try, I would love to see your finished product.
I love how the whole loft came together, it’s just beautiful but that wall is the show stopper
You are so sweet Marg, thank you!
That look is classic Kristin! The rich color is lovely too! Pinned 😊
Thank you so much, Cindy, I really appreciate it!
This looks so good! I really want to do something like this in our house. Love the color you chose too. Great inspiration Kristin!
Thank you so much Marie!
Great post! For those looking to tackle a DIY wood accent wall, hiring a handyman service can ensure a professional finish and save you time. Thanks for the helpful tips!