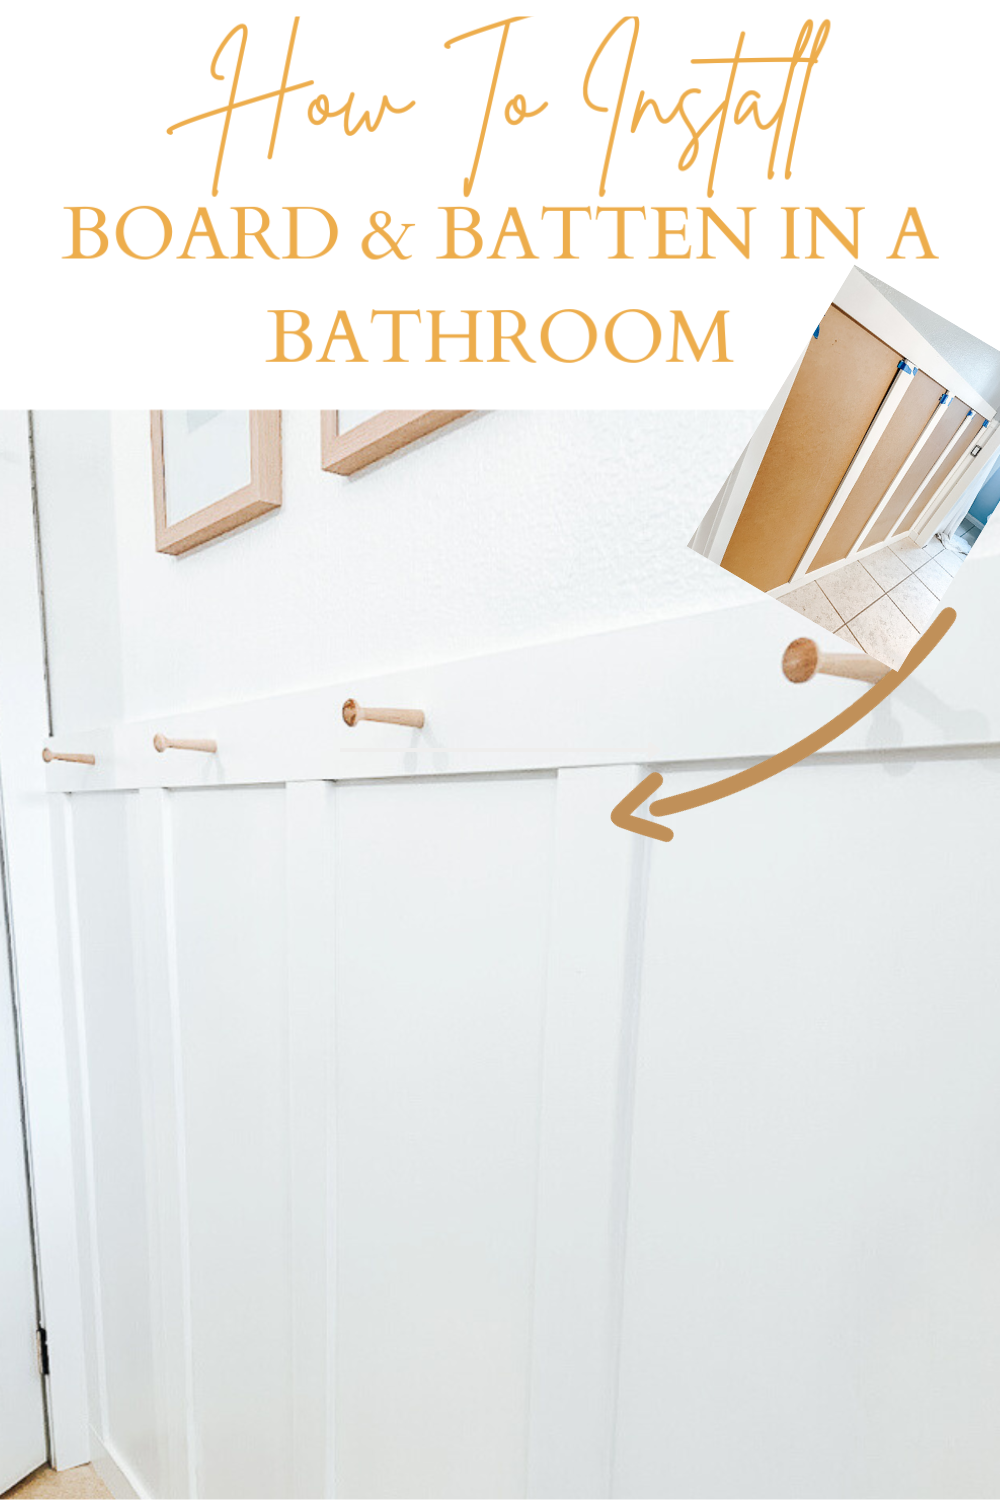
Easy DIY Board and Batten Accent Wall with Hooks
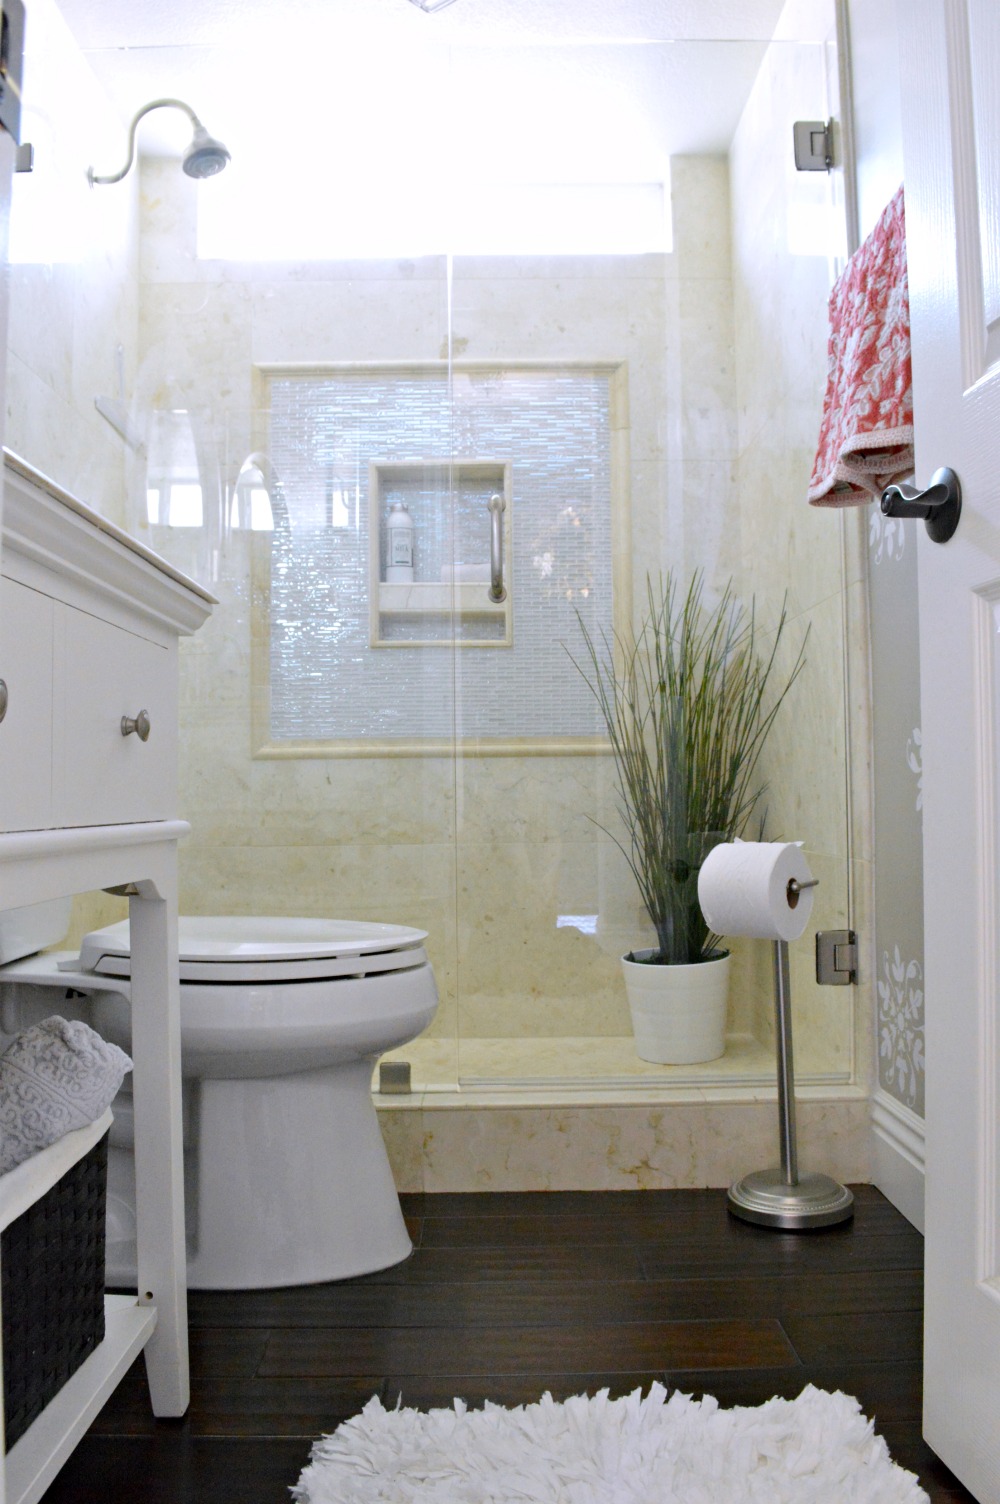
Adding a board and batten accent wall to your bathroom walls can transform the space from ordinary to extraordinary. This classic wall treatment not only enhances the aesthetics of the room but also provides a protective and durable surface. If you’re ready to take on a DIY project to upgrade your bathroom, follow this step-by-step guide and give your bathroom a fresh, elegant look.
I think this is the last tutorial I have to share on the bathroom. The 2 kids have been using it for about 3 weeks and to my surprise keeping it pretty clean lol. Thank you so much for all of your kind words on this project, it means the world to us!

affiliate links are listed below
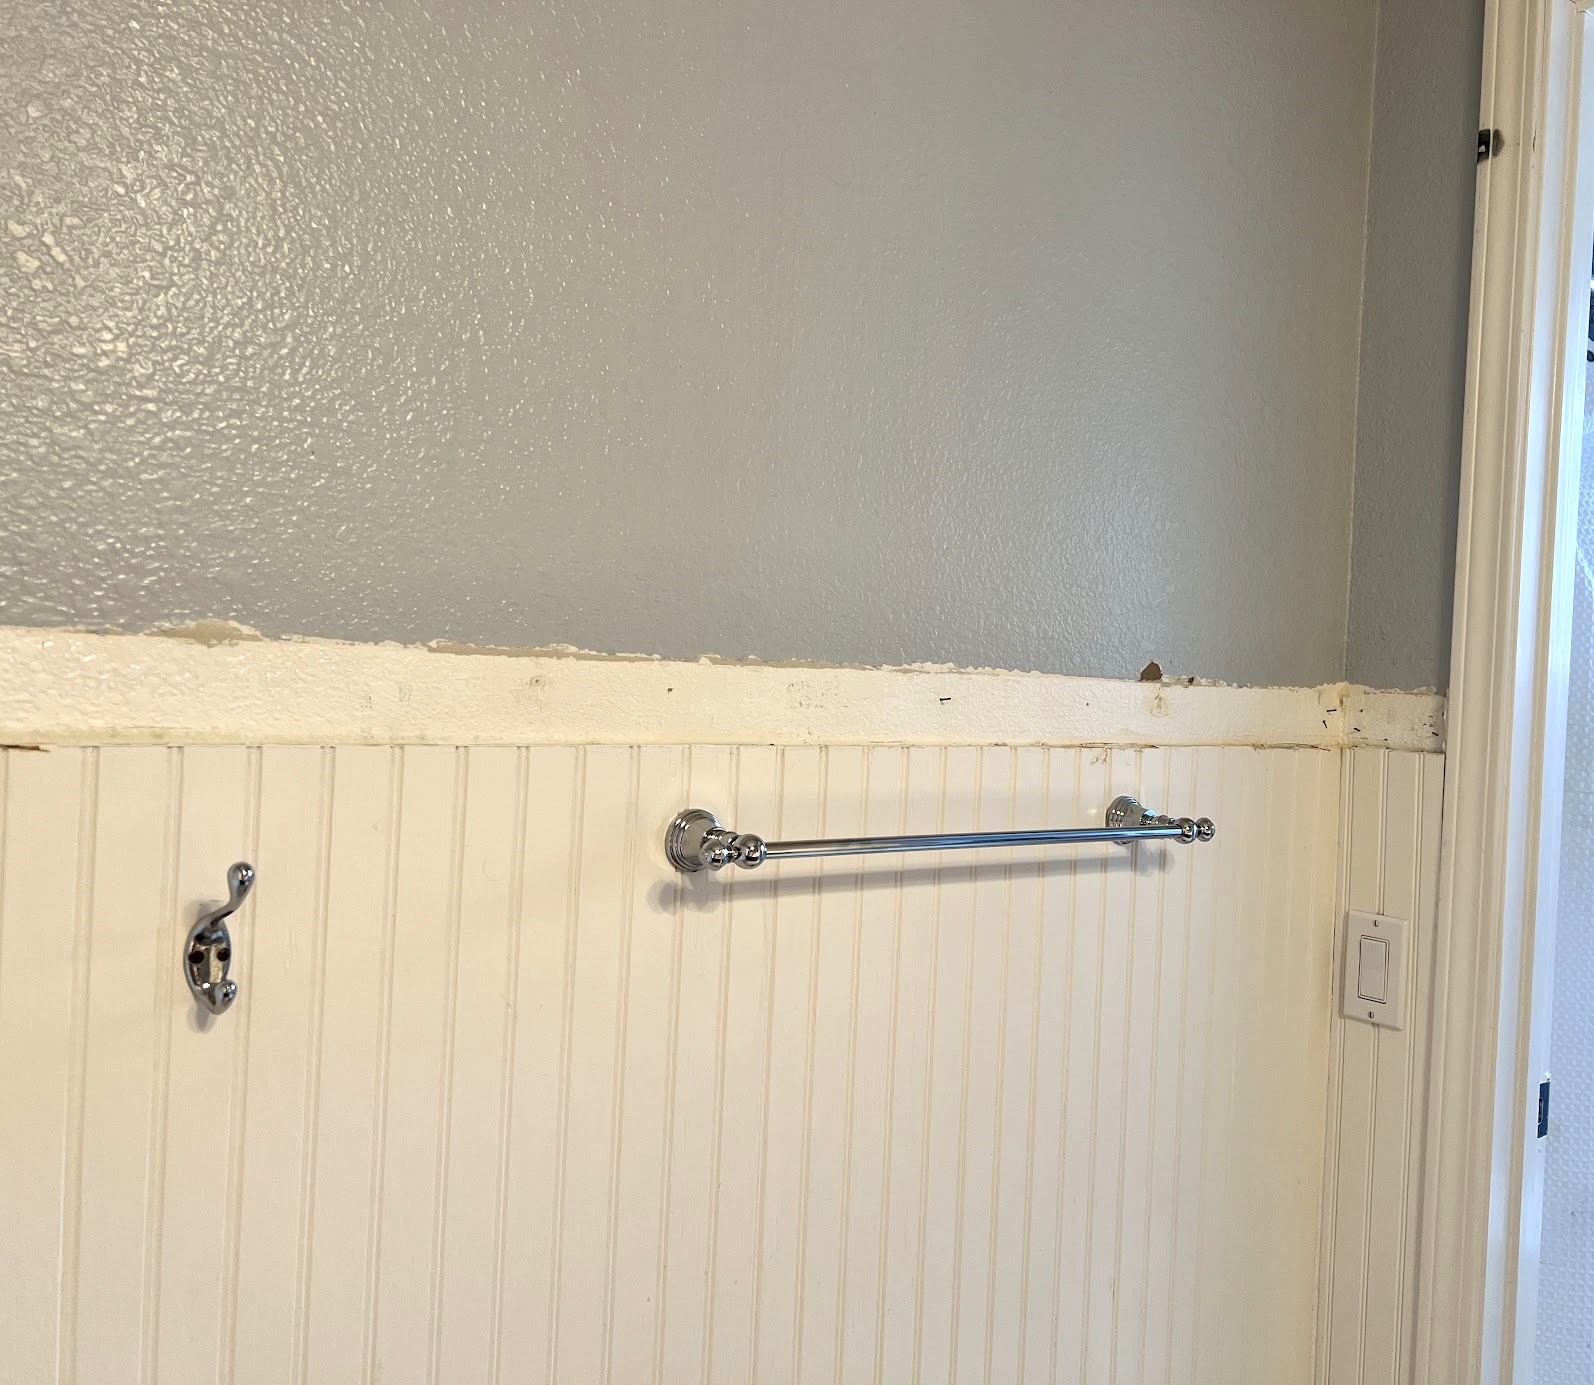
We had outdated wainscoting, baseboards, and a rail trim on the wall from 20 years ago. The best way is to start this project is with a blank wall, so we tore everything off of the walls. (You can keep your old baseboards but since our’s were very small and old we decided to add a new baseboard that matched the rest of the trim.
Note, the amount of boards you will need depends on the length of your wall
Materials You’ll Need:
1×4 1/2 inch thick wood boards (or whatever size you prefer)
MDF boards or plywood panels see notes in step 2 (optional)
Nails and Nail Gun or Brad nailer and nails
Sandpaper
Paintable Caulk
Paint we went with Chantilly lace Benjamin Moore
Paintbrushes or rollers
Painter’s tape
Wood filler or wood putty
Liquid nails or some type of Construction adhesive (optional)
Pencil
Caulking gun
Stud finder
Miter saw
Level
Dremel Only if needed
Measuring tape
Utility Knife
Prybar and Hammer (only if needed to remove old baseboard)
Jig Saw (if needed to make cut out’s for outlets)
First Step: Plan Your Design
Before you head to the store or start cutting or installing anything, plan your board and batten wall treatment so you know exactly how much trim you need to buy. Decide on the spacing between battens, how high you want the top rail, and whether you want to panel the wall. Use a level and pencil mark for your guidelines on the wall. Common spacing between vertical boards is anywhere between 12″ – 20″.
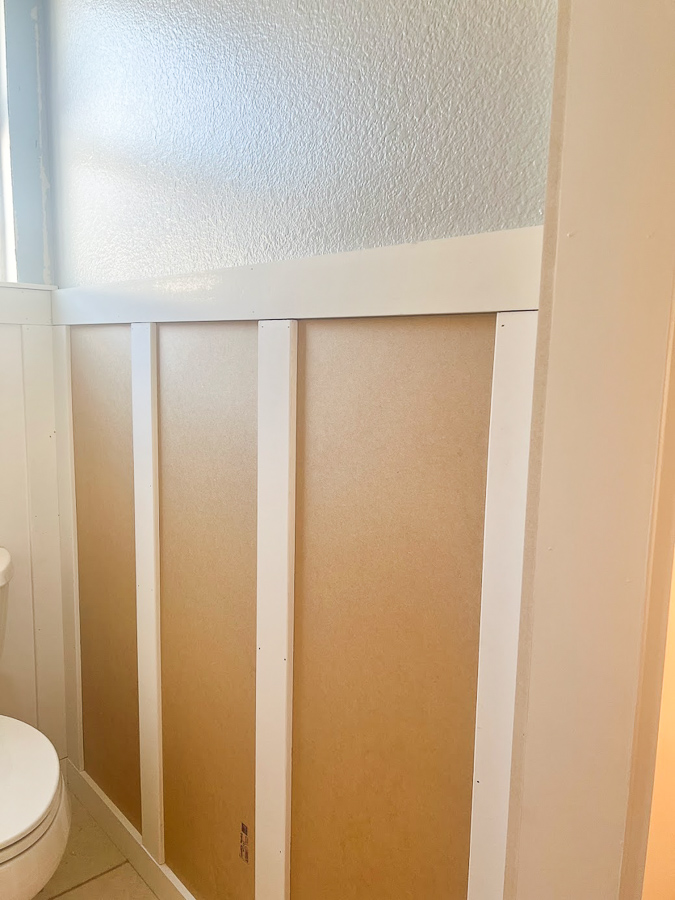
Step 2: Optional: Add Panels
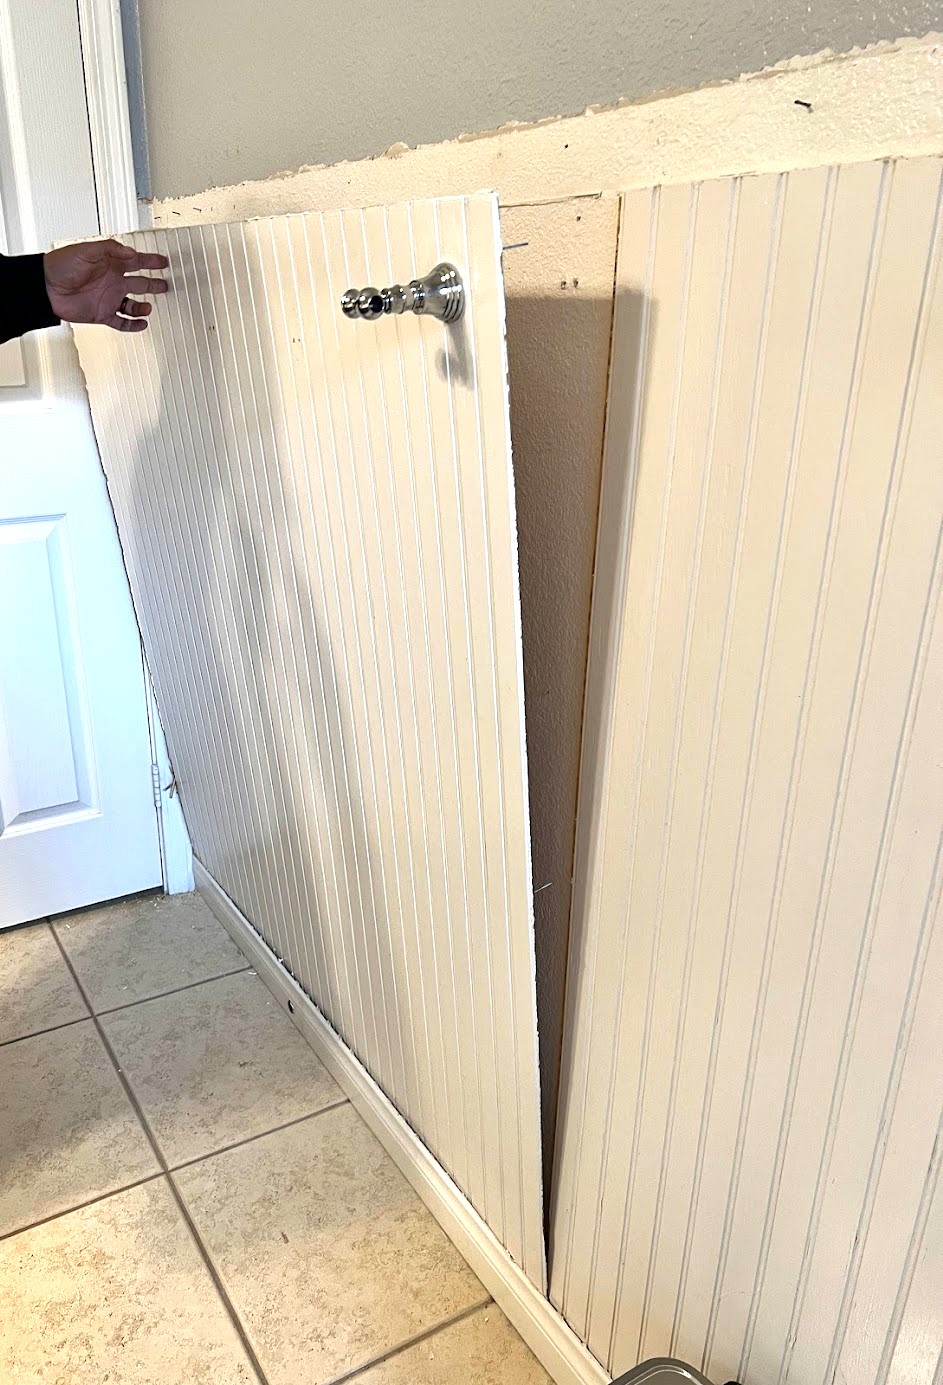
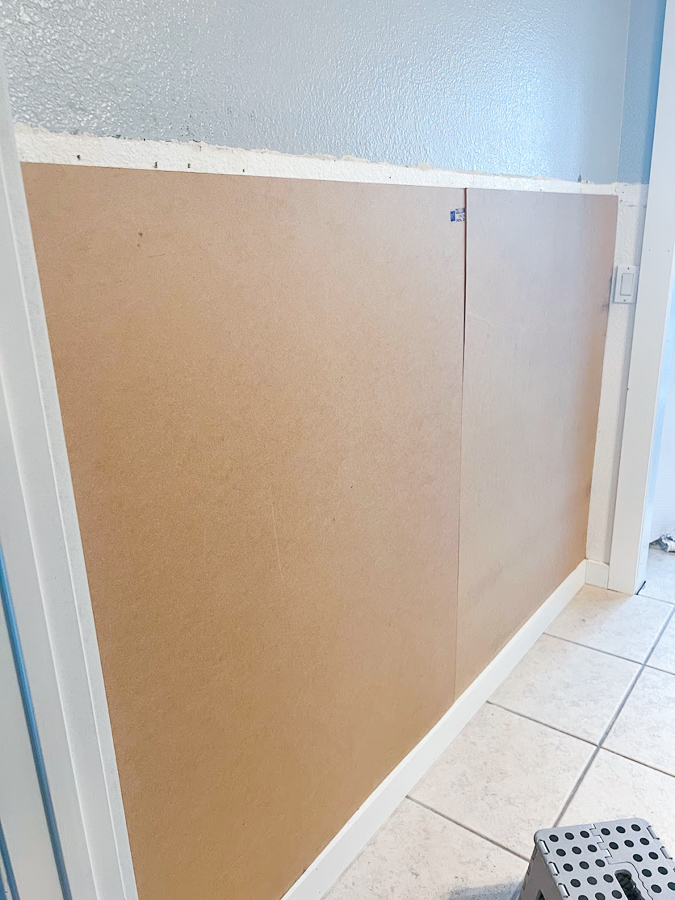
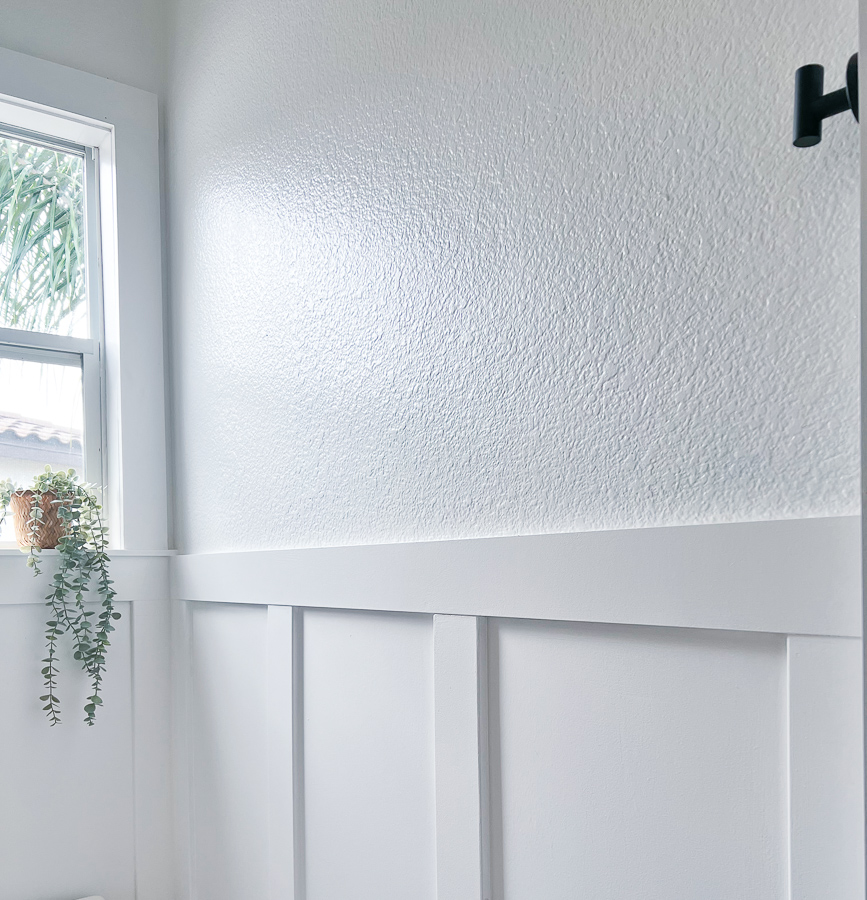
Since we have textured walls, and we were going to be painting everything white, we covered the walls with Panels.
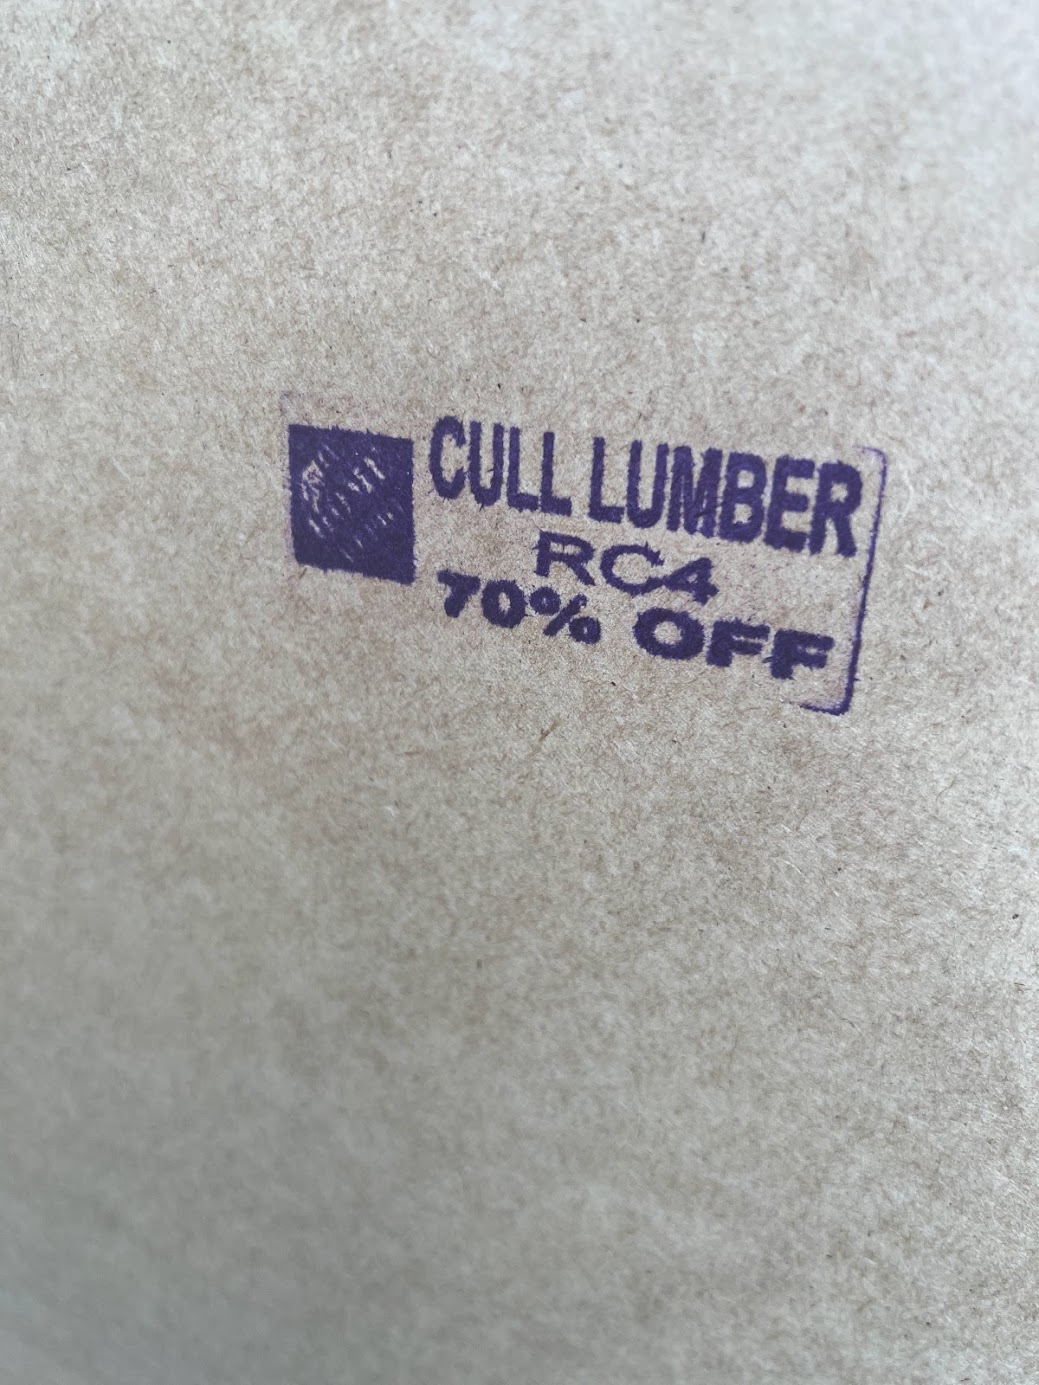
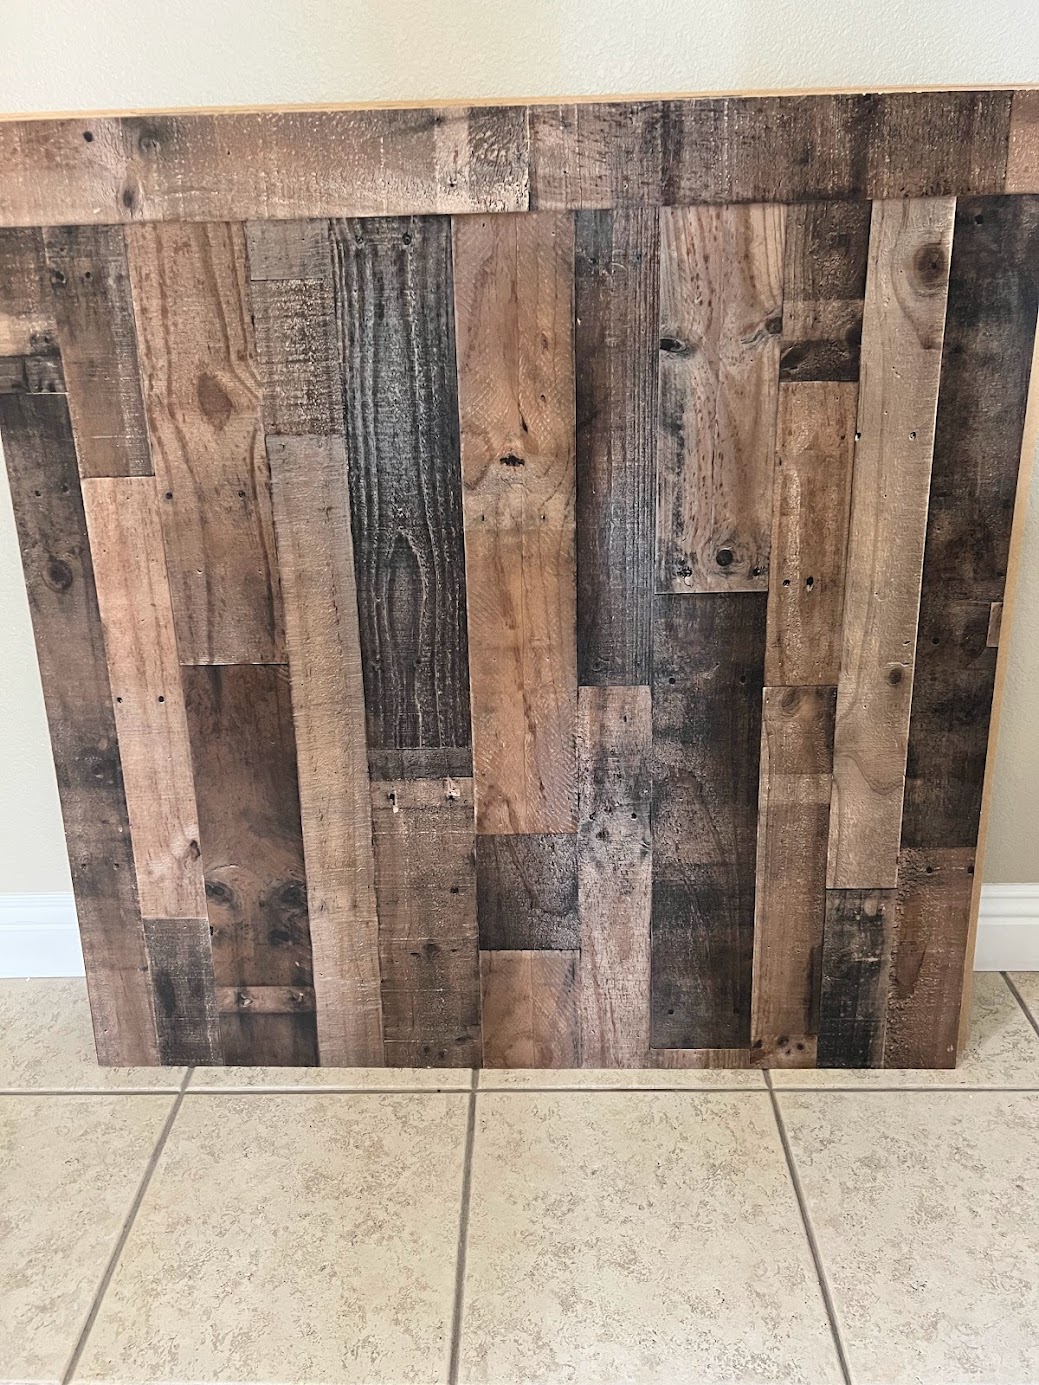
We used cull lumber, which you can find at Home Depot in the back, it’s usually about 70% off regular pricing. It’s usually wood that has been discontinued, damaged or scraps from cuts. The front had a wood accent design so we just used the back side. Cut your MDF or plywood panels to fit the wall. Use a stud finder to locate the studs and mark with a pencil. Make sure to make any cuts for wall outlets or a light switch cover using a dremel. Attach them to the wall using liquid nails and nails.
Step 2: Cut Your Boards
Measure and cut your boards according to your design plan using a miter saw or hand saw. Ensure you have exact measurements and that your cuts are precise, especially if you’re adding panels, as any discrepancies will be noticeable.
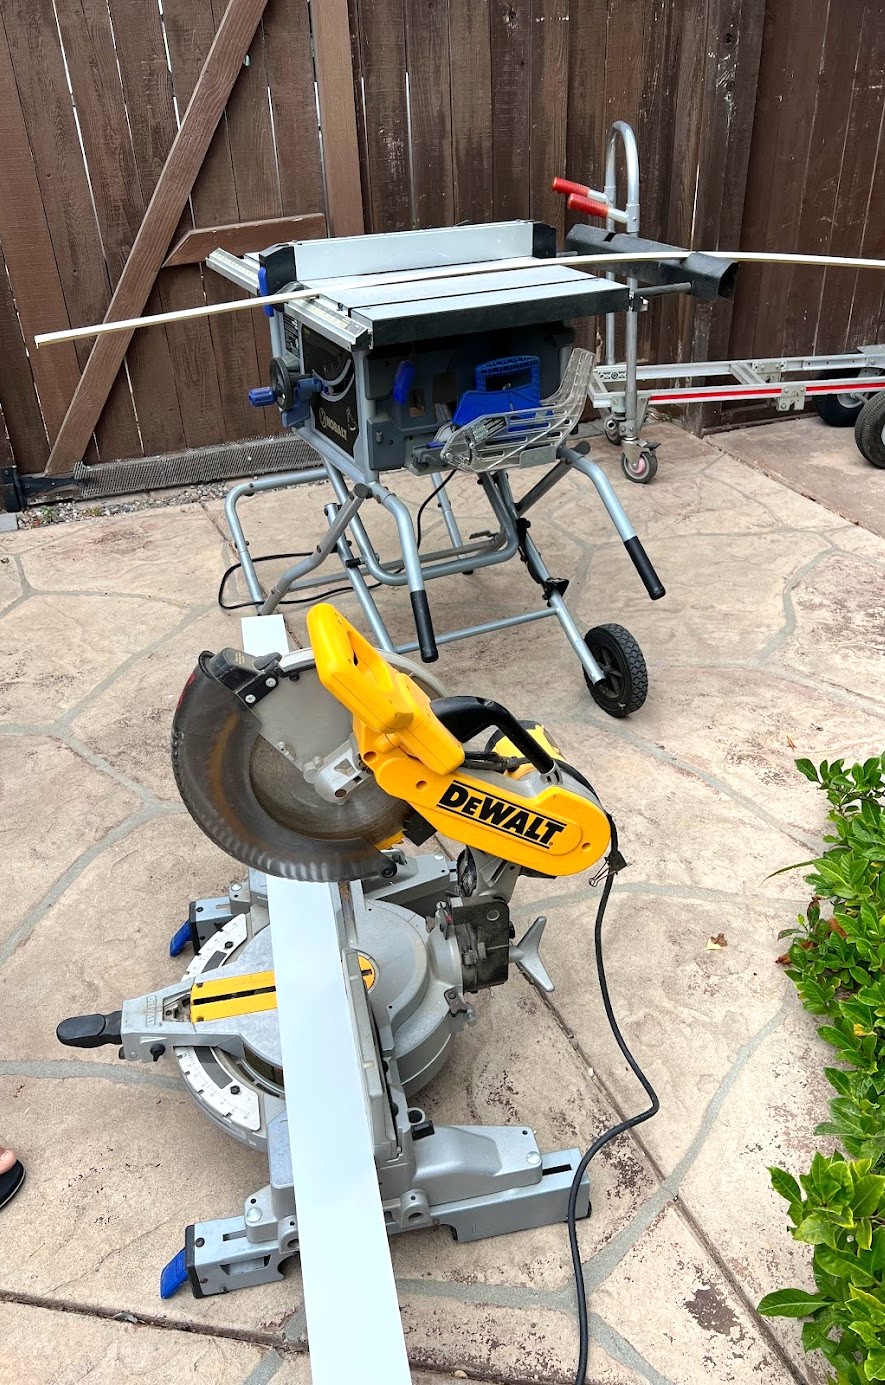
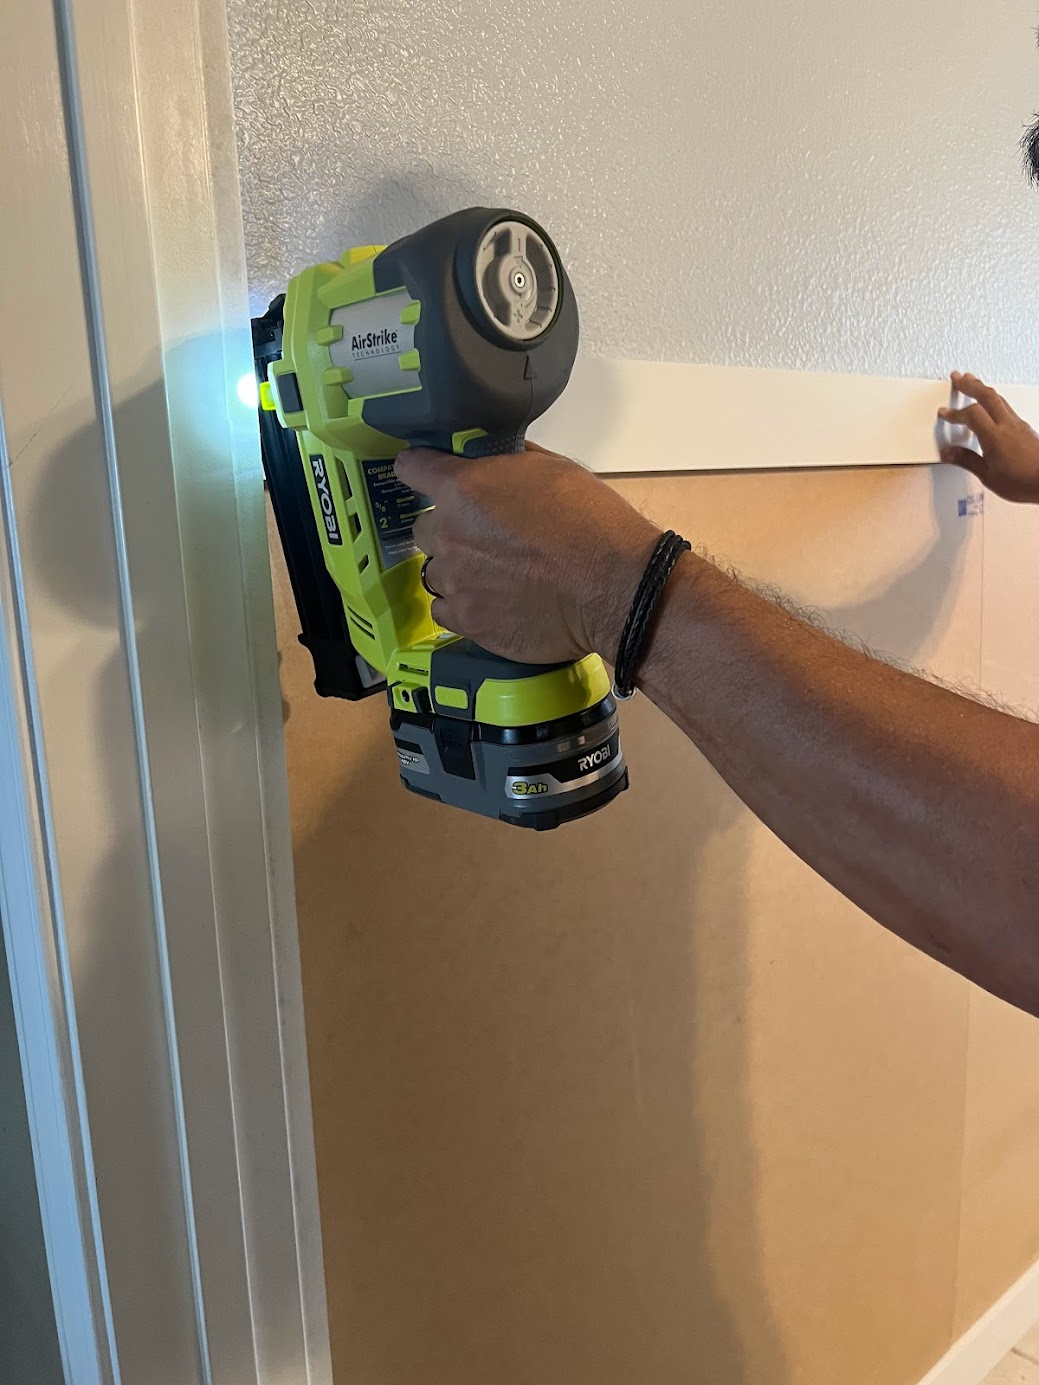
Step 3: Install the Top and Bottom horizontal pieces
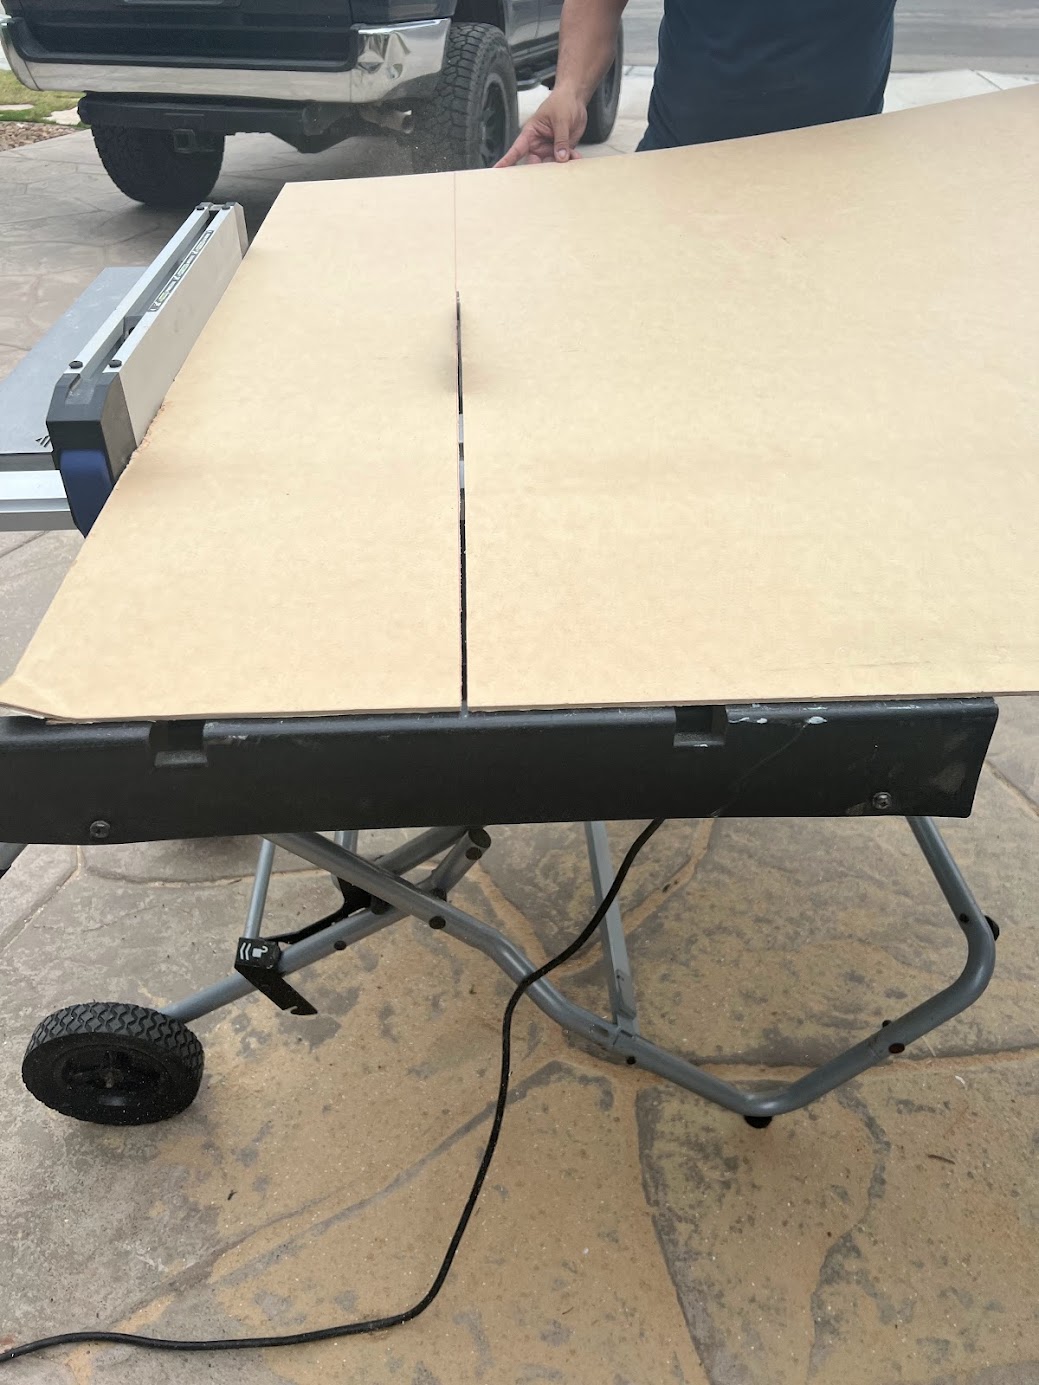
We made straight cuts to the boards using a table saw and secured the boards to the wall with brad nails and liquid nails. Make sure to use a level to ensure the boards are straight. For the baseboard, we used the same piece as the top horizontal board. I would recommend Brad nails on thin wood so the nail doesn’t split the wood. A finish nailer will still works fine, they can handle thicker wood and they add more strength to your projects.
PS that bracelet I purchased for my husband after his mother passed away this past Thanksgiving. It has all of the kid’s initials and his mom’s, it’s so special, he never takes it off!
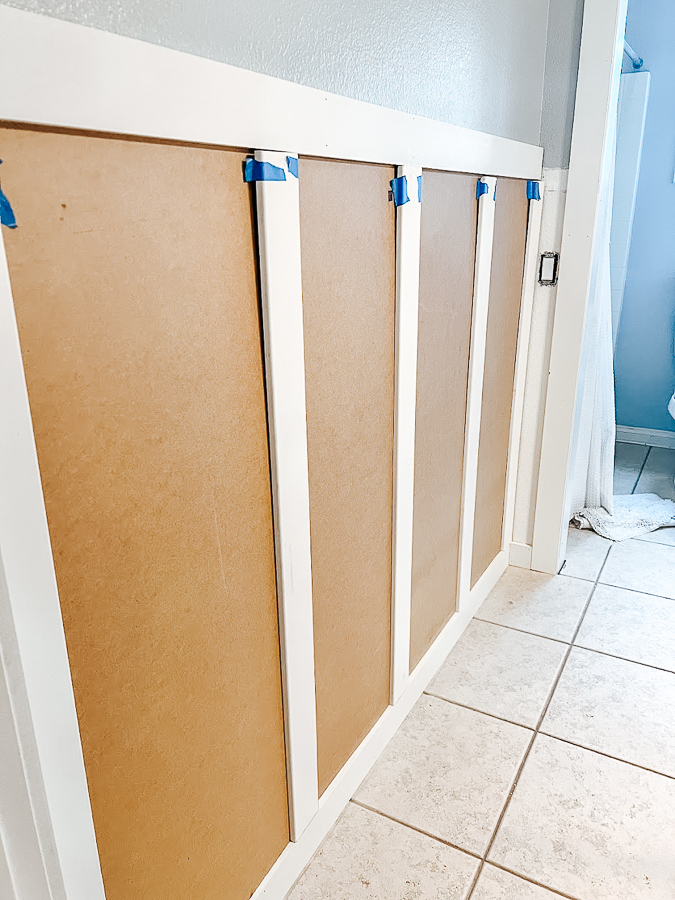
Step 4: Install the vertical boards
Next, attach the vertical pieces. Start by installing a piece of vertical trim at each of the far edges of the wall, it’s like you are making a picture frame. From there, measure the width of the wall between the two corner trim pieces you just installed mark and measure where each vertical board will go, and make sure your trim pieces are evenly spaced. We had a total of 5 boards and spaced them 14 1/2 inches apart. We held them up with tape before nailing them in to make sure they visually looked good.
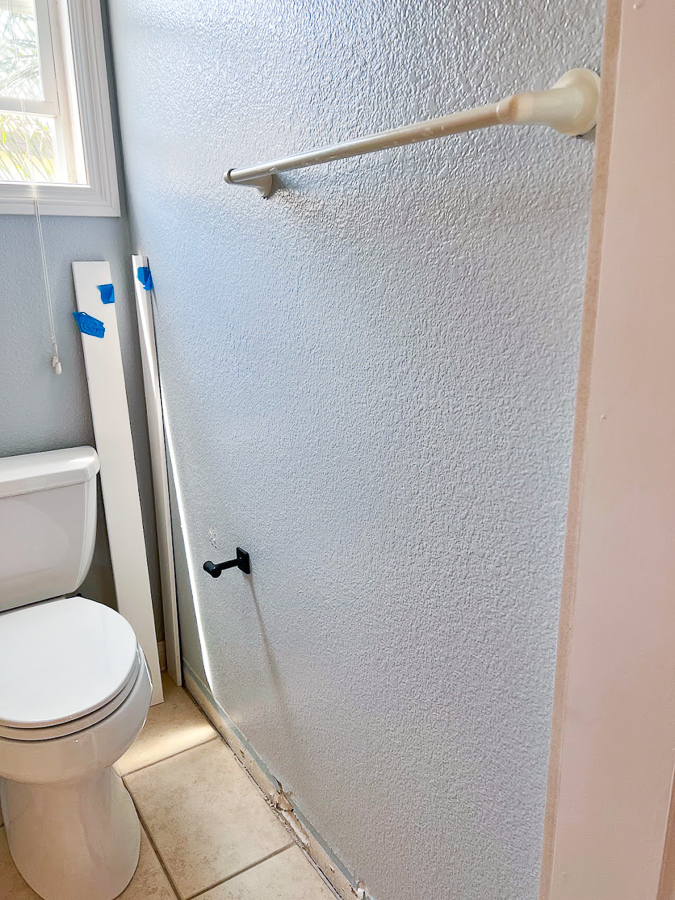
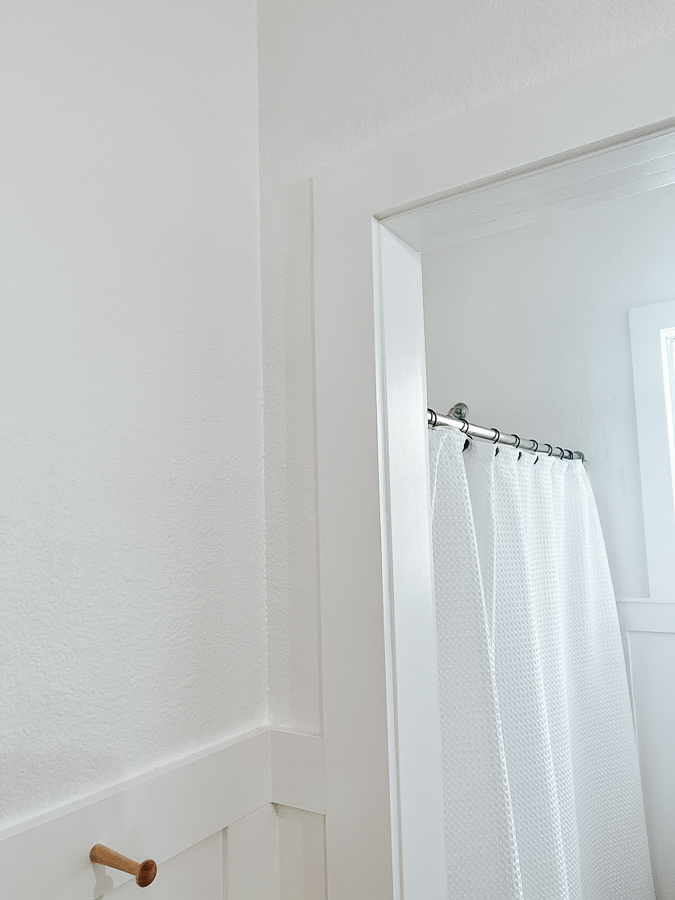
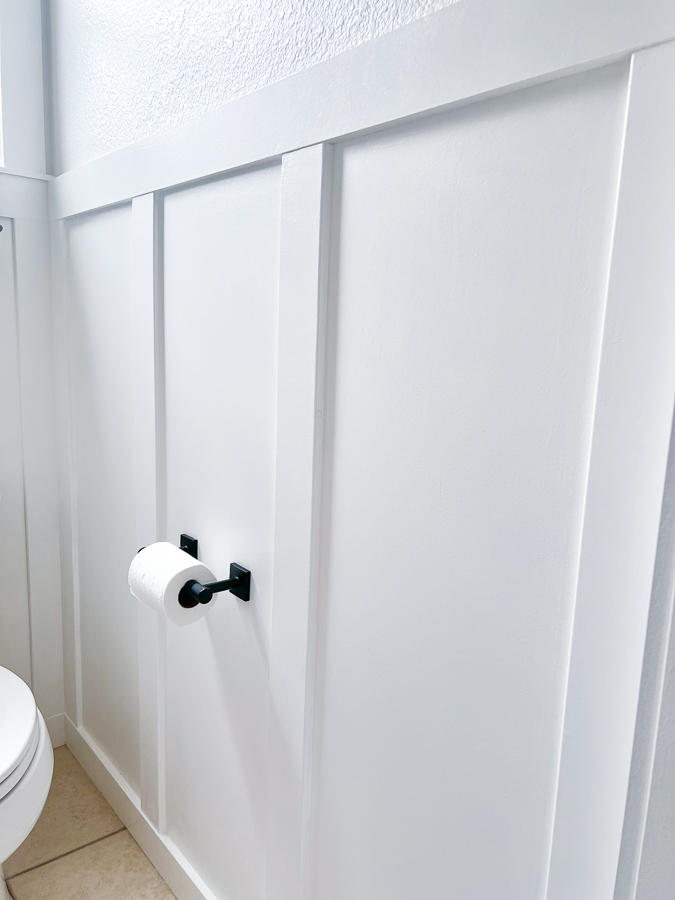
We continued the wall into the shower/toilet area as well.
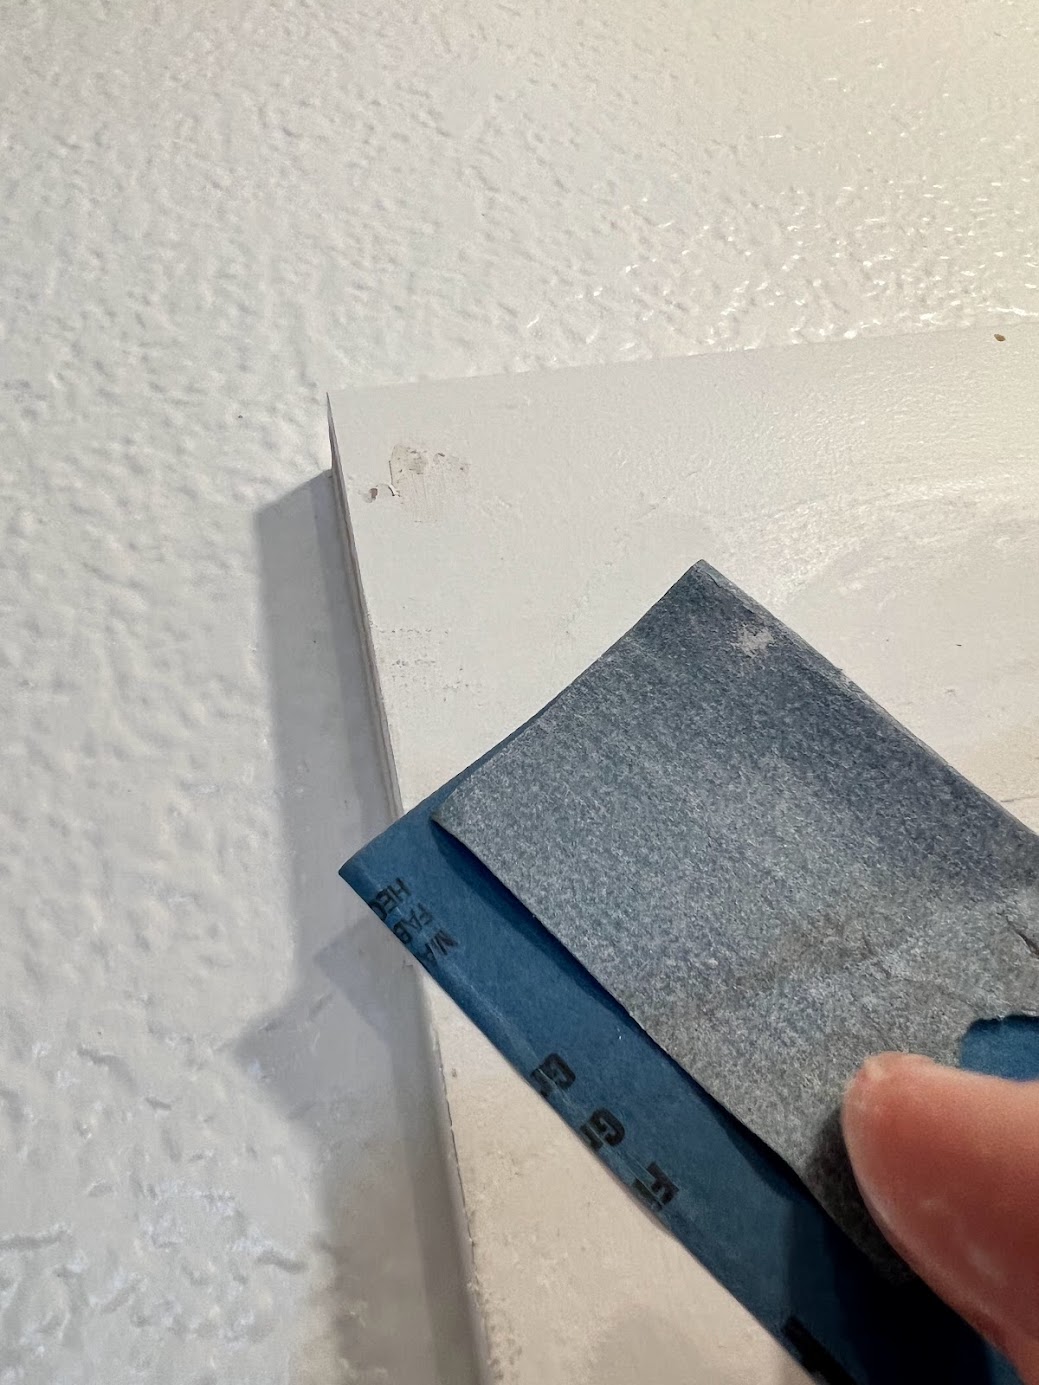
Step 5: Fill Nail Holes and Sand
You will need to fill in all the nail holes from the nails. Simply, use your finger to fill the holes with wood putty. Once it is dry, use a sanding block to lightly sand down the wood filler so it is flush. I like to have a baby wipe or a damp cloth nearby to wipe my finger in between filling the holes.
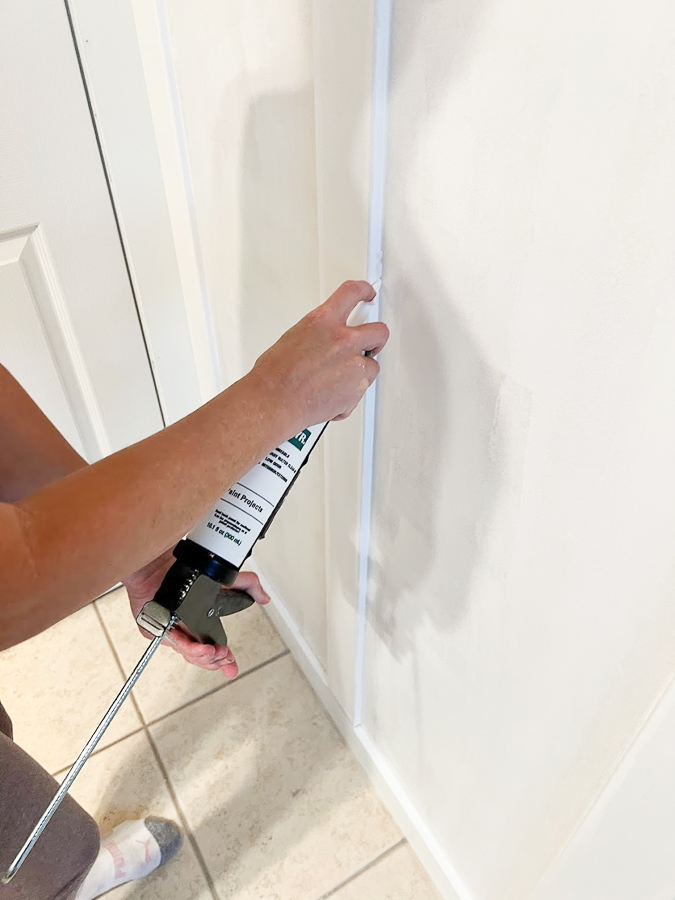
Step 6: Caulk
It’s a good idea to seal all of the edges and seams of the boards with caulk to really finish everything off. To caulk seams, run a small bead of caulk where the trim pieces meet the wall, and smooth down with your finger.
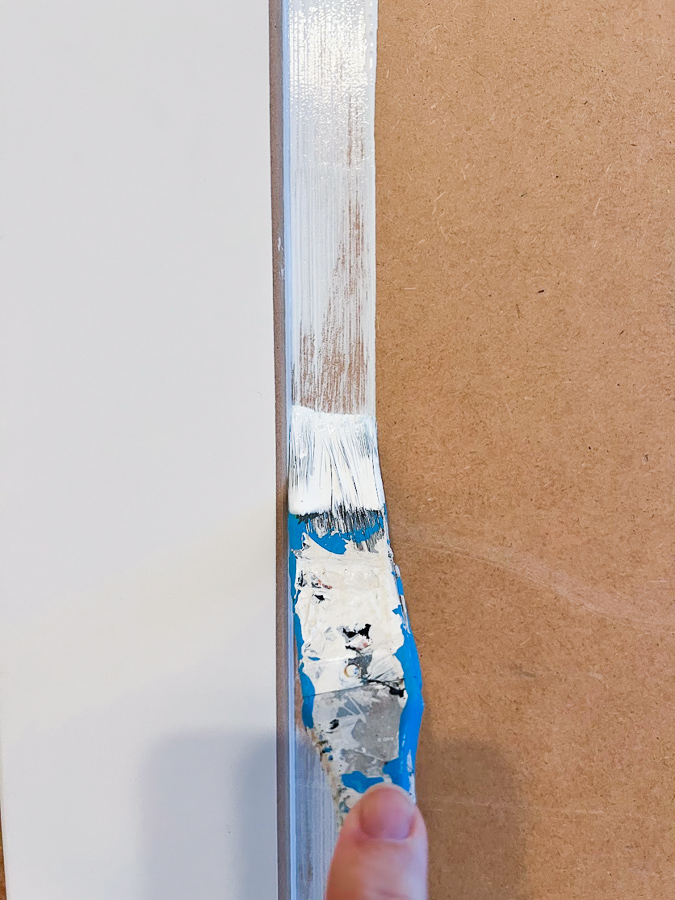
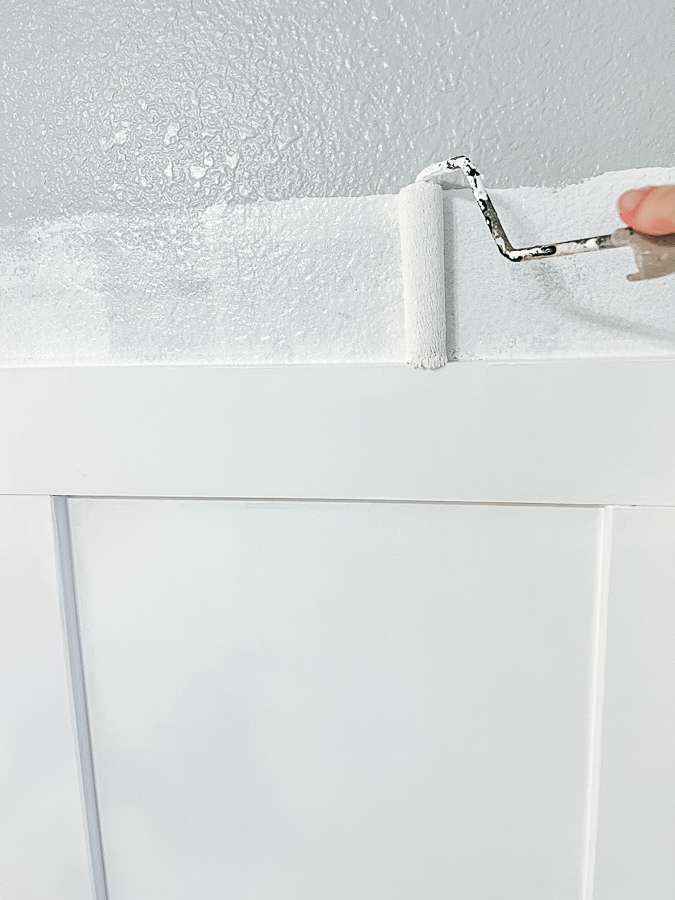
Step 7: Paint
For your final step, prime the entire board and batten with a high-quality primer. Once the primer is dry, apply a coat of paint in your chosen paint color. Use painter’s tape to protect adjacent surfaces and achieve clean lines. You can also use paint and primer in one. I wanted all-white walls and chose Chantilly Lace in satin. If you don’t have ventilation or a window and little guys that are tough on the walls, I would use semi-gloss for easier cleanup.
Optional
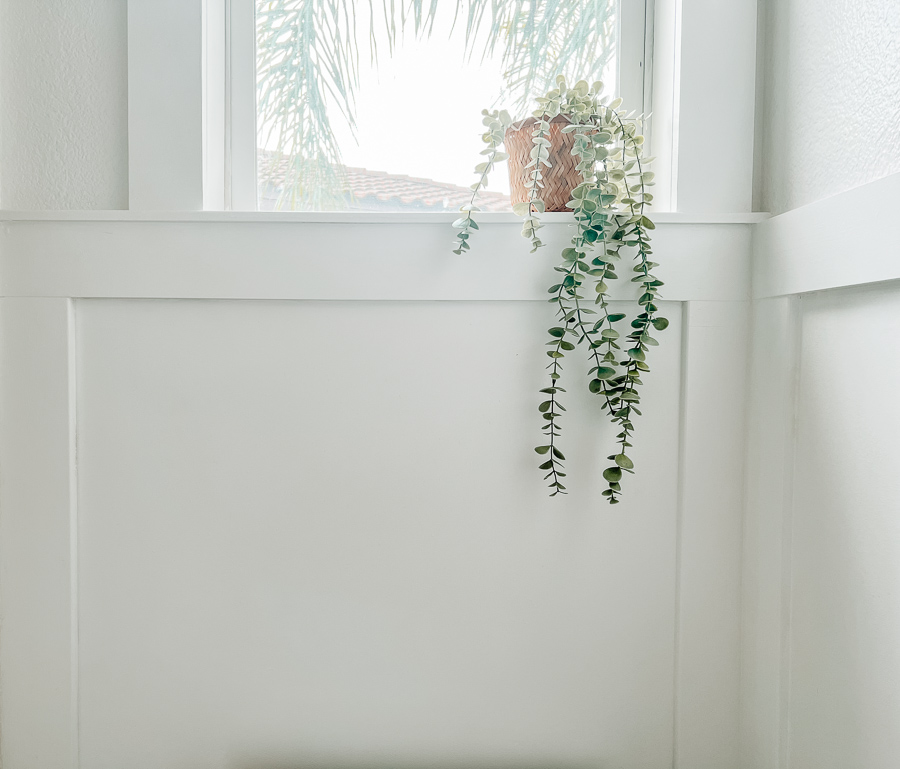
Many times you will see a picture ledge that is added on top of the top board. We decided against it to give it more of a modern feel.
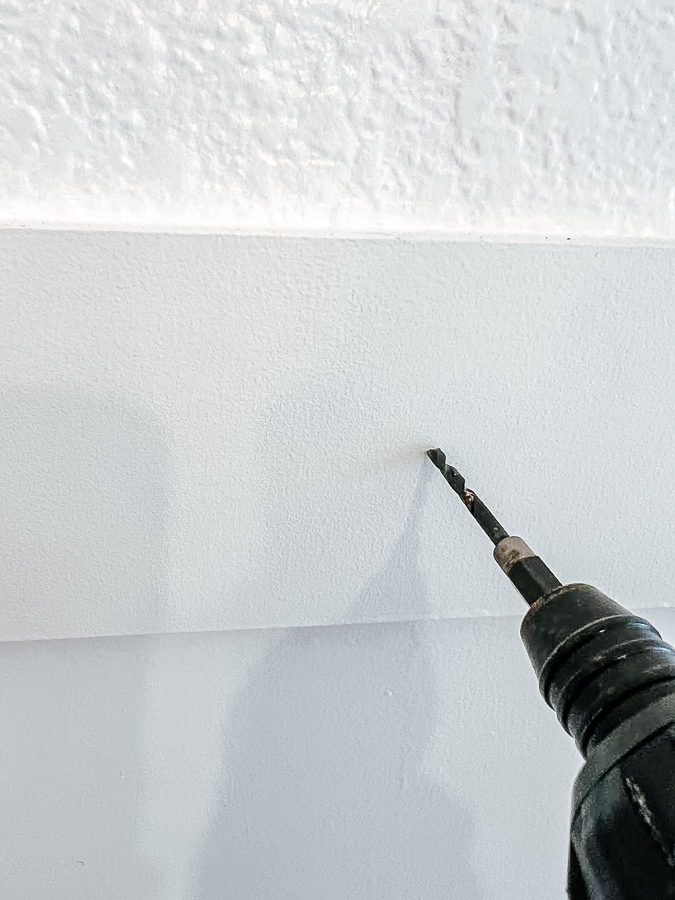
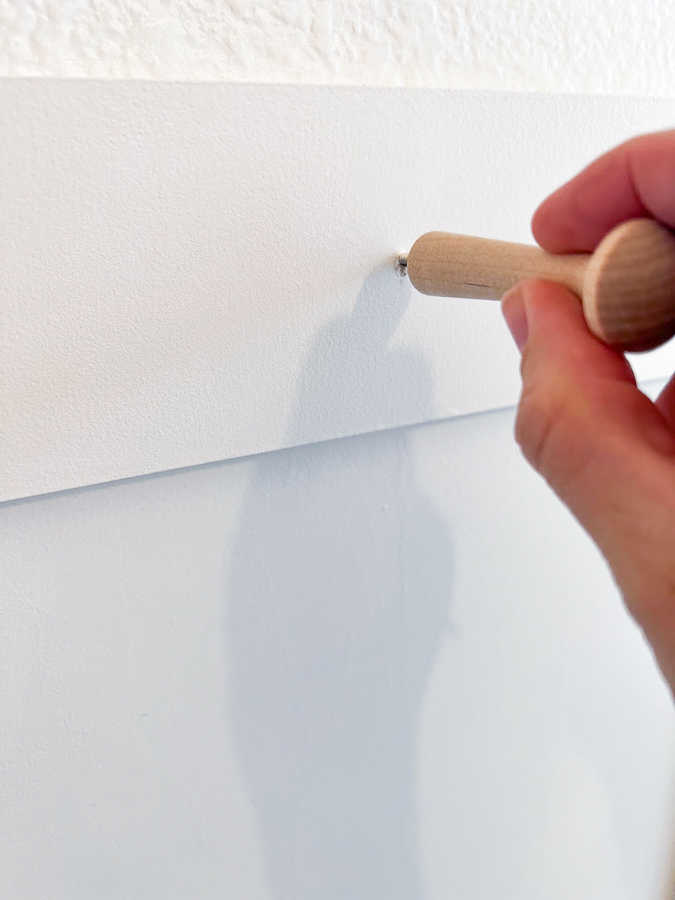
It’s up to you if you want to add hooks, we added them to hang the towels.
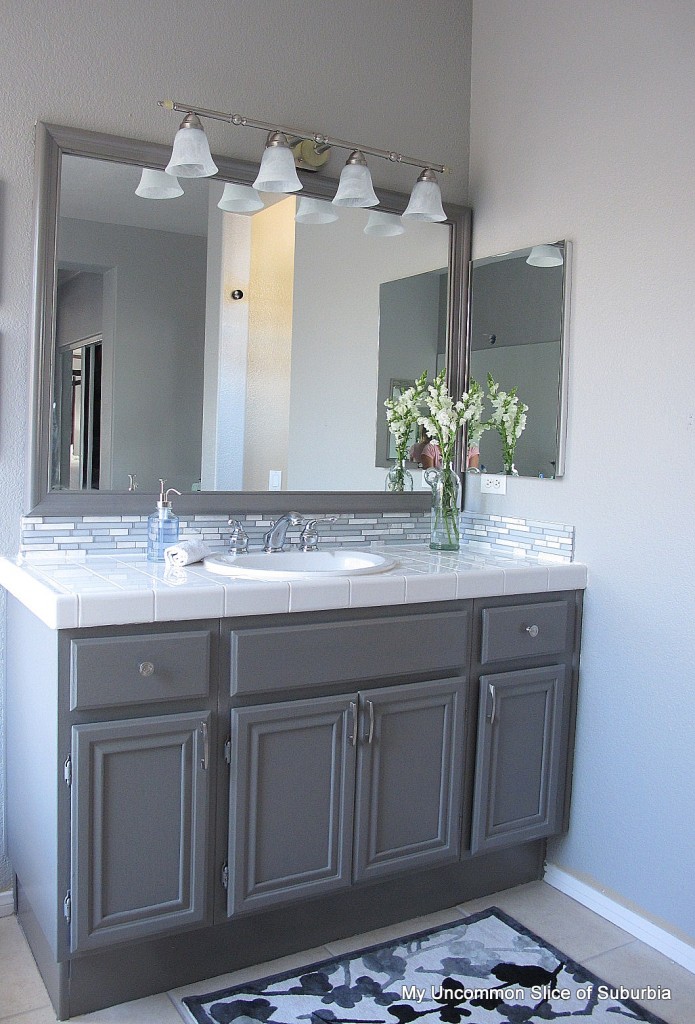
We continued the batten bathroom wall throughout the rest of the bathroom. This is not necessary but we wanted everything to look cohesive. We did not add all of the extra vertical boards, on each side of the vanity.
We also reframed all of the doors and the window to match the board and batten.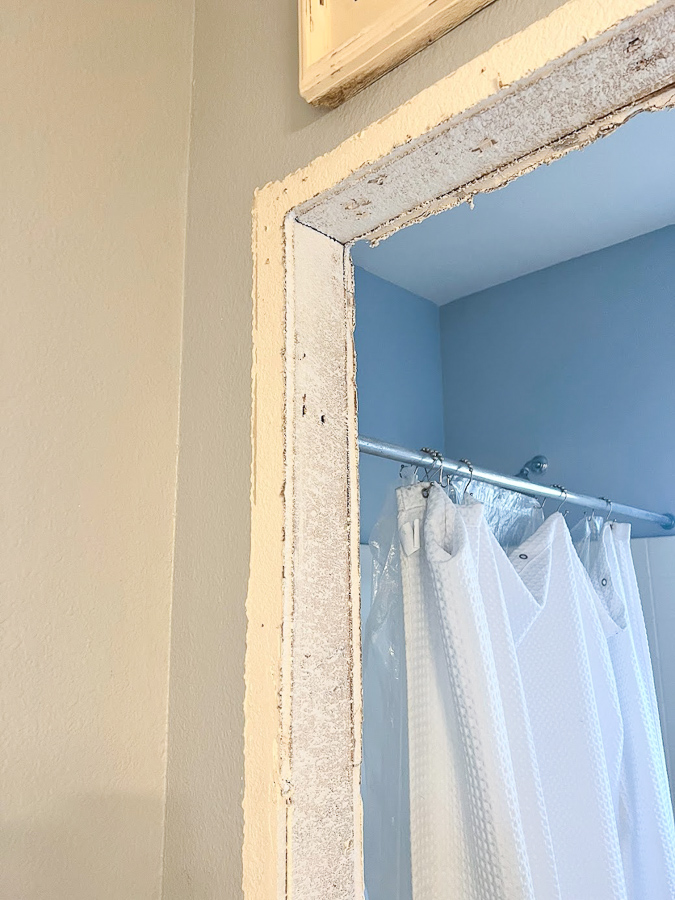
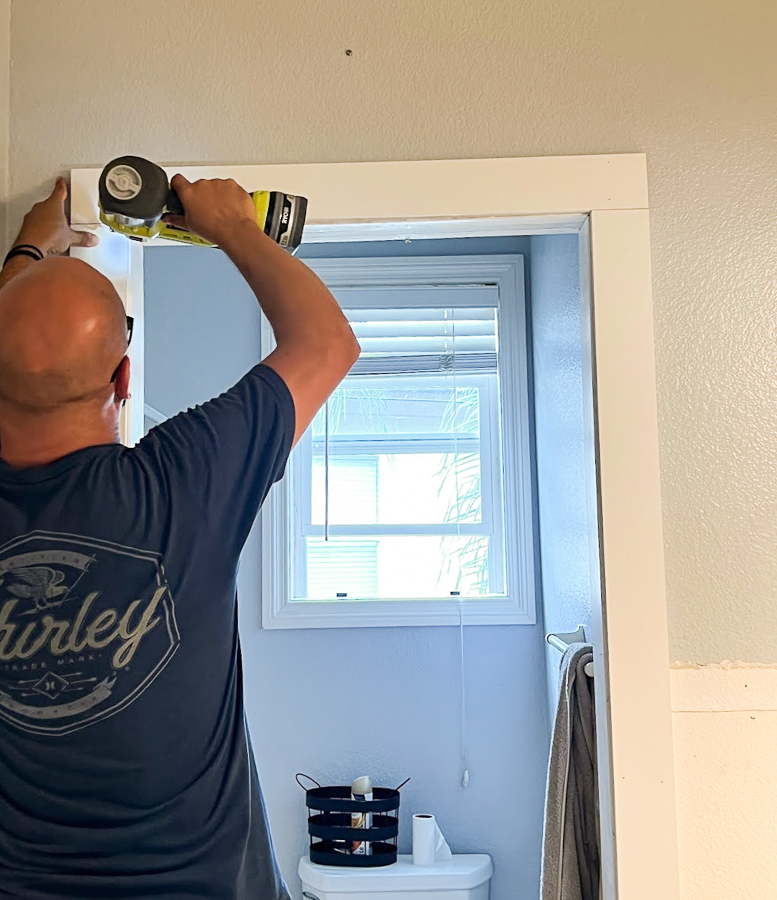
And that is a wrap on the bathroom, we still need to find a window covering for the window but it’s complete and we couldn’t be happier with it!


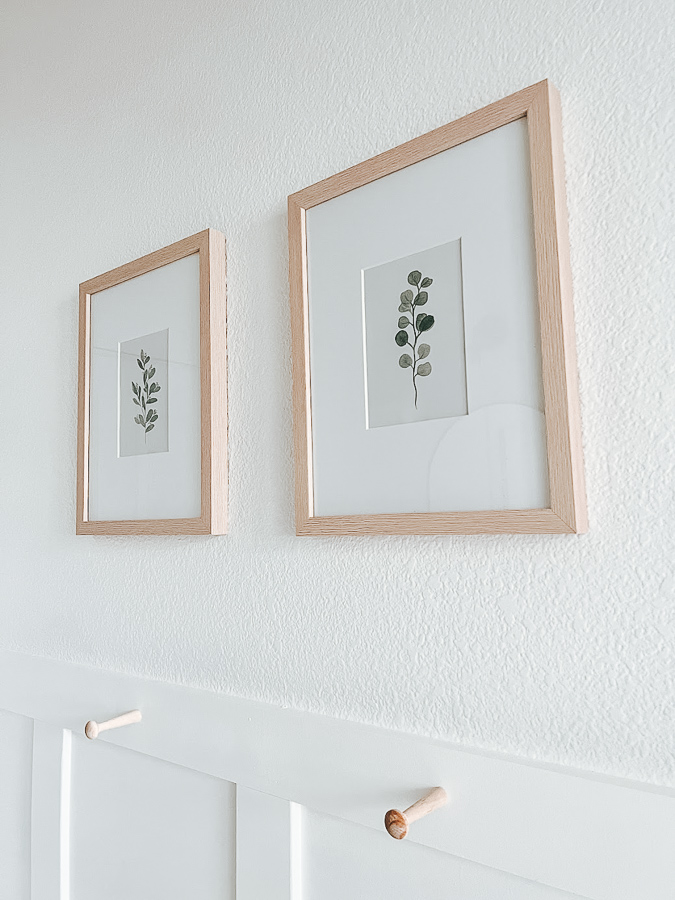
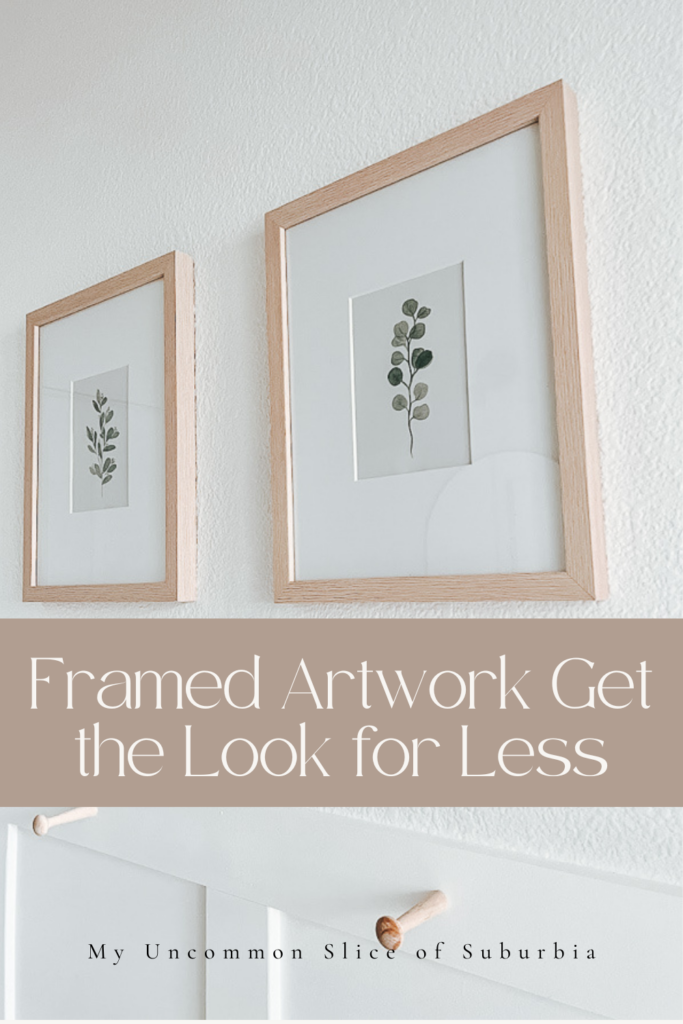
I found the pretty frames at Target and the prints off Etsy
They were an instant download and I had them printed at Walmart.
I also found very similar frames on Amazon
The Hooks I found on Amazon as well as the beautiful towels.
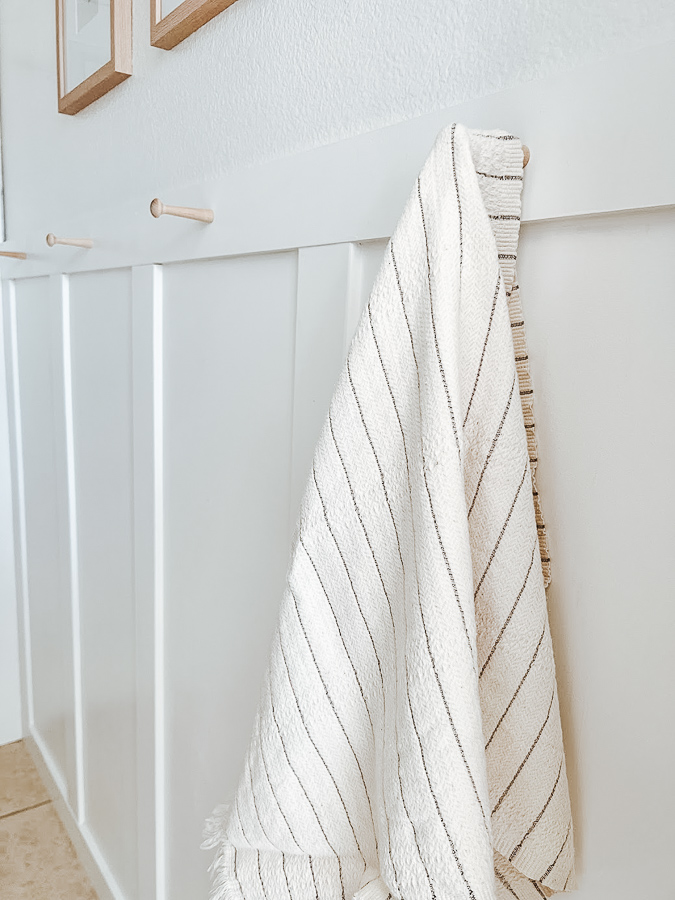
We added 2 hooks on each side of where the door used to be to hang towels. We removed the door years ago to give the area more space.
Framed out the area around the toilet and added a little ledge on the window seal but that is the only space we added a ledge. It was a little tricky figuring out this area and this seemed to be the best scenario.
Other areas for board and batten
Dining room
Small Entryway
Coat closet
Laundry room
Living room
You can see how I added the Peel and Stick wallpaper here.

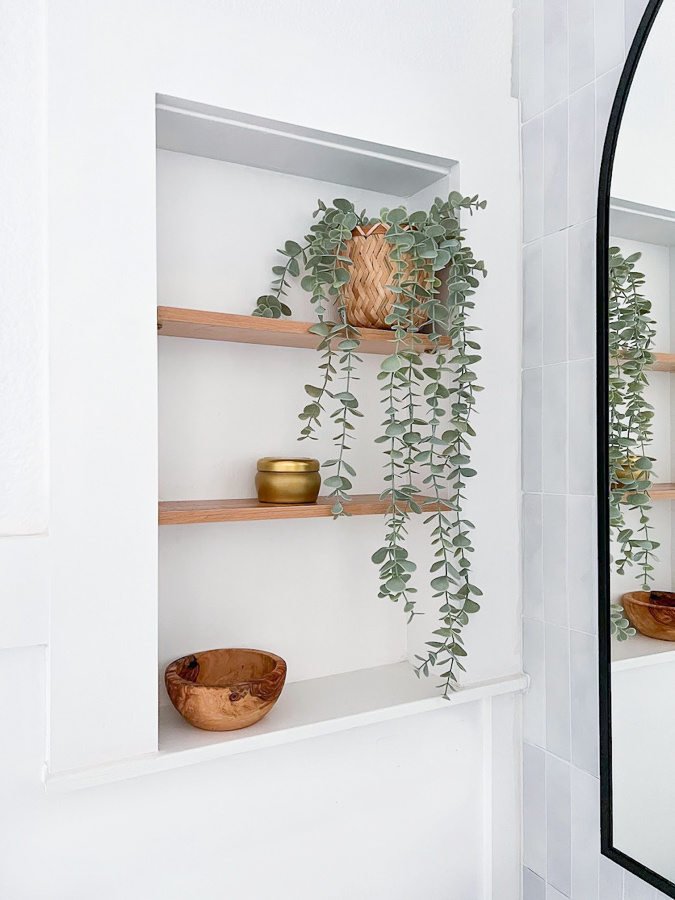
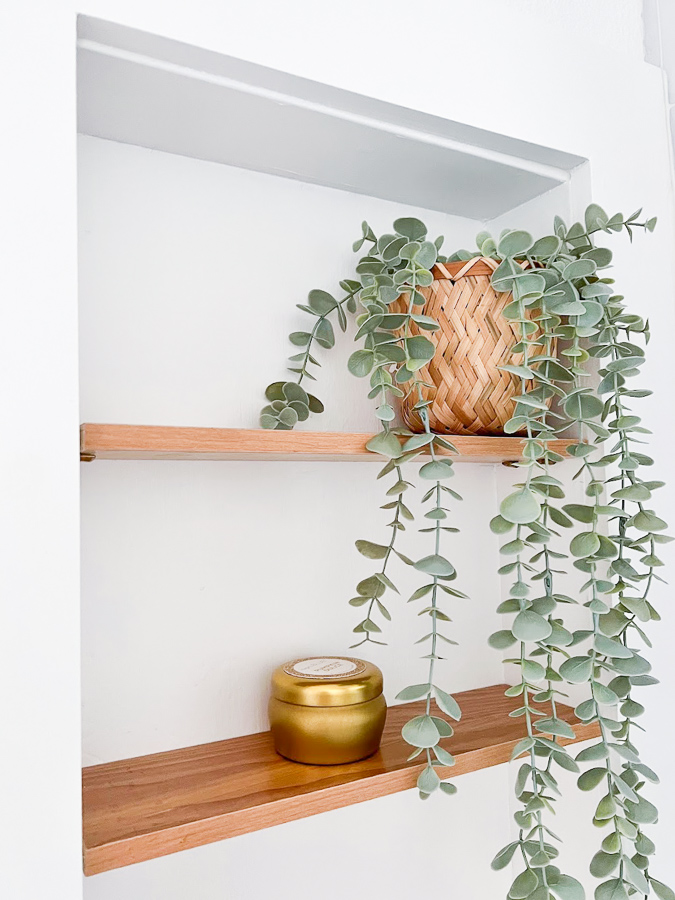
How we turned the medicine cabinet into open shelving
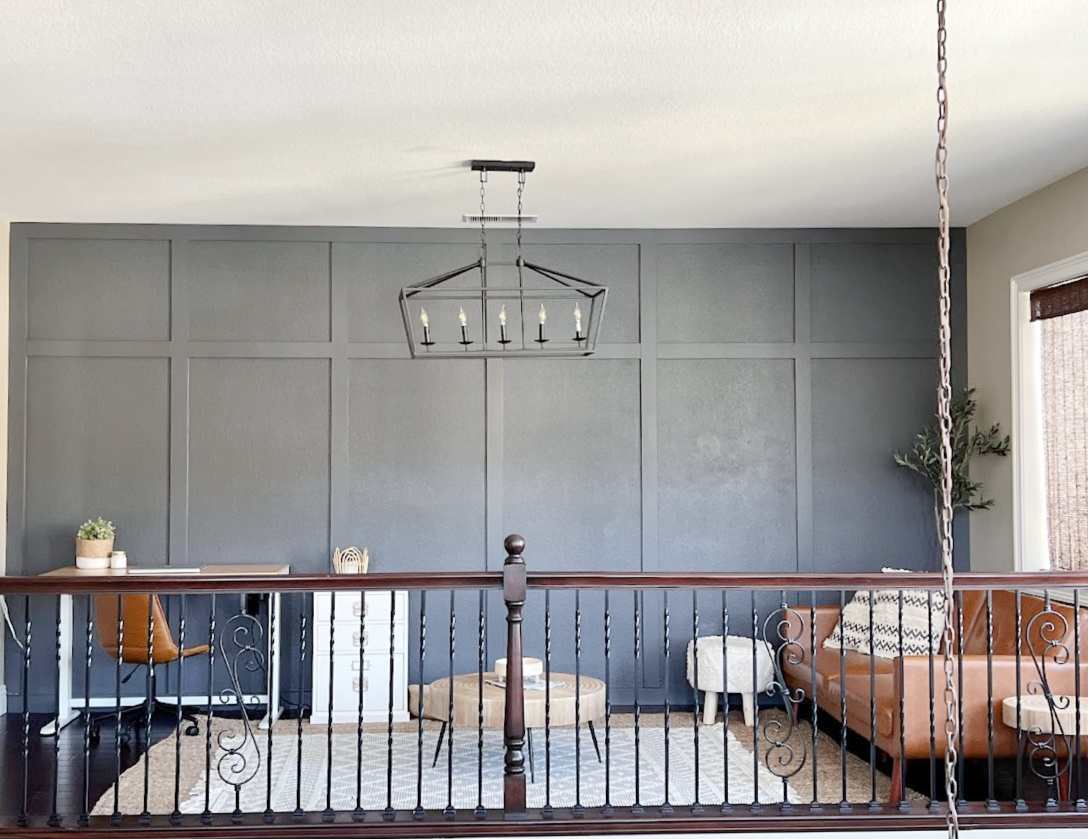
You can see our new accent wall that we designed in our loft here.
Installing board and batten in any living space is a great way to elevate a room’s appearance, add a touch of elegance, and give a plain wall some visual interest. With careful planning and attention to detail, you can achieve a professional-looking result. Enjoy your newly transformed bathroom with its timeless and classic appeal.
Let me know if you install this in your home, would love to see this finished result!
Thank you so much for stopping by today!