
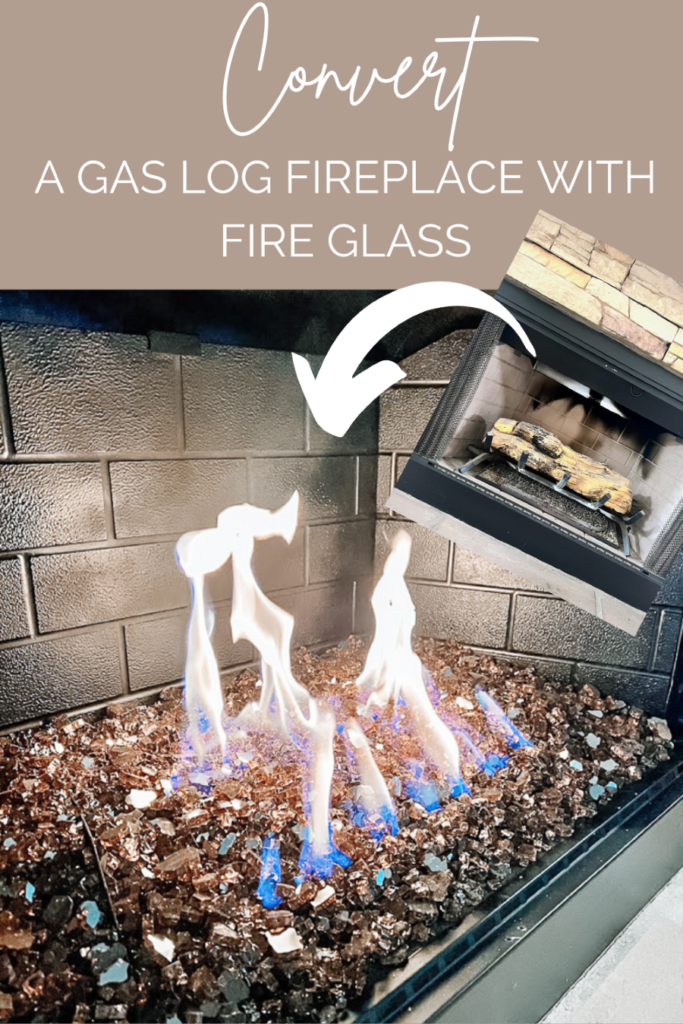
Gas log fireplace converted with fire glass DIY
A step-by-step guide on how to transform a natural gas log fireplace, with fire glass for an updated look.
Affiliate links are listed below.
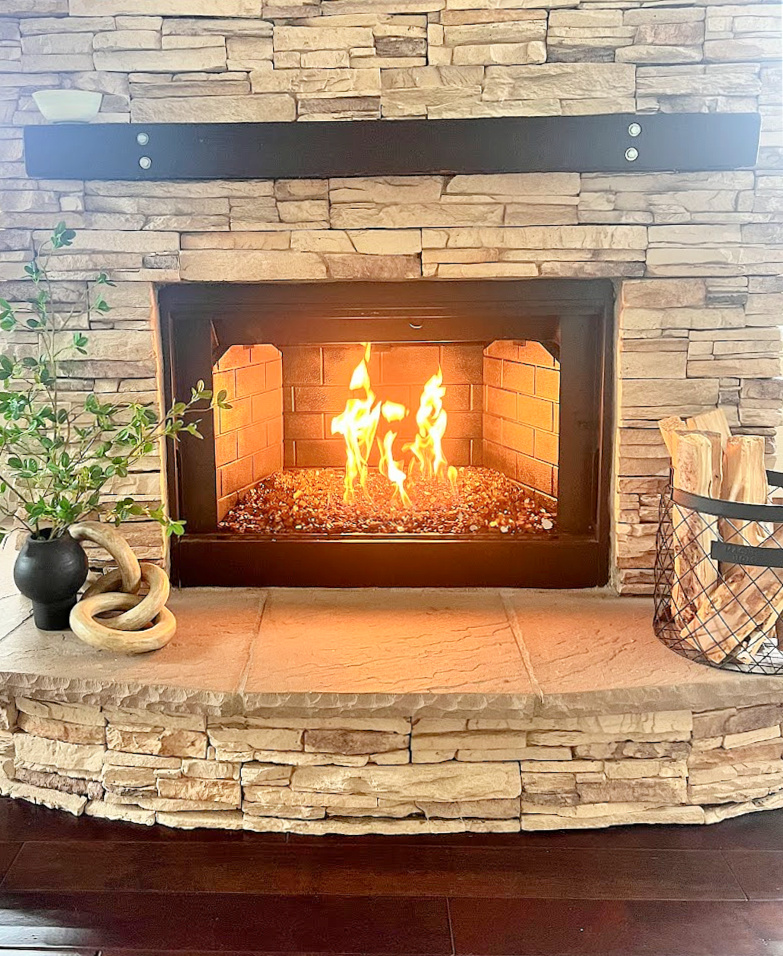
Transform the entire look of your living area in about 2 hrs with some beautiful fire glass. Did you know that fire glass also gives off 4-6 times the heat as fake logs while using less gas!
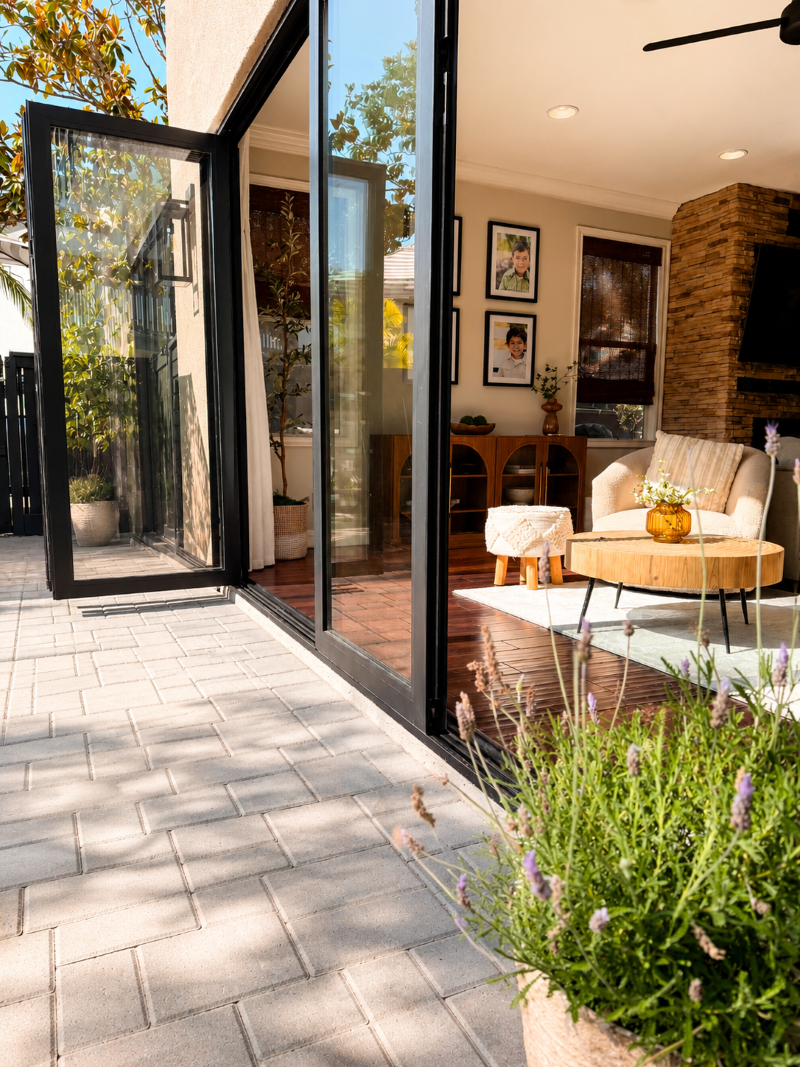
Today, I’m sharing how we transformed our natural gas and existing fireplace, using fire glass for an updated look. We were considering upgrading ours to something more contemporary and modern. Many interior designers and landscape architects are incorporating these in new builds and remodels. With a trip to our local fireplace dealer for supplies and expert advice, we transformed our dated fireplace into an elegant focal point. Replacing the faux logs with fire glass was pretty straightforward. Let us show you how!
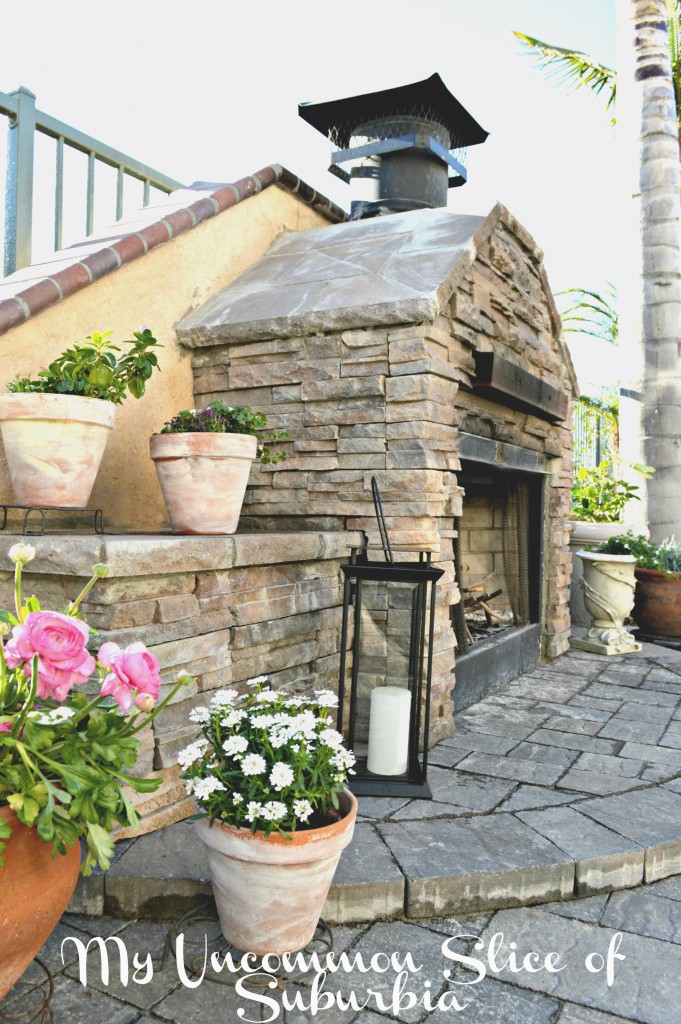
Before I get too far into the fireplace redesign, I’ll share a little backstory. 17 years ago, we knocked out a wall to turn three smaller rooms (living room, dining room, family room ) into 1 large room. We also installed a wine cellar under the hollow staircase. The fireplace at the time was stuck in a corner, so we had it flipped around by a professional installer and a contractor. We then added a custom fireplace surround using stacked stone. As the years have passed, I feel it is a little dated, but we still love it, so we are modernizing it a little for a quick refresh. I still want to paint the heart,h I just need to figure out the best way.
One of my girlfriends and I were supposed to do this together, but everything happened with Abby so quickly. So she moved forward and hired out since we couldn’t help her at the time. So I had all sorts of tips from her, watching the installation process, and from our local fireplace shop. A huge shout-out to my hubby for making my vision come to life!
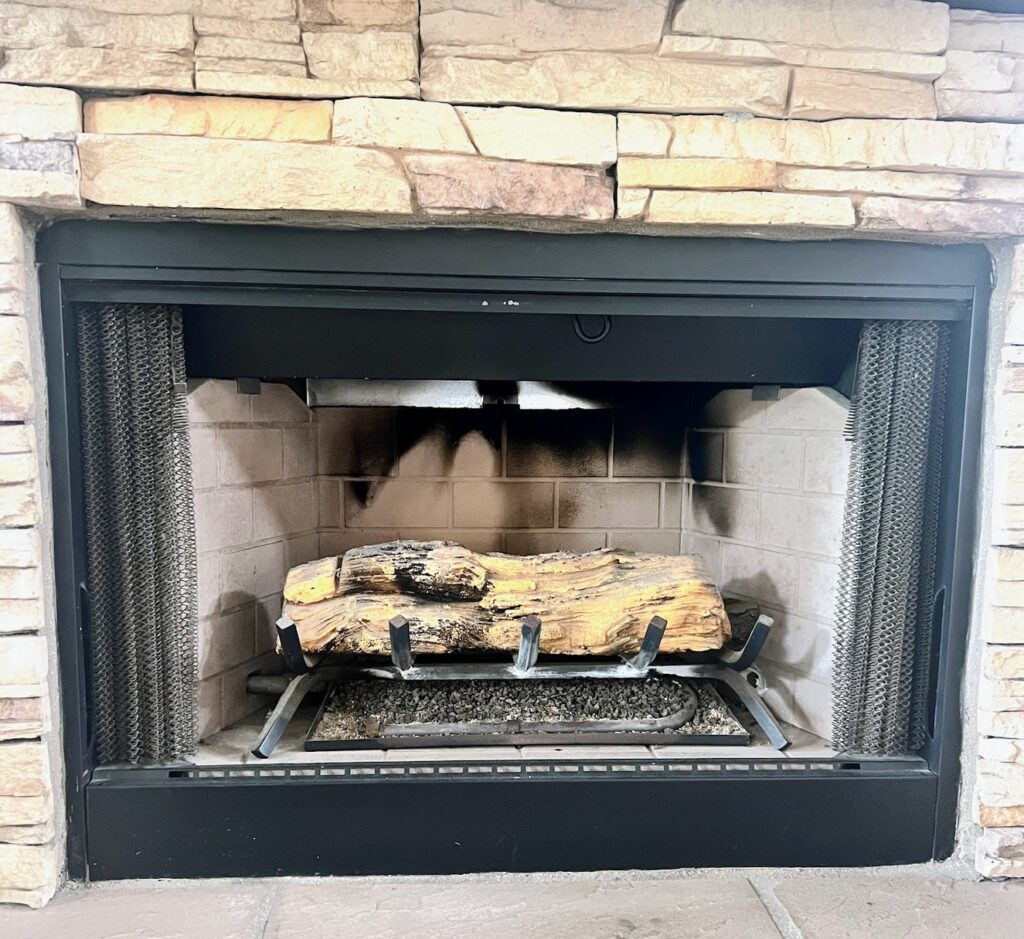
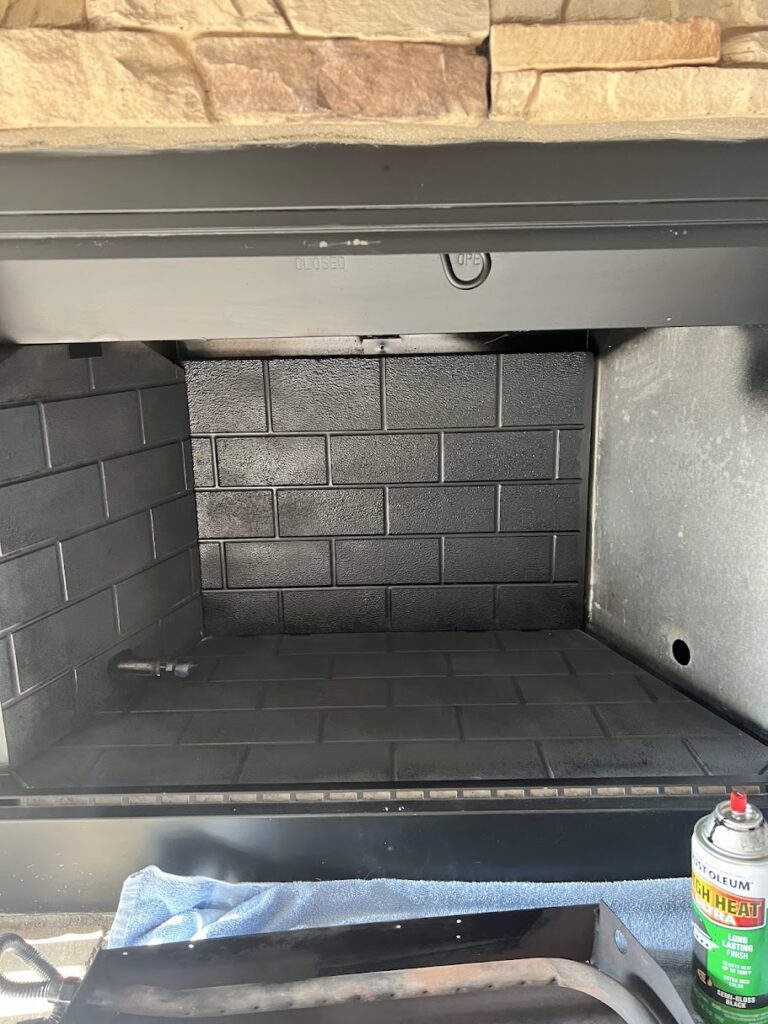
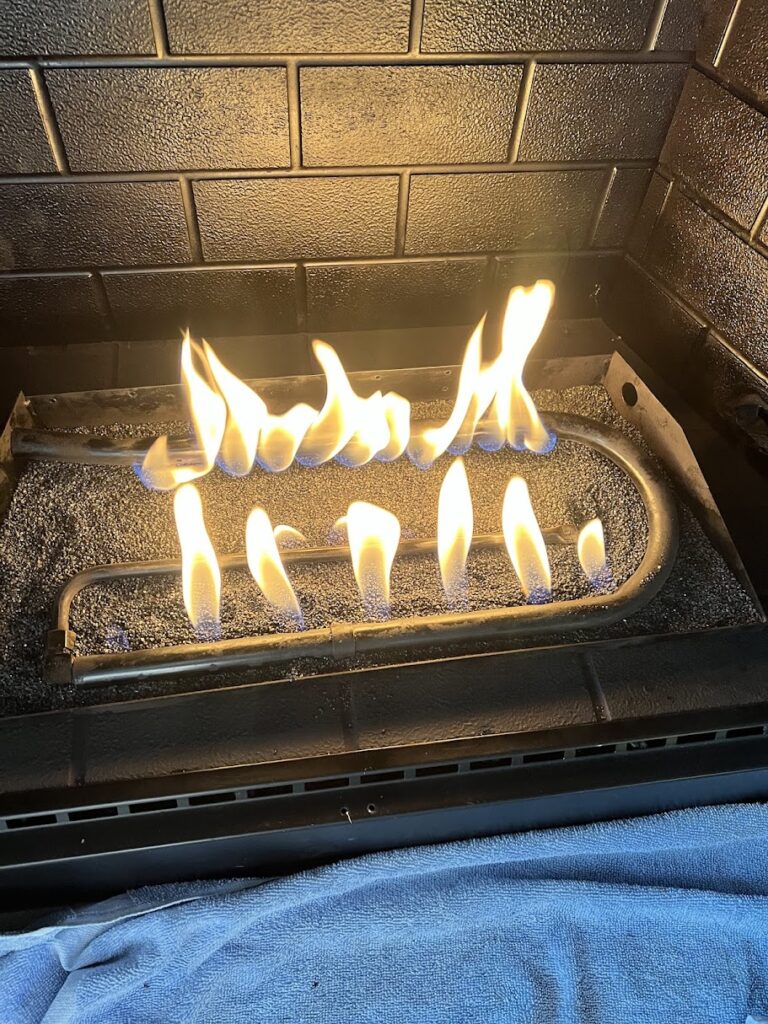
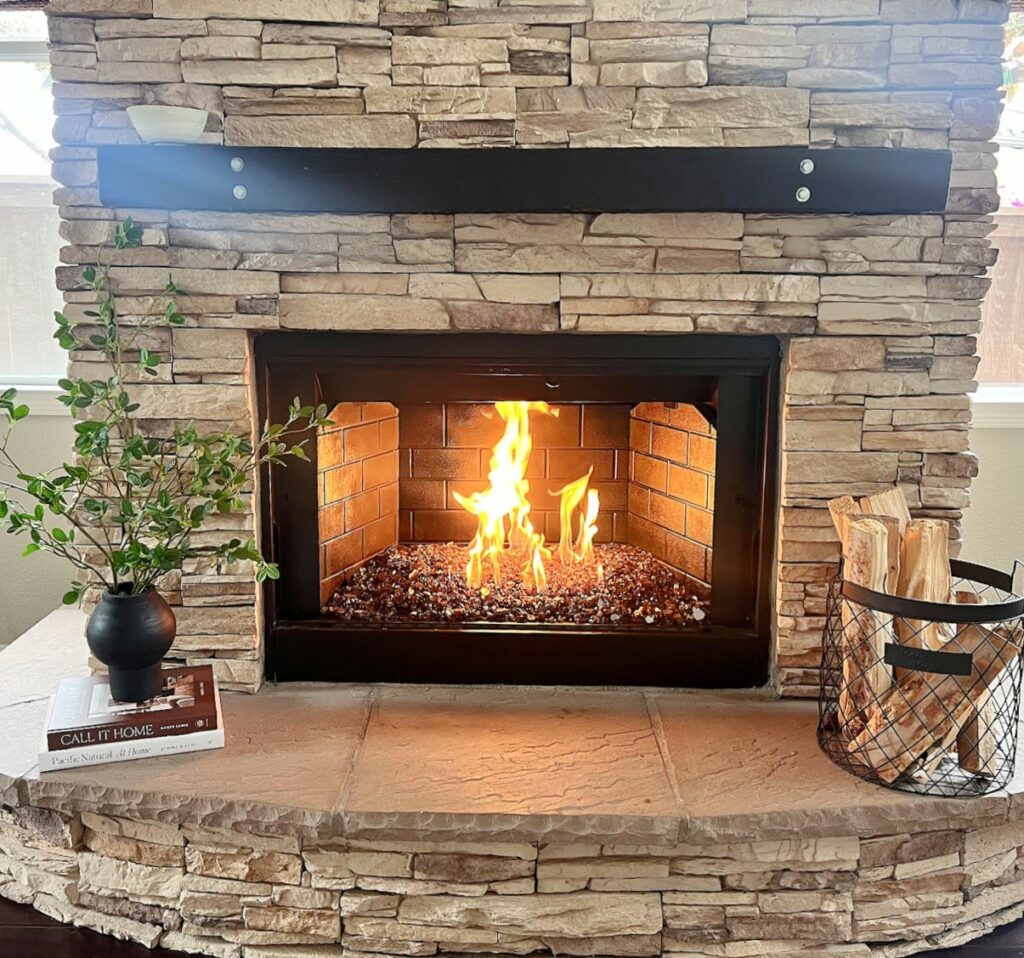
Here it is before
Supplies
This transformation cost us just under $100. We saved 50% off the rocks for buying the year’s prior rocks. I don’t believe there was a difference other than the packaging.

Fire Glass color copper reflective
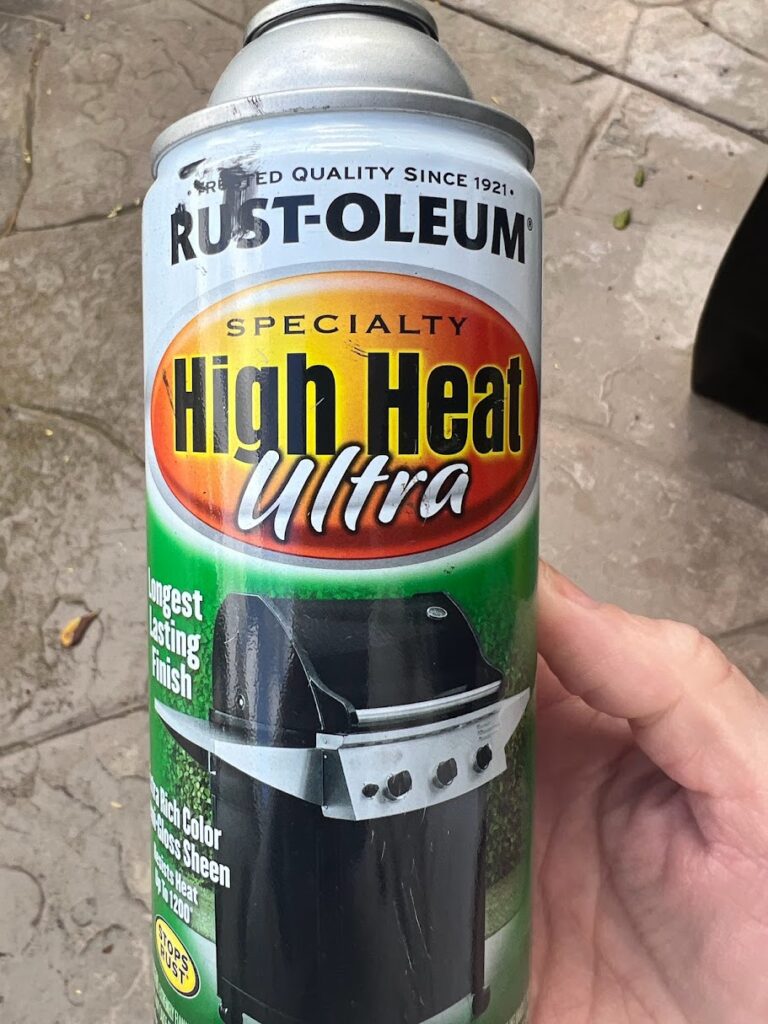
High Heat Spray Paint
Silica sand
Stainless Steel Burner (Optional)
Flex Gas Line (Optional)
Wire Brush
Drop Cloth
Vacuum
Cleaning Supplies: I used Dawn Dish Soap and Baking Soda
Sand Paper
Step 1: Preparation
Remove any existing gas logs or ceramic logs, grates, and sand. You could also remove your fireplace glass doors and screens as well.
Put down a large tarp or drop cloth, as parts of this can get a little messy because of the soot.
Step 2: Cleaning
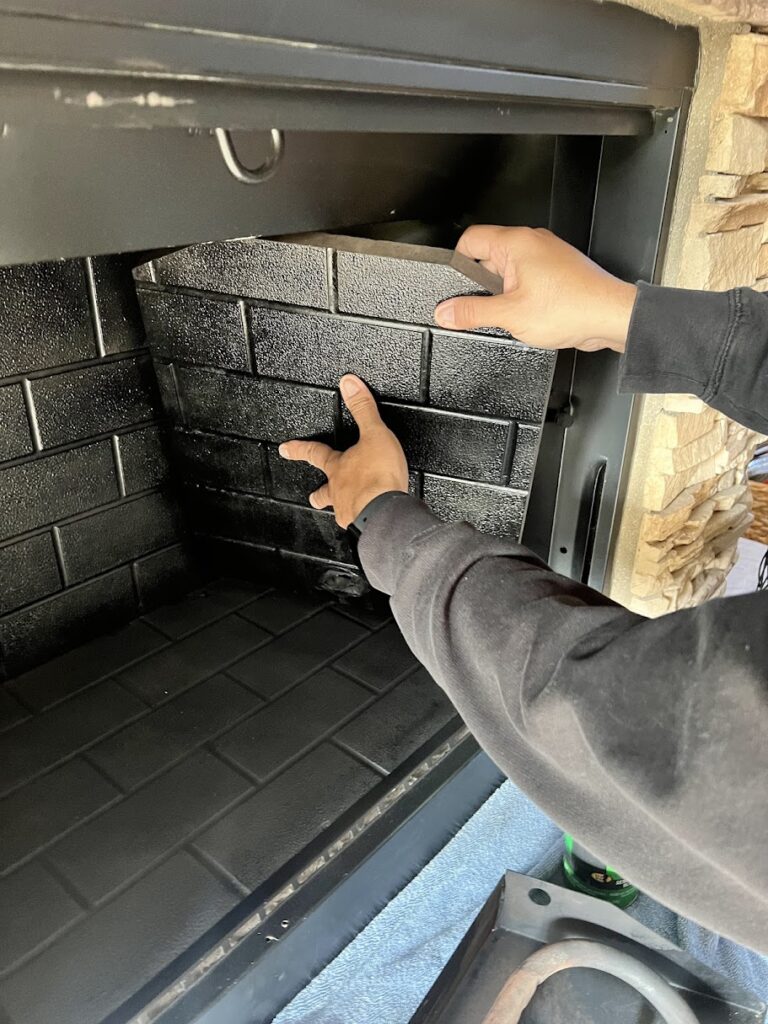
Thoroughly clean the interior of the fireplace, removing dust, soot, and debris. We used a vacuum to get the last of the sand up. The back and sides of our fireplace had heavy cement faux stone panels. We were able to remove 2 of the 3 and give them a good cleaning outside to get the soot off the panel. I used baking soda and water to form a paste, let it sit, and then scrubbed it off using a wire brush. I cleaned the rest of the fireplace with soapy water using Dawn. We gave the bottom of the fireplace a light sanding.
Step 3: Paint
The panels were grey, and we changed the color to black using a high-heat, heat-resistant spray paint. This allowed the glass rocks to pop against the black backdrop. Make sure you have fresh air flowing throughout your home if you’re spray-painting indoors!
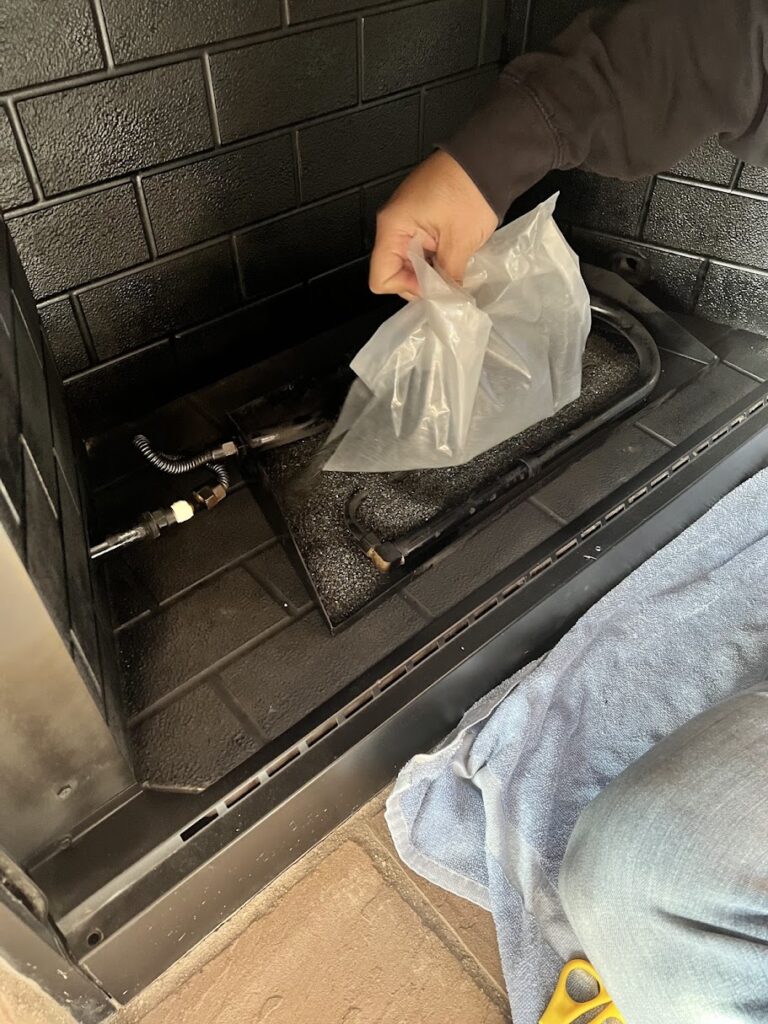
Step 4: Install a Burner Pan
We already had a burner pan, and it was still in great shape. If you don’t already have one, I highly recommend purchasing one. It will improve the heat distribution.
The type will depend on the size and shape of your fireplace.
Follow the manufacturer’s instructions to properly install the burner pan according to your fireplace’s specifications.
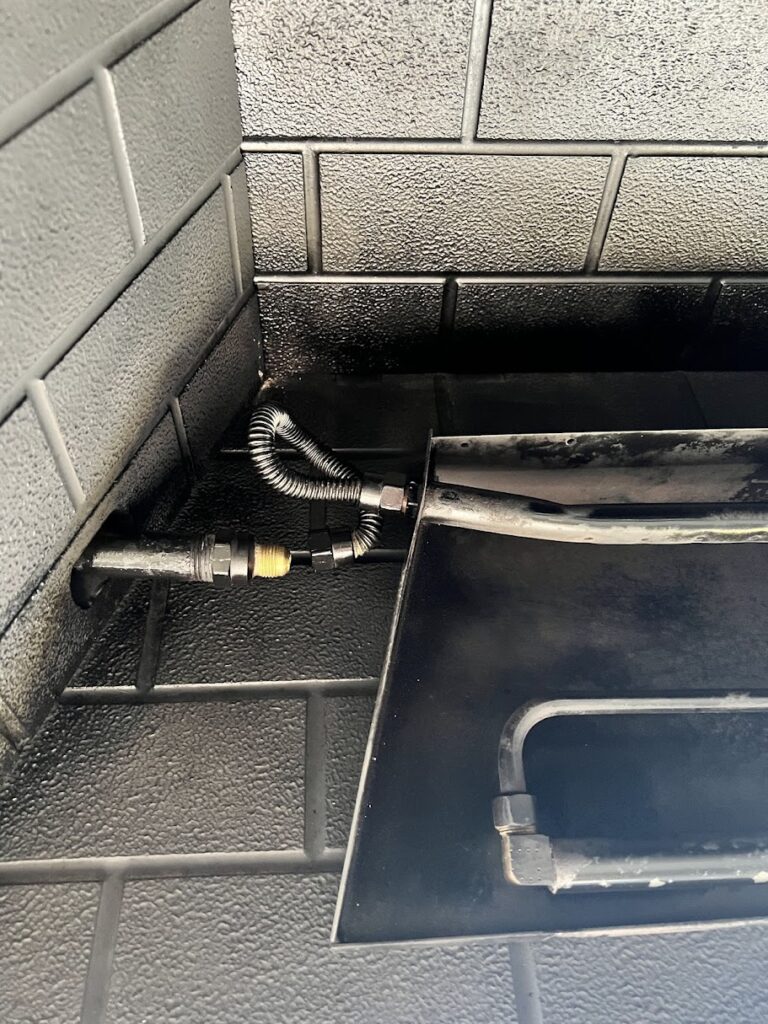
Step 5: Add A New Gas Burner
While this step is optional, you can replace your old burner with a new burner if desired. The exact type of burner you’ll need will depend on the type of fireplace you have; however, if you feel uncomfortable with this step, hire a professional for burner installation. Depending on how old your fireplace is, you may have to replace the gas flex, which is the part that sticks out to the tray and runs from the gas pipe and your gas burner. If it looks brittle, you definitely should replace it. Your gas company might have an ordinance on changing them out, so do your research. If you replace it, check for leaks and use two wrenches to tighten it.
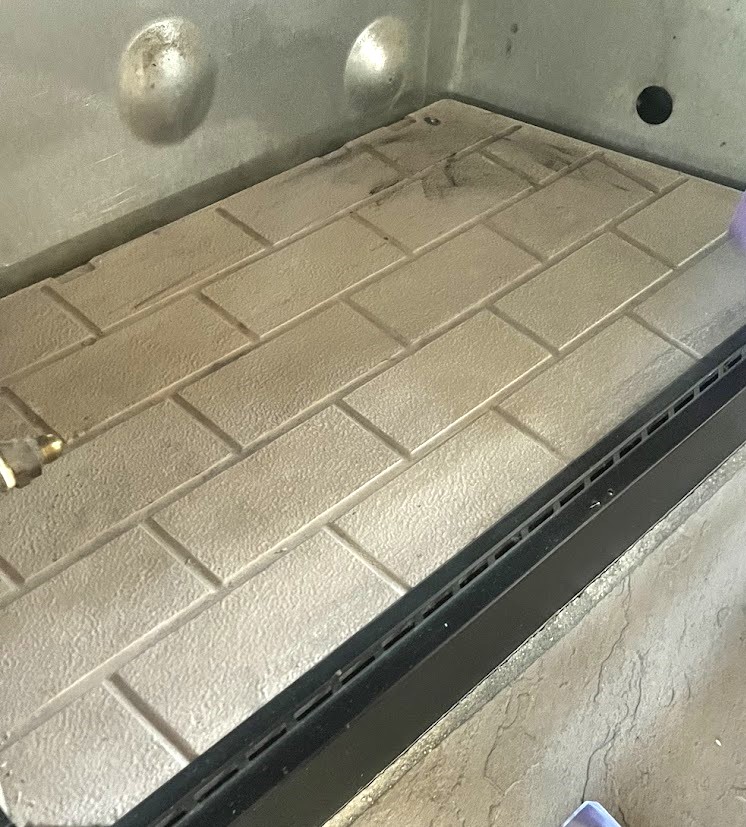
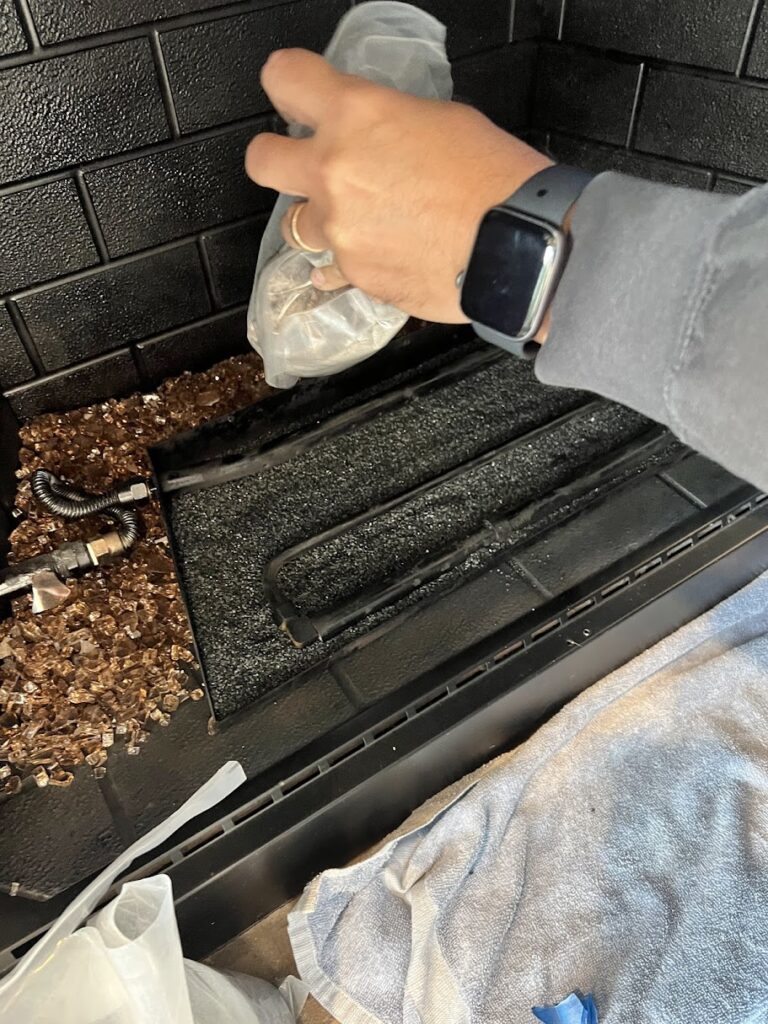
Step 6: Add the silica sand
Fill the pan with the silica sand. This helps with overall gas dispersion to create a more uniform flame.
Step 7: Test Your Burner
Test the burner to make sure it is functioning correctly, if everything looks good to go, you can continue moving forward. If not, call a professional. Make sure your burner is centered before moving to the next step.
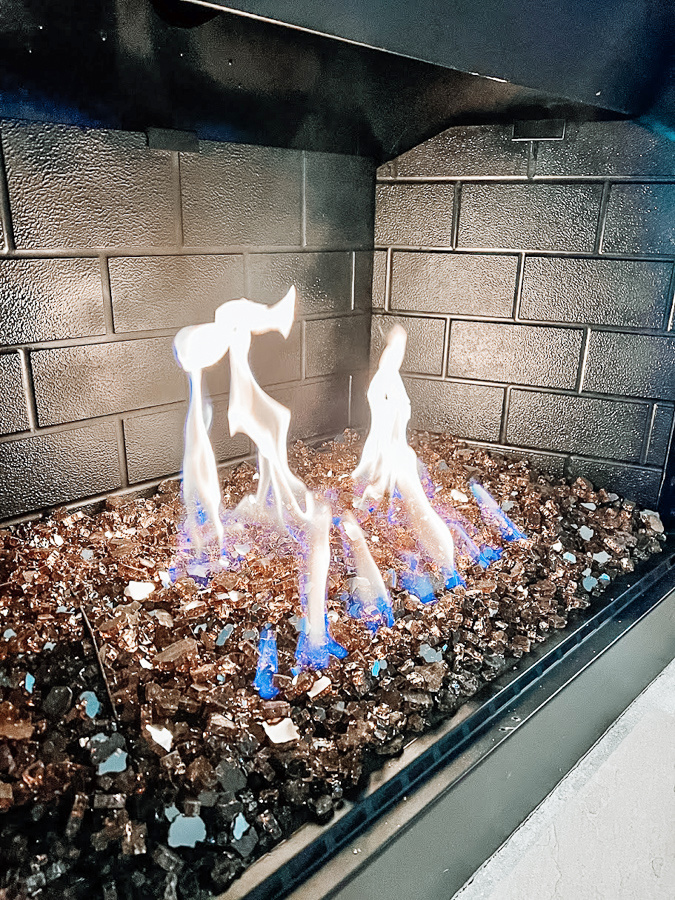
Step 8: Add the Fire Glass
Your last step is to measure the dimensions of your fireplace to determine the amount of decorative glass needed. Choose a color that complements your décor and desired aesthetic. Purchase enough glass to cover the entire floor of the fireplace with a layer at least two inches deep. Our’s took 3 15-pound bags for complete coverage. We were able to get last year’s color for half off. We poured the fire glass straight from the bag and evenly spread it out. Once you’ve poured in all your fire glass, it’s time to shape or smooth it out. We kept it even; however, you can build a “mound” toward the back and along the center for a little more depth.
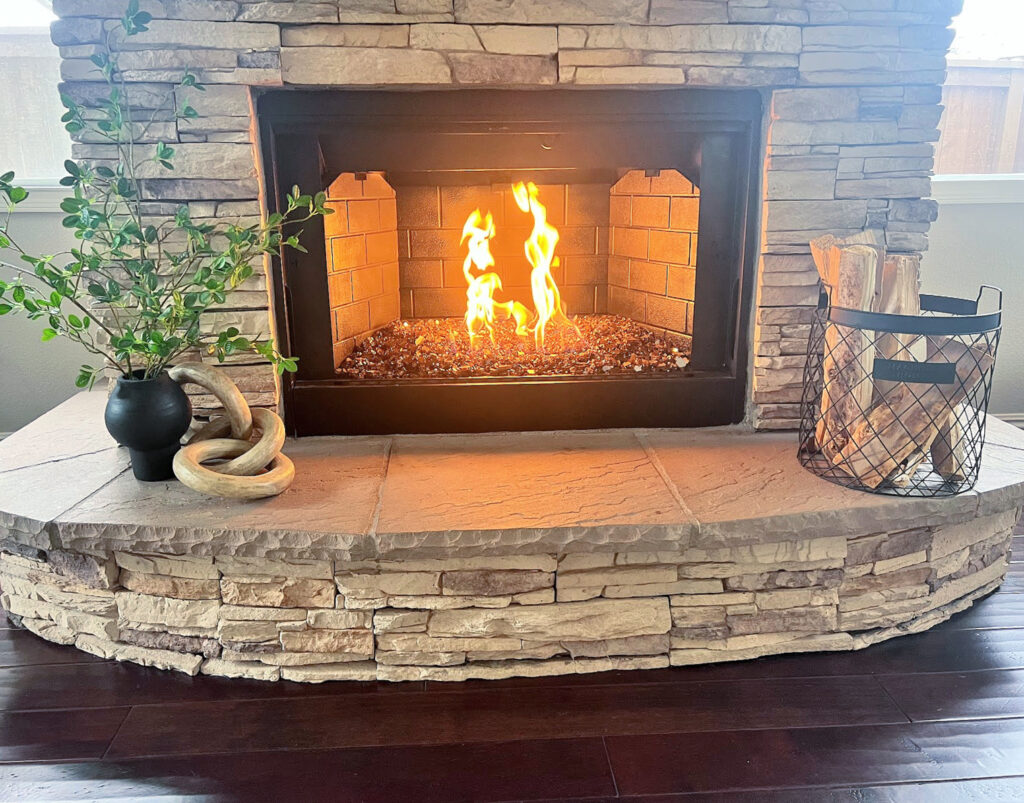
Enjoy
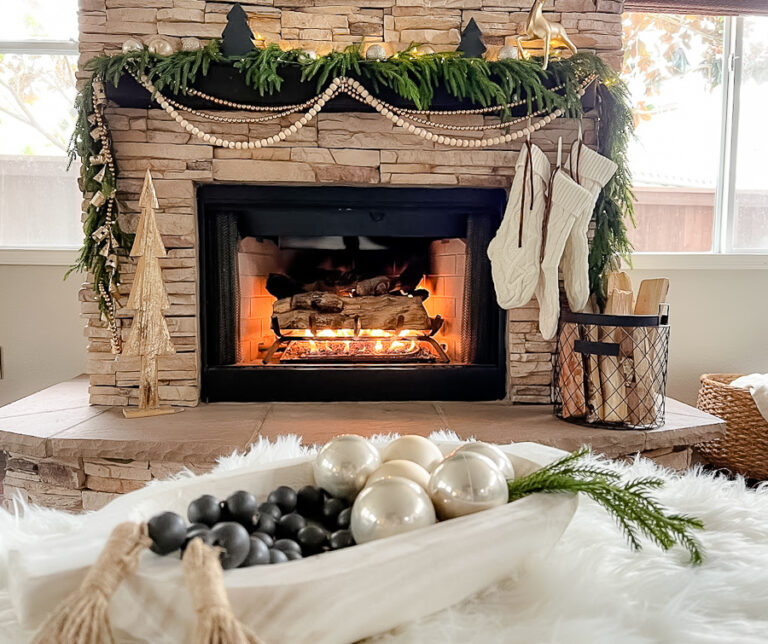
Sit back, relax, and enjoy your new fireplace, perfect for cozy evenings. We still need to add a glass cover or glass door, but since we are heading into the spring/summer, we are in no rush.
![]()
Don’t worry, I move all accessories around the fireplace when burning in real life, this was just staged for pictures.
Safety Considerations
This tutorial is for a natural gas fireplace only with a chimney. This is not for an electric insert or ventless inserts.
Inspect the fireplace and chimney for any damage or obstructions that may need to be addressed before starting this project.
Your best option, if you’re unsure about any aspect of the conversion process, is to contact a professional installer, who would be familiar with any safety and code requirements when dealing with a gas line.
Install a carbon monoxide detector near the fireplace to alert you to any potential gas leaks.
What Is Fire Glass?
Fire glass is tempered glass that is safe to use in both indoor and outdoor gas fireplaces and fire pits. The glass is tumbled down to eliminate sharp edges and treated with thermal treatments to increase heat resistance. Fire glass will not crack, melt, shatter, or produce toxic fumes, as regular untreated glass would. Never use regular glass; it could melt, crack, and pop, sending out sharp shards. You must use a glass that is designed specifically for high heat and fire.
These are also just as beautiful in an outdoor fireplace and outdoor fire pits, and fire tables. As much as I love real wood in a real fireplace, it can get messy. Grateful we have a wood-burning fireplace outside.
I like them both, but love the change!
![]()
Embrace the beauty and warmth of your new fireplace as you create lasting memories in the comfort of your home. Let me know if you have any questions on this project. Thank you so much for stopping by today!

This is such a lovely way to update the look of a gas fireplace! You’ve inspired me this morning!
You are so sweet laura, thank you. Let me know when you finish 🙂
Oh wow! The fresh black paint plus the glass make the fireplace look fresh and clean. Way to go!
You are so sweet Marie, thank you so much!