Making your cabinets look custom
My husband and I love the look of Staggered stacked kitchen cabinets but not the price tag, so we decided to make them ourselves!
Adding height to your kitchen cabinets can be a simple yet transformative project. We will show you how to use crown molding, trim and pine plywood to increase the height of your cabinets and make them more visually appealing. Our step-by-step instructions, tips, and tricks will help you achieve a professional-looking finish—whether you’re a DIY enthusiast or just looking to make a few easy updates.
We drew out lots of rough drafts and looked through countless kitchen magazines and decided to achieve the look on our own, making them look custom.
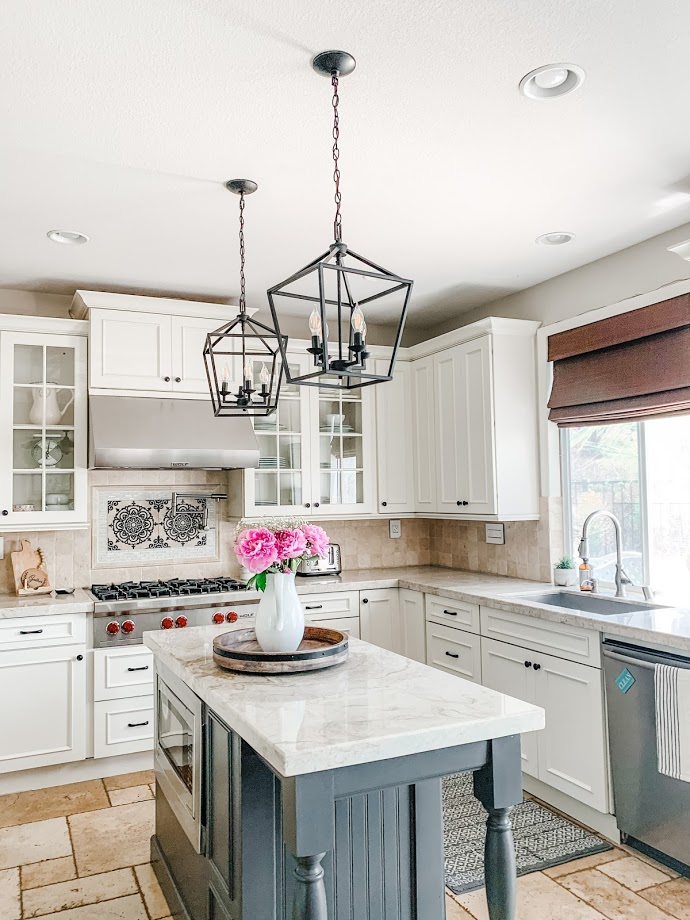
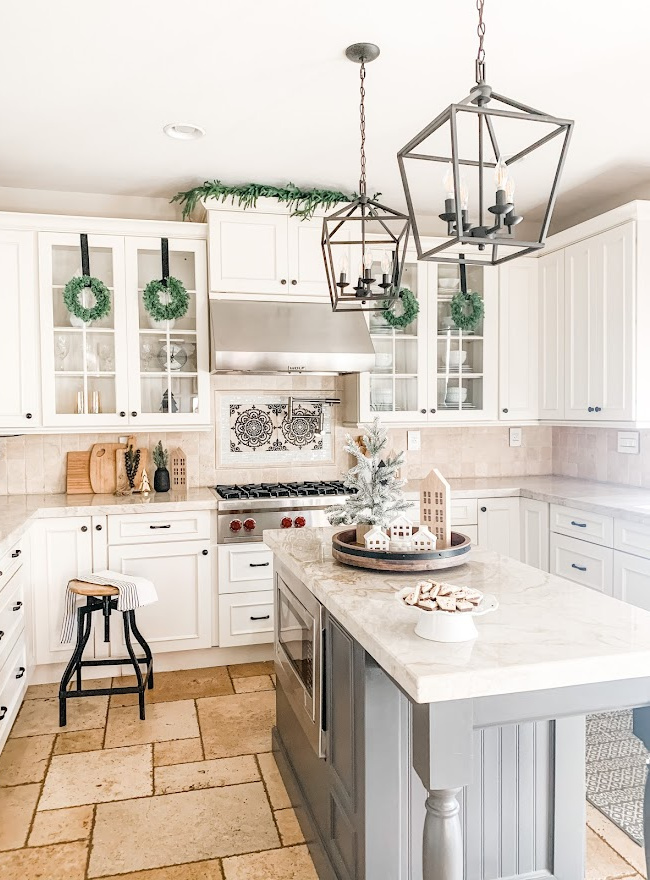
Kitchen After
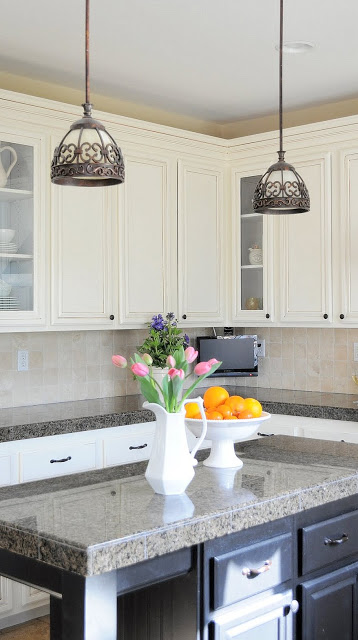
Kitchen Before
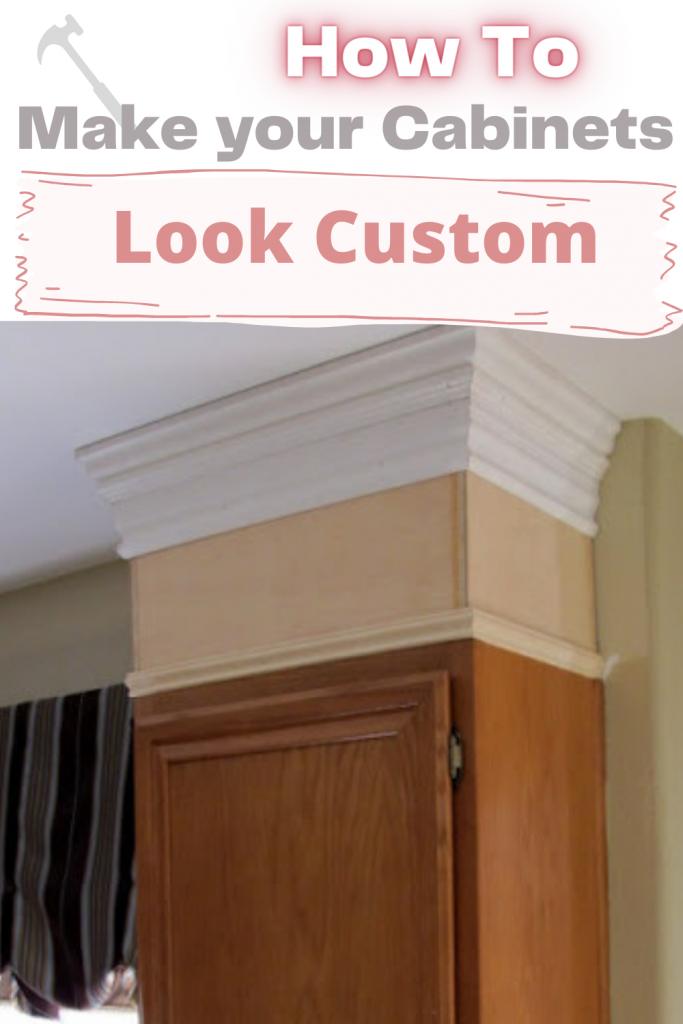
Remove existing trim and molding on top of the cabinets. Build a box using pine plywood in a smooth finish.
Anchor the box to the top of you’re existing cabinets. You can do this by nailing in 2×4 pieces of wood into the top of the cabinet and then nailing the plywood to the 2×4.
Apply new crown molding and nail to the top of your boxes. For our crown molding, we went with a double-stacked baseboard on the bottom and a crown on the top of the baseboard.
Click Here for a video tutorial on how we installed double-stacked crown molding
Nail small wood trim to hide the seams between the old cabinet and the new addition.
Caulk away, hiding all imperfections.
Now the fun stuff!
Paint!
This project came with lots of trial and error. You definitely need to be on the tolerant side if you are taking this on yourself. When something did not look right we took it down and started over. This is your time to get creative.
This is a big project but worth it.
About a year after completing this project we found black mold and had to demo most of our kitchen. Hence why there is not any updated pictures. You can find the new kitchen here.
The story of BHG coming to our home to photograph and the story of the mold.
The Budget (for the full kitchen DIY remodel)
All appliances were purchased used
Cooktop $2,000 Wolf
Dishwasher $200 LG Electronics
Microwave $100 GE Profile
Oven $1,000 Kitchen Aid
Refrigerator $800 LG Electronics
Hood $300 Wolf
Hardware $115 Home Depot
Faucet $75 Home Depot
Sink $125 Home Depot
Backsplash $800 Durango Cream tumbled travertine
Countertop $ 2,000 Baltic Brown Granite
Flooring $960 walnut travertine versi pattern
Crown Molding and Trim $400 Purchased at Timberline Molding
Light Fixtures $215 Home Expo (out of business)
Paint and Labor $1,500
Total Cost $10, 590.00



Hi, I am in the process of redoing my kitchen DIY and LOVE your idea of adding height to the kitchen cabinets. Can you also share how you add the bun feet under the cabinets to give it a more custom look? THANKS!
I stumbled upon your blog and am absolutely loving your projects!!! I am trying to tackle a similar project to make my builder cabinets look custom (admitting it may be a little overly ambitious) and wanted to ask — how did you anchor the plywood box to the top of the cabinets? Thanks!
I love your kitchen! I have oak cabinets in my kitchen and can’t wait to paint them white and glaze them. I have a couple of questions…I love the design detail above the range top and hood. Did you take out the cabinet and replace with the pine box? Did you cover the exhaust vent work in the process? Do you have access to it if you need to replace or if you have any ventilation problems in the future? Also, where did you get the design piece? Last question, I have heard that the wood grain shows through when painting oak cabinets white. Your cabinets look smooth and white (no wood grain showing through). How did you get that finish? Was it with the oil based primer or what?
Thanks so much for sharing your beautiful kitchen! I’m totalling inspired!!
* totally inspired!!
Love your cabinets!! I’m about to attempt to do the same thing to my boring builder grade cabinets. Can you give more information on how you created the piece above the range and hood? I would love to do this over my microwave but am unsure of what happens if I cover the outlet and the microwave ever needs to be removed/replaced. Any feedback would be greatly appreciated!
Fantastic beat ! I wish to apprentice while you amend your web site, how can i subscribe for a blog web
site? The account aided me a acceptable deal. I have been a little bit acquainted of this your
broadcast provided shiny transparent idea
Feel free to surf to my blog post – debt consolidation secured loan
If you are not ready to fight with yourself, to say “NO” to things you liked to do or which were just a habit to you then nothing on Earth will help you
to get rid of those excess pounds. These tablets are frequently over the a hundred and fifty mark but offer you a
considerably broader and longer lasting expertise.
The actual pc is usually Wi-Fi enabled and can connect to web anywhere.
Also visit my blog post stevie nicks
The experience: I had to have someone come in to set up my computer,.
They can thrive in just about any environment and are
less reliant on moisture than other roaches. Usually take into account the following prior to cleaning your
floors:.
My webpage … Business Associates Degree
Overall, if you need more storage capacity, then you should definitely get yourself a 6th Generation i
– Pod Classic. ” and for the duration of the take, (s)he is an audience member sitting in the theatre or their couch at home. Waiting until the park is about to close is one way to get some privacy, as is visiting the park during Disneyland’s less busy times.
Here is my blog post … dwight yoakam
The device is also very light, weighing slightly less than 3 oz.
Once decided on the things to bring, start packing. With the i – Phone you can stay connected anywhere you go, and access maps, flight info, weather reports, restaurants and more in
every new city you travel to.
It also allows you to capture & store videos while you are out for a tour or picnic with friends.
These tablets are frequently over the a hundred and fifty mark
but offer you a considerably broader and longer lasting expertise.
Aided by the Pills rapidly getting best tablet pc all of the direct device when using
the iphone, it is really distinct that we should expect to witness it
develop worldwide recognition for countless
years.
It’s actually a great and useful piece of info. I’m satisfied that you shared this helpful info with us. Please keep us informed like this. Thank you for sharing.|
What paint did you use on the cabinets?
Great Kitchen remodel, had share on my blog. Hope you don’t mind.
http://maggieoverbystudios.com/2013/10/16/cookie-cutter-to-custom/
Hi there! I’m toying with adding height and to a couple cabinets in my laundry room. What did you use to anchor your boxes to the top of your existing cabinets? Thanks!
Hi Laura-
Thanks for your e-mail, we added 2×4 and nailed them into the top of the cabinets. From there, we nailed the plywood box to the 2×4. Hope that makes sense, let me know if you have any other questions. Thanks!
Hello! I found your blog and am so excited!! I will be a new regular. My husband and I are just about to start on our cabinets this morning and we can’t seem to find your video tutorial on the raised cabinets and how to apply the crown molding. Could you help me out?
Also I a little confused on how you attached the box to the top of the cabinets. 🙂
Thank you so much! 🙂
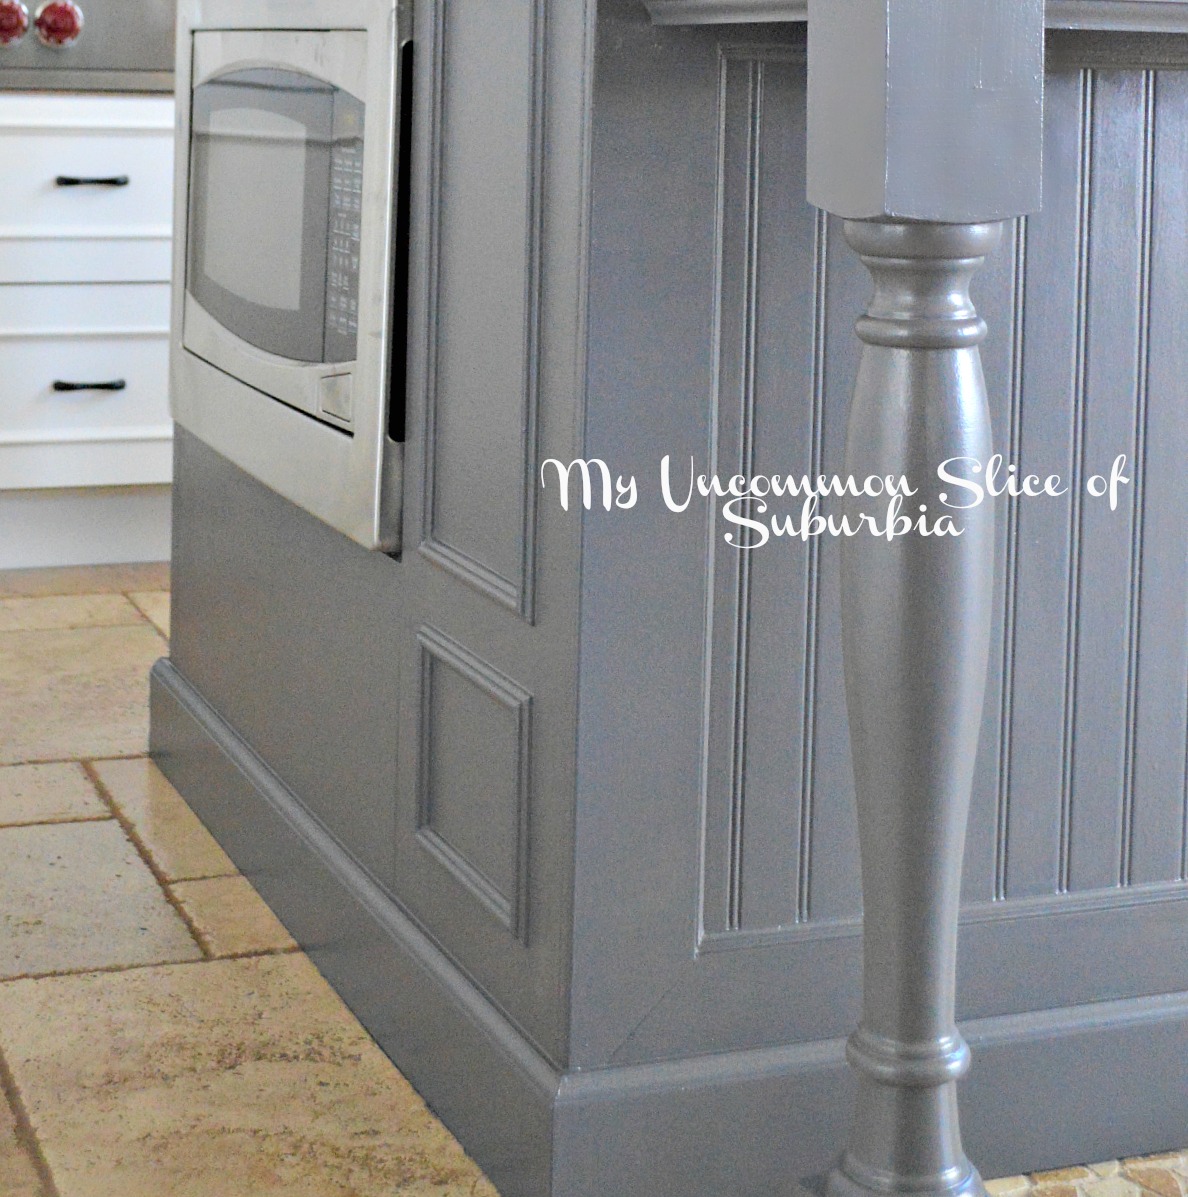
Wow, fabulous work! How did you add the feet to the cabinets and island? I love how the feet gives it an expensive custom furniture vibe. Thank you for sharing!
love this idea! Planning on doing this to my kitchen! Can you tell me what paint colour/name you used and counter top?! Email or reply would be appreciated .. Amazing kitchen!
Your molding is just what I’m looking for – for the top of my cabinets – I clicked on your video link but it doesn’t seem to work – could you post a link to your video tutorial for the molding? It’s gorgeous and EXACTLY what I’ve been looking for – your kitchen is awesome!
Thank you Stacey, let me see if I can find another link for you and I will send it direct to your e-mail.
I just like the helpful information you supply in your articles.
I will bookmark your blog and take a look at once more
right here frequently. I am fairly certain I will be
informed many new stuff right here! Good luck for the next!