Updating clay pots with stencil and paint
This post contains affiliate links
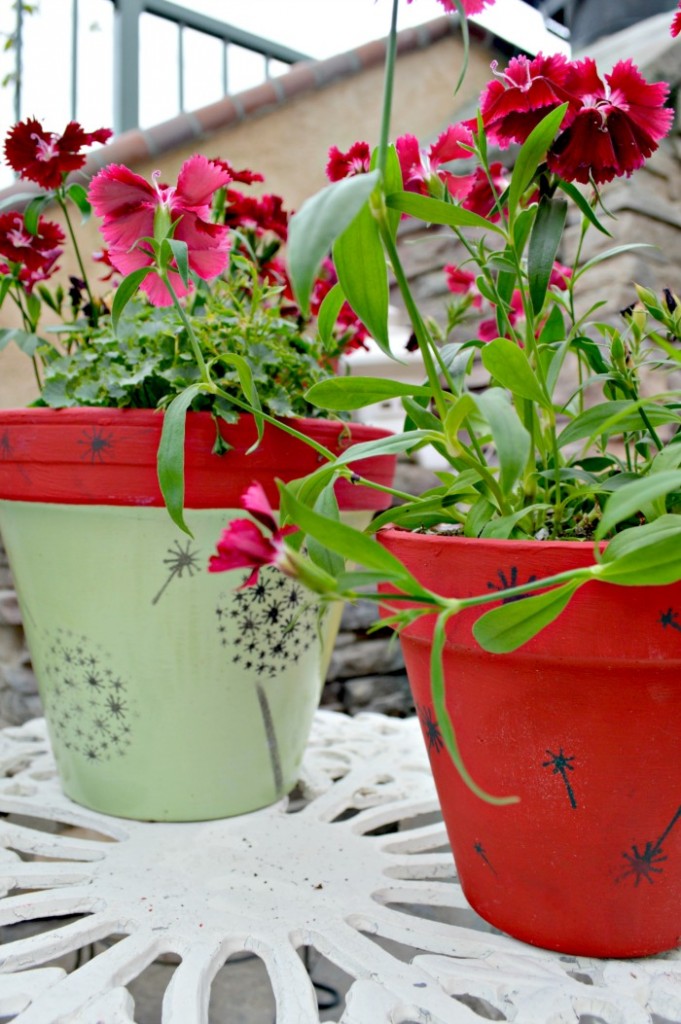
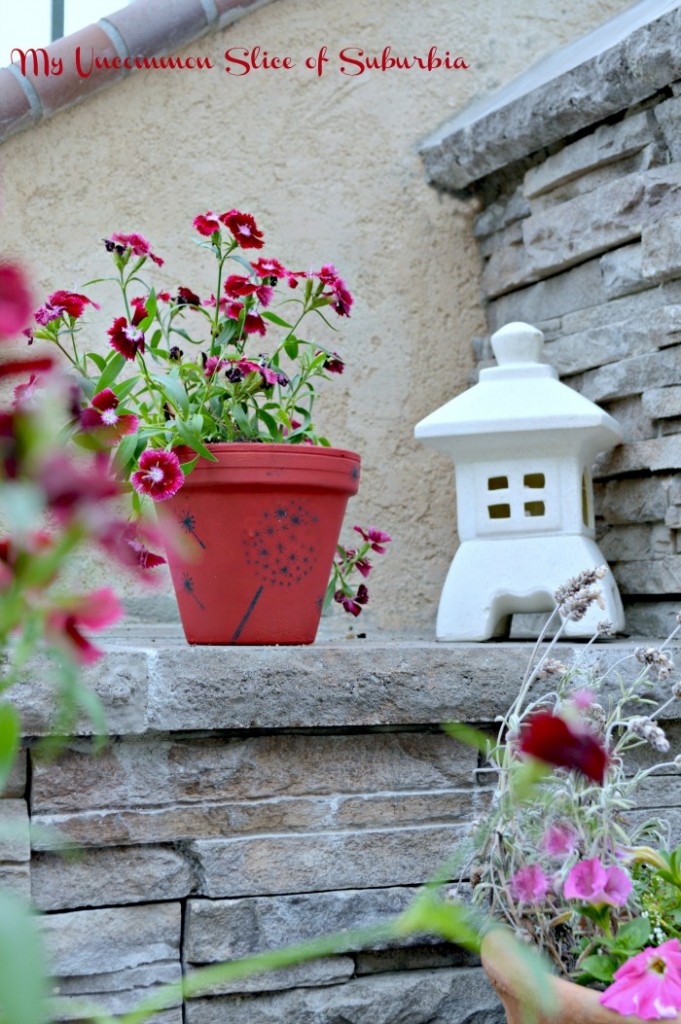
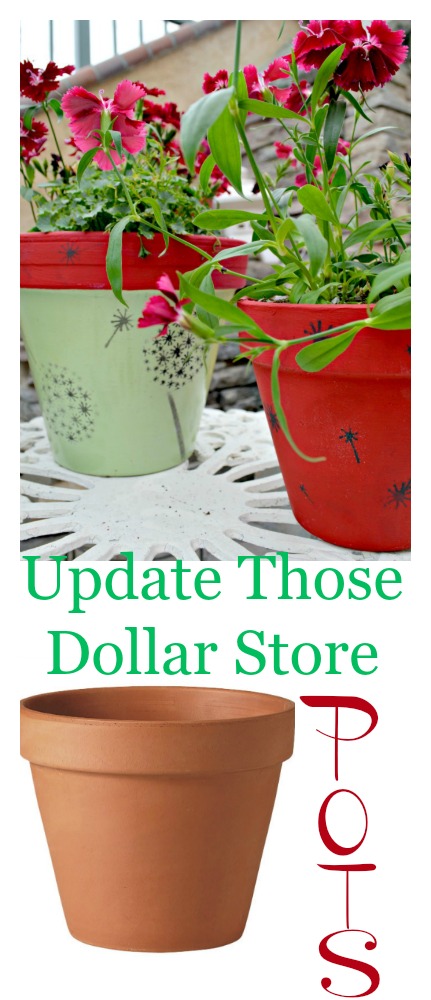
Sharing how easy it is to update clay pots with a dandelion stencil and paint. Over the years I have received some of the cutest pots from the kids but unfortunately, the paint has faded or is completely gone so I decided to give them some updates! If you don’t have any clay pots you can find them at the 99 cent store!
Supplies:
Americana Decor Chalky Finish Paint in Romance
Deco Art Americana Chalky Finish Paint, 8-Ounce, Carbon
Angle Trim Brush
Clay Pots
Directions:
Paint the pot, it took 2 coats for complete coverage, and let dry completely.
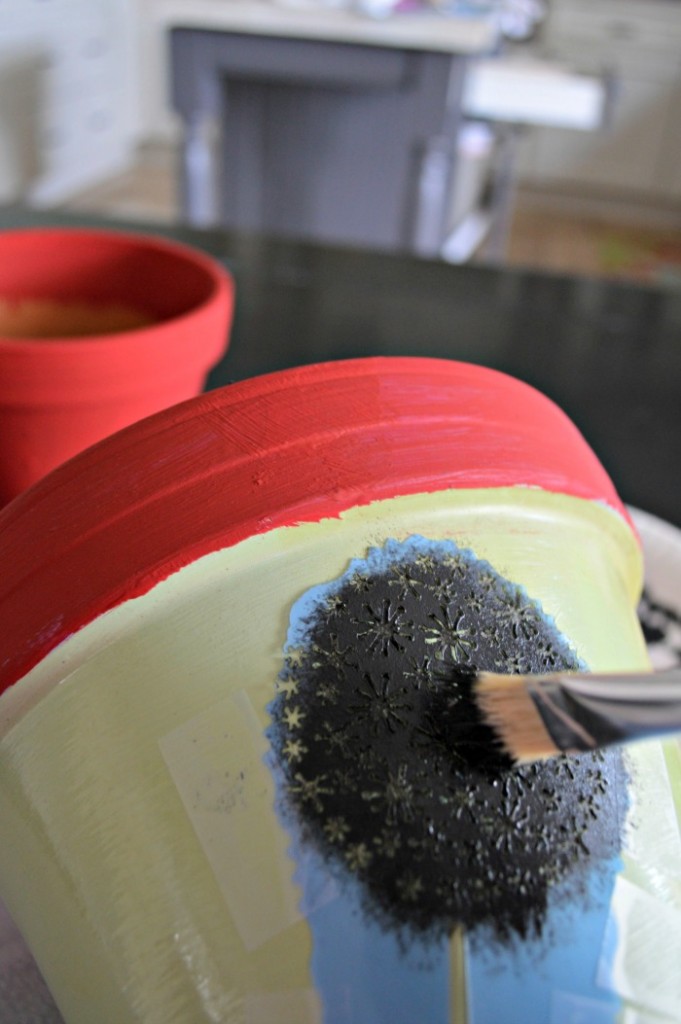
Tape the stencil onto the pot. Using a stiff brush, dip the brush into the paint, and dab any of the excess paint onto a paper plate. Next, lightly tap the stencil with your paintbrush and remove it until the pattern is completely covered with paint. After it had dried I covered the entire pot with a sealer.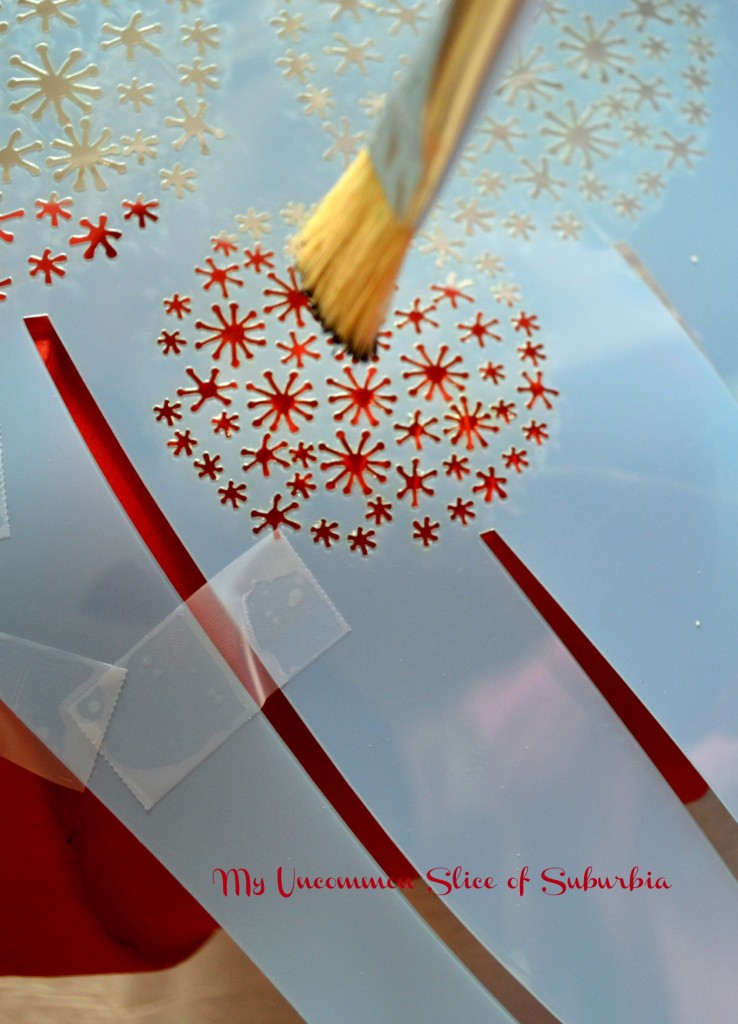
This is so easy and such a fun way to update those pots!
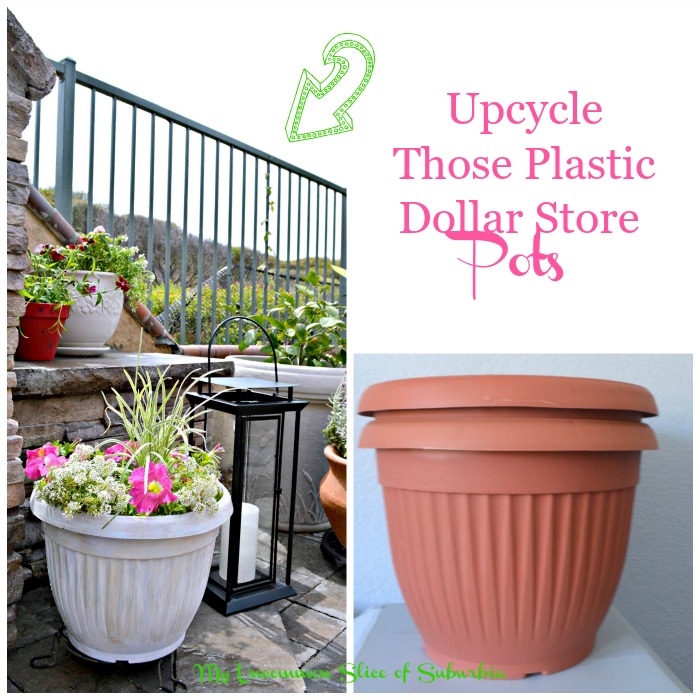
If you missed the post on how I updated the plastic pots from the 99 cent store with the chalky paint you can find the tutorial right here.
Thanks so much for stopping in today!
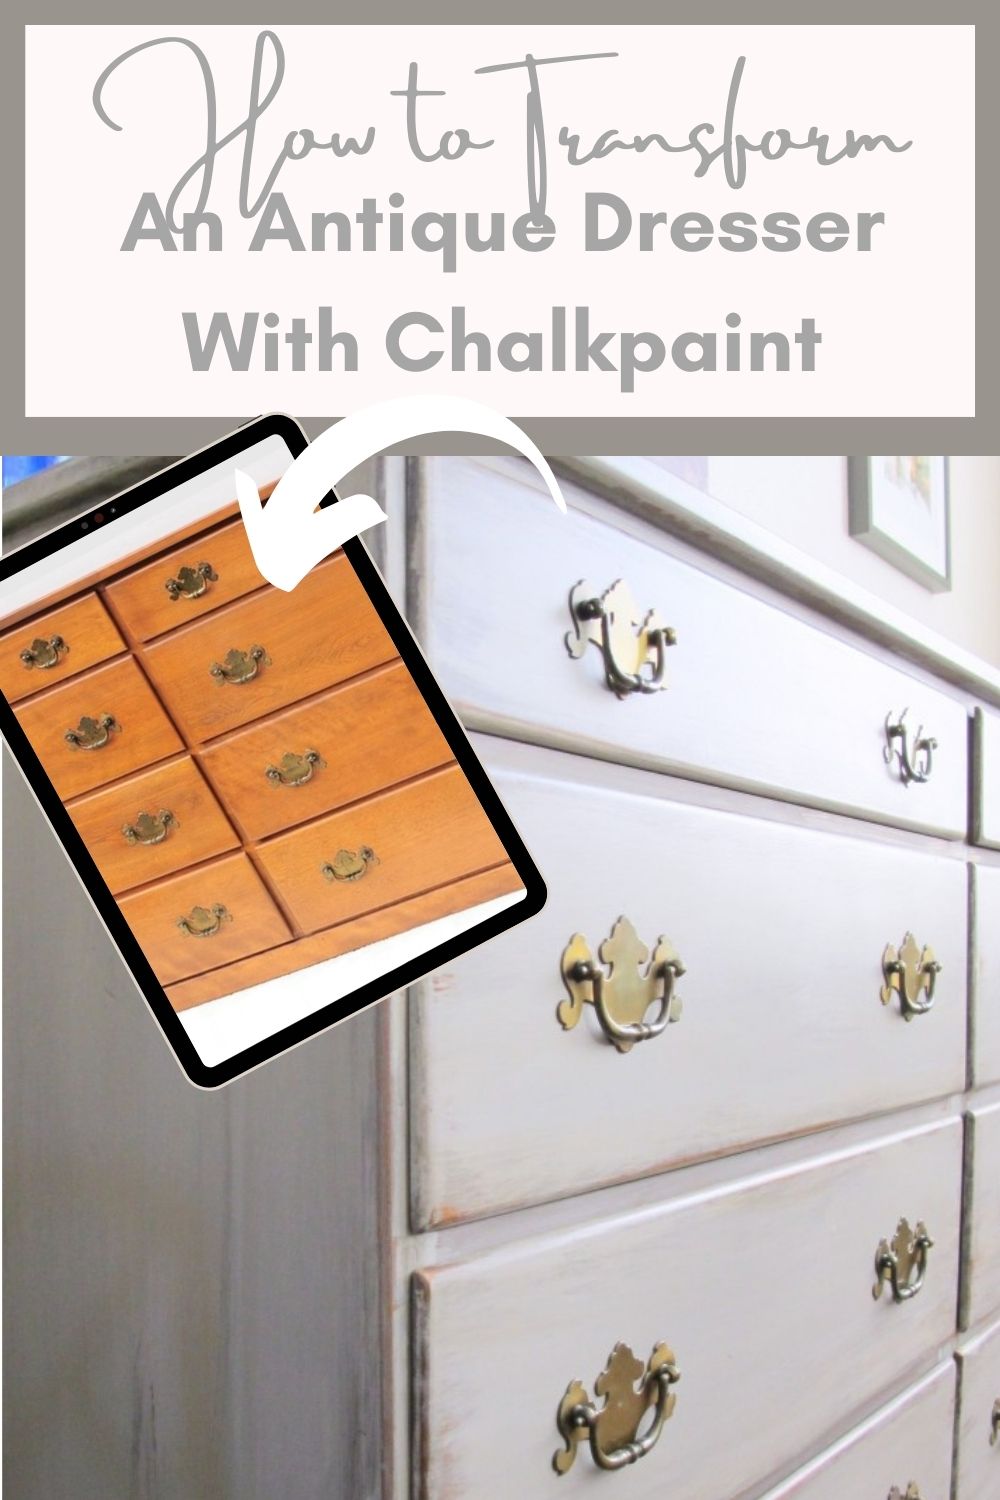
Below is a handful of other projects I have completed using the chalky paint, so fun!
Painted Pots
Antiqued Pots
Armoire Transformation
Vintage Armoire Transformation
Painted Gift Tags
DIY French Antique Basket
Disclosure: Special thanks to Americana Decor Chalky Finish Paint. I received monetary compensation and/or product for sharing this project.





Your pots turned out so cute!
I want that dandelion stencil!!
They turned out so cute!! I love the change a little paint can make. 🙂
That stencil is so cute!
These are SO cute—I’m definitely going to try it! Aren’t the pots a steal at the Dollar Store? Love it!
Jane x
So cute! The colors are fantastic and the stencil…LOVE it! ox
So cute Kristin! Gotta love paint!
Great idea Kristin and they look fantastic!
Those are adorable!!!
I enjoyed your plastic pots and clay pots renewed with paint and stencils.