
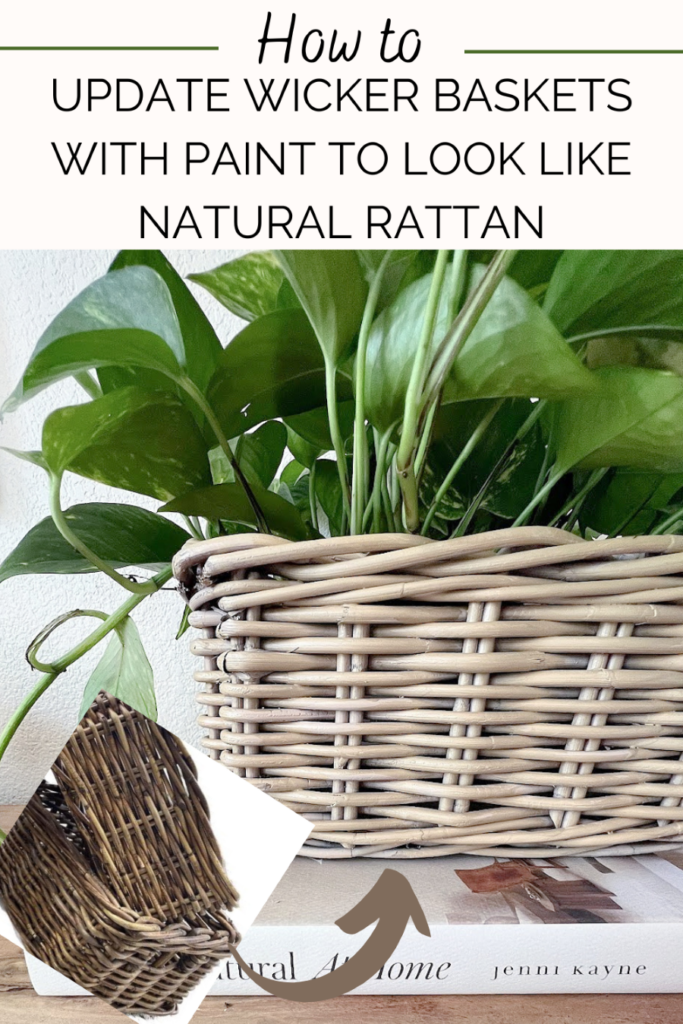
Update wicker baskets with paint to look like natural rattan
Transform a dark wicker basket into a stunning light rattan masterpiece with my step-by-step guide. Learn how to use paint creatively to achieve a natural, elegant rattan appearance for a brand-new look.
The natural look is super popular right now but what if you have a basket that is stained extremely dark? Don’t go out and buy new, save those pennies and paint them.
It’s thrift store decor day so make sure you check out everyone’s makeover at the end of this post!
I’m giving you the exact colors I used but realistically, if you have an abundance of craft paint at home I”m sure you could create the look with what you already have. My best tips would be to spray paint the whole basket a taupe/light tan and then start layering the paint colors with the colors that are close to the ones I used (brown, yellow, metallic) you could also use gel stain, you just have to play around with it.
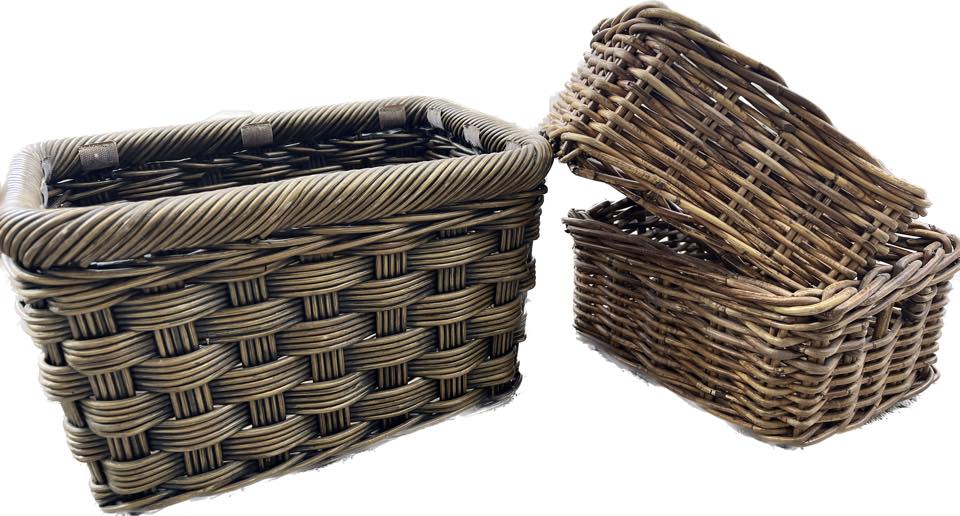
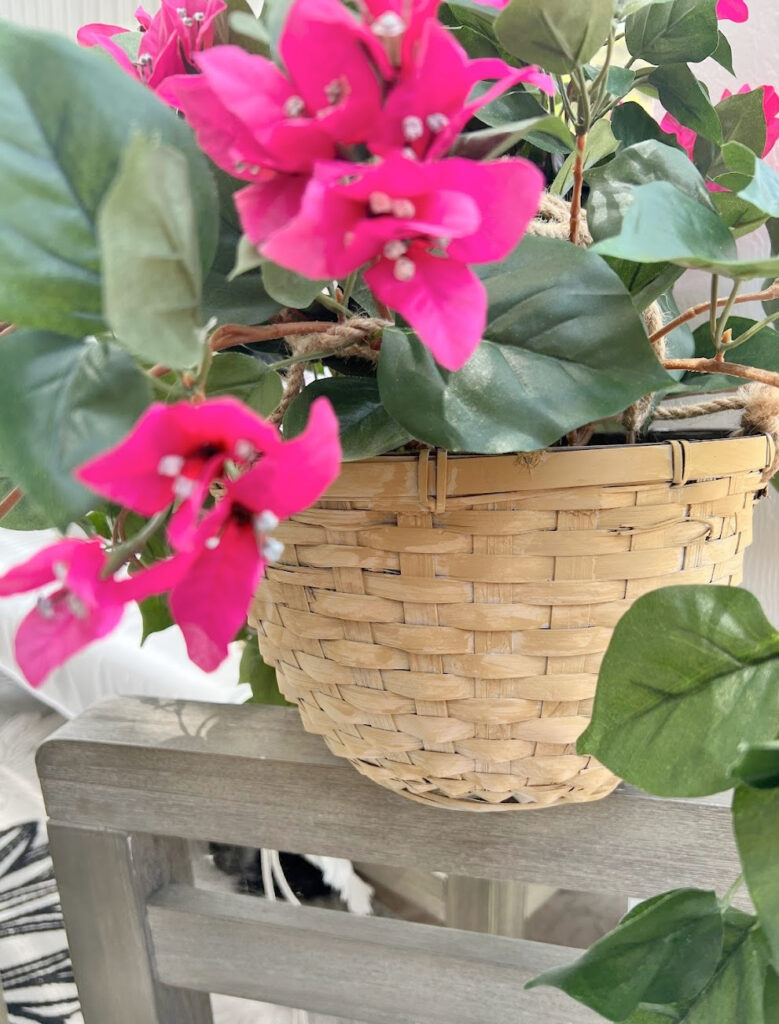
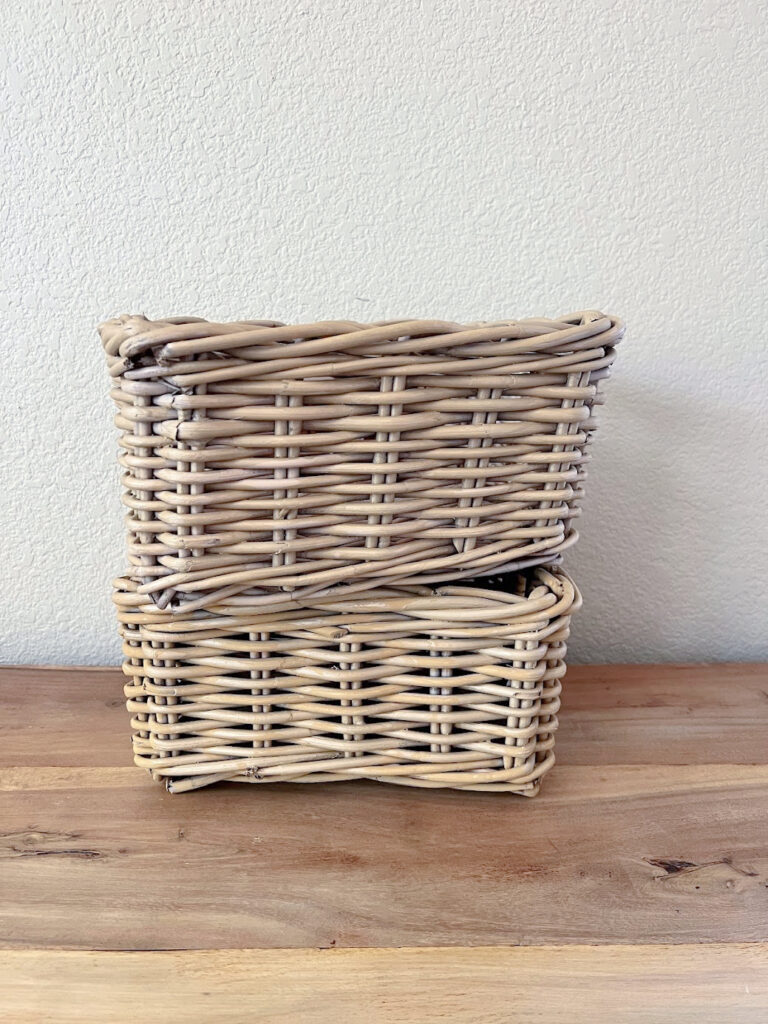
Here are a few of my before baskets, I made over 5 in total. I found them at various thrift stores over the past 10 years or they were given to me. 2 of the baskets I made over with flowers in them and I’ll be sharing more on those flowers later this week, stay tuned!
Full disclosure: Affiliate links are listed below you can read my full privacy policy here.
Supplies
Dark Old Baskets
Craft Brush or foam brush
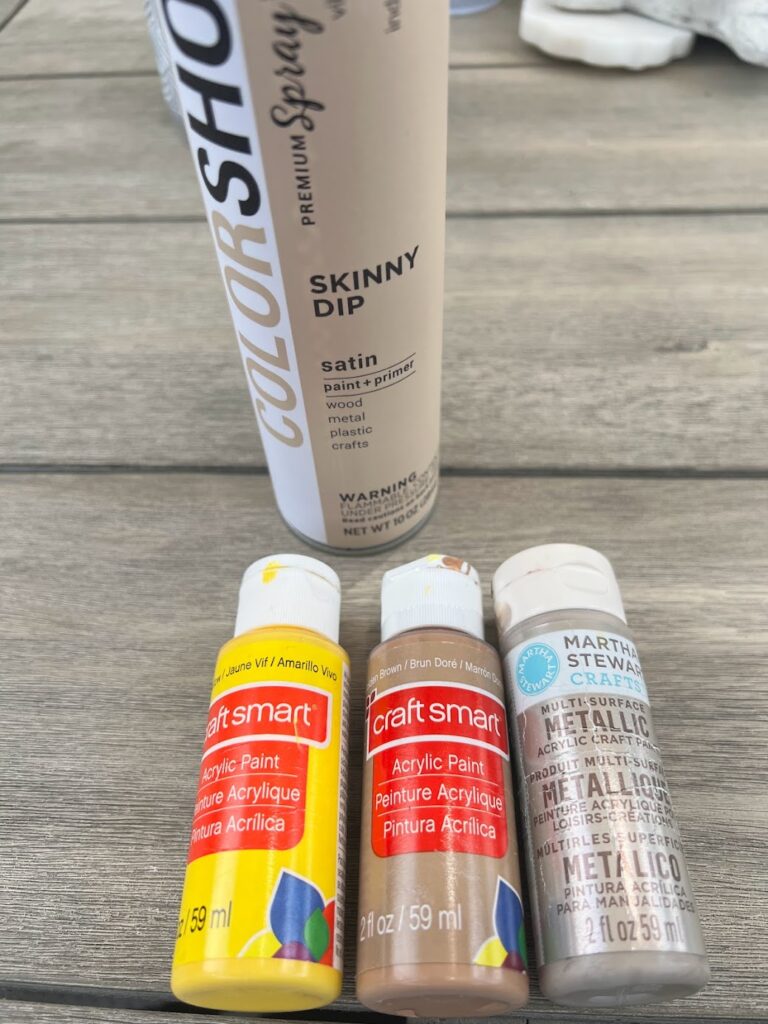
Martha Stewart Crafts Multi-Surface Metallic Craft Rose Chrome
Satin Acrylic Paint by Craft Smart 2 oz. (Golden Brown)
Satin Acrylic Paint by Craft Smart 2 oz. (Dark Yellow)
COLORSHOT Spray Paint, Skinny Dip (Tan) I think this spray paint in nutmeg would work well too
Clear sealer (optional for added protection)

Directions for your basket makeover
Transforming a dark basket into a light rattan-looking one using paint is a fun and creative project. Follow these step-by-step instructions to achieve the desired result:
Step 1: Clean Basket: Prepare the Basket Start by cleaning the basket to remove any dust or dirt. If the basket has a glossy finish, you may need to lightly sand it to create a better surface for the paint to adhere to. Use medium-grit sandpaper and gently rub the surface of the basket. Wipe off any dust with a clean cloth or sponge.
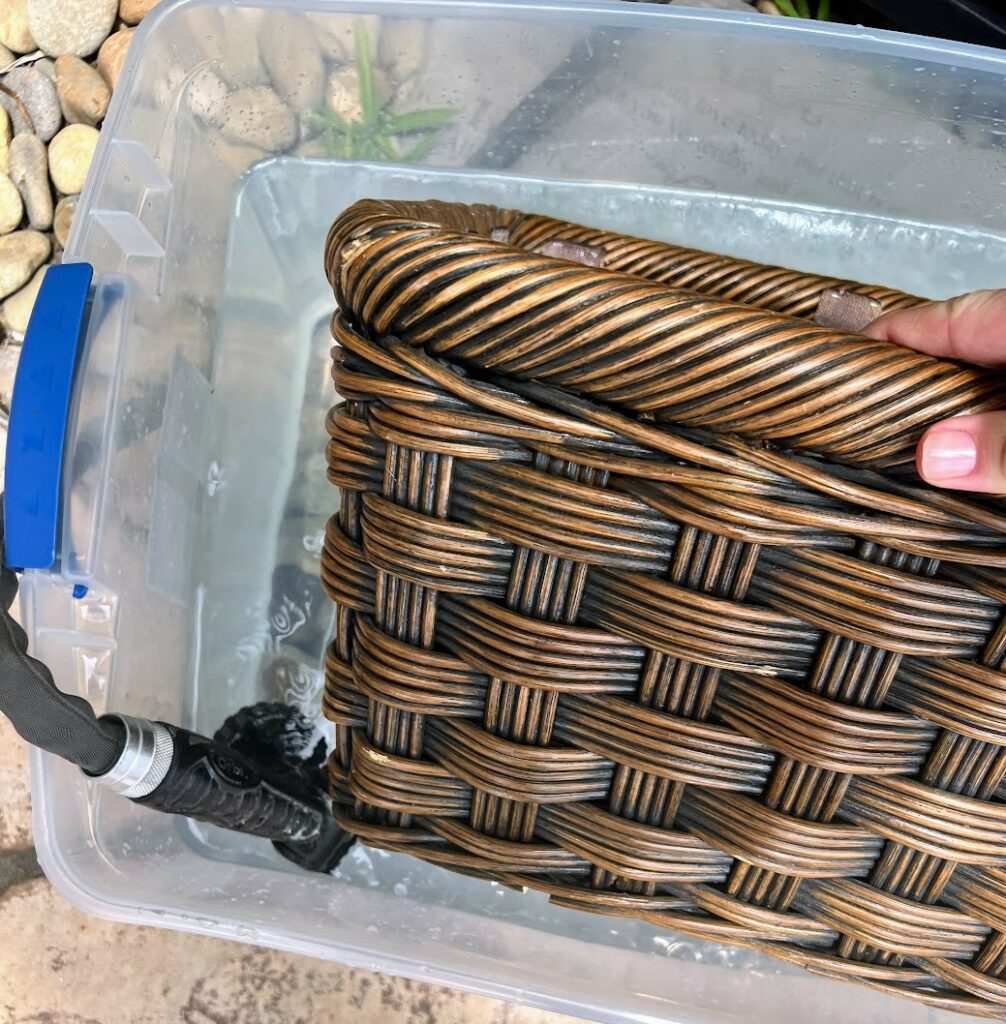
Step 2: Apply your base coat using spray paint for the best coverage, Apply an even coat to the entire basket for full coverage and let it dry completely according to the manufacturer’s instructions. If your basket is the woven type you will want to get the inside as well so none of the dark stains show in-between those small holes.
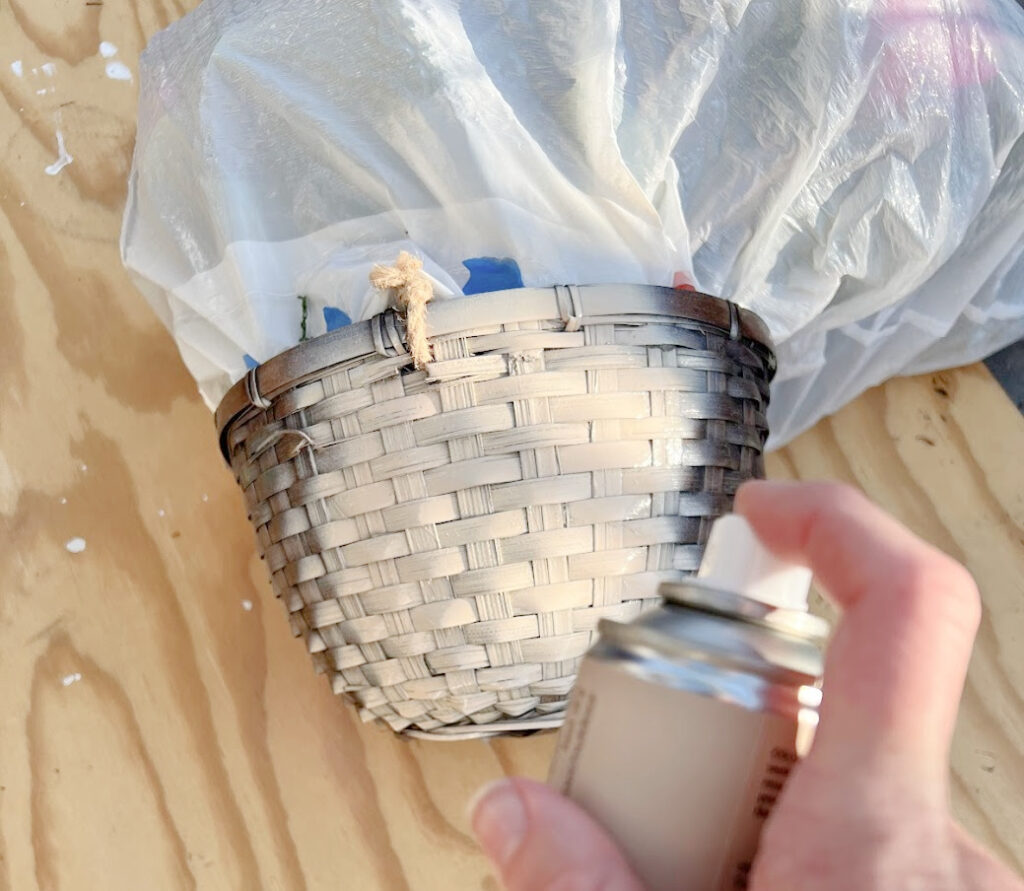
Step 3: Mix your three colors together, I start with equal parts.
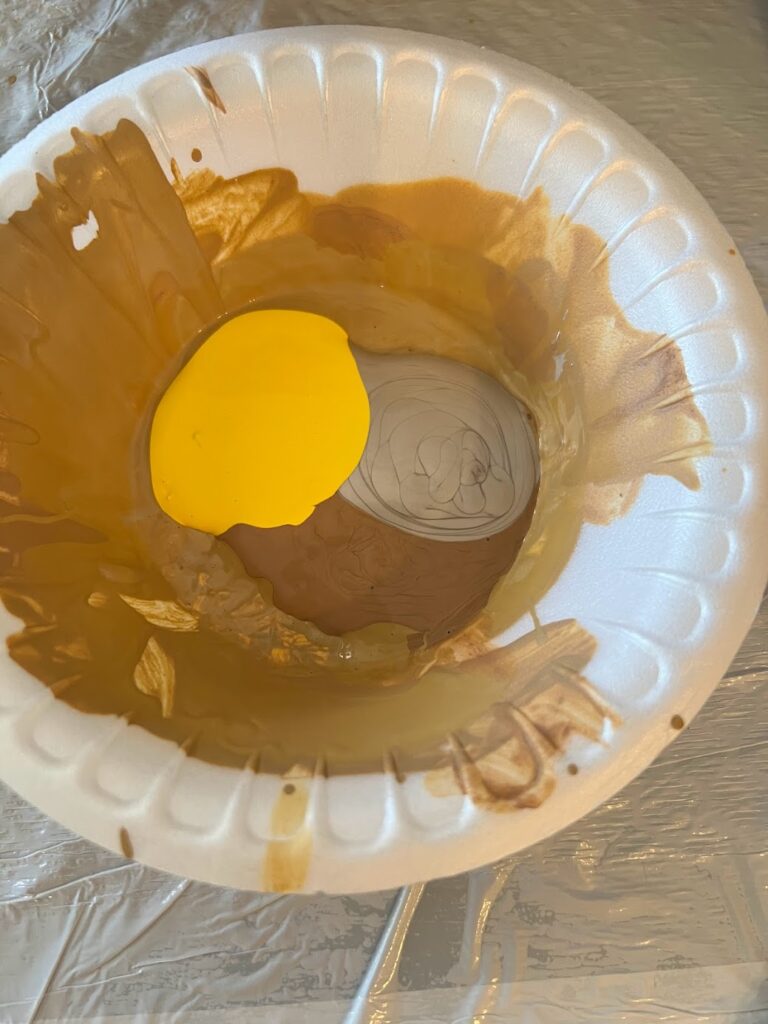
Apply to a small section and let it dry, what do you think of the color? Too light? Add brown. Too Dark? Add metallic or yellow. Keep doing this until you have the look you are after. Use a craft paintbrush to cover the entire basket with an even layer of paint. Make sure to reach into all the nooks and crannies of the basket. Allow the base coat to dry completely before proceeding making sure you don’t have any excess paint sitting on the basket.
![]()

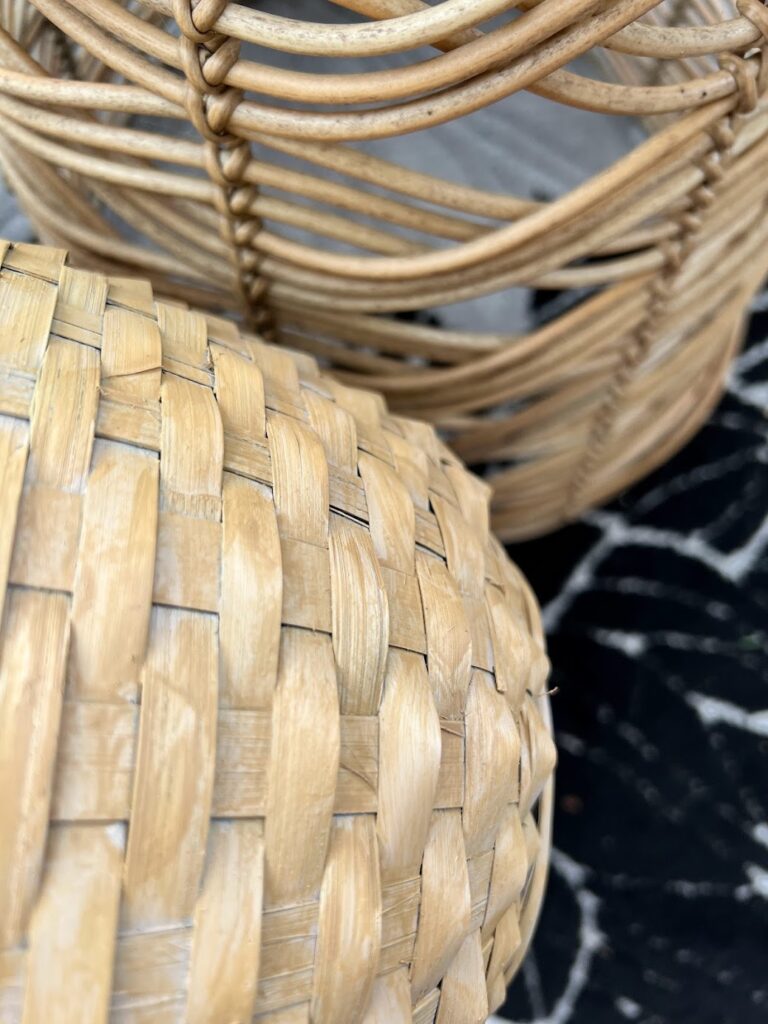
Step 4: After it is done drying, you may want to add a little extra texture for an extra touch of realism. I did this by lightening the mix of paint up just a little bit more with the metallic and dipping a small paintbrush into the light-colored paint and dry brushing it onto parts of the basket. (easiest way to dry brush is to dab a little paint onto your paintbrush and wipe the excess on a paper towel) Don’t worry about being too precise; the imperfections will add to the natural look.
I kept comparing it to a rattan table that I have outdoors and kept layering it until I had an almost perfect match!
Step 5: Let it completely dry. If you want to protect the paint and add a bit of sheen, you can apply a clear sealer. This step is optional but can help prolong the life of your painted rattan basket, especially if it is being used outdoors.
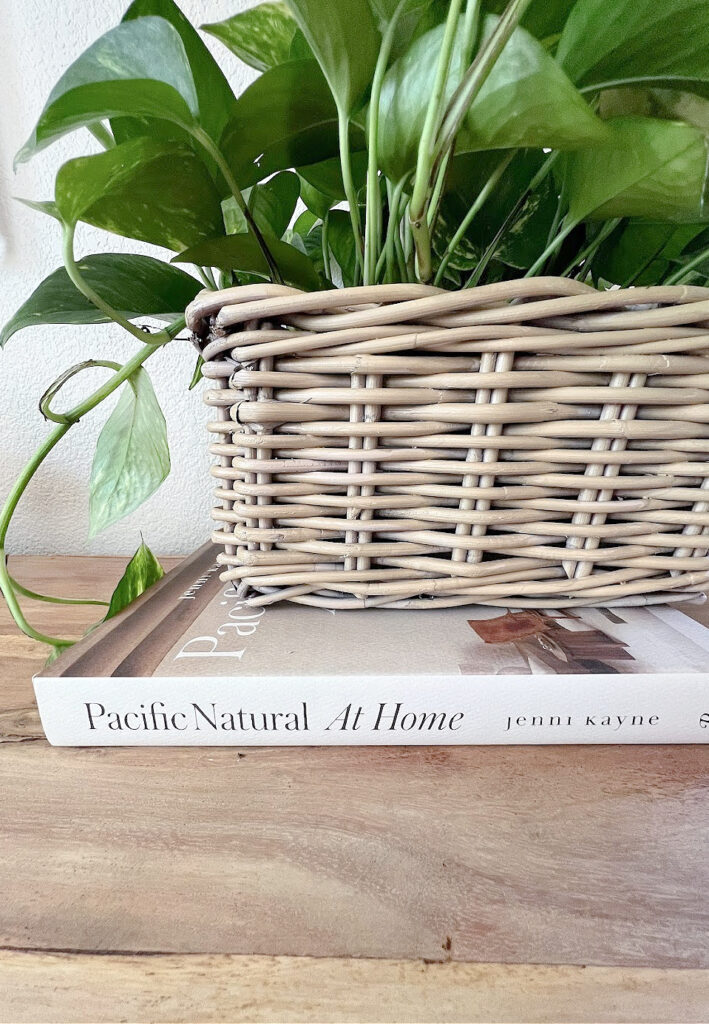
Step 7: Enjoy Your Rattan-Looking Basket! Once the paint and sealer (if used) have dried, your dark basket should now have a beautiful light rattan appearance. I hope you have enjoyed this technique for faux painting wicker baskets (or really any kind of basket). This is a great way to update Wicker!
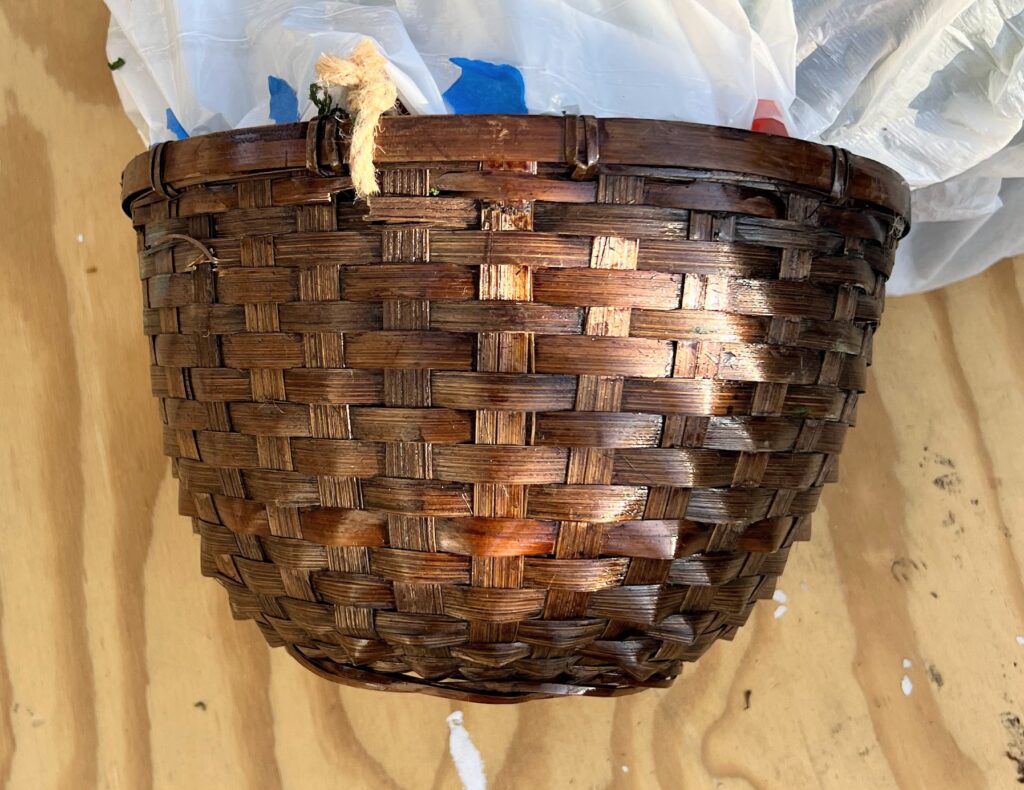
BEFORE
AFTER
This technique could not only be used on thrift store baskets, wicker furniture, new furniture, and old furniture found at yard sales, update a nightstand and paint the drawer fronts with this technique, the possibilities are endless!
Remember, experimentation and creativity are key to achieving the best results. Have fun with the process, and feel free to customize the colors and patterns to suit your preferences. It’s such a subtle change but it definitely brings new life to some old baskets! Happy crafting!
![]()
It’s thrift store decor day so make sure you check out all of the amazing makeovers for this month below!

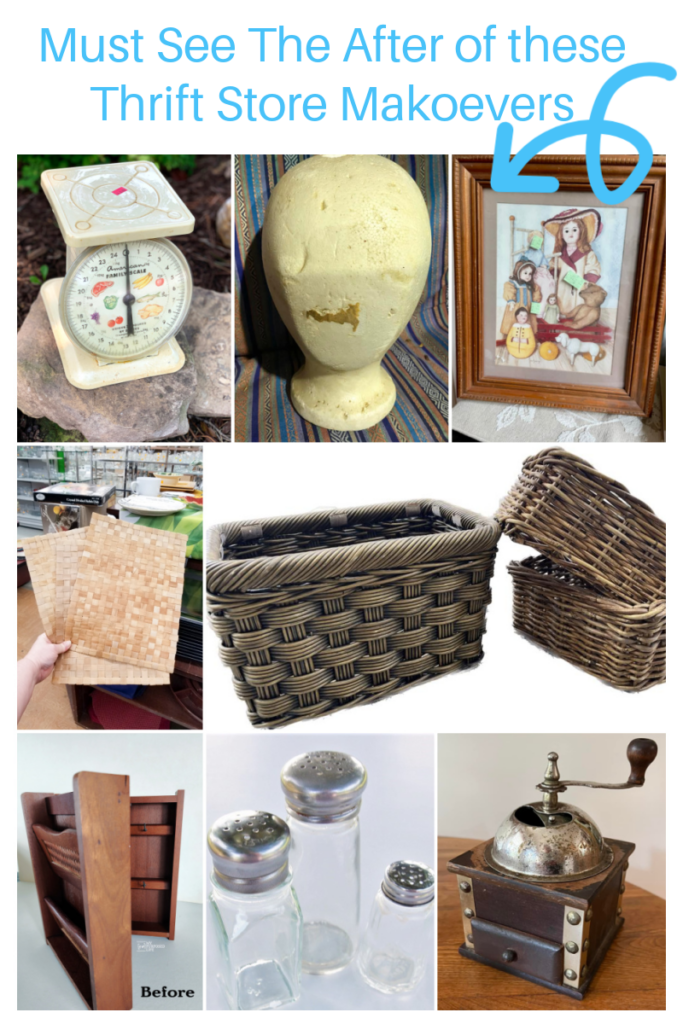
Vintage Scale Repurpose House of Hawthornes
Decoupaged Mannequin Head Shop At Blu
DIY Haloween Art Our Southern Home
Botanical Prints on Woven Mats Sadie Seasongoods
Update wicker baskets with paint to look like natural rattan My Uncommon Slice of Suburbia
Key Cabinet|Easy Makeover My Repurposed Life
DIY Sea Glass Bottles Petticoat Junktion
Thrifted Coffee Grinder Makeover Organized Clutter
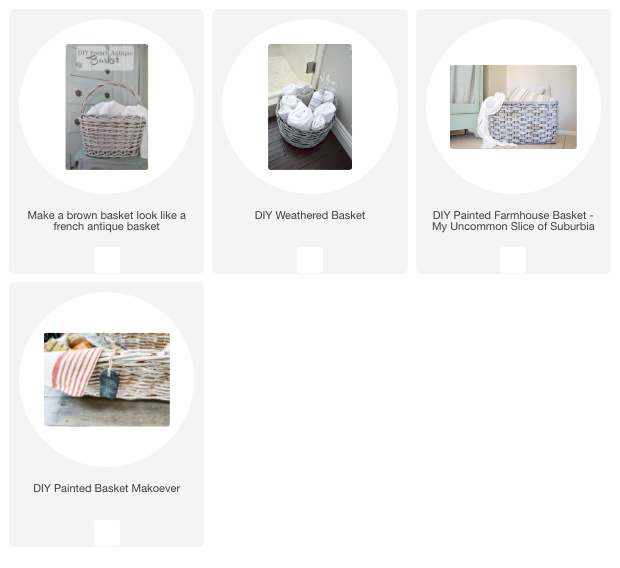
You can find some more easy DIY projects below where I have made over many other baskets using chalk paint to give it a driftwood stain

Pinned your baskets! What a neat and fresh transformation!
Thank you so much Carlene!
LOVE this upcycle, Kristin!!
Don’t forget to join us over at the Creative Crafts Linky Party every Wednesday through Sunday
https://creativelybeth.com/creative-crafts-linky-party/
Followed and Pinned!
Creatively, Beth
The baskets look way more fresh now! I never would have guessed the colors you used.
Thank you so much Marie!
Why add the metallic paint?? I don’t understand what this will do.
Ni Nina- The metallic just added a little texture and sheen. You don’t need to add the metallic paint if you don’t want, it will still look great. Let me know if you have any other questions, I’m happy to help.