
How to Bleach Wood Furniture The Easy Way
If you’ve ever looked at a dark, dated piece of furniture and wondered if there was a way to completely transform it without painting it — bleaching wood might be exactly what you’ve been looking for. It’s one of those techniques that sounds intimidating but delivers stunning results, and once you try it, you’ll find yourself eyeing every thrift store piece with new possibilities in mind.
In this project, my husband and I took a rustic thrifted cabinet that had already gone through one makeover and gave it a completely fresh look by stripping it back to the raw wood, bleaching the top to lighten and brighten the grain, painting the lower half in a soft grey-white, and adding linen wallpaper behind the glass doors with new wood trim for a finished, polished look.
I’ll be honest with you — the bleaching itself is the easy part. The prep work (stripping and sanding down to bare wood) is where you’ll put in the most time and effort. But trust me, it is completely worth it. There is nothing quite like seeing that raw, lightened wood grain come through after all that hard work.
Below, I’ll walk you through everything: how to strip the furniture, how to bleach wood step by step, and how to seal and finish it so the results last. Let’s get into it!
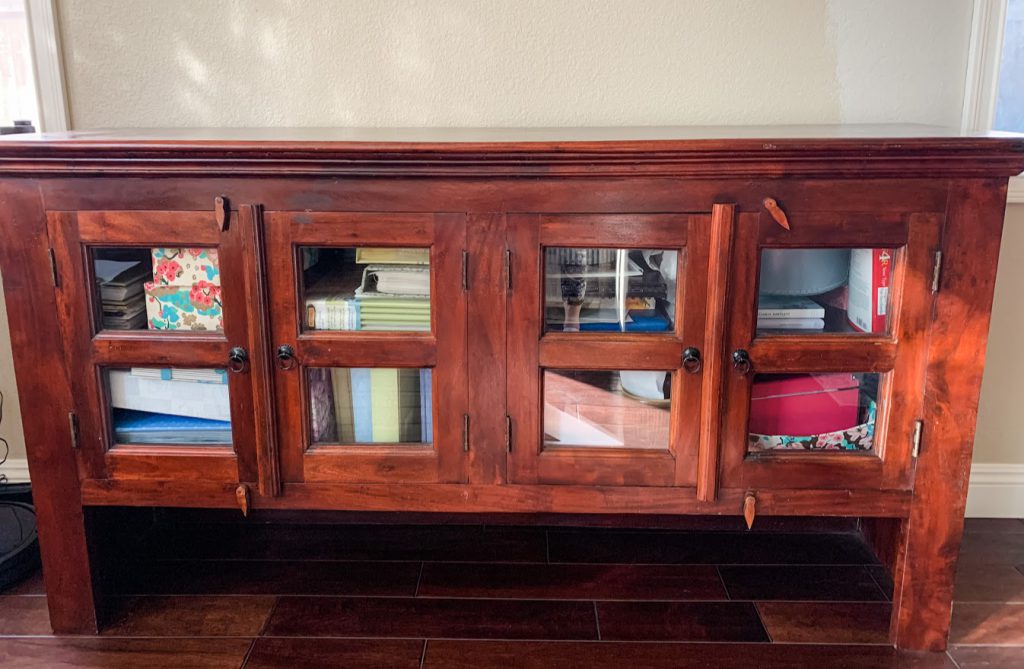
This piece has gone through a prior makeover about 3 years ago, and I was ready to make it over again. To be honest, I still feel like it is missing something, but I’ll live with it for a while and figure it out. I’m thinking of new door pulls and hinges but I ran out of time for this month’s THRIFT STORE PARTY! Make sure you check out everyone’s beautiful makeovers at the end of the post!
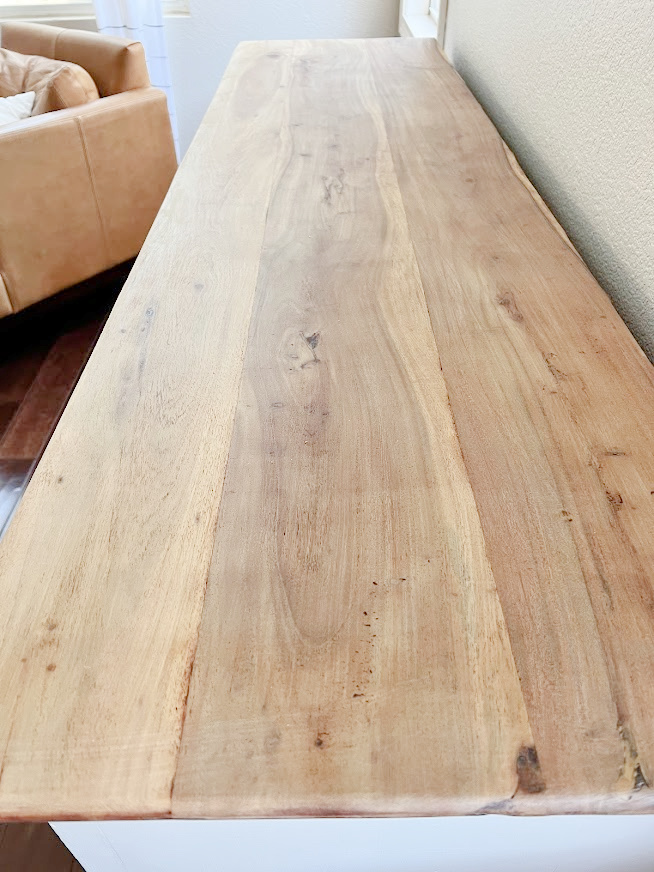
Here is the before:
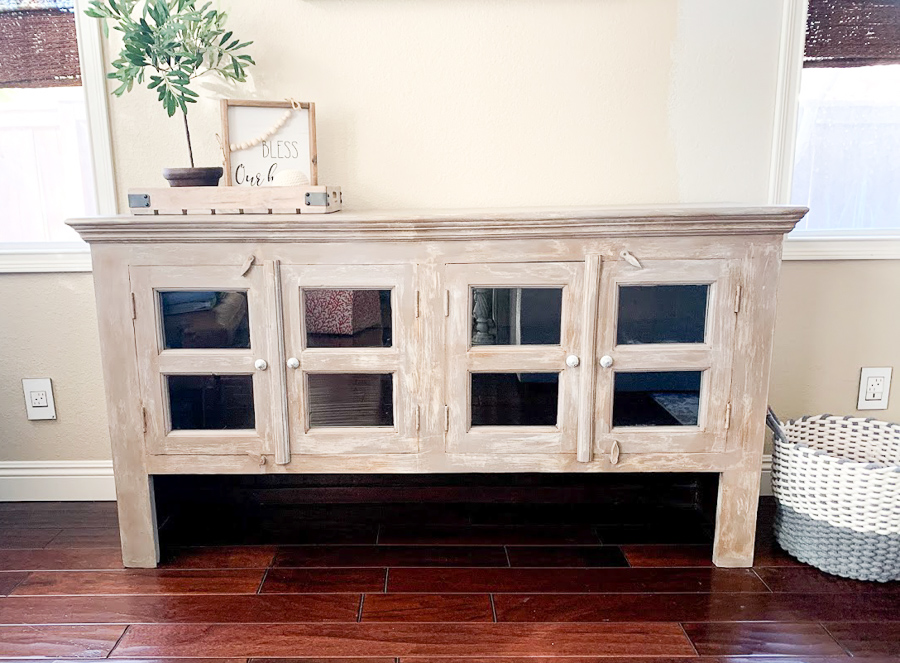
Here is the tutorial on how I gave it a weathered look
Affiliate links are listed below
Supplies

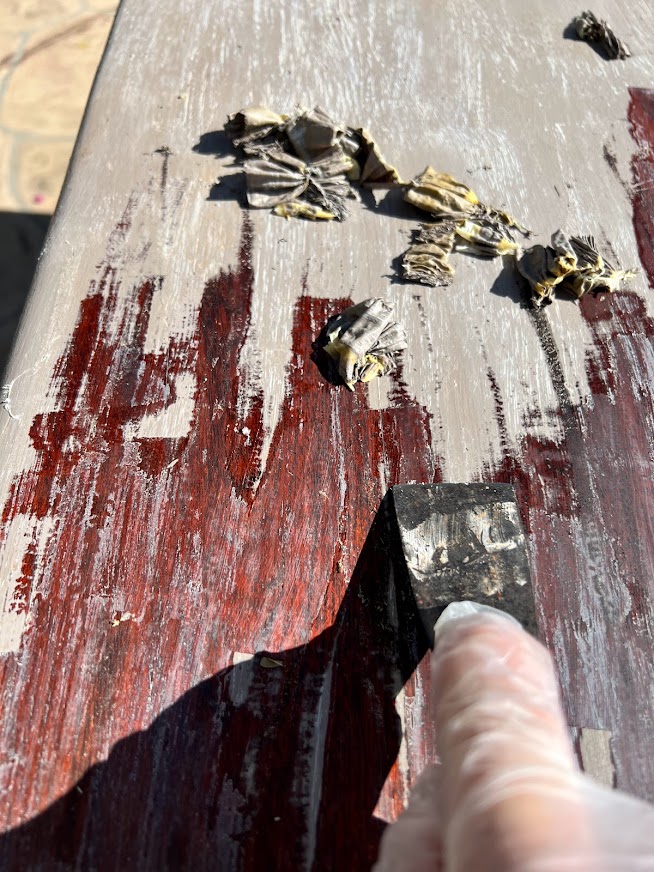
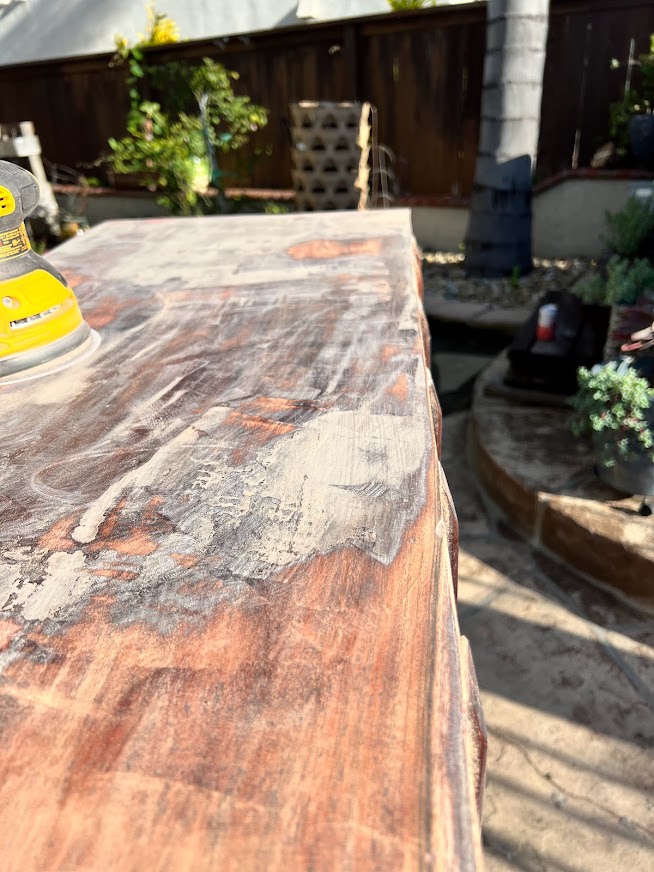
How to strip wood furniture
Stripping wood furniture is a process used to remove the old finish or paint from the furniture so that it can be refinished or painted again. This part is not easy; it’s a lot of work. Stripping the top took me about 2 hours, and getting the rest of the stain down to the grain by sanding was another 2 hours. Hence, why I did not even attempt to strip/sand this whole piece.
- Choose the right stripping product: There are several types of stripping products available. Choose a product that is suitable for your furniture type and the finish you want to remove. Talk to the paint person for advice if you are unsure.
- Prepare your workspace: Strip wood furniture in a well-ventilated area, preferably outdoors. Cover the ground with a drop cloth, and wear protective gloves and eyewear to avoid any skin or eye irritation.
- I added the stripper into a recycled can (soup can, bean can, etc)
Apply the stripping product generously with a brush or a rag, covering the entire surface of the furniture. Let it sit for the recommended time as per the instructions on the product. - Remove the finish: After the recommended time, use a scraper or a putty knife to remove the old finish. For detailed or intricate areas, use a toothbrush or steel wool to remove the finish.
Sand The Furniture
- Clean the furniture: Once the finish is removed, use mineral spirits or a cleaning solution to clean the furniture.
- Sand the furniture: After the furniture is dry, use sandpaper to remove any remaining finish or stain. Sand with the grain of the wood to avoid damaging the surface.
- Repeat if necessary: If there is still some finish remaining, repeat the process of applying the stripping product and removing the finish.
How To Bleach Wood
Bleaching wood is a process that involves lightening the natural color of the wood by removing its pigmentation.
- Choose the bleach, I used plain old chlorine bleach. I did a lot of research on this, and although there are a lot of opinions, I went with the cheap bleach, and at the end of the day, it did the job.
- Since my piece was already prepared, I did not have to prep. However, if it’s not prepared, you would want to make sure to wipe the surface clean with a damp cloth and allow it to dry completely before applying the bleach.
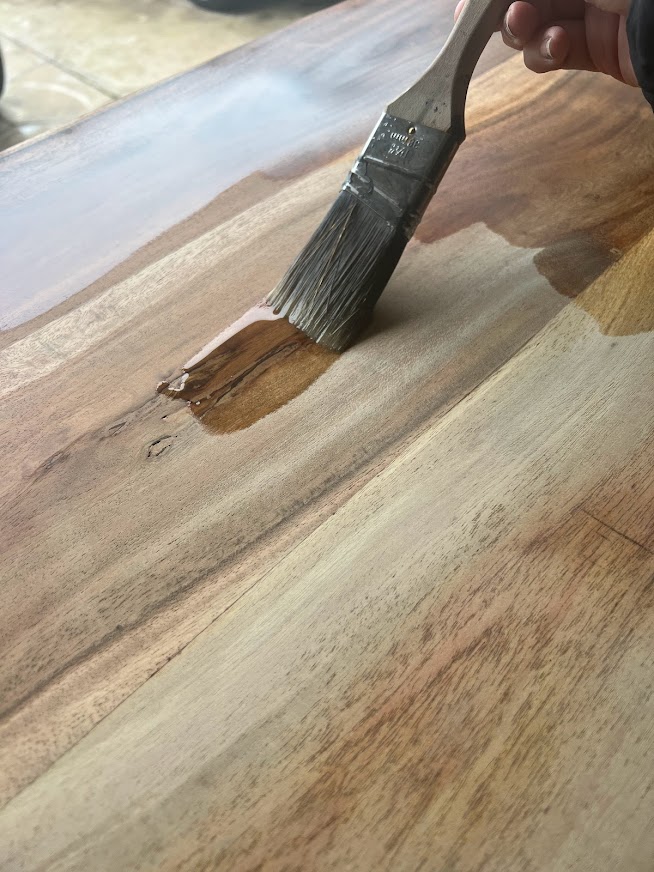
- Apply the bleach: Wearing protective gloves and a mask, apply the bleach with a brush, sponge, or cloth. I used a paintbrush, again adding the bleach into a recycled can.
- At this point, you may be happy with the outcome; if not, continue the process until you have your desired look.
- If applying bleach multiple times, use a vinegar/water mix in between bleaching. This will neutralize the wood between bleaching.
- For this piece, I did the bleaching process three times to get the color I was going for! I waited a few hours in between each application of bleach until the wood was dry to the touch. Repeat as many times as you want. Each time the wood will look lighter; darker woods may take more coats of bleach, whereas light woods will take less.
First Coat
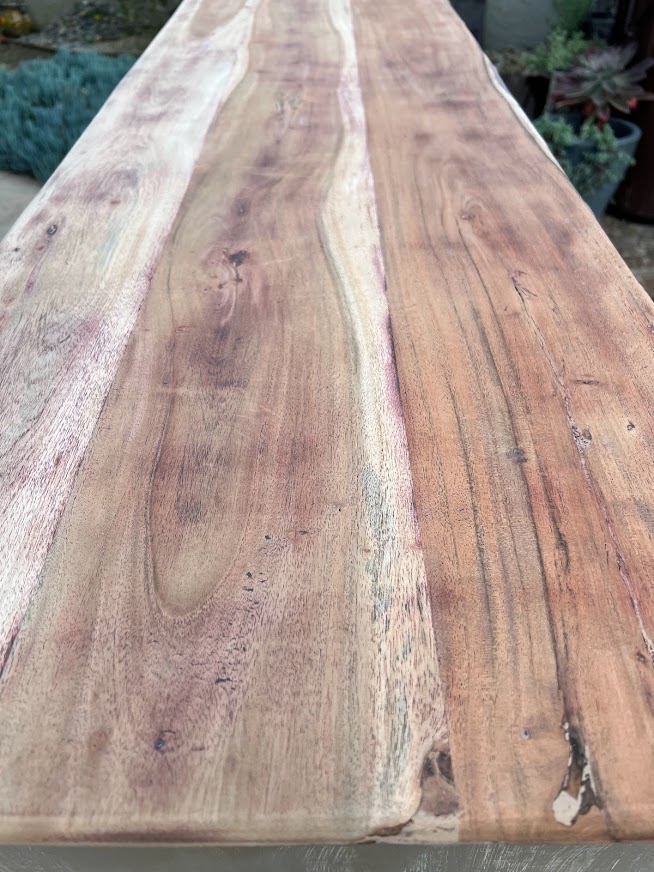
Second Coat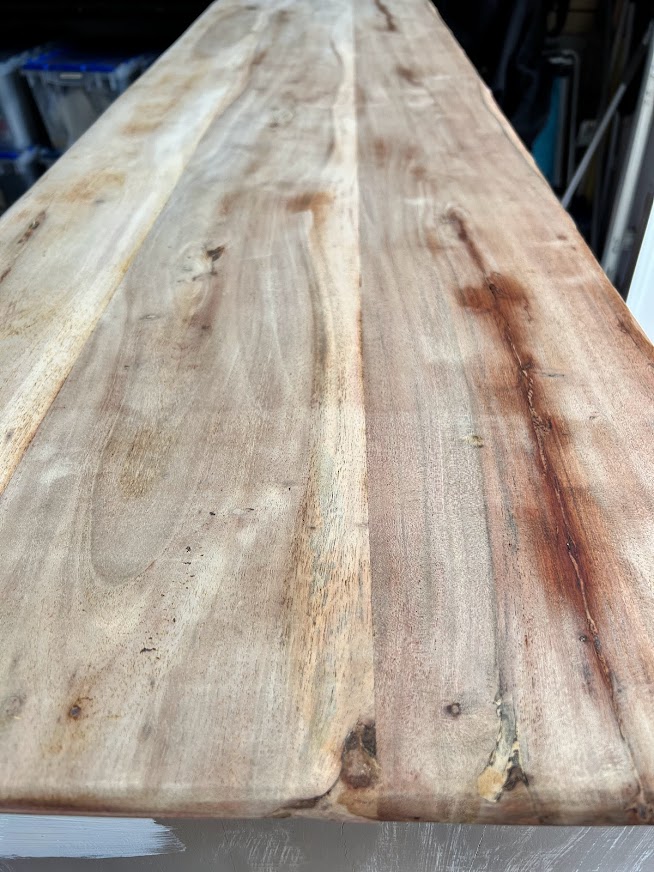
ThirdCoat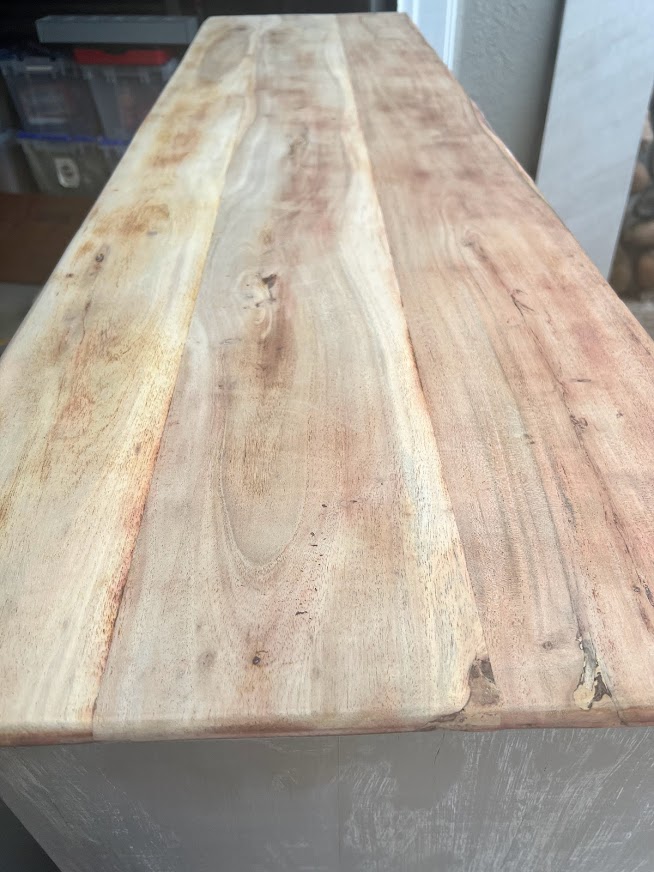
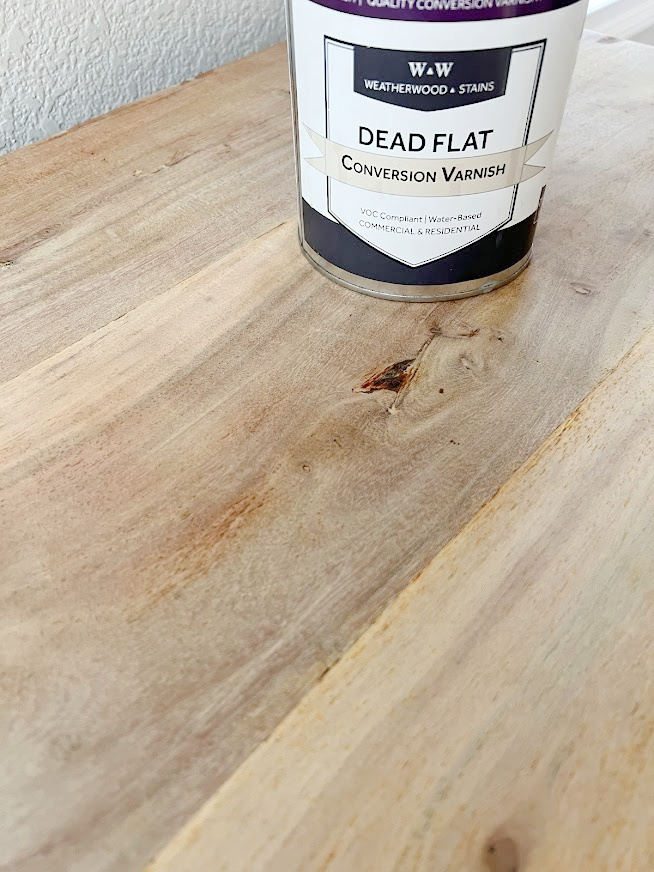
After it dried
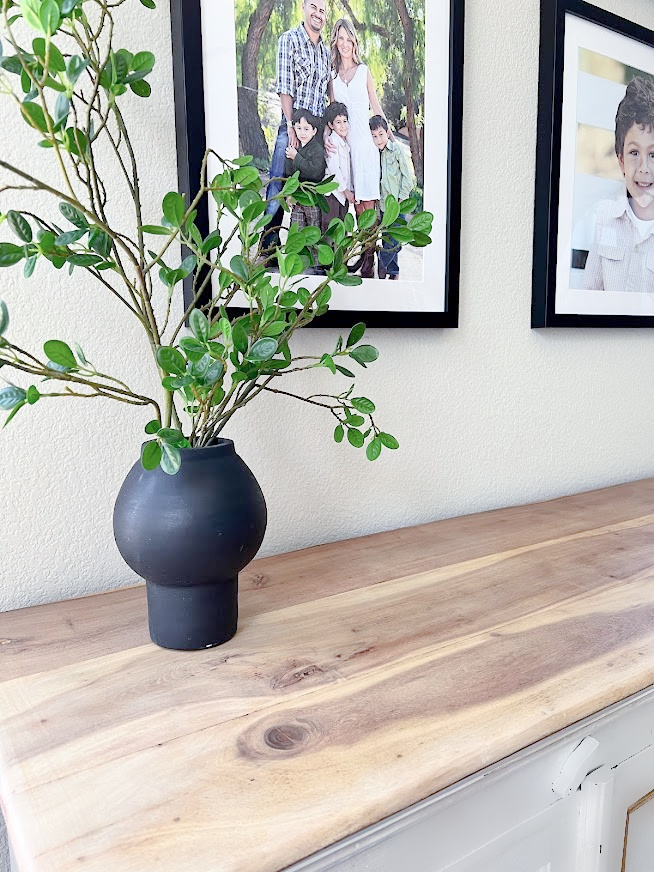
After the wood is completely dry, you may apply any stains, finishes, or sealers. I did not want to alter the look of the wood, so I used Dead Flat to seal the wood.
Frequently Asked Questions
Can I bleach wood furniture without stripping it first?
Unfortunately, no — not if you want great results. The bleach needs to penetrate the raw wood to work effectively. If there’s paint, stain, or a sealer still on the surface, the bleach won’t be able to do its job. Taking the time to strip and sand first is what makes the difference between a subtle change and a dramatic lightning effect.
Does bleaching damage the wood?
When done correctly, bleaching does not damage the wood. The key is to let the wood dry fully between coats and to neutralize it with a vinegar and water solution (equal parts) after you’re finished. This stops the bleaching process and helps protect the wood fibers before you apply any sealer or finish.
How many coats of bleach will I need?
It depends on how dark the wood is and how light you want to go. Lighter woods may only need one or two coats, while darker woods (like the piece in this project) may need three or more. Just take your time, let each coat dry completely, and stop when you’re happy with the color.
What kind of bleach should I use?
Plain chlorine bleach from the grocery store works well for most furniture projects — it’s what I used here! There are specialty wood bleaches available, but for a beginner-friendly project like this, regular household bleach gets the job done without the extra cost.
Do I need to seal the wood after bleaching?
Yes, sealing is an important final step. Without a sealer, the raw wood is left vulnerable to moisture and everyday wear. I used Dead Flat to protect the wood while keeping that natural, matte look intact.
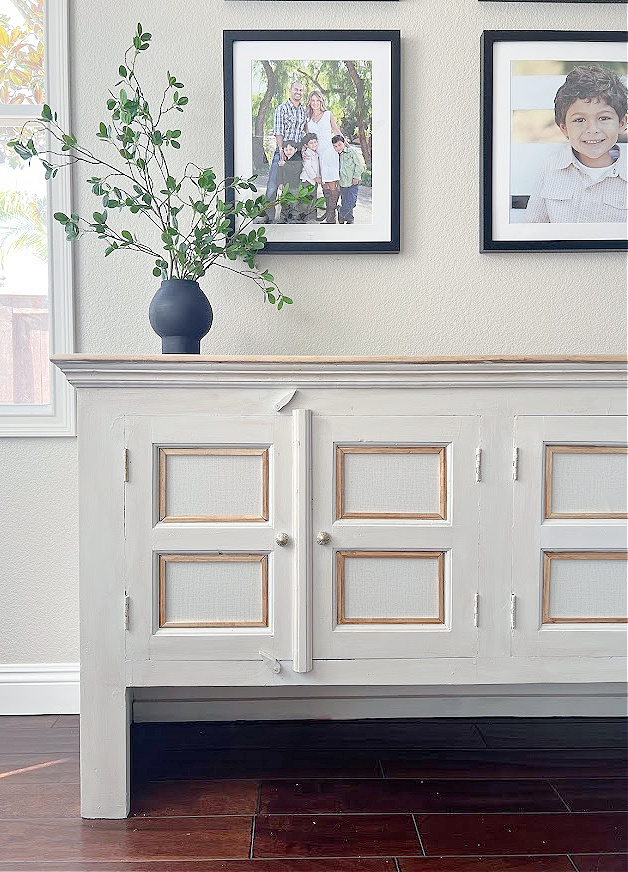
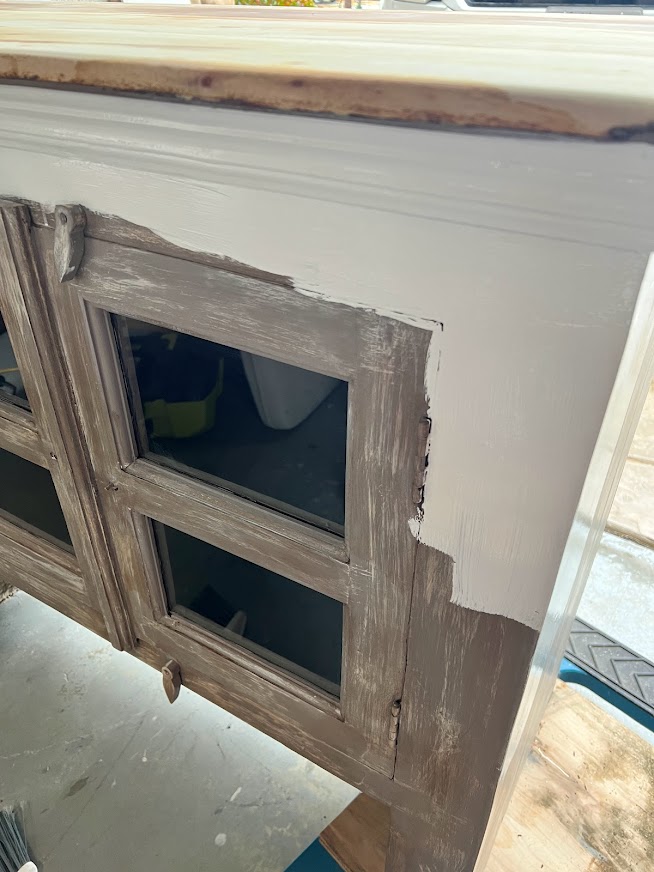
Paint the Rest of the Piece
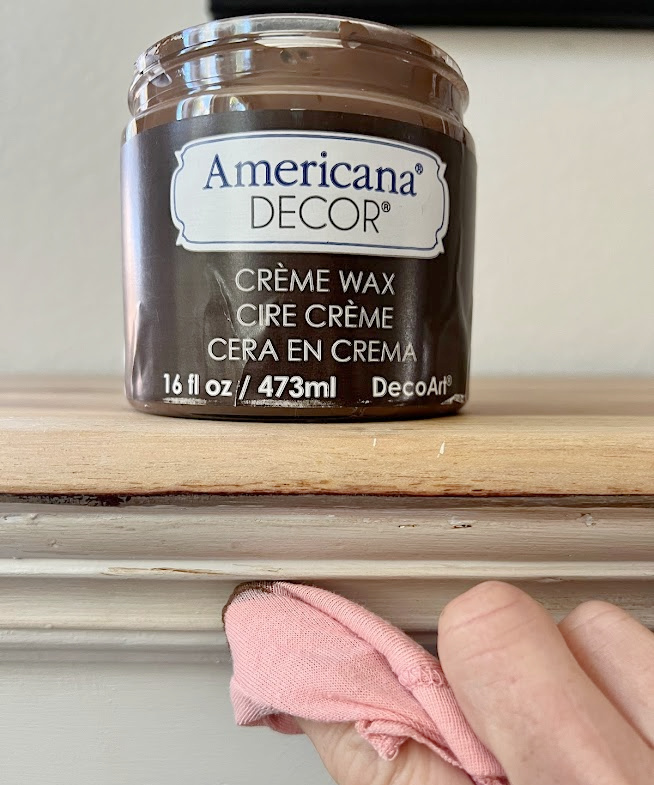
I mixed equal parts of Americana Decor Yesteryear paint mixed with Everlasting White for a very light grey, almost white look. I used an angled paintbrush. I then sealed it with Americana Decor wax in dark brown. Here is a great tutorial on how to paint furniture using chalky paint.
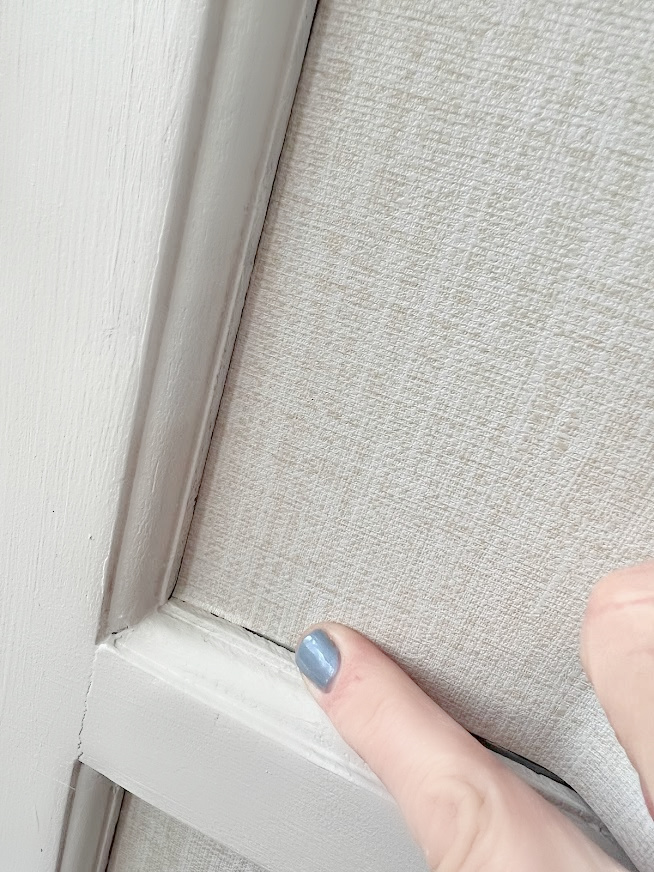
Add removable Linen wallpaper
For the glass fronts on the doors, I applied the removable linen wallpaper, pressing out any air bubbles with my fingers along the way.
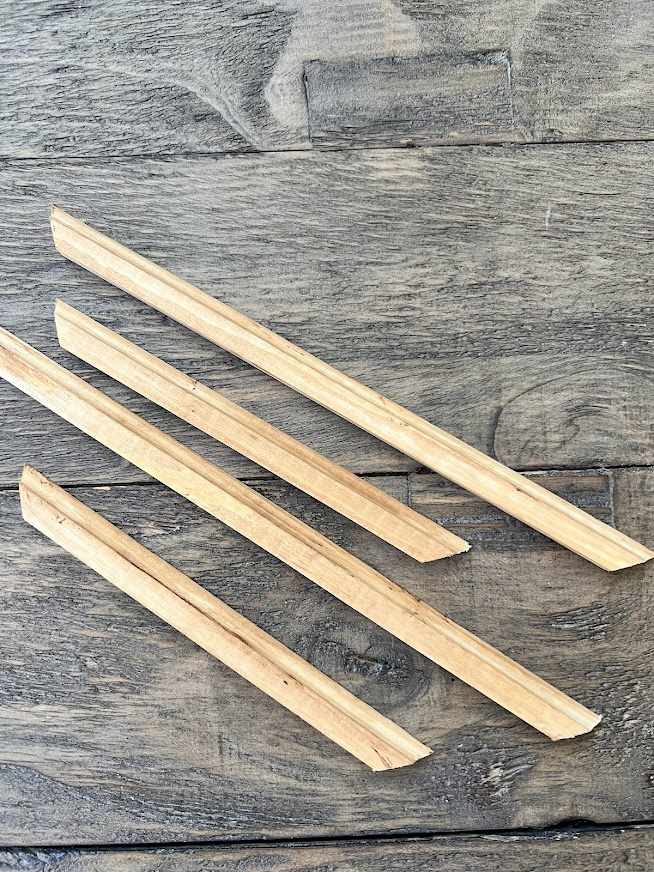
Trim out each glass window
I trimmed out each window with a small wood trim, attaching it with liquid nails. I gave the raw wood a coat of American decor dark brown wax. We cut each piece of wood using a hand saw and 45-degree cuts.
And now that I see it in pictures, I’m definitely adding new hardware!


It’s thrift store decor day! Check out all of the amazing makeovers!
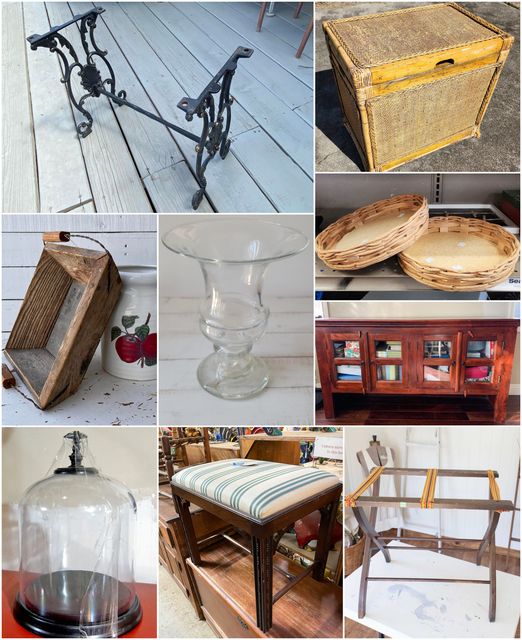
Outdoor Footstool Makeover from Shop At Blu
Vintage Rattan Trunk Makeover | Extra Storage Option from My Repurposed Life
Junky Botanical Planter From Thrift Store Finds from Organized Clutter
DIY Indigo Handcrafted Vase from Domestically Speaking
Cactus Garden with Vintage Salt and Pepper Shakers from Sadie Seasongoods
How to Bleach Wood Furniture from My Uncommon Slice of Suburbia
Coastal Cloche Idea from Petticoat Junktion
Outdoor Footstool Makeover from Shop At Blu
Easy DIY Luggage Rack Makeover for a Guest Bedroom from Reinvented Delaware

Thank you so much for stopping by today. I truly appreciate each and every one of you!
Kristen, I’ve been very hesitant to try the bleach method. But that too is absolutely gorgeous! What a clever way to add character and charm and cover those windows! I love this!!
Thank you Sue, it definitely worked really well, especially with how dark the wood was and the red seeping through.
It turned out beautiful! I can’t wait to try bleaching some furniture!
Thank you Maryann, just need a few more tweaks and I’ll be happy with it!
Kristen,
That is amazing! The difference is unbelievable. Genius idea to use the removable wallpaper on the glass. I’ll have to file that one away. I recently wanted to block a frosted glass window on my kitchen island, and quickly just put a piece of butcher paper on the inside. Hey, it worked for now! lol
Great tips on bleaching furniture.
pinned
gail
Thank you Gail, I appreciate that! As much as I tried to keep things looking neat and tidy, it just wasn’t happening. This solved all my problems. lol I really wanted to do the cane but wasn’t sure how to make it work on such small windows. Love the butcher paper idea!
Just beautiful! The top is perfect! Pinned.
Thank you carlene!
Isn’t it great to be able to makeover a piece we have already made over in the past? I’m working on a piece now that has had a previous makeover. You did a great job on this Kristen – such a lovely updated look and I love the wallpaper on the glass! Pinned 🙂
Yes, I love to makeover a piece more than once. ALways fun to update it a few times 🙂
Your piece looks fabulous! It’s the best look yet. Well done, Kristin. :=D
You are so sweet Michele, thank you so much!
Gorgeous furniture makeover. The wood top is amazing. What a clever idea to cover the glass with wallpaper.
Happy Spring,
Kippi
Thank you Kippi!