
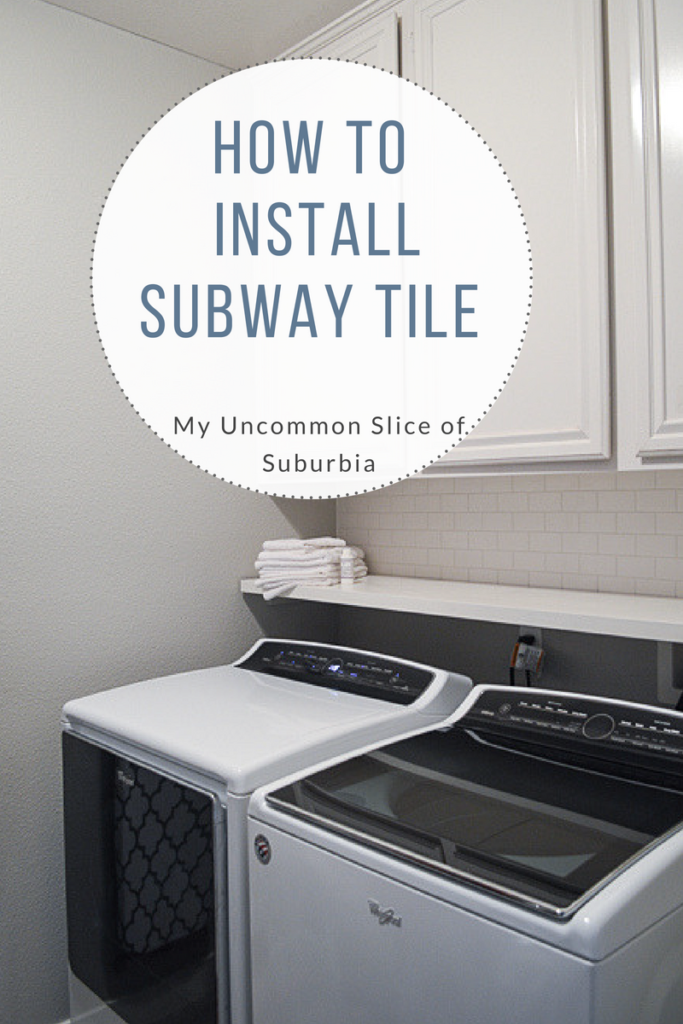
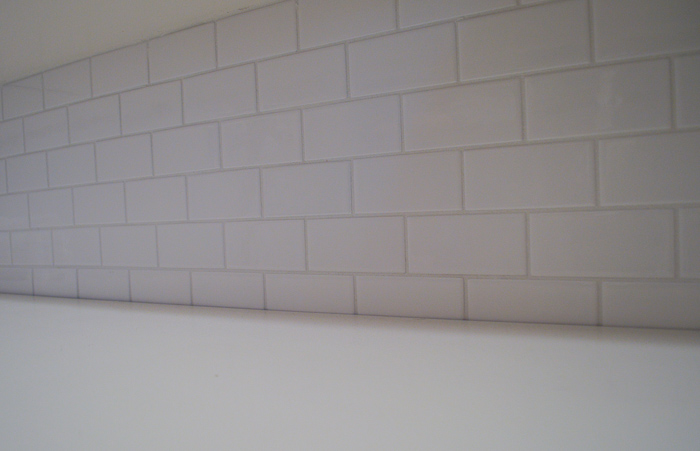
How To Install Subway Tile
When we gave our laundry room a makeover, my husband decided to install Subway Tile for our back splash between the cabinets and the shelf. I didn’t even have to ask, he knows I would love it and just went with it, best husband ever! I love Subway tile because it is a true classic and timeless, I’m hoping this makeover will last for years to come! Laying a back splash isn’t too difficult, we have done it in our master bathroom and in the kitchen but a few tips we have learned along the way will help!
Materials Needed
- Subway Tile Sheets (rule of thumb: 10% more than your square footage)
- Mastic (tile adhesive)
- Spacers
- V Notched Trowel
- Putty Knife
or Grout Float Trowel
- Tile saw ( manual tile saw or tile wet saw)
- Grout
- Sponge
- Grout sealer
- Sanded caulk
Old cloth or tee shirt - 80 grit Sandpaper
Directions
Measure the area and purchase 10% more tile than you need.
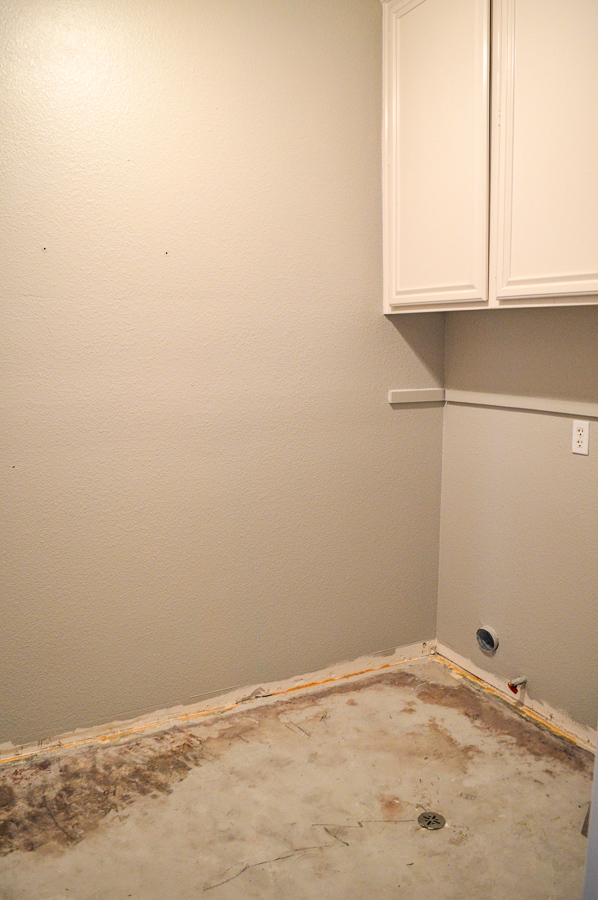
Cover anything that needs protection with a towel and tape off any edges for more protection.
NOTE: We applied the tile directly to the painted drywall without installing cement board since this wasn’t a shower . We simply used 80 grit sandpaper to rough the wall up. Sanding will make it easier for the tile to adhere to the wall.
Apply Mastic
We used a premixed mastic to adhere the tiles to the wall. Using a trowel, apply a layer of mastic onto the wall in small sections at a time. You don’t want to apply all of the mastic at once because it will dry before you can put all of the tile up.
Once we had a thin layer of mastic applied, we “scored” the mastic using a v notched trowel. Hold the trowel at a 45 degree angle. Gently sweep vertically over the mastic. This will remove excess mastic and will also create grooves that will help the tile adhere to the wall.
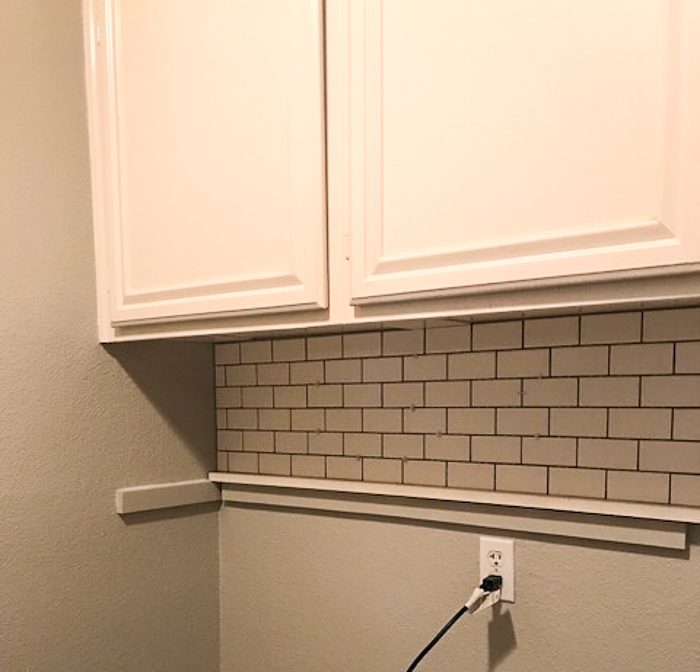
Apply The Tile
Align the sheet with the bottom outer edge, and press into the mastic. We used full sheets and used the tile spacers to help keep the lines of the pattern straight and even.
If too much mastic seeps through the cracks you can use a small screwdriver to get out the excess.
Continue this process until you’ve covered the majority of your drywall with the tile sheets.
Cuts
You will need to make cuts when a partial sheet is needed. Use a pencil to outline where you need to make the cuts. Use a wet or manual saw to cut your tiles.
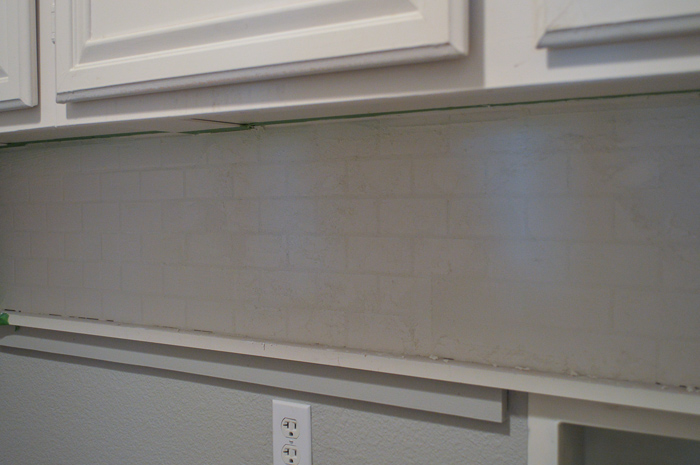
Wait At Least 12 Hours
Before finishing your job, wait at least 12 hours for the mastic to dry and the tiles to set.
Remove Spacers
Grout
You need to work the grout into the cracks by running the grout in a 45-degree angle, spread the material and pressing it into the joints to fill them completely. Be sure to work your way across each line several times. Look at the directions to see how long the grout should sit before using a sponge to remove excess. Using a thick sponge, wipe away the excess. Try to avoid filling the space between your tiles and your counter/shelf, you’ll fill these in with sanded caulk later. Once the grout has hardened, the tiles will be left with a slight haze on them. Using a damp cloth, clean it up by going over the area lightly then buff immediately with a dry cloth
Seal
Let the grout dry for the recommended time given by the manufacturer. Spread the sealer with a small paintbrush or a sealer applicator.
Caulk
Caulk the edges between the tile and the cabinet/shelf. Fill the gap with caulk and using a wet finger you can smooth the grout.
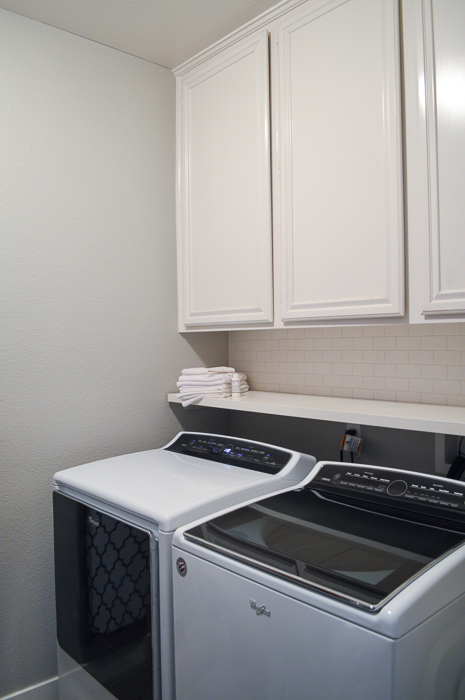
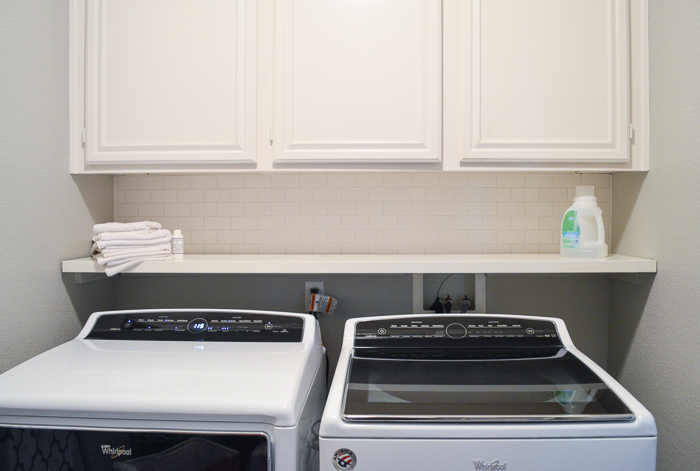
I’ll be sharing the whole laundry room next week, thanks for being patient with me while I put these posts together.
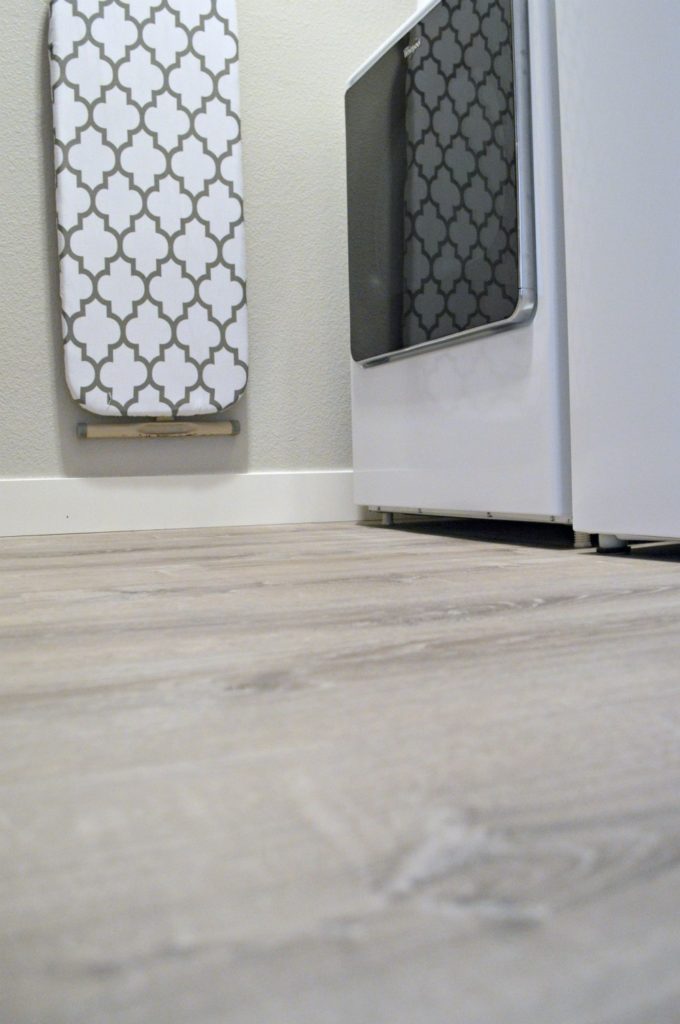
You can find our tutorial on how to install luxury Vinyl Plank Flooring here.
Thanks for stopping by and have a fantastic rest of your day!


One Comment