Side Tables Updated With Chalky Finish Paint
This post may contain affiliate links
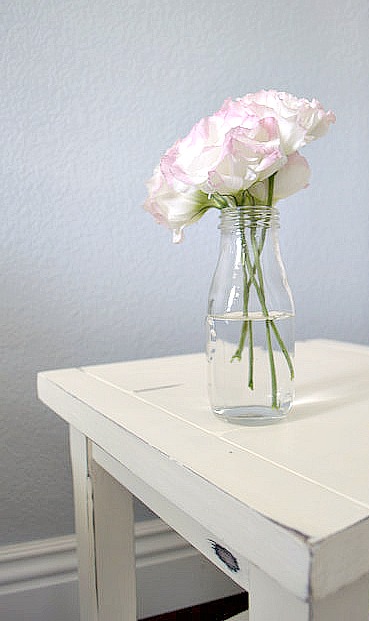
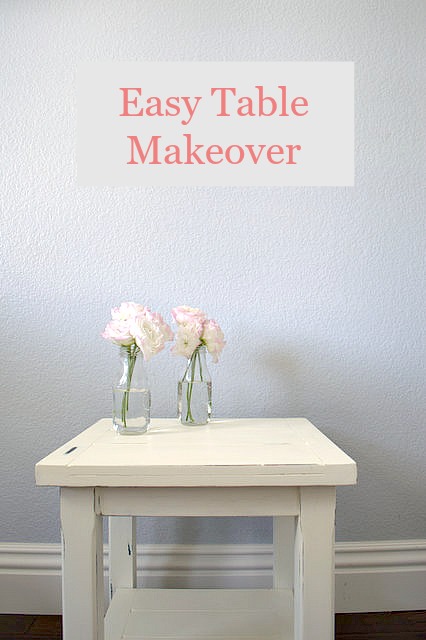
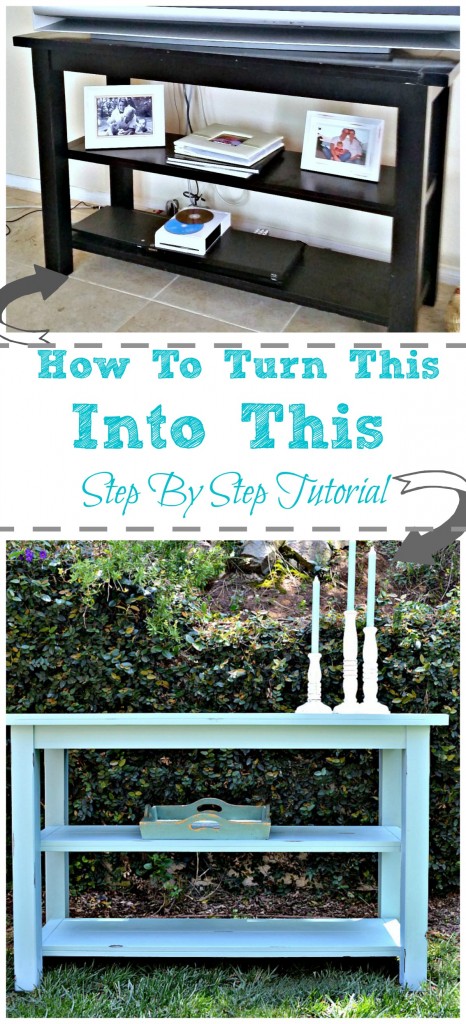
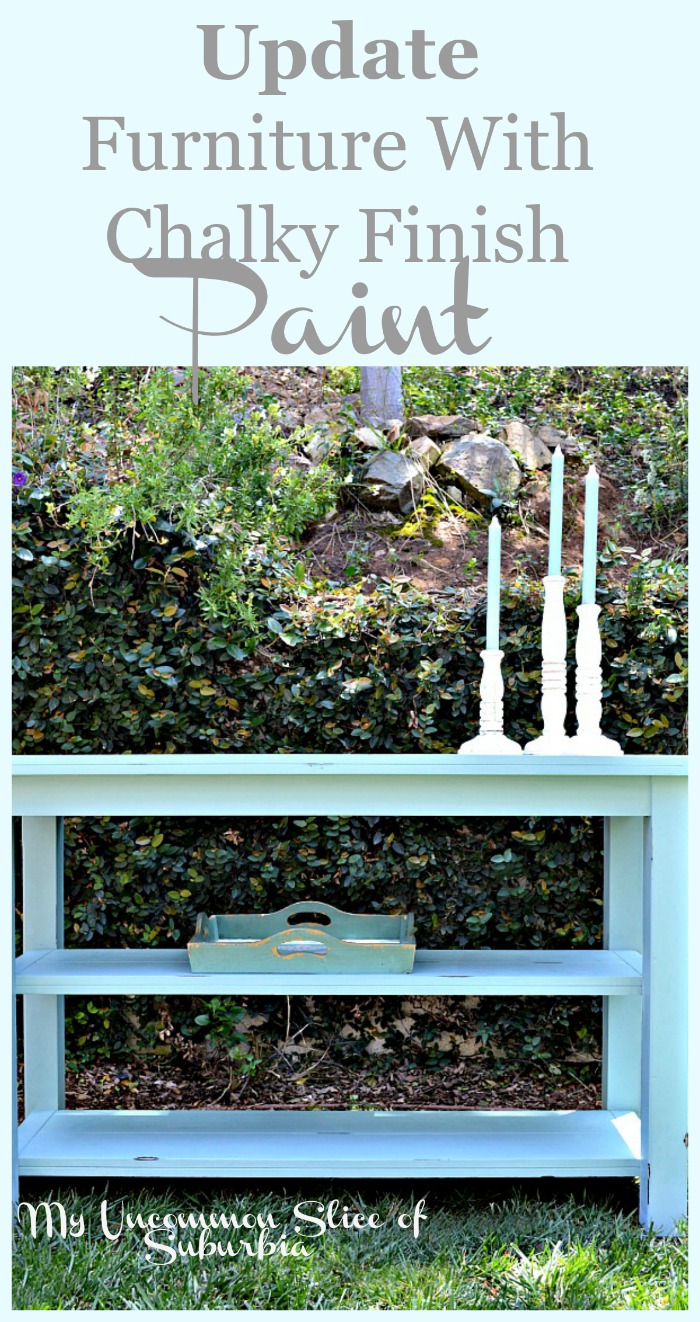
Today I’m bringing you another piece of furniture that was updated using Chalky Finish Paint. I am still in the process of making over some 10 year old Pottery Barn furniture for a friend of mine.
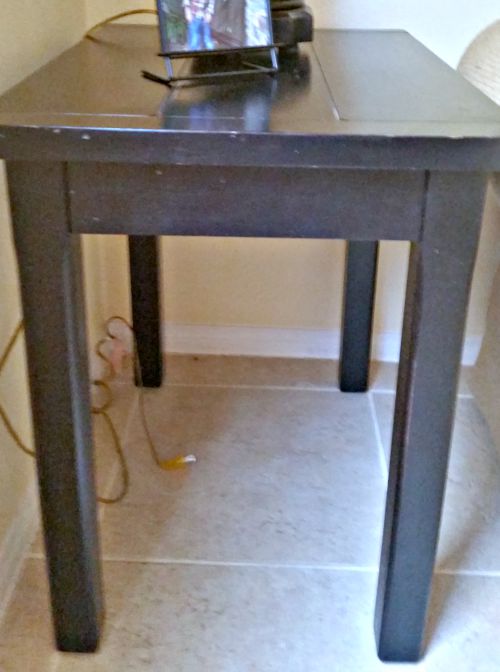
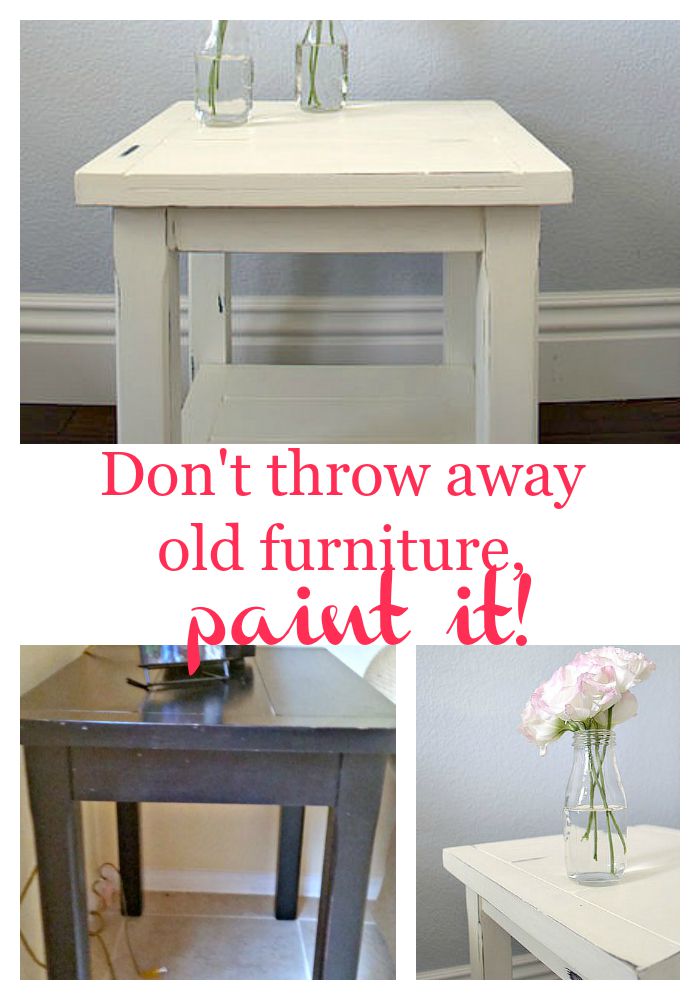
I absolutely love the ease of using this paint, the versatility and my all time favorite, no striping or sanding to prep! Here is the before, sorry, bad cell phone picture.
Supplies
Deco Art Americana Chalky Finish Paint, Lace
Deco Art Americana Chalky Finish Paint, Vintage
Sanding block
Before painting, we made sure to clean the table really well using a damp cloth.
We applied the first coat using a small foam roller for the top and sides, and a 1″ brush for the rest of the piece. We let it dry and applied the second coat. In areas where the black was still showing through, we touched up with a third coat.
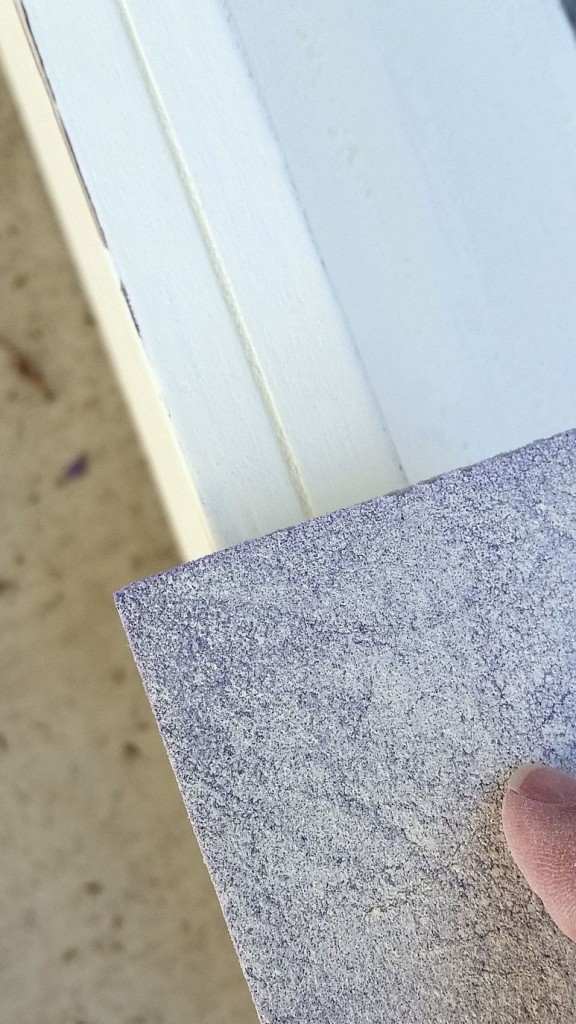
After everything was dry, I smoothed everything out using a sanding sponge.
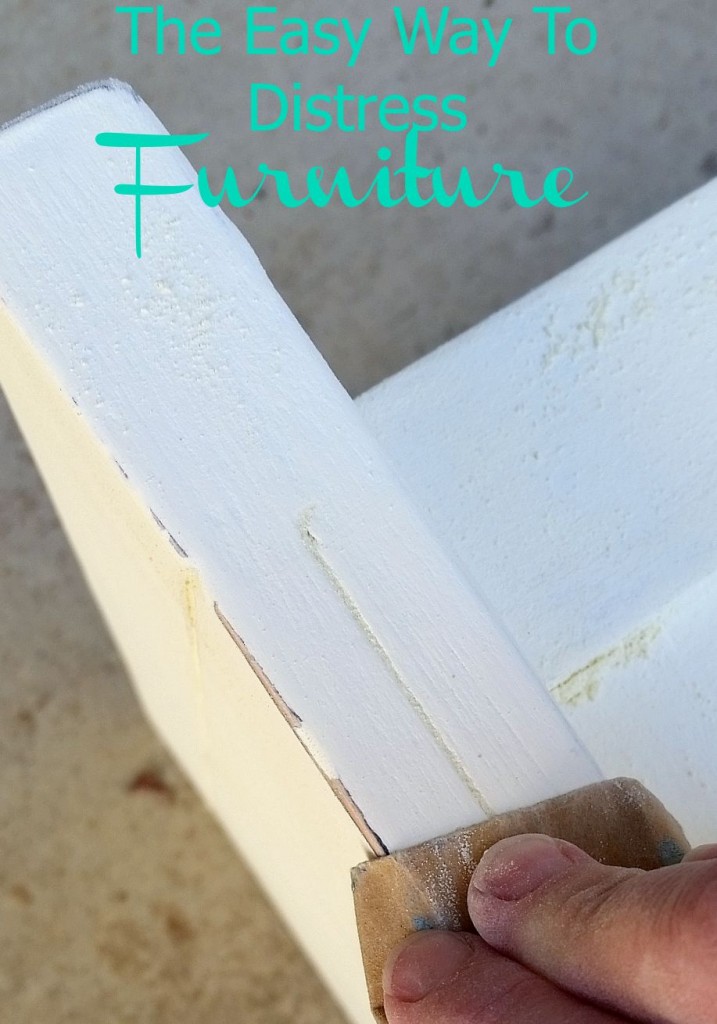
Next, we started distressing it using sand paper in places it would naturally wear over time.
The last step was to protect the paint job. We applied the Americana Decor Creme Wax with a rag and then buffed it with a rag.
So simple and gives these 2 side tables a whole new look!
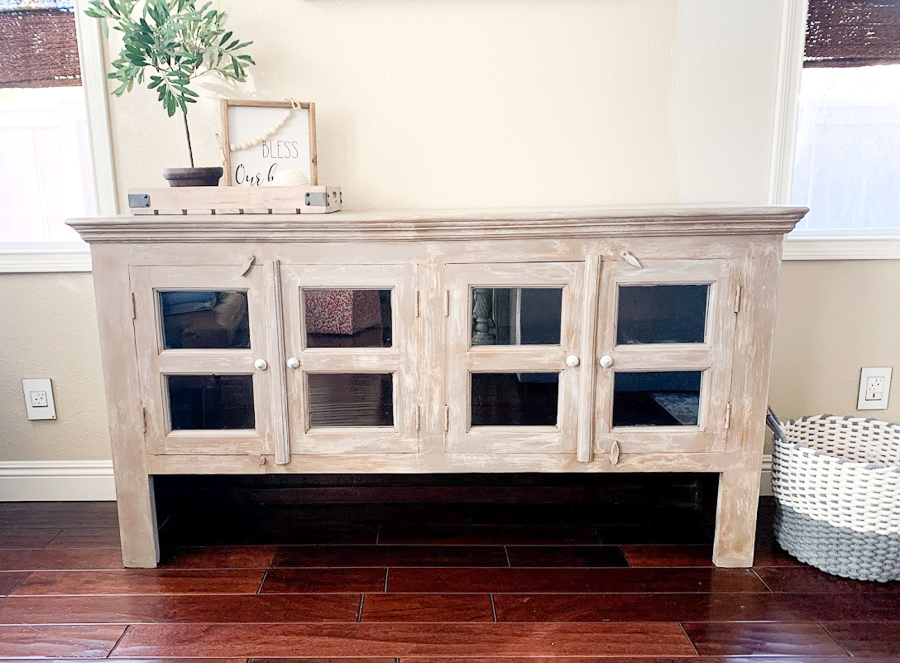
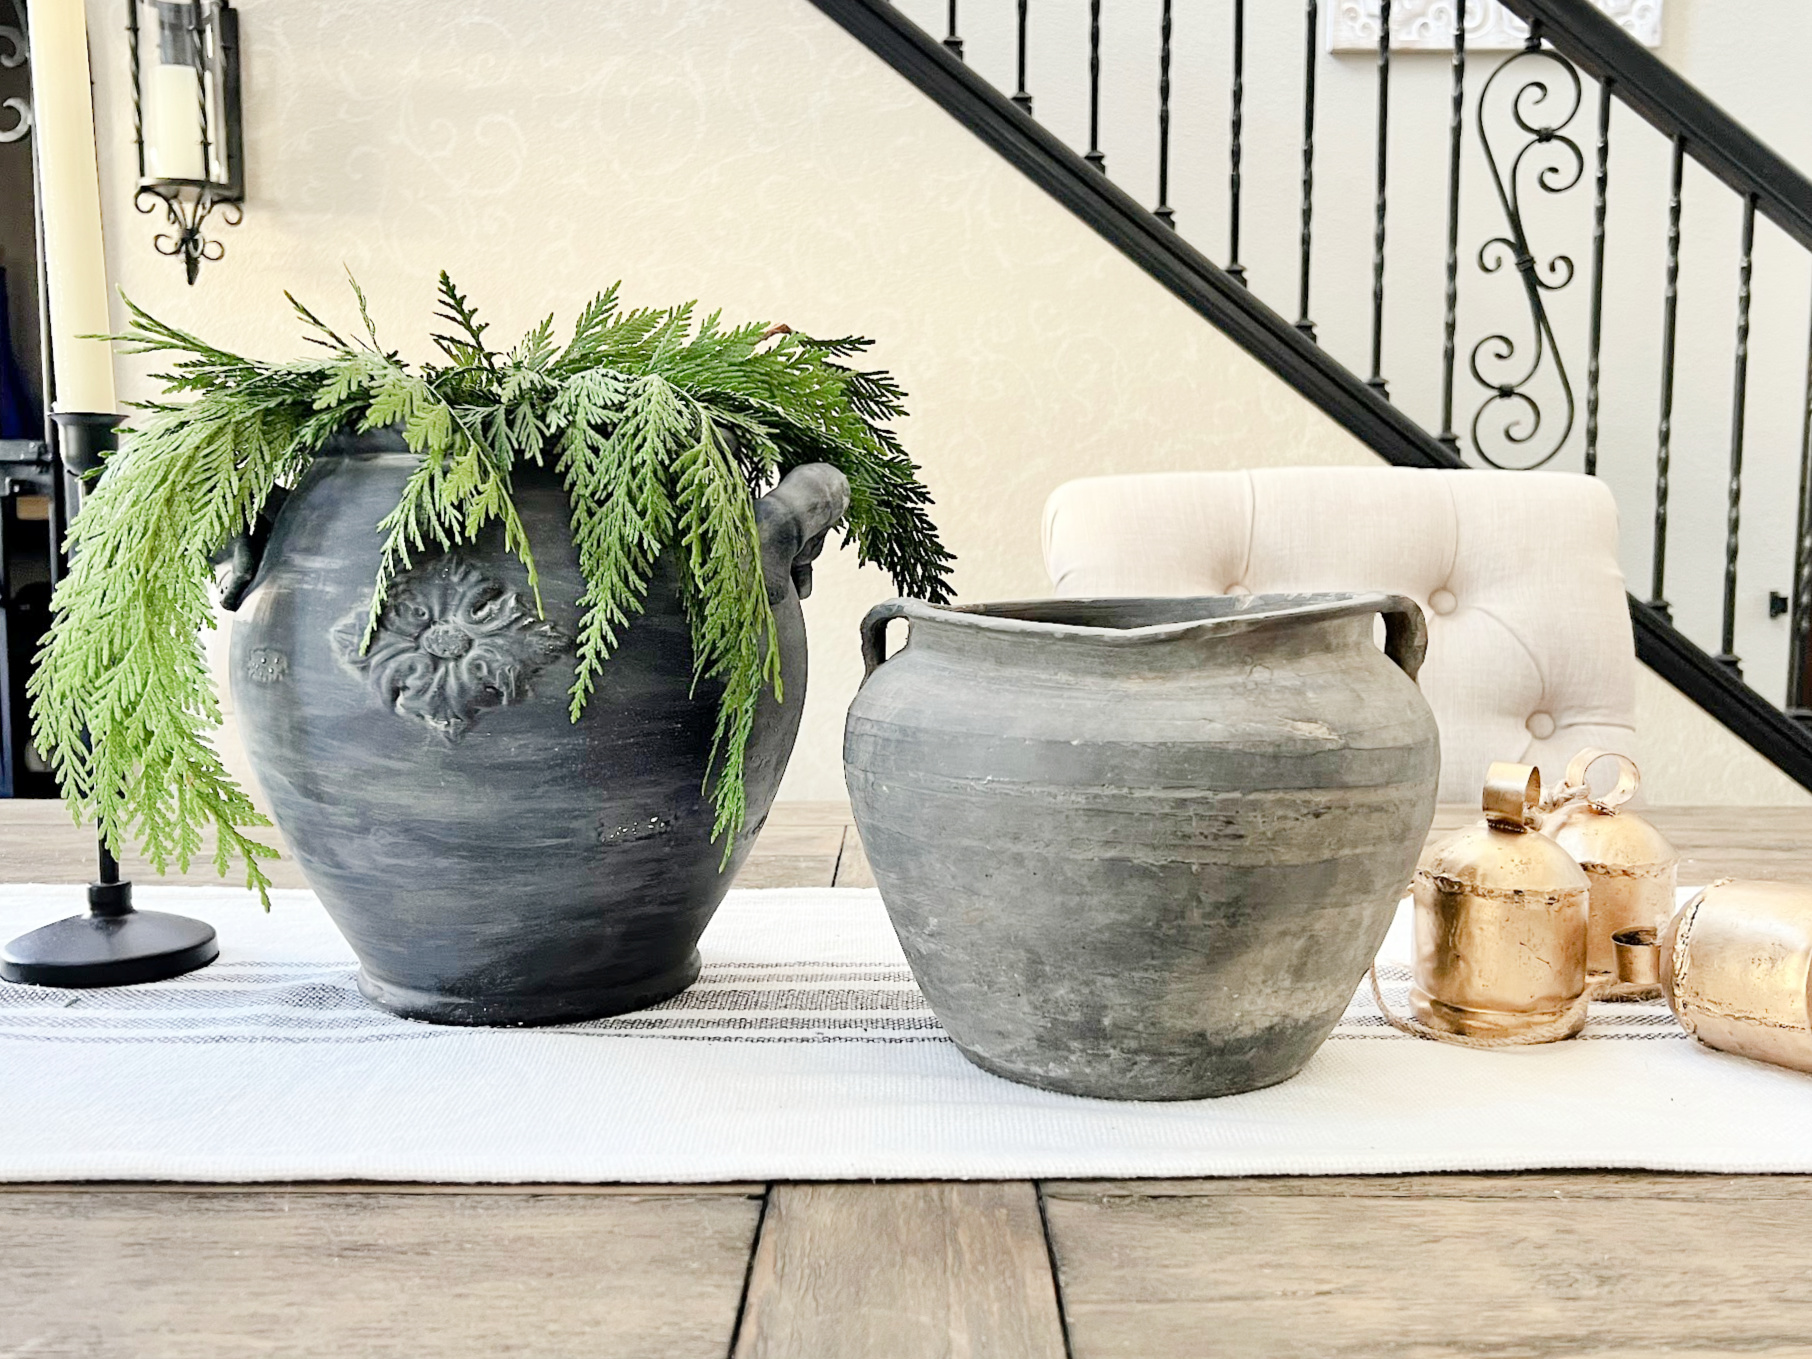
Below is a handful of other projects I have completed using the chalky paint, so fun!
Painted Pots
Antiqued Pots
Armoire Transformation
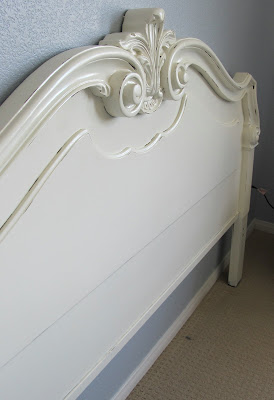
Vintage Armoire Transformation
Painted Gift Tags
DIY French Antique Basket
Thanks for stopping in today, have a great rest of the week.




So beautiful. I’ve never tried wax or chalk paint. I know that is crazy, but true. You did a perfect job, Kristin.
Thank you Julie! XO
It turned out super cute.