
How To Make a Vase Look Vintage Using Paint and Baking Soda
Transforming Thrifted Vases or Vessels Using Spray Paint, craft paint and Baking Soda
Hi friends, today I’m going to show you how to take an old vase, ceramic, or glass, and turn it into a beautifully aged vintage piece using just paint and baking soda.
This trend has been around for a while, but now the darker hues are becoming more popular so I decided to give it another try.
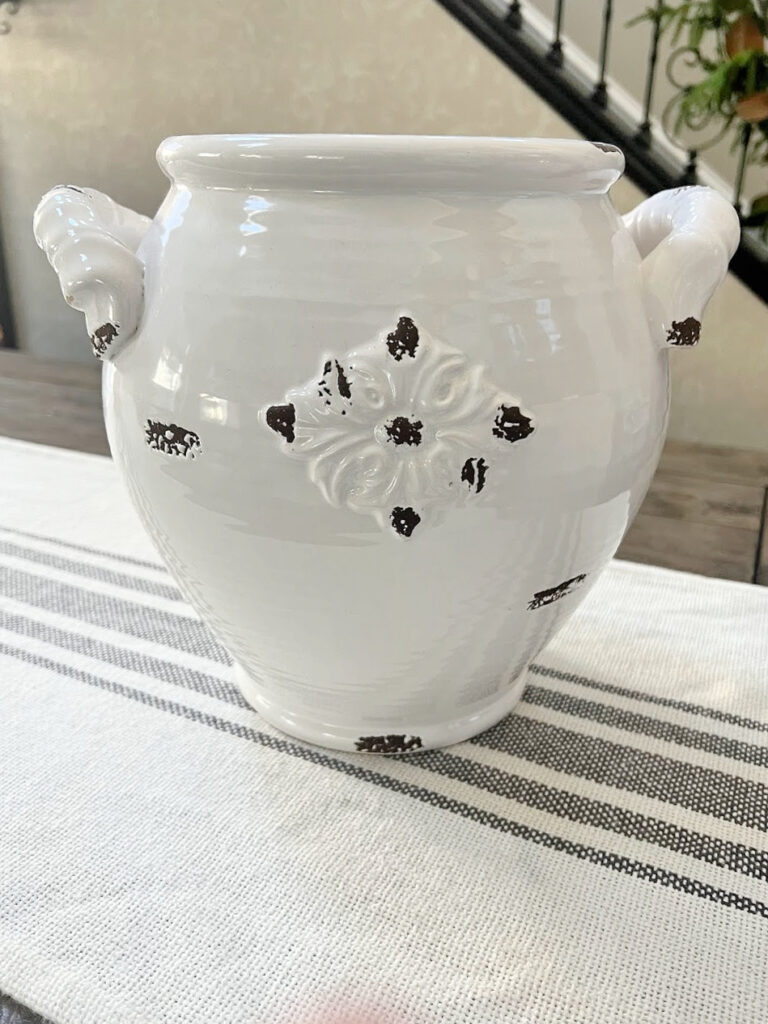
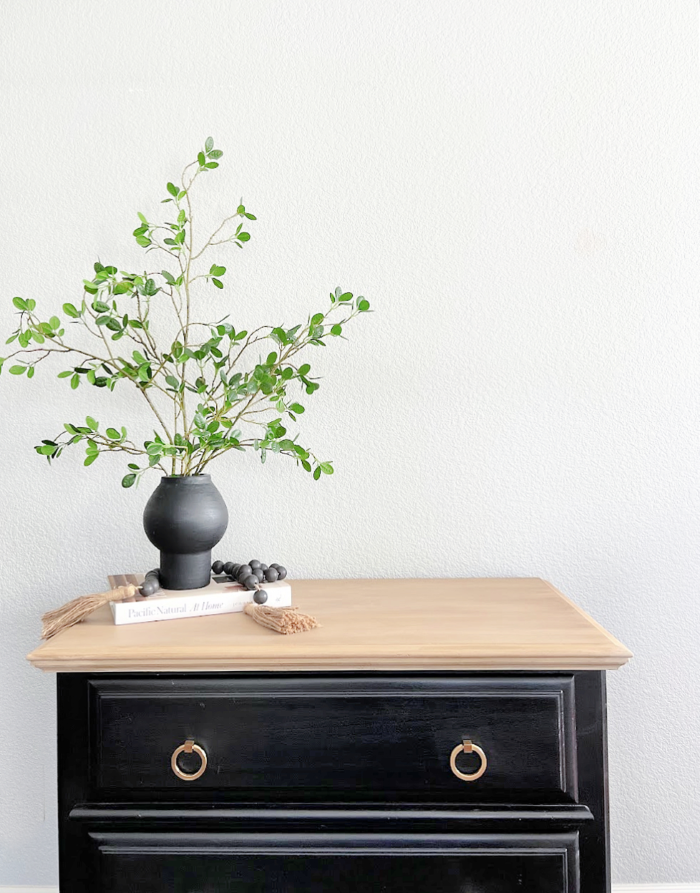
Here is the before
You can purchase aged pottery, however, it comes with a hefty price tag. The funny thing is I receive a home decor subscription box 2x a year, and to my surprise, it came with one after I made over my vase. You will have to see the comparison! It’s thrift store decor day so make sure to check out all of the amazing thrift finds at the bottom of this post.
I had all of the supplies on hand, including the ceramic vase/vessel. I purchased mine at a thrift store when I just started blogging 11 years ago, I bought 2 of them, so I still have one more to makeover! You can find a vase of your own at your local thrift store, dollar store, home improvement store, or even garage sales.
Affiliate links are listed below
Materials Needed: A plain vase (glass vase or ceramic)
-
- Baking soda or baking powder
-
- Paint brush or foam/ sponge brush
-
- Sandpaper (optional, for additional distressing)
Rubbing alcohol also optional
- Sandpaper (optional, for additional distressing)
Step-By-Step Instructions
Step 1: Choose Your Colors
Select a matte finish paint in hues that complement your decor. I went with a moody black/gray but you could also go with vintage whites, or muted earth tones to achieve that aged weathered look.
Step 2 Clean your vase
You can use dish soap and water if it’s not too dirty but I like to clean with rubbing alcohol to remove oils from the surface.
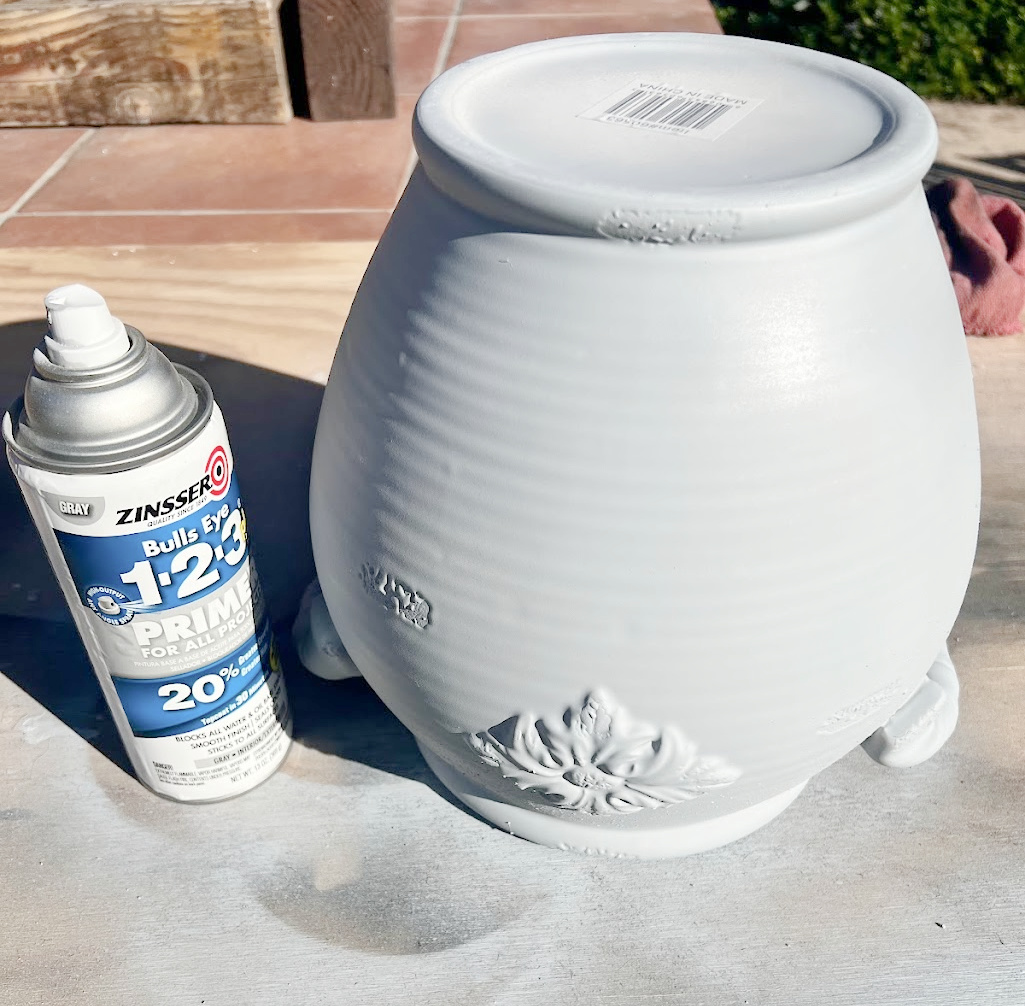
Step 3: Spray paint your vase
Place the vase upside down and apply your first coat. Apply one thorough coat of the medium gray spray paint making sure you get the entire vase, and let it dry. This step is important, as a primer helps paint stick to the vase
On your second coat, apply the black spray paint, you don’t need to have it covered completely, you want some of the grey to show through.
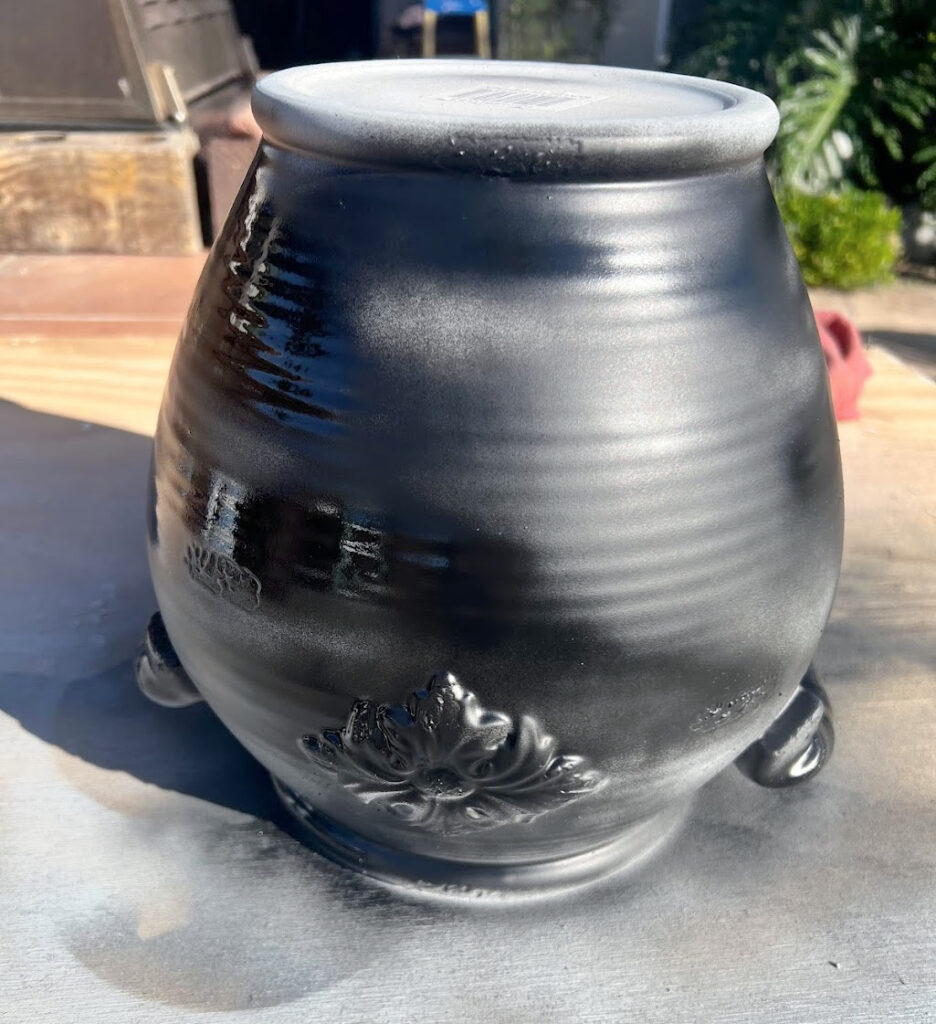
Once completely dry you can flip the vase upright and paint the top part of the inside of the vase. You don’t want the original color to be seen.
Step 4: Mix Baking Soda with Paint
In a disposable container, (a plastic/ paper plate or plastic cup works great) mix 1 cup of paint and about 1/4 cup of baking soda.
If you feel the soda mixture is too thick you can add more paint or a little bit of water (as long as your paint is not oil paint). If you feel you don’t have enough texture, add more baking soda. No perfect science here.
Step 5: Apply the mixture to the vase
Using a paintbrush or foam brush (I love foam brushes), apply an even base coat of your paint mixture to the entire surface of the vase. Apply the paint horizontally, long circular motion moving the vase as you go around the whole vase, not up and down). Add a second coat of the mixture after the first coat has dried.
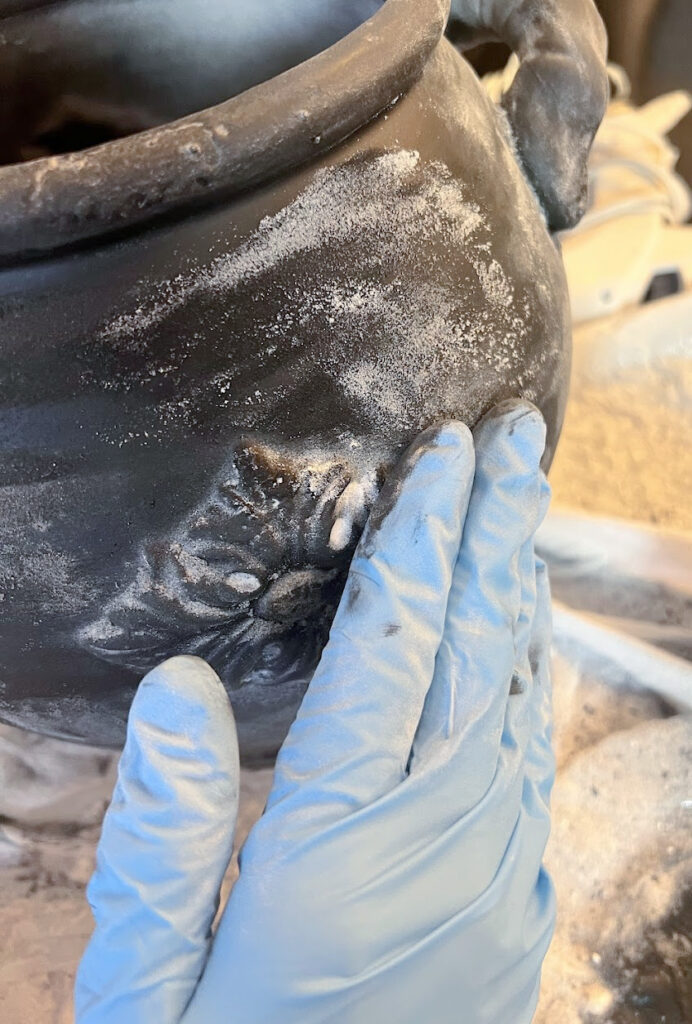
Step 6: Add More baking soda
This next step is optional, I decided to give it a little more texture while the second coat was still damp, adding in more baking soda with my hands, and simply rubbing it in unevenly in random areas.
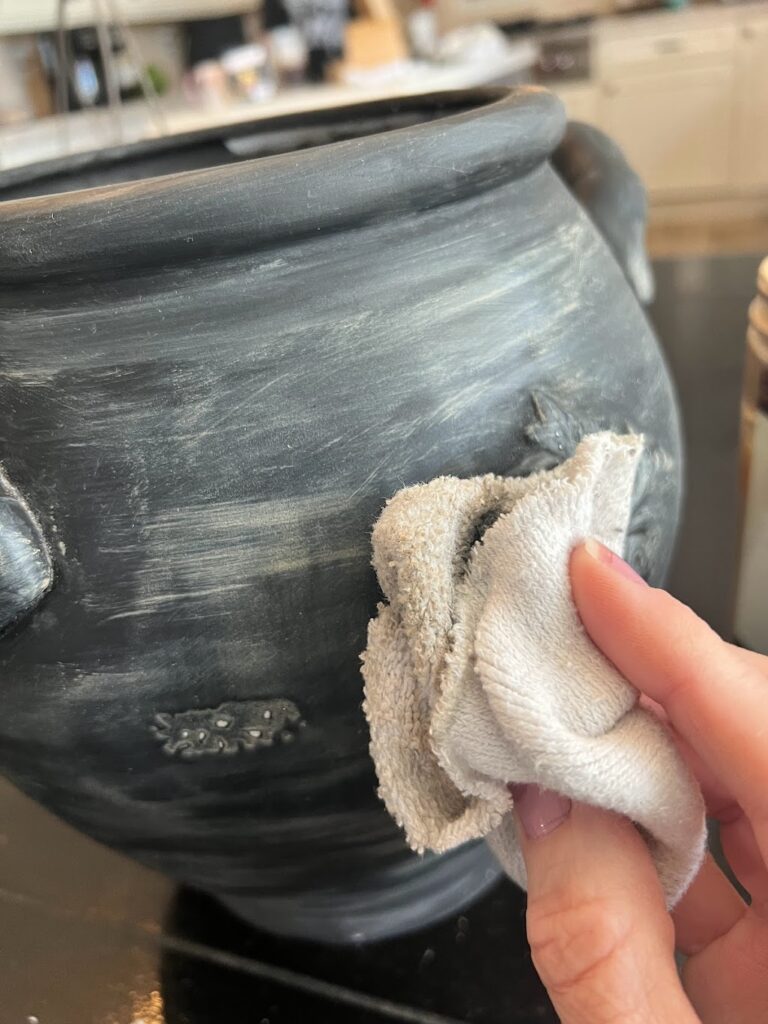
Step 7: Distress more using tan paint
I was then finished with my project and happy with it. Then my surprise vintage vase arrived in my seasonal holiday box and I loved the tan mixed in with the black so I decided to match it as closely as I could. To do this I simply used tan craft paint and using my foam brush I went around the vase using horizontal brush strokes. I then took some of the tan paint off the vase using a rag.

Step 6: Seal the vase
Once you’re satisfied with the aged appearance, allow the vase to dry completely. If desired, seal the finish with a clear matte sealer to protect the paint and enhance its longevity.
I chose not to seal my vase because I prefer a naturally aged look, but you can always seal yours with a ultra flat water-based poly.
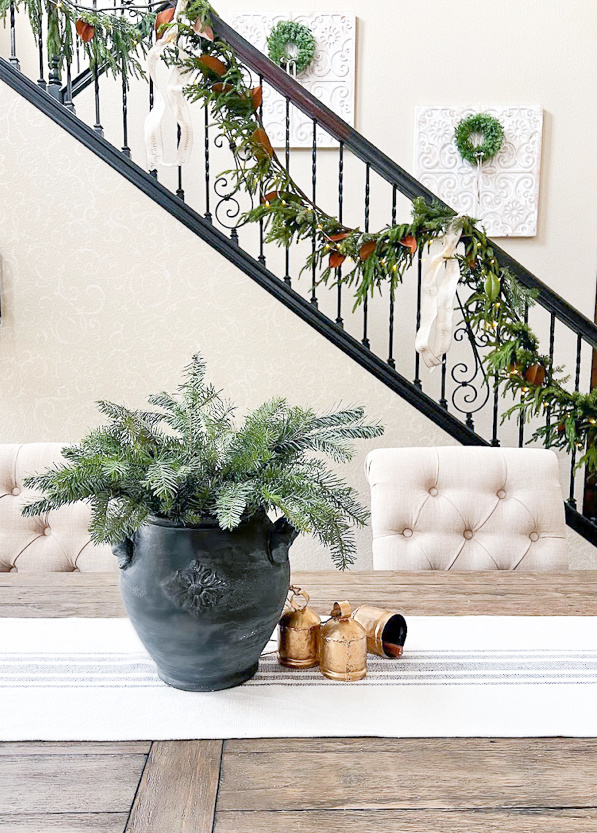
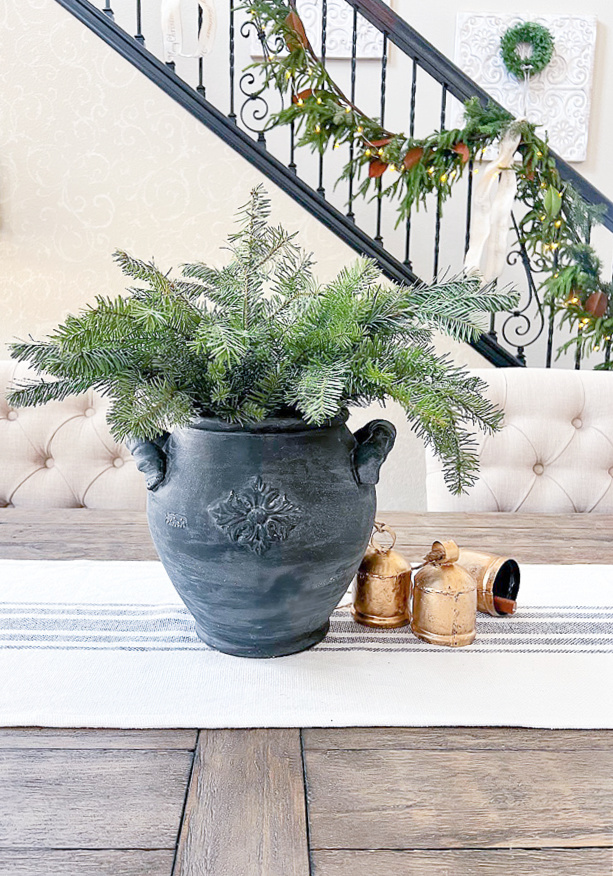
And here it is with the smaller authentic vintage piece.
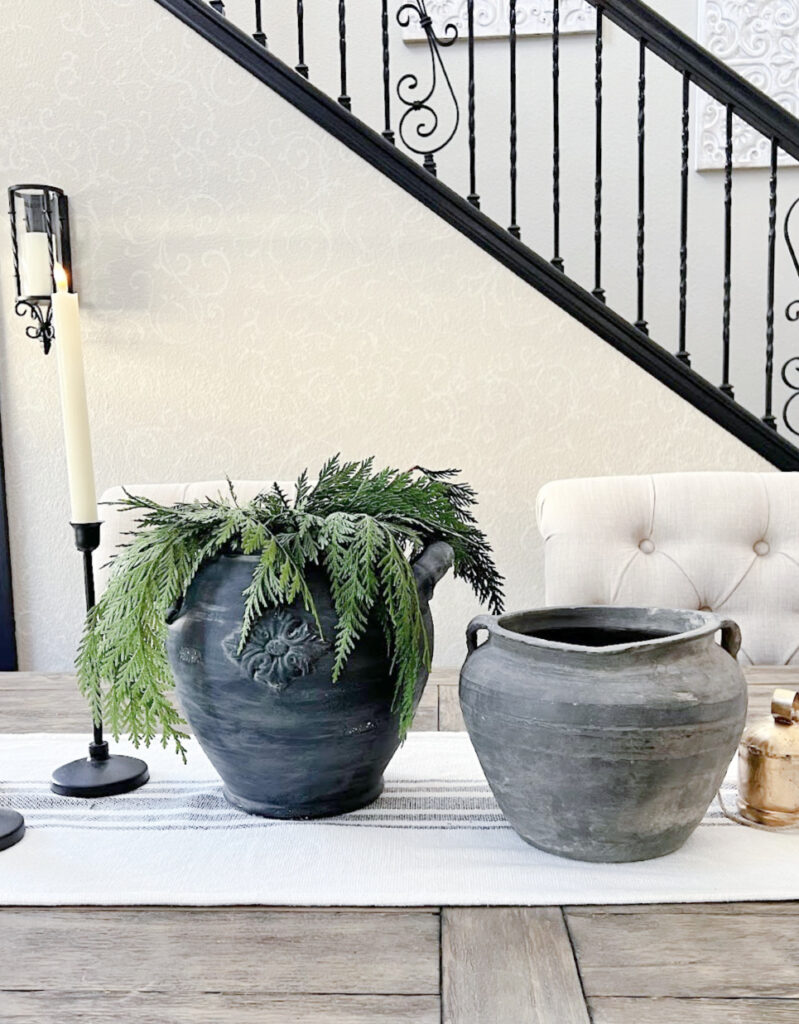
This easy DIY project was an inexpensive way to create a beautiful vintage vase giving new life to thrifed vases. With just a few household items I bet no one will ever know the difference, well, kind of but it’s pretty close to the authentic, I may add in more tan.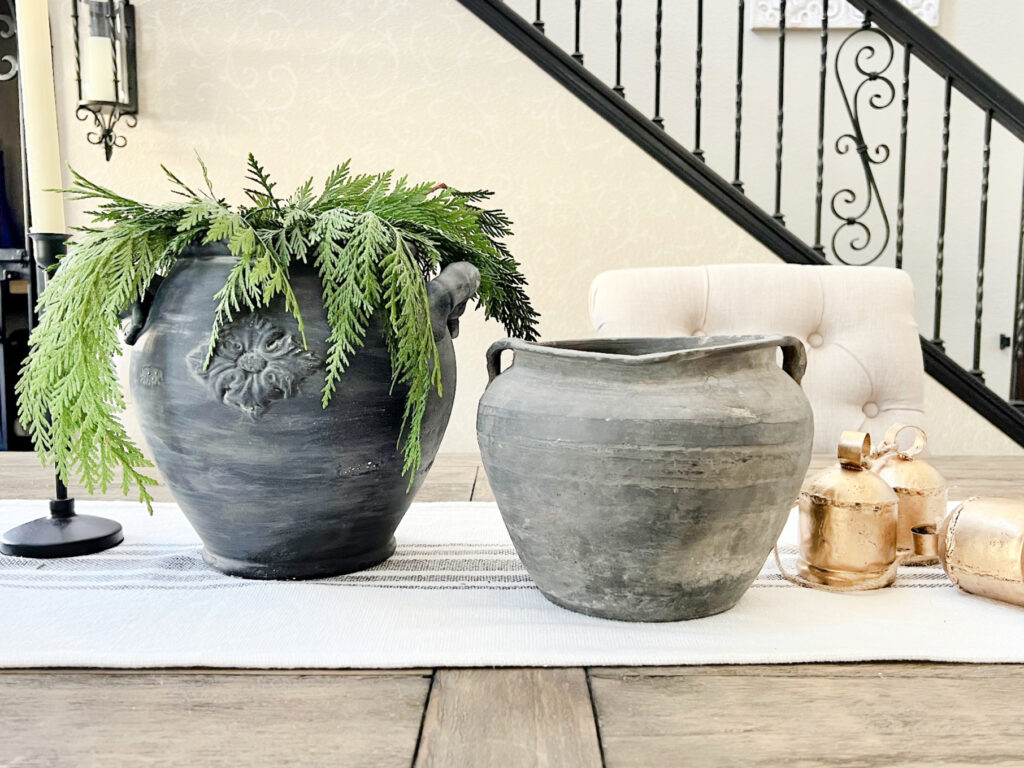
I love my battery-operated candles, they look like the real deal!
![]()
I jumped onto this baking soda trend a while ago mixing it with coffee grounds, you can see that post here.
Time to see what my talented blogging friends created this month, just click on the links below.
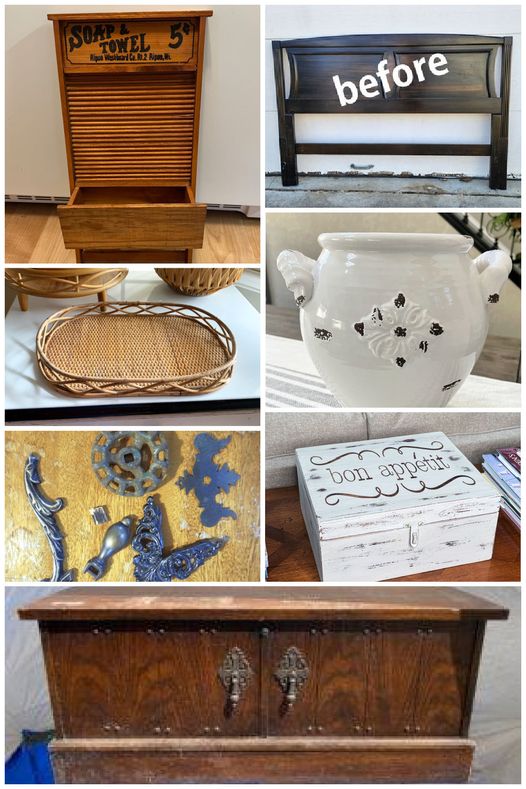
Eleven Washboard Upcycled Decor Projects Organized Clutter
Vintage Headboard Makeover My Repurposed Life
Upcycled Boho Bamboo Decor House of Hawthornes
DIY Vintage Aged Pottery Vessel My Uncommon Slice of Suburbia
DIY Love Sign Petticoat Junktion
Thrift Store Box Makeover Our Southern Home
Upcycled Cedar Chest Trunk Shop At Blu
Thank you so much for stopping by today, wishing you a wonderful rest of your week!

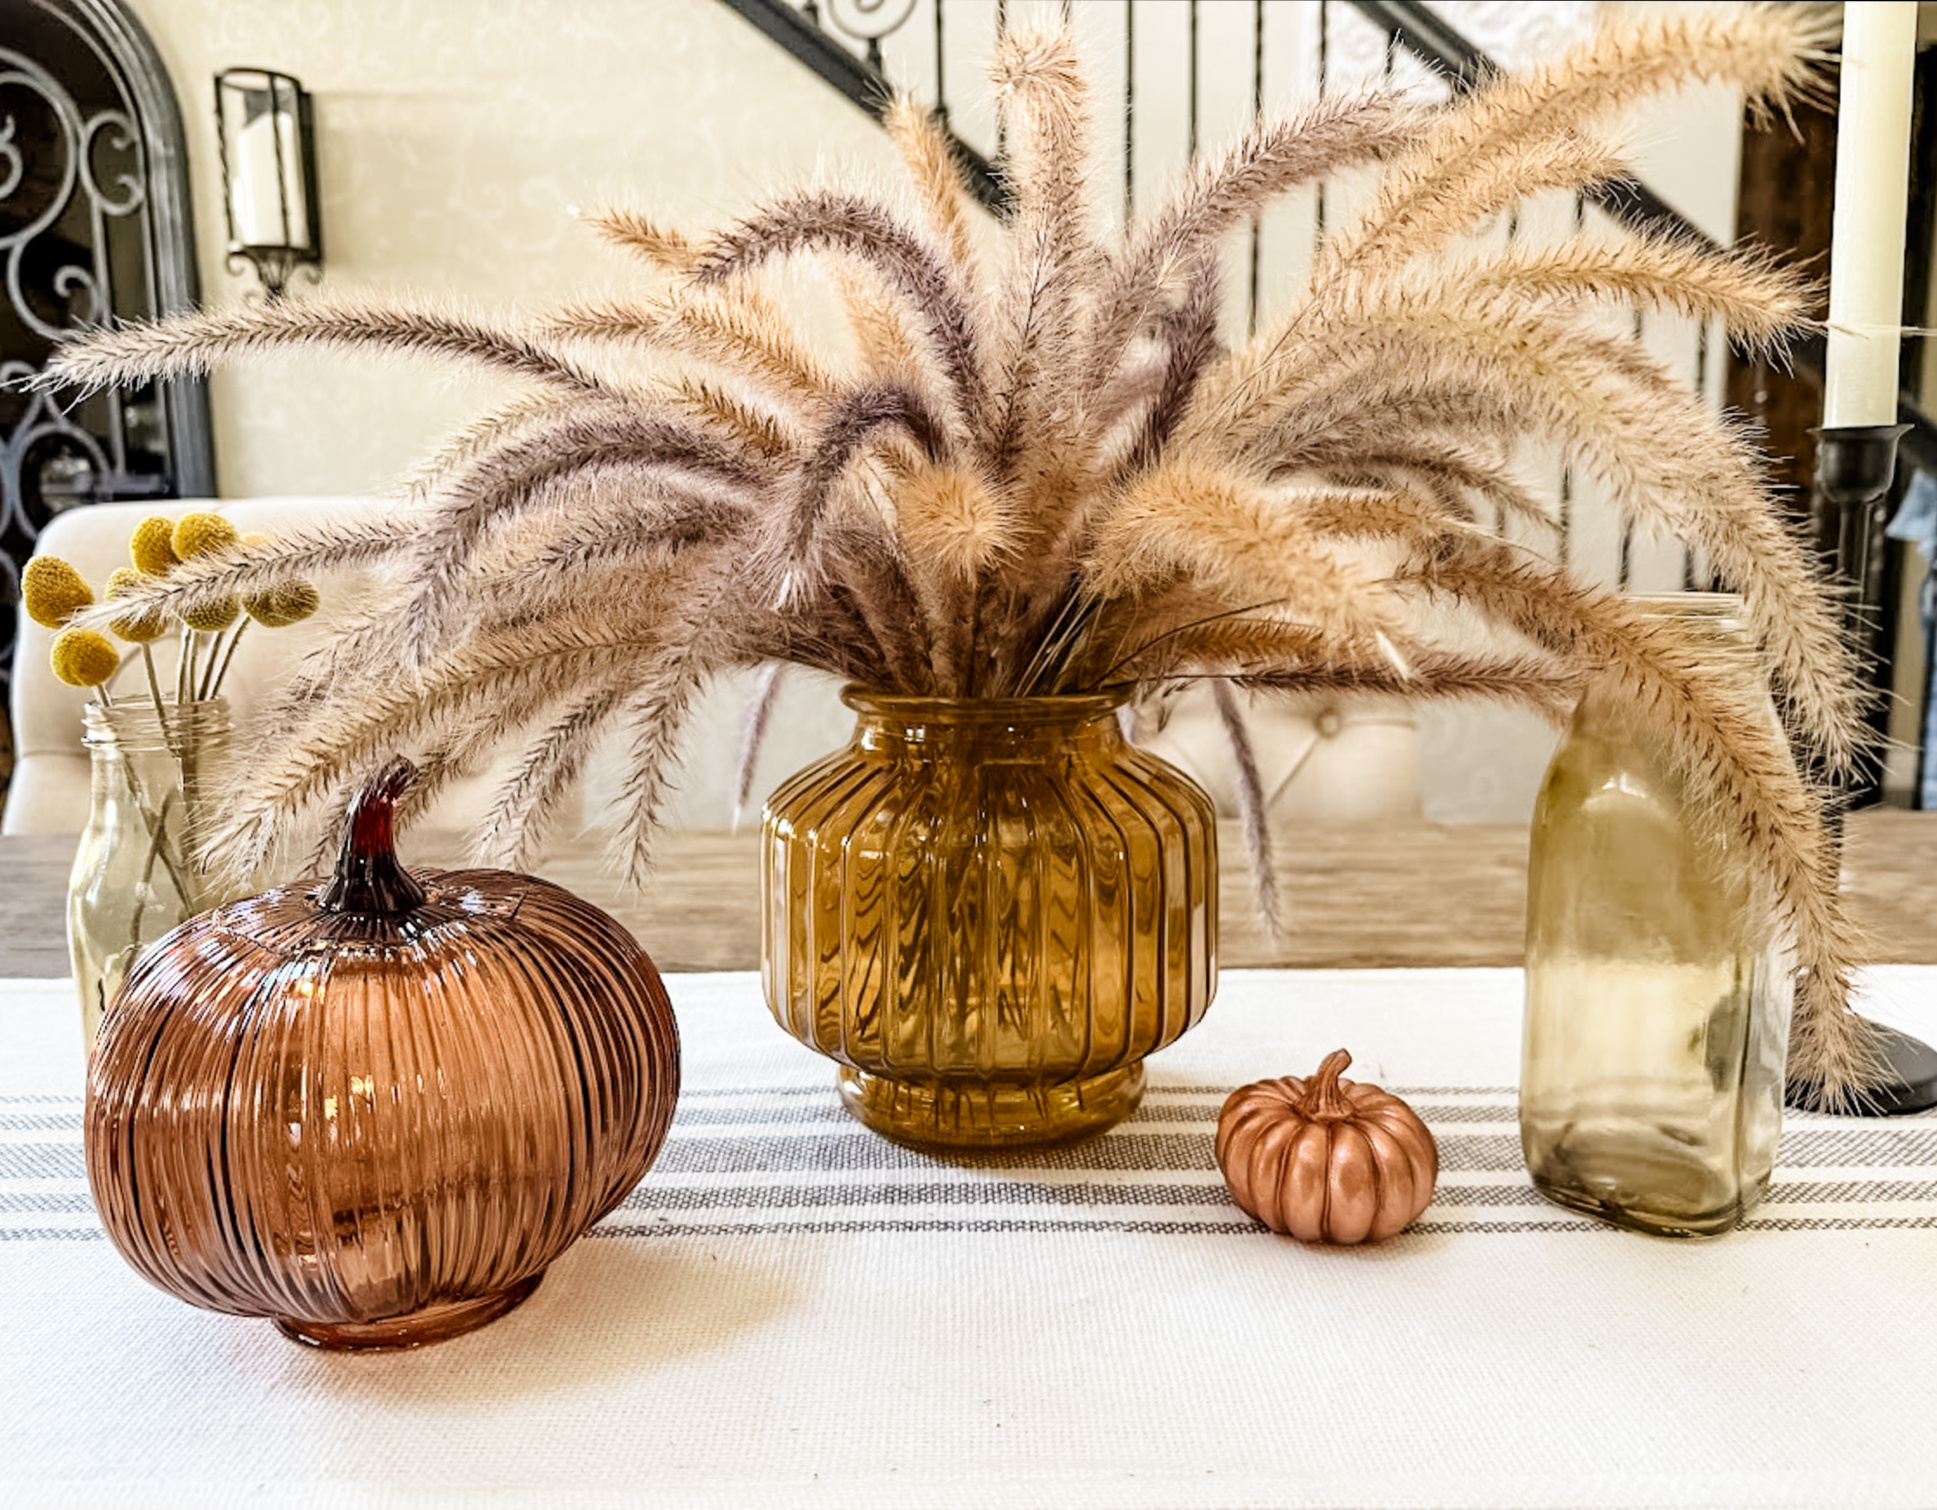
Wow! These are gorgeous and so expensive looking. I did something similar this fall with pumpkins. I have some old-world vases in storage that need a refresh. Such a fabulous, modern look.
Hi! This is my first time here. I love this project. It looks like a Pottery Barn vase. Great tutorial. Thanks!
Thank you so much Lizzy
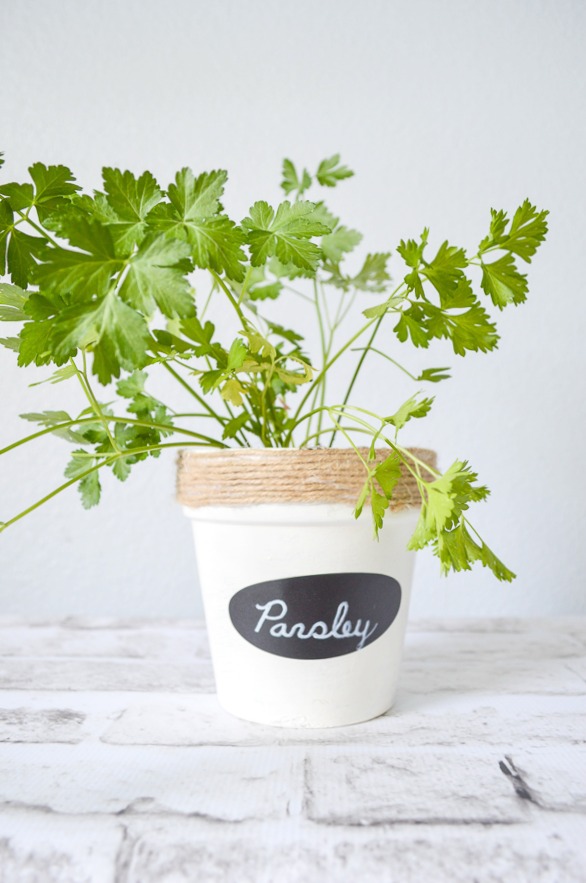
I love the makeover of a too shiny flowerpot! It looks great! The coffee grounds technique looks interesting as well.
Thank you Carlene!
Kristin, I’ve see this so many times but your tutorial is clearer and makes the project seem so easy. I love the moody black. I can see this in my future with deep moody blue! Pinned.
Thanks Sue and it would look so pretty in blue!
Your so sweet, thank you Sue! Wishing you a beautiful weekend!
Wow! Kristin, that’s an amazing makeover! I think I need one of these in blue for my bedroom (home or hideaway). They’re both blue. awesome tutorial.
Pinned!
gail
Thank you Gail, it was a fun makeover!
I’ve wanting to try this process on a large piece of pottery and you have inspired me to give it a try! The after looks fantastic!
Thank you so much Michelle, it was super easy, let me know how it goes!