
How to Paint Stair Railings and Spindles
Today I am sharing how to paint stair railings and spindles and to be honest, it really wasn’t as bad as I had anticipated. Granted, I am not painting over a stained surface, I’m simply updating the color and freshening up the white. I will, however, be working on the staircase at our house soon which is a stained surface and to be honest it will be pretty much the same process with just a few extra steps.
This pretty simple DIY really updated and modernized this space!
If you are new here, welcome! This is my mom’s house who passed away In May and we are getting her home ready for sale. She had been renting out her home for the last 5 years while she battled Parkinson’s and Dementia. I will say this is extremely difficult and bittersweet for me, this is the last of the last chapter on my side of the family with the loss of my dad, grandmother, grandfather, and now my mom all in the past few years. I won’t lie, it’s damn hard but I hope all of our hard work makes her proud. I love you Mom!

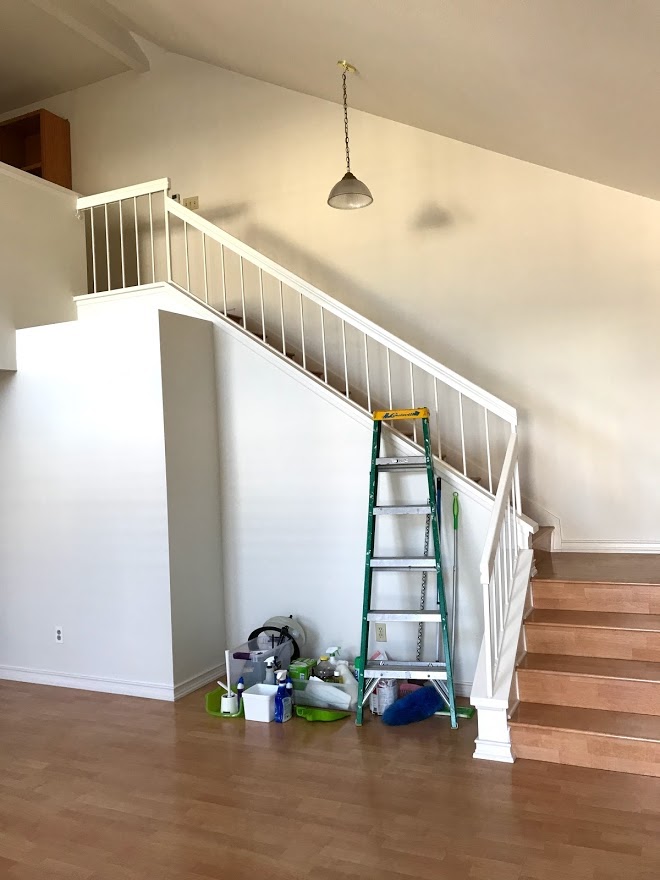
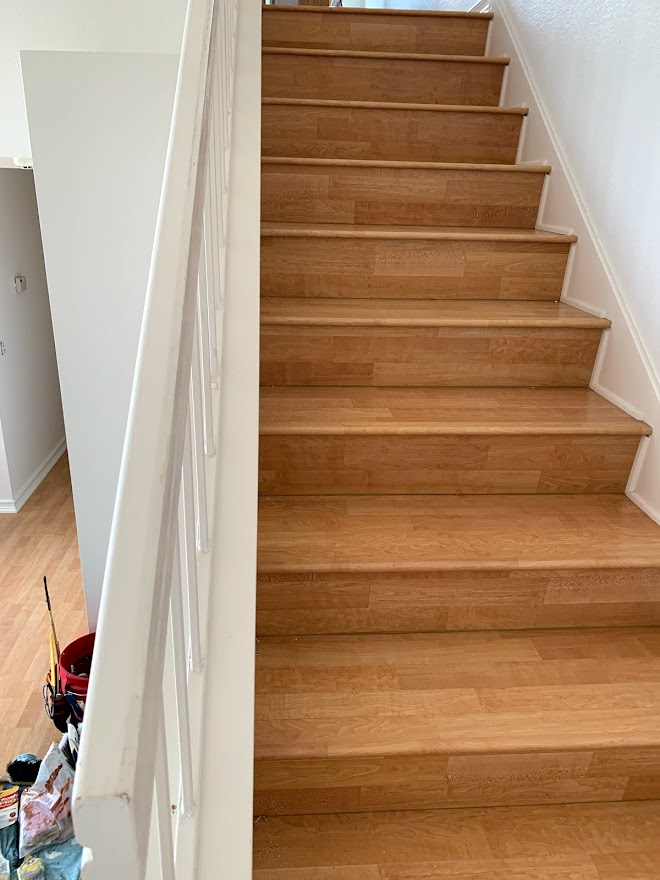
Here is the before
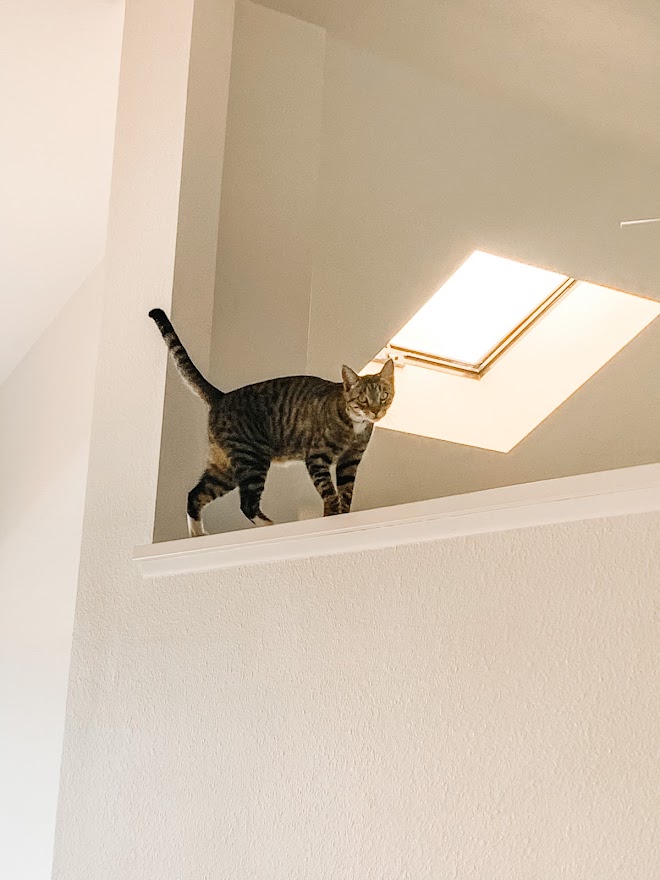
I have to share the story of this sweet cat, he started coming and visiting me when I was working and would just watch and meow the whole time, following me around room to room. I grew up with cats, we always had 2 and sometimes 4 when we lived out in Olivenhain. This was 100% a sign from my mom that she was here with me, watching over.
Amazon Affiliate links listed below for your convenience
SUPPLIES
All-Purpose Heavy Duty Cleaner TSP
Liquid Sandpaper
Foam Paint Roller
Purdy Angular Trim Paint Brush 1 or 2 inch
Painters Tape
Sanding Sponge
Drop Cloth
Sponge Brush
Clean, dry lint-free rags
Small craft brush
1 quart – Semi-Gloss Paint and Primer Swiss Coffee
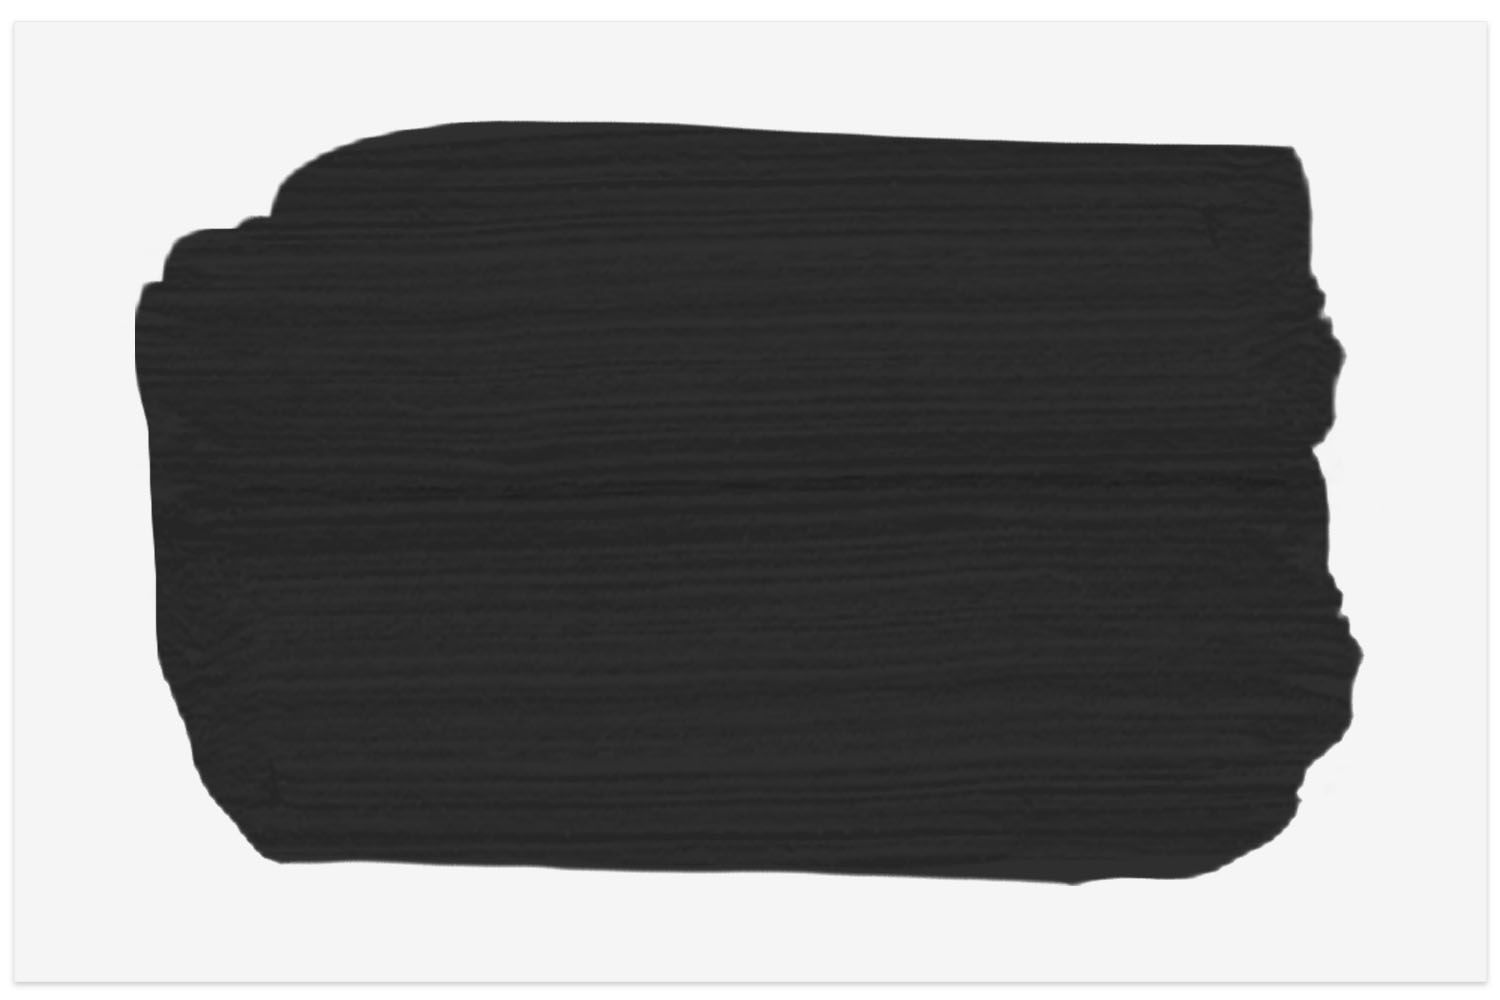
1 quart Behr ultra scuff defense paint and primer interior semi-gloss enamel Tricorn Black
I was originally going to use Sherwin Williams paint but forgot that Home Depot does not carry that brand. Not wanting to make another stop they recommended Behr scuff defense for the handrails. It’s the first time I’ve worked with it and I loved it. It went on smoothly and the coverage is amazing. Had I not been using black I could have gotten away with 1 coat but used 2 coats. The best part, it stands up to scuffs with a premium scuff-resistance, perfect for a stair rail.
HOW TO PAINT STAIR RAILING AND SPINDLES
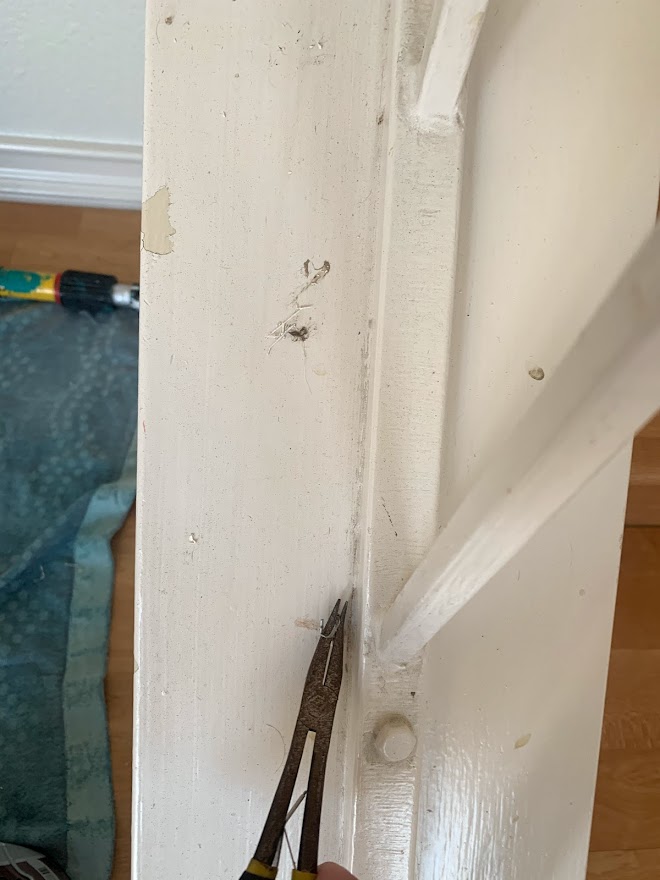
STEP 1: CLEAN AND PREP
As with any DIY project, preparation is the key to success!
Place your drop cloth down to protect your flooring.
Clean thoroughly with a degreaser, TSP is my go-to! Using a microfiber or tack cloth, remove any dirt and grime, I went over the whole staircase twice.
I did not want to deal with a mess so I used Liquid Sandpaper, it does the same thing as light sand. This will not take off the paint or stain like sanding does but it roughs up the surface enough so the new paint will stick.
Make sure to wear gloves, apply the liquid sandpaper to a lint-free cloth. Rub it on the whole railing in a circular motion. Allow the liquid sandpaper to sit on the surface for the time specified in the directions. I repeated this process twice, did I actually need to do this? Most likely not, I just wasn’t seeing much of a difference other than the texture of the railing so I was a little concerned. But guess what, the paint stuck perfectly!
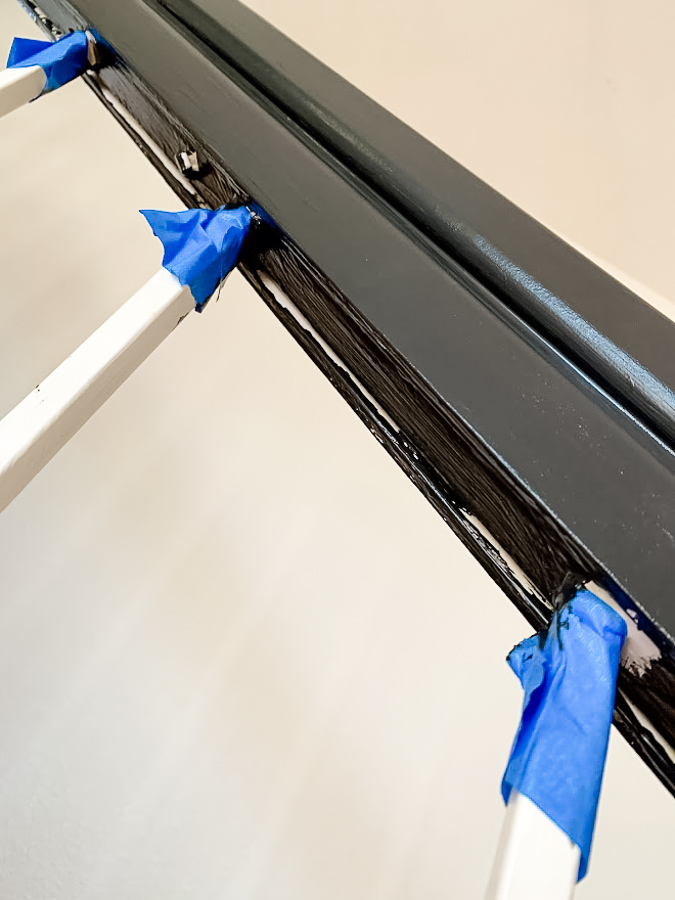
Tape everything where necessary. This included the white spindles and all the corners. I know it can be a little tedious but it is worth it in the end.
Step 2: Paint
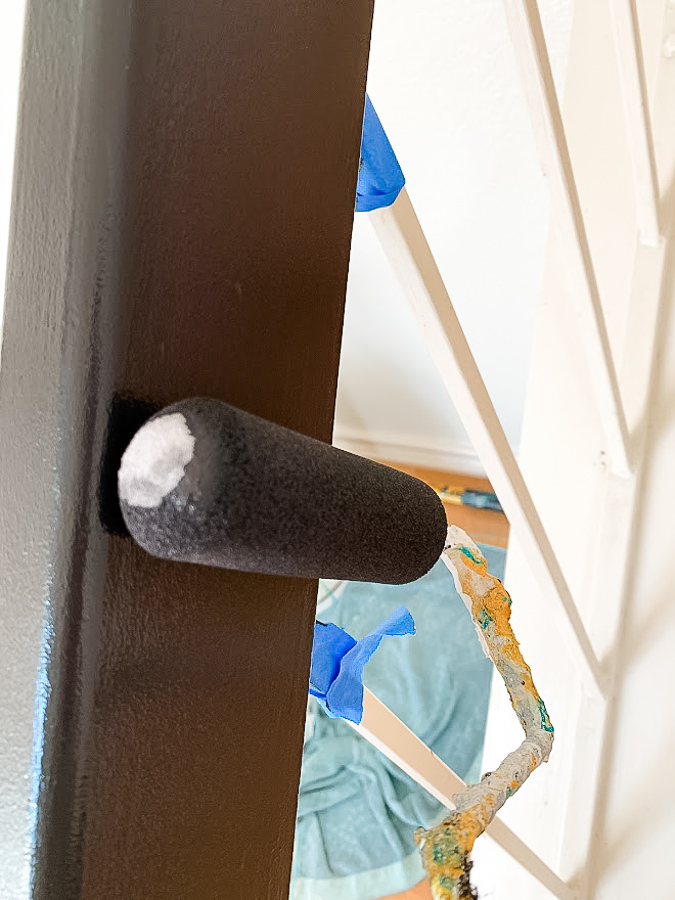
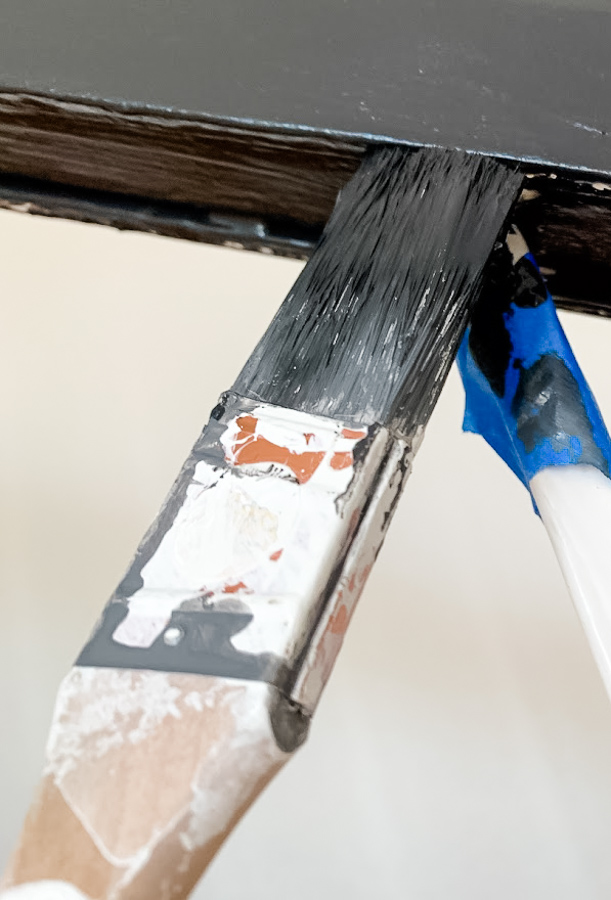
Using a foam roller I painted the top and sides of the banister, this part was easy and fun. I used an angled brush for those little grooves in the railing. Next was the underneath which was hollow and a huge pain, not going to lie. I used a 2 inch angle brush and a sponge brush for all of the tricky areas.
Allow to dry overnight and add your second coat.
Step 3: Remove tape and touch up
When I removed the tape, I could see the little areas where my taping was not perfect. I used a small craft brush to do some touch-ups.

Step 4: Paint the spindles and bottom rails
Paint using a combination of foam roller and sponge brush. Again, I used paint and primer because they are intended to stick to previously painted surfaces. I did not tape off the black railing, thankfully my hand is pretty steady and it saved me a ton of time.
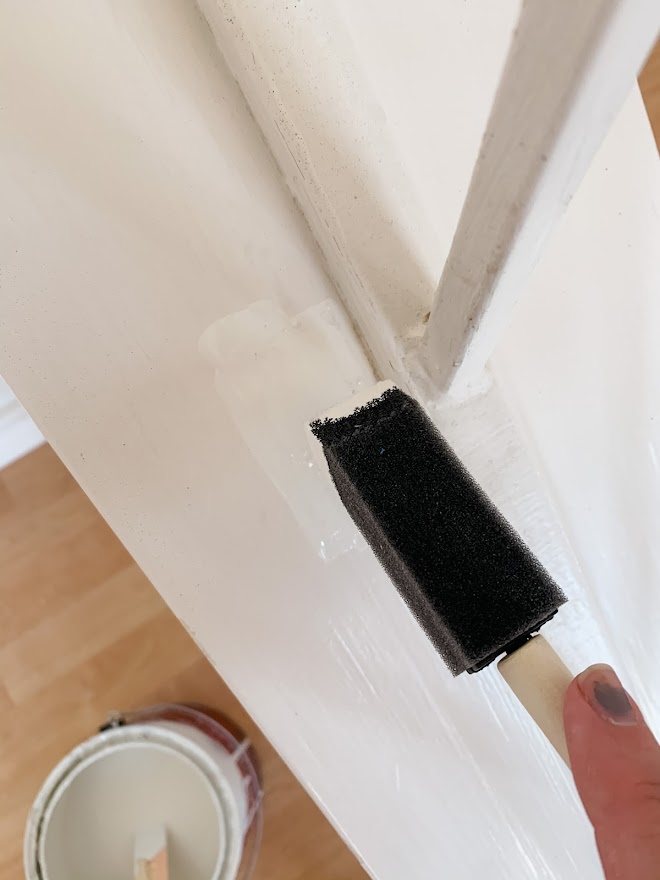
I loved this little brush!

Voila, we also switched out the light going up the stairs and in the entryway.

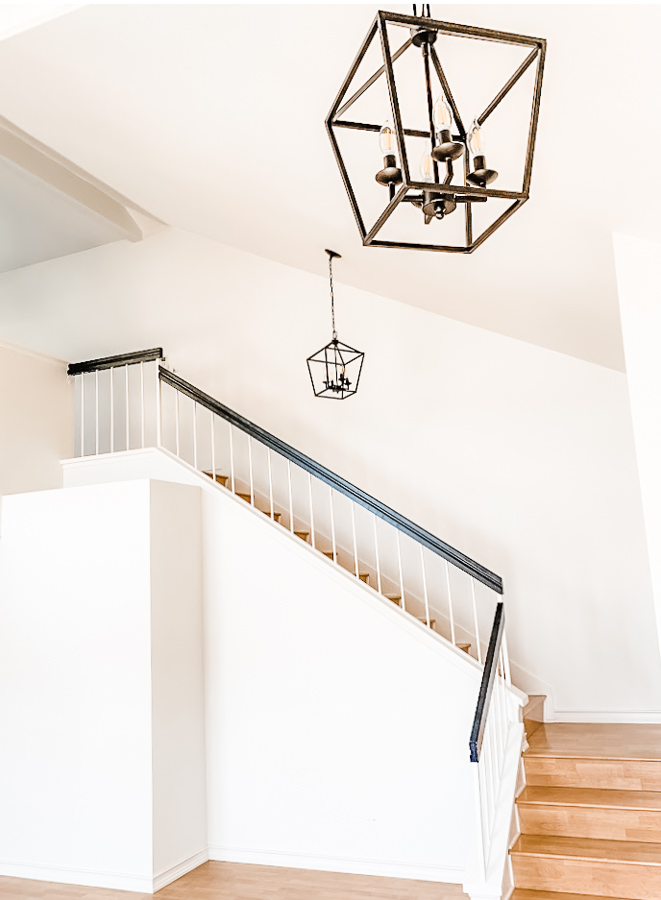
It is amazing how just simply painting the stair rail can really modernize your home without breaking the bank.

Such an inexpensive upgrade that makes such a big difference and adds value to your home!
I have a lot more tutorials coming up from her home, I can’t wait to share!
Thank you for being here and allowing me to share a little bit of my heart with you today!
You are so ambitious! what did you do to your fingernail??
Thank you Jayme 🙂 I’m clearly in need of a manicure lol, it’s nail polish that has grown out lol
The stairs are so beautiful! I”m sure this is not easy for you but I know your mom is so proud of the way you are fixing up her home with so much love! The cat is adorable.
These are so beautiful. It’s so sweet that you have a friend stop by to “help”
Thank you Janet, the cat kept me motivated 🙂
I like that you chose to add some contrast. The space looks fresh and the light fixture also helps to modernize the overall look. Your kitty pal is so cute. Your mom is definitely smiling down at this update!
Thank you so much Marie for your kind words!!!