
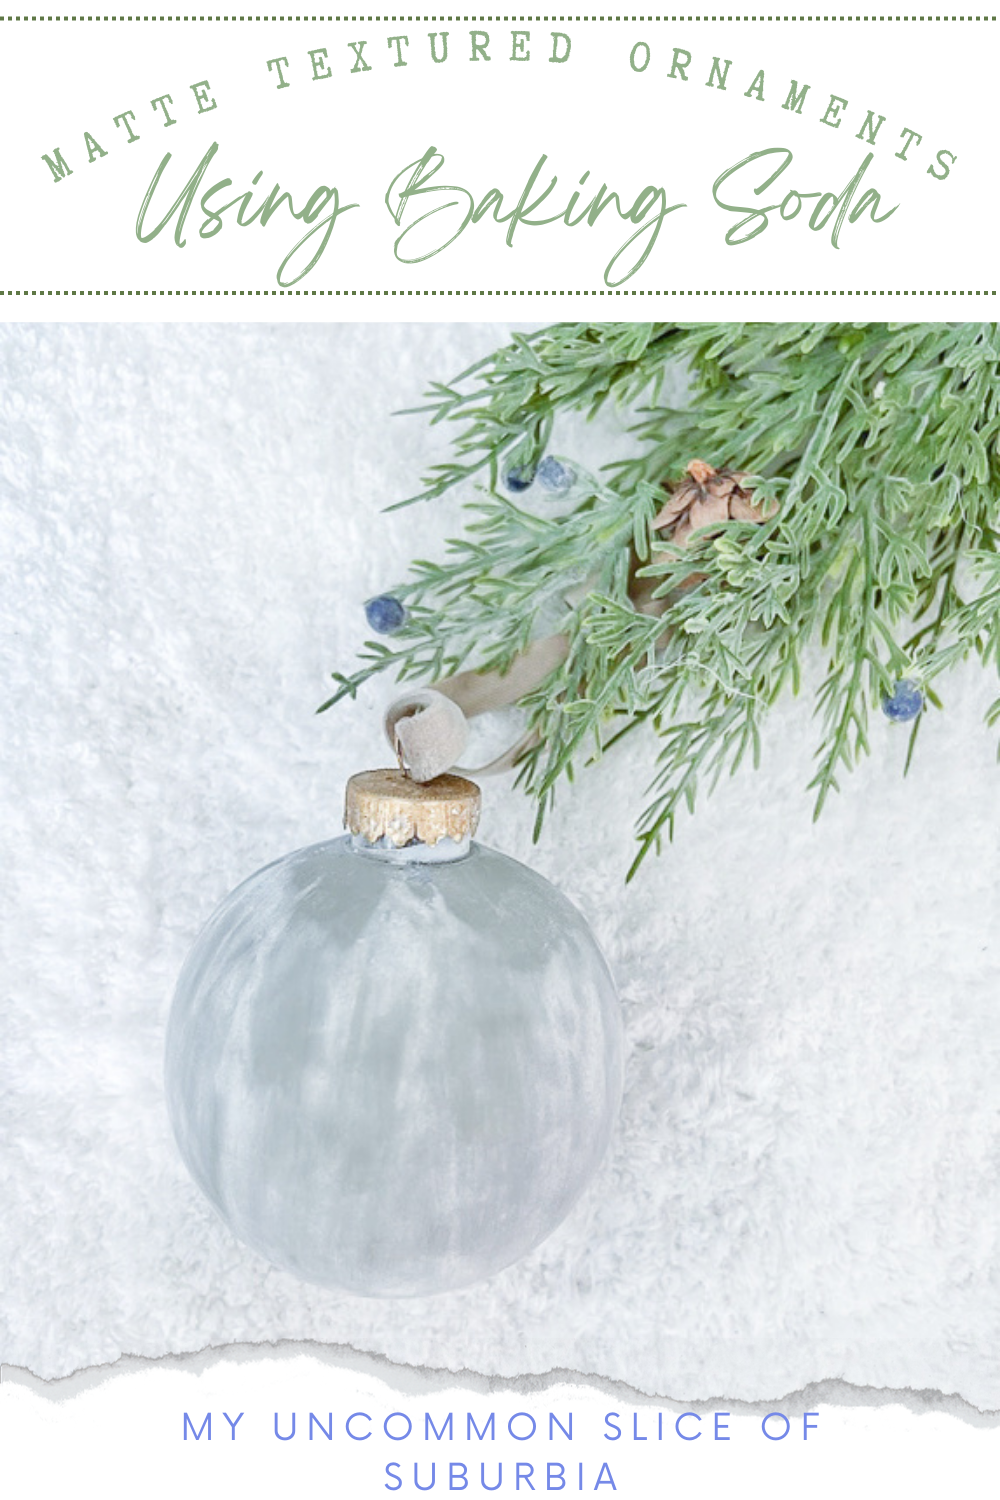
How To Make Modern Rustic Matte Textured Ornaments
In today’s post, I’m sharing how to make Modern Rustic Matte Textured Ornaments with a velvet touch using Paint and Baking Soda.
Adding a touch of modern rustic charm to your home this holiday season can bring warmth and sophistication into your home. Create a stunning matte textured ornament that exudes a velvety appearance using a combination of paint and baking soda. These DIY ornaments are not only easy to make but also customizable to match your personal holiday decor.

A handful of talented bloggers are each sharing a handmade ornament today, make sure you check out all of the gorgeous ideas at the bottom of the post!
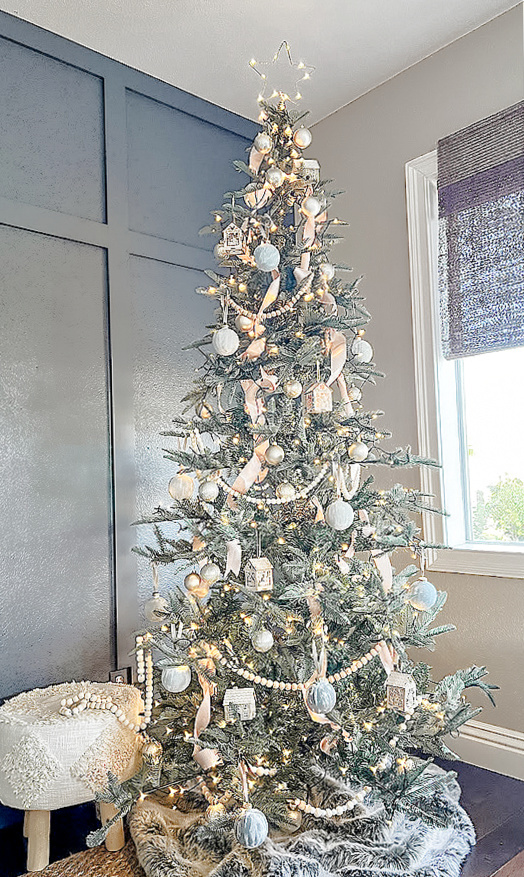
This year (I won’t name which kid, lol) refused to allow me to put this particular tree that I purchased last year downstairs. To appease everyone I put it in the upstairs loft and will put our original tree downstairs. He says it’s the ugliest tree he’s ever seen, I think it’s more of a perfectly imperfect little Charlie Brown tree or shall we say a minimalist tree. Regardless, I like it and I think it looks like a natural tree and brought back childhood memories of the one tree we cut down that looked exactly like this. And in all honesty, I didn’t like it as a kid either. LOL
Amazon Affiliate links are listed below
Materials Needed:
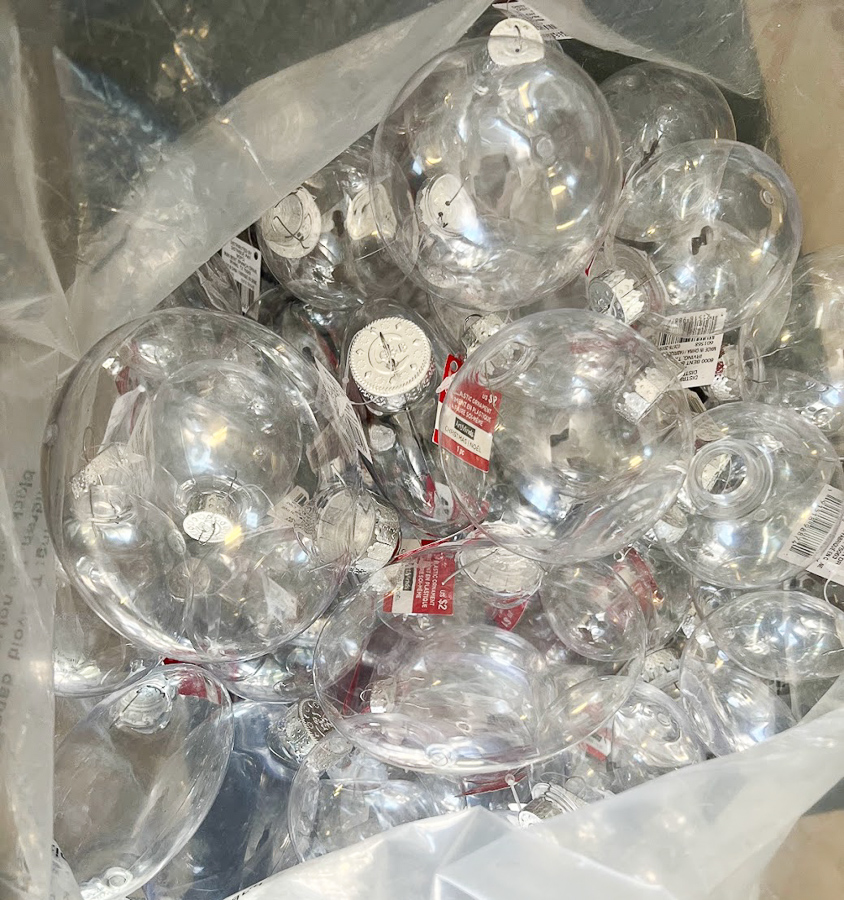
Clear glass ornaments or plastic ornaments (Michaels, Dollar Store and Hobby Lobby also carry them)
Acrylic paint (choose different shades of rustic, earthy tones)
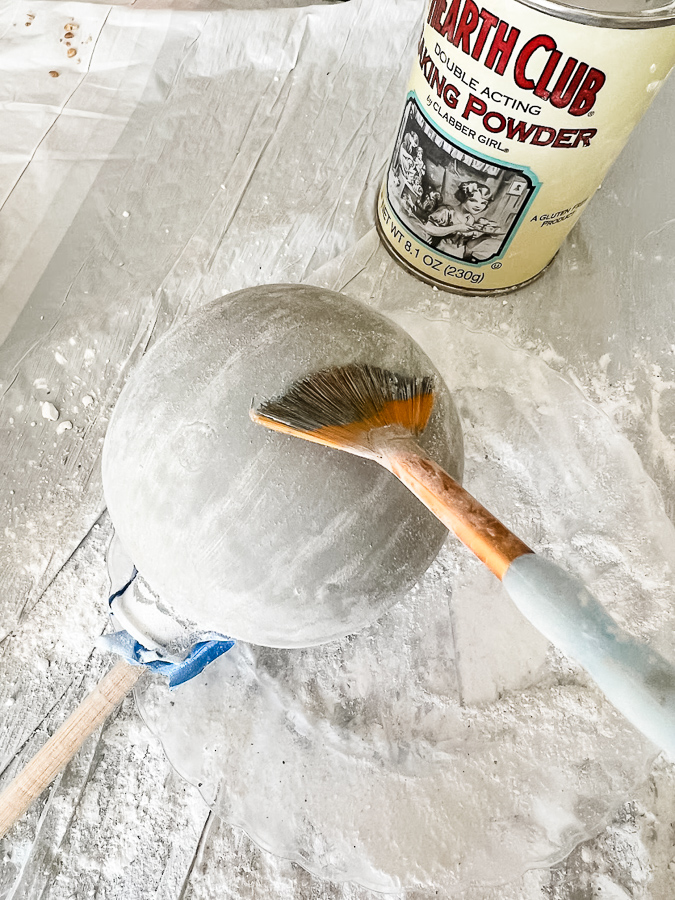
Baking soda or Baking Powder
Paintbrushes or a foam brush
Mixing bowls
Ribbon or twine Here is the Velvet Ribbon I used
Clear sealant spray or an adhesive spray(optional)
Metallic paint, I use Rub N Buff in the color gold leaf
Tape
After Christmas, Michales has $5 grab bags and I grabbed a bag of about 50 clear ornaments for $5!!! What a steal!
Step-by-Step Instructions
Prepare Your Workspace: Start by covering your workspace with newspaper or a drop cloth to protect surfaces from paint spills. Ensure that you have all the necessary materials within reach.
Remove Ornament Tops: Carefully remove the tops of the ornaments to make them easier to paint. Set aside the tops for reattachment later.
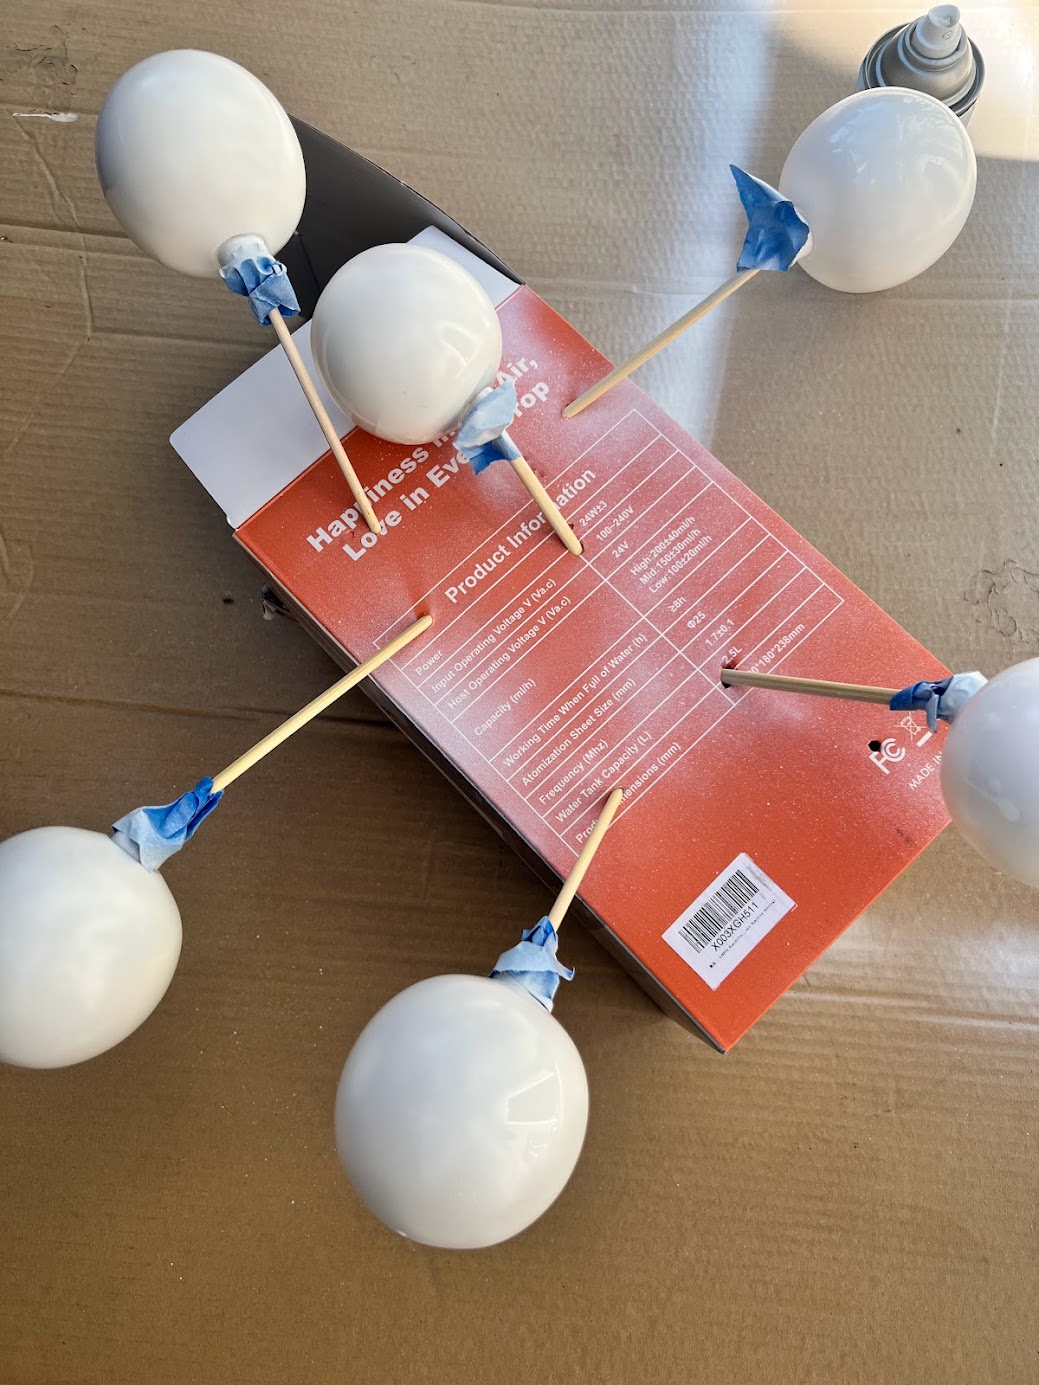
Set up a “drying rack”: Using chopsticks, skewers, or cake pop sticks, will all work. Slide the ornaments and tape the base to the chopstick. Push the chopstick into a piece of foam, I did not have any on hand so a box did the trick, they just didn’t stand up as straight.
Prime your ornaments. This step is optional, however, the primer will help the paint adhere better to the ornaments, and allow the paint to dry.

Mix Paint and Baking Soda: In a mixing bowl, combine acrylic paint with baking soda. The ratio will depend on the consistency you desire, but a good starting point is 3 parts paint to one part baking soda. Stir the mixture thoroughly. This step will add texture, and help the baking soda to adhere better in the last step.
Painting the Ornaments: Using a paintbrush, apply the paint and baking soda mixture to the surface of the ornaments. Mine took 2 coats for full coverage.
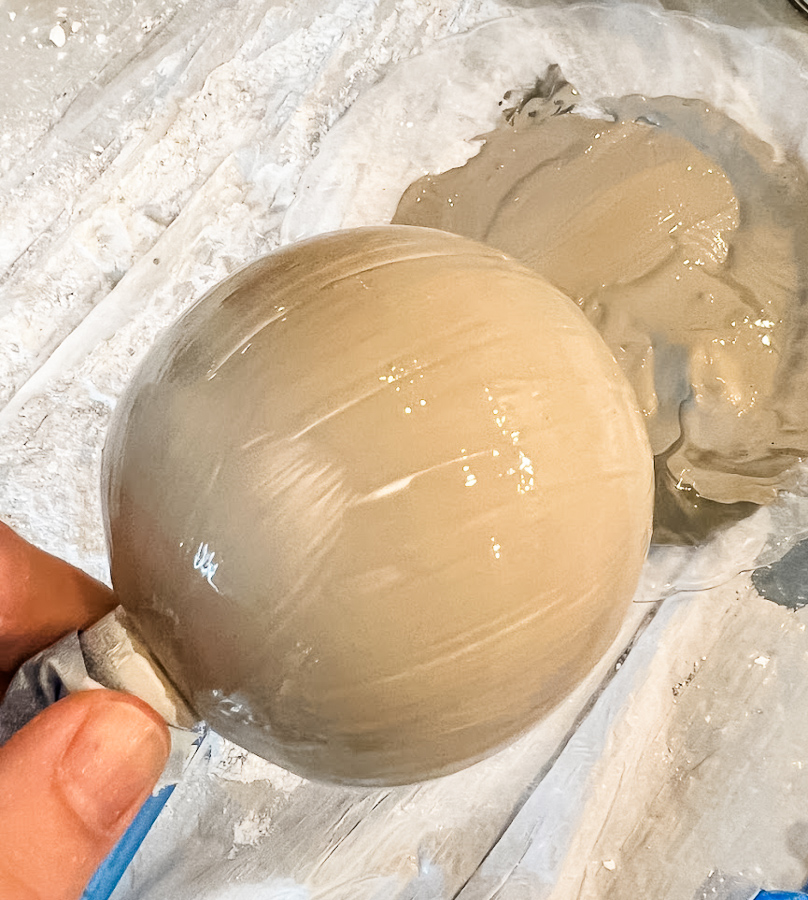
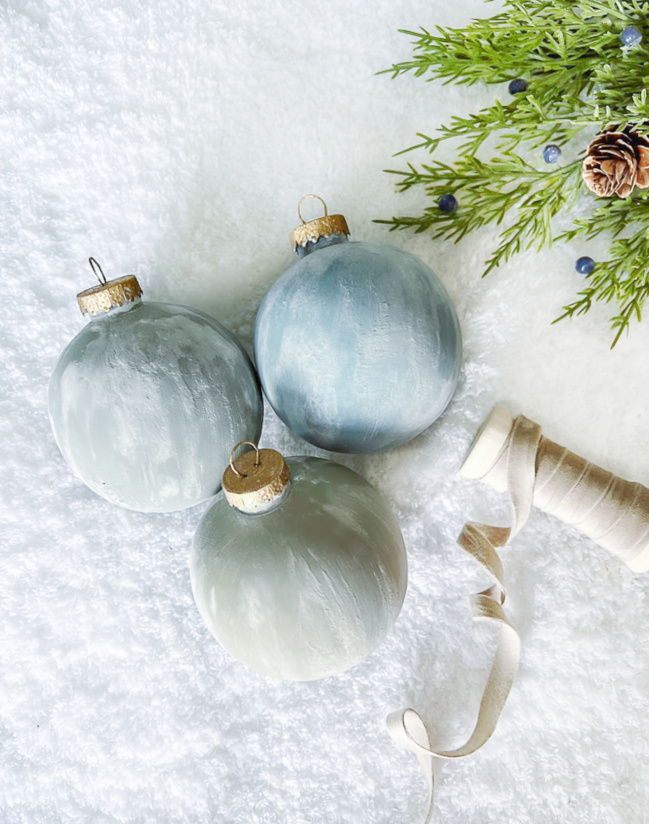
I mixed blue, tan, and grey paint to get different variations of earthy colors.
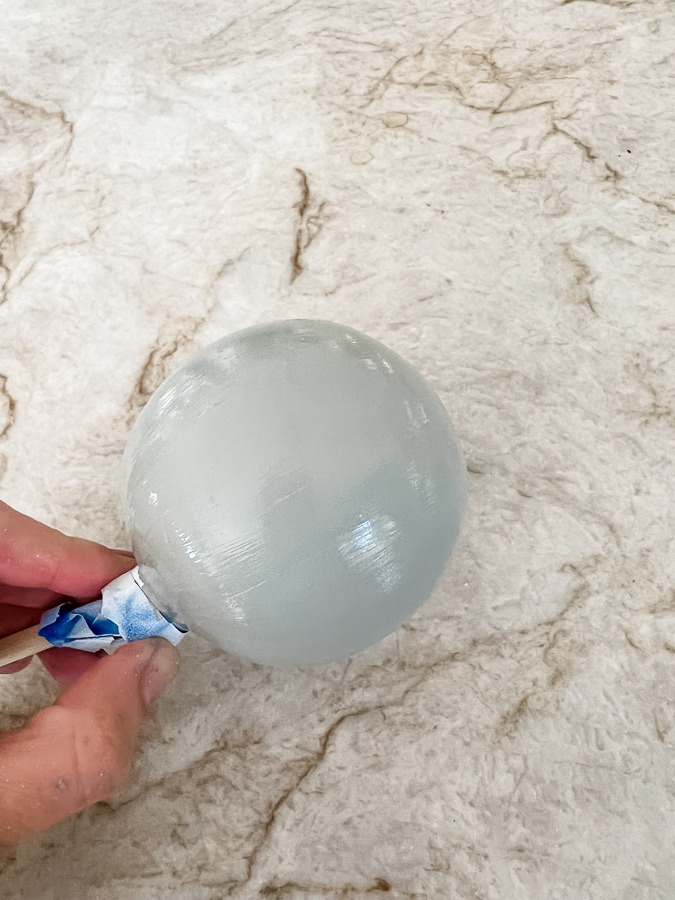
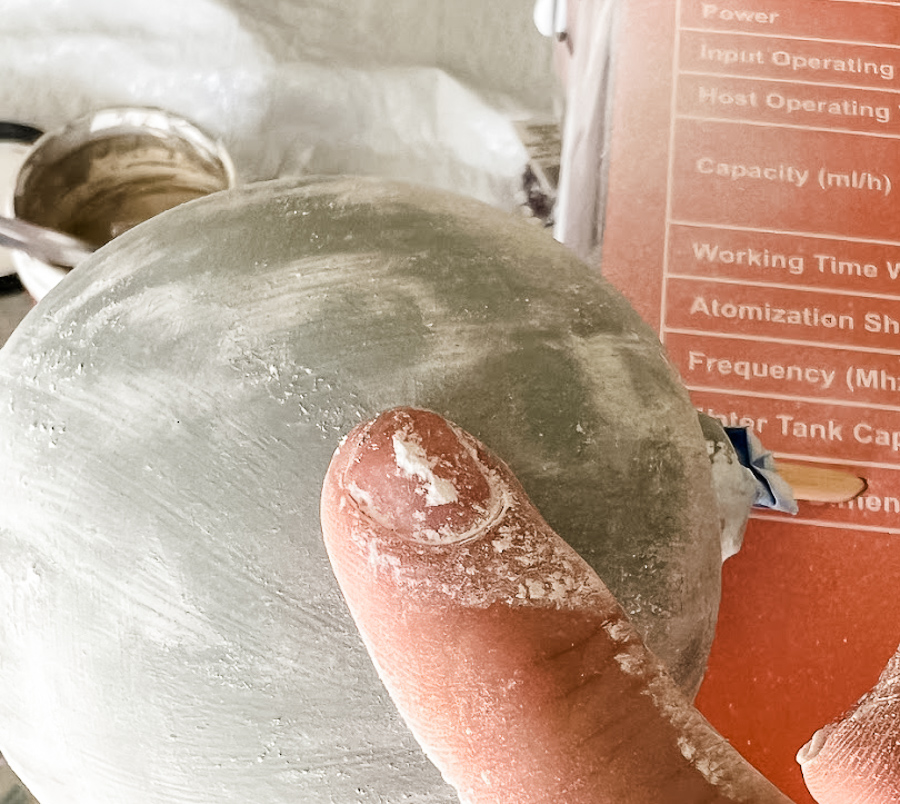
Adding baking soda: The timing on this will vary depending on how thick your paint mixture is. I found the paint to dry just enough but not completely in about 3 minutes. I sprinkled the baking soda over most of the ornament, then pressed and rubbed it firmly into the surface until I achieved the look I desired giving it a rustic vibe. I then feathered it off using a craft brush in certain areas. If you find the powder is not sticking you can use a spray adhesive after the ornament has fully dried then add the powder.
Sealing (Optional): To enhance durability and protect the texture, consider spraying the dried ornaments with a clear sealant. This step is optional but recommended for a longer-lasting finish. I used Mod Podge on a little test spot and don’t recommend it as it gave the ornament a different texture, changing the appearance of the matte finish.
Painting Tops: Using a little rub and buff in the color gold leaf, I gave the tops o quick coat using a craft brush. Once the tops and the ornaments are completely dry and sealed (if desired), reattach the tops. Make sure they are secure before moving on to the next step. Sorry, I didn’t take a picture of the process but it’s in my video tutorial.
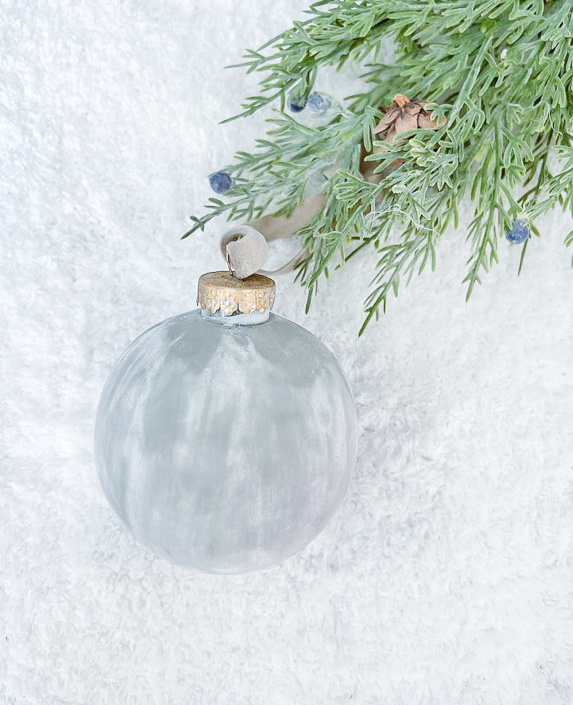
Adding Ribbon Thread a ribbon through the tops of the beautiful ornaments for hanging. Choose a color that complements your rustic theme, and tie a knot or bow for a finishing touch. I decided on a velvet ribbon in the color camel.

Your ornament is complete! I made a dozen of these, so fun!
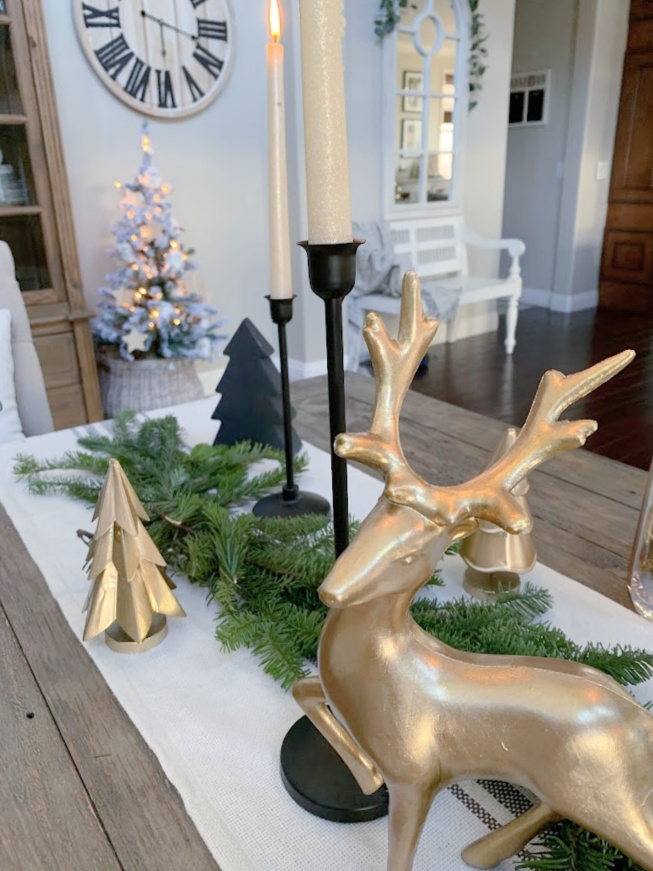
I purchased the Christmas lights from Amazon last year and I love them. They are LED string lights that are super long and have a ton of different settings, I bought 2 sets that cover the whole tree and then some. I still need to finish decorating the tree by adding more Christmas tree ornaments, I’m thinking of adding more natural textures mixed with gold ornaments and of course a tree skirt.


These handmade ornaments are perfect for adding a touch of warmth and elegance to your holiday festivities and would make a great gift for your loved ones. I think these would also look super pretty up against a flocked tree as well.
These Christmas ornaments are a great way to add a personal touch to the tree. Feel free to experiment with different colors and techniques to match your personal style and home decor. Happy crafting!
Time to see all of the other handmade ornaments!
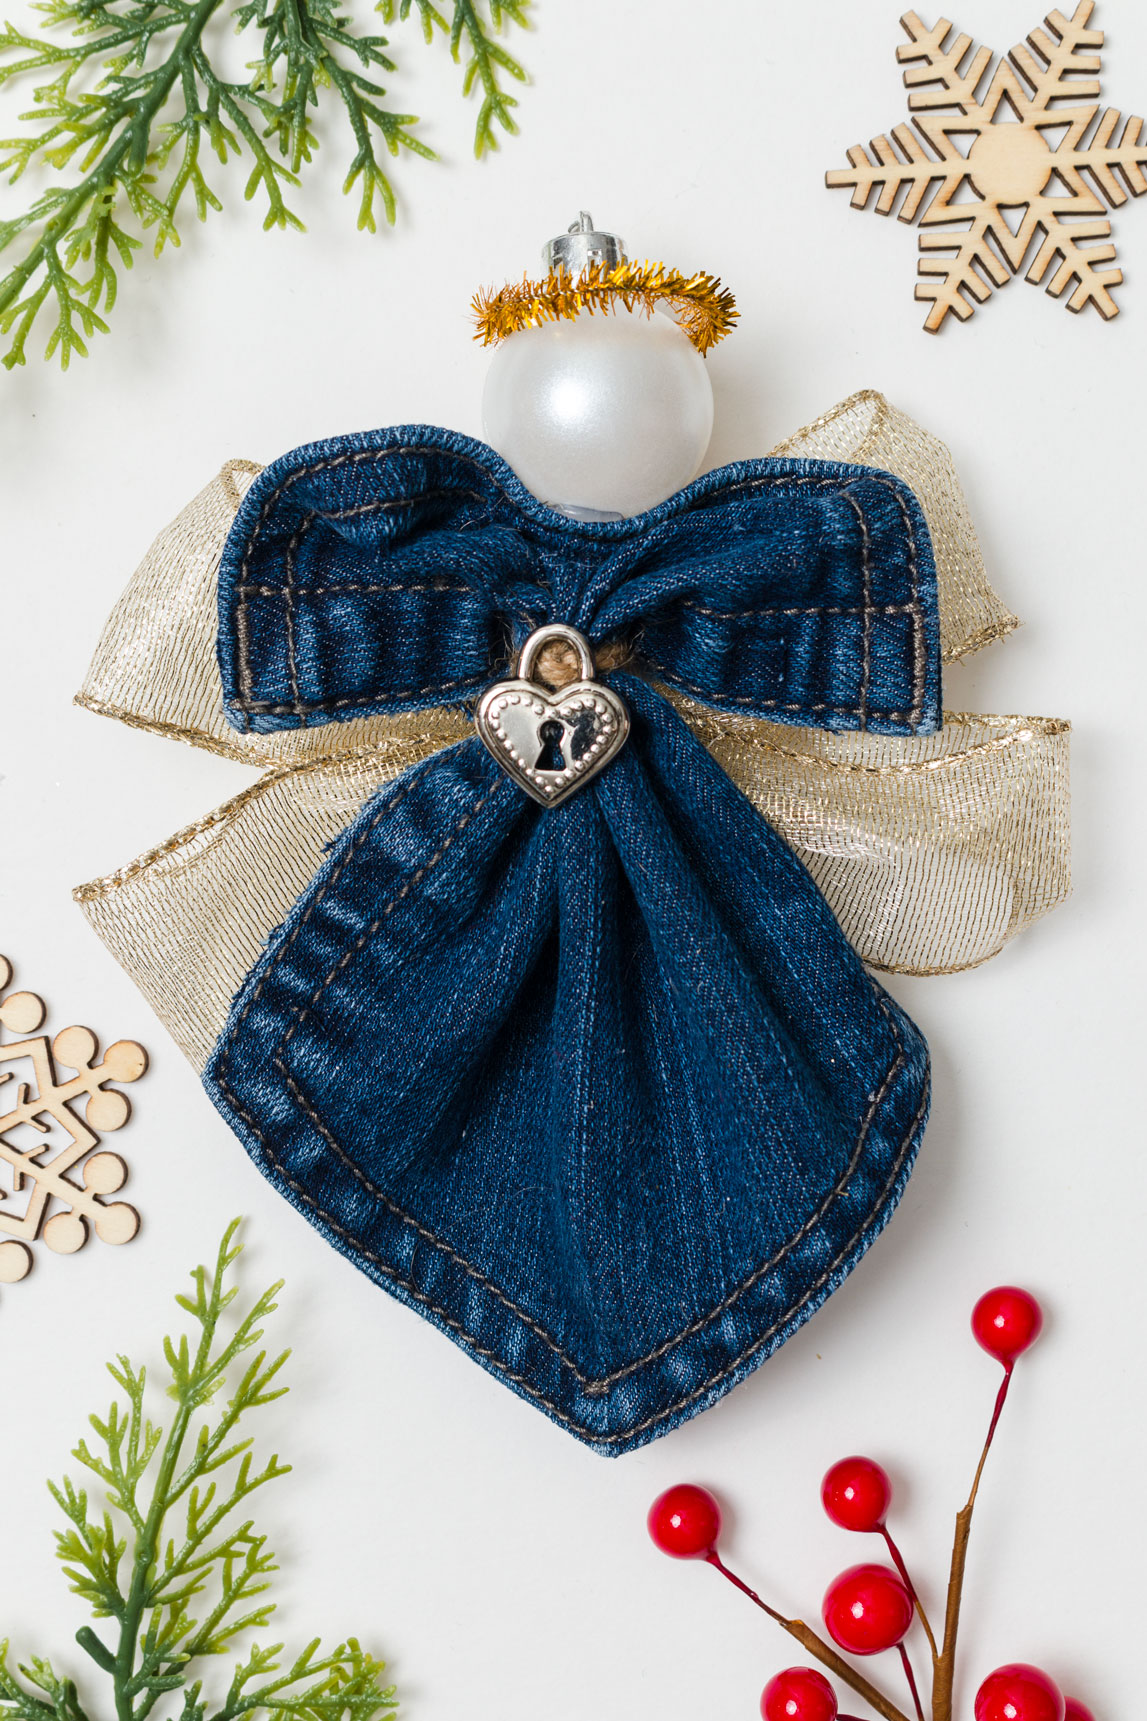
Kippi at Home created a Pocket Angel Ornament using an old pair of jeans
This Dear Casa made the cutest DIY Hot Air Balloon Ornament, it adds such a whimsical touch to your tree and makes memories that soar.

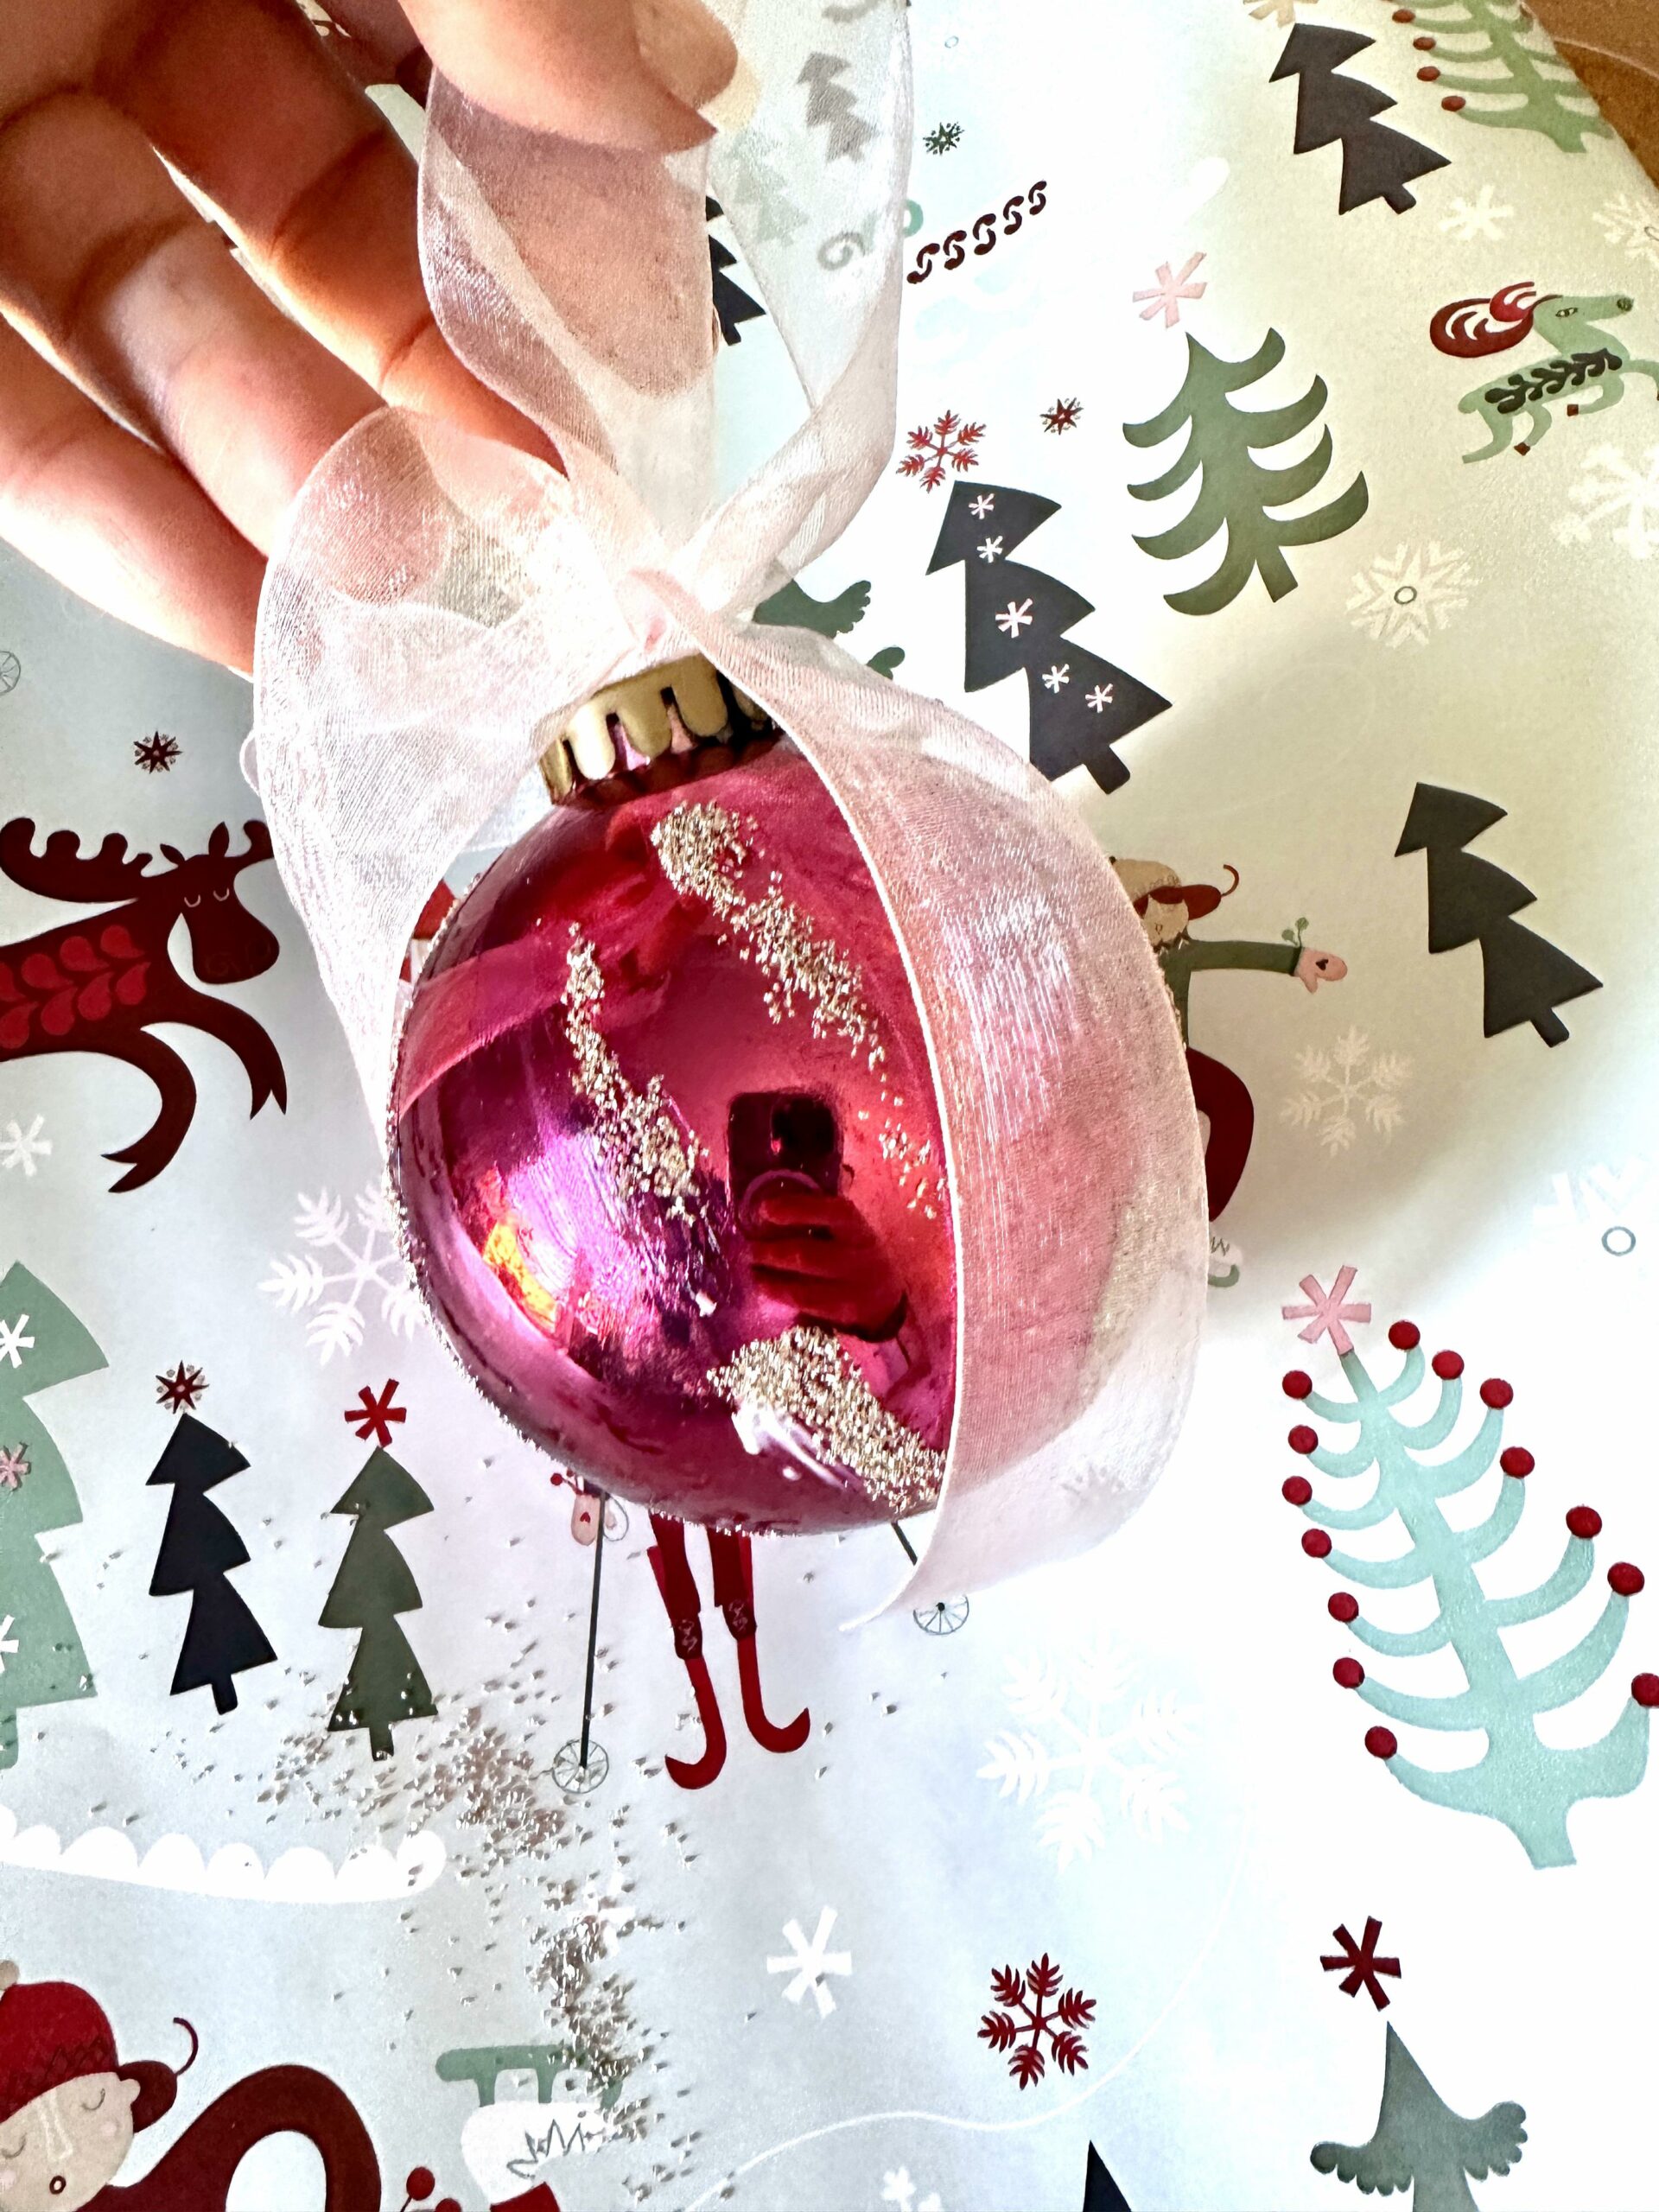
Karins Kottage is showing us how to Transform an Old Christmas Ornament into Antique Treasures by adding German glitter stripes.
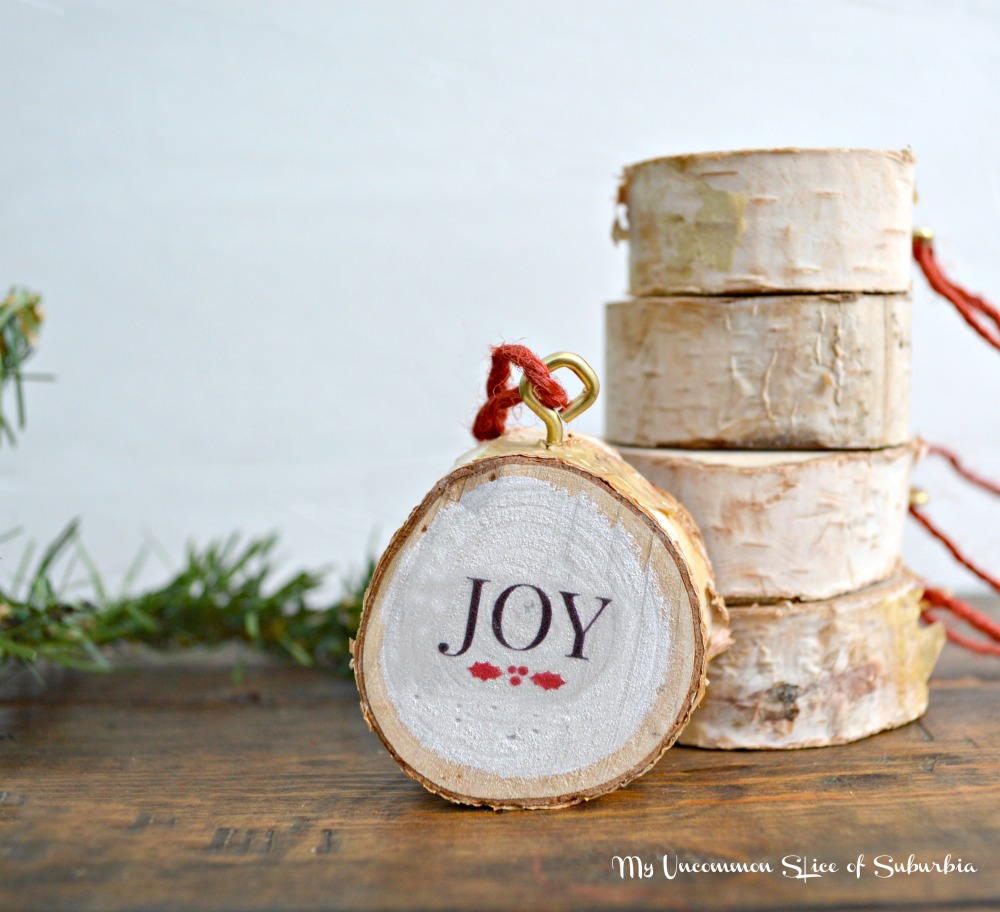
Here are some more rustic Christmas decorations using natural elements
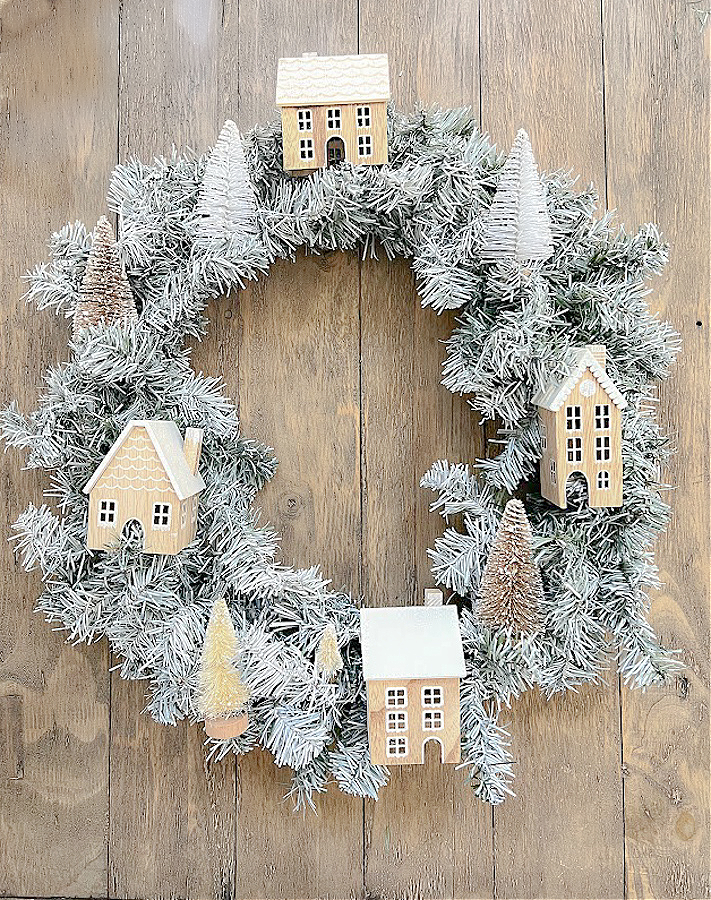
Anthropolie-inspired wreath using bottle brush trees and gingerbread houses.
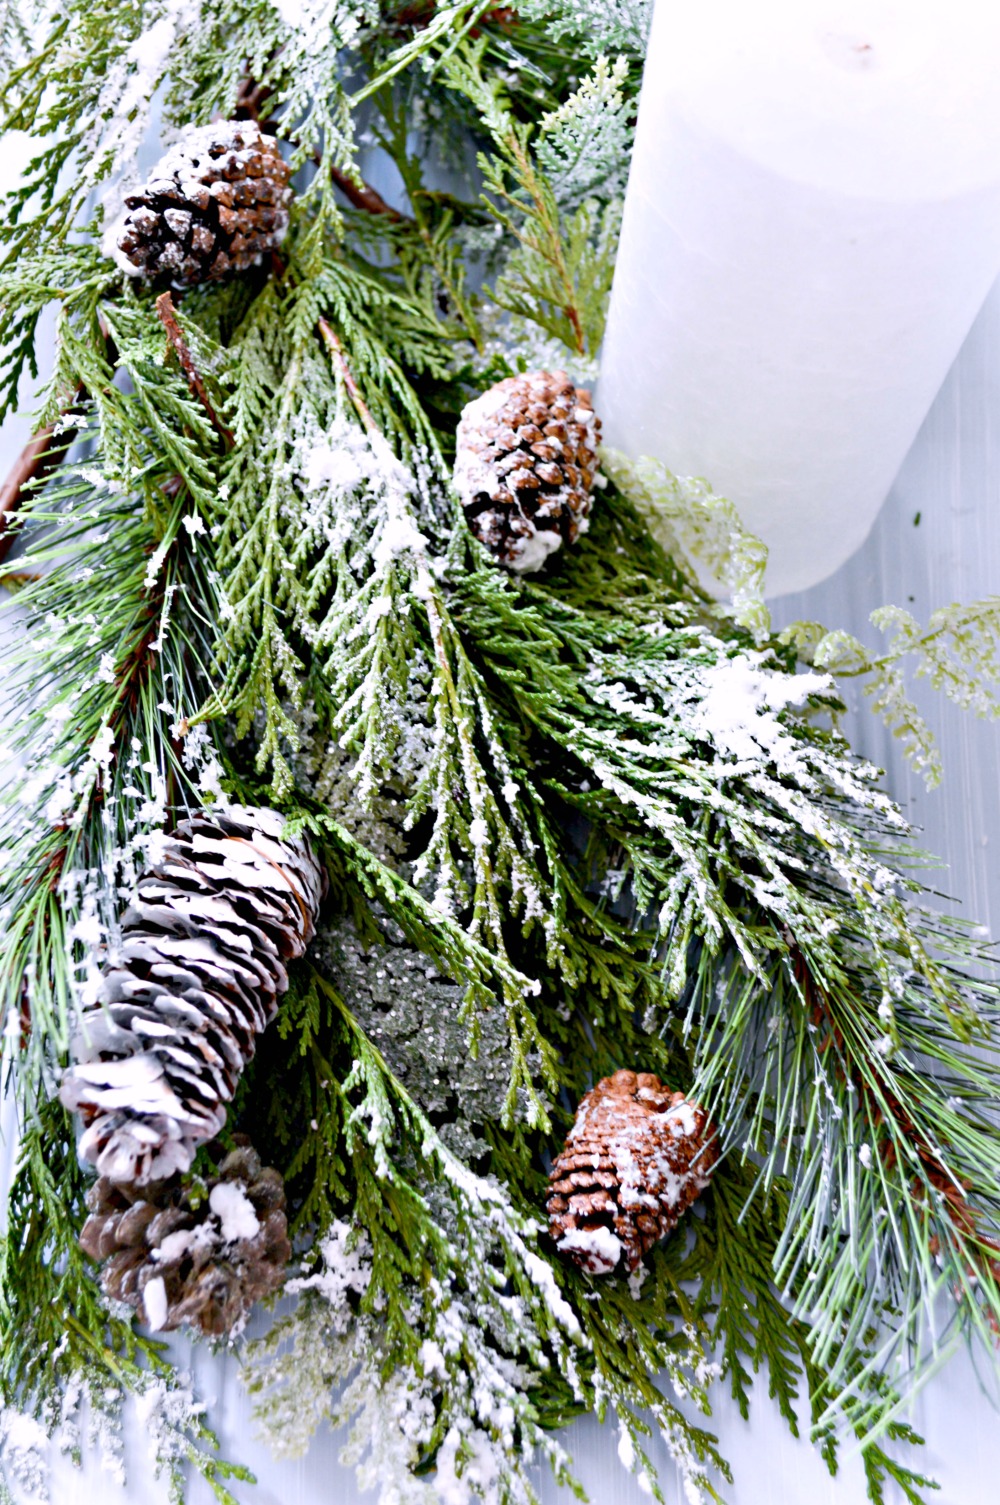
Snow Covered Pine Cones * You could also use this easy method on faux greenery, it looks like the real thing!
Thank you so much for stopping in today!
I love your rustic look! I’ve got to try this technique! The ornament looks amazing! The color is so unique too! Fun to blog hop with you! 🥰
Karin
Thank you so much Karin!
These are all so pretty! That’s so funny that your son objected to your tree. It looks lovely with all of your decorations. Happy to hop with you!
Thank you Marie, he did say, after I was done decorating it, well mom, you do make everything pretty 🙂 Love him!
Your Christmas is stunning with your DIY ornaments. I love your color scheme.
Merry Christmas,
Kippi
Thank you so much Kippi!