How To Make A DIY Spoon Ring
Some of the most meaningful things we make come from the most unexpected places — like a handful of old spoons picked up for a dollar at the swap meet.
I give 100% credit to my son, Nate, for working his magic. He started making spoon rings for his friends, and I was so impressed that I asked him to show me how. It turned into one of my favorite afternoons we’ve ever spent together, and I have a feeling it might become one of yours, too.
What I love most about this project is how personal it can be. Whether you’re working with thrift store finds or your grandmother’s old silverware, turning a forgotten spoon into a beautiful ring is one of those DIY projects that feels like so much more than a craft. It makes the most meaningful handmade gift — for Mother’s Day, birthdays, or honestly any time you want to give someone something truly one of a kind.
The best part? You don’t need special jewelry tools or any experience. If my teenage son can teach me how to do this at the kitchen table, you’ve got this.
Spoon rings have a rich history dating back to 17th-century England, where people would shape stolen silverware into rings to give their loved ones as wedding bands when they couldn’t afford the real thing. Hundreds of years later, they’re still just as beautiful — and now you can make your own.
Nate is so talented when it comes to the arts, someday I’ll have to share his drawings, ceramics, papier-mache, and so much more.
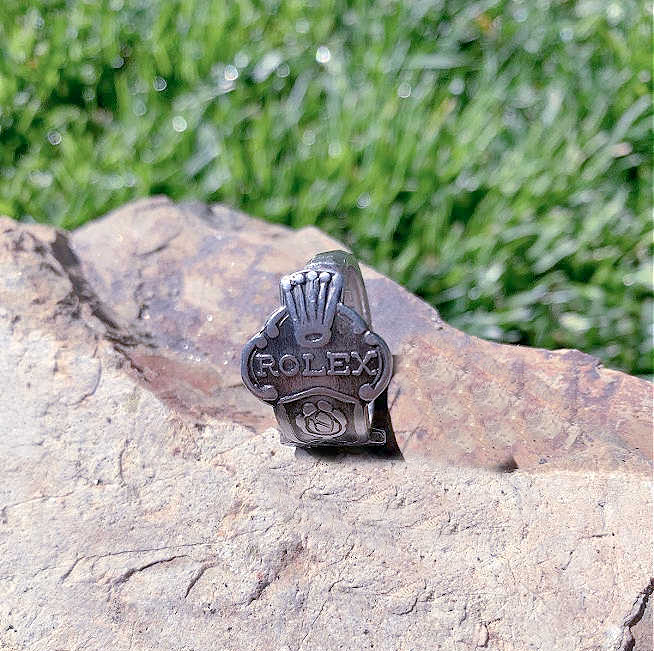
The perfect handmade gift
These make the most beautiful handmade gifts — think Mother’s Day, birthdays, or a heartfelt way to repurpose a family heirloom. If you have a loved one’s old silverware sitting in a drawer, this is the project for it.
✨ One spoon. One hour. One gift they’ll never forget.
As we were making the rings, I realized I still have the baby spoon that my mom kept for me. I’m so tempted to turn it into a ring, but at the same time, I kind of want to just keep it as it is. I’m thinking this could become an emotional DIY project for some if you’re working with parents or grandparents flatware.
I still have all of my mom’s jewelry that still needs to be split amongst my siblings. Every single piece I remember her wearing, and I remember a story behind the piece. As a little girl, I was always in awe of her wedding ring, so many beautiful memories.
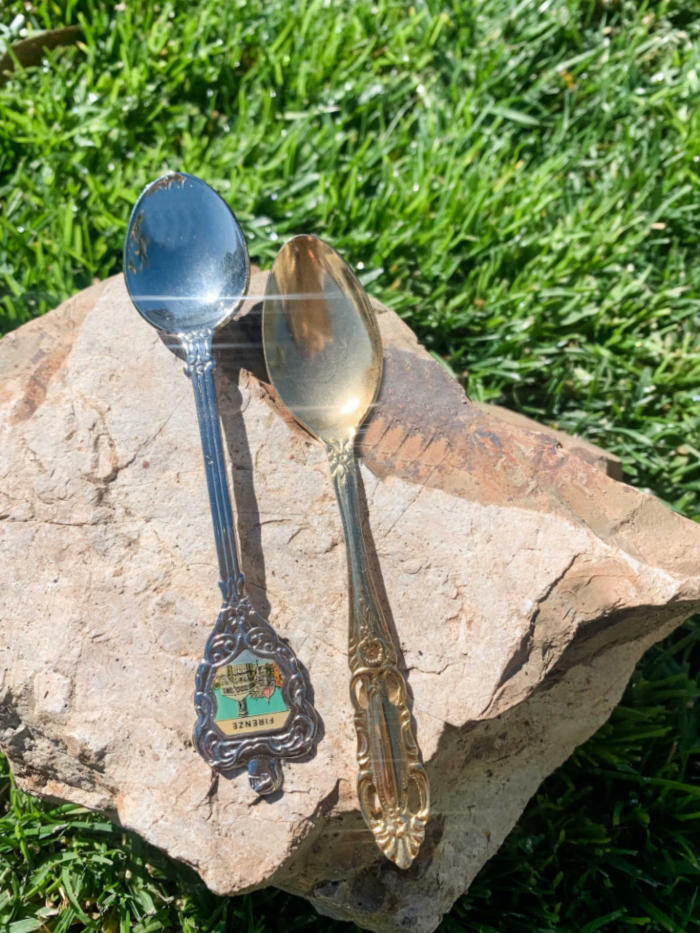
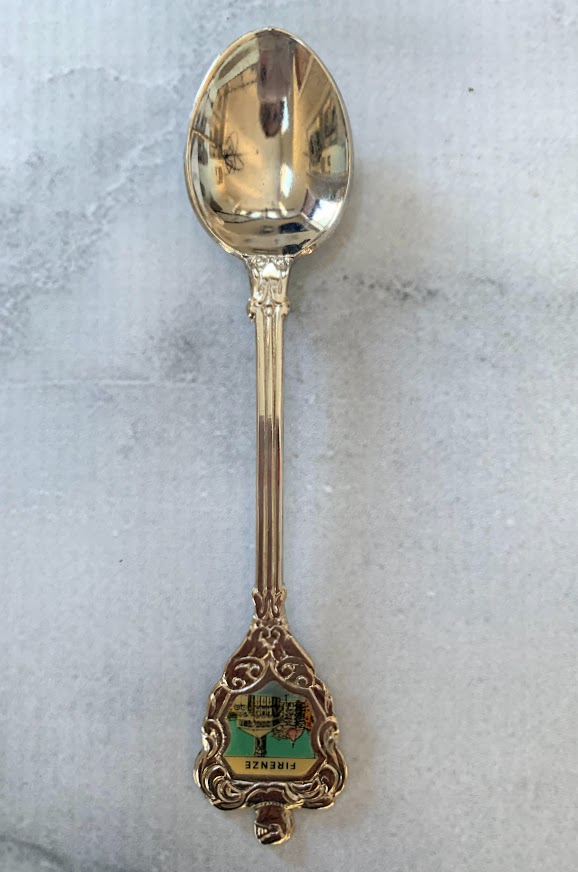
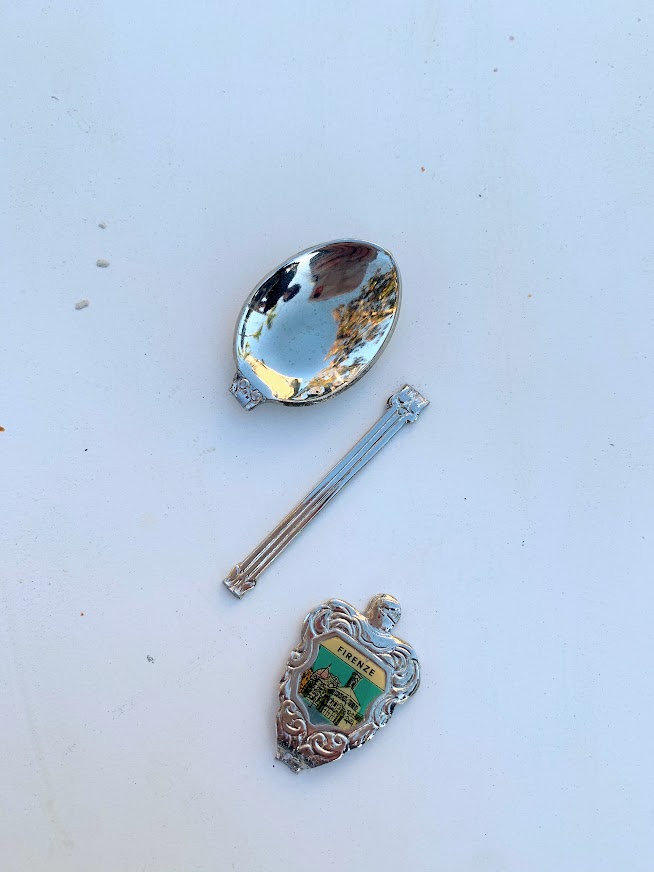
Here is a before of 2 of the spoons
Materials Needed
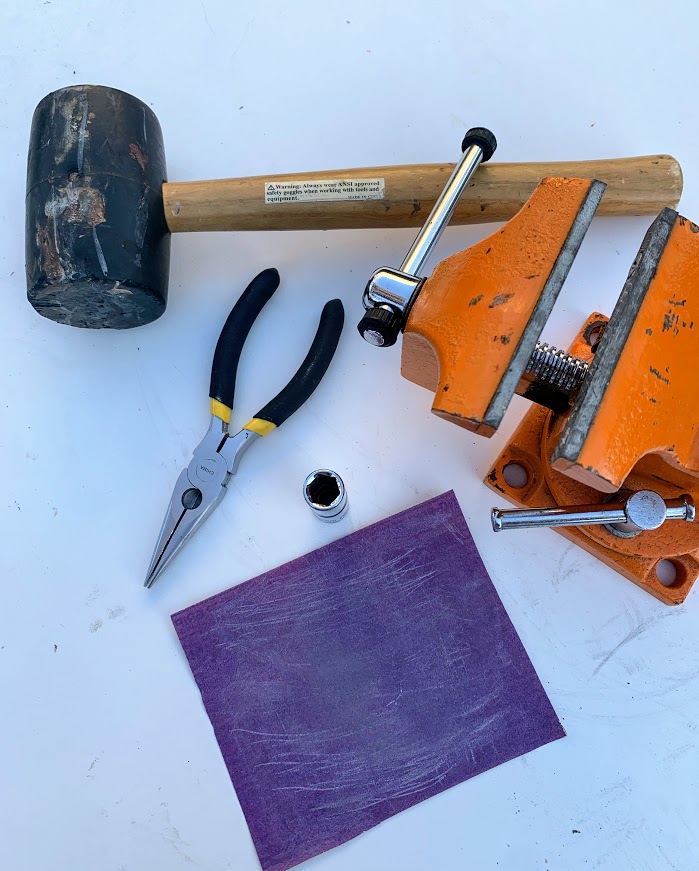
Affiliate links listed below
Directions:
Select Your Spoon
First thing, you want to make sure you are using the right kind of silver spoons. These particular spoons were found at our local thrift stores and the swap meet in downtown San Diego for $1 apiece. We usually go to the swap meet once every other month as a family and make a day of it with shopping and lunch. It’s so fun to find treasures. You could also find old spoons at garage sales, flea markets, or Etsy shops. When you do go searching for your spoon, make sure it’s sterling silver by checking the stamping on the back. It should either say .925 or sterling. Stainless steel is considerably harder than sterling silver and would be difficult to work with. You also want to look for a spoon that is on the thinner side; the thicker it is, the harder it is to bend.
Measure Your Finger
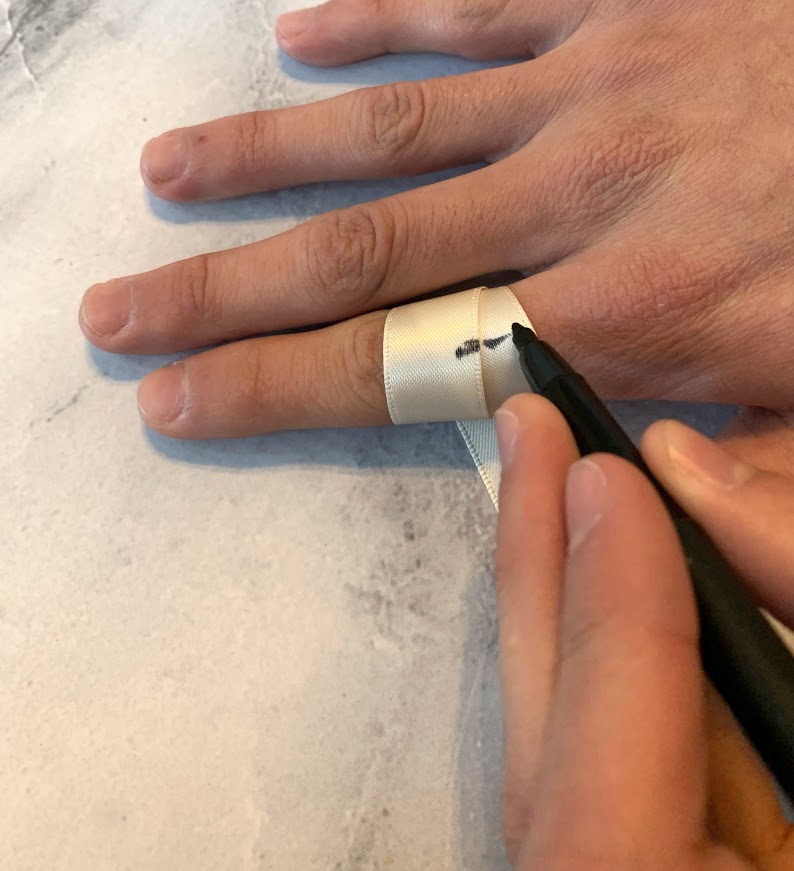
Using a piece of paper or ribbon, wrap it around your finger, and mark where it overlaps.
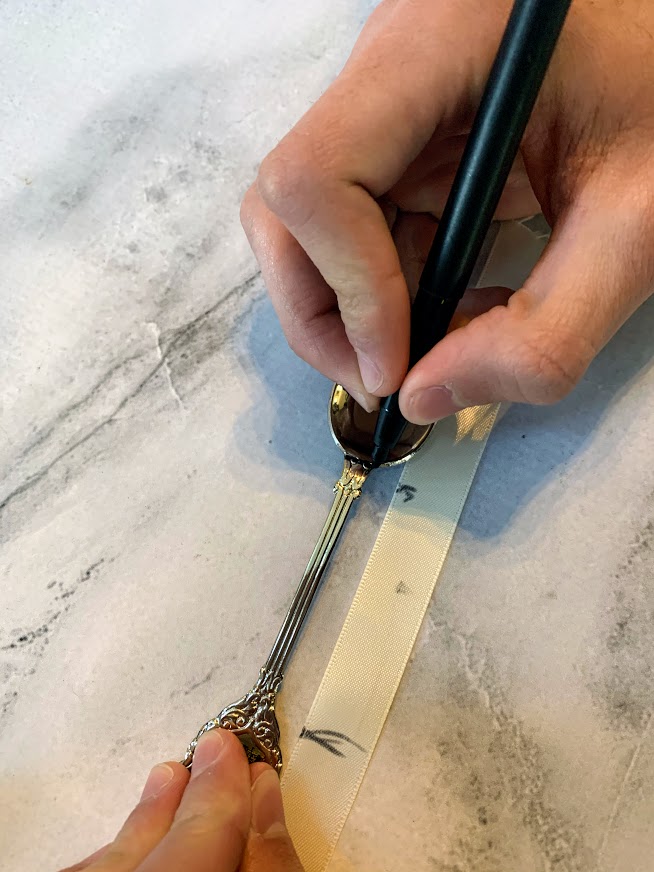
Mark that length on your utensil.
Making the Cuts
For your next step, cut the bowl and cut off the spoon handle based on the measurements on your ribbon/paper. You can make the cuts with a hacksaw or put the spoon in the vice and hammer it with your rubber mallet until it is completely bent, then snip with your pliers.
Note: If you want to keep the end of the spoon (the handle) as part of your ring, you would only be making one cut that fits your measurements.
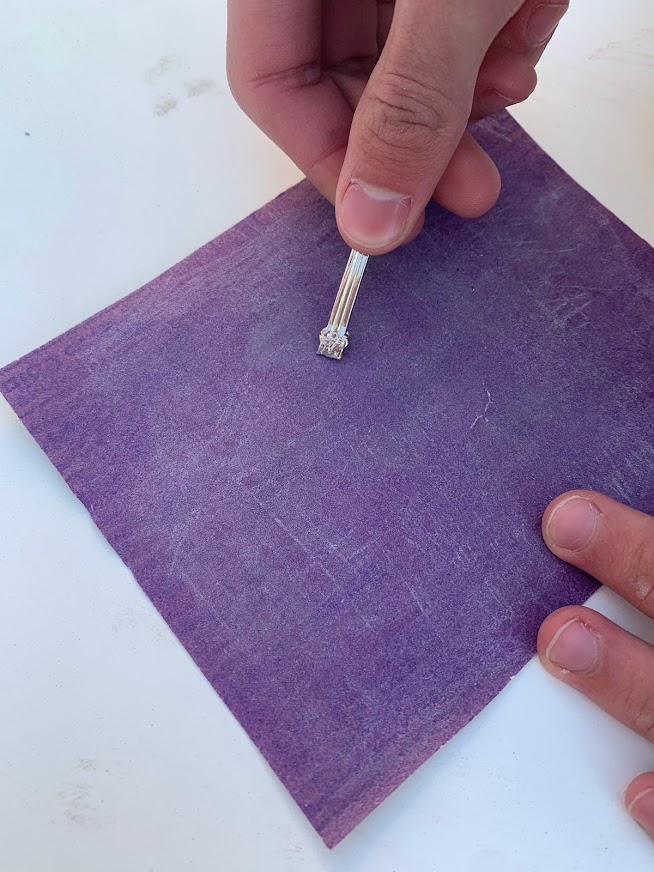
File the ends
File any sharp edges or rough edges and cut ends with either a metal file or coarse-grit sandpaper. You want to get a super-smooth finish.
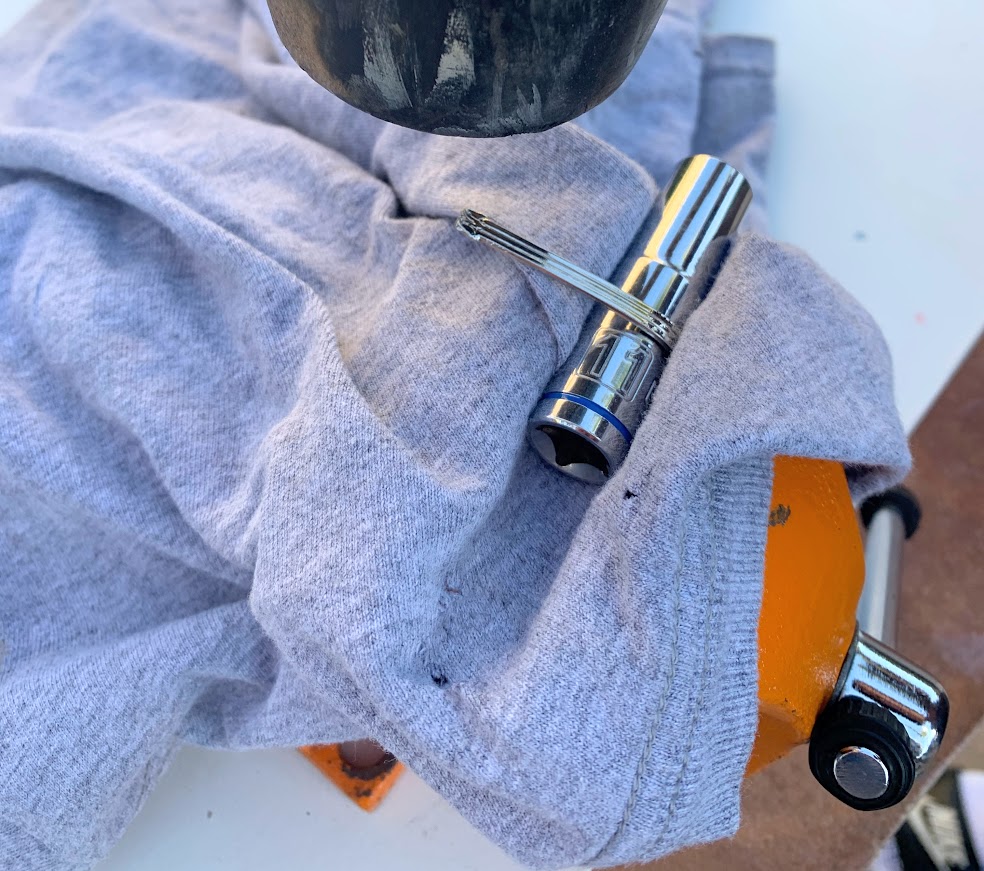
Bend & Size
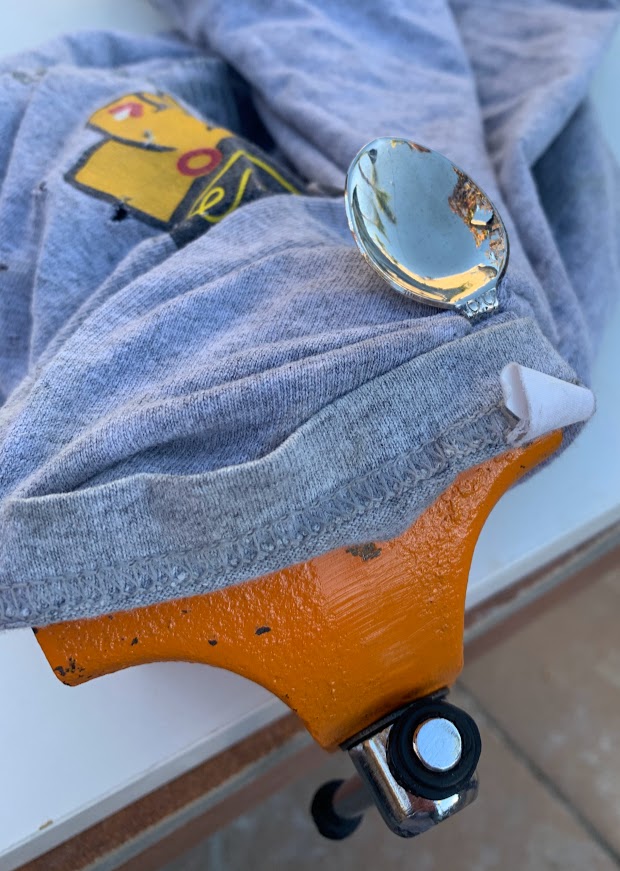
I recommend wrapping some sort of cloth around the mallet and socket to protect the metal from scratches. (I took the cloth off the bit for photo purposes)
Put the spoon and the drill socket into the vice. Using the rubber mallet, slowly bend it around the bit. Keep repeating this process of pounding and shaping the spoon around the socket.
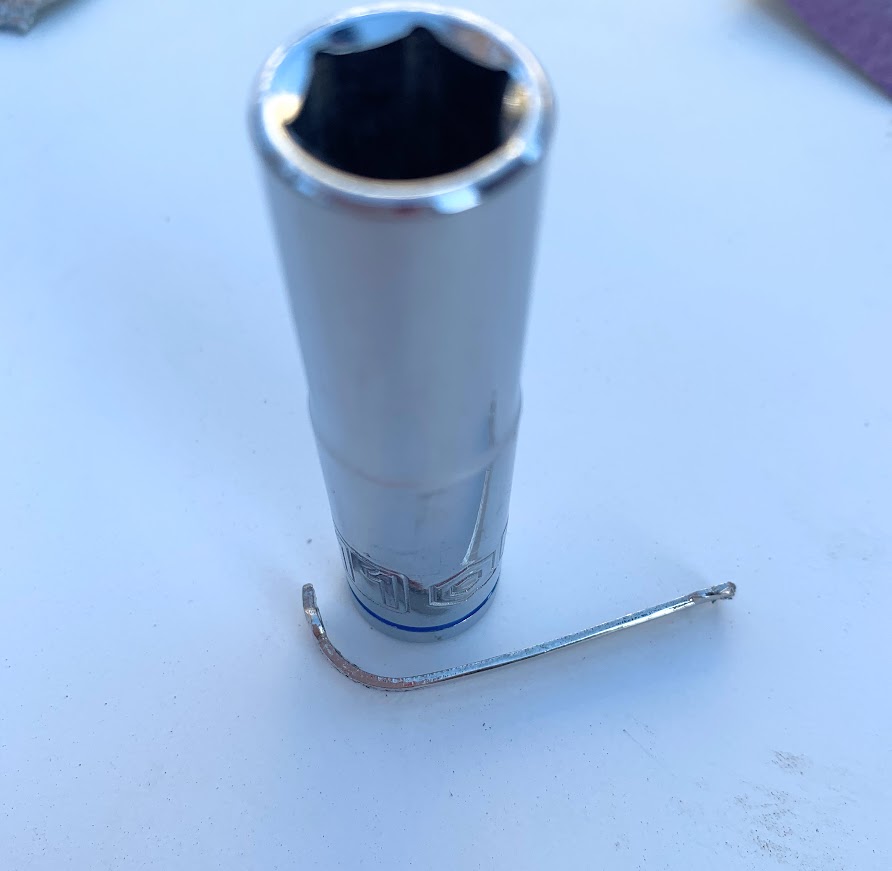

Almost There!
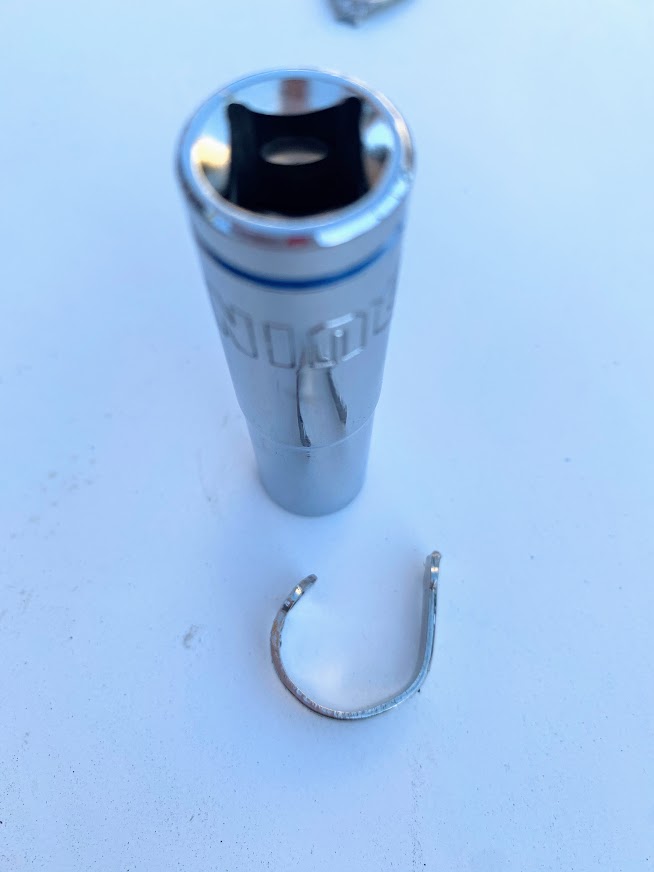
Use pliers to help you close the gap.
Polish (optional)
If your spoon is old and dull, you might want to polish it.
This DIY Project took us about 1 hour; if we had all the right tools, we might have shaved about 15 minutes off, but really, what we used worked just fine.
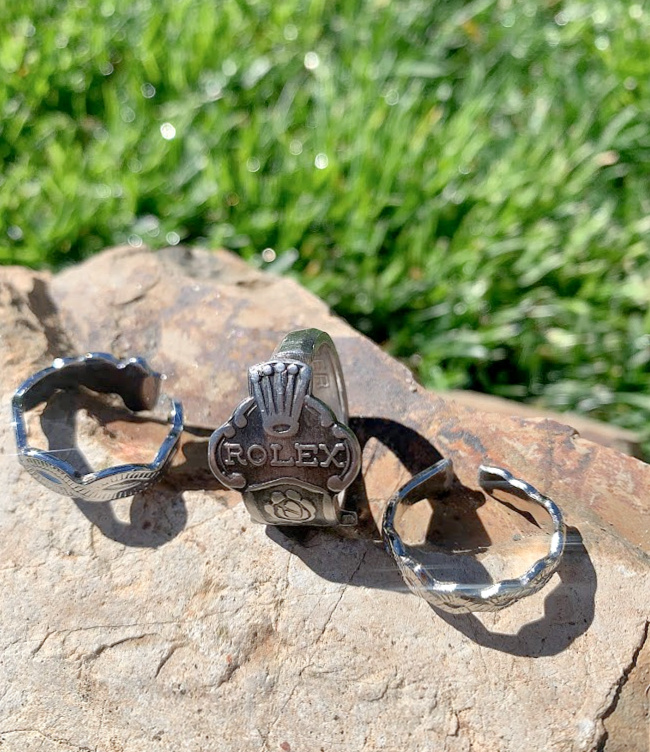
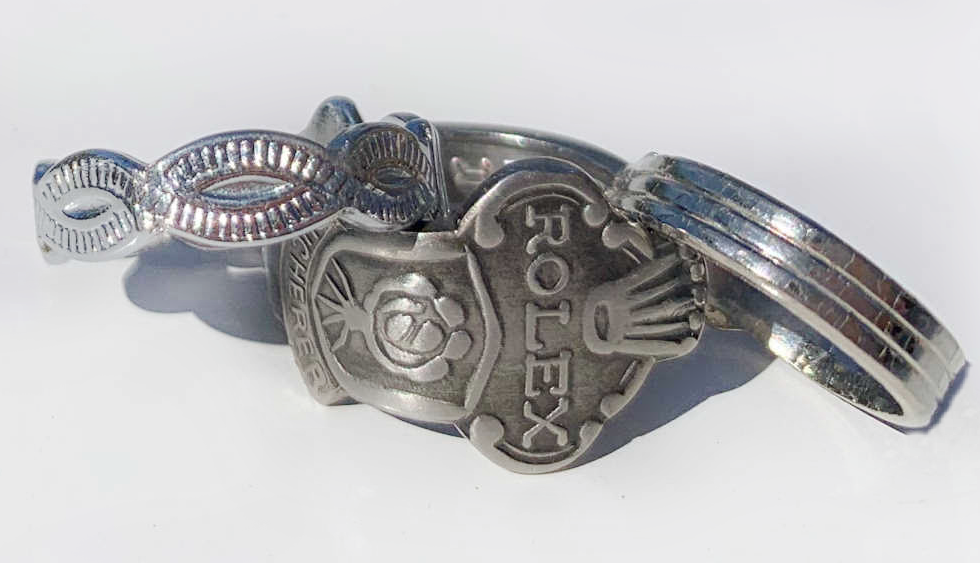
Now, stand back and admire your new jewelry. Feel free to get creative here and make this your own style. These would make the perfect gift for Mother’s Day!
TIPS FOR SUCCESS
Getting the best results — tips from experience!
Choose the right spoon. Always check the back of the spoon for a .925 or sterling stamp. Sterling silver is soft enough to bend by hand with the right tools. Stainless steel is much harder and will fight you every step of the way — skip it.
Go thinner when in doubt. If you find two spoons you love, go with the thinner one. Thicker spoons require a lot more effort to bend and are more likely to crack or split at the edges.
Protect the metal. Wrap a small piece of cloth around your drill bit or mandrel before you start bending. This one step will save you from scratches on the surface of your ring. I took the cloth off for the photos so you could see what we were doing, but don’t skip it!
File more than you think you need to. Any rough or sharp edge left on the cut ends will catch on skin and fabric. Take your time with the file or sandpaper and run your finger carefully along every edge until it feels completely smooth.
If it’s not perfectly round — don’t panic. Put it back on the mandrel or drill bit and gently tap it into shape with the rubber mallet. Small adjustments go a long way, just work slowly and evenly around the whole ring.
If the ring feels too big or too small, sterling silver has a little give. You can gently open or close the gap at the ends with your pliers to adjust the fit slightly. Just don’t force it or bend it back and forth too many times or it may weaken at that spot.
Polish at the end, not the beginning. If your spoon is dull or tarnished, wait until you’ve finished shaping and filing before you polish. It’s much easier to polish a finished ring than to try to keep it shiny throughout the whole process.
FAQ SECTION
Frequently Asked Questions
What kind of spoons work best for spoon rings?
Sterling silver spoons are your best bet. Look for spoons stamped with .925 or “sterling” on the back — that’s your confirmation that the silver is soft enough to work with. Thinner spoons are also much easier to shape than thick ones, so keep that in mind when you’re hunting at thrift stores or flea markets.
Can you make a spoon ring without special tools?
Yes! That’s exactly what we did. Instead of a ring mandrel, Nate used a drill bit to shape the ring, and a vise tool with a rubber mallet to do the bending. You’ll also need a hacksaw or pliers to cut, and a file or sandpaper to smooth the edges. No jewelry experience or expensive equipment required.
How do you know what size to make your spoon ring?
Wrap a thin strip of paper or ribbon around the finger you want to wear it on, mark where it overlaps, and then mark that same length on your spoon before you cut. It’s that simple — no ring sizing tools needed.
Can you make a spoon ring from stainless steel?
Technically, yes, but we don’t recommend it for beginners. Stainless steel is significantly harder than sterling silver, which makes it much more difficult to bend and shape by hand. Stick with sterling silver for your first few rings, and you’ll have a much better experience.
How do you polish a spoon ring?
If your finished ring looks dull, a little silver polish and a soft cloth will bring it right back to life. You can also find polishing cloths made specifically for silver jewelry that work beautifully. Just wait until your ring is fully shaped and filed before you polish — it’s the last step, not the
I would love to see your pictures. I can’t wait to make our next batch of rings!
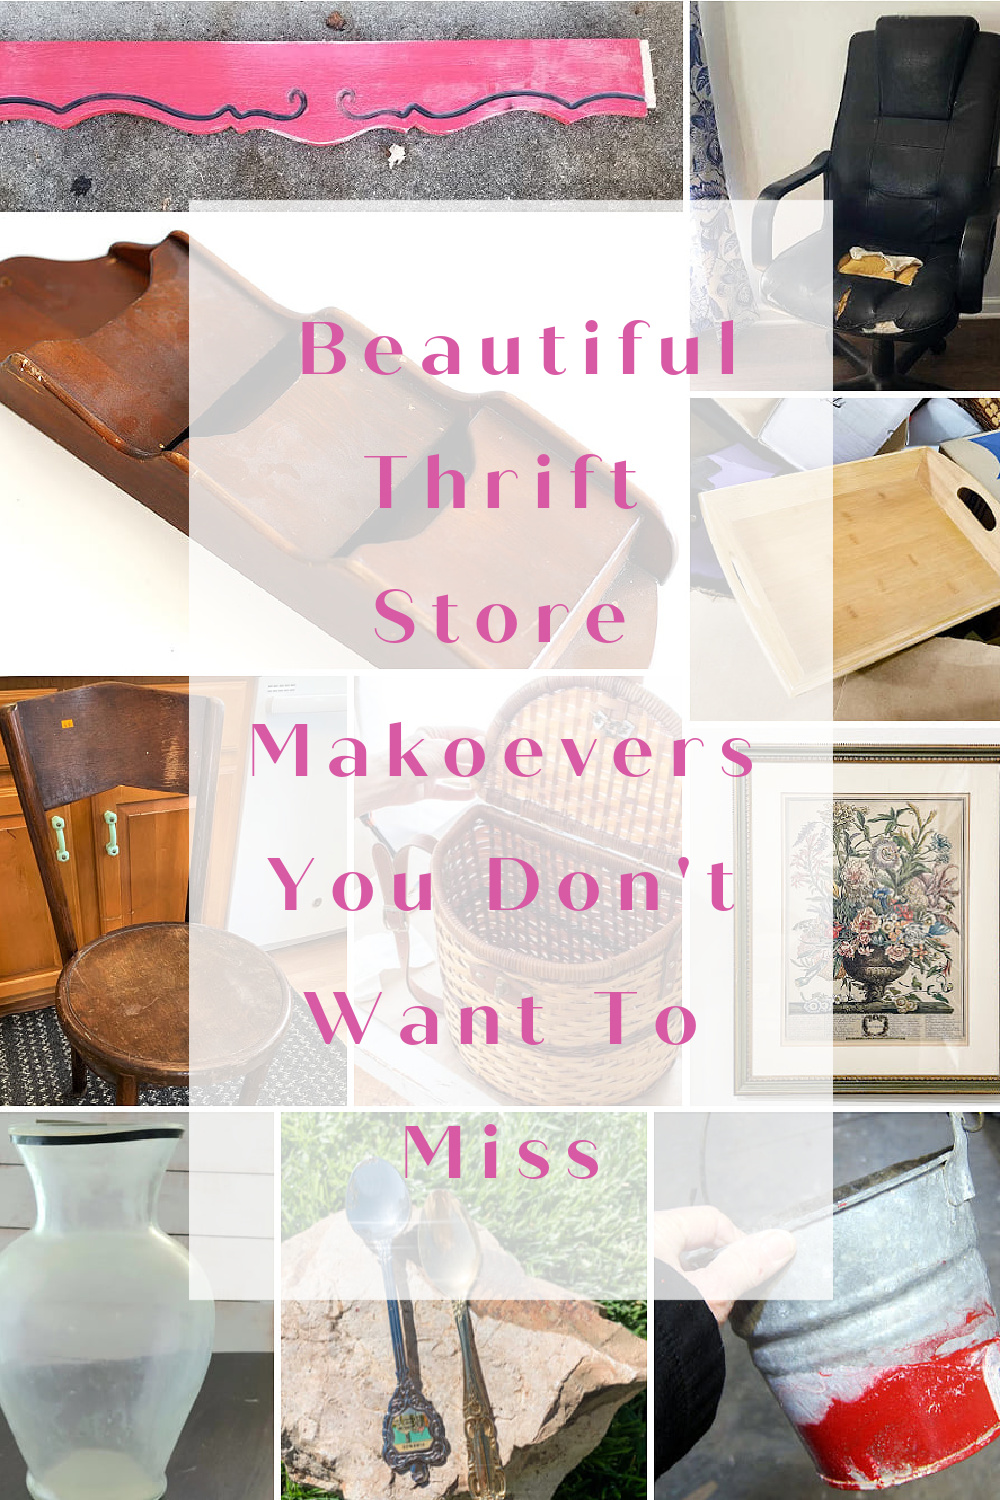
Time to see what all of my thrift store friends made with their treasures this month!
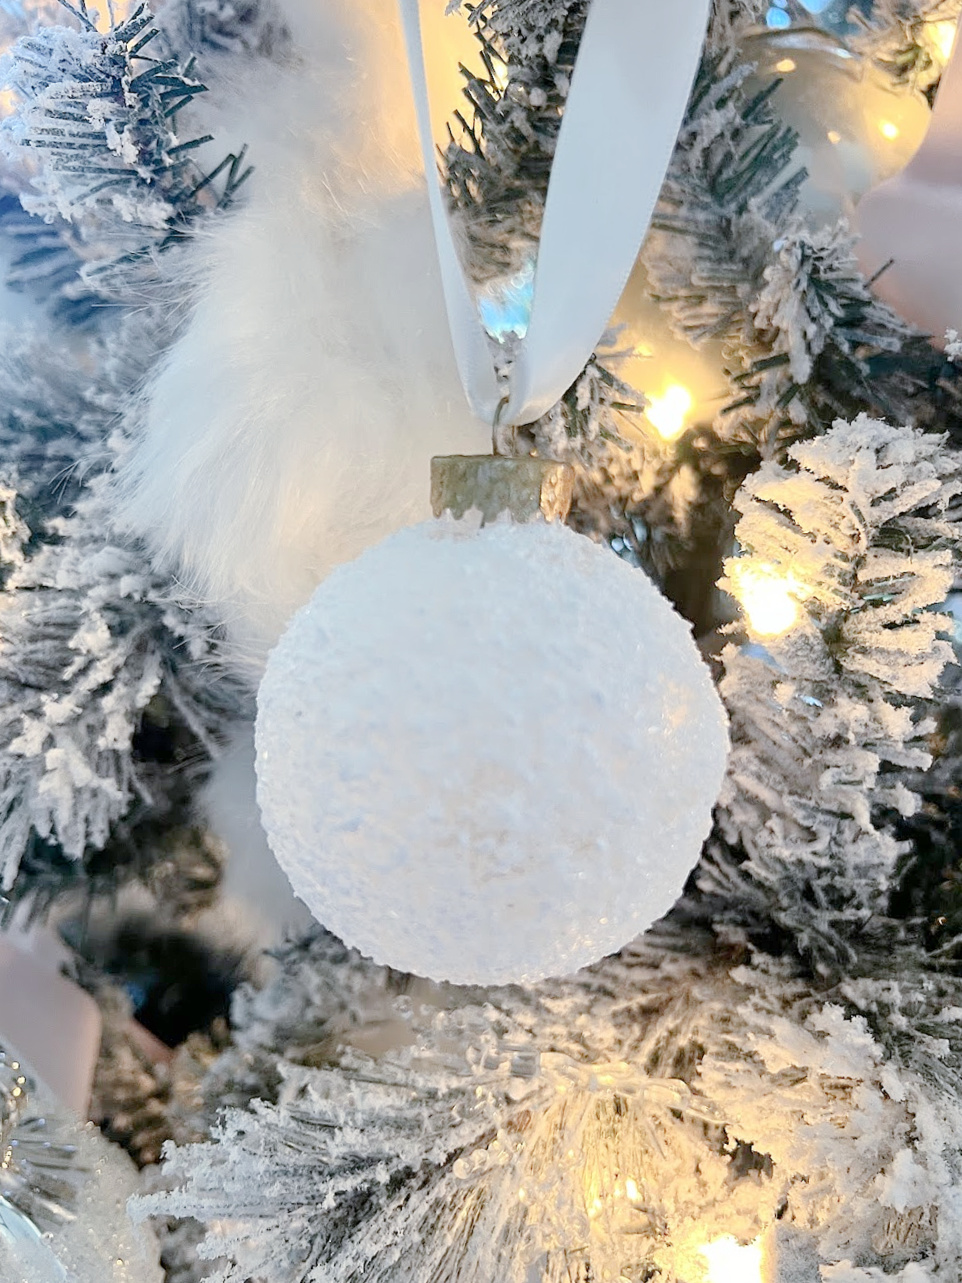
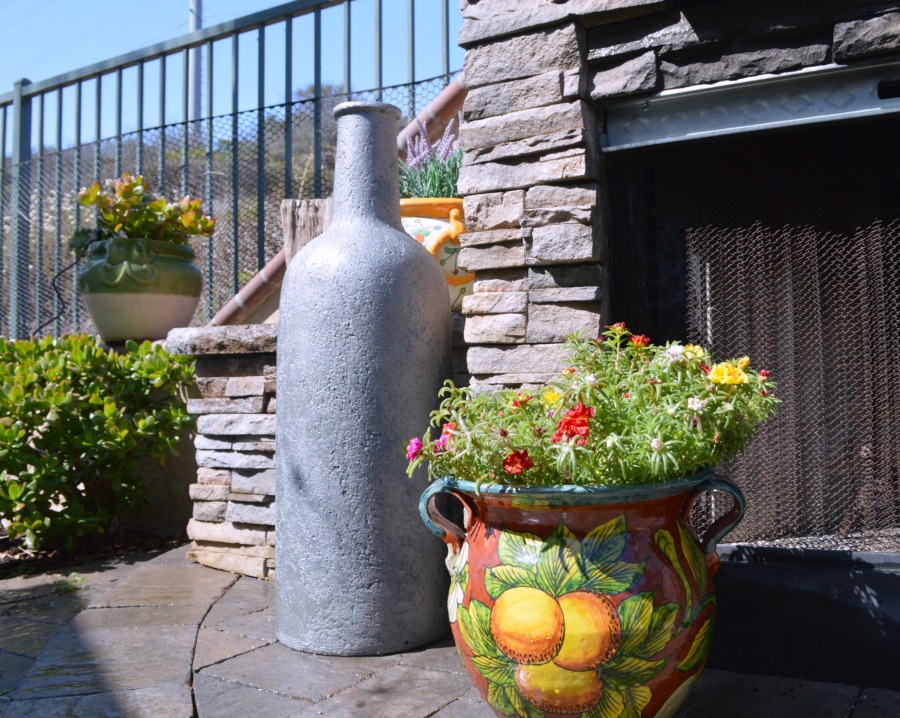
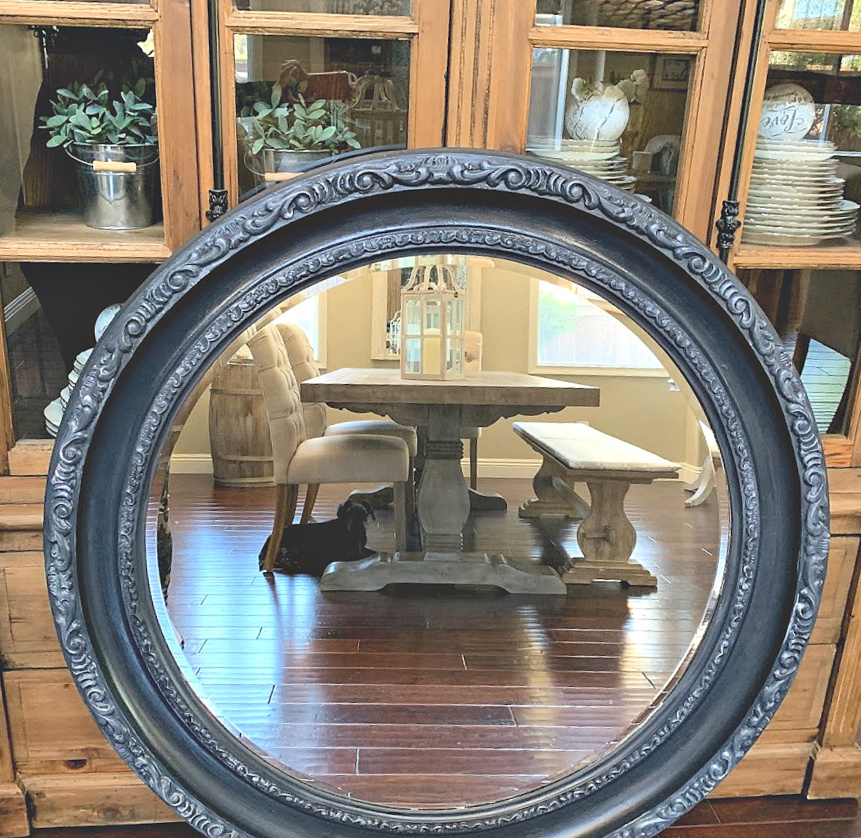
DIY Artisan Vase from Domestically Speaking
Reclaimed Wood Valance Shelf Redo from My Repurposed Life
Flower Pot With Metallic Copper Spray Paint from Petticoat Junktion
DIY European Art with Thrift Store Frame from Our Southern Home
How To Make A DIY Spoon Ring from My Uncommon Slice of Suburbia
Upcycling a Bamboo Tray with Blueprint Paper from Sadie Seasongoods
Upcycled Mail Organizer from House Of Hawthornes
Vintage Bentwood Chair Makeover from Organized Clutter
Trash to Treasure Picnic Basket from Reinvented Delaware
Office Chair Update from Shop At Blu
Your son is so talented! I imagine it will be hard splitting up your mom’s jewelry. I’m sure it will bring you great joy wearing your pieces to remember her. This project is so fun. I love the idea of now hunting for silver spoons to make a few of these!
Thanks Christy, I’ve been wearing some of her rings when we go out, not knowing how much longer I get to keep them.
Kristin, this is amazing! I’m gonna have to have my Daughters and DIL’s over to make some rings out of my MIL’s silver! Thank you!!
Thank you Sue, such a special way to keep a treasure!
What a fun project to do with your son! I especially like the Rolex ring – it looks like a family crest! Pinned 🙂
Thanks Cindy, it was fun making it with him 🙂
I have purchased spoon rings but never made one! They really turned out cool!
Thanks so much!
I’ve seen these types of rings being sold at flea markets and craft shows, but I could never figure out how they got them so perfectly round. Thanks for the tutorial!
Thanks Pam, takes a little work but worth it 🙂
What a cool project! My girls would have fun making some.
I bet they would, so fun!
I’ve always wanted to do this, and have even tried (without success) You have great tips, maybe I’ll try it again. It’s so fun that y’all made the rings together.
pinned!
gail
This is awesome. I love it. I would love it if you would share this on The Fabulous Friday Link Party.. https://www.peacockridgefarm.com/category/fabulous-friday-link-party/
Hugs to you.
Yes it’s so much fun. I made my 1st bracelet years ago with a US NAVY sterling silver spoon. Has my name on it. I never take it off. And of course I have lots of spoon rings. I like buying whole sets of silverware cheap. I can cut 1 piece of silver wear and get 3 new pieces of jewelry out it and sell $25 each. Not a bad way to make some passive income. Ty for sharing. Look forward to sewing more..
I love this story, thank you so much for sharing!!!
I love your tutorial, makes the steps simple.
I just thought I mention what used is not a drill bit, it looks like a socket or a socket extension.
HI Patricia- thank you so much for catching that! Yes it was the socket, I will update the post. Thanks again!