
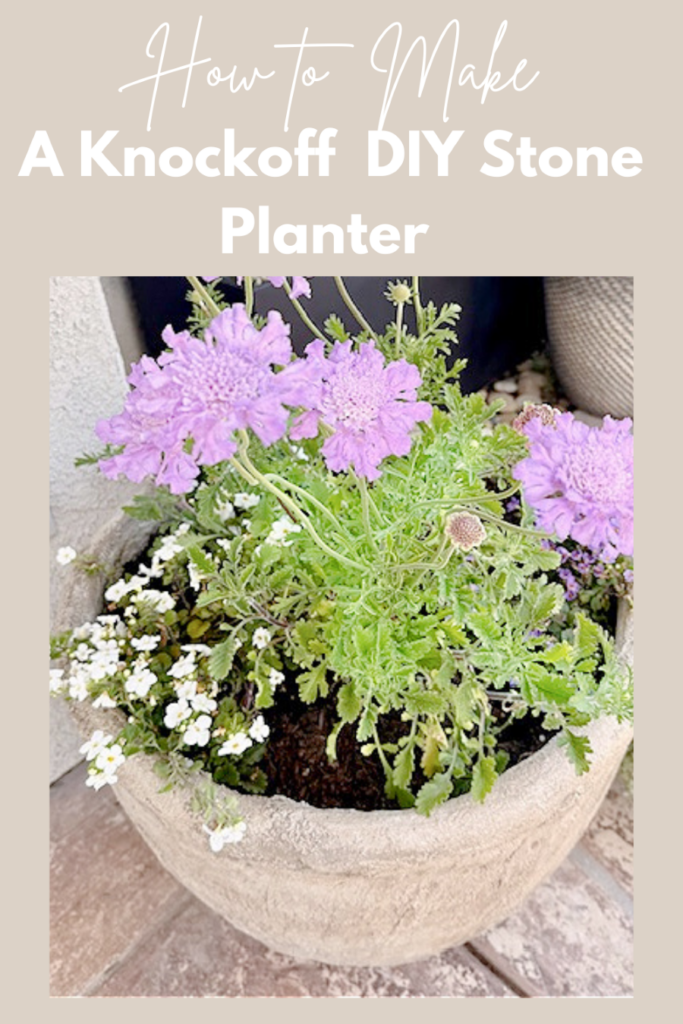
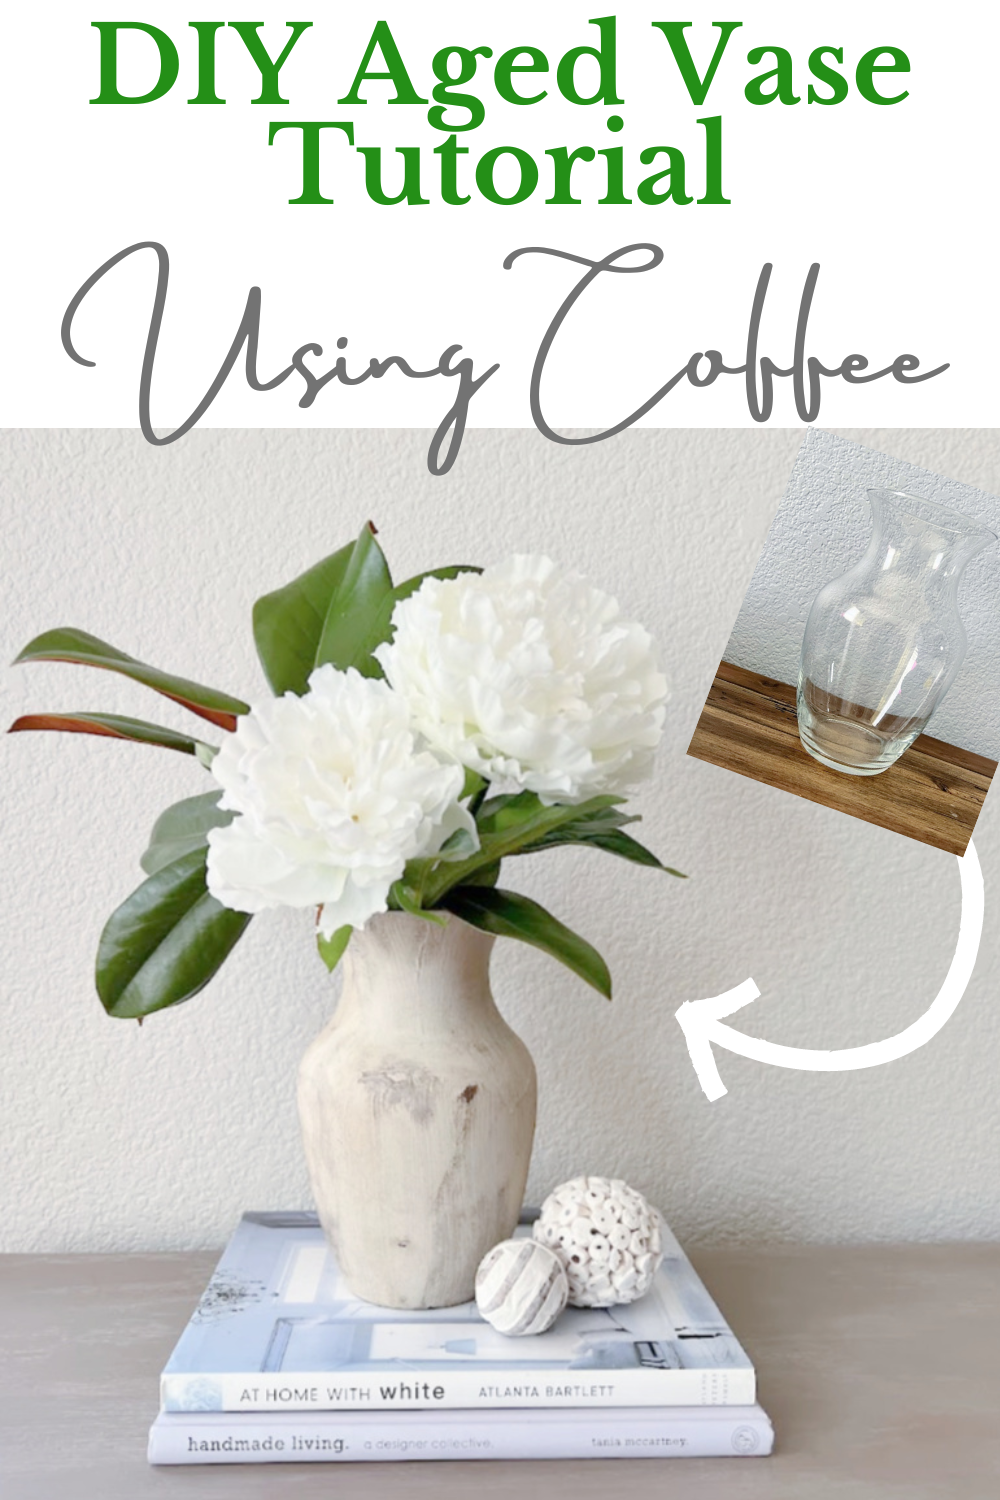
How to Create a DIY Aged Stone Planter Tutorial
If you’ve ever wandered through garden centers or flipped through a Pottery Barn catalog and admired those gorgeous aged pots with real stone, you’ve probably also noticed the price tag. The good news is that you can recreate the same aged look at home using simple materials. I came across 2 of these planters about 3 years ago at a garage sale. I think I paid $10 a piece, which is a steal. Within two years, one of them began to crumble, and the other has just recently developed a hole on the side. Instead of throwing it away, I decided to save it and give it an aged stone look.
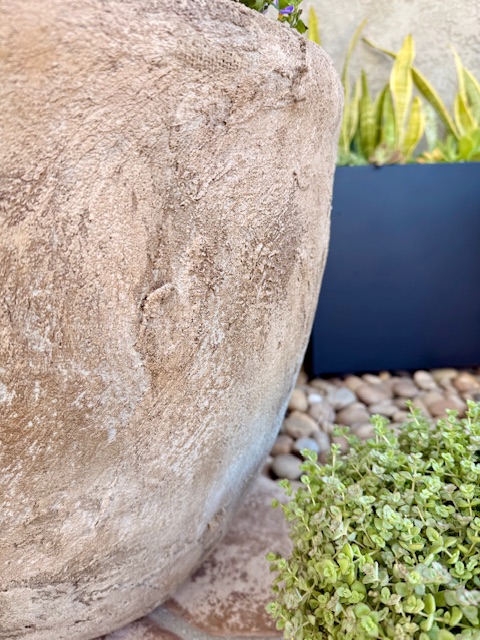
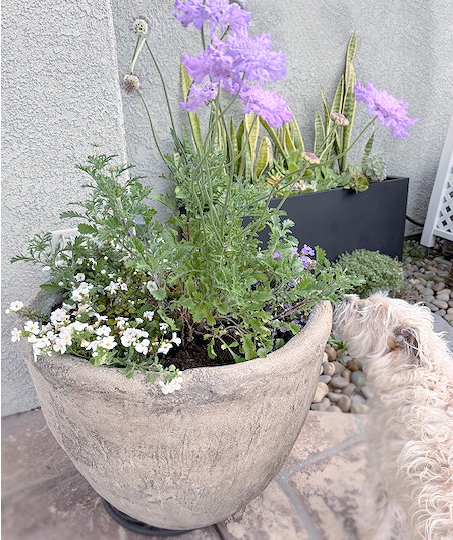
Before
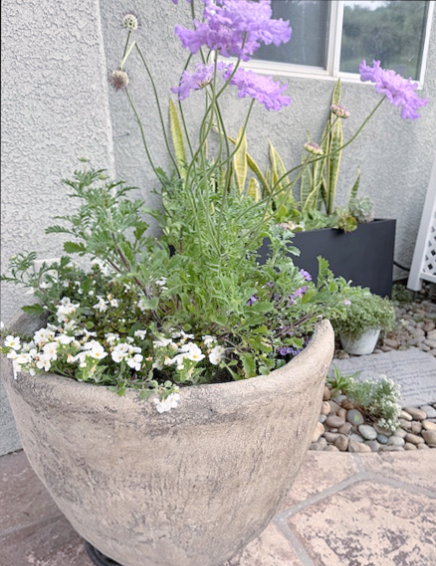
We’ve been deep into a big indoor/outdoor project lately, so I’ve been refreshing pieces we already own and giving them new life. The overall vibe we’re aiming for is a blend of modern and Mediterranean style—clean, warm, and timeless. I think this planter will blend in nicely when we are all done. I can’t wait to share more, soon I promise!
It’s thrift store day, so make sure you check out all of the amazing projects at the end of this post!
Choosing the Right Base For your Project
Although this project was not hard, it took a lot of time. A few things I learned along the way and would do differently are practice on a small pot first. Second, if you are going with a large pot, I would work with plastic pots or any plastic planter you already have. They’re lightweight, easy to work with, and once transformed, no one will guess they’re not real stone. This planter now weighs a ton, making it really hard to move on my own. Make sure your flower pots have drainage holes. Lastly, I would have set this up on a table of some sort while working on this. I have a bad back, and this project set me back a little.
Fixing the Hole
The best way to fix the hole is to cut a piece of fiberglass mesh or strong tape that is a little larger than the hole and place it on the inside of the pot as a backing.
Apply the epoxy or putty, pressing it firmly into the hole.
Let it cure fully according to the product directions.
Affiliate links are listed below. I am an Amazon Associate and may earn a small commission.
Supplies:
Plastic flower pot
Quick Setting Cement
Disposible gloves
Mask and eye protection
Something to mix the cement in
Burlap
Spray Adhesive
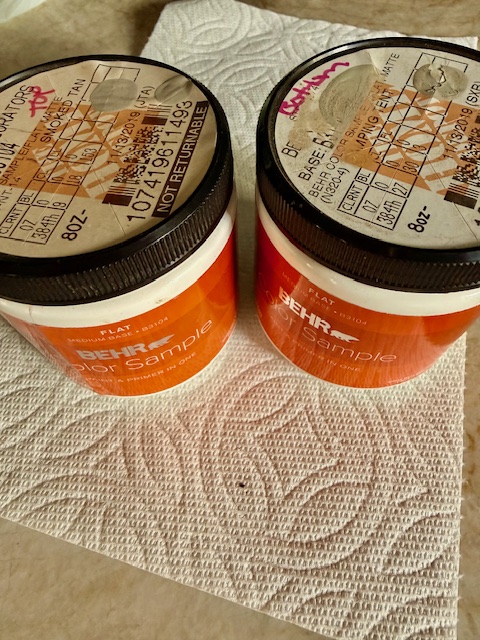
Craft paint in tan
Pecan Stain
Rags
Paint Brush/Chip Brush
Waterproof Sealant
220 grit Sandpaper
Instructions
This is a messy project, so make sure you lay out a tarp, or, in my case, I had cardboard that did the trick. You also want to work in a well-ventilated area.
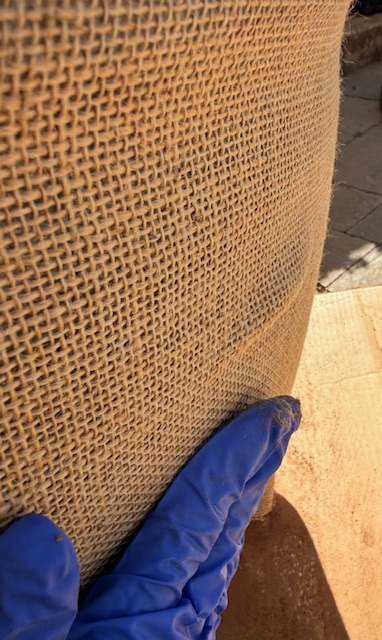
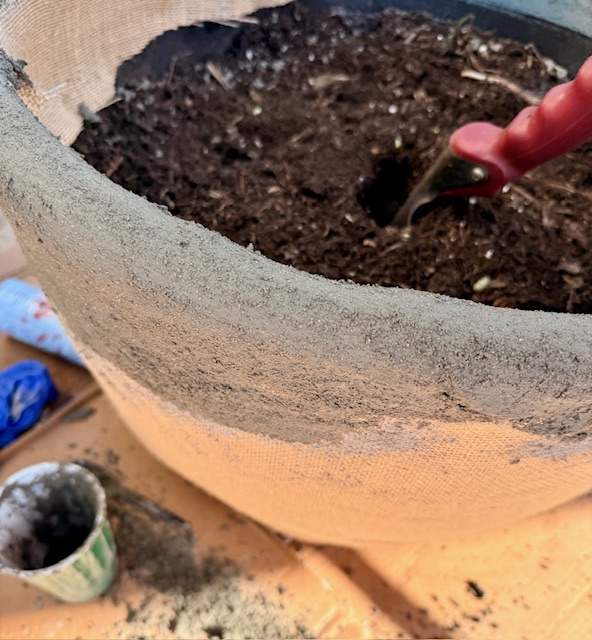
Apply Burlap to the existing Pot
Cut your burlap accordingly and apply the burlap to the planter. I used a spray adhesive so it would stick. This will ensure
there is Texture for the cement to lock into. Think of it almost like rebar, but on a tiny scale.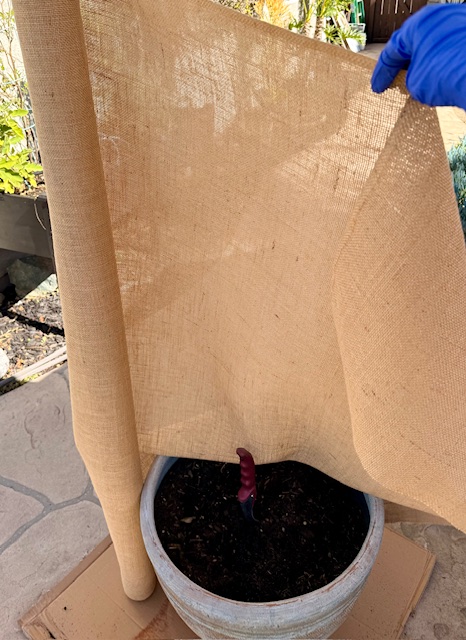
Mix your ingredients.
Add Water First: Pour water into your container before the cement dry mix. It helps avoid clumps.
Stir and combine the wet and dry ingredients. Aim for a thick, peanut butter/cottage cheese-like texture. You want the texture to be thick but not runny. My Water-to-mix ratio was 1 to 3 1/2 quick-setting cement to 5 water. Make sure to check your directions. If you add too much water, you can always add more powder.
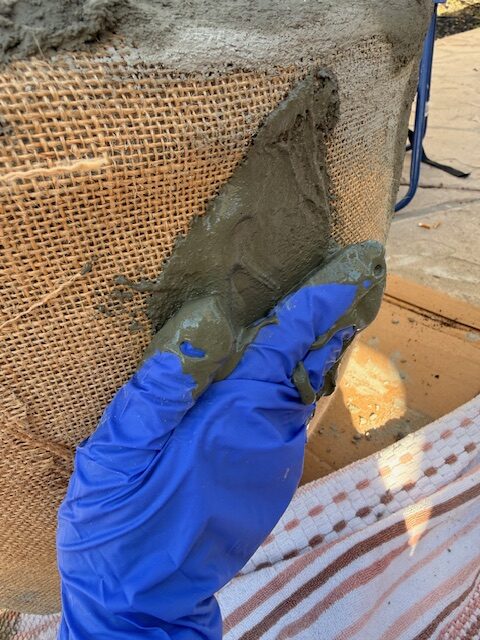
Applying the First Coat
For your next step, using your hands (with gloves), apply the first coat in small sections, covering the entire pot. Don’t worry about perfection. The best part of creating aged pots is that imperfections make them look more authentic. Press some of the mixture around the rim of the pots to give them that weathered, real stone character.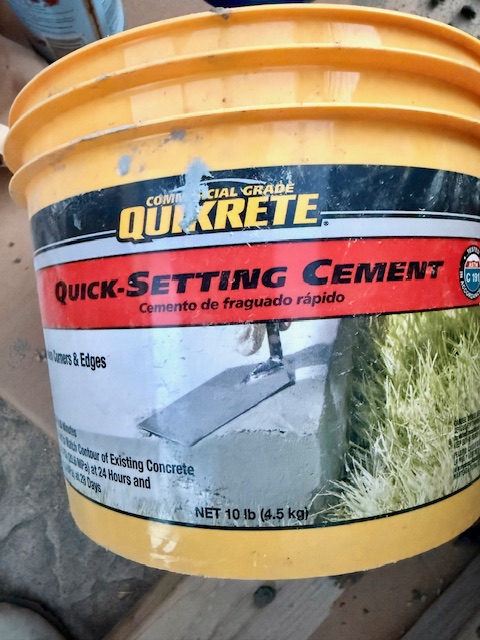
Adjust as Needed: Add small amounts of water or dry mix as needed
Time is Your Friend: Work quickly! Quick-set concrete starts to cure in about 20 minutes.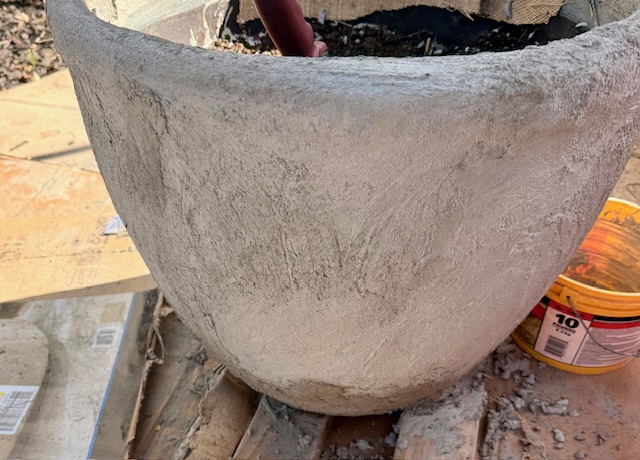
Let the first coat dry completely. Depending on your climate, this may take a long time, so be patient. It was in the 80’s here, so it dried within a few hours. I felt that I was able to cover the whole pot completely the first time, so it did not need a second coat. However, I did see some areas that were a little thinner than others, so I touched them up in just a few places. 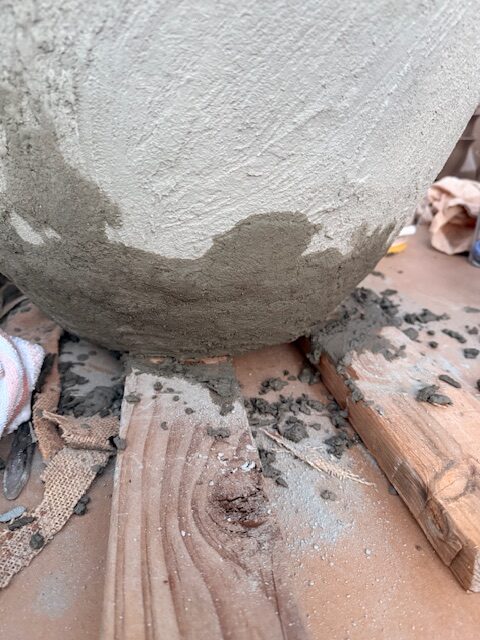
Sand
Using 220+ sandpaper, you can go over the planter if it is extremely rough. I only went over a few areas. Remember, the more texture, the more aged it will look.
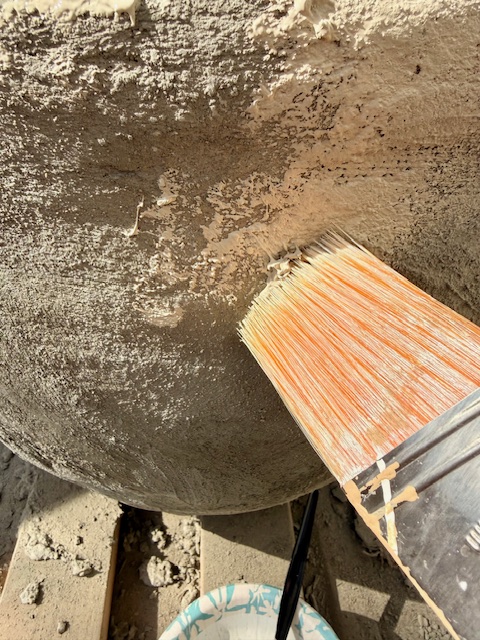
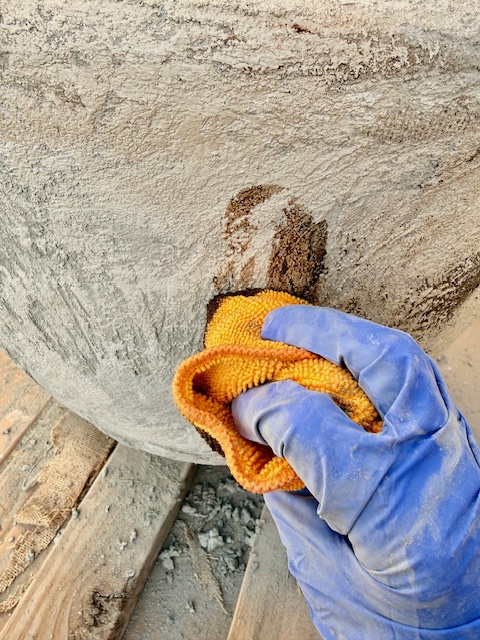
Adding Depth and Color For That Aged Look
Once dry, it’s time to add color. Chalk paint, mineral paints, or craft paint all work well. I have so many paint samples, I just grabbed some tan paint and dabbed it on with a paintbrush, but I did not cover the whole planter. After that, layer lighter colors of paint to create dimension. Think of how real stone looks: mottled, uneven, and naturally varied. You can see how some of the grey cement still shows, while 90 percent of the pot is covered in a lighter paint.
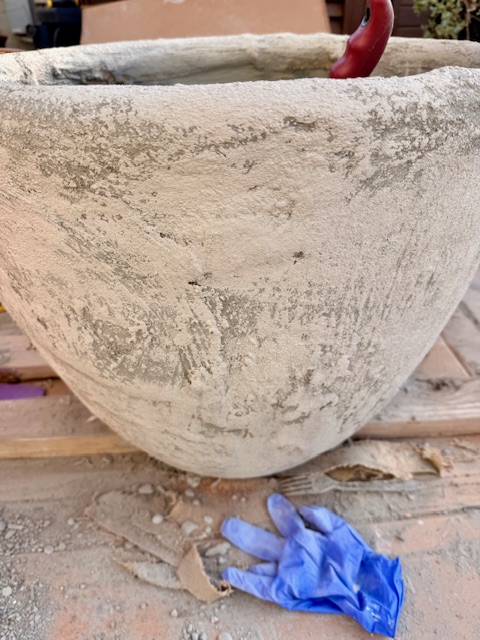
For the last coat, I added pecan stain to give it more dimension. Using a rag, I dabbed it on; you could also use a paper towel. If you don’t have stain, you could water down some dark paint. Sometimes, hand-painted layers tend to give more character.
Optional: You can use a wire brush to add more texture, but I skipped this step.
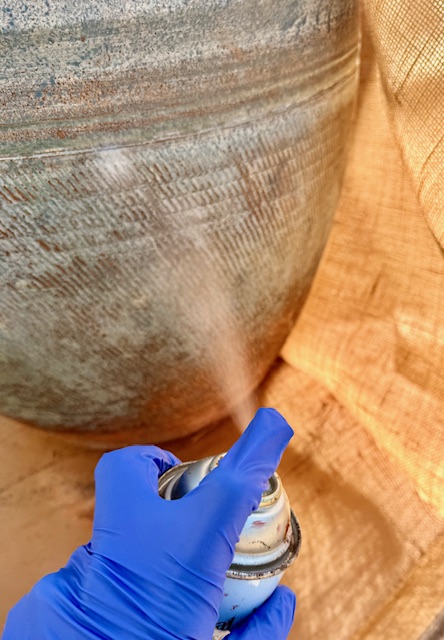
Seal the Planter
Add a cement protectant. You can purchase this in a spray paint can or a bottle.
Finishing Touches
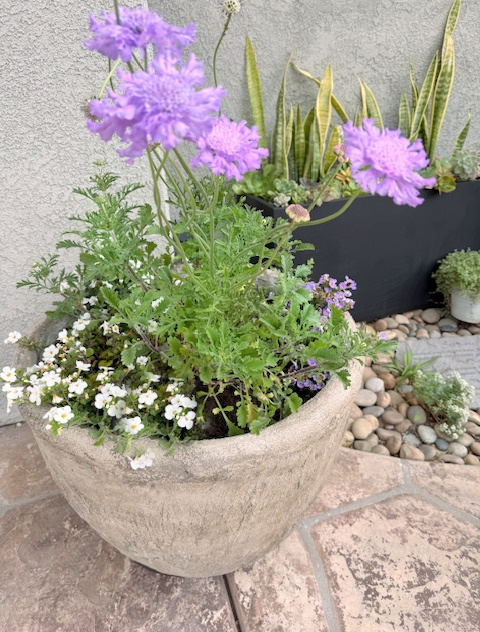
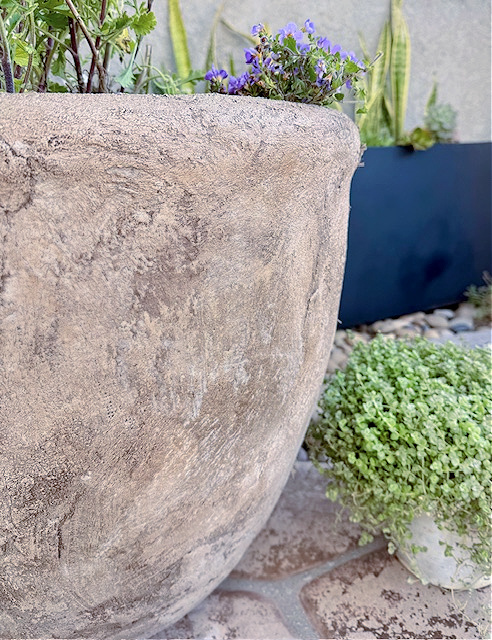
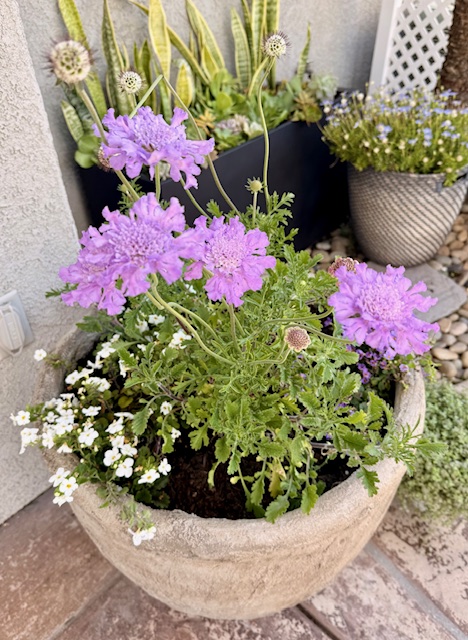
Once everything is dry, step back and admire your finished pots. They look like hypertufa planters or expensive stone containers. The finished product is durable enough for outdoor spaces and can hold up well through the seasons.
Wish I could share prettier photos with the canyon as the backdrop, but the yard is truly a disaster right now—every inch of it. LOL
Part of the backyard update is restaining the concrete, since resurfacing is not in the budget. Back when Ray and I were both working at the same company and gone for 12 hours a day, we came home to find brand-new cement poured… in pink. Needless to say, their “fix” didn’t help, so we’ve just been res-taining it every seven years. Oh, they did the same to our driveway, too.
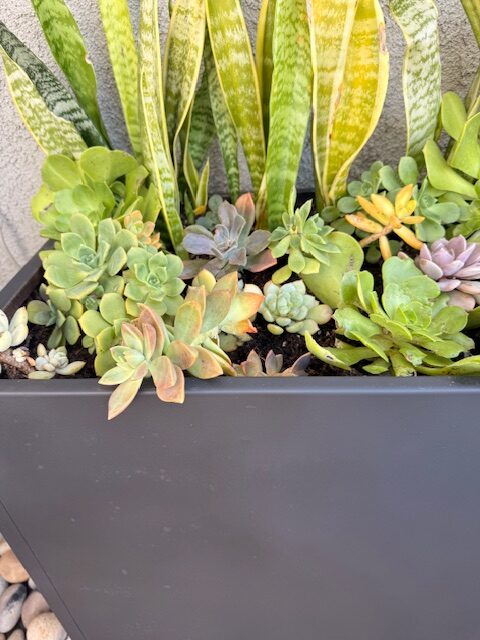
I also made a few changes to the file cabinet planter and took out the herbs and added succulents, which are growing in nicely!
Final Thoughts
Whether you’re making a hypertufa container, experimenting with a stone effect, or simply trying to give your outdoor spaces a fresh look, making stone planters is a fun and rewarding option. It’s budget-friendly, customizable, and the results look surprisingly close to the real thing. This has quickly become my favorite DIY project for outdoor use, and the finished product looks surprisingly close to the real thing.
Time to see what everyone worked on for their thrift store makeover! I can’t wait as I don’t see the finished project until the day we publish our posts! 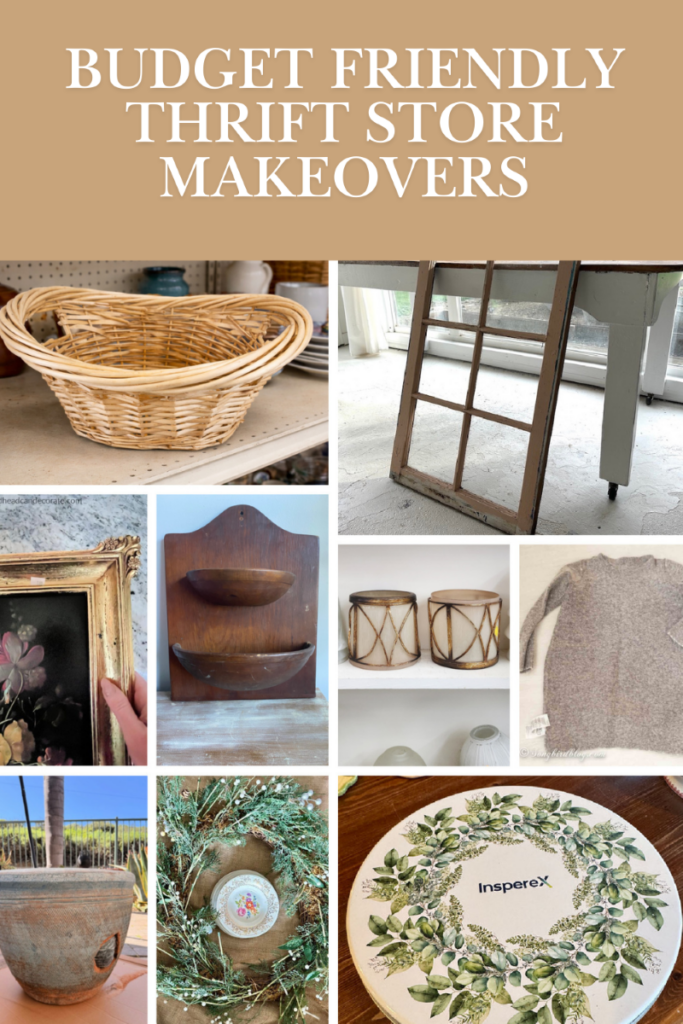
My Repurposed Life Thrift Store Basket Makeover
Funky Junk Interiors DIY Window Wood Coffee Table With Storage
Redhead Can Decorate Gorgeous Thrift Store Gold Framed Floral Print
Shop At Blu Modern Use for a Vintage Wood Wall Pocket
Sadie Seasongoods Chic and Upcycled Light Shades
Songbird Easter Bunny Treat Bags
My Uncommon Slice of Suburbia Aged Stone Planter
Our Crafty Mom How to Make a DIY China Plate Wreath
Exquisitely Unremarkable Tin Top Wall Clock
More creative ways to makeover pots
![]()
Vintage Vase using Baking Soda and Paint
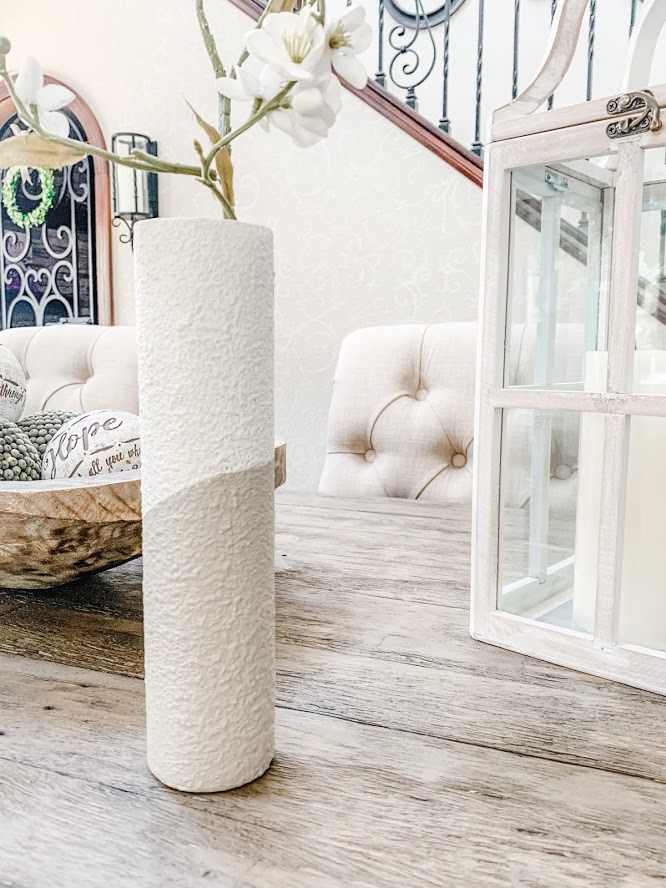
DIY Stoneware Vase using Spray Paint

Thanks so much for being here today. As always, it means the world to me!


What a great technique. It looks amazing! You’re so right, those concrete planters are ridiculously expensive. I pinned this one for when the snow melts and I can get outside again!!
Thank you so much Kim!!
Fabulous project and tutorial Kristin! I love the new look.
PINK concrete? oh my!
Good luck with the rest of your backyard makeover.
pinned!
gail
Thank you so much Gail! Lots of rain this week so we will start up again over the weekend 🙂
Wow… That looks so great!
You are so sweet, thank you!
Omg, pink?! That’s crazy! Well it sounds like you got it fixed w staining it. This is totally you, Kristin! The cement looks amazing and I am in love with the flowers especially since its 34 degrees here and that’s a heat wave rn. This is a well done tutorial that will help many!
This turned out just beautiful! I have added the tutorial to my spring projects! Thanks for the great tutorial.
Thank you so much Michelle!
Thanks Michelle, it was a fun project 🙂