
How To Turn a Old File Cabinet Into a Modern Planter
If you have some old filing cabinets lying around, don’t toss them out, turn them into modern planters, they make beautiful flower planters and herb gardens! This was such an easy project, and with just a few simple steps, I took this file cabinet and turned it into a stylish and functional planter.

It’s Thrift Store Decor Day, so make sure you check out all of the amazing projects from my thrifty friends!
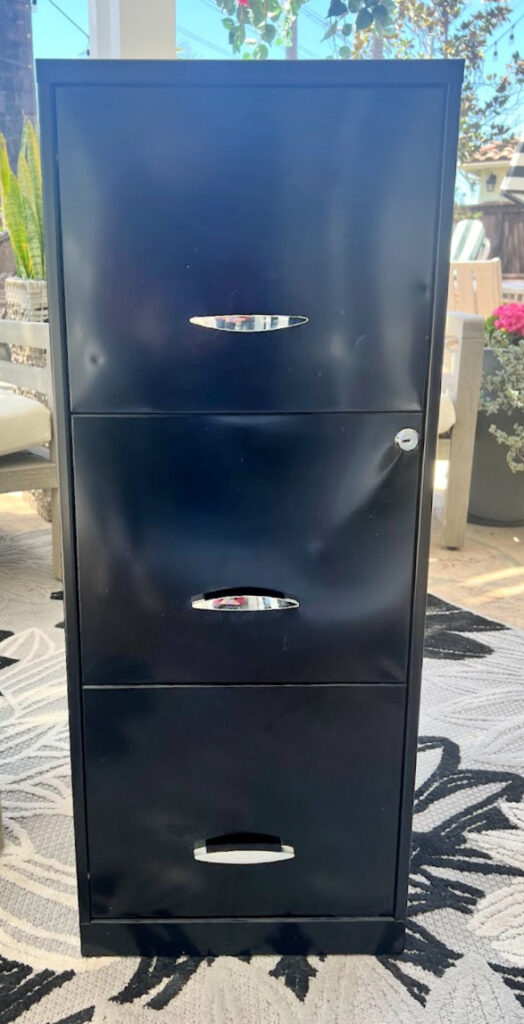
My neighbor was selling hers for $15; she had posted it on our neighborhood FB page, so I asked her to set it aside for me. I had no idea it was in perfect condition based on the picture I saw, other than a little dent on the drawer. I thought I would have to give it a new coat of spray paint, but I didn’t. Then I looked them up and had no idea they cost about $100, so then, of course, I was feeling guilty for using it. Then I almost didn’t and started looking for free ones, but they were 45 minutes away, so I justified my reasoning for the cost of gas. (Yes, it’s $5.50 here again) Do you ever do that, second-guess yourself?
Here is a brand new modern planter for $100, wow!

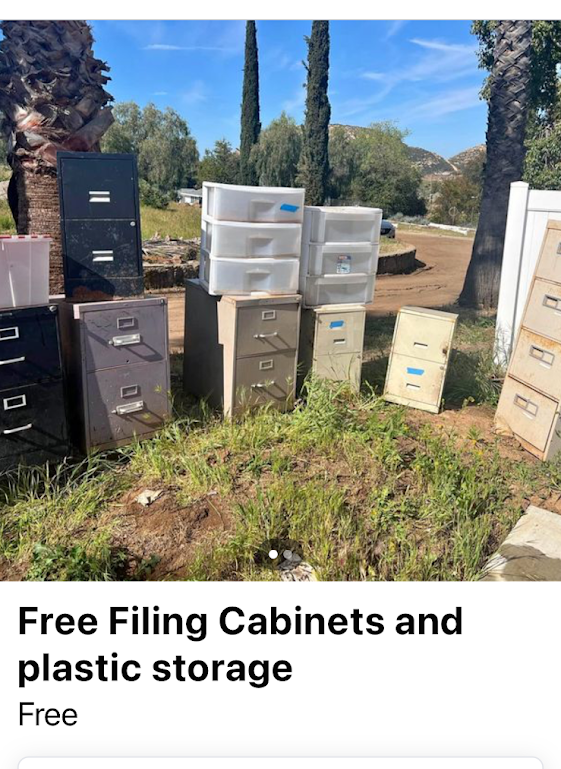
You can find file cabinets at garage sales, yard sales, your local thrift store, or Humanity Restore, and many times, Facebook marketplace has them for free. I’ve even seen them on the side of the road before. The free ones aren’t as good of condition as the one I purchased, but with a little elbow grease, you can turn them into a modern planter.
This was the FB Marketplace listing
Affiliate links are listed below. As an Amazon Affiliate, I earn from qualifying purchases.
Materials Needed:
Old file cabinet
Rust-resistant spray paint
Plastic liners or garbage bags
Bags of garden soil
Decorative rocks or mulch (optional)
Rust-Oleum Painter’s Touch Spray Paint, Satin Clear
Square Wood (Optional)
Drill and Drill Bit
Plants or Vegetables of your choice
Sand Paper (optional)
Self-tapping screws
Sheet of aluminum (optional)
Sand Paper
There are so many different ways to do this. I’m sharing how we converted ours, but let your imagination take the lead; you can’t go wrong.
Step 1: Prepare the File Cabinet
The first step, remove any drawers from the cabinet. Mine had little tabs preventing them from sliding out of the cabinet so I had to bend those back, which was a little tricky.

Next, clean the file cabinet and remove any dirt, dust, or rust. If there are any rust spots, sand them down to create a smooth surface.
You can leave the dividers/rails or remove them. I kept mine in, but removed the plastic brackets since it would be seen above the dirt. Everything else is going to be covered.

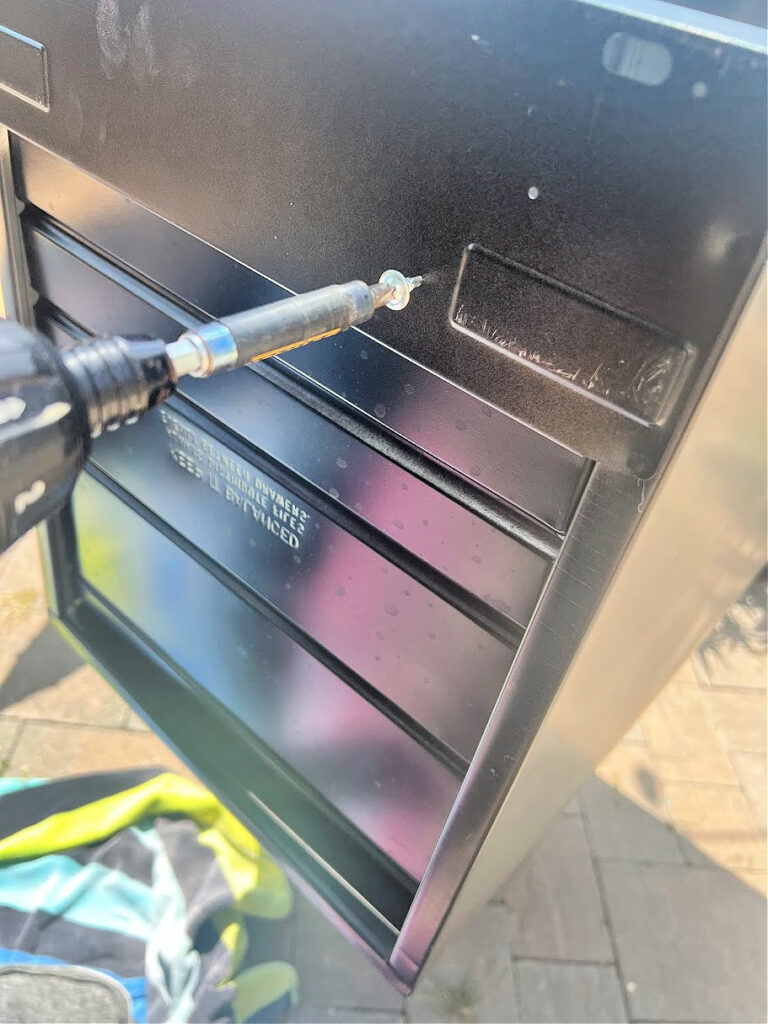
Step 2: Create Drainage Holes
Lay the cabinet face-down, so what was the back of the filing cabinet is now facing up. Drill Drainage Holes To ensure proper drainage for your plants, use a drill and a 3/8″ bit, to make several drain holes in what will be the bottom of the planter. This will prevent water from pooling and causing root rot.

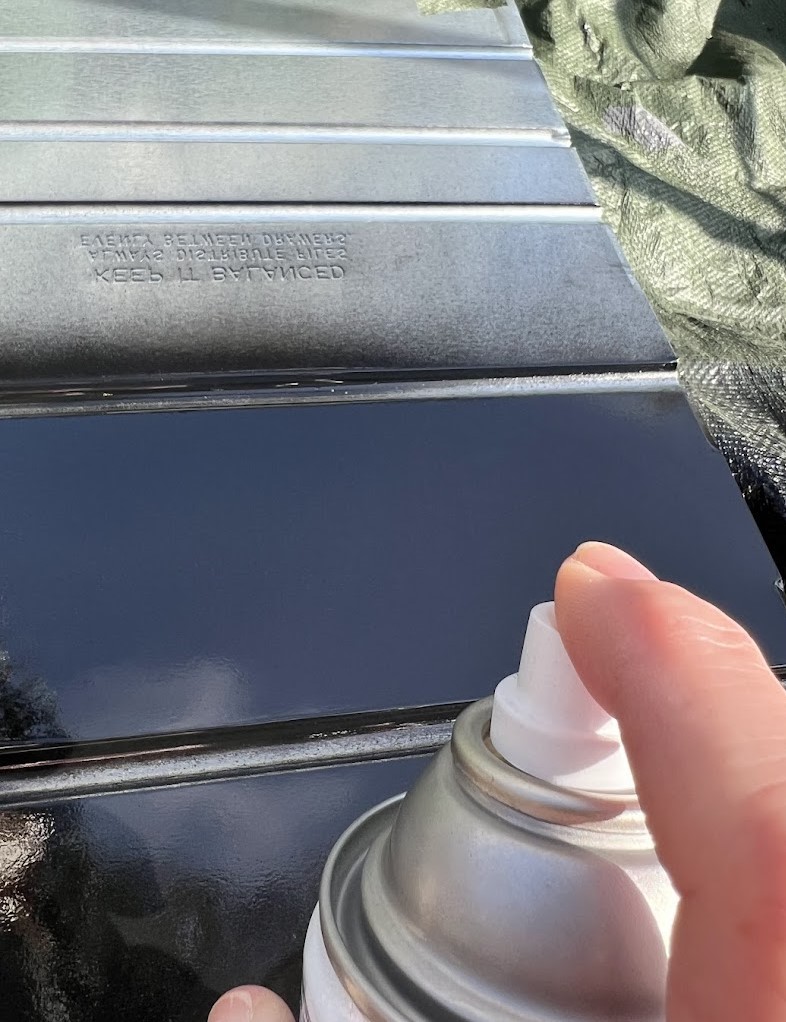
Step 3: Paint/Protect The Outside Of The Entire Cabinet
I did not need to paint the cabinet since it was in great shape. However, if you choose to paint, make sure it is a rust-resistant spray paint and follow it up with a rust-resistant protective coat. I only sprayed on the protective coat to prevent rusting.

Step 4: Add Casters or Legs (optional)
This step is completely optional, since it was going under our kitchen window, I decided not to add legs.
Step 5: Cover the Side
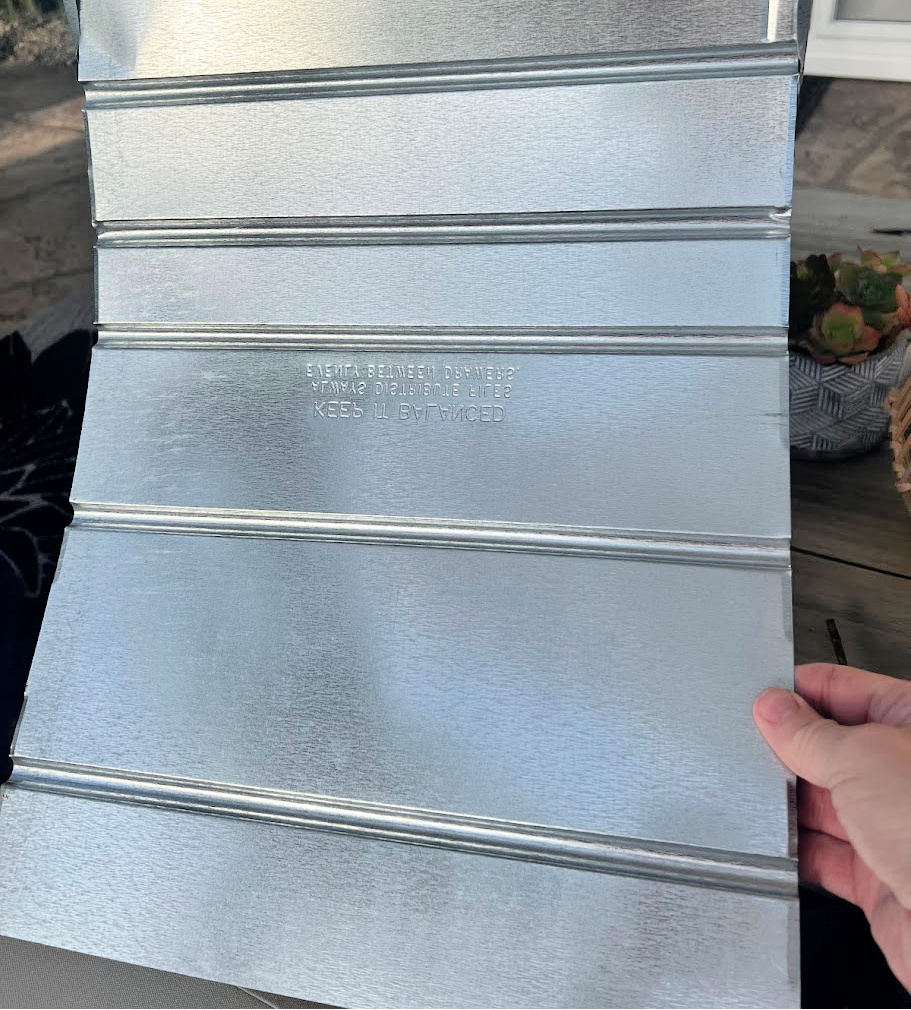
If the original cabinet was missing the bottom you can remove the back from one of the the drawers that fits in the bottom. Or you can use an aluminum sheet to cover the end of the filing cabinet. You will need to spray paint it before adding it and secure it with self-tapping screws or construction adhesive. We used the back of the drawer for ours.
Step 6: Line Your Cabinet
Line the Cabinet with bubble wrap, plastic liner, or garbage bags to protect the metal surface of the file cabinet and prevent soil from leaking out. Trim the liner to fit neatly inside the cabinet, ensuring there are no gaps where soil can escape. This will also protect the plants from the hot heat in the summer and the cold in the winter.
Living in San Diego, our weather is not too extreme so I am not worried about the metal getting too hot for months at a time. However, if you are concerned, position your metal planters in a shady location. You could also use the planter for plants that do well in hot conditions and sandy soil, like cacti, succulents, lavender, etc.
Make sure you add drainage holes in the plastic on top!
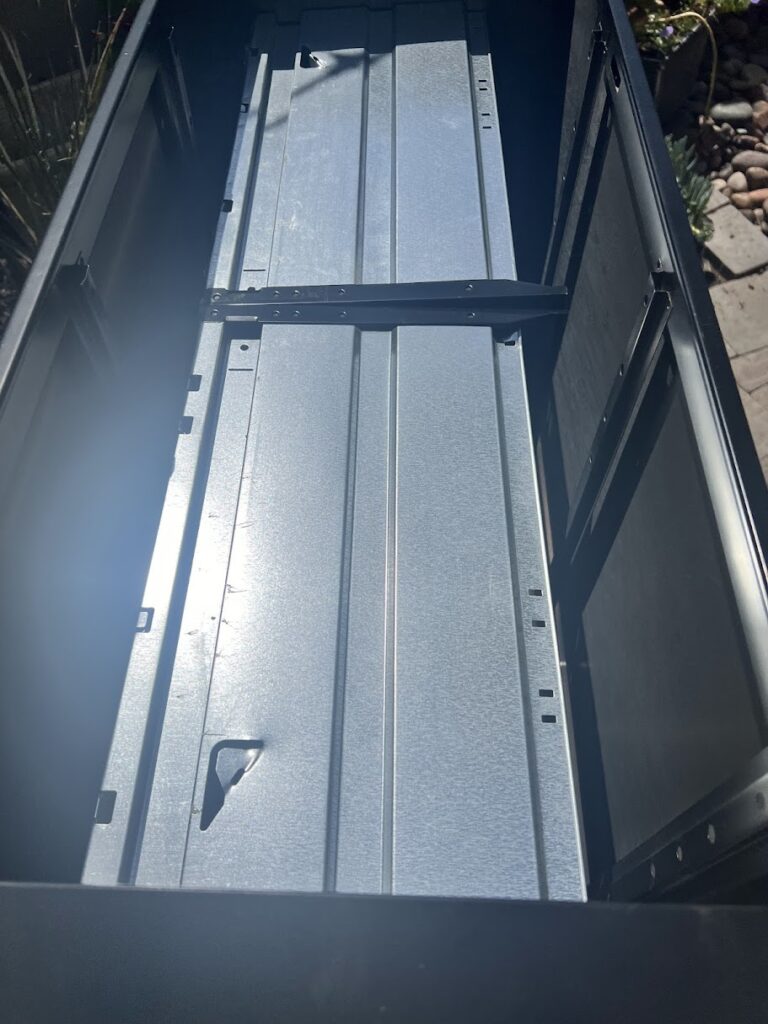
Step 7: Add Drawers Back Into the Cabinet
Most plants don’t need more than 12 inches depth of soil, so that is a lot of wasted soil to fill up the entire cabinet. I simply placed 2 of the drawers inside the filing cabinet, I had to take off the drawer handles so they would fit. Ray then cut a piece of plywood to fit on top and we drilled holes in the wood for drainage.

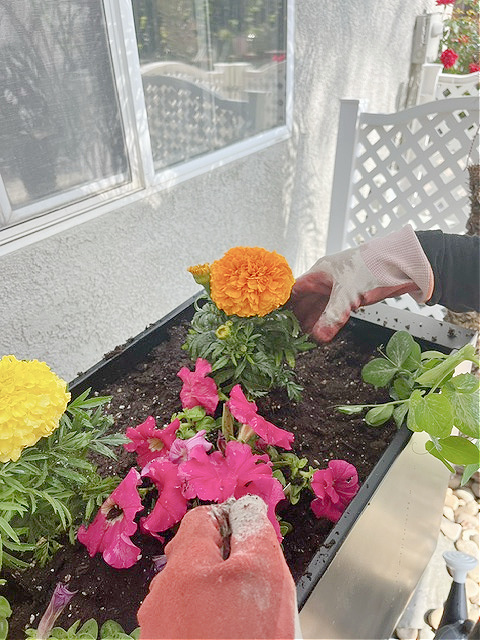
Step 8: Add Potting Soil and Plants
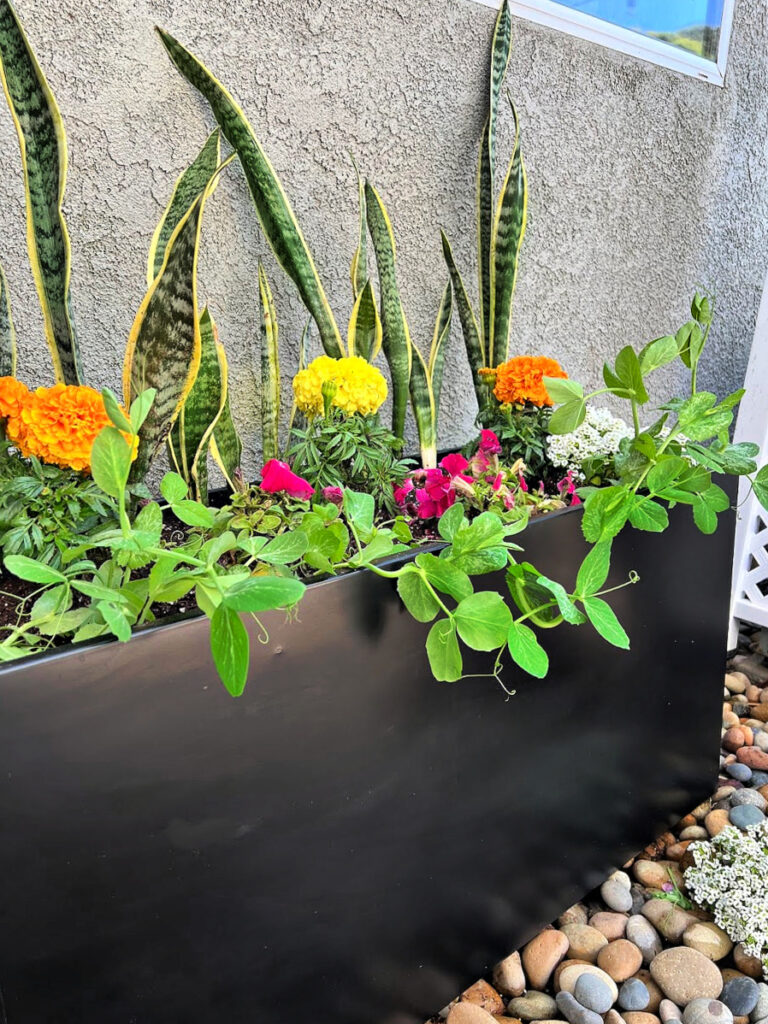
Here comes the fun part! Fill the lined file cabinet with potting soil, leaving enough room at the top for your plants. Select a variety of plants that thrive in your climate and sunlight conditions. Arrange the plants however you would like.
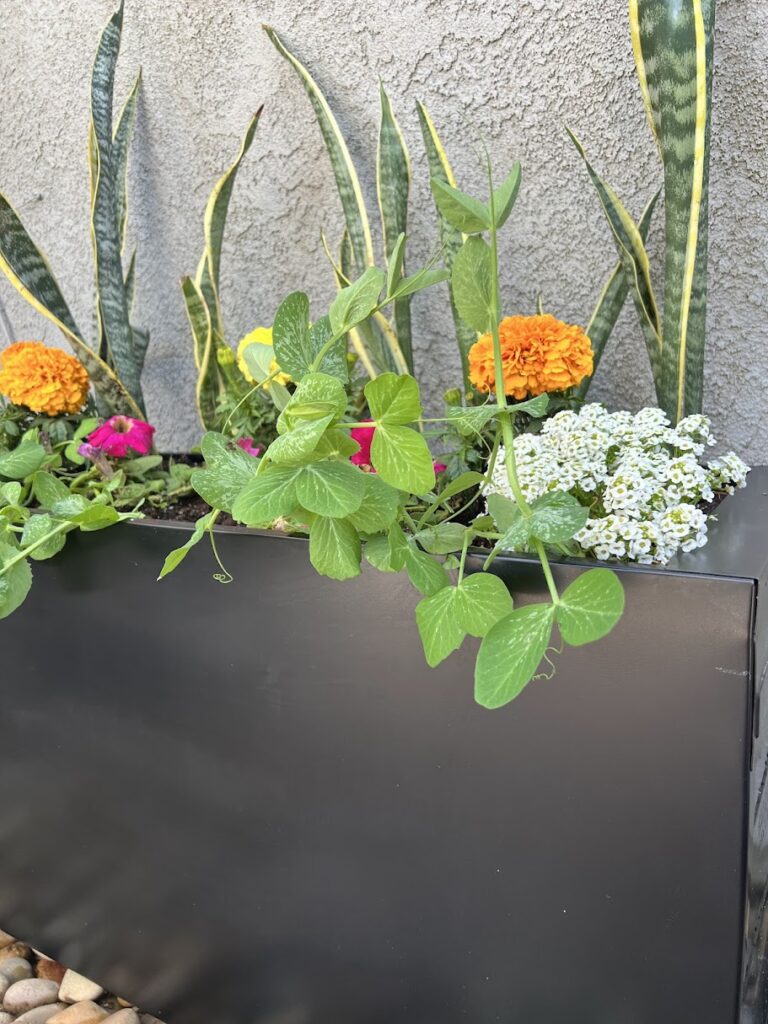
I will make sure to snap some more pictures once everything grows in, this was just one day after planting them. The snake plants I propagated from our old plants, it is so simple to do, I have a tutorial on it here.
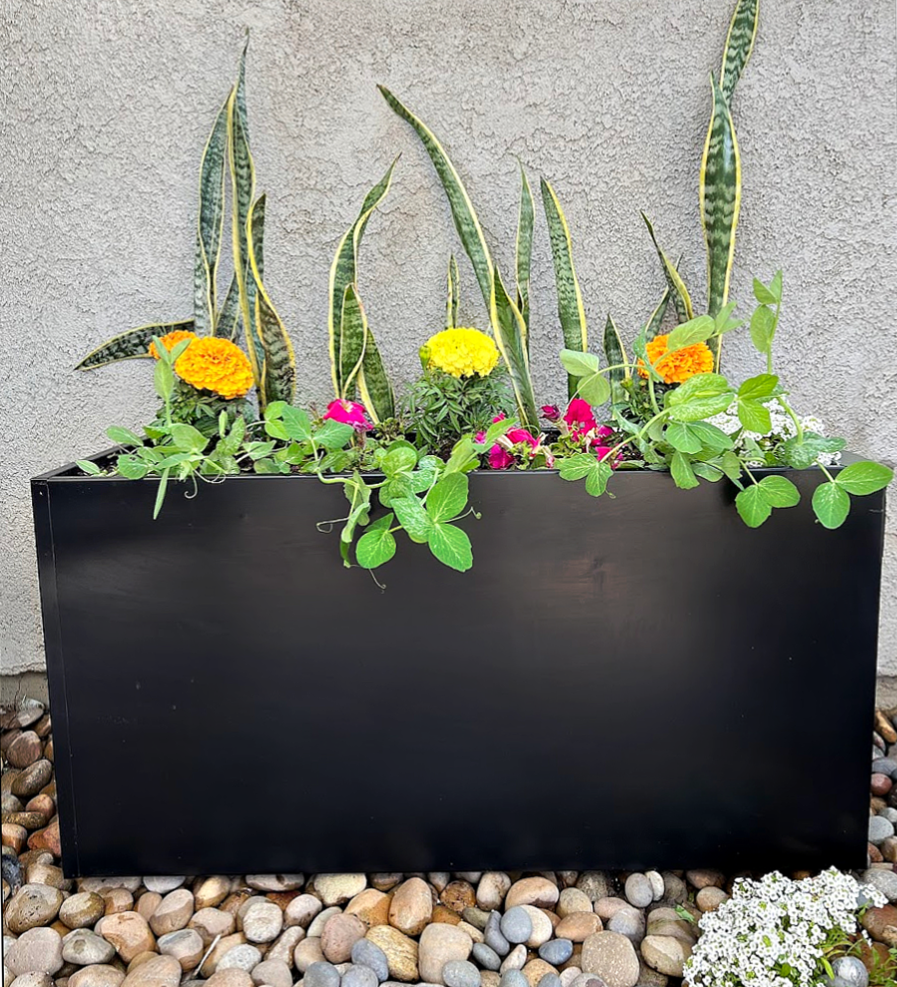
I’m in love with this project, they really do make the best little planter boxes for your outdoor space.
If you can find yours for free, you could easily get away with making this for about $10, mainly just the paint. And then of course the cost of your plants, it’s such an inexpensive way to achieve a high-end look.
Let me know if you decide to make some filing cabinet planters, I would love to see your pictures!
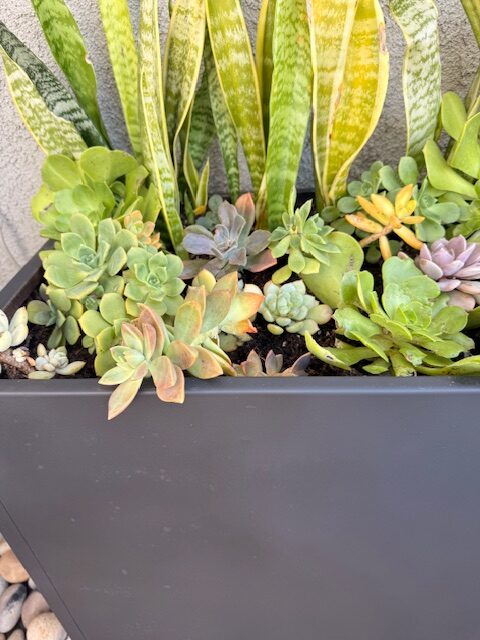
During the winter months, the flowers died off, so I replaced them with succulents, and it is really taking off! So a suulent planter could be another option for you.
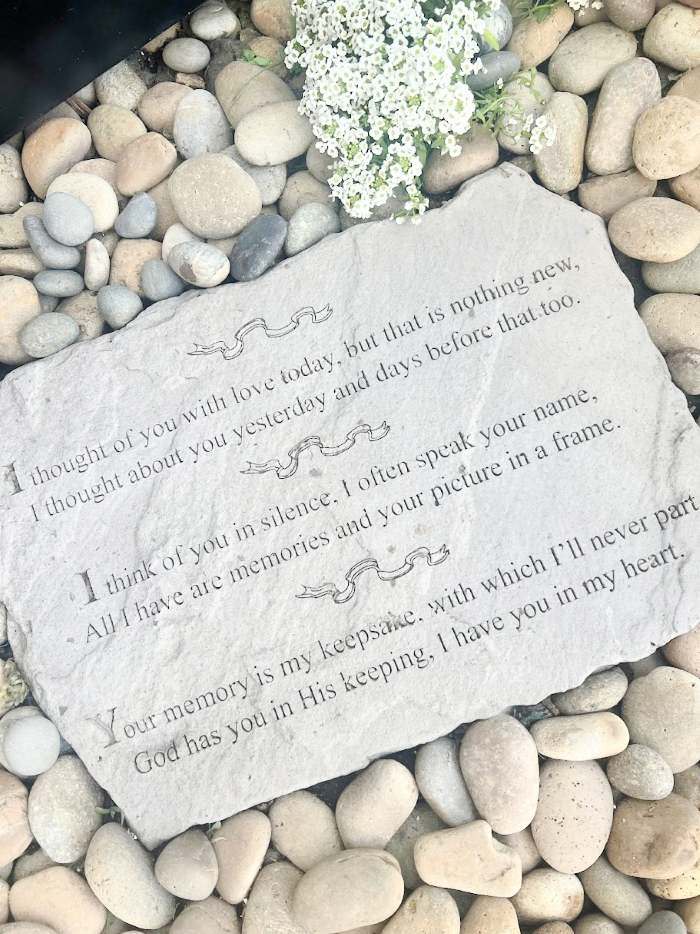
Today marks 3 years since my mother’s death. I still miss her so much, but I’m no longer hurting knowing she is pain-free. 17 years ago, I purchased this stepping stone when my father passed. I’ve always had flowers planted within the rocks and around the stone, but the addition of the planter makes my heart happy. It’s always a reminder that my parents are still with me and looking over me. I’ll be headed to the mission to leave flowers today and spend a little time with both of them and my grandparents.

It’s time to see all of the other thrift store projects!
Our Monthly
Thrift Store Decor Team
- Domestically Speaking – Rope Wrapped Hanging Basket
- Sadie Seasongoods –Fixing Up a $5 Broken Side Table
- My Uncommon Slice of Suburbia –Turn A File Cabinet Into a Planter
- My Repurposed Life – High Top Table Makeover
- Petticoat Junktion – Thrift Store Candle Holder Makeover
Our Southern Home –Refresh Dated Art - Shop at Blue – DIY Garden Hanging Planters
- House of Hawthornes Conceal Your Hose with This Simple Flower Pot Hack


Wow, friend! This is so creative and looks like a million bucks. This look is so popular now and at a fraction of the price. Quite impressed!
Thanks Christy, It was a fun project to create 🙂
Amazing project with that old file cabinet! Great tips about drainage holes and accidental leakage of the soil etc.
The plants are beautiful. I’ll have to check out that article on propagating snake plants. They can be every expensive.
Pinned!
gail
Thanks so much Gail!! I think I have made5 huge planters off one plant now, it’s so fun and easy 🙂
What a clever idea! Such a creative way to use an old file cabinet! Love it!
Thank you so much Laura 🙂
Such a smart idea! Great way to create a raised garden bed ‘look’. Thanks for sharing at Tuesday Turn About, Kristin! I’m delighted to be featuring your post at this week’s party. Pinned!
Great way to recycle! I would have never guessed that it was a filing cabinet-amazing!!!
Thank you so much, it was a fun project!
love this! Made mine last week
That is awesome, send me a picture if you have one! [email protected] 🙂
I have a question about the drainage holes. If you line the container with bubble wrap, plastic bags, etc., how does the water drain and not waterlog the roots?
Hi there- I’m so sorry, I left out that we did cut drainage holes in the plastic, I will update the post, thank you so much, wishing you a wonderful weekend!