
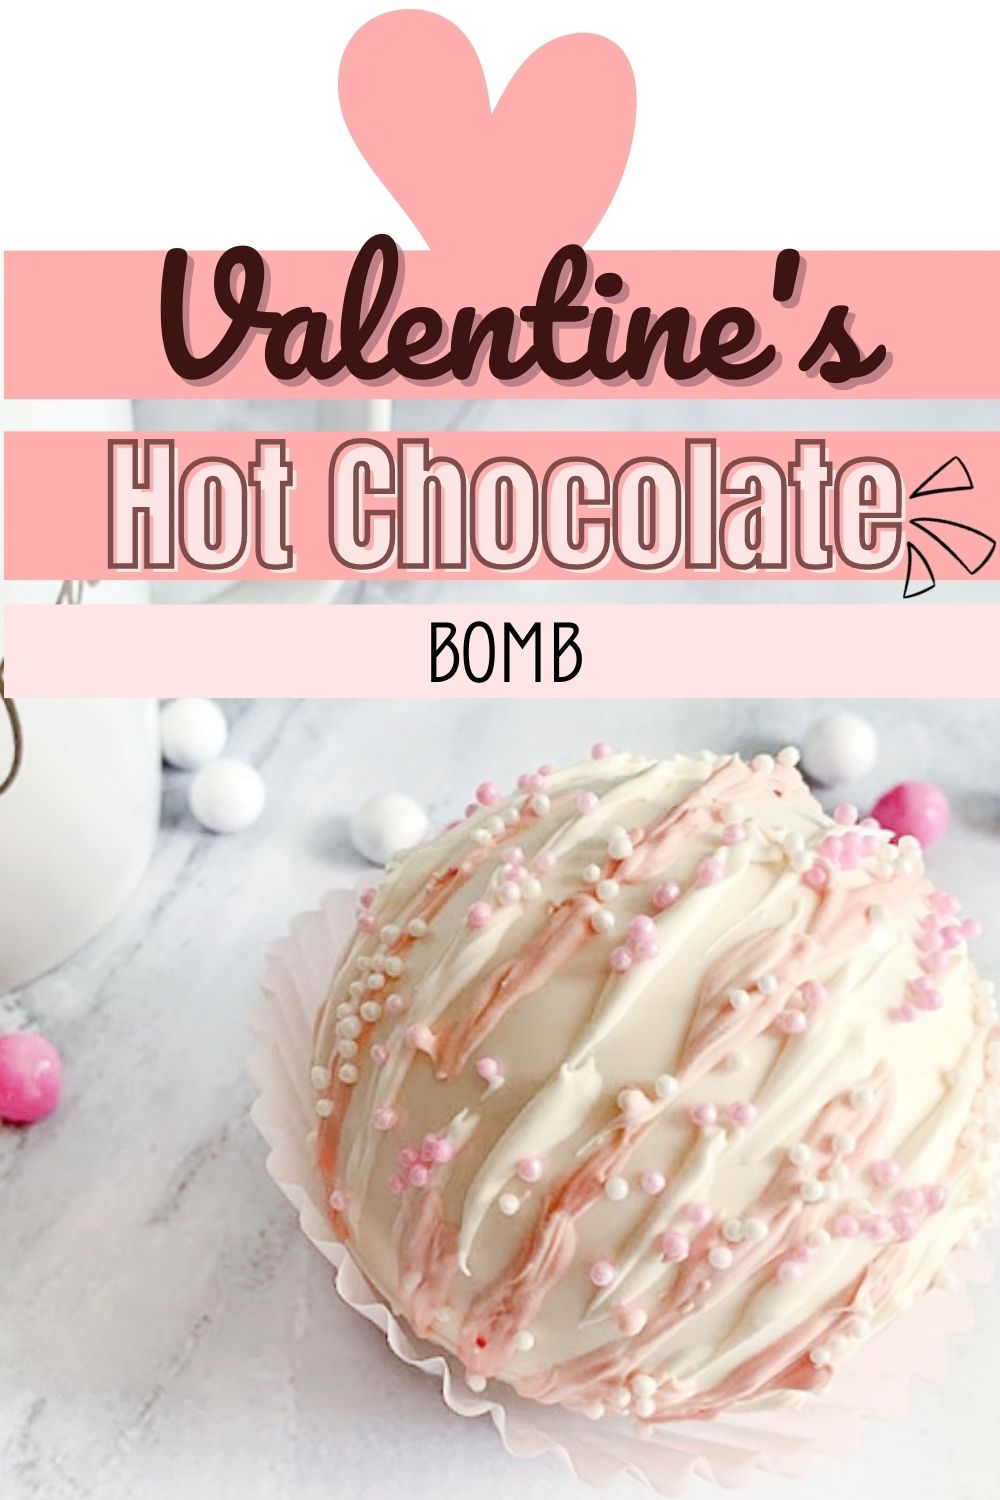
Hot Chocolate Bombs
My kids are a little obsessed with hot cocoa bombs lately, especially with the upcoming rain expected for the weekend. With a shortened school week, we decided to make some fun Valentine’s hot chocolate bombs this week. They are the perfect way to warm up on a cold winter’s day and they’re easy to make, it just takes a little bit of time.
If your unfamiliar with these fun treats, they are made up of a hollow chocolate ball that’s been filled with mini marshmallows, hot chocolate and any other goodies you want to add. When you place the Hot Cocoa Bomb in a mug and pour hot milk over it, the bomb ‘explodes” (not really, more like slowly melts away) creating a decadent hot cocoa drink.
Silicone Mold Round Shape, 2 1/2 inches
Chocolate Melts Bright White These are the ones I purchased at Michael’s
Craft Brushor Pastry brush (1/4 inch)
Your favorite hot chocolate mix
Mini Marshmallows
Parchment paper
Glass Bowl and spoon
Optional: Sprinkles
Make sure your molds are clean by polishing them with a paper towel
Melt your chocolate according to the instructions. I place the chocolate into a glass bowl and heat for 30 seconds, stir the chocolate, Heat again for 15 seconds, and stir again. Repeat until almost fully melted.
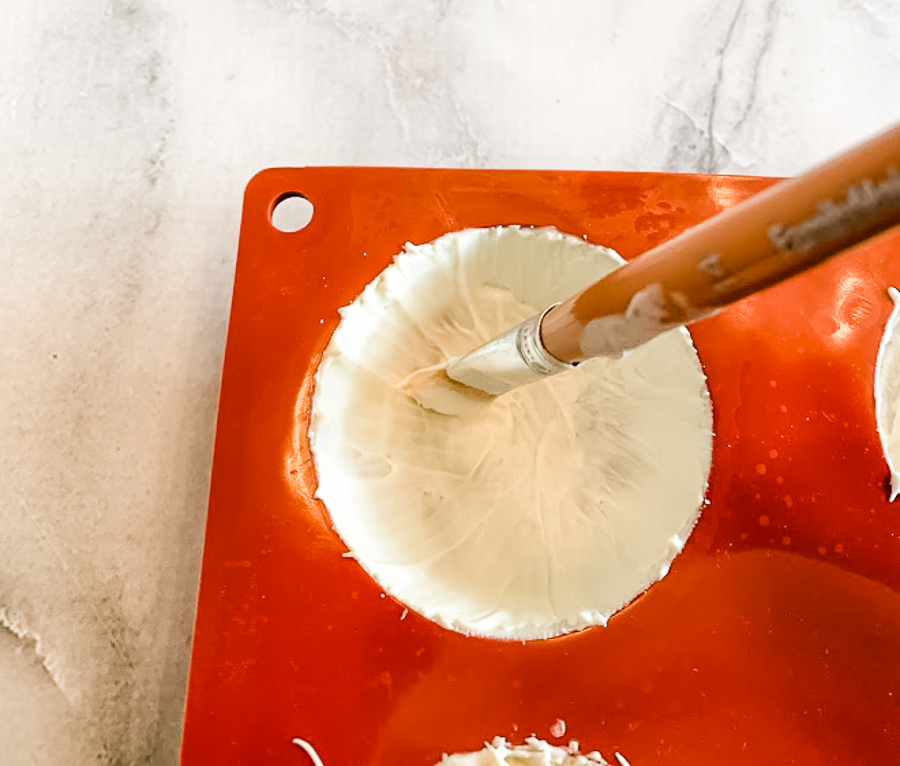
Add a teaspoon of the melted chocolate into the mold. I found the easiest way to spread the chocolate was with a Craft Paint Brush. (New and never used) Paint a layer of chocolate using a paintbrush on the inside of the mold.
Place into the fridge for 5 minutes to set.
Apply a second coat of chocolate just like you did the first time. Make sure you are spreading the chocolate all the way to the edges. You don’t want a fragile edge or they will break!
Place the chocolate mold into the fridge to set for five minutes.
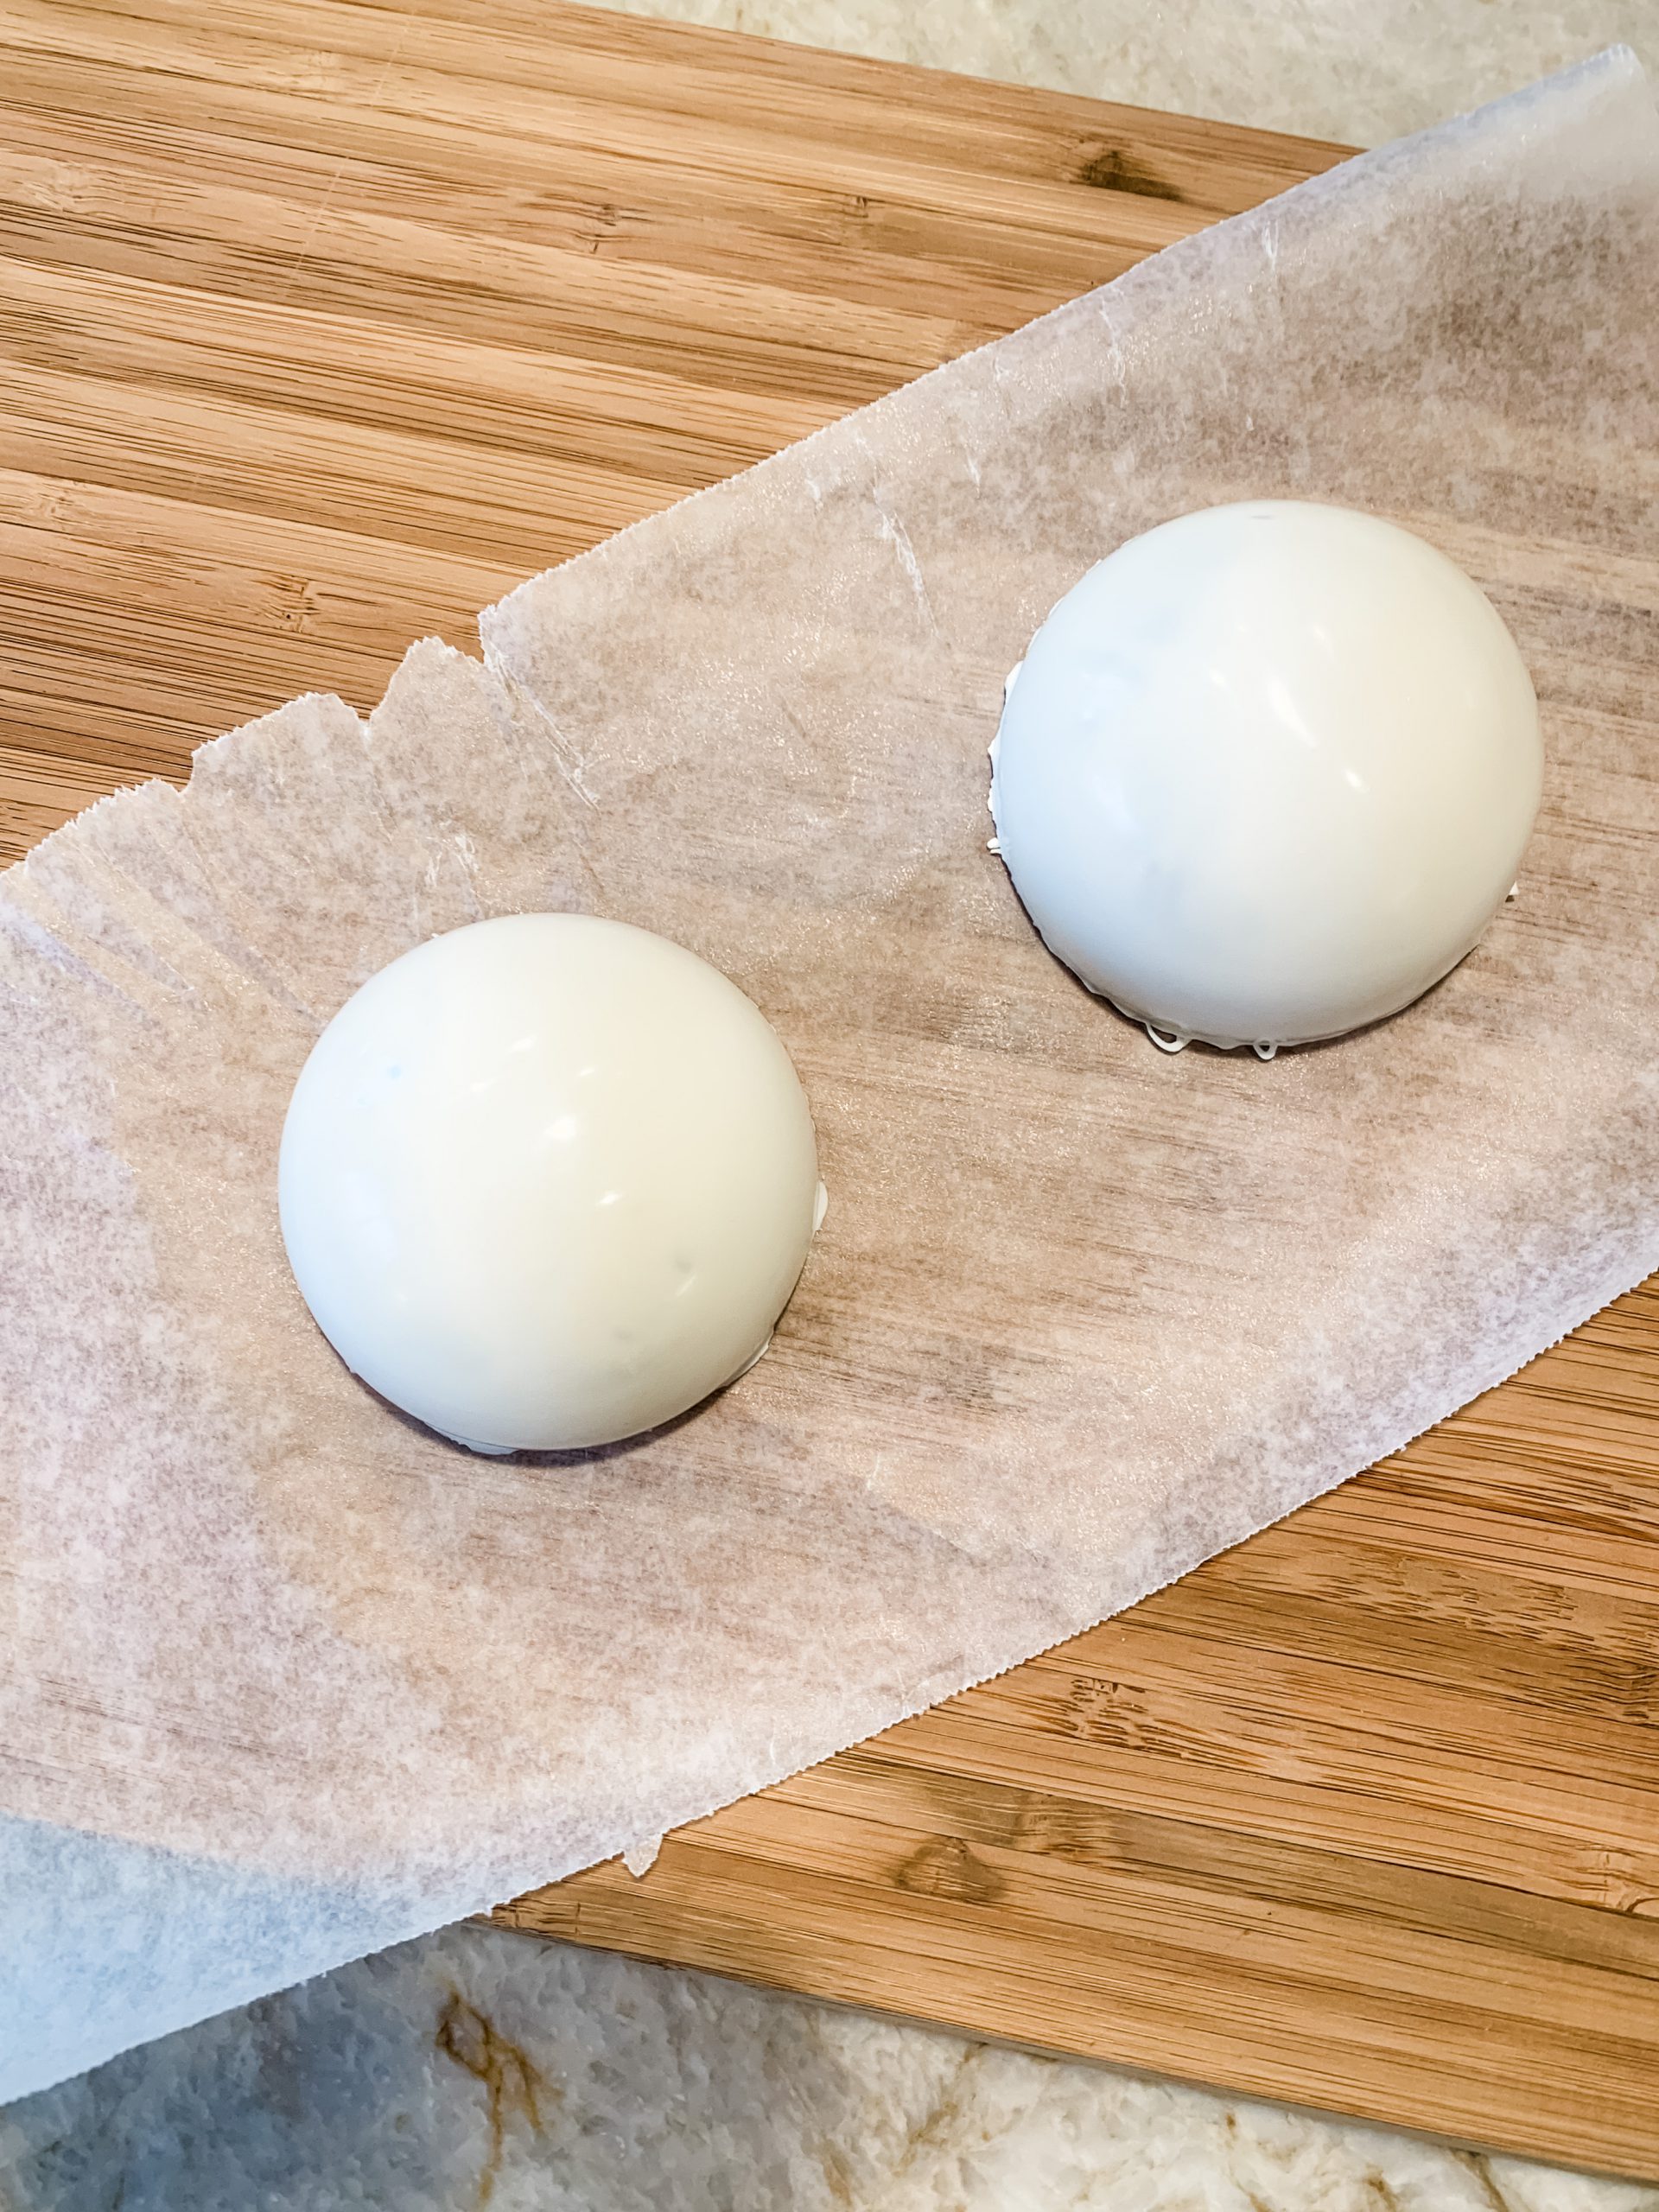
Carefully take your chocolate out of the molds and place on parchment paper.
Heat a pan over low heat. Take one empty sphere and place it onto the surface of the pan to melt and smooth the edge. This takes about 2 seconds.
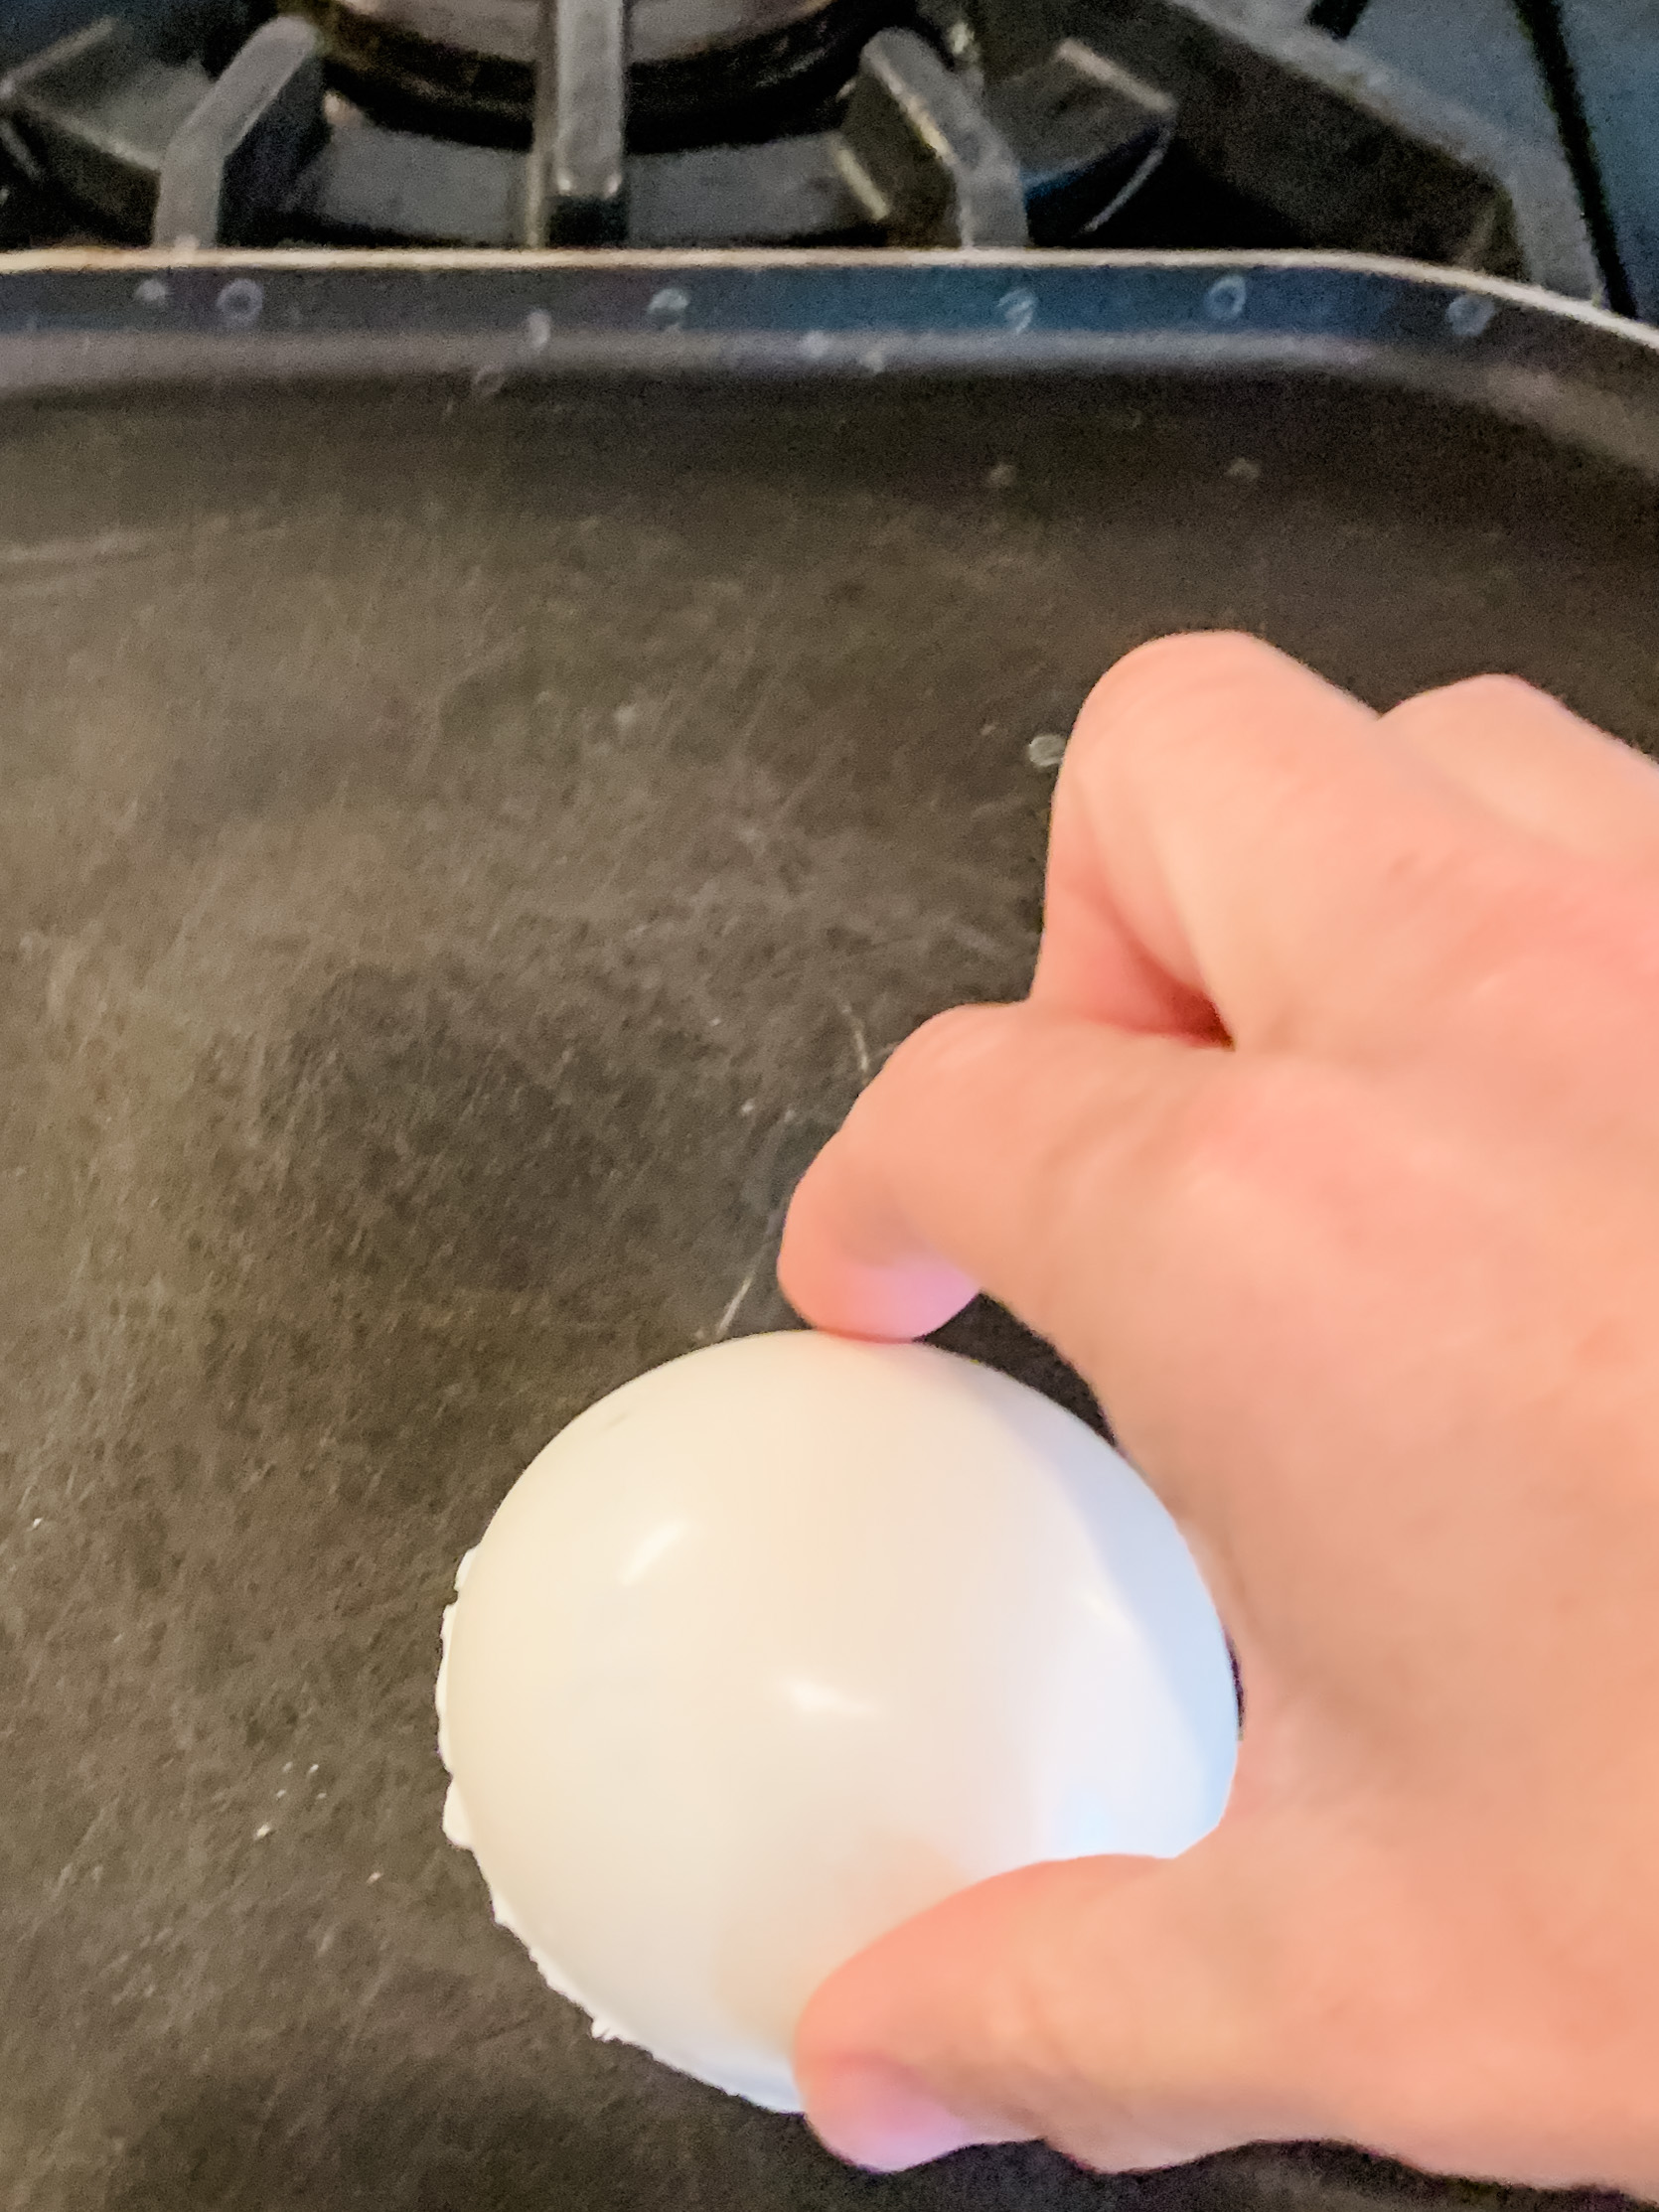
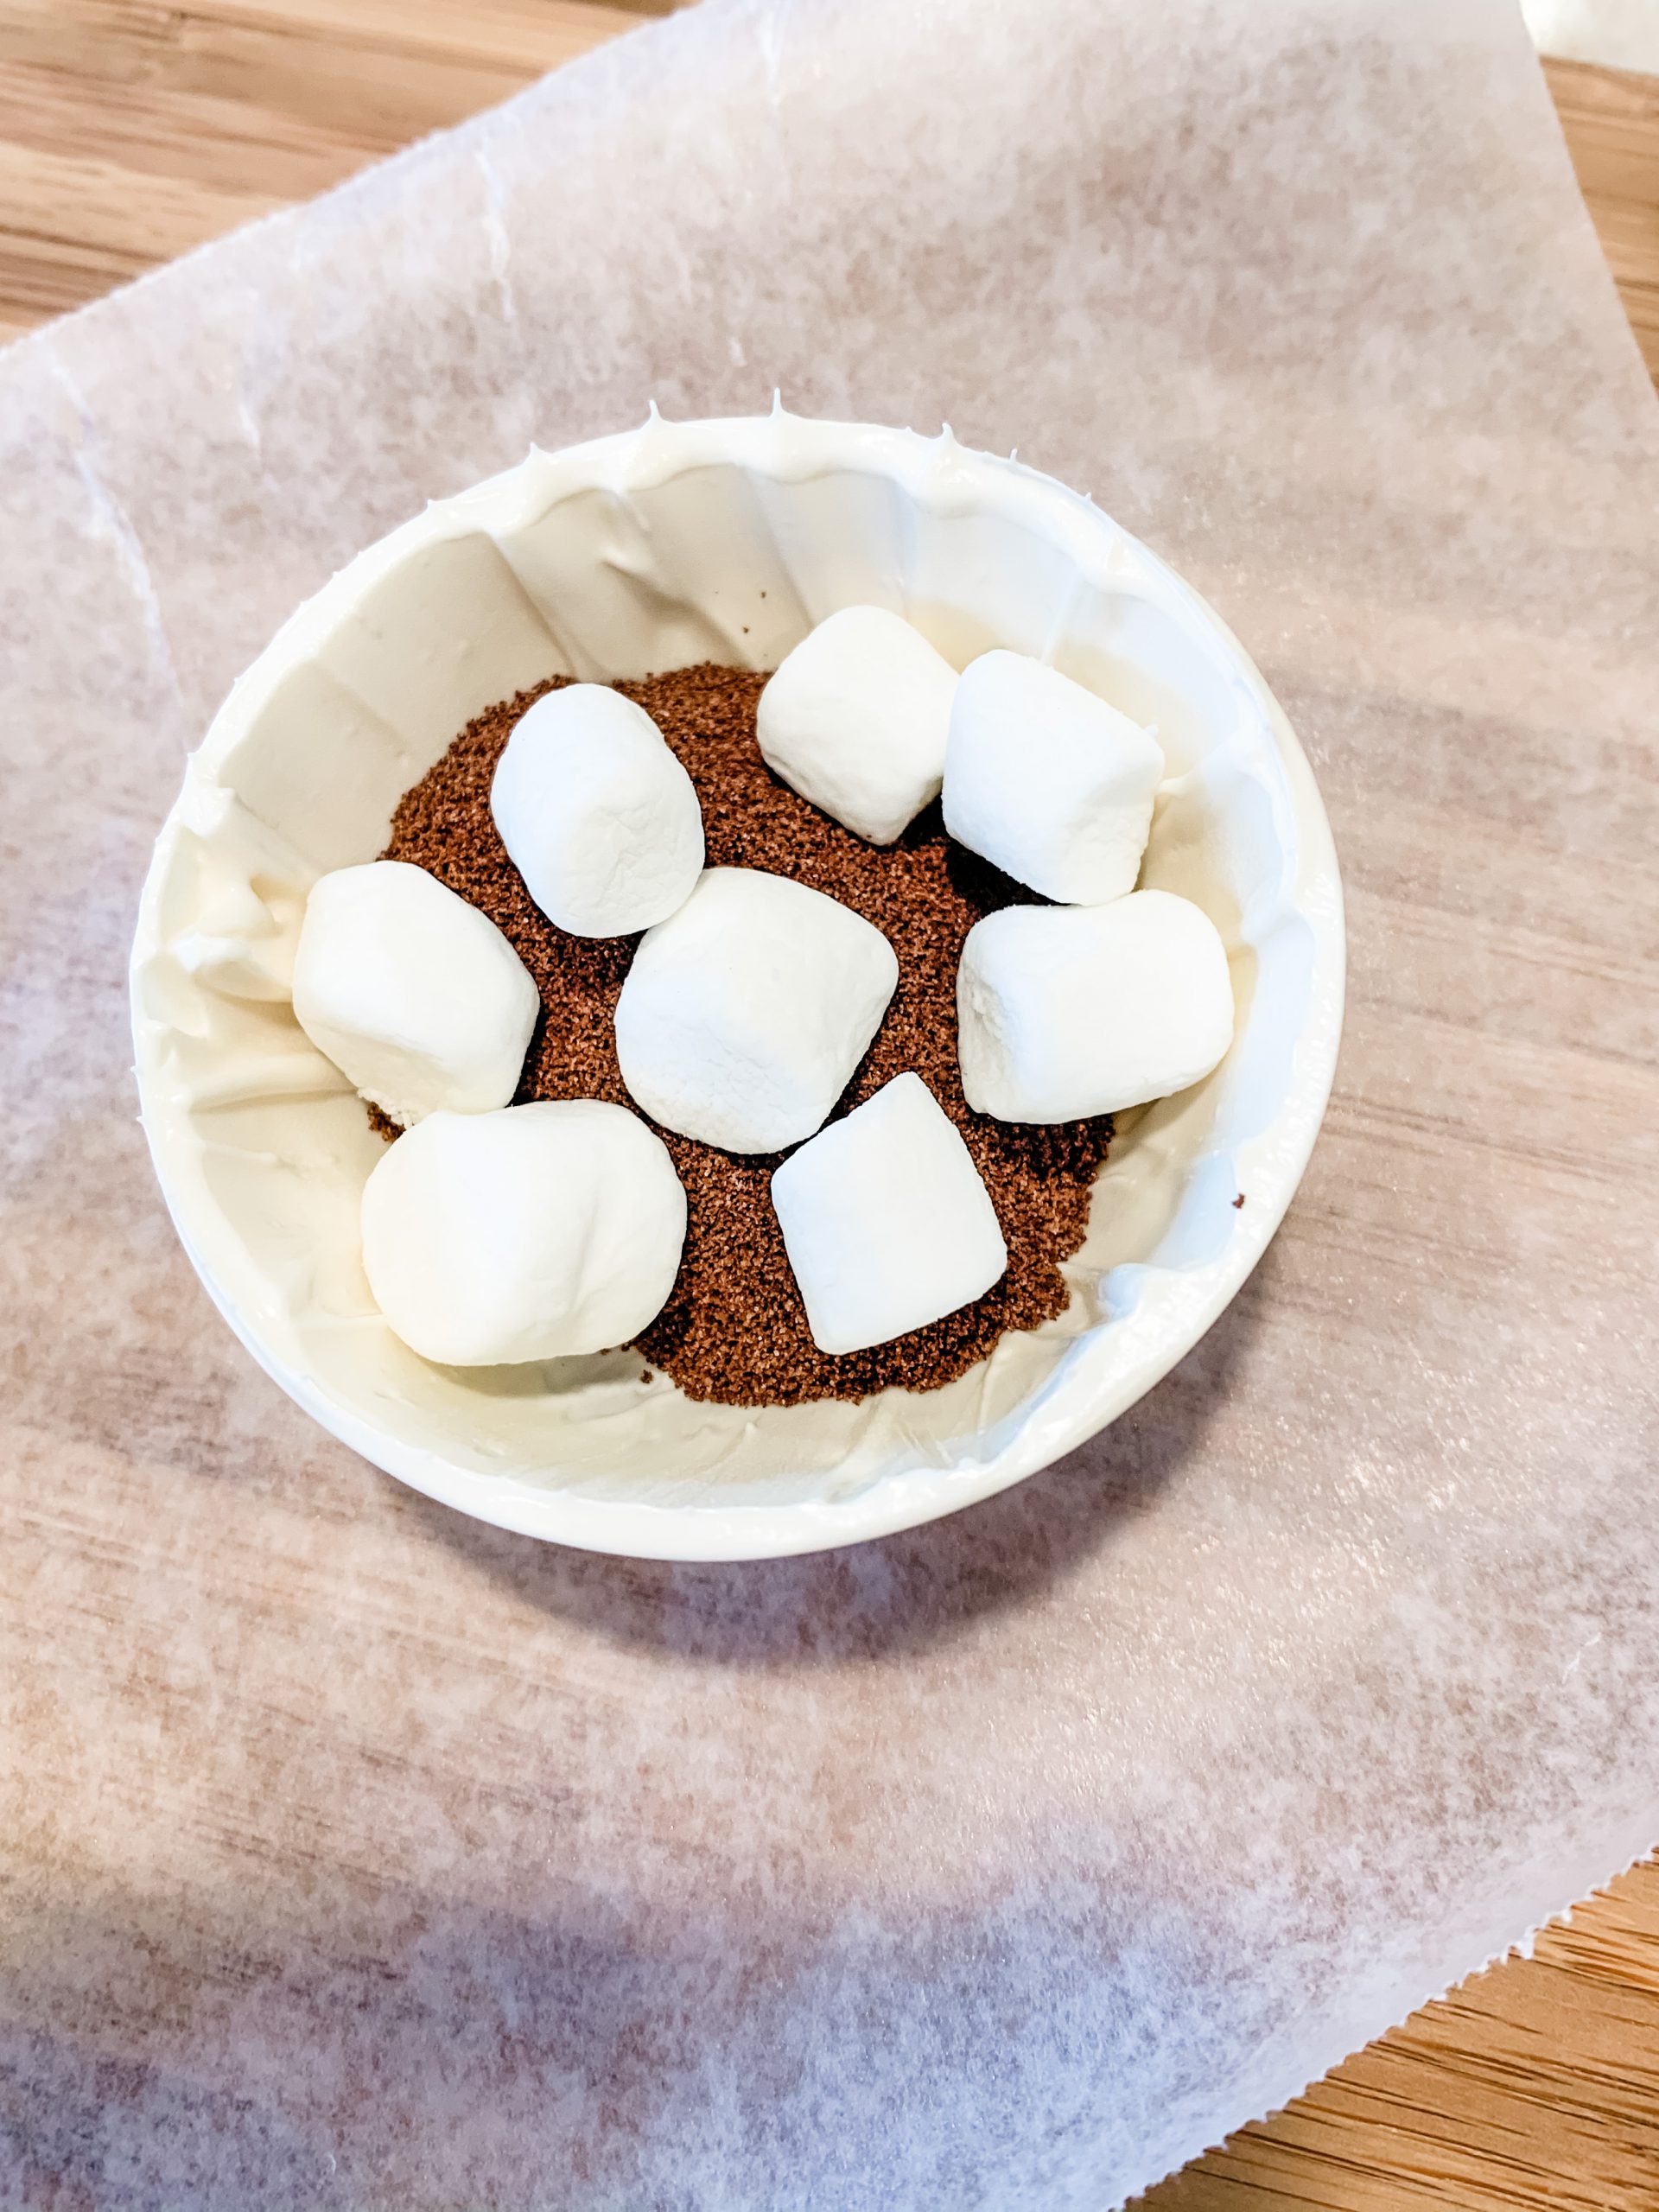
Fill the heated half-sphere with 2 tablespoons of your favorite hot chocolate mix and one tablespoon of mini marshmallows.
Take another sphere and melt its edge, join the two spheres together and hold until sealed.
Let set in the fridge or freezer while you make the rest of your spheres.

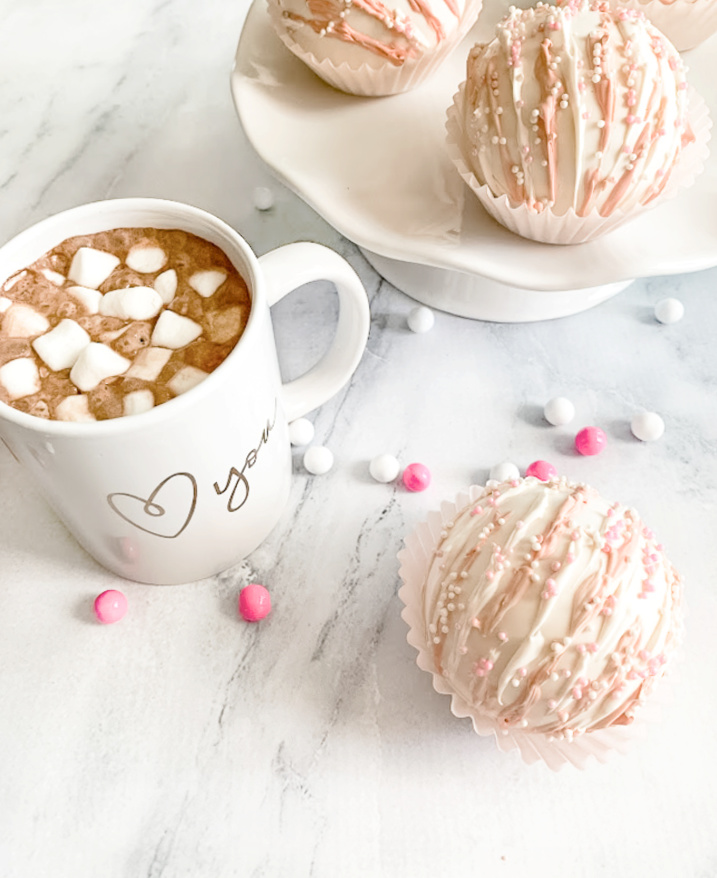
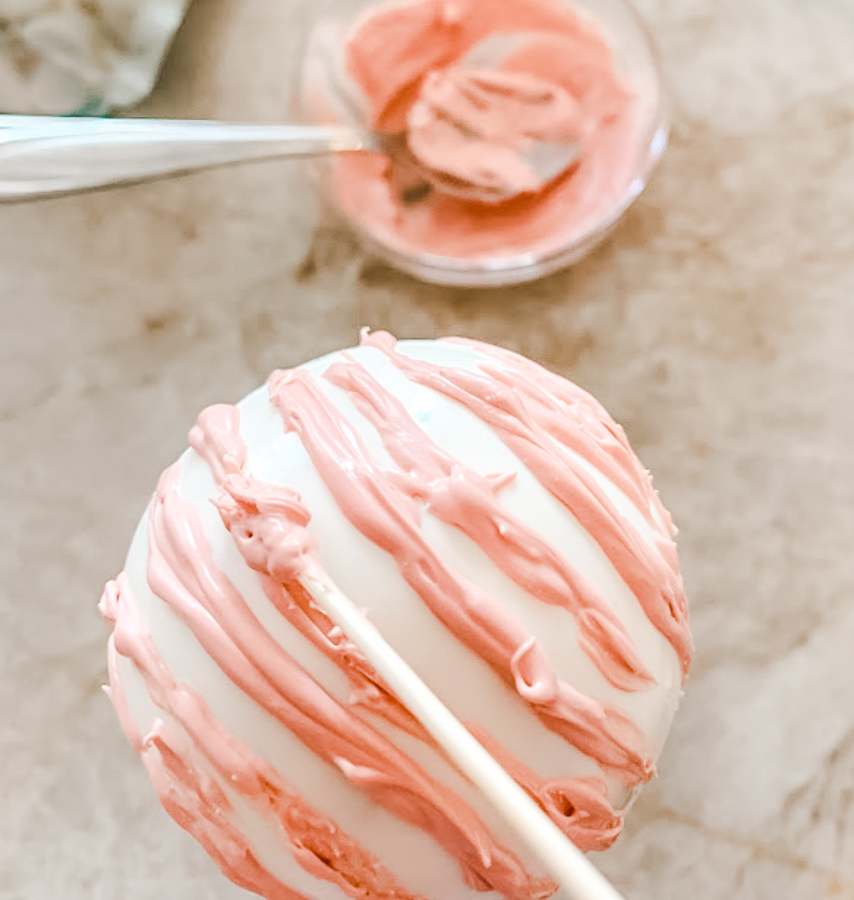
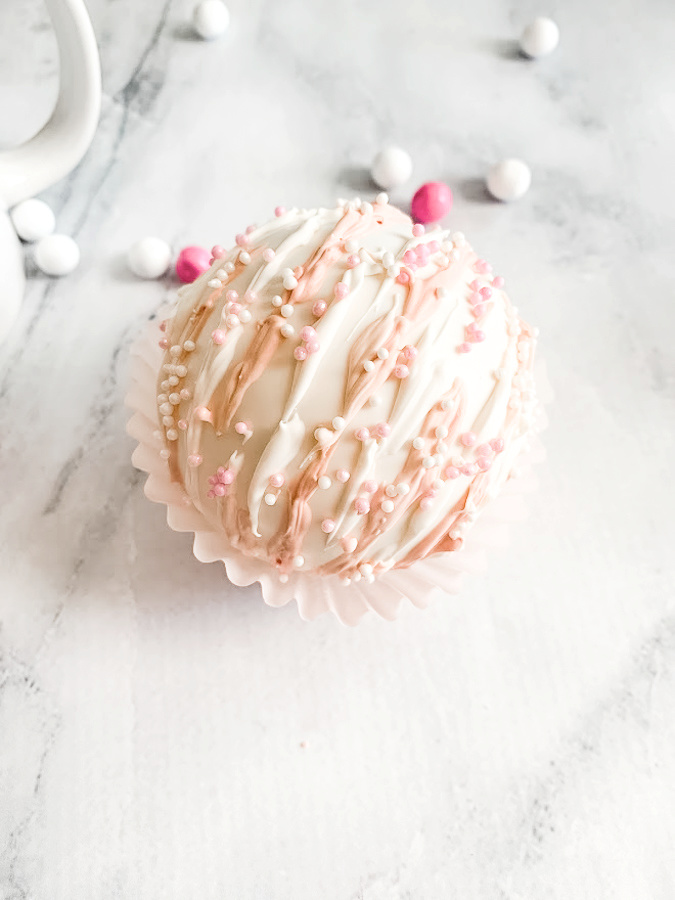
Decorate by drizzling some of your remaining melted chocolate and immediately cover it with sprinkles. (Optional) I used food coloring to change the color of the frosting.
Place the chocolate bomb into a mug. Slowly pour about 1 1/2 cups of hot milk over the bomb.
The hot milk opens up the bomb and all the marshmallows and coco escape! So fun!
Stir everything up and enjoy.
Tips:
You might want to wear gloves when working with dark chocolate so you don’t leave fingerprints behind.
The chocolate from the spheres make up for the less amount of cocoa that you are putting into the sphere. You can always add extra cocoa if needed after tasting.
If you don’t have candy melts you can melt down chocolate chips, there are lots of recipes on the internet for melting chips. There is also chocolate called Callebaut Belgian Dark Couverture Chocolate if you want to get super fancy, it’s also known to melt easily.
Store the hot chocolate bombs in a cool dry container. You can keep them at room temperature, or store in the refrigerator for longer shelf life. They will keep for several weeks if kept cool and away from heat but most likely won’t last that long, especially if you have kids!

These bombs make a perfect gift for a loved one, you could spruce it up a bit with a store-bought mug. There are SO many flavor variations; Oreo, S’mores, Peppermint, Coffee, Dark chocolate sea salt, don’t they all sound so yummy! I think our next batch will be for Saint Patricks Day.
Hot Chocolate Bombs
Ingredients
Equipment
Method
- Make sure your molds are clean by polishing them with a paper towel
- Place 3/4 of the chocolate candy melts in a microwave-safe dish. Microwave at 50% power for 30 seconds, stir, and repeat until melted.
- Add a teaspoon of the melted chocolate into the mold. I found the easiest way to spread the chocolate was with a Craft Paint Brush. (New and never used) Paint a layer of chocolate using a paintbrush on the inside of the mold.
- Make sure to check the chocolate covered surface from all angles to ensure there aren’t any holes.
- Apply a second coat of chocolate just like you did the first time. Make sure you are spreading the chocolate all the way to the edges. You don’t want a fragile edge or they will break!Place the chocolate mold into the fridge to set for five minutes.
- Carefully take your chocolate out of the molds and place it on parchment paper.
- Take another sphere and melt its edge, join the two spheres together and hold until sealed.Let set in the fridge or freezer while you make the rest of your spheres.
- Place the chocolate bomb into a mug. Slowly pour about 1 1/2 cups of hot milk over the bomb.
These are almost too pretty to enjoy! I’ve yet to have a hot chocolate bomb and you have me really craving one!
Thank you Paula, they are so fun!