
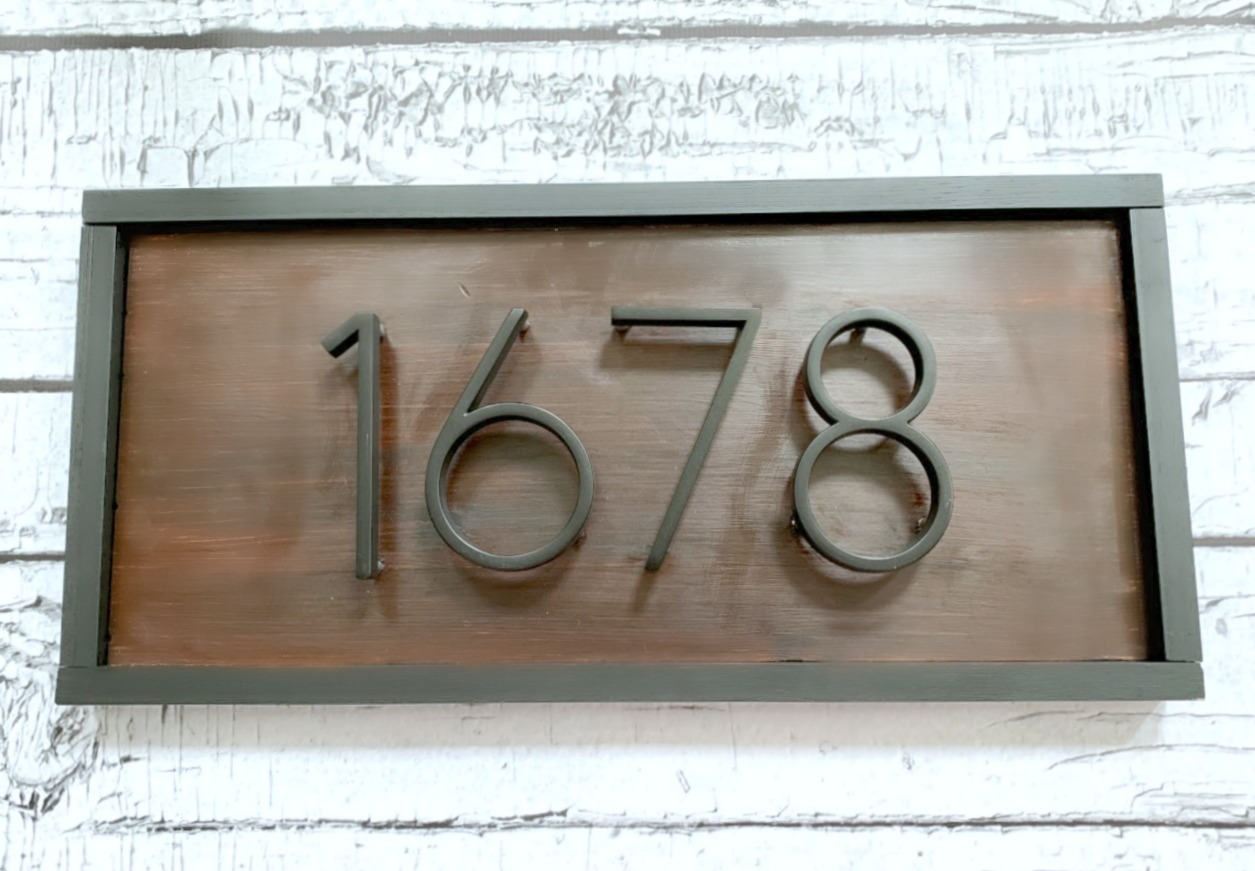
DIY Modern House Number Sign
Recently, we have been making changes to the outside of our home and decided to make a DIY Modern House Number Sign to go with the new look. We have had the same sign that came with the house for almost 20 years so it was time for a much-needed upgrade!

Note: Since I was making this during quarantine (I had purchased the numbers a few months back ) I was left to use scrap wood and whatever paint and stain we had. You can spruce it up and change the colors to better suit your style. I added Amazon links below, hopefully, that will help you get any supplies you don’t have at home. I listed the house numbers from Amazon, they are the exact same ones I bought at Home Depot, although, they were a few dollars cheaper at Home Depot.
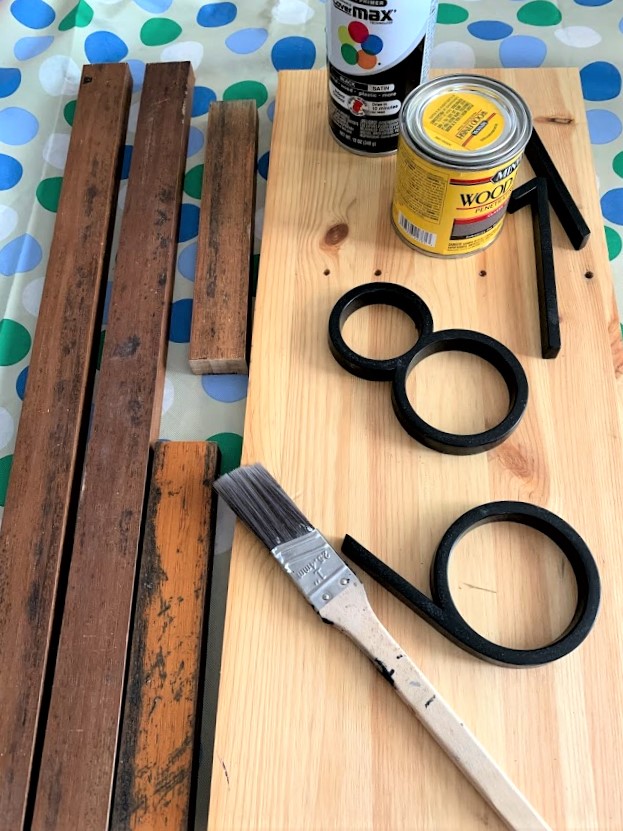
Supplies:
Spray Paint
Wood Stain I used Minwax Dark Walnut
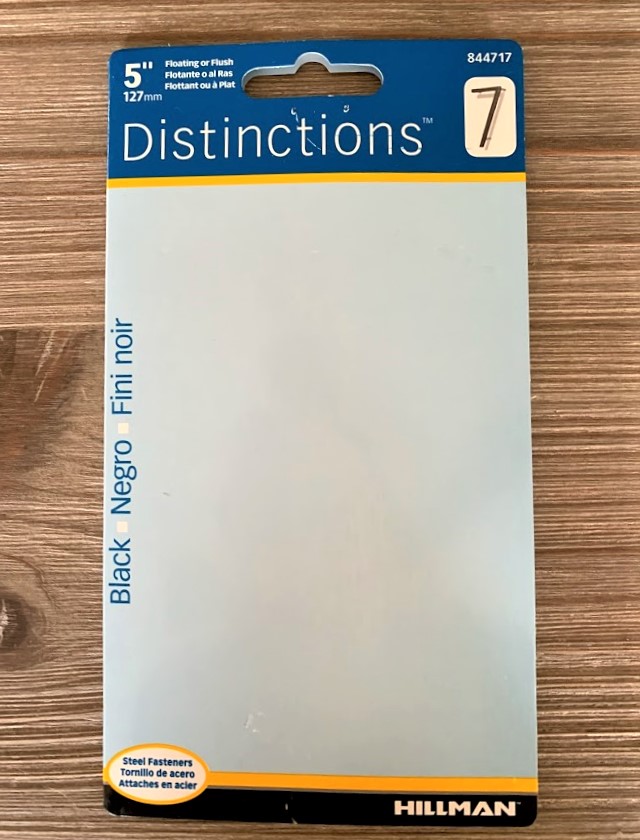
Distinctions 5-Inch Floating Mount House Black
Elmer’s Advanced ProBond Advanced Professional Multi-Surface Bond with 100-Percent Weatherproof Glue
Trim
Polyurethane
Sand Paper
Paint Brush or Rag (for the stain)
Plywood or scrapwood
Miter saw or Hand Saw
Drill
Nail Gun and Nails
Large Wide D Ring Hangers
Anchor Screws for the Stucco
Wood Filler
Before you begin your project decide how big you want the sign to be. We measured the space outside and went from there.
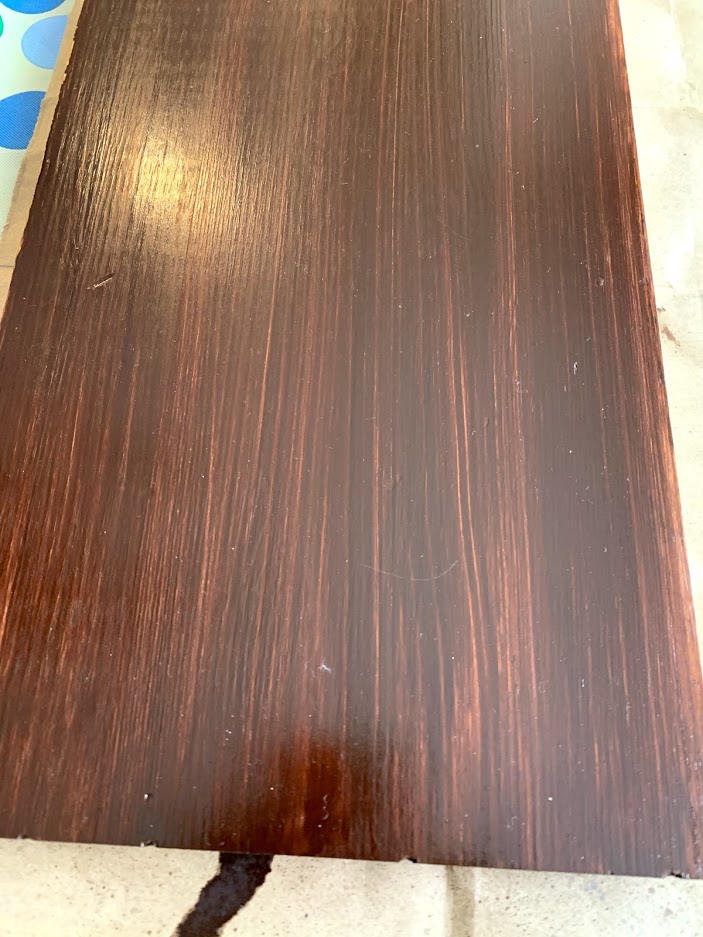
Step 1
Cut your piece of wood to the desired size. Sand the wood to make sure everything is smooth. Stain the wood using a rag or paintbrush, I gave it 2 coats allowing it to dry in-between coats. Next, seal your stain with a Polyurethane to protect it from the outside elements.
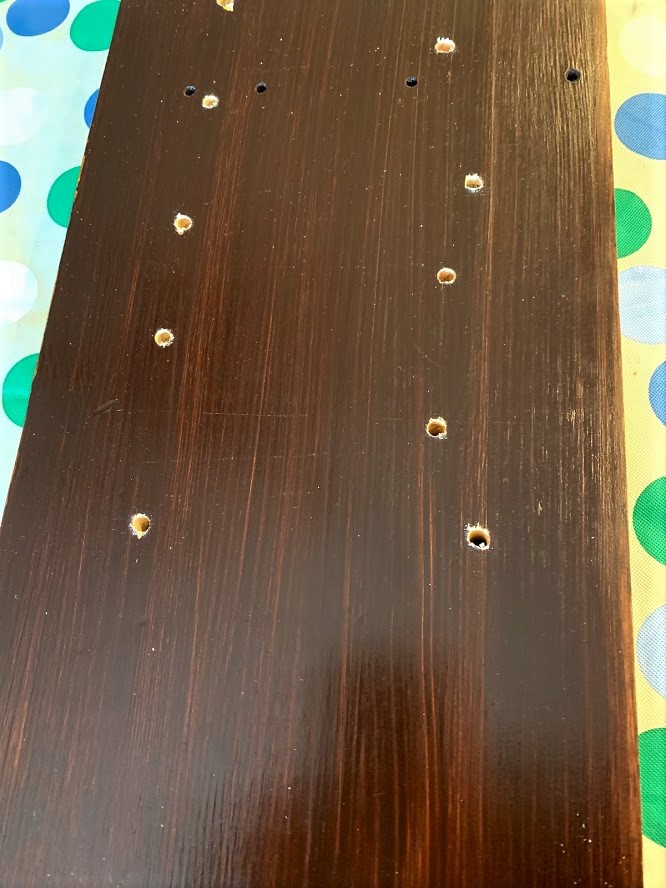
Step 2
The house numbers came with a template which made for easy placement. We simply used a measuring tape to make sure the numbers would be centered.
Tape the guides in place to prevent them from moving and mark where each hole will be drilled
Apply a piece of scrap board underneath the plywood and using a 5/32 drill bit, drill all your holes.
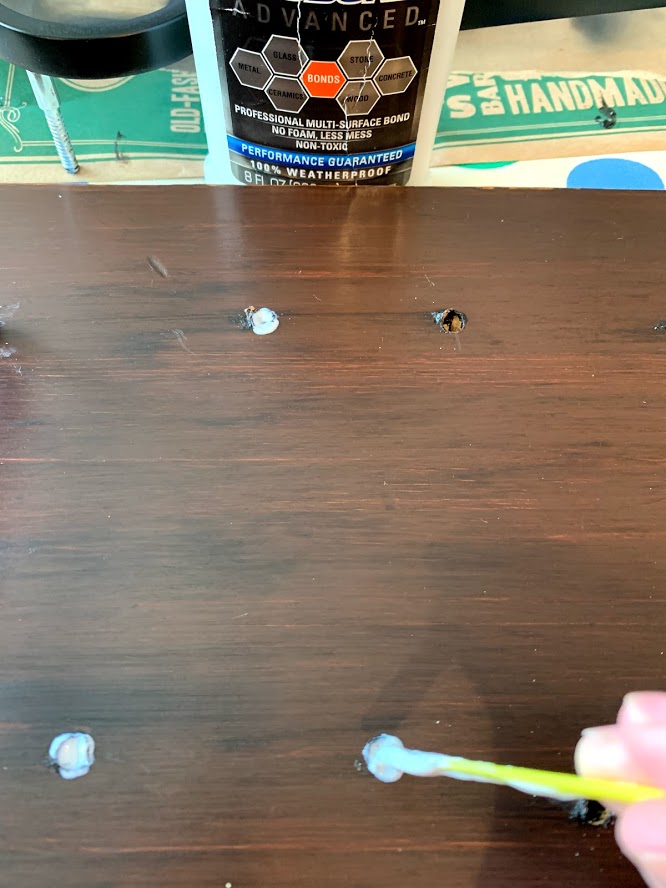
Step 3
Add a little bit of glue into each hole for added security.
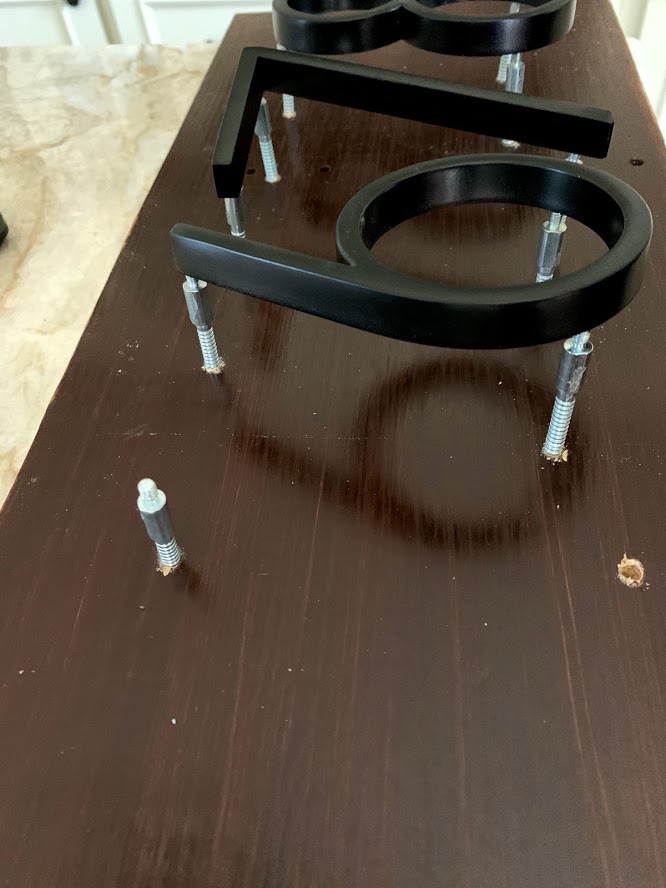
Step 4
Insert the numbers into the holes
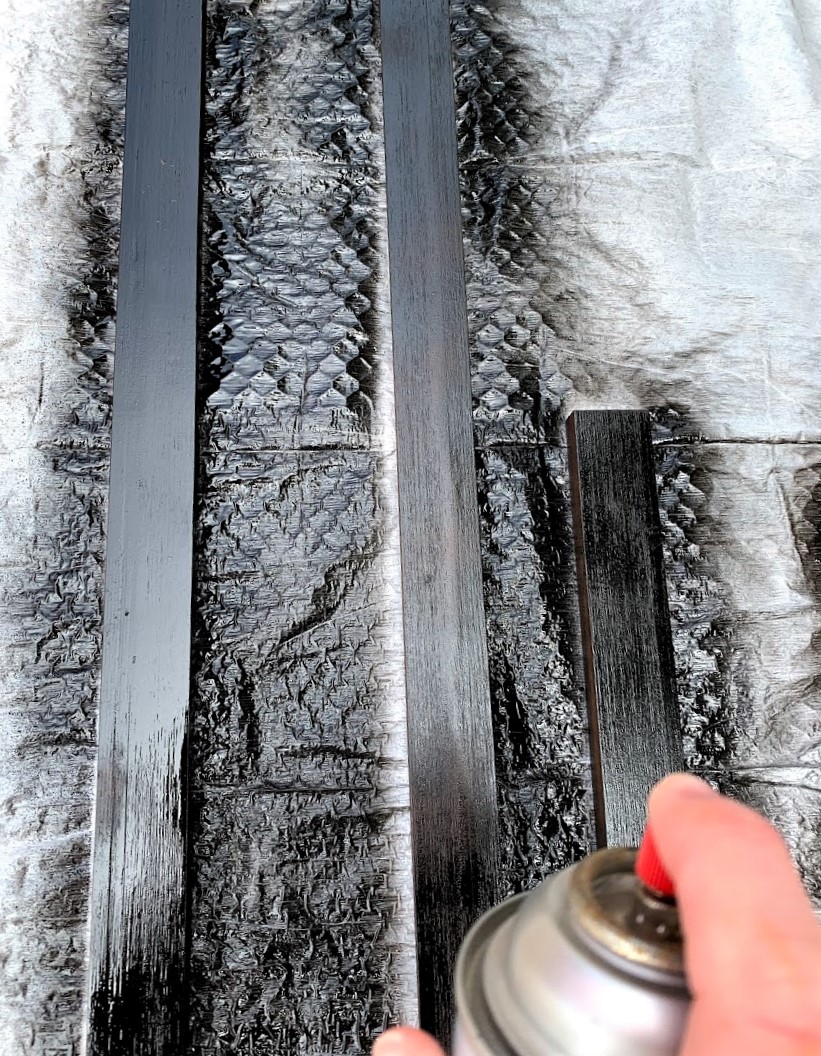
Step 5
For the frame, you will want to make 45-degree angle cuts using a miter saw to fit perfectly around the board.
Sand all the edges as needed and spray paint.
Attach the frame to the wood first by applying glue followed by a finish nailer to nail it in place
Step 6
Fill the nail holes, allow to dry, sand then touch up with the spray paint if needed.
Step 7
Attach Large D Ring Screws to the back of the board and attach to the house using anchor screws.

This added the finishing touches to our home’s curb appeal with this floating address plaque, a little modern and a little rustic.
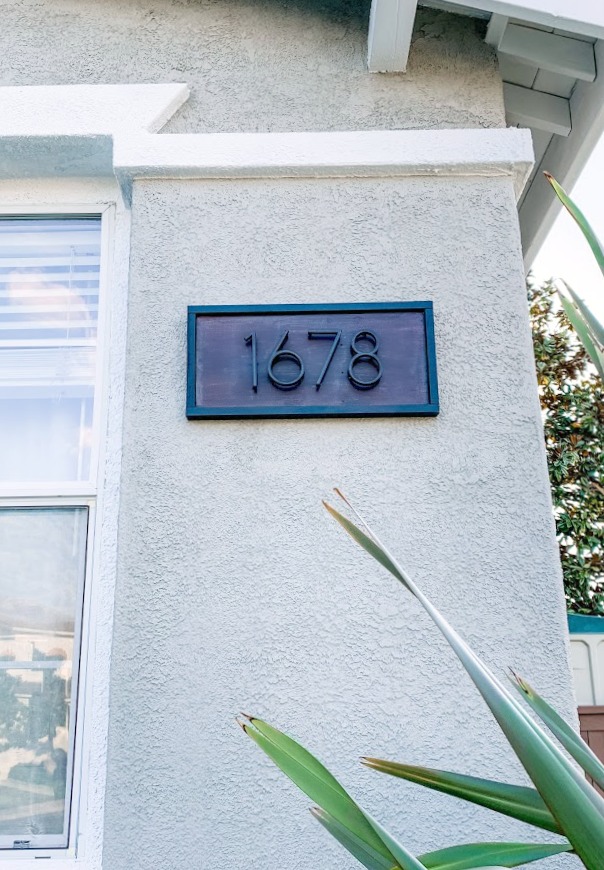
This is a great project to update your home’s exterior and curb appeal, let me know if you have any questions! I hope everyone is staying safe and staying well!


Wow! I love this! You’re so talented I want to do this, we’ve got no numbers on your house. 🙂
Oops I meant our house.
Wow , the turned out great Kristin, considering you used what you had on hand! I made new house numbers last fall and wonder why I didn’t do it sooner, it really gave my house a fresh, curbside appeal. I’m sure you feel the same!
Thanks, Such a small project with a big impact! Hope you have a great week!
Gorgeous! I was looking for this exact style! Pinned.
Thank you so much Amy 🙂
Kristiin,
I love your house number DIY. Congratulations, you are being featured at Thursday Favorite Things. I hope you stop by.
https://www.eclecticredbarn.com/2020/04/thursday-favorite-things_29.html
Hugs,
Bev
Hi, Kristin such a wonderful DIY for my house number. I will be sharing these to my Frends.
I love this idea! My family and I are moving from USA to Canada, I am on the road now and reading your blog, I showed the idea to my husband and he liked it too, when we get settled in the new place, he will definitely make a similar house number sign!