Bathroom Tile Update
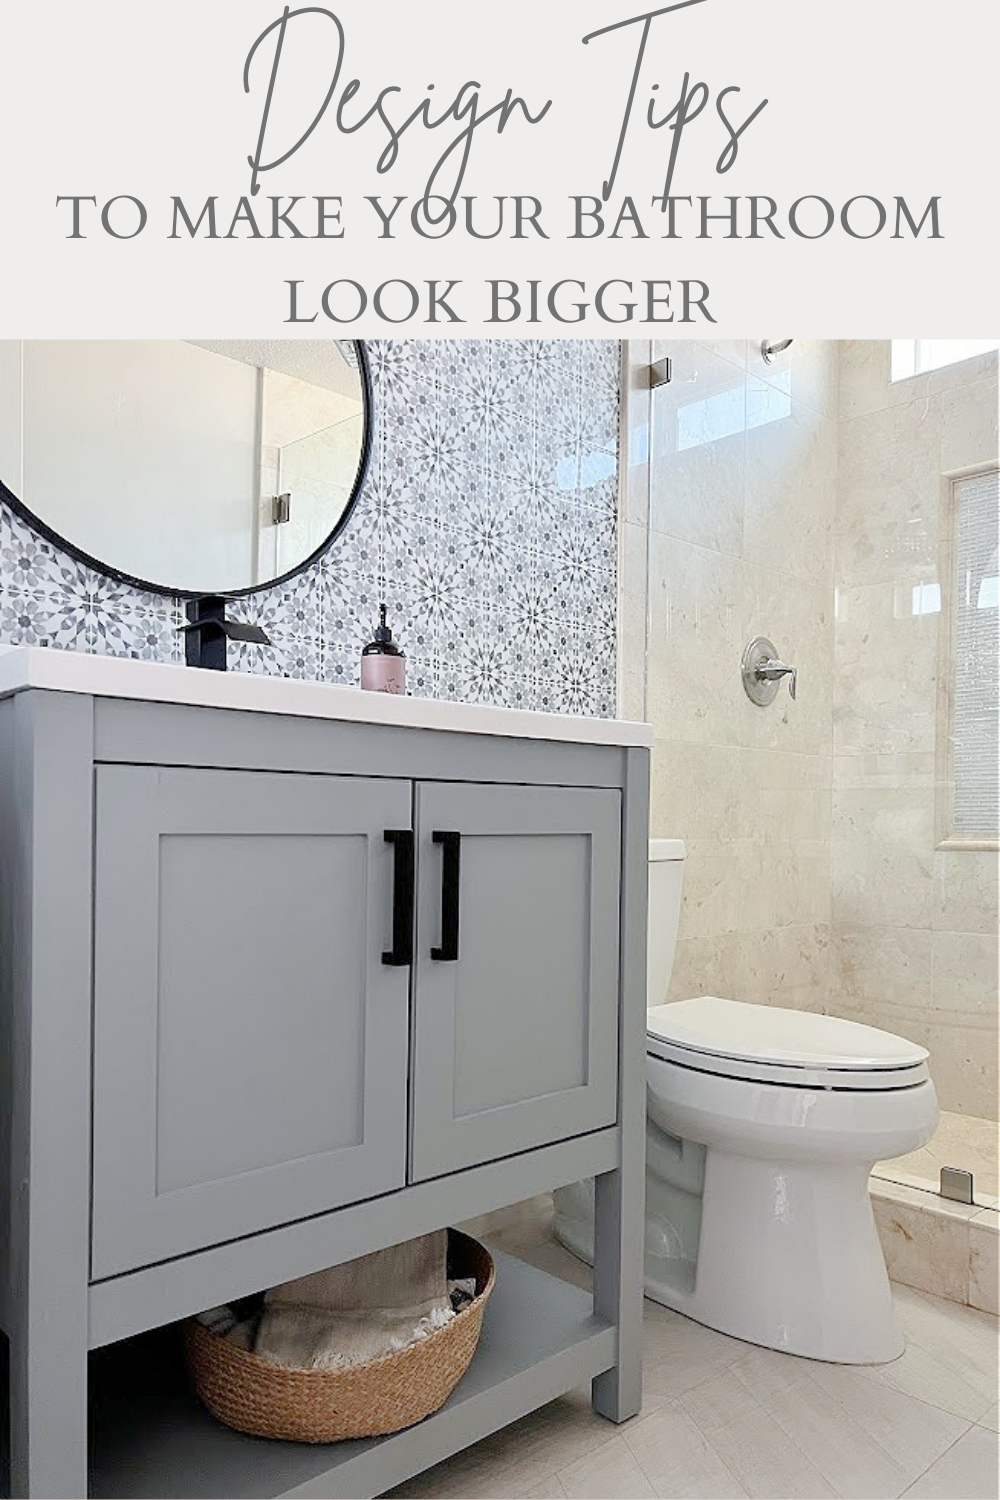
Maximize your small bathroom space with a brilliant design hack! Learn how to make your bathroom look bigger by extending the tile all the way up to the wall. Then add larger pieces as your flooring. Elevate your space with this visual trick and create the illusion of a more spacious, open environment. Discover the secrets to small bathroom transformation!
Hello friends, goodness, I never in a million years thought it would take 4 months to put tile in our downstairs bathroom, but it did. If I could have done this all over again, we would have installed the sink and the toilet back onto the concrete slab when we took the wood out so we could at least have a usable bathroom. But, yeah, had no idea life would happen and there just wasn’t a good time. We were a week before Thanksgiving when the leak happened, and then very sadly Ray’s mom passed away unexpectedly. For about a month he was traveling back and forth, then Christmas, then a ski trip then I finally started looking and found absolutely nothing. Everything I did find wasn’t in stock or it was ridiculously priced. Then a reader told me about Tile Bar, so I had my 5 samples shipped for $5 and I was immediately in love. Right now they are giving away 4 sample tiles for free. (this is not a sponsored post)
Had I not put up the peel-and-stick tile on the wall 2 years ago (first covid project), finding a tile would have been much easier but I had a lot to take into consideration and wasn’t ready to take the tile down, it was a ton of work. It also needed to be cohesive with the shower, the shower is only 8 years old and in perfect condition. And, well I’ll admit it, I tend to overthink design decisions a little too much.
Taking up the wood floor was a difficult task, lots of grinding was involved, and there was just so much glue. Which, is a good thing, the installers did a great job!
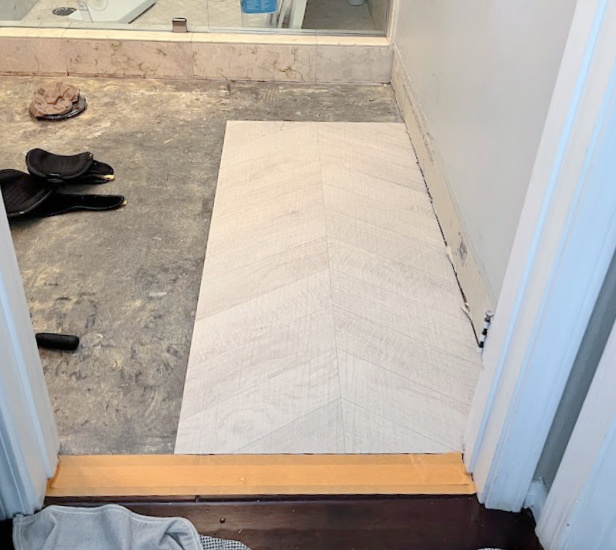
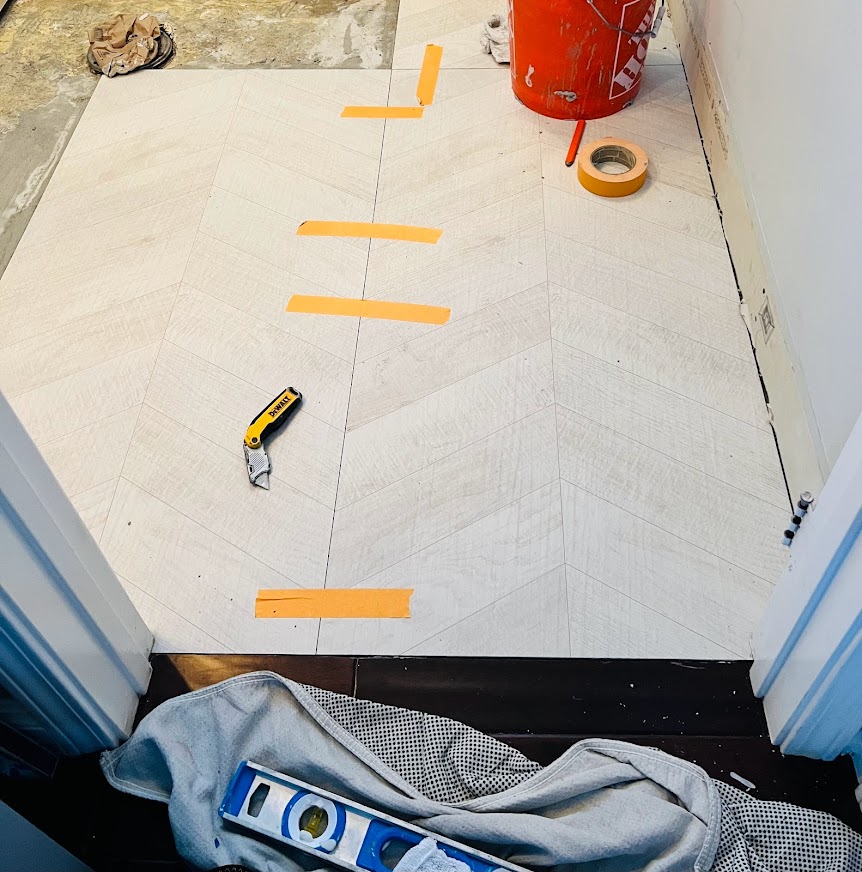
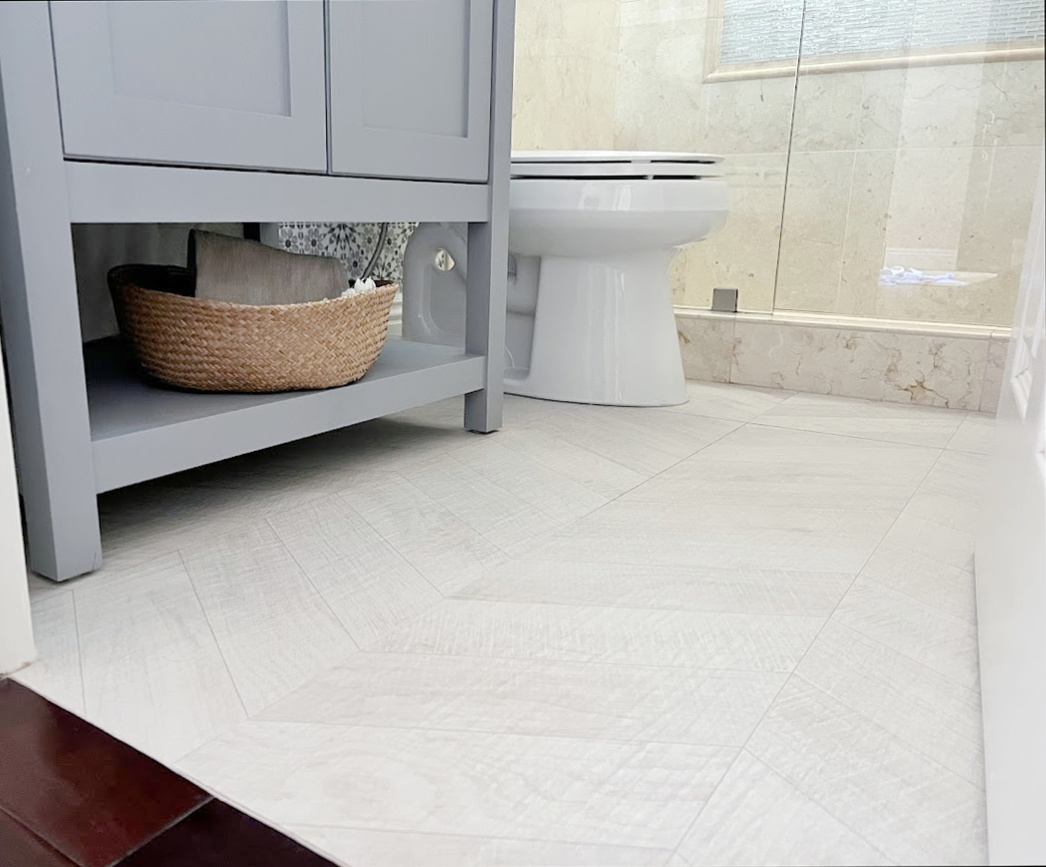
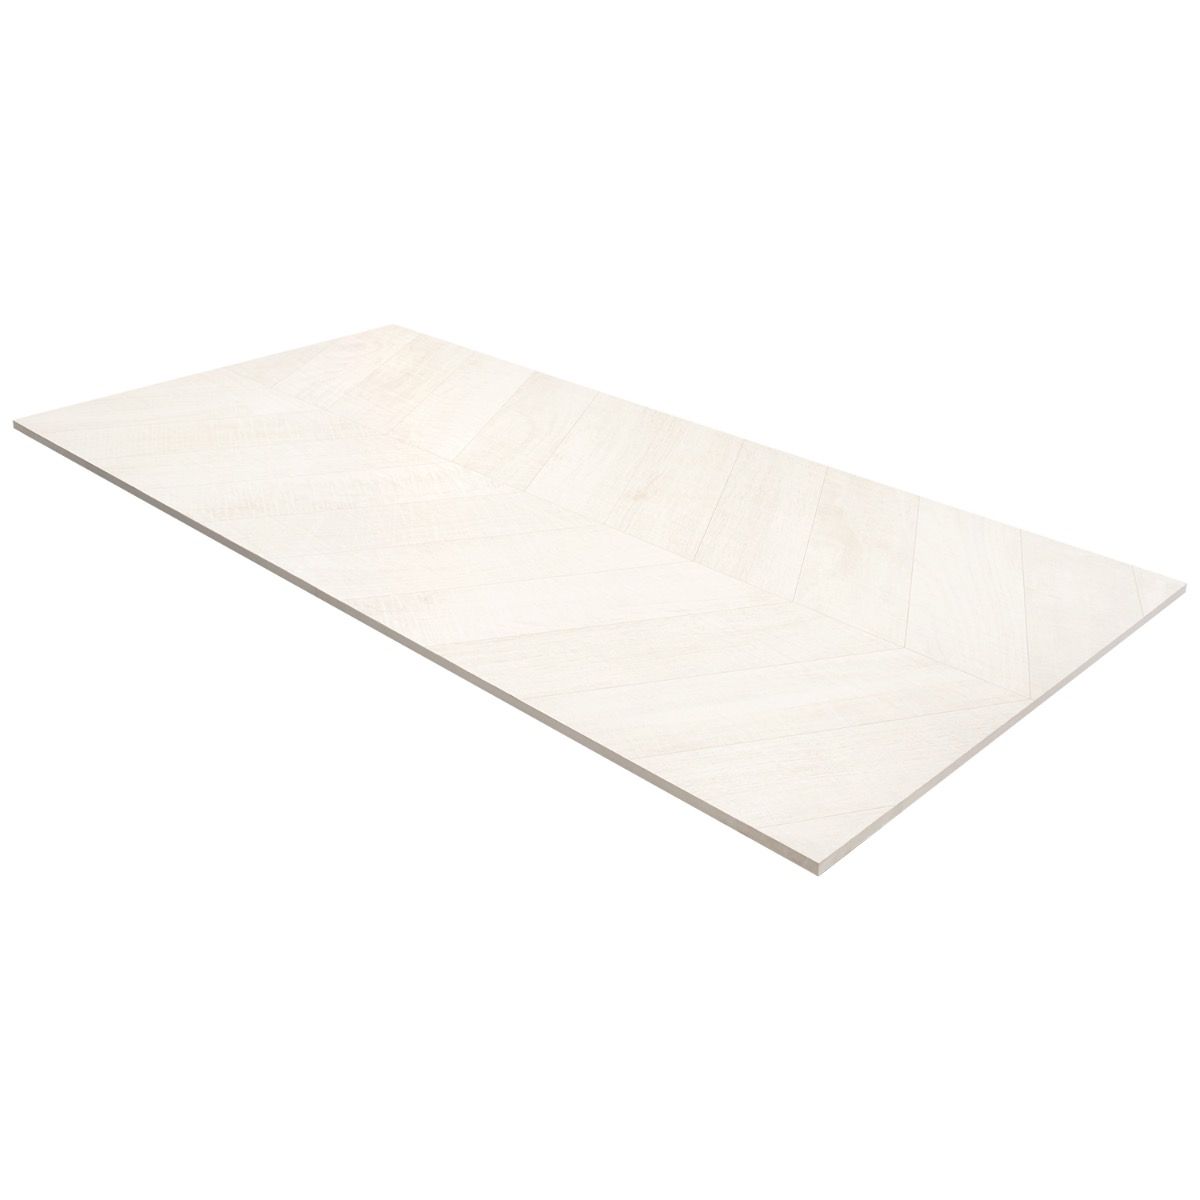
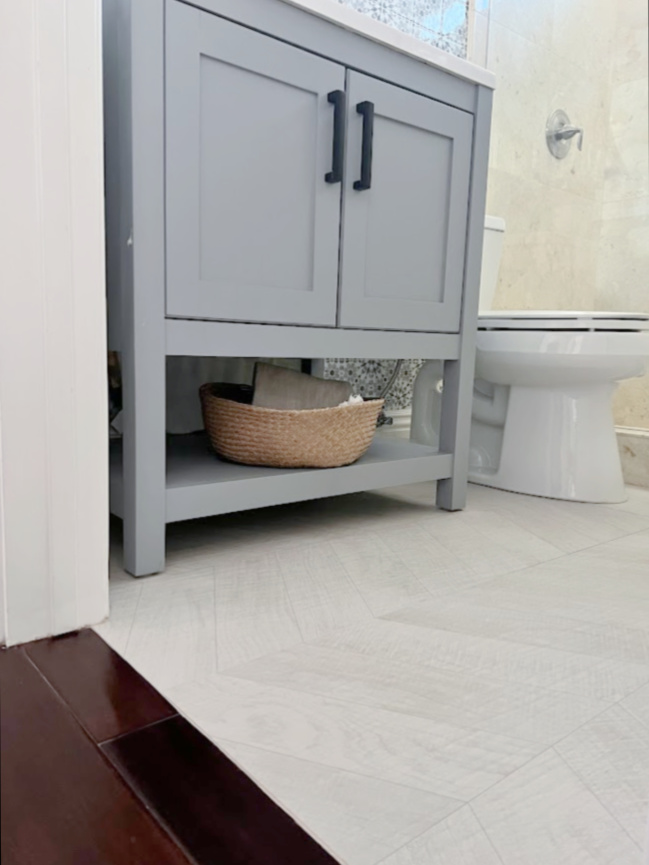
The Kenridge Chevron White 24×48 Matte Porcelain Wood Look Tile was the winner! I loved the herringbone design and wood look and I’ll never have to worry about water ruining the floors again. The fact that it was HUGE (24″ x 48″) meant an easier installation with minimal grout lines. The matte finish makes it non-slip and easy clean up. It is modern yet has a Scandinavian/rustic feel. We went with the white since it has a little hint of grey, I loved the dark grey but since this bathroom is so small, it would have closed it in a little too much, I needed it bright and airy.
This is the actual size, it’s huge! We only had 4 tiles shipped to us, to complete the 5×5 space, and almost a whole tile was left over after installation.
TIP: Using larger tiles with minimal grout lines makes your space feel larger than it really is!
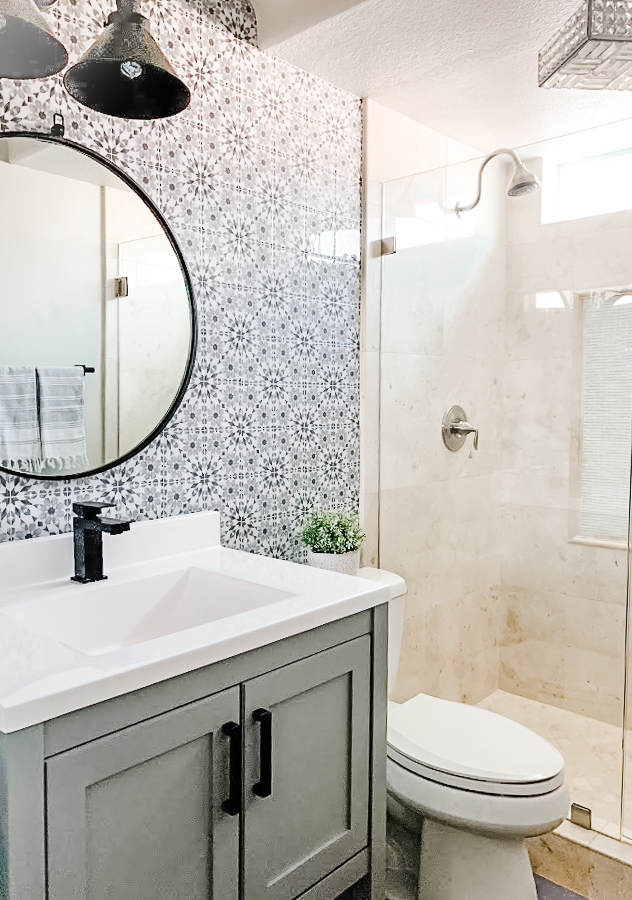
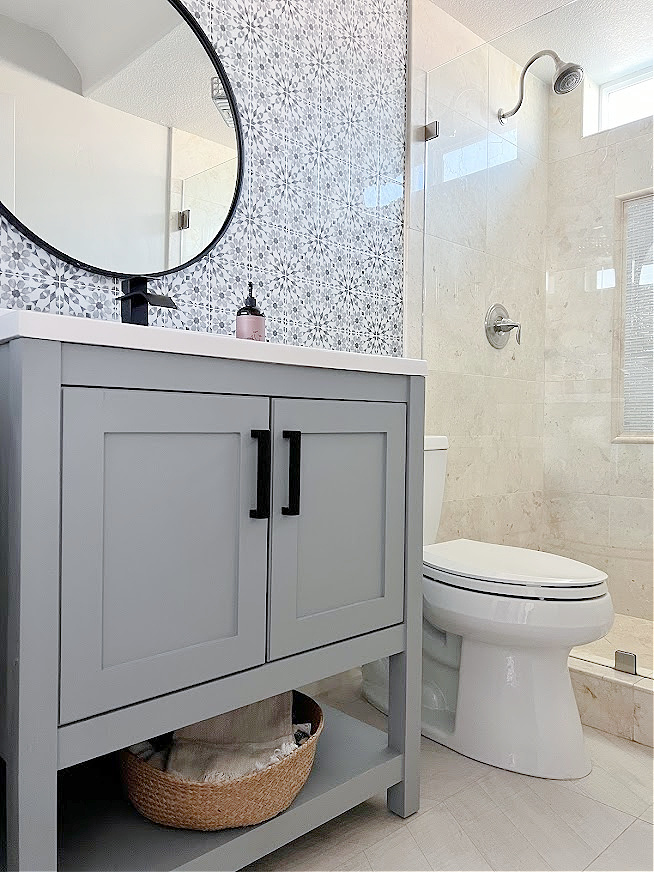
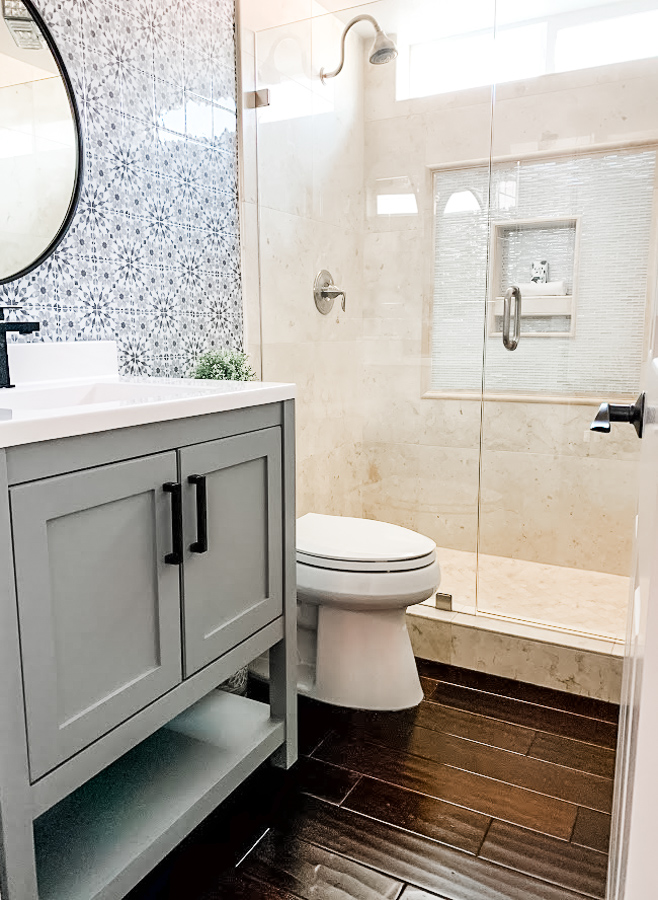
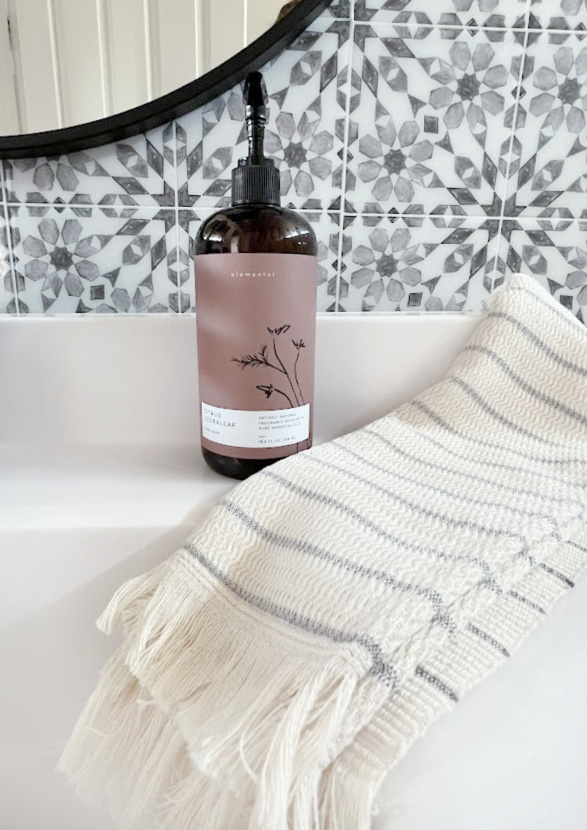
I felt like the mix of the patterned wall went well with the larger rectangular hexagon tile flooring and it all flowed well together.
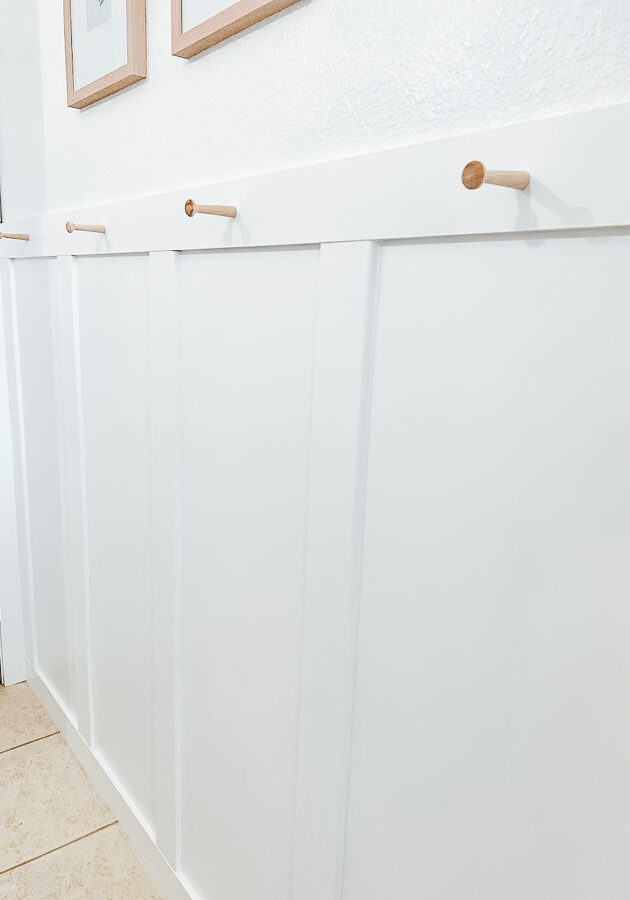
We extended the peel-and-stick tile all the way up to the wall in the kid’s bathroom to also give the illusion of a bigger bathroom. Although this is a small space it gives the illusion of a more spacious bathroom.
TIP: Large Herringbone tiles on the floor mixed with a design behind the sink that goes up the whole wall results in a less cluttered look.
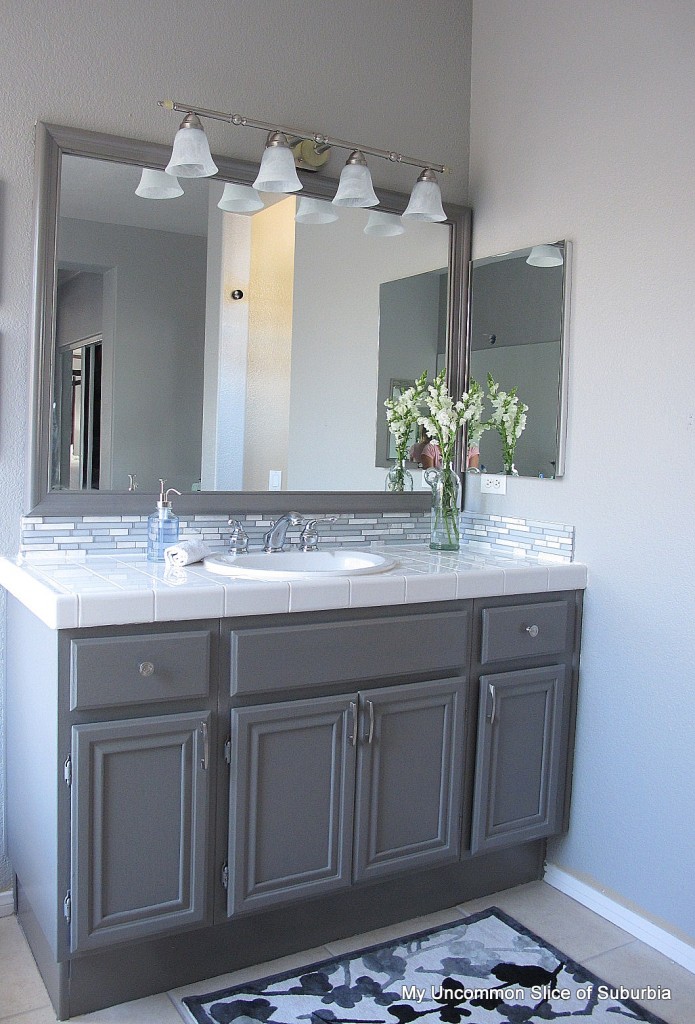
Let’s look back at the bathroom with the wood installed, I definitely like the tile more.
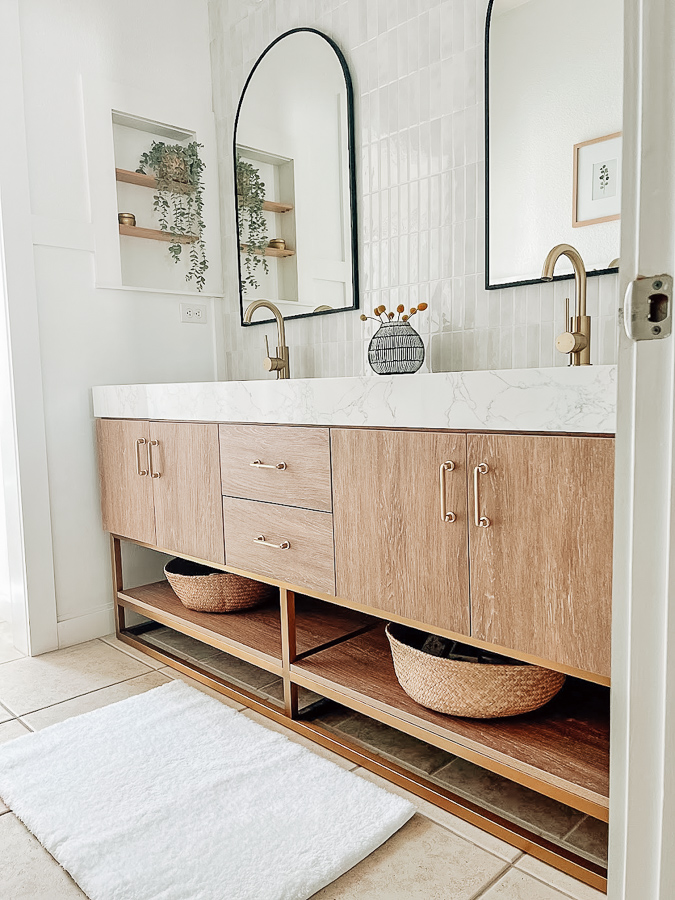
TIP: A large mirror will instantly make your space feel bigger.
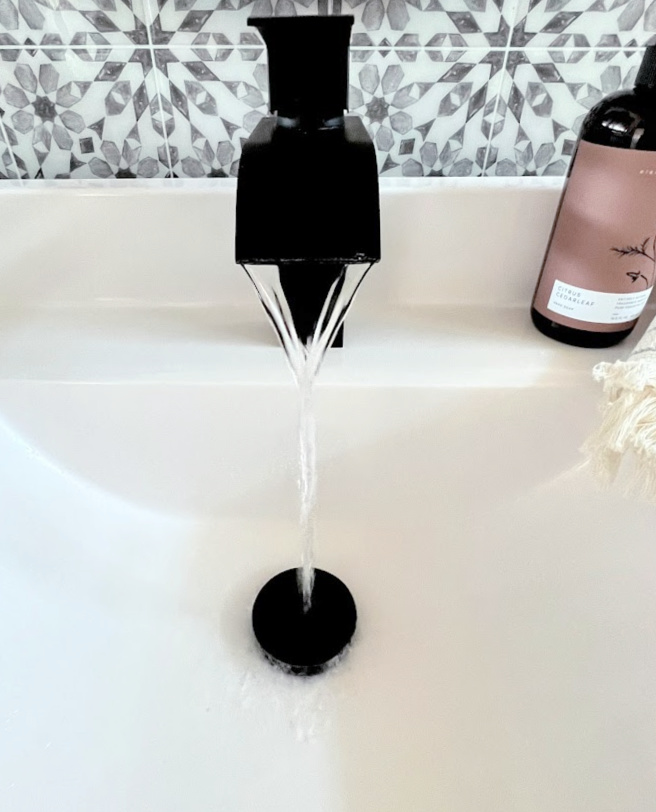
Other than the faucet nothing else has changed, I will need to update my old post. The old faucet started peeling almost immediately and the company wouldn’t get back to me, bummer. We ended up purchasing a waterfall faucet and absolutely love it!
SOURCES: Disclaimer – This post contains affiliate links. I may receive a small commission for purchases made through these links at no extra cost to you.
Supply List
Towel Bar
Vanity
Mirror
Peel And Stick Tile
Light Fixture
Turkish Hand Towels

So now that this bathroom is finished, I’m moving on to the next project! I’m actually pretty excited about this one! This was somewhat of an impulse buy I found on Marketplace that I couldn’t pass it up. It was one of those where they were shipped the wrong color so the company lets you “donate” the old one. So she donated it to me for about 70% off the original price.
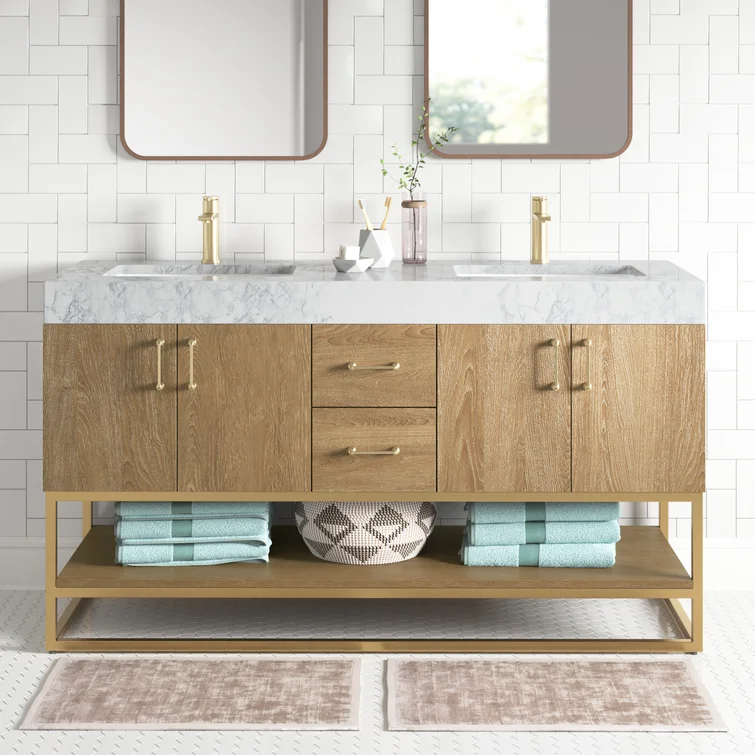
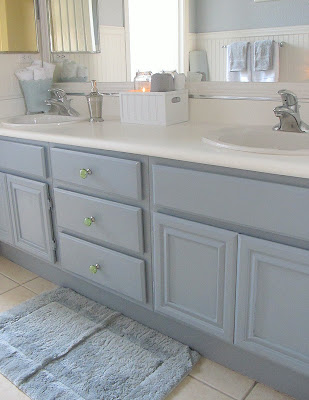
Isn’t it a beauty! The kids I mean men, haha, have been hard on their bathroom the last 20 years and it needs a definite update. This vanity is the exact same size as our built-in, we just need to figure out the flooring since it’s just cement underneath the vanity, no tile, and this one is free-standing. I’ll come up with a design board and share that with you soon. Meanwhile, here it is since its last update with painted cabinets from about 10 years ago.
I can’t wait to start. Thank you for stopping in today, I wish you a beautiful weekend!