Framing out a mirror
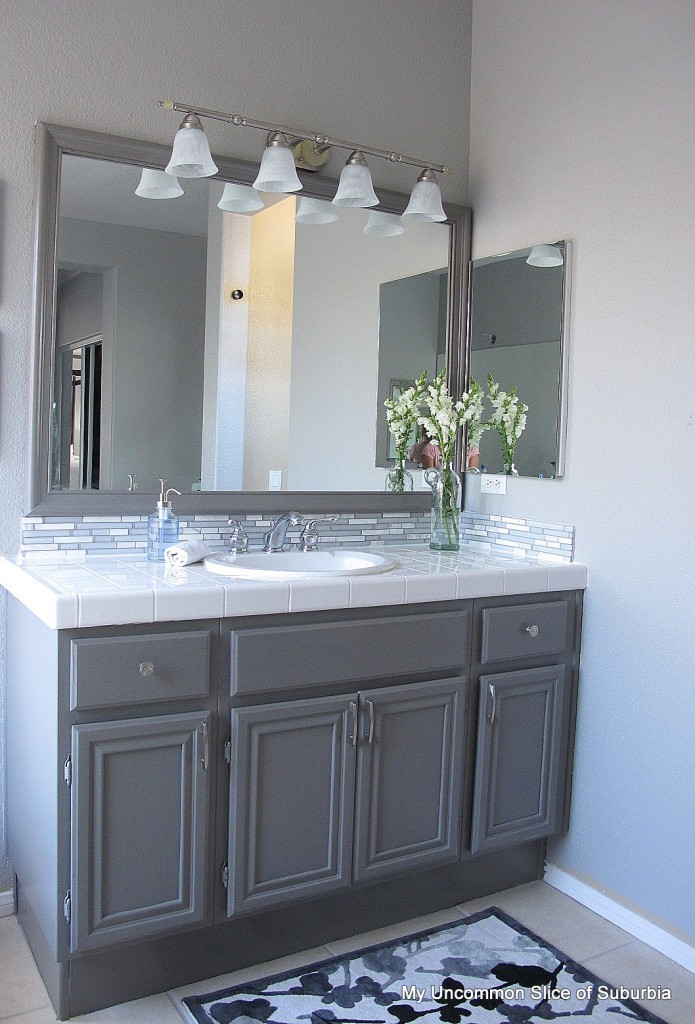
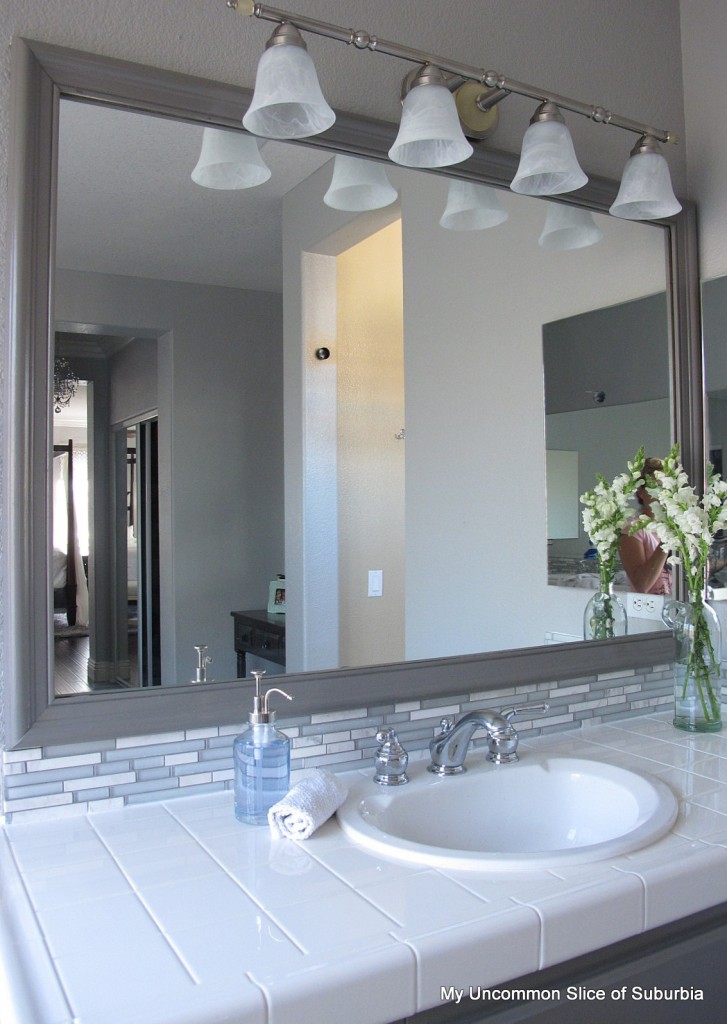
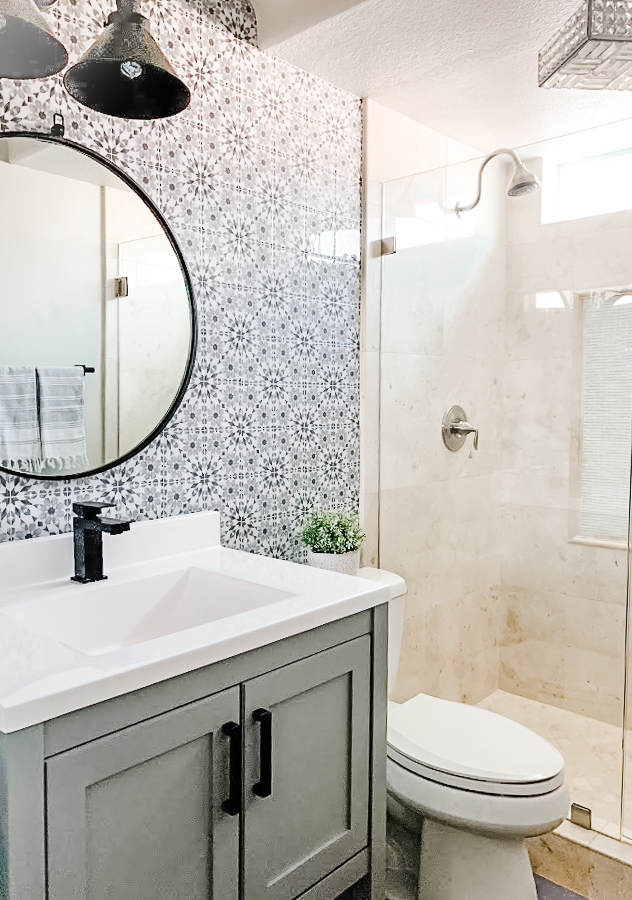
We have been working away on our master bathroom! This week we framed out the mirrors and painted the whole bathroom, minus the shower area.
The best part of this bathroom project is I have only spent $150.00! That includes both vanity makeovers, mirror update, paint and lighting! By adding just a few inexpensive updates and a lot of elbow grease you can totally change the look of any room, promise!
The hubby had some spare time and put one of the two vanity lights up and framed out the mirrors.
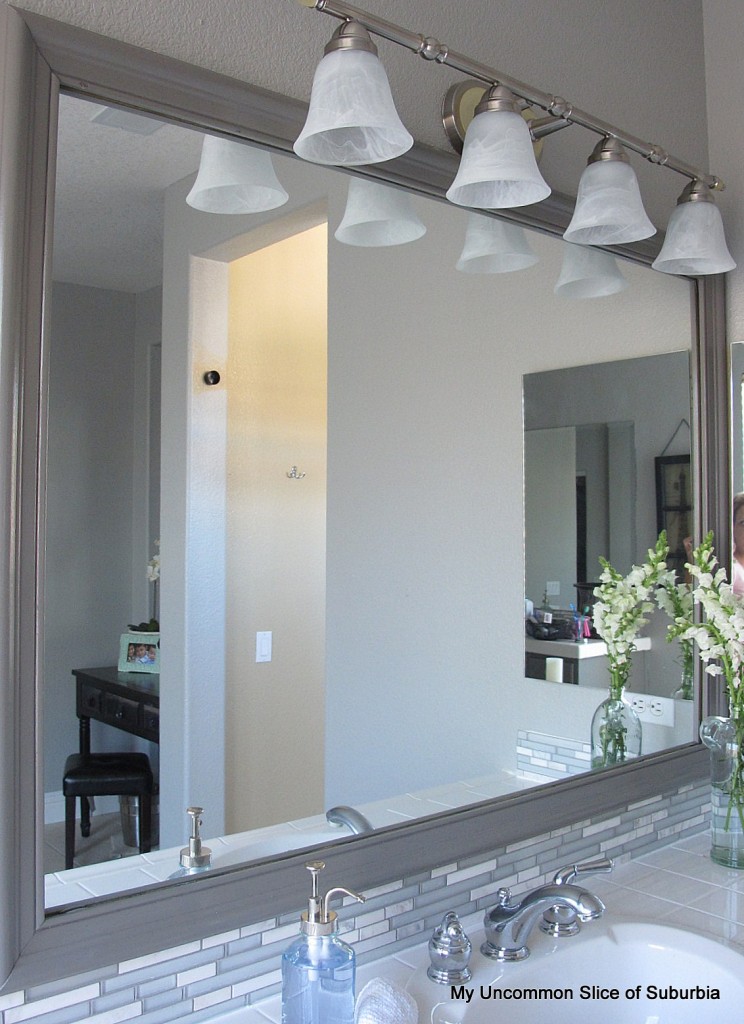
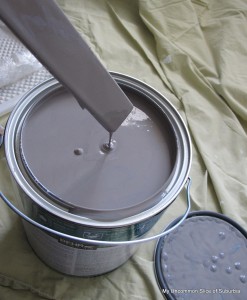
I painted the mirrors the same color as the cabinets, Chelsea Grey by Benjamin Moore, color matched by Behr.
Lights Before

Lights purchased at Overstock.
For all of you DIY junkies here is the step by step, super easy, we did it a few years back in the boys bathroom, you can find the full tutorial here.
Purchase the molding
Measure the mirror and cut your lengths at a 45 degree angle on a compound saw.

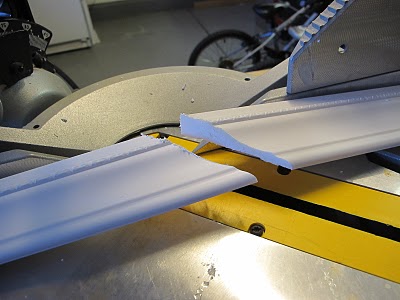
Paint the molding and make sure you paint the back as well, the mirror will reflect the other side of the baseboard and you don’t wan’t that to be unfinished.
We added this special sticky tape to the backs of the frame and for added reinforcement we used liquid nails all along the backs.
Hold it into place firmly for a few minutes, caulk the corners, touch up with paint and Voila, you have a whole new mirror!
 For more information on updating your back-splash click here. You can find out about how I painted the bathroom cabinets here.
Have a fabulous weekend!



Ooooh! Can’t believe it’s the same bathroom!!!!! And with that kind of budget too!!!! Great job Kristin!!!!! I also loved that you shared how you frame the mirror – would definitely do it someday – our bathroom is I think your bathrooms TWIN SISTER! LOL! Thanks for sharing these!
I’m so sorry you’ve been having such a rough week Kristin! I hope things get better soon and I’m sending a virtual hug your way. 🙂 Your bathroom is looking incredible and I love that matched the frame color to the vanity color. Just beautiful!
Vanessa
LOVE the color! It looks so beautiful!
A fabulous makeover – it just looks so up-to-date & modern; thanks for the inspiration.
Nice! Where can you find the special tape? I was going to frame my vanity mirrors but thought I had to use liquid nails. I like the tape idea better.
Hi Kristin,
The bathroom is looking great. I have been wanting to put frames around my mirror. They go wall to wall across my vanity that has 2 sinks. I have seen other bloggers frame them to look like 2 separate mirrors. This motivates me to get back planning this project.
Love how the frame totally changes the mirror.
UGH – I am so sorry you had a terrible week. I hope your grandmother is doing okay and so are you – I’ve been thinking about you my friend!
Wow! I love how it turned out…good to know about extreme mounting tape. thx!
Love how you did this bathroom on such a great budget! what is the color of your bathroom walls?
That is one fabulous makeover Kristin and I love the color you chose for the cabinets! Have a great week!
Looks beautiful! Love how you have transformed your mirror into a custom piece!
I’m really impressed with your writing skills as well as with the layout on your weblog. Is this a paid theme or did you customize it yourself? Either way keep up the excellent quality writing, it’s rare to see a great blog like this one these days.
I love your choice of gray for the cabinets and frame (for the mirror). You continue to always inspire me 🙂 Quick question: where did you get the mounting tape. I took a screen capture of the tape you pictured and I went to Home Depot. No such luck finding it. Do you recall where you purchased it?