How to update a backsplash
It feels like it has been so long since I shared one of our DIY projects so I am happy to say the back-splash is done in the master bathroom, YAY! It is actually a pretty simple project but with all that has been going on around here it took a few weeks to complete.
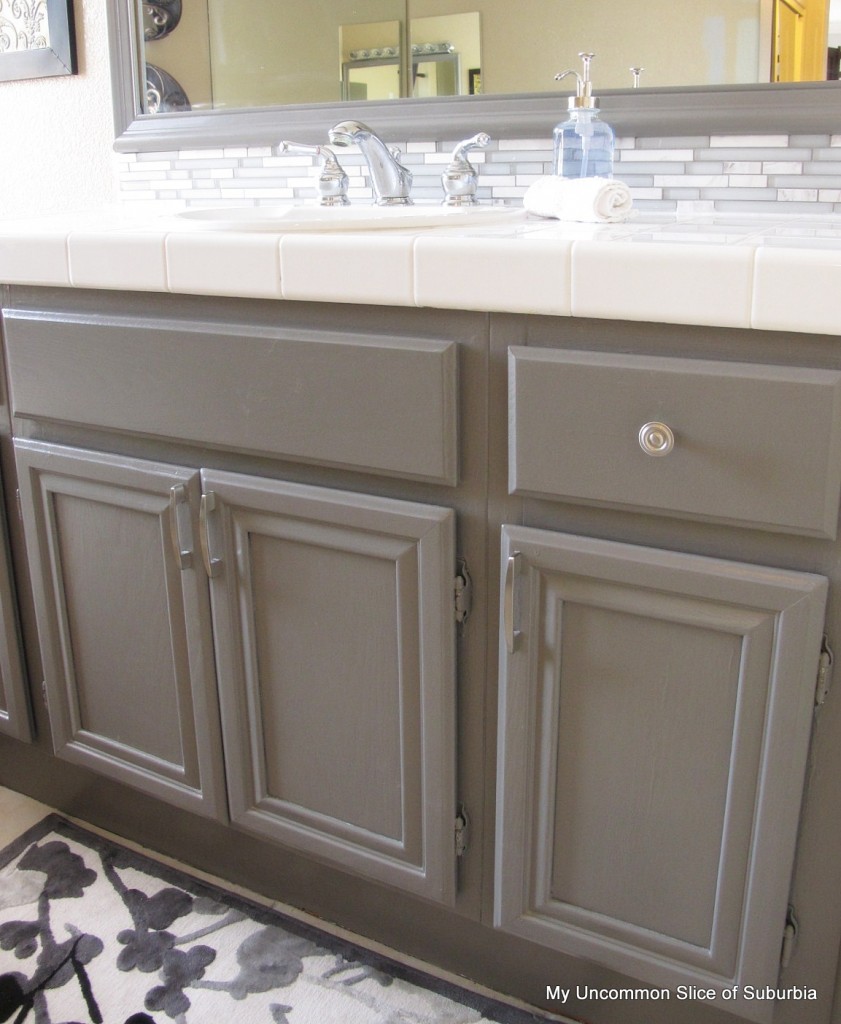
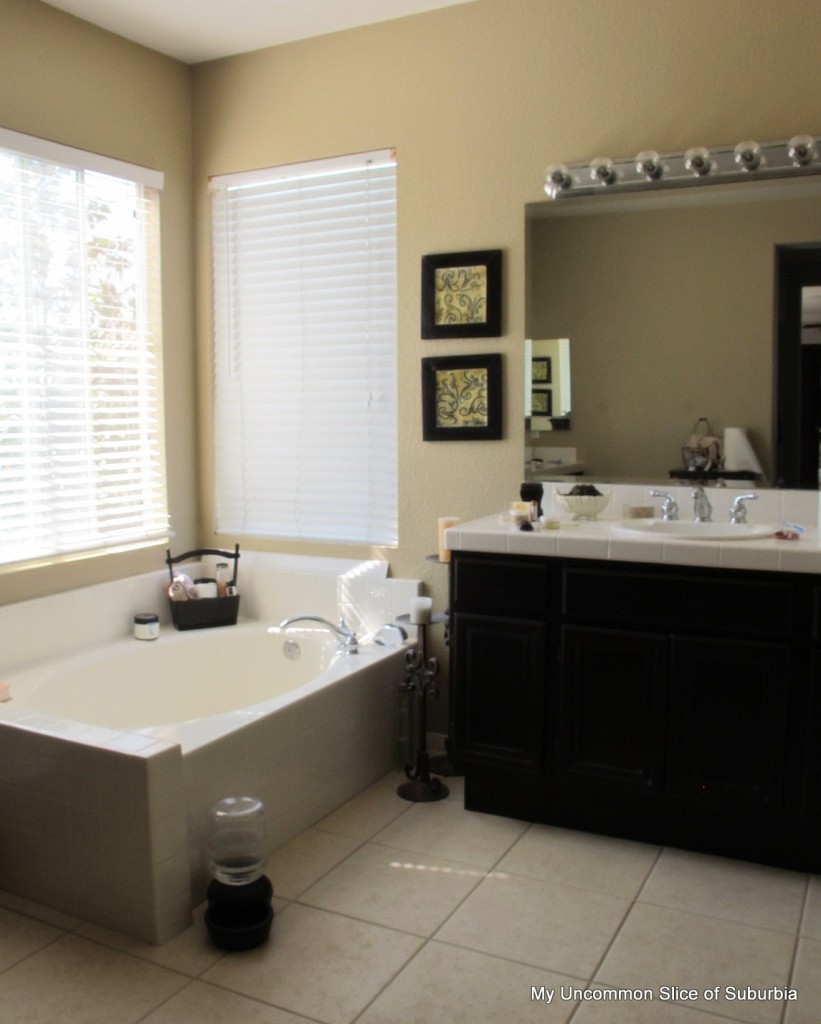
The white tile was fine, we just wanted to add some visual interest to the vanity after I painted it, let’s take a look back, shall we? Uggg…
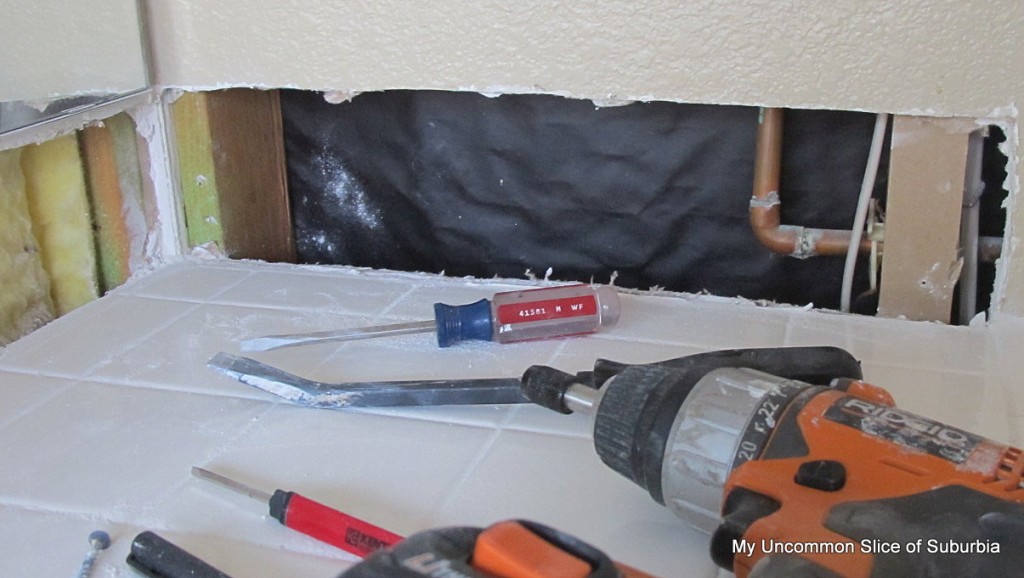
First things first, remove whatever surface is existing. Because it was tile, the dry wall came off with it so we just cut a new piece of drywall and screwed it into the studs of the wall.
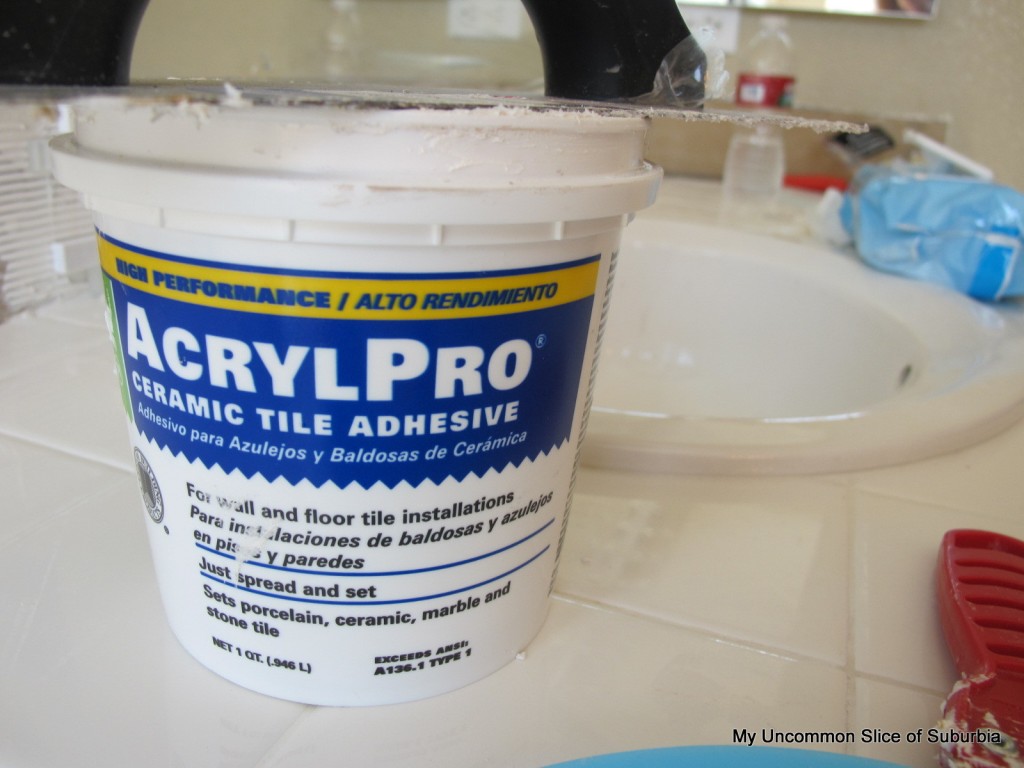
Find yourself some ceramic tile adhesive or thin set.
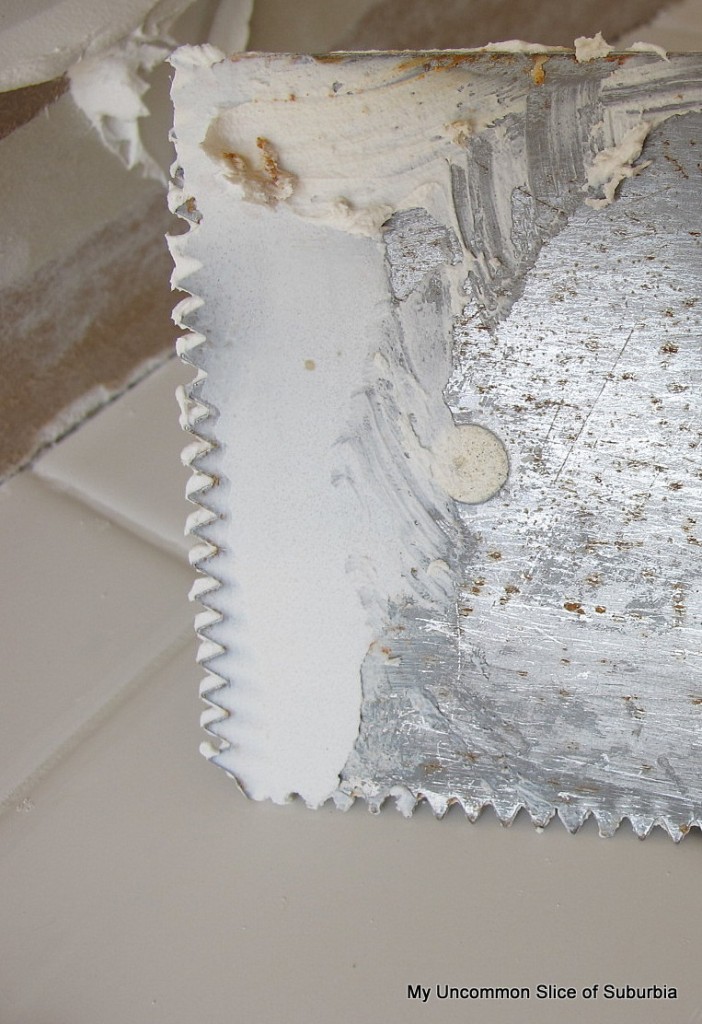
Scoop it out of the bucket with the edge of a V-notched trowel and sweep across the drywall.
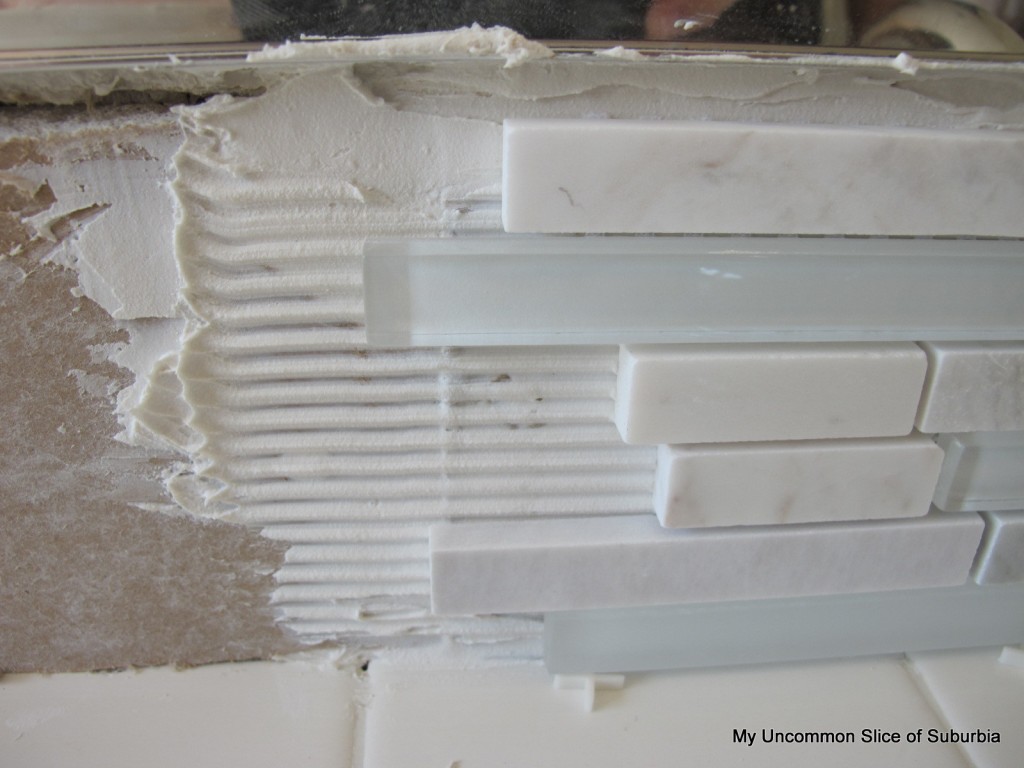
Firmly press the glass tile onto the thin set.
When we got to the end we needed to cut the tiles so we borrowed a score-and-snap tile cutter from a neighbor. It looks something like this:
After it has dried overnight you will want to grout.
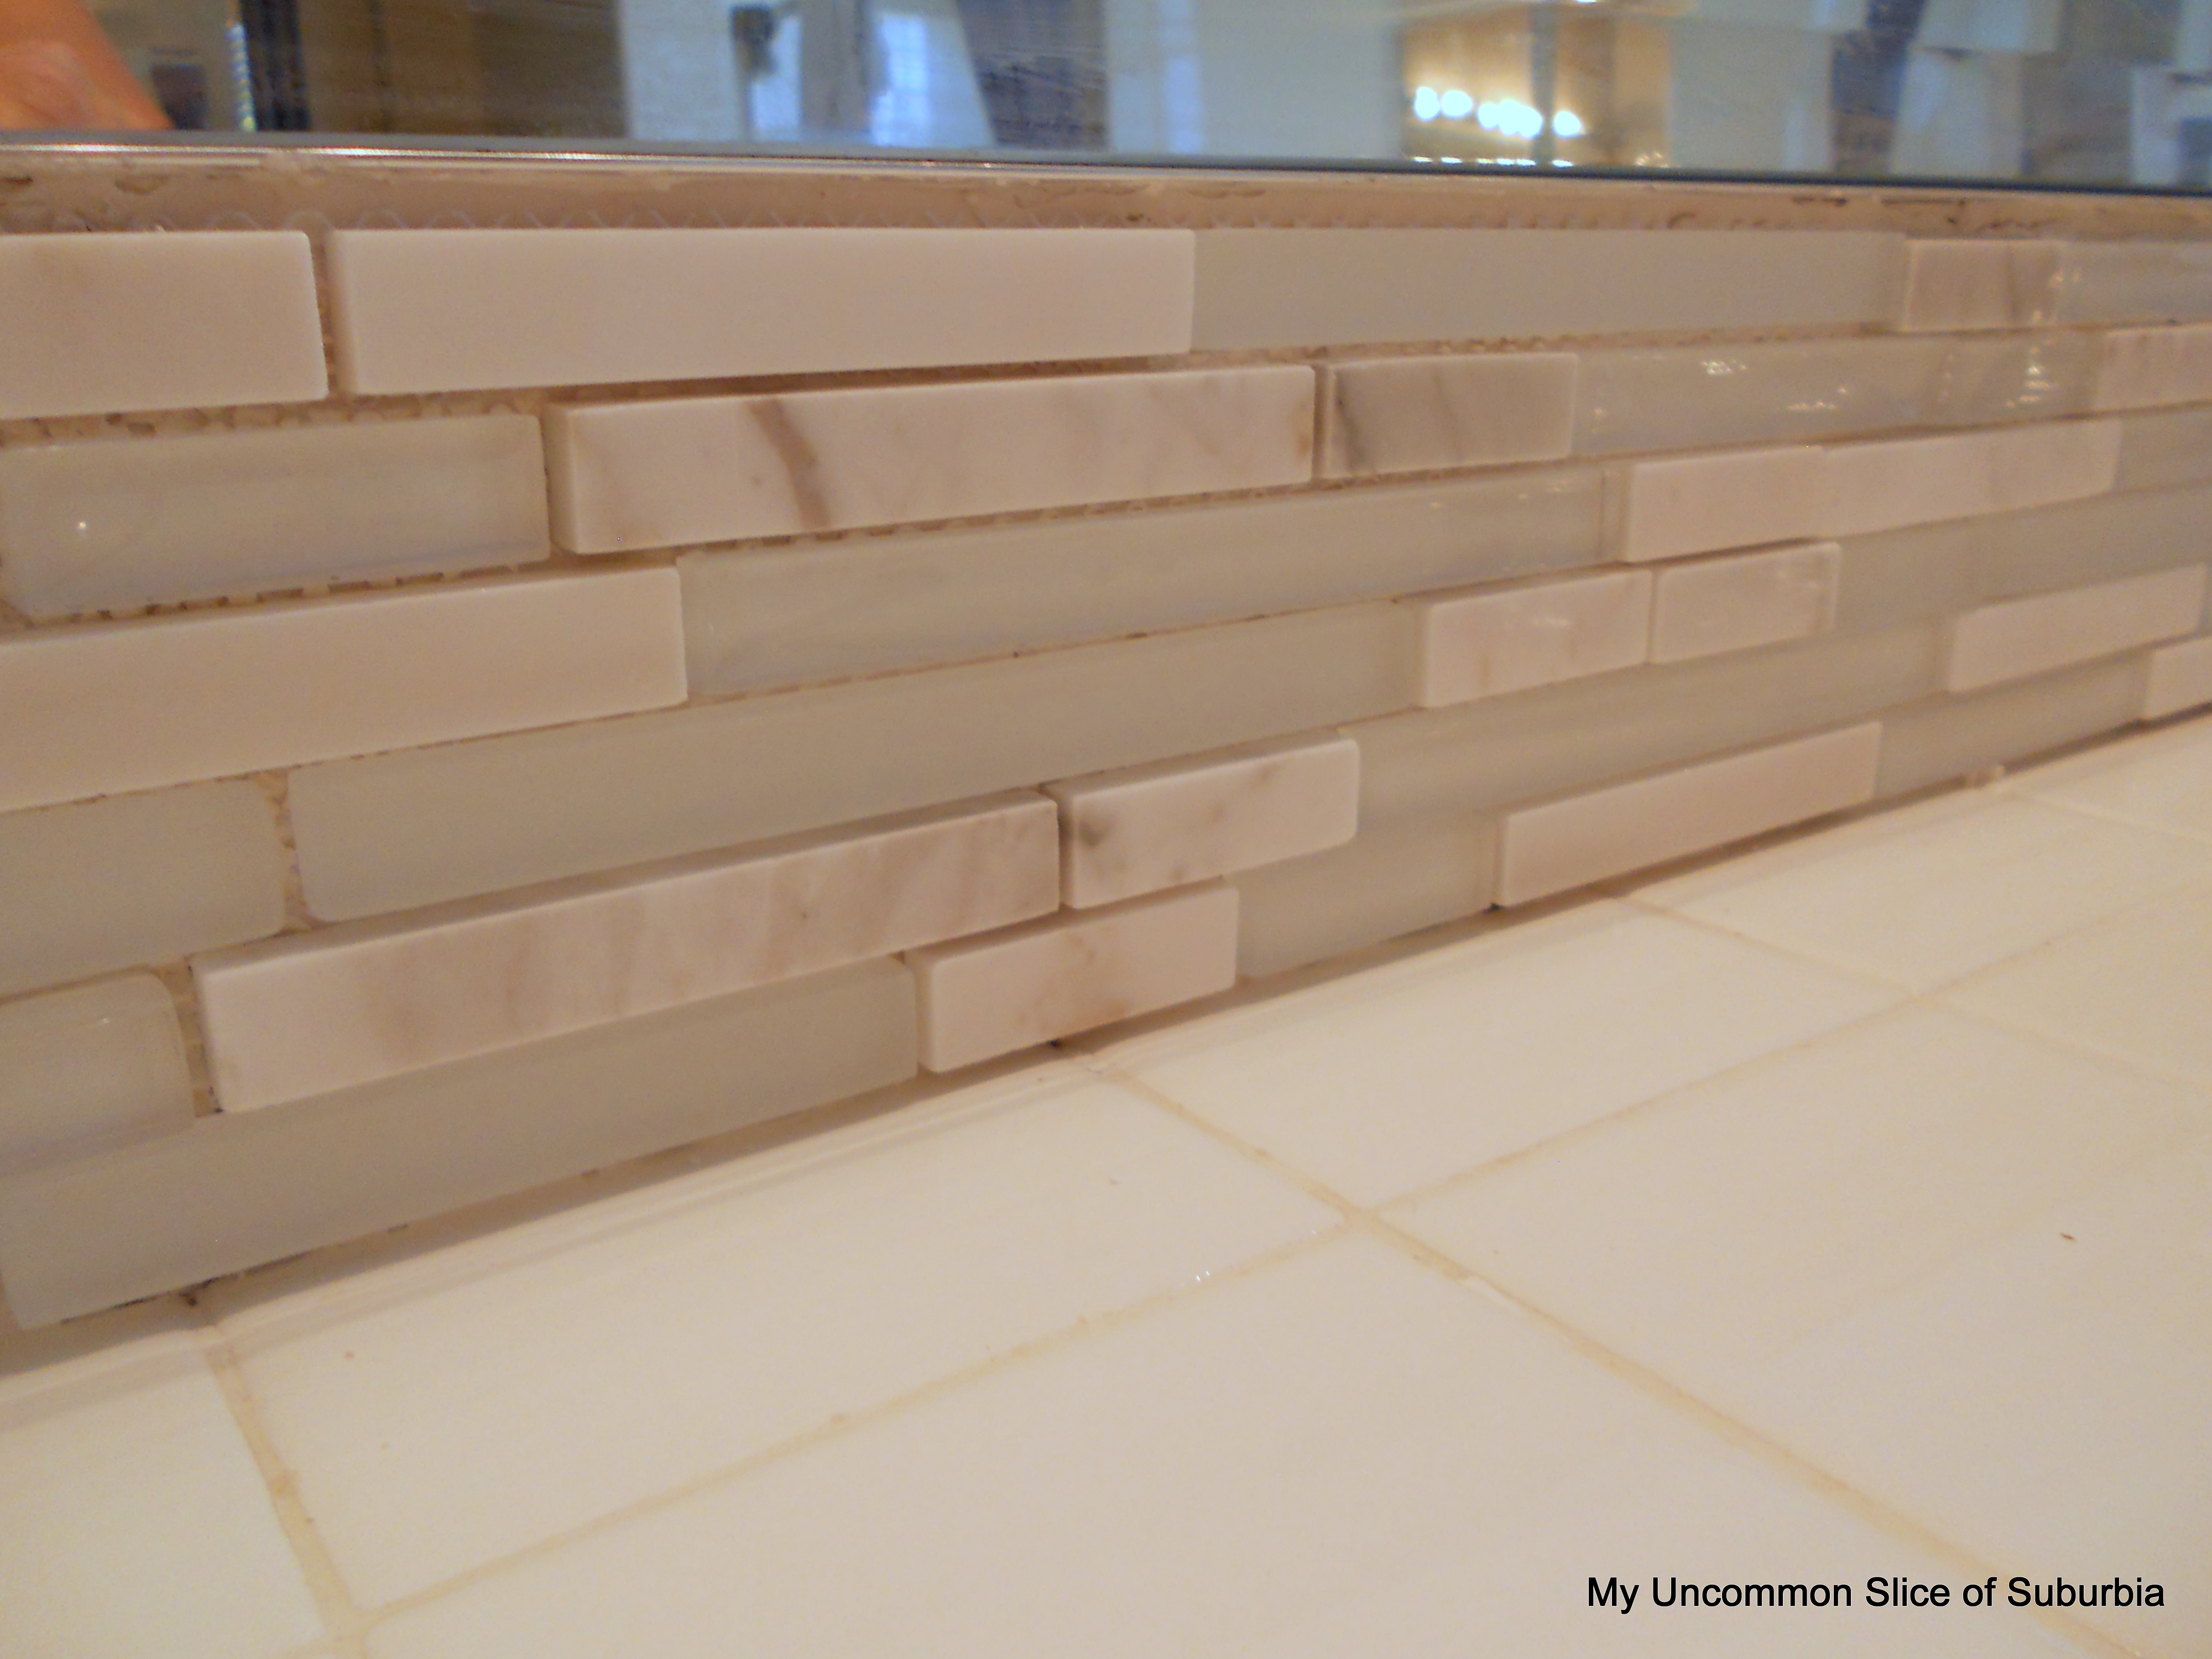
 The directions are on the back but basically you will want to pack the grout deep into the joints, but don’t get any into the seam between the tiles and the counter-top. Next clean the surface with a soft sponge and water, rinsing the sponge often. Wait 30 minutes and buff off the “haze” with a clean, dry cloth until the glass tiles are nice and shiny.
 Squeeze a thin bead of tub-and-tile caulk between the back-splash and countertop.
We then framed out the mirror on Ray’s side, post to come on that soon. We still need to frame out my mirror but ran out of molding.
So glad I cleaned up before taking the before picture.
So what is left? Paint and lights!
Total Cost
$30.00 for the glass tile, we had everything else!
Once again, thank you for everyone who has left such kind messages for my family. I was able to get Grandma to eat some soup yesterday, first time she ate in a week, I cried happy tears!



Oh, it is super pretty. I love those new tiles!! The black cabinet was actually cool… but I know sometime we crave change! It’s looking really good girly 🙂 Like a whole new space!!
Thanks Shannon! I loved the black as well but it was starting to peel after 5 years so it was time for a change 🙂
Looking good!!
The new tile looks beautiful! A messy before “before” pic makes for an even more impressive-looking “after” 🙂
so pretty! i love the color and the shape!
I love you backsplash makeover. I have seen those chic glass tiles. What a touch of glamour they add to the space between your sink and the mirror! Kudos to you for the great DYI!
Your project would be perfect to share at TUTORIALS TIPS AND TIDBITS, my new weekly linky party! It is live every Wednesday evening at 8:00. Come on over and join in!
Aww you are the best granddaughter!
The colors you chose for the bathroom remodel are SO pretty….I love the size of the tiles and the different greys and whites in it. So pretty!
So lovely and I am really happy for you and gma!
I recognize that tile!!! 😉
It came out so great. It really does make the whole vanity seem more expensive and updated.
Glad to hear about your grandma!
It’s really pretty – since you’ve showed us the tiles, I was wondering what it’d look like on a wall. But I can never ever show this post to my husband – he’d go ballistic if I suggested taking off a perfectly fine backsplash to make a new one *g* xo Anja
This looks really good. I think I’ll mention this project to hubby.
Beautiful tile! I didn’t see where you said where you got the tile. Do you mind sharing the source? It’s amazing what a difference even a small tiles area makes!
Love how it turned out! I have some leftover glass tile from my kitchen redo that I want to use as a backsplash but I’m nervous!
The new tile looks so beautiful Kristin! My kiddos’ bathroom really needs an updated backsplash and now you have the wheels turning in my mind…my hubby will just be so thrilled to have another project added to the list. LOL! Your bathroom is really looking gorgeous! 🙂
Vanessa
P.S. So sorry about what has been going on with your grandmother! Praying for her and your family!
It is absolutely BEAUTIFUL! It made such a huge difference in the look, too. I love it! I am so glad your Grandmother was able to eat a little…I hope she continues to improve! <3 to you!
wow, you did a terrific job! love the tiles you chose – gorgeous! I have the same lighting now – agree, gotta go, I am on a hunt too! Will continue to follow your progress!
Nice job.
So pretty, Kristin. You and your husband did a great job.
Love it, ive always wanted to do this for my kitchen, but now im thinking i will start with my bathroom… thanks for sharing…
I really love the tile you chose. And thanks for the tutorial…I’m wanting to add some time around my tub. Your bathroom looks great so far and I can’t wait to see the finished look!
Your tile choice is exquisite! Such soft, cool colors. It’s amazing what a few little changes can do to a room, isn’t it!? Love how this turned out!
i have to commend you on using caulk at the bottom of your tile job.(its beautiful by the way).My hubby is a contractor and we have watched sooooo many shows that show how to put grout there…..and he gets very cranky. walls move,counters shift and grout cracks…caulk does not. These shows also assume that your counter is level and your square tiles will all line up perfect…..my “kitchen redo’ shows how very wrong that is.After leveling…i had up to an inch of space above tiles on one end and was flush with the bottom cupboard at the other.arghhhh! if he had not used a level and drawn a level line my kitchen tile would have run down hill.:)
Ahhh..thanks 🙂 We did a lot of research to make sure we were doing it right 🙂
Oh my goodness ~ this is so darn pretty. I need to get the courage to do something like this ~ I’m a big ole wimp sometimes.
Hugs,
Mary Beth
Oh I wouldn’t say you are a wimp 🙂 I felt like since it was in our bathroom we could be a little more daring 🙂
XO
Great tutorial – so thorough! I love the colors in the tile you chose – very spa like! Great makeover Kristin! Pinned!
THanks Heather, so sweet of you, hope you are having a fabulous day!
XO
i love the tile you used – where did you get it? we’ve been on the hunt for backsplash tile for months!!
We purchased them at Costoc, $30 for the whole box!
The glass tile backsolash is beautiful! Could the tile be applied to the existing backsplash to eliminate the need for carpentry?