
Tutorial on fabric rosettes
Happy Wednesday!
You might remember a few months back I made a bunch

Truth be told I didn’t like how difficult it was for such a easy project.
I tried the pin and needle, the pencil wrap the fabric glue….
Yes, they were all a pain for me.
You know me, I don’t have much patience so this is what I came up with.
Grab a long piece of fabric and cut or tear. I would say you need about 1 yard long and 2 inches wide. However, this part really depends upon how large or small you want your rosette to be.

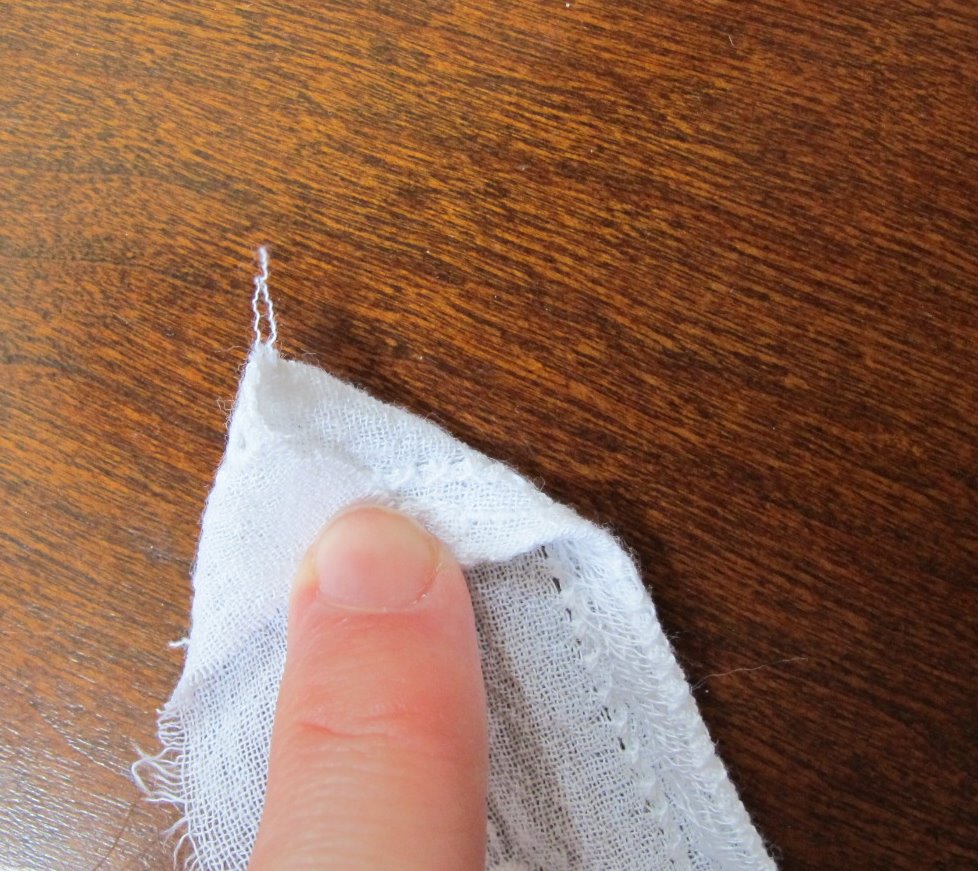
Fold over one corner

Fold over the other corner to make a point
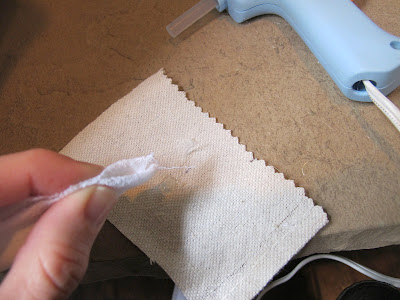
Glue your point onto a heavyweight piece of fabric, felt, whatever you have.

Start twisting


And as you twist around, glue around the edge to secure it down.


When you have your desired size rosette, glue the end on the back of your heavyweight fabric or tuck it in the side of the rosette.


Trim off all the extra heavyweight fabric

Embellish if you would like

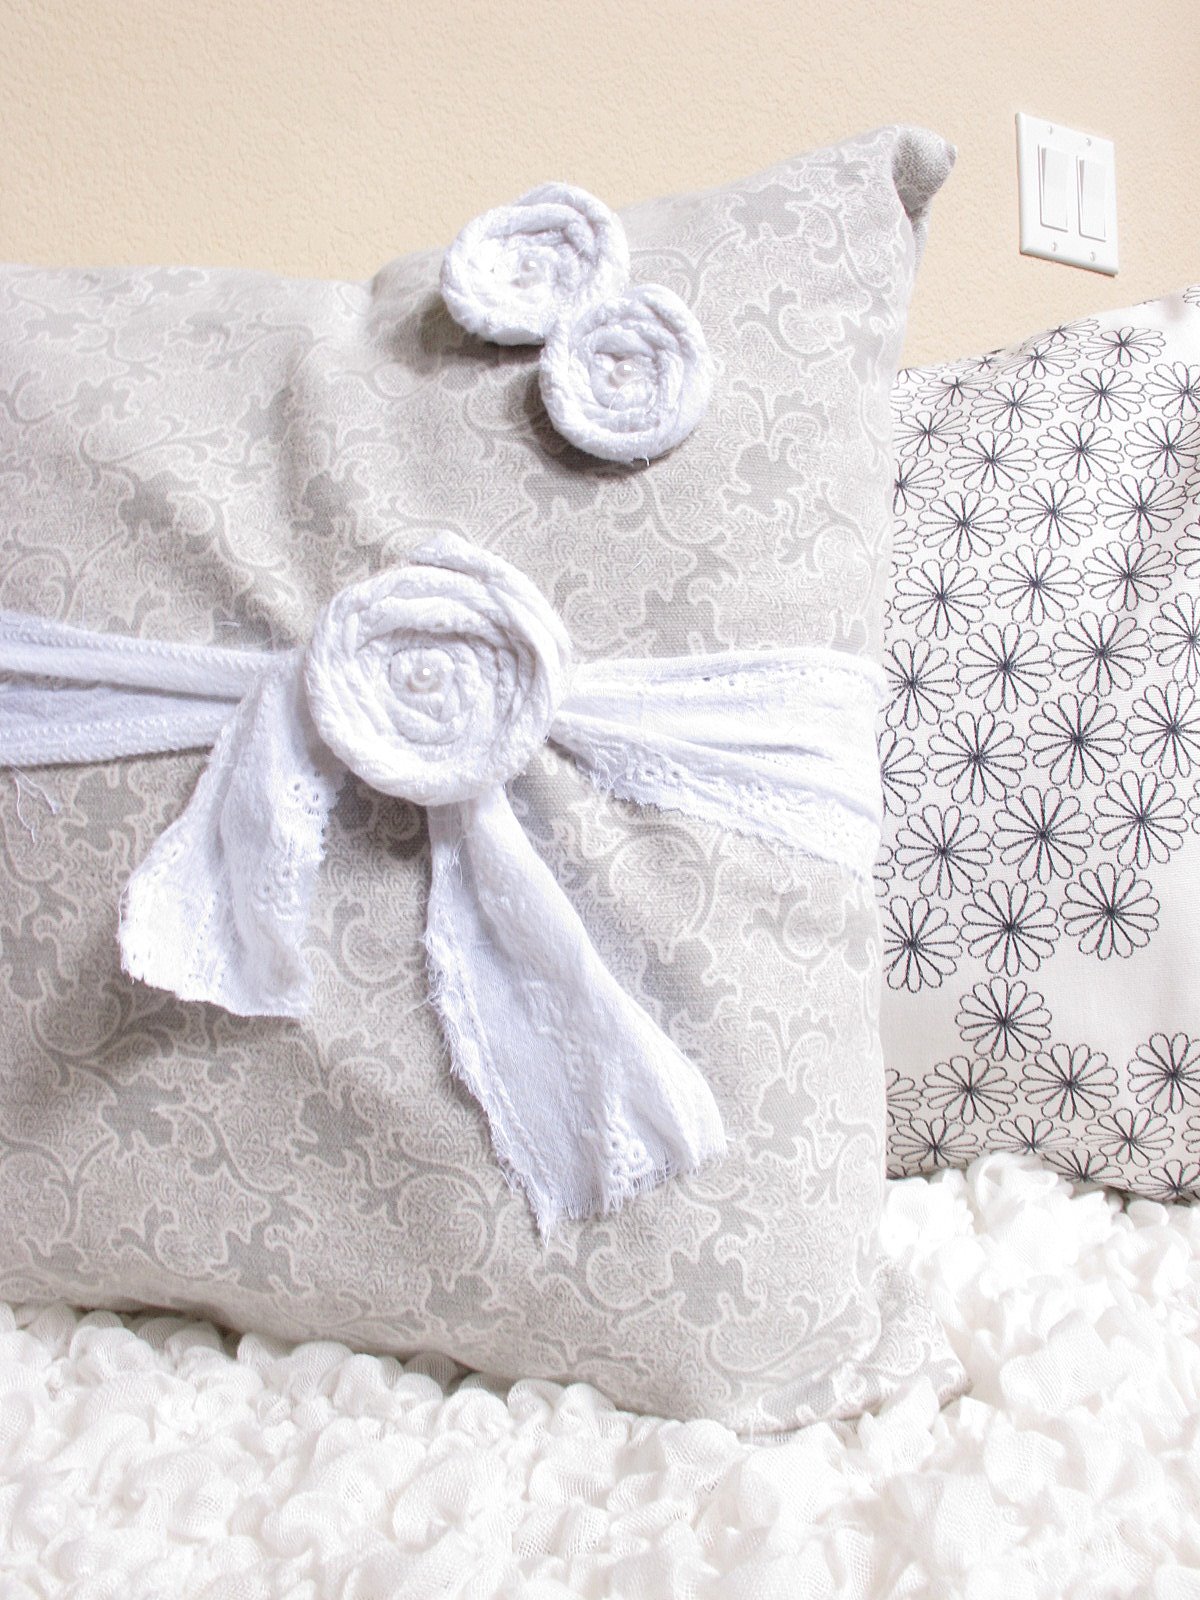
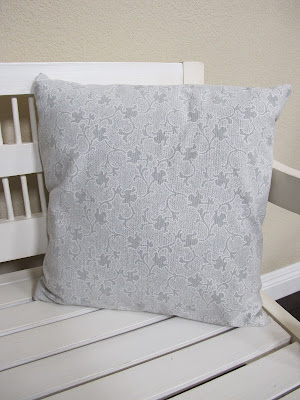
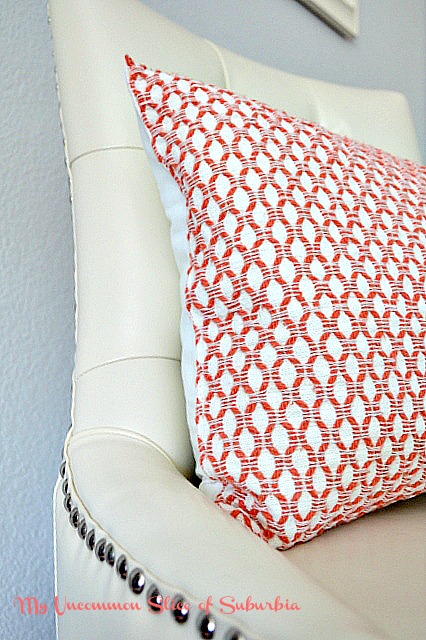
Pillow before

Pillow after


Have fun with it! Try twisting tight, try twisting loose, you will get different effects!


The pillow looks geat Kristin. I think there are a lot of ways to make the rosettes, you just have to find what works for you.
I've been wanting to make a few of these…thanks for the tutorial. This looks pretty easy!
This is MY kind of way!! who would even know! They are so cute and make a great impact on a plain pillow!!
Thanks for sharing!
I like your way so much better! Thanks!!!
The pillow looks terrific! I love how easy the rosettes were to make and can see them being the perfect embellishment for a plain tote bag, too. Thanks for sharing.
I'm hosting my monthly Before Blogging Throwback Thursdays party tomorrow and would love for you to share something you made from before blogging. I know that you've been blogging for a couple of years, but the thing about crafters is that we tend to have been crafty forever and have a house full of stuff that we've been making all along. I'd love it if you took a pic of one of those before blogging projects and gave it it's proper "Tada!" moment. Can't wait to see what you bring.
i'm so happy you posted this! i've been wanting to learn how to make rosettes for a while, i'm going to get to work now!
thanks!
b
Great way to spice up a throw pillow! I'm glad you are smiling again!
I need to make a few of these for a lampshade. Thank you for showing us how it is done. Hope you are feeling better.
Rosettes make everything cute! Your pillow turned out great. Great tutorial… no burnt fingers 🙂 I like your way much better. Thanks for sharing!
Hope the rest of your week is good!
Hugs,
~Michelle
XO
Sorry you have had the blues, my friend! Hope things are better today. 🙂 Thank you for this super simple tutorial. I have been intimadated by these and you made them seem so much easier!
Vanessa
I hope that creating has made your blues subside! I know that creating when I make myself do it always helps me. Love your rosettes and your pillow and it is so sweet of you to share your tutorial. Here comes the sun little darling here comes the sun…it's alright 🙂
Sherry
Very pretty, Kristin! I love your rosettes and your new pillows. Great fabrics! Your tutorial is very easy to follow. Thanks for sharing it! I hope you have a great rest of the week.
How gorgeous! And you even make it sound like something I could actually do myself!
Hope you and your family will have a glorious Easter!
Big TX Hugs,
Stephanie
Angelic Accents
Thanks for the tutorial…made me smile too 🙂
These are just gorgeous, Kristin!
So often I see these projects and think there's no way I could do them…but I think I could actualy do this one! Thanks for the tutorial. 🙂
Have a wonderful Easter!
Hugs,
Anne
Oh, thanks for this! I want to make rosettes for a wreath but was a bit apprehensive because wasn't sure how I'd go about making them. Perfect timing on your lesson.
Is there anyting you can't do, my friend!? Lol! Love these…its amazing how a little detail totally transformed that pillow! ;o)
Mary
Hope that fun little project has you feeling better – your blog is always a bright spot in my day!
You did a lovely job. Have a Happy Easter.
hope your blues are gone. mine would be if I had that darling pillow!
You are brilliant! Way to make something complicated simple 🙂
Your way looks so friggin' easy! Thank you, Thank you, Thank you! by the way, those pillows don't look too "shabby" either!
I need to make some of those – they are so pretty!
Beautiful! & you make it look so easy…xoox, tracie
You made ME smile just reading this! What a cute pillow and ribbon! Isn't it amazing how creating something can lift your spirits? I feel like that when I visit MUSOS – you lift my spirits!
Okay, this is super awesome!!! I remember how bad I wanted to learn how to make them. This is lovely Kristin…Got a couple of grey, plain pillows…a spray of pale rose and white rosettes will look great on them…what do you think?
Thanks for the post. P.S. I have the same throw(Ikea). I love it.
lovely kristin.
I have used many tutorials for rosettes and found that I use a combination of them. thanks for sharing.
Hi Kristin!!
How cute they are… it seems simple, I should try!!
Have a Happy Easter…
kisses
Etta
i have yet to try those…ive wanted to but just havent. i think because i am usually painting something.
i love how you wrapped ribbon around the pillow too. nice job.
glad you lifted your spirits! the pillow looks so pretty! i'm a fan of rosettes they are so lovely! Happy Easter!! hugs, susan
Hey, that's a funny idea and fantastic to pimp up many things. Thank you for sharing!!!
I wish you fantastic Easter with many, many chocolate, funny days and good mood!!!! 😉
Big hugs
Tine
Hello,
The pillow looks pretty. Thank you for leaving a comment earlier. We love it here! Always talking about moving. It beats the weather in New England. We have been coming here for the last 10 years and still can't get enough of this area. Enjoying the DEL. It such a beautiful place.
Take care, Claudia
Great tutorial!! You make it look so easy! I have yet to add any rosettes to anything in my house….mostly because it seems so hard but you make it seem easy!!!! Thanks!
I have not yet tried making rosettes. This looks like a very easy way to do it. They turned out so cute! I think I might need to try this.
Thanks so much for the tutorial. I am making a ring bearer pillow for my daughter's wedding and was wondering how to make rosettes. I can't wait to get started. (I'm making it out of my wedding dress, circa 1975).