
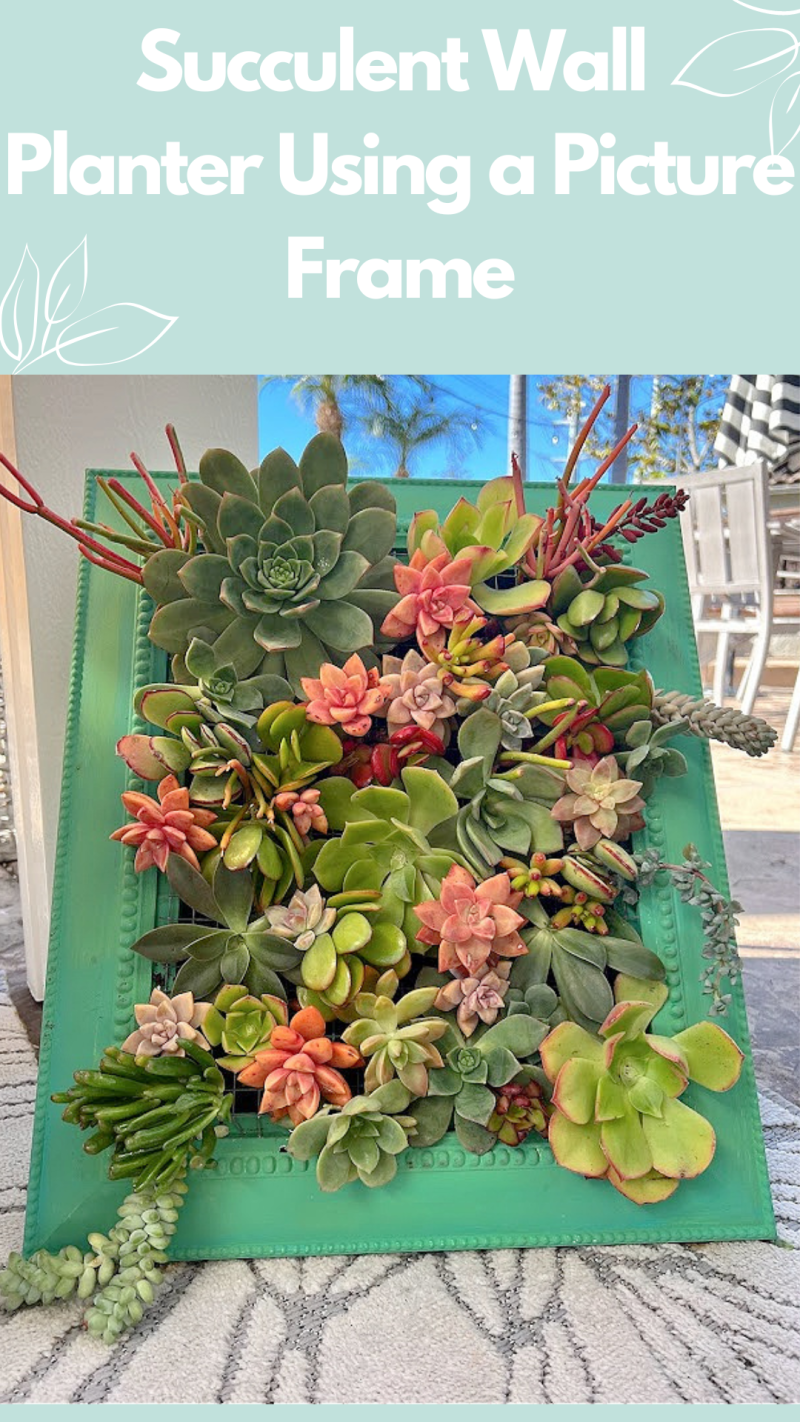
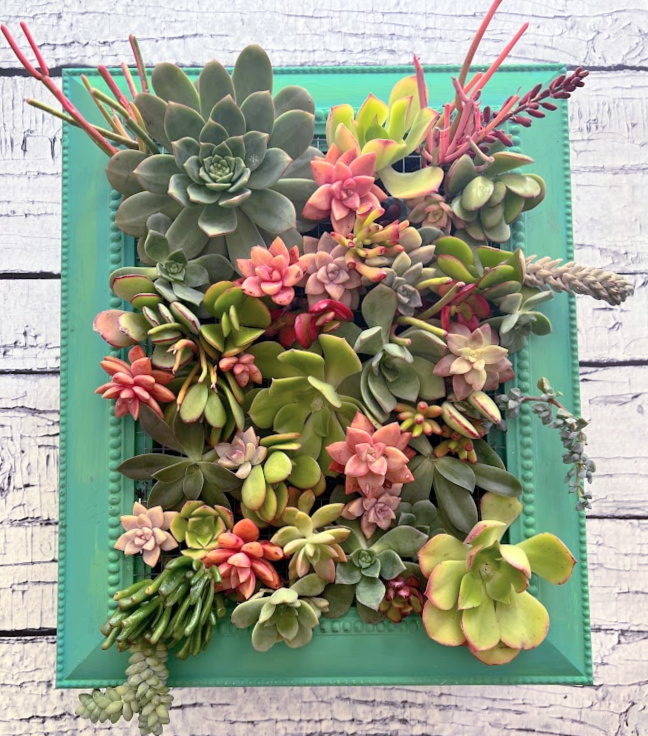
Succulent Wall Planter Using a Picture Frame
Add some greenery to your home or outdoor space by making a beautiful succulent wall planter using a picture frame. This wall art is such a fun DIY project and a great way to get ready for spring or summer. California has had its fair share of winter weather with lots of rain and I mean lots and I’m kind of over it. However, the sun has been out for almost 5 days so I decided to come up with something for the garden for this month’s thrift store challenge! Besides, you all know how much I love succulents! With my step-by-step instructions, you will have your very own vertical succulent garden in no time at all.

It’s thrift store decor day, where we each transform a thrift store object so make sure to check out everyone’s projects at the end of the post. Picture frames are one of those things that I always stock up on when at a thrift store, you can usually get them for pretty cheap and there are so many things you can do with them!
I’m going to preface this tutorial with a little apology, I had the worst food poisoning last week, and my husband in between his stressful job, traveling, and tying up loose ends with his family quickly built the shadow box for me while I laid in bed feeling like death for a few days. So a HUGE THANK YOU to my hubby, I always hate to pull out of a post last minute and he saved the day!
affiliate links are listed below
MATERIALS AND TOOLS:
Miter saw or hand saw
Wood we used scrap wood
Measuring tape
Staple gun and staples
Screwdriver and screws
Nails and hammer or nail gun (We have this cordless nail gun and love it)
Paint of your choice
Wood Glue I recommend gorilla glue
Sphagnum moss (optional)
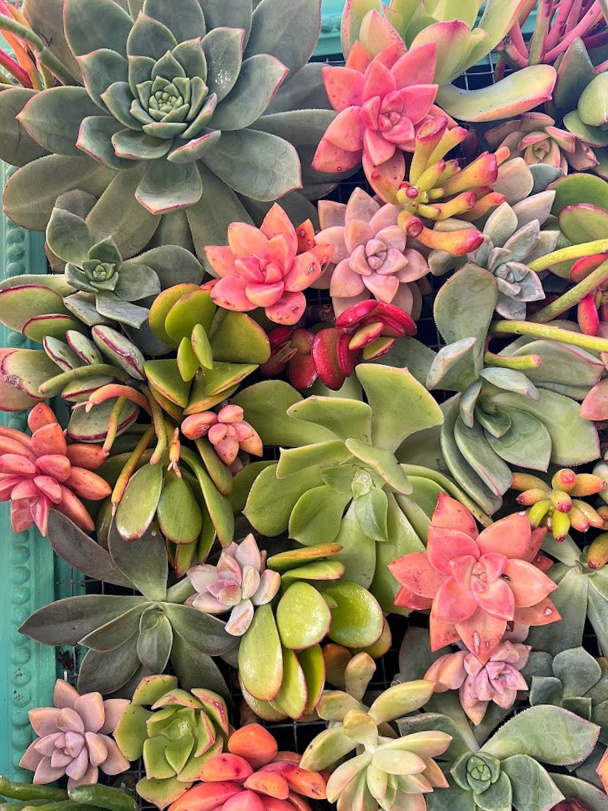
Succulent plants in a variety of shapes and different sizes (amazon sells these Succulents)
Soil mixture of Organic Succulent and Cactus Soil
Wire cutters
Chicken Wire
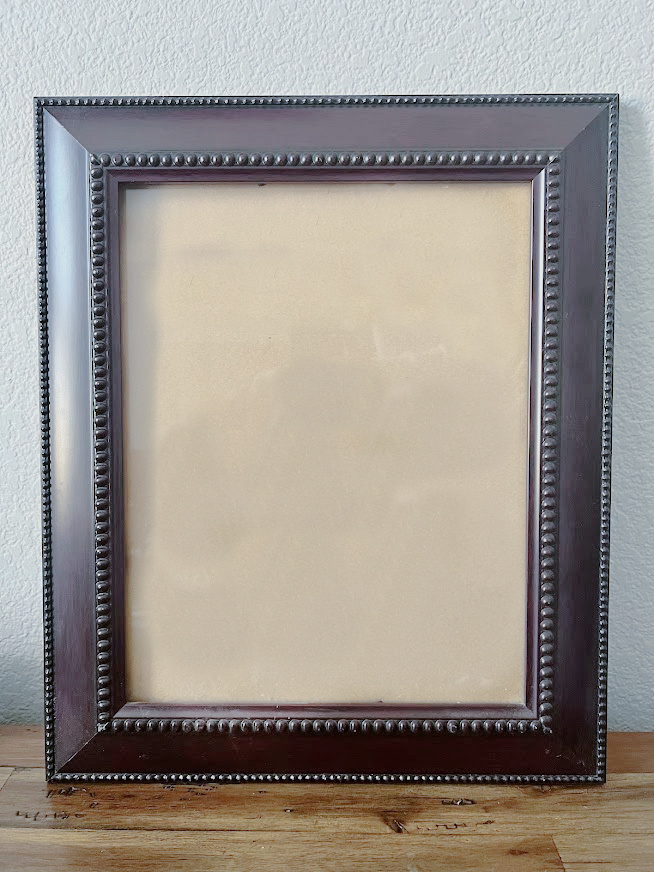
Old Picture Frame I used a 8×10
Chopstick or pencil
Make Your Shadow Box
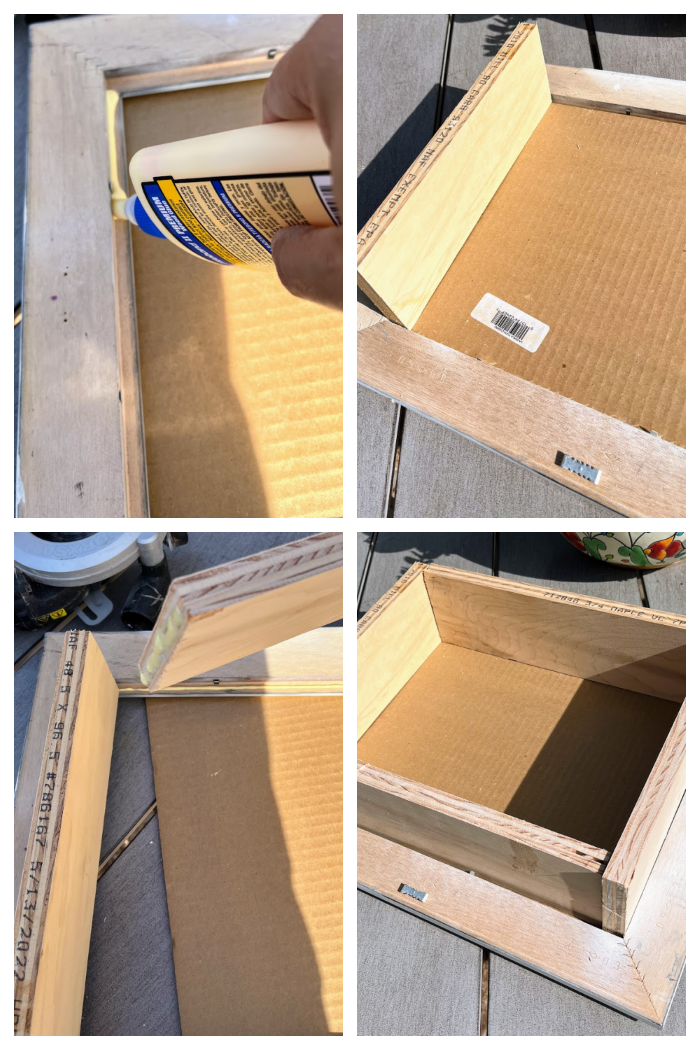
A shadow box adds depth to the back of the picture frame, so your succulents have space to root. Note: Your dimensions will be based on the size of your frame. You will need 4 pieces of cut wood to frame out the DIY Shadowbox, measure and cut a piece of wood to the length needed based on the size of your frame.

Once you have cut the wood, apply glue on the ends of each piece of wood and bring them together to form the first corner, repeat this process three more times until you have a square. You could build this directly on the bottom of the picture frame or add it later, either way, you will be gluing the whole square onto the picture frame.
We reinforced the shadowbox with nails and we reinforced the shadowbox to the picture frame with nails as well.
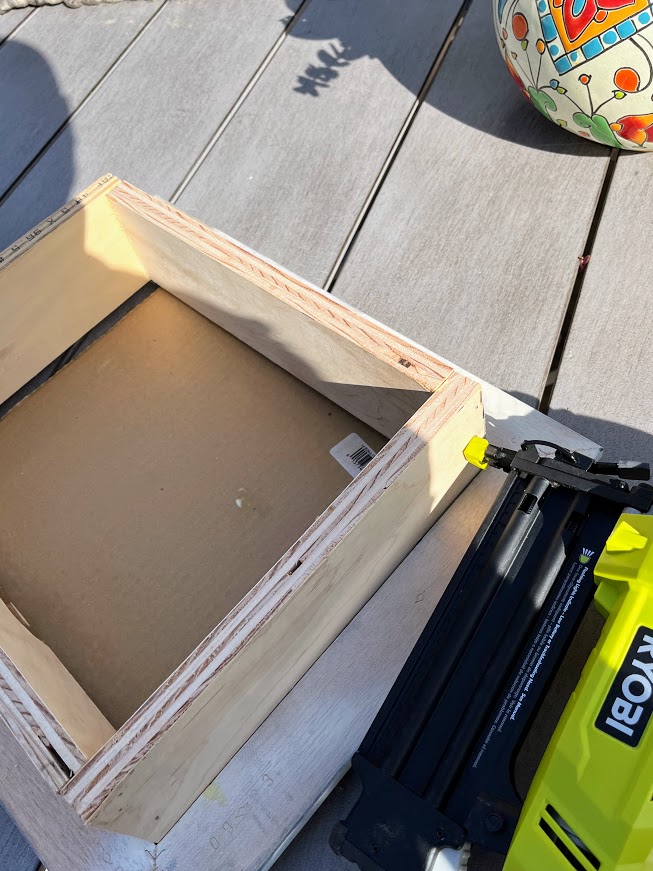
Note: If you are not using nails, the glue will need to dry for 24 hours before the next step. I would also recommend using painter’s tape or clamps if you are not using nails to reinforce the box.
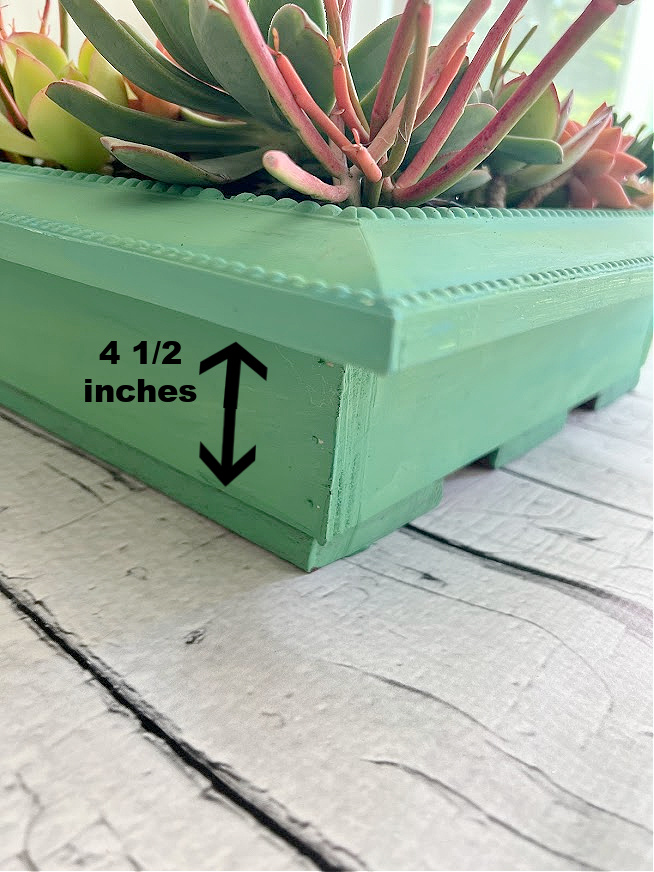
The depth of the shadow box is approximately 4 1/2 inches.
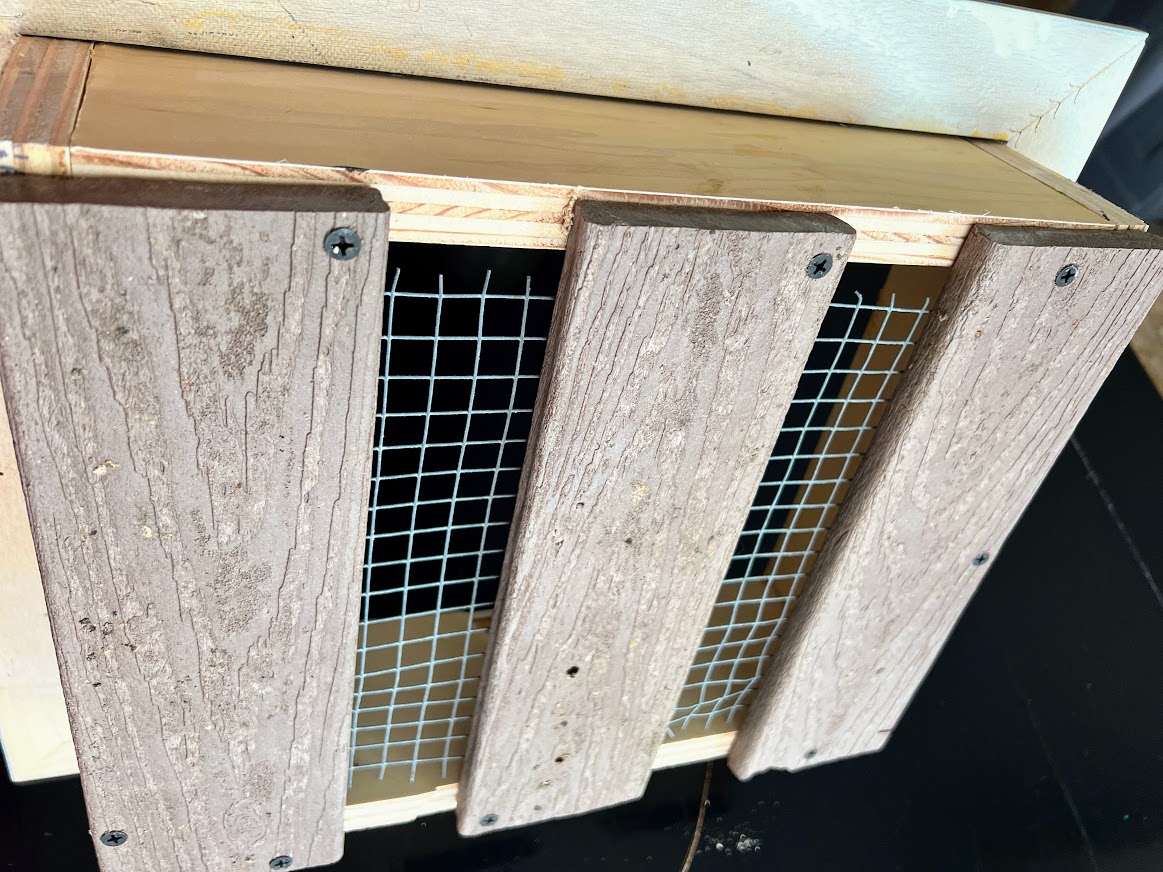
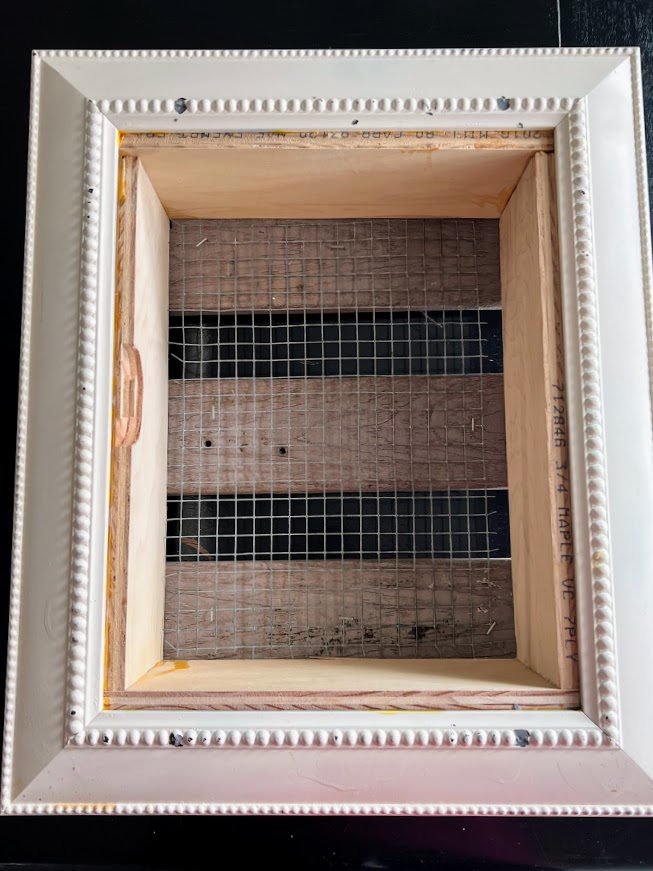
Add Backing to the Shadowbox
We decided to not enclose the whole box (on the back) as I have had issues with moldy succulents in the past, so I really wanted proper drainage. We decided to cut 3 boards and drill them onto the bottom of the box. We placed chicken wire on top of those three boards which we secured with staples, this will be the drainage holes. You could also staple the wire mesh onto the back opening of the shadow box prior to placing the 3 boards across.
Add Plastic Inside the Box

The ever so helpful pups lol
Secure Your Wall Hangers If You Intend To Hang This Up
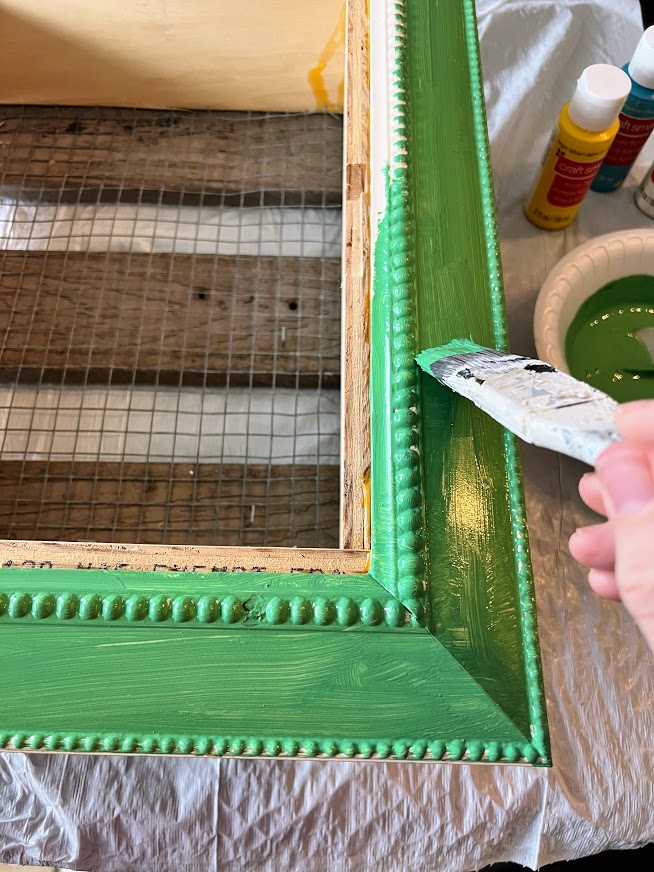
Paint The Frame
Turn the frame face up. Brush on a coat of outdoor paint onto the frame and the shadow box, which will offer protection against the weather. If you don’t have outdoor paint, make sure to add a coat of poly for protection. Get creative with different colors, I mixed up a few colors for a bluish-greenish tint. I primed this frame prior to painting it since the picture frame was so dark.
Add Soil
Evenly spread the soil in your frame. Stop filling just before the soil reaches the edge of the frame.
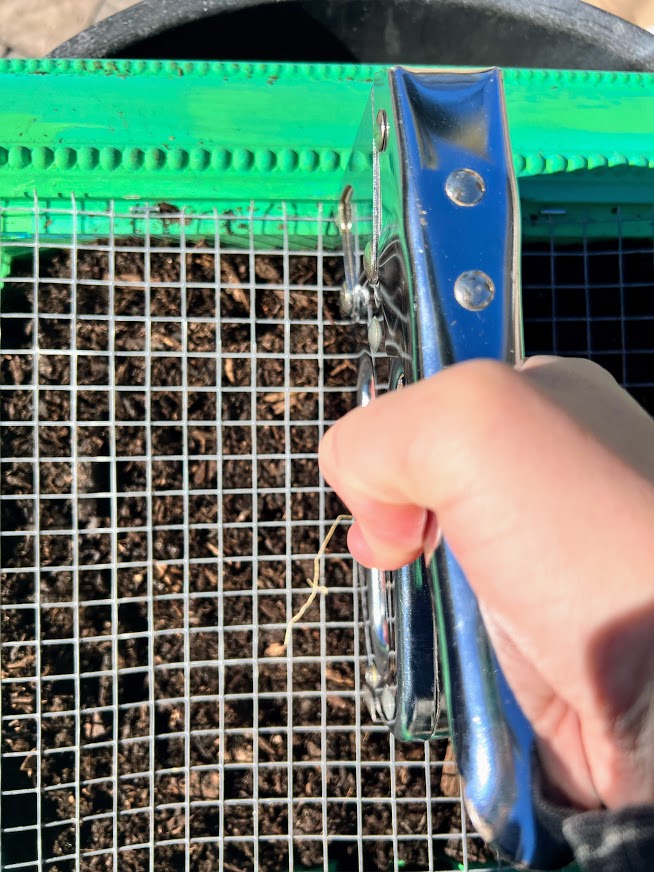
Secure Chicken Wire on top
Secure chicken wire on top of the soil and staple it onto the frame. I used 1/4″ wire, I had to cut a few wires for larger succulents with a bigger roots. I would suggest a 1/2-inch chicken wire grid as it is small enough to hold in potting soil, yet large enough to accommodate stems. (I just didn’t want to make a trip to the hardware store so I used what we had)
Add your Succulent cuttings
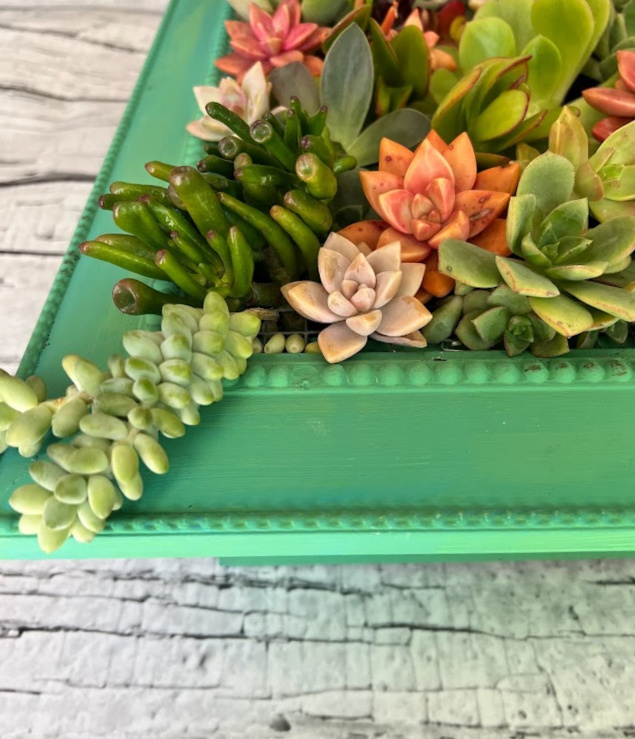
You can lay this out in advance or wing it ( like me) and just add as you go. Push the stem of each succulent through the mesh, the tip of a pencil or a chopstick works perfectly to create a hole in the soil. I like to start with the larger plants first. Plant the succulents close together but don’t worry about filling every square of the chicken wire. As the succulents grow, they will close any gaps. Air plants are also great plants to add to your planter box

Let It Root
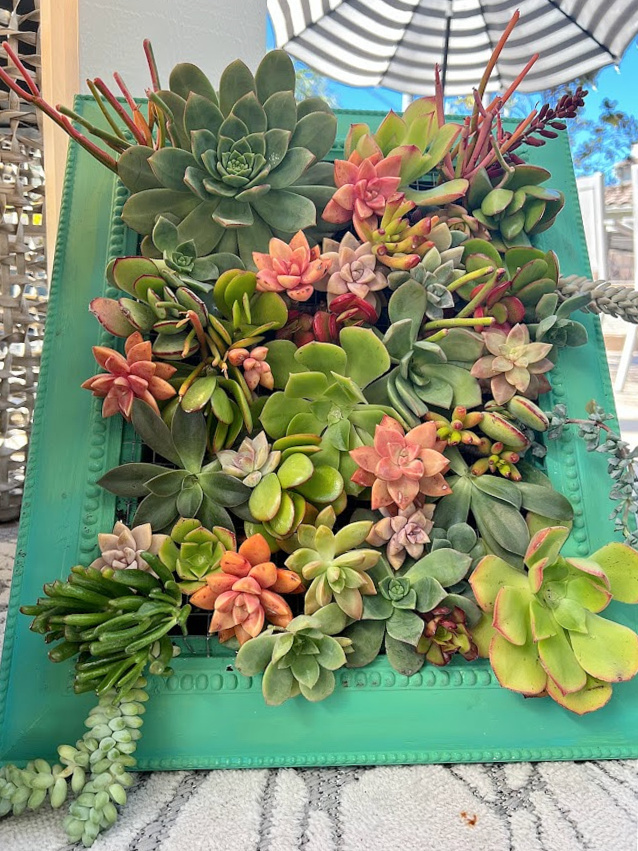
You will want to keep it on a flat surface until the succulents begin to root, this will take a couple of weeks to about a month. Once rooted you can hang it on a wall.
Care Instructions
As the succulents grow I’m sure some will be too big and may start to take over the frame, at that point, I will just pull and replant them. If you see any of them not thriving, simply pull out and replace them.

Succulents need a decent amount of light, They need about 6 hours of sunlight, try to keep them near a bright window if indoors.
Don’t overwater your plants, I water about once every other week. If they are looking a little dry, I spritz them.
Even though this is super low maintenance, if you don’t have a green thumb, you could always make this out of faux succulents.

Learn how to care for your succulents in this post!

Time to check out all of the amazing makeovers below, just click on the title of the project to be taken directly to the tutorial.

Upcycled Lamp Parts Candle Holder Petticoat Junktion Coastal Rope Lantern Domestically Speaking Displaying Vintage Valentines With Yardsticks Organized Clutter Embellishing a Pair of Valentine Pillows Sadie Seasongoods Valentine Heart Mantle Decor Shop At Blu Easy DIY Rustic Light Fixtures Reinvented Deleware Succulent Wall Planter Using a Picture Frame My Uncommon Slice of Suburbia DIY Painted Suitcase My Repurposed Life
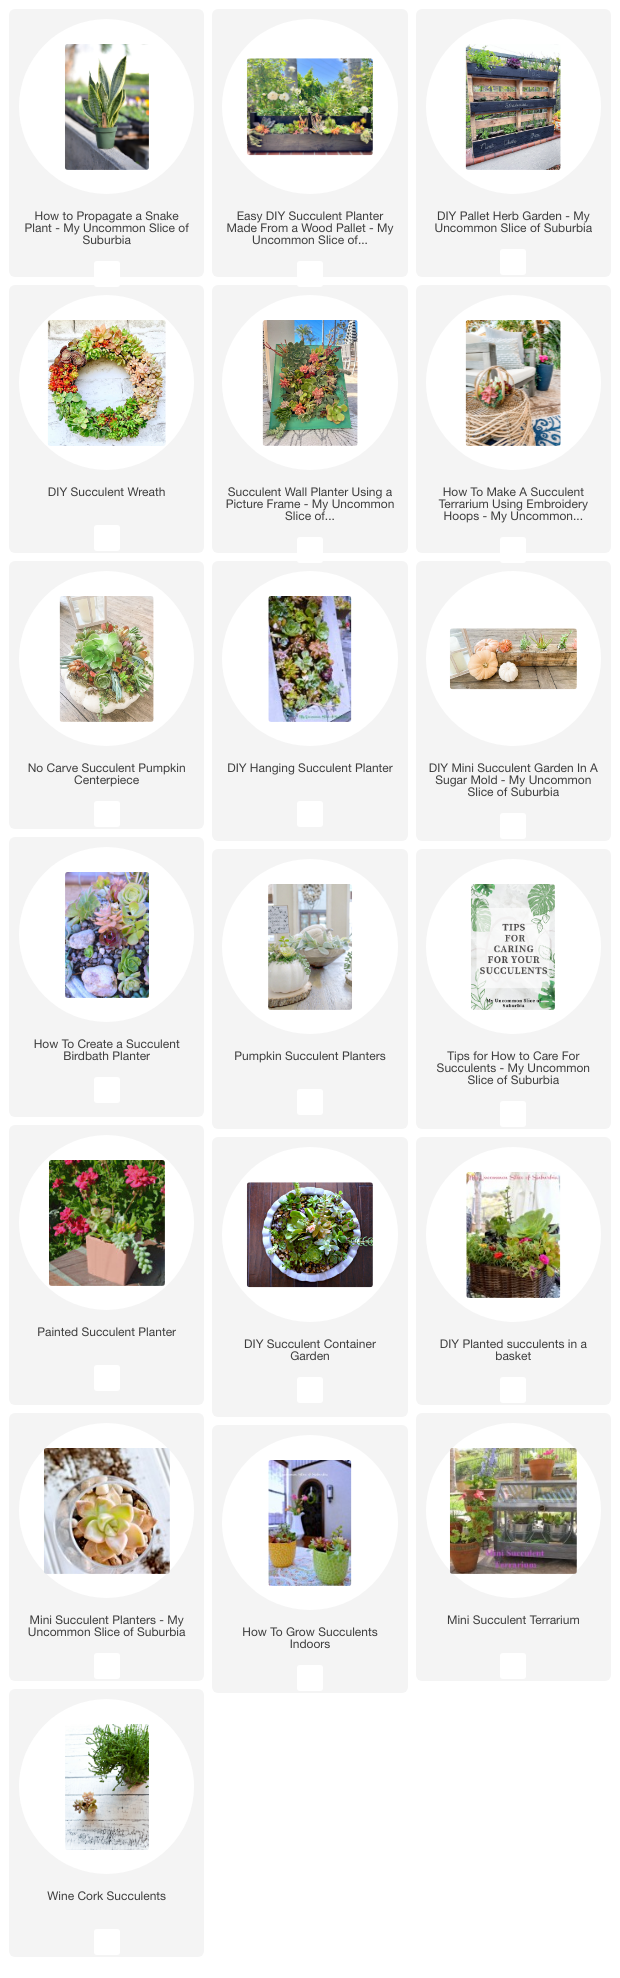
Thank you so much for stopping by today, here are a few more succulent projects you might enjoy.

Kristin! You’ve just ignited my spring fever! The colors in this planter are fabulous. I’m afraid many of my succulents might not have survived the coldest Alabama winter EVER! I also realize I need some with coral colors! Pinned!
Thank you, Suzanne, the sun definitely has me excited for spring. Hopefully, the succulents were hearty enough and will make it through the winter 🙂 XO
Kristin, I love love love your hubby’s shadow box succulent picture frame. Nah seriously I’m so happy that he helped you out and he did a fabulous job. I hope you’re feeling better. Pinned
Gail
Oh my goodness! I love the succulent frame! Pinned it.
Omgoodness, I love this so much! It is a living work of art Kristin!
Thank you Cindy!
Those colors are SO GORGEOUS, Kristin! I’d definitely have to use faux ones if I did this- I have a TERRIBLE track record with live succulents. Love, love, love!
Thank you so much Sarah!
I always love any project with succulents.
Thank you Maryann!
Oh my goodness I love the colors of the succulents! This is such a fun project and so pretty for spring. Pinning!
Fantastic! Looks wonderful! I can hardly wait to try this out. Great pictures. This helped me a lot. So that I can try. Thank you very much.
Your so welcome, send me a picture when you are all done!
What a creative idea! I love how you transformed a simple picture frame into a stunning succulent wall planter. It adds such a unique touch to the decor! I can’t wait to try this project in my own home. Thanks for sharing the step-by-step guide!