
How To Tile A Fireplace
Today I’m sharing how to tile a fireplace! You can update your fireplace by tiling your surround and hearth, making it the focal point of the room, and giving it a whole new look and I’m going to show you how!

So much revolves around the fireplace, many times it’s the focal center of the living room where people like to gather, especially on a cold winter night. I remember when Ray and I moved into our first apartment a must-have on my list was a fireplace and he found it for me!! He was definitely a keeper!
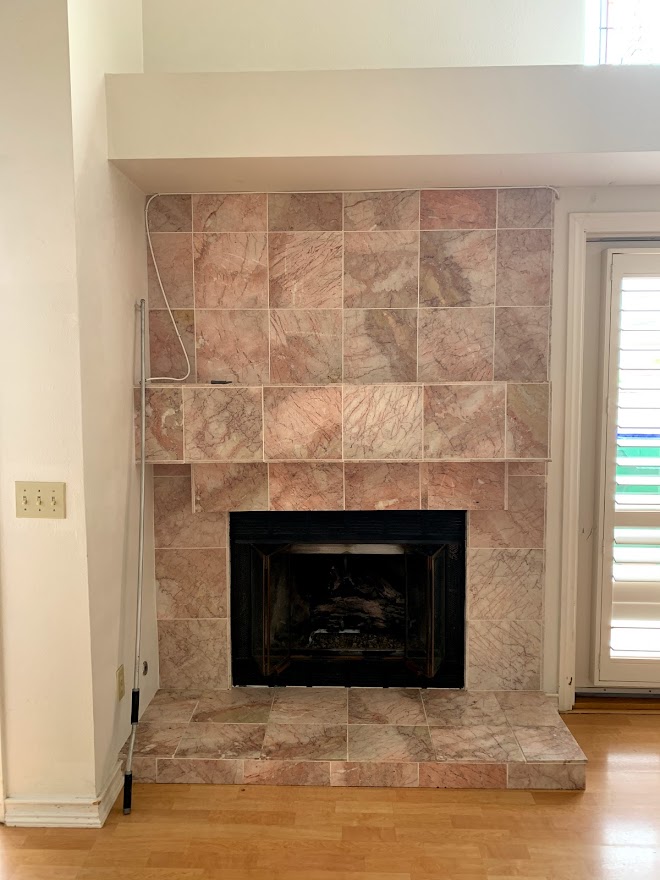
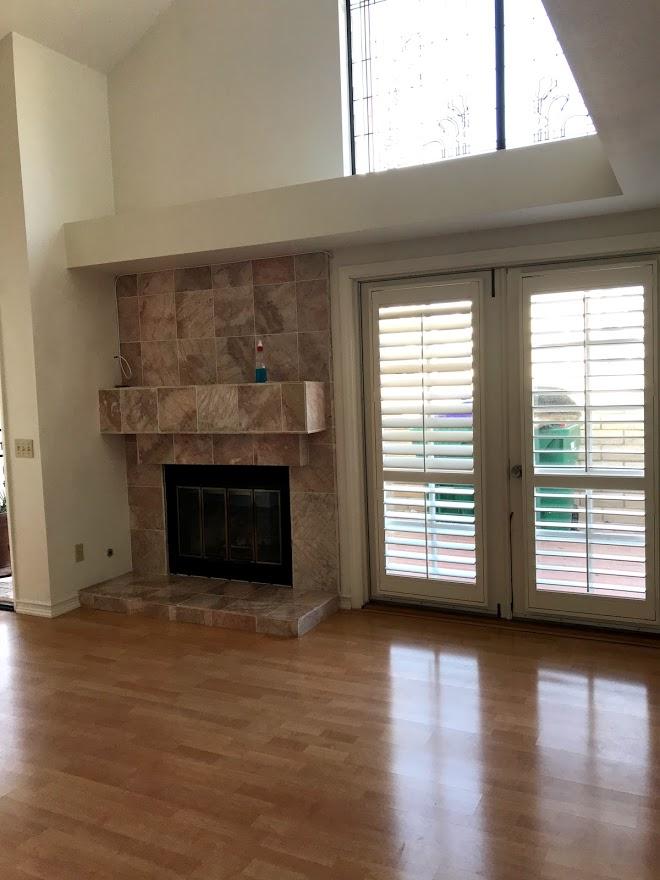
Let me share what the before looked like, very let’s say maybe early 80’s, I think my mom was trying to match the fireplace with the existing stained glass. Who knows, I just knew it had to go, no offense mom, you always had impeccable taste!
I know tiling might sound a little intimidating, but this DIY project is actually pretty easy once you get the hang of it! I highly recommend watching youtube videos and reading lots of tutorials, I hope this tutorial will help you along the way or at least inspire you to try it out yourself.
There are three parts to the fireplace: the firebox, the surround, and the fireplace hearth. The firebox is where the actual fire is. The hearth is the floor that extends in front of your fireplace which protects the area in front of the fireplace. The surround is the front-facing portion of the fireplace.
affiliate links are listed for your convenience. I earn a small percentage from a purchase using these links. There is no additional cost to you.
A FEW TIPS
Plan ahead:
The first thing you want to do is plan ahead! I wanted something with a pattern. Using a pattern can make things a little more complicated. The pattern needs to be centered and you will need to have a lot more cuts to keep the pattern going. It takes precision to cut the small pieces and keep the pattern aligned, So if this is your first time tiling, I would go with something without a pattern, Having said all that, we would do it all again.
Figure out how many square feet you need and add about 15% more extra tile for extra cuts and mistakes.
Plan out the layout ahead of time, this will take time but is well worth it. I recommend sketching out a diagram of your fireplace and then laying the uncut tile on the ground to visualize it and make sure you love it. We laid the tiles on the hearth to figure out the number of rows. We also stacked them up in rows to the side of the hearth to get a better feel of what the end result would be.
Let’s Get Started
Remove old surround.
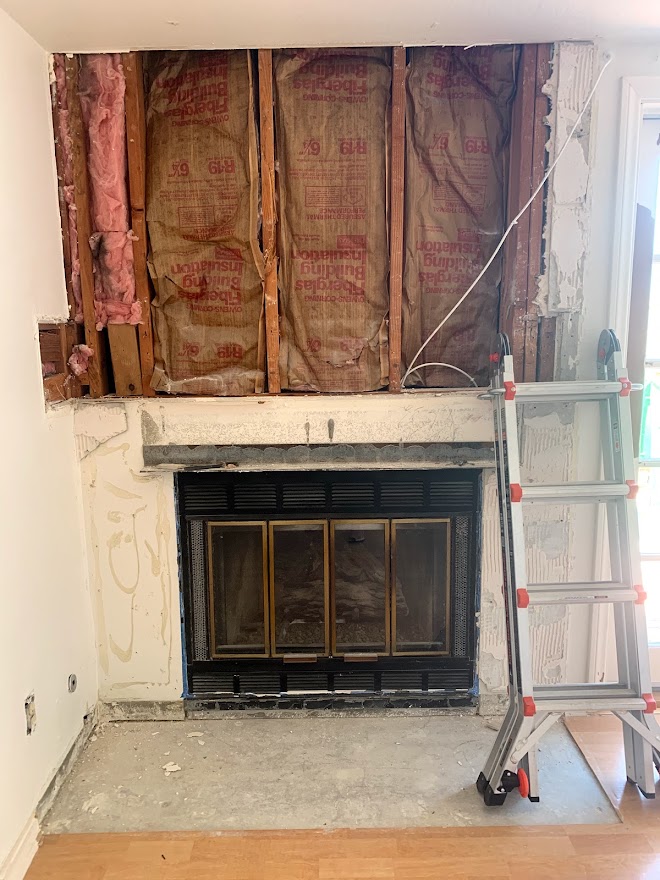
I won’t go into too much detail here as each fireplace is going to be different. This originally was a brick fireplace then my mom had tiled over it with pink marble using mortar. Using a hammer and chisel we were able to remove everything in pieces, I won’t lie, this is super messy and not easy! You could also use a jackhammer for the demo. After the demo, the wall was covered in drywall.

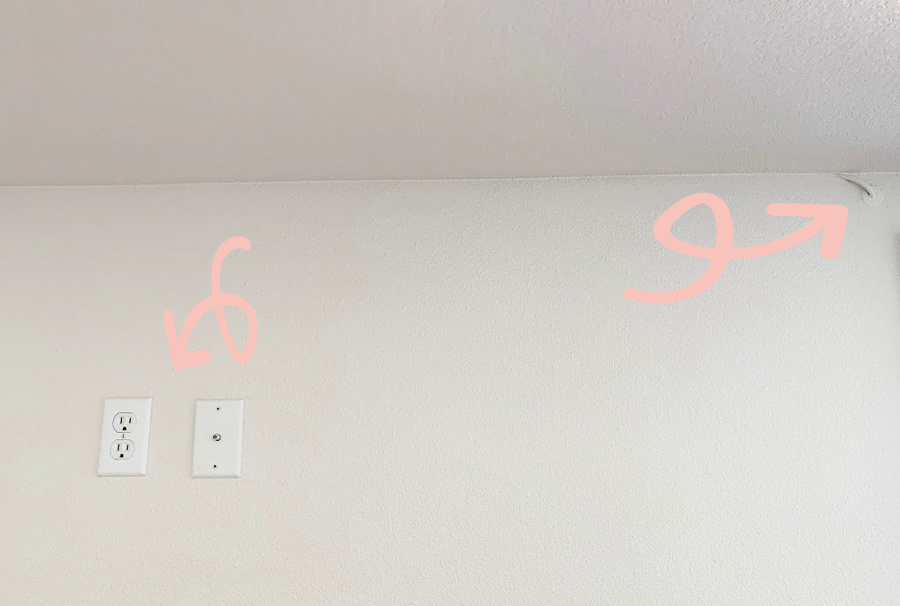
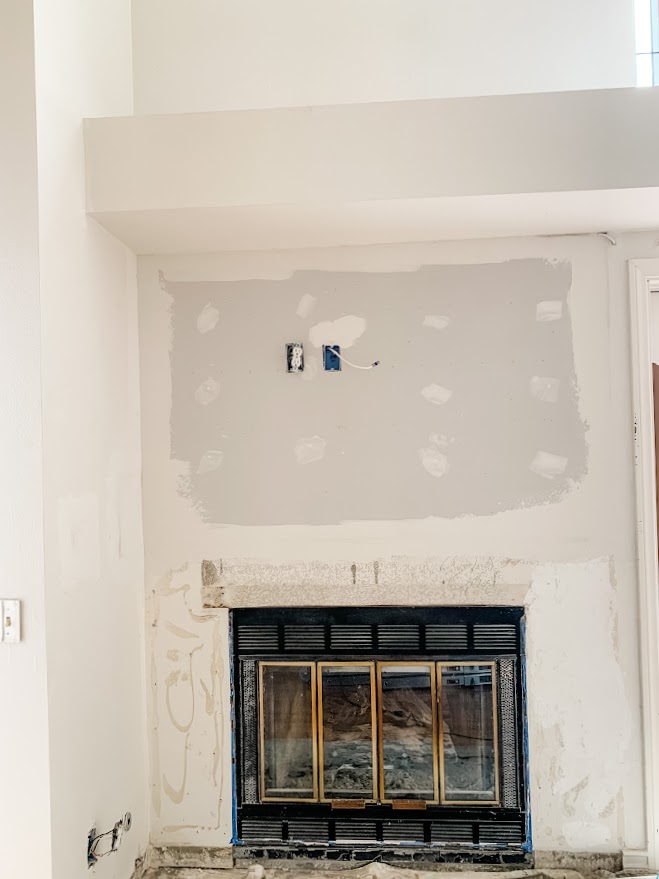
At this point, figure out any electrical, wiring, etc. We decided to run cable/internet and electrical right above the fireplace. That way the buyers have the option to hang a TV or they can cover the outlets with art or a mirror.
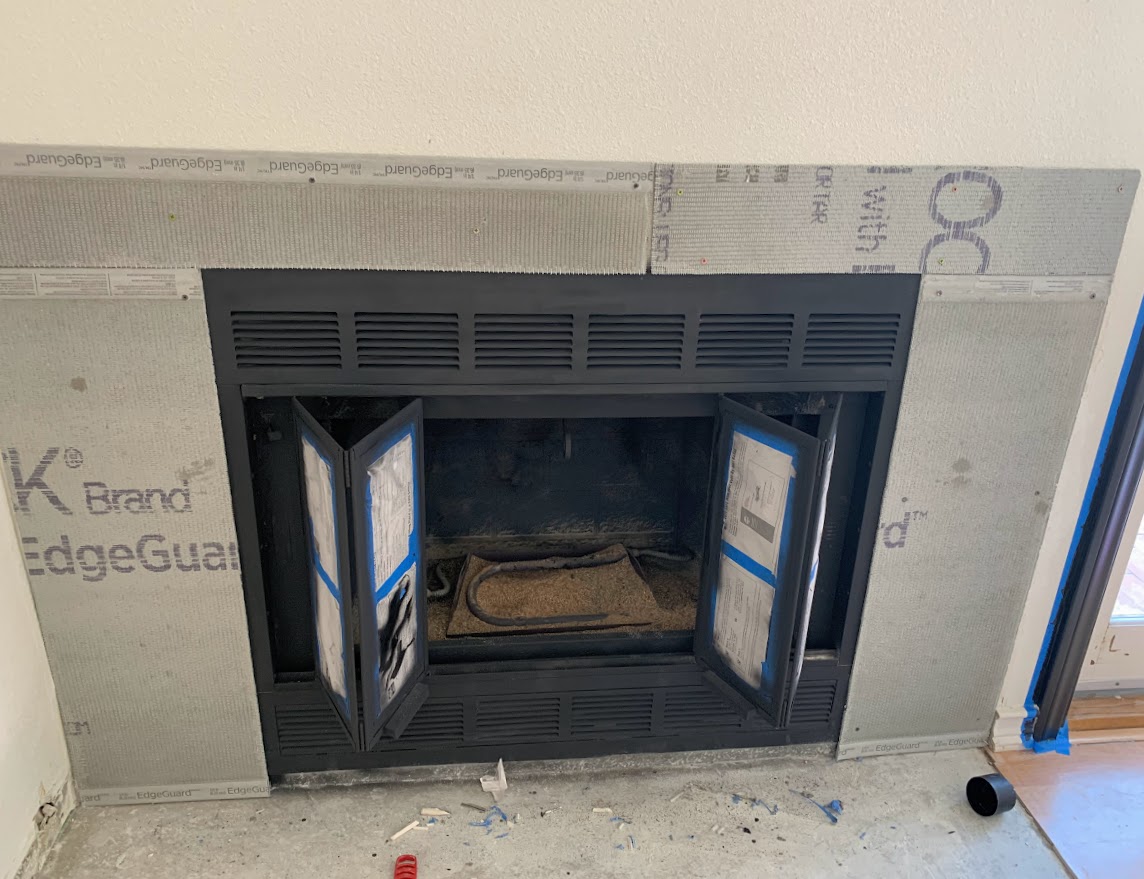
We could have stopped with the drywall right above the fireplace but at this point, we really were not sure what we were going to do with the surround. Had we planned everything out well in advance we would have added the cement backer board at this time and skipped the drywall.
Supplies
Wet saw (Home Depot rents out Tile Saws)
Custom Building Acryl Pro Ceramic tile Adhesive
Notched trowel
Wet rags
Pencil/marker
Tile Spacers (we used 1/8 but it will depend on tile choice and look you want)
Level
Cement backer board
Ceramic Tile
Thinset
Masonry Screws
Safety Glasses
Utility Knife
Measuring Tape
painter’s tape
Protection for eyes
Measure Tape
Preparation
Measure the dimensions of the surface and cut the cement board to fit. Install the cement board using masonry screws. Cement board material is easy to cut by scoring with a utility knife
To make your surface as smooth as possible, tape over the joints between the pieces of cement board.
INSTALLATION
In regards to using a tile saw, Read the manual and make some test cuts to get the feel for using it if this is your first time! Always wear protect your eyes as well.
Because the tile had a design, we started at the top of the fireplace in the center. Using a measuring tape, locate the center and use a level and a marker to draw a straight line from the center of the top of the firebox to the top of the area you plan to tile
Apply mortar to the tile (we used ceramic tile adhesive) using a trowel (I know many do it the opposite way but we can control how much is on the tile this way) Line up the middle of the first tile with the centerline, and place the tile on the wall. Apply your spacer and install the next tile working your way to each side. Make sure you are checking the level of the tiles using a leveler. Continue until you reach the outside edges. We used painter’s tape to keep things in place and from sliding. We only had 1 row on the top otherwise you would go back to the centerpiece to start your second row.
Tip: Each time you cut a piece of tile hold it up to make sure it fits before you apply the mortar. Then take that piece and hold it up to the previous piece you cut to make sure it is the same width/length (whichever is applicable).
Let dry overnight or for at least 4 hours
Once the top of the fireplace is done, the next step is to start on the fireplace surround sides.
Working your way upward and using spacers to keep the distance between your rows even, apply the tile on the sides of the surround. You can start on either your left side or the right side.
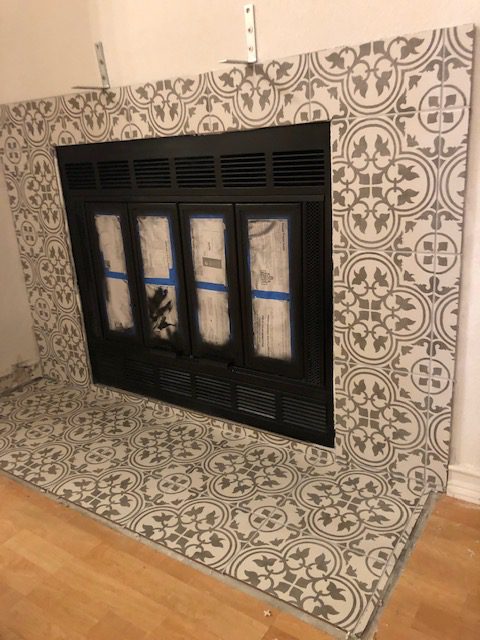
We needed smaller pieces of tile (about 3 inches) on each side of the full width tile. When making your cuts, you’ll need to calculate how much to cut off each tile to make sure you account for the grout lines.

Here it is before we grouted and started on the hearth.

Tiling the Hearth
Now it was time to install the tiles to the hearth. The hearth is concrete and it was level and smooth. If it wasn’t, we would have had to skim a coat of thin-set onto the concrete to smooth the surface.
Vacuum and clean the concrete floor. We have a wire brush that attaches to our drill that helped clean the floor this will help so the tile will stick appropriately.
Using the straight edge of the trowel, spread a layer of thinset onto the tile (you can do the opposite and apply directly to the hearth). Set your tile. Continue working outward from the center toward the edges. Use spacers between the tiles to maintain even gaps for the grout. Thinset has a working time of about 30 minutes, so only cover a small area at a time.
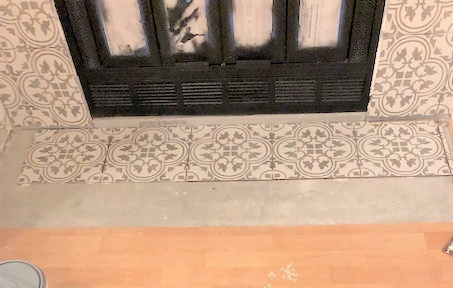
Repeat this process until complete, and allow several hours for the tiles to set.
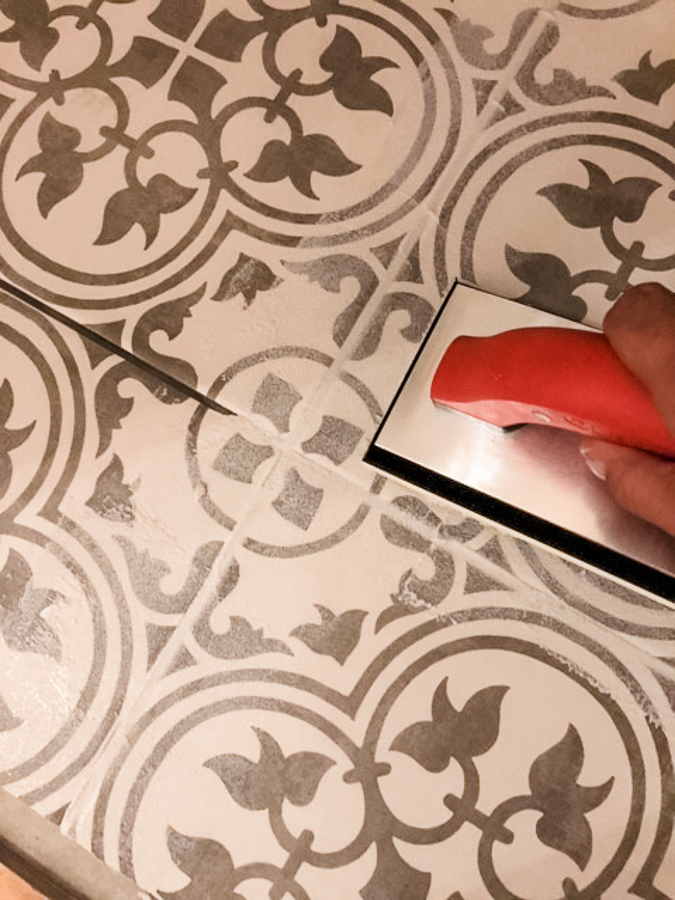
GROUT
Supplies for Grout
Bucket
paddle mixer and large corded drill
Tarp to protect the surface
Rags (damp and Dry)
Choose your color that will compliment your tile, we used a very light grey. We also went with a non sanded grout which is smoother and ideal for thin grout lines.
Protect your floors surrounding your fireplace with a tarp.
Follow the instructions for your individual product when mixing. We have an attachment for our drill for mixing grout.
Only mix as much grout as you will be able to get through in about 30 minutes.
You need to work the grout into the cracks by running the grout in a 45-degree angle, spreading the material, and pressing it into the joints to fill them completely. Be sure to work your way across each line several times. You’ll want to work quickly but be thorough. Scrape off the excess grout. Look at directions to see how lon the grout needs to dry, usually about 30 to 60 minutes, until firm to the touch.
Try to avoid filling grouting the space between your tiles and your existing flooring. You’ll fill these in later with sanded caulk or a T Molding.
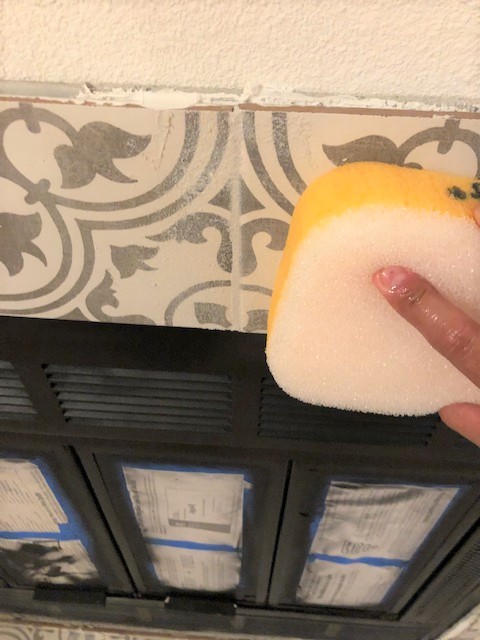
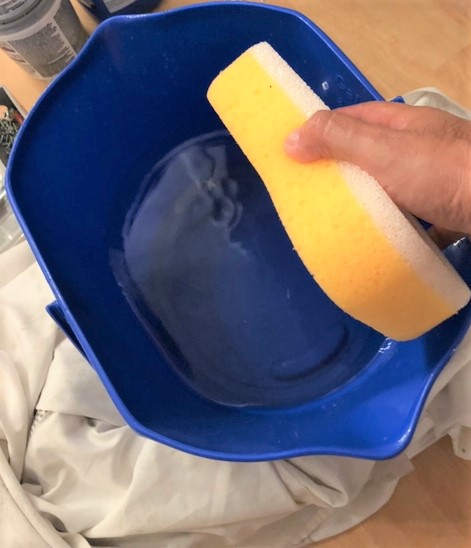
Using a thick sponge, wipe away the excess grout in a circular motion.
Once the tiles look fairly clean, leave the grout to dry overnight, the tiles will be left with a slight haze on them. Let dry overnight. Using a clean, dry rag, buff off the haze.
For the outside of the glass doors, we sprayed Rust-Oleum Enamel High Heat Spray Paint to give it an updated look.
We covered the glass with paper and sprayed away for a brand new updated look.
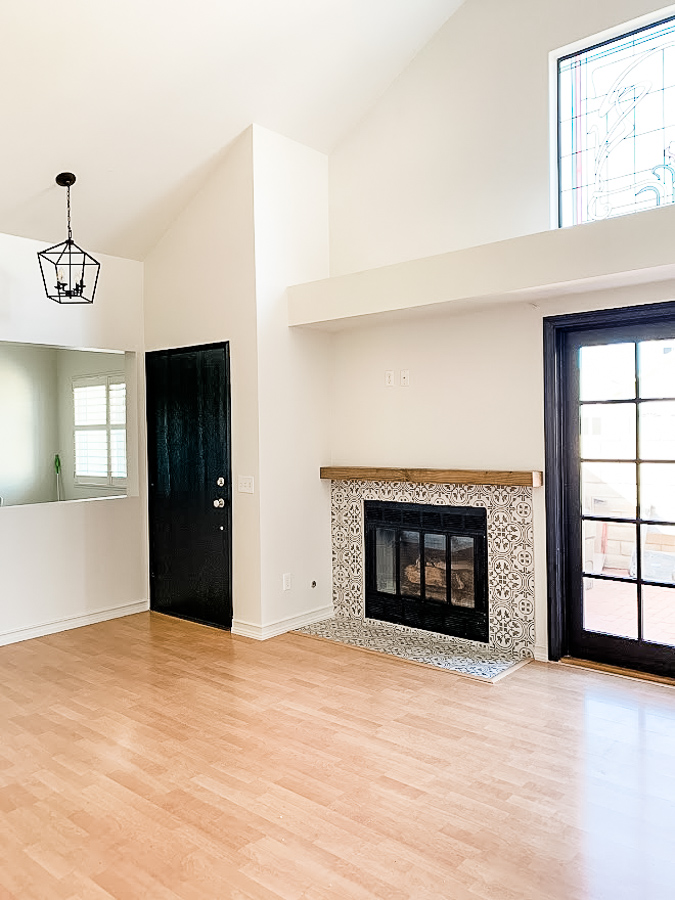
Oh my goodness I think that’s it. Adding new tile completely changed the look of the whole room.
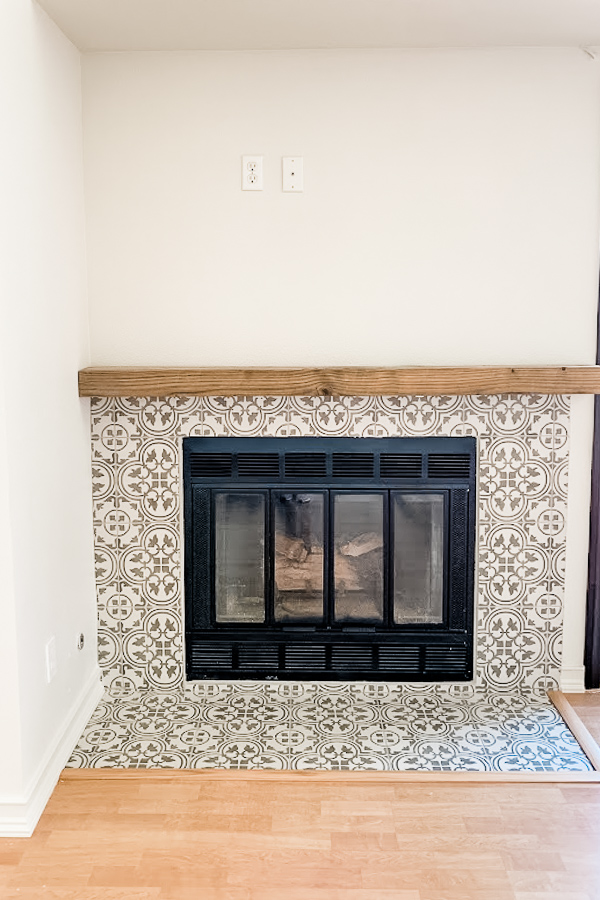
For the mantel we simply used a wooden beam, I still need to seal it.
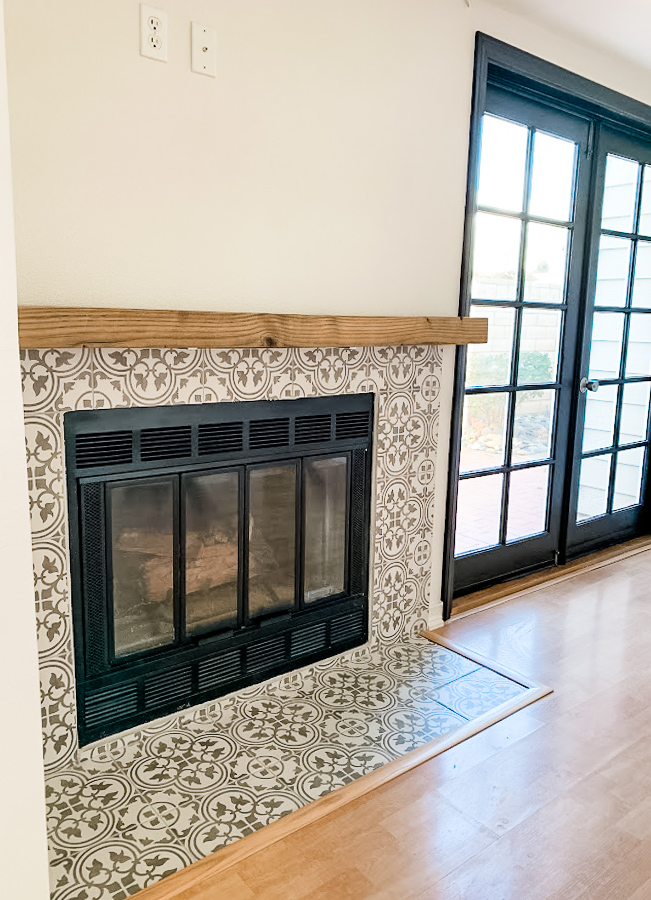
As you can see I went ahead and painted the front door, I had just a tiny bit of paint left and couldn’t resist.
Let’s look back to what we started with.
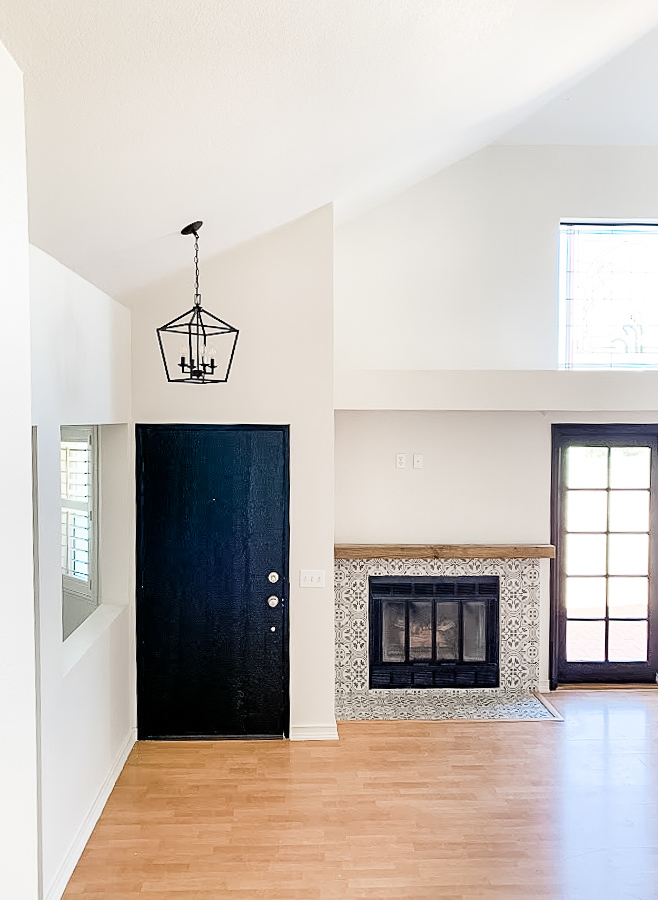

Transforming the fireplace made a huge difference and all of our hard work paid off.
It took the dated fireplace surround and gave it an instant update giving it that modern farmhouse look.

I’ll be sharing the kitchen update hopefully next week, I painted all of the cabinets and Ray added a backsplash with the leftover tiles.

See our other updates below:
How to Paint stair rails and spindles
How to Paint French Doors
Thank you so much for taking the time to stop in today, it means the world to us!

This is such a stunning transformation! I love those black doors with the combination of the beautiful tile!
Thank you so much Kim!
WOW! That tile is beautiful, thank you for the detailed tutorial. Maybe I can talk my husband into tiling our ugly fireplace.
Thank you Jean, and good luck 🙂
I can’t believe it’s the same home. Things look amazing and that fireplace tile is exceptional, Kristin. You did a fabulous job bringing it all up to date. LOVE the black doors and fireplace cover!
Thank you Debra, it’s nice to see it all come together! Wishing you a beautiful week!
What an upgrade! The black doors and, light fixture really make the tile pop.
This is such a helpful post! I’ve been wanting to update my fireplace for ages, and your step-by-step instructions make it seem so achievable. Love the tips on choosing tiles and the before-and-after photos really inspire me. Can’t wait to try this out in my own home!
Thank you so much!
I absolutely loved this post! The step-by-step instructions were so helpful, and your tips on choosing the right tile made the process feel less overwhelming. Can’t wait to start my own fireplace makeover! Thanks for the inspiration!
I absolutely loved your step-by-step guide on tiling a fireplace! The tips you shared about choosing the right tile and layout really helped me visualize the process. I can’t wait to give it a try in my own home. Thanks for the inspiration!