How to Paint Melamine Cabinets
Melamine was a common finish that you would find on cabinets, about 30 years ago. Refacing or buying brand new kitchen cabinets was not in the budget for this kitchen but paint was. I’m going to show you how to paint melamine cabinets with a good quality paint job. Painting will buy you some time and provide an updated look.
I am so excited to say we are pretty much done with my mom’s house. I couldn’t have done this without my husband, he spent countless hours at the house working tirelessly while working his full-time job. He would leave our home at 6 am, drive to my mom’s so he could be ready for his first 7 am call and work on the house on breaks and come home after dinner. He truly is an amazing man who cares deeply, thank you Ray!
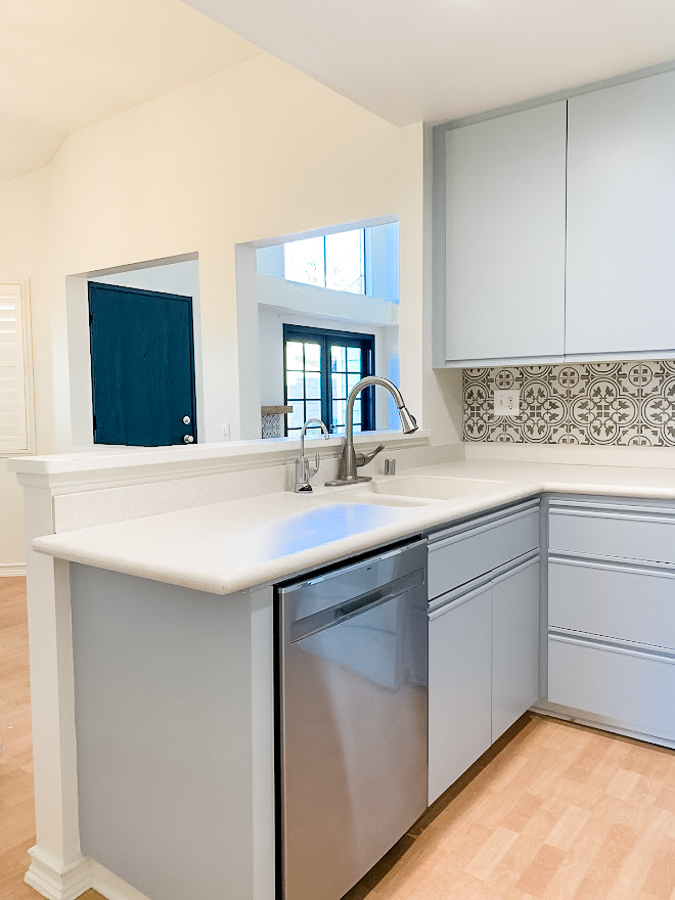
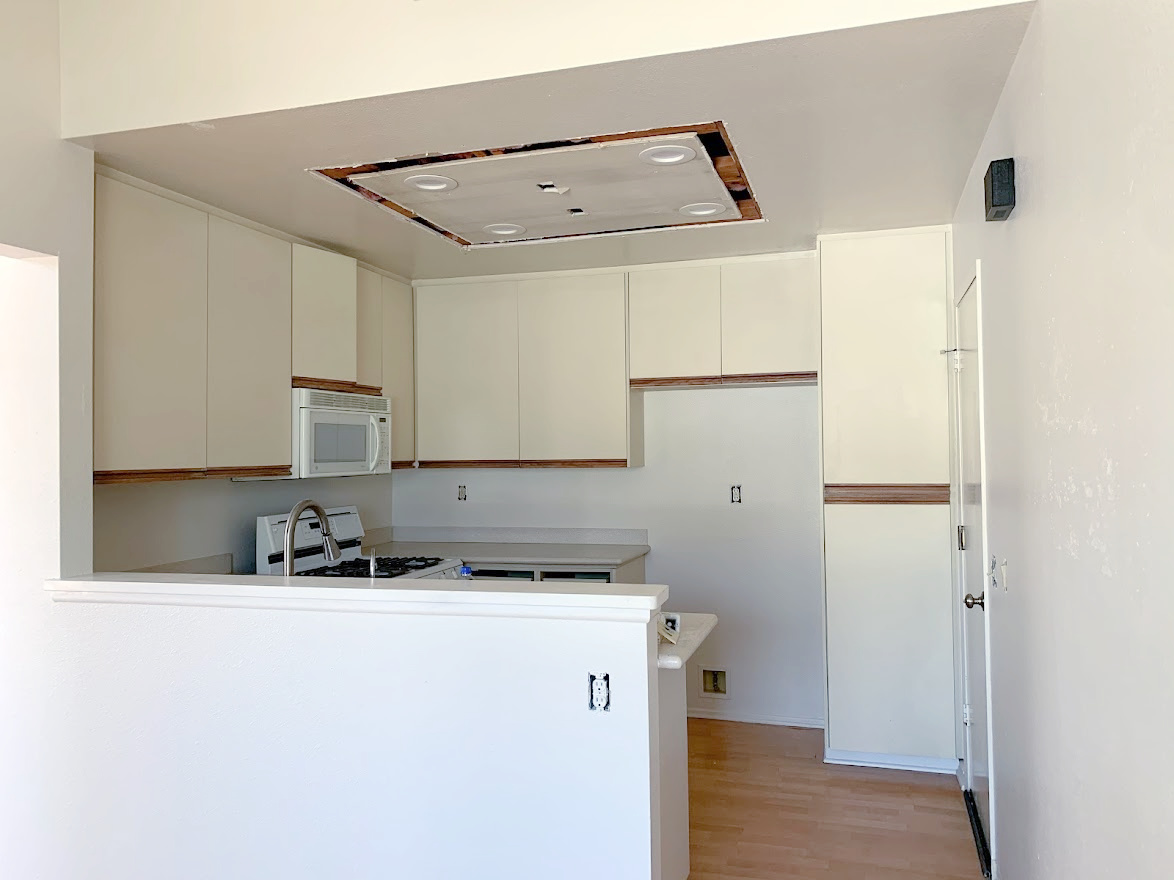
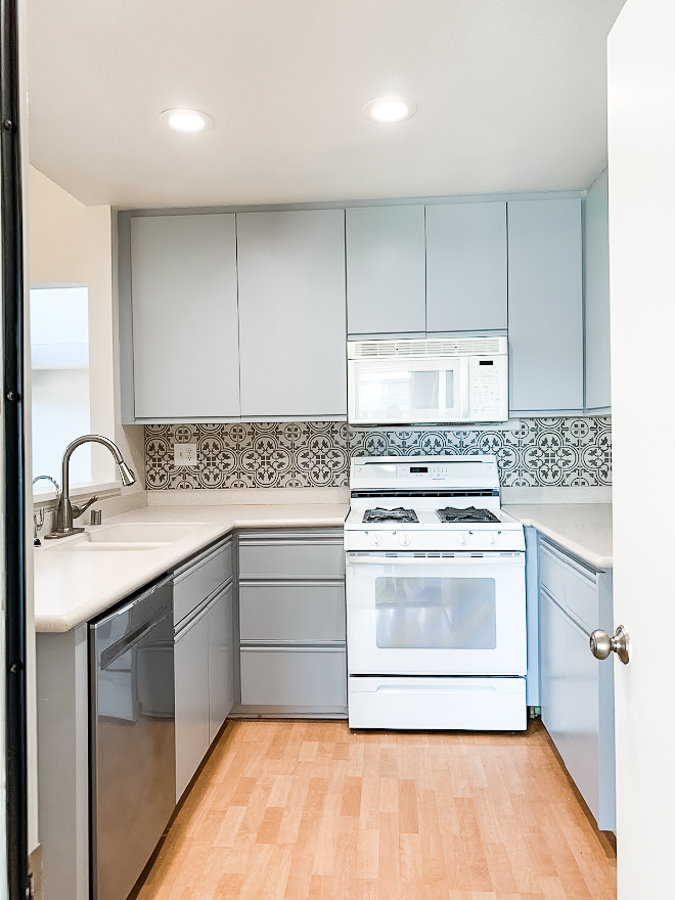
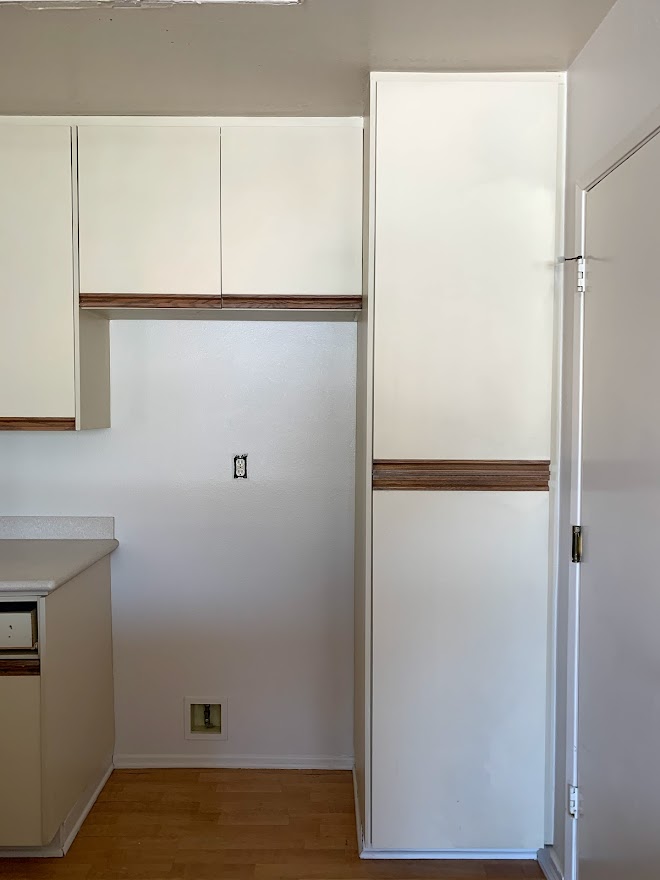
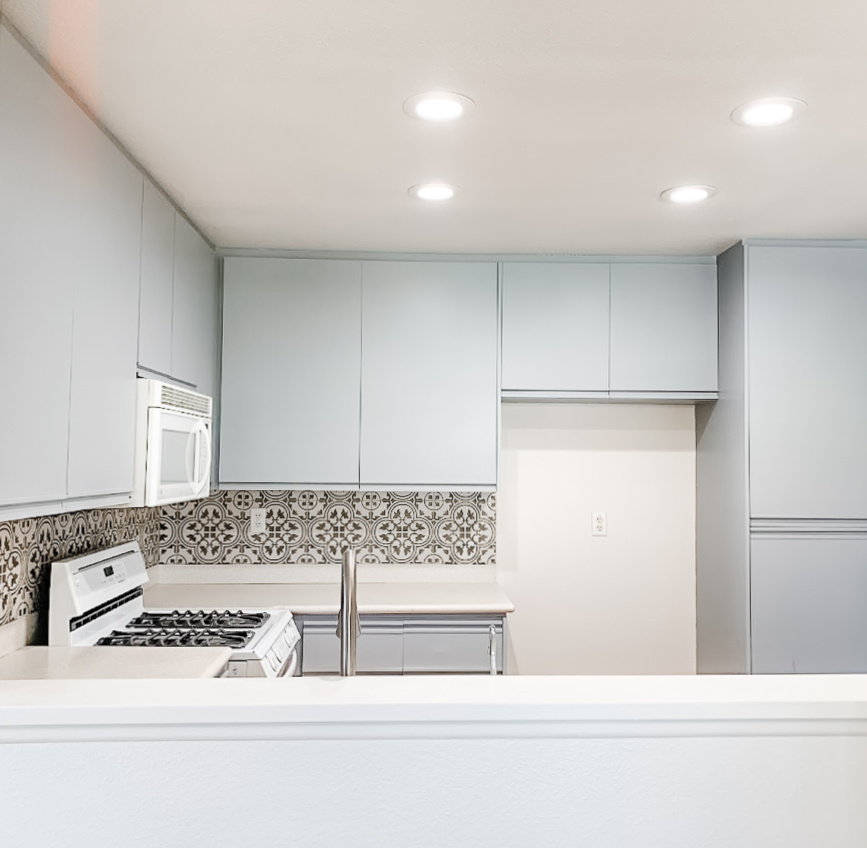
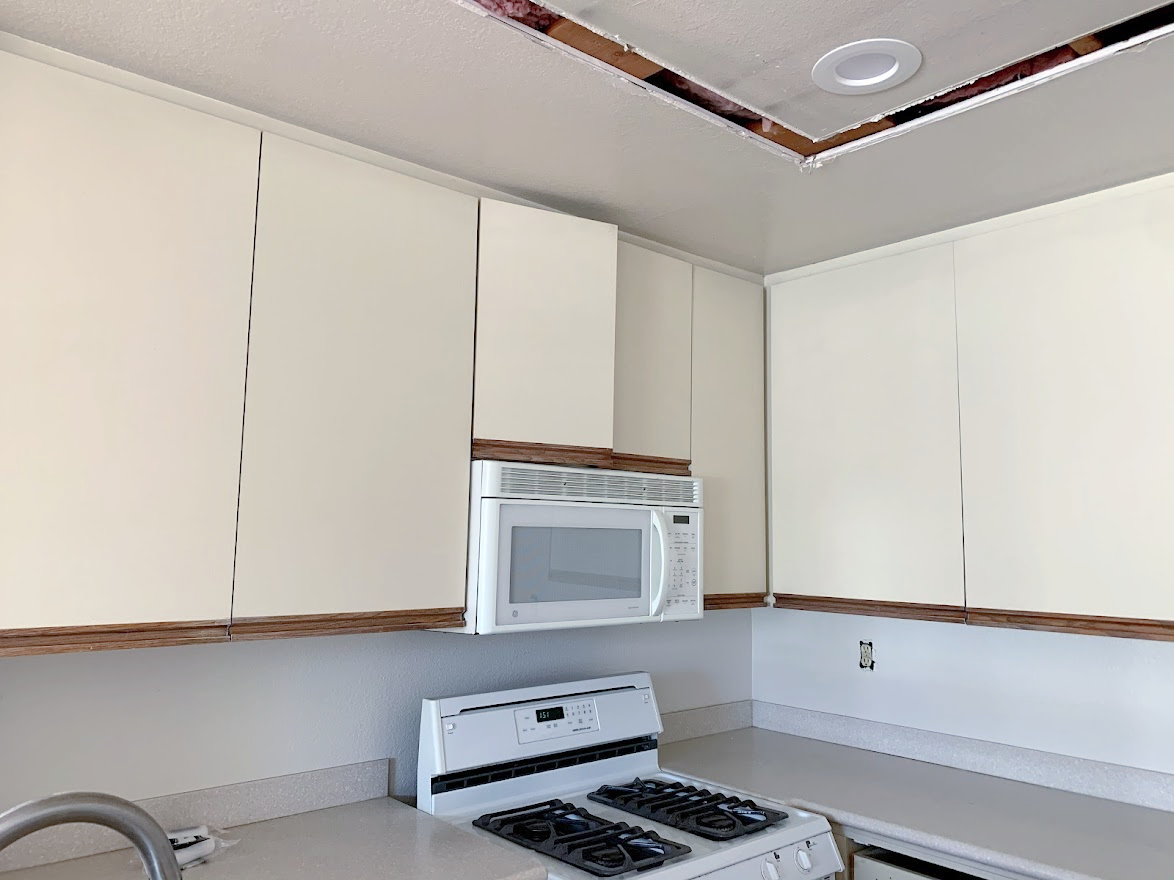
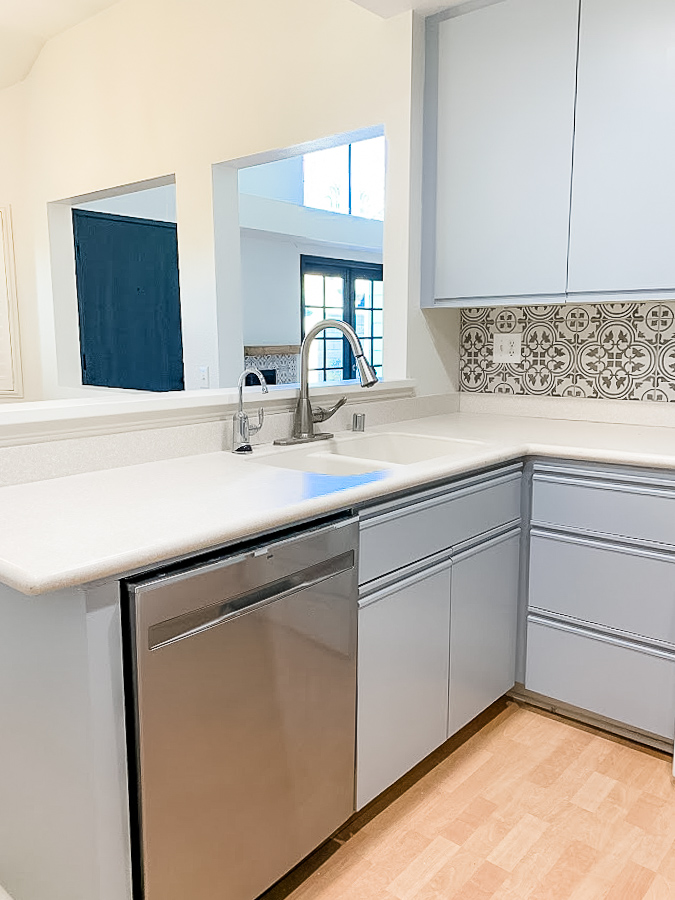
Here is the before and after
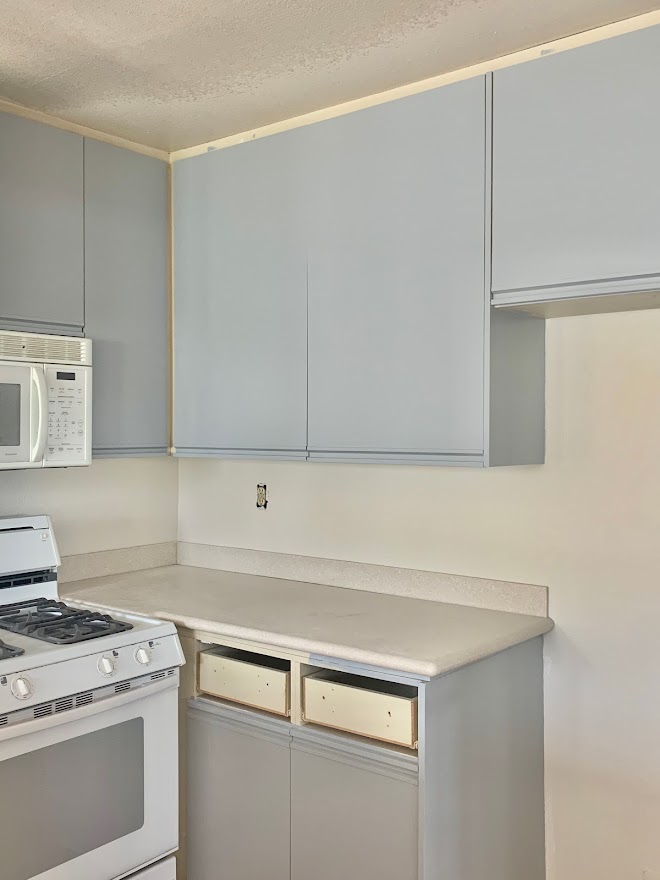
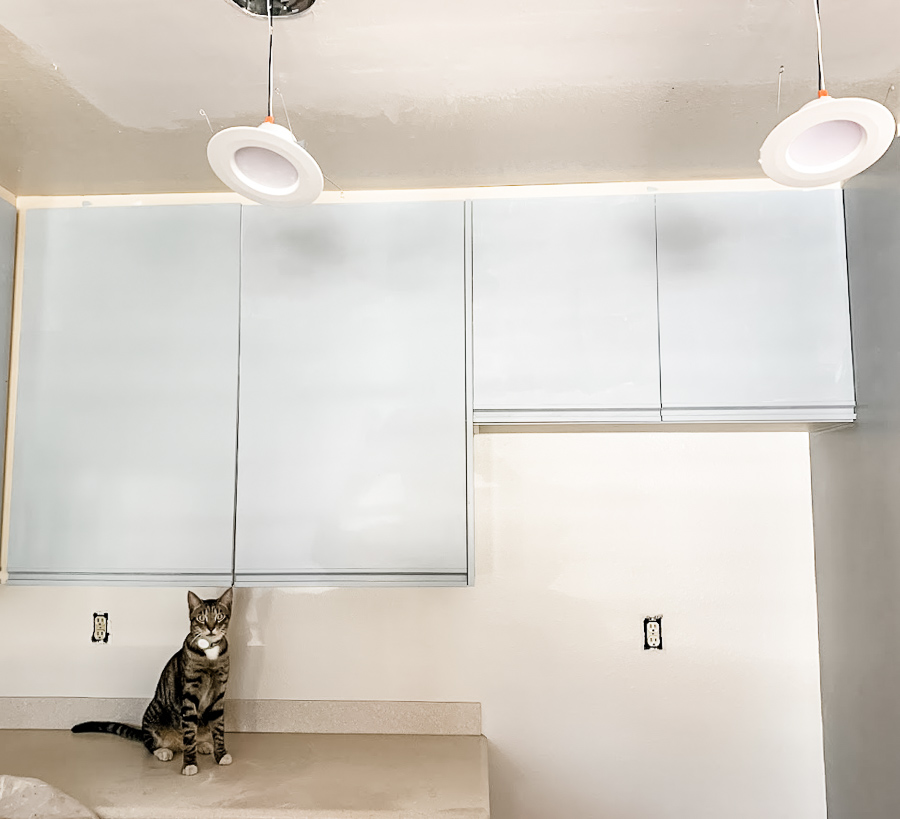
By using the DecoArt Satin Enamels line to completely transform the look of her laminate cabinets. Thankfully her melamine kitchen cabinets were in good condition with no damaged areas, it was just in need of a quick update.
Satin enamel-like paint is formulated to adhere to even the slickest of surfaces without a lot of priming and prepping. This particular formula was specially designed for revitalizing old cabinets. It gives them a durable finish making it ideal for high-use areas like the kitchen and bathroom. I love that it dries to a hard finish and it’s not too glossy or too flat of a sheen, it’s perfect. It also dries quickly so you need to work fast!
Affiliate links are listed below
Supplies
All-Purpose Heavy Duty Cleaner TSP
Purdy Angular Trim Paint Brush 1 or 2 inch
Drop Cloth
Clean, dry lint-free rags
Paint Tray
DecoArt Stainblocker
DecoArt Satin Enamels Color smoke grey
DecoArt Satin Enamels Color Pure White
Note: I would normally remove all of the doors but these cabinets did not have hinges that were showing or hardware so this made it super easy. I also would usually paint the backs of the doors and inside of the cabinets but something tells me the new owners will eventually rip this whole kitchen out so I saved time but just painting the outside cabinet doors, drawers and frame.
Directions
Prep Work
As with any DIY project, preparation is key. Unlike wood, melamine cannot be sanded down because it does not have natural wood grain. With that being said, it is so important that you properly prepare the surface so that the paint will stick over the long term.
For your first step, you will need to degloss and roughen the surface of the melamine.
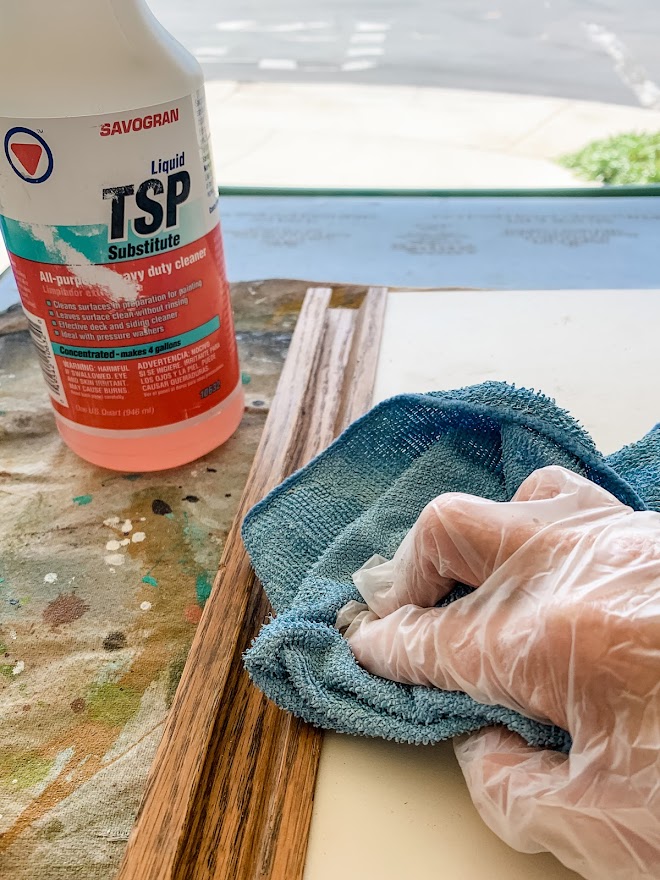
Clean thoroughly with a degreaser, I used TSP and it worked great, trust me these cabinets were disgusting! I Used a microfiber cloth and went over each cabinet twice.
You can go over the laminate surfaces with a tack cloth when finished but not necessary.
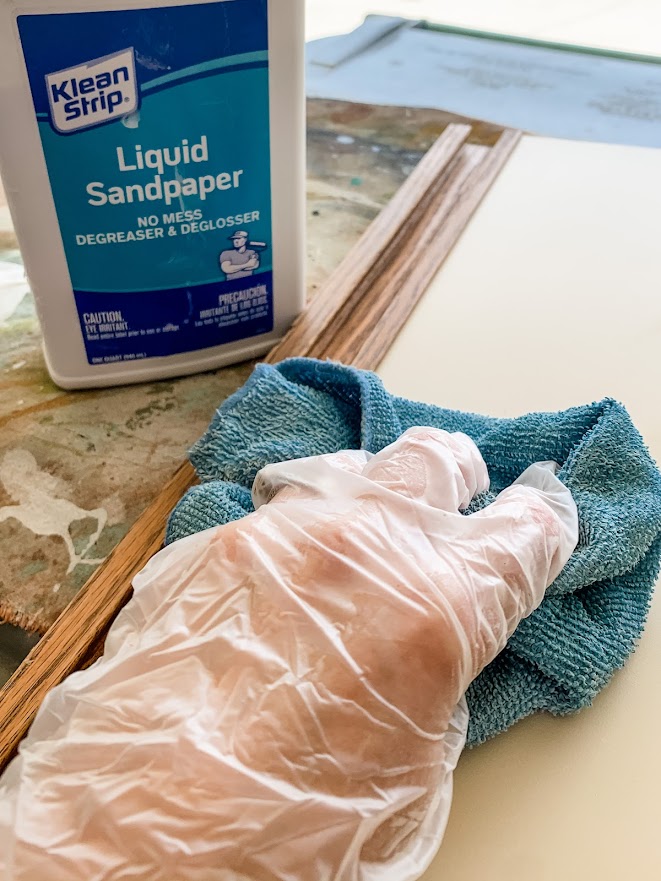
For your next step, you will need to use liquid sandpaper to roughen the surface of the cabinets a bit, to ensure the new paint will stick. Liquid sandpaper helps dull surfaces and helps a new finish bond onto the surface, preventing it from chipping or peeling.
Make sure to wear gloves and apply the liquid sandpaper to a lint-free cloth. I rubbed it on the entire cabinet and drawer. Let the liquid sandpaper sit on the surface for the time specified on the directions.
Prime
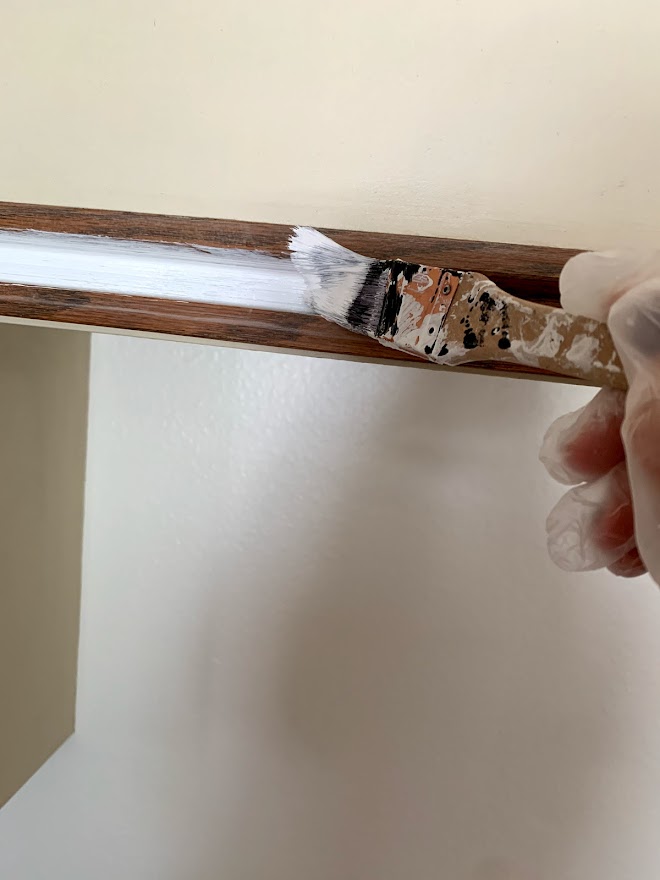
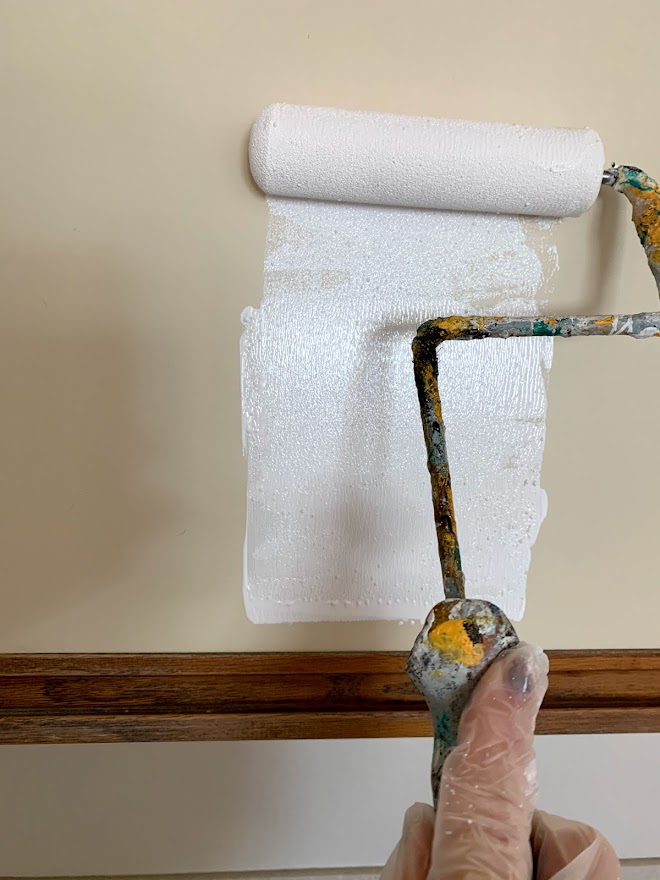
For the top coat, I primed the entire surface with DecoArt’s Stainblocker, which would be considered your primer coat. I used a roller brush for flat surfaces and drawer fronts and a small angle brush for the inlaid parts.
The stain blocker goes on looking like glue but dries clear, you need to wait a couple of days for the primer to dry. I did not take a picture of this since the cabinets still look the exact same.
Paint
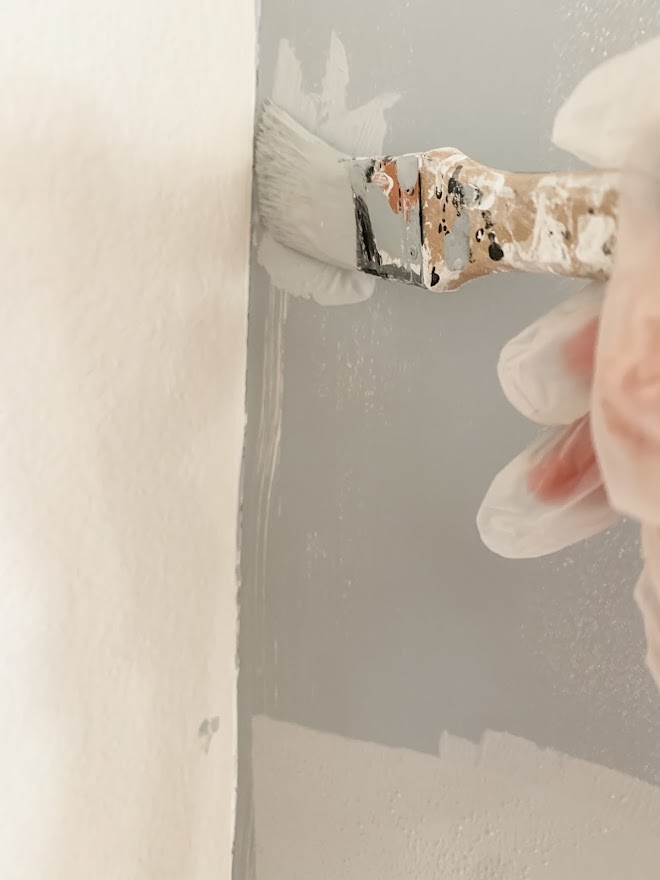
Time to paint! For my first coat of paint, I started by painting the wood grain areas, edges, and tight spots with a small angle brush. Next, I rolled on the paint over the larger areas, using a foam roller. I have found the foam roller is a great way to prevent brush stroke and gives it a smooth finish.
When the first coat dried I quickly realized this kitchen needed contrast with a dark color. The pure white is gorgeous but with the white walls and the cabinets having zero detail (molding or hardware) and the cabinet doors being extra large it was looked a little sterile to me.
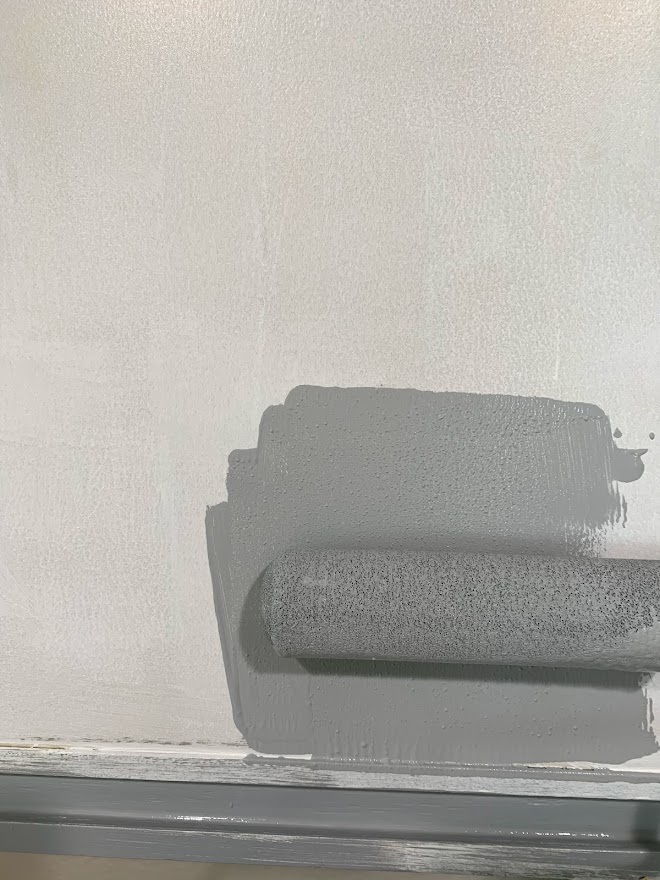
No problem I mixed 2 jars of Deco Art Smoke Grey Satin Enamel with 6 jars of Pure White. These 8 jars all mixed together gave me more than enough paint but I couldn’t risk not having enough or I wouldn’t have a perfect match.
Repeat step. I gave it a second coat with the mixed paint and allowed it to dry overnight. When I went back to the house the next day I had to give it one last very light coat.
Let it Cure
Let the final coat cure fully for two weeks before any heavy use. Clean with a damp cloth and be gentle on them, no slamming the doors. This wasn’t an issue for me since the house is vacant.
Tips:
Make sure the paint is dry before you give it a second coat.
No topcoat is needed since it dries to a very hard finish.
How much paint do you need?
You’ll need about a jar of Satin Enamels for each 20 sq. ft. of cabinetry you’re painting.
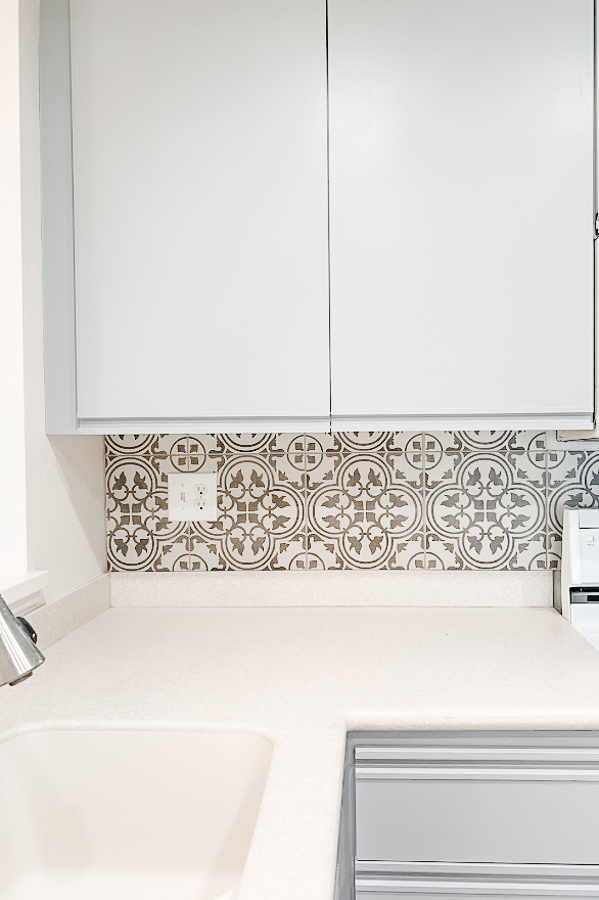
Ray used the leftover tile from the fireplace and added a backsplash, I’m going to try and get a tutorial on that up soon.
I love how they turned out, such a difference!
We have an almost brand new microwave in stainless steel that was given to us, we still need to replace it.
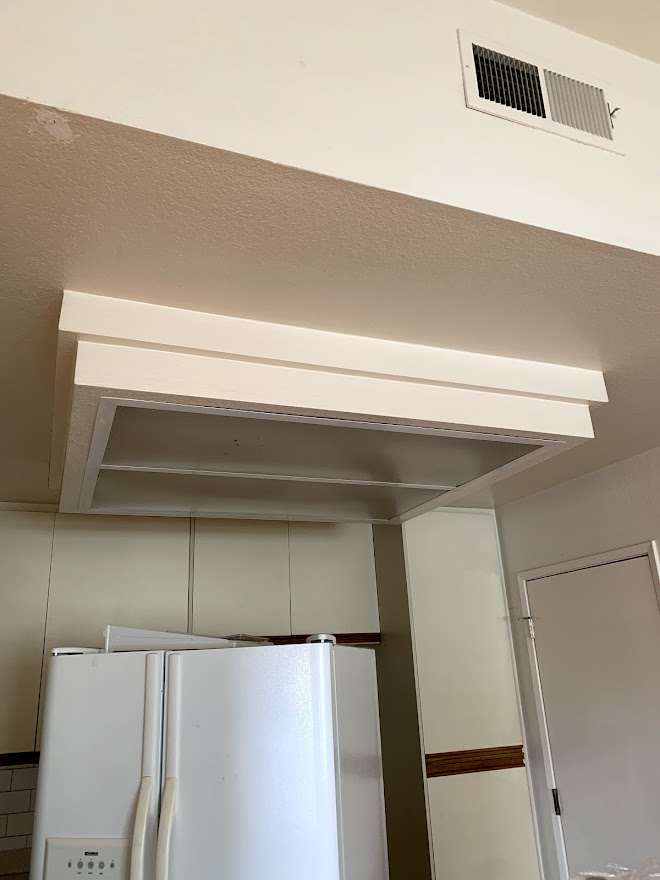
We still need to bring the refrigerator back in.
If I wanted to take this the next step I would have stopped at the local hardware store and purchased new hardware but I needed to stay on budget. All in all, I feel like the effect of the new color scheme updated this kitchen and tied it in with the rest of the home giving it a brand new look. I love that the finish shows zero brush marks!
We have just a few more small things left to do and that will be a wrap on the house. If you missed any of the other makeovers, I’ve listed them below. Thank you so much for following us on this journey, it’s definitely been difficult at times.
How to paint stair railings and spindles


This is an incredible makeover, you and your husband make the best team! I’m sure this is hard for you to finish up this house with so many emotions, I know your mom would be proud. I remember the cat from your Instagram stories, your mom is definitely with you!
Love- Kim
PS I need to check out the satin enamel line.
Wow, this is beautiful Kristin, you guys really did an amazing job! I think I missed the stair post, going to check that one out. I love the backsplash, it is perfect with the cabinet color.
The kitchen looks amazing!! All that hard work really paid off. Pinned 😊
Thank you so much Cindy, wishing you a beautiful thanksgiving!
I love the color you chose. The tile looks perfect too.
Thank you so much, Marie, and happy Thanksgiving!
This is fantastic, Kristin! We had cabinets like this once, and we didn’t think we could paint them. Rick fooled me- lol!! Pinned!!! XO
Thank you so much Julie, you will have to show Rick and prove him wrong lol
Great job! Your pussycat obviously approves! Saying,’But Mum,where’s the food?’ Beautiful cat. Name? What breed is it? I have one that looks like his/her twin! She is Priscilla. Hilary.