
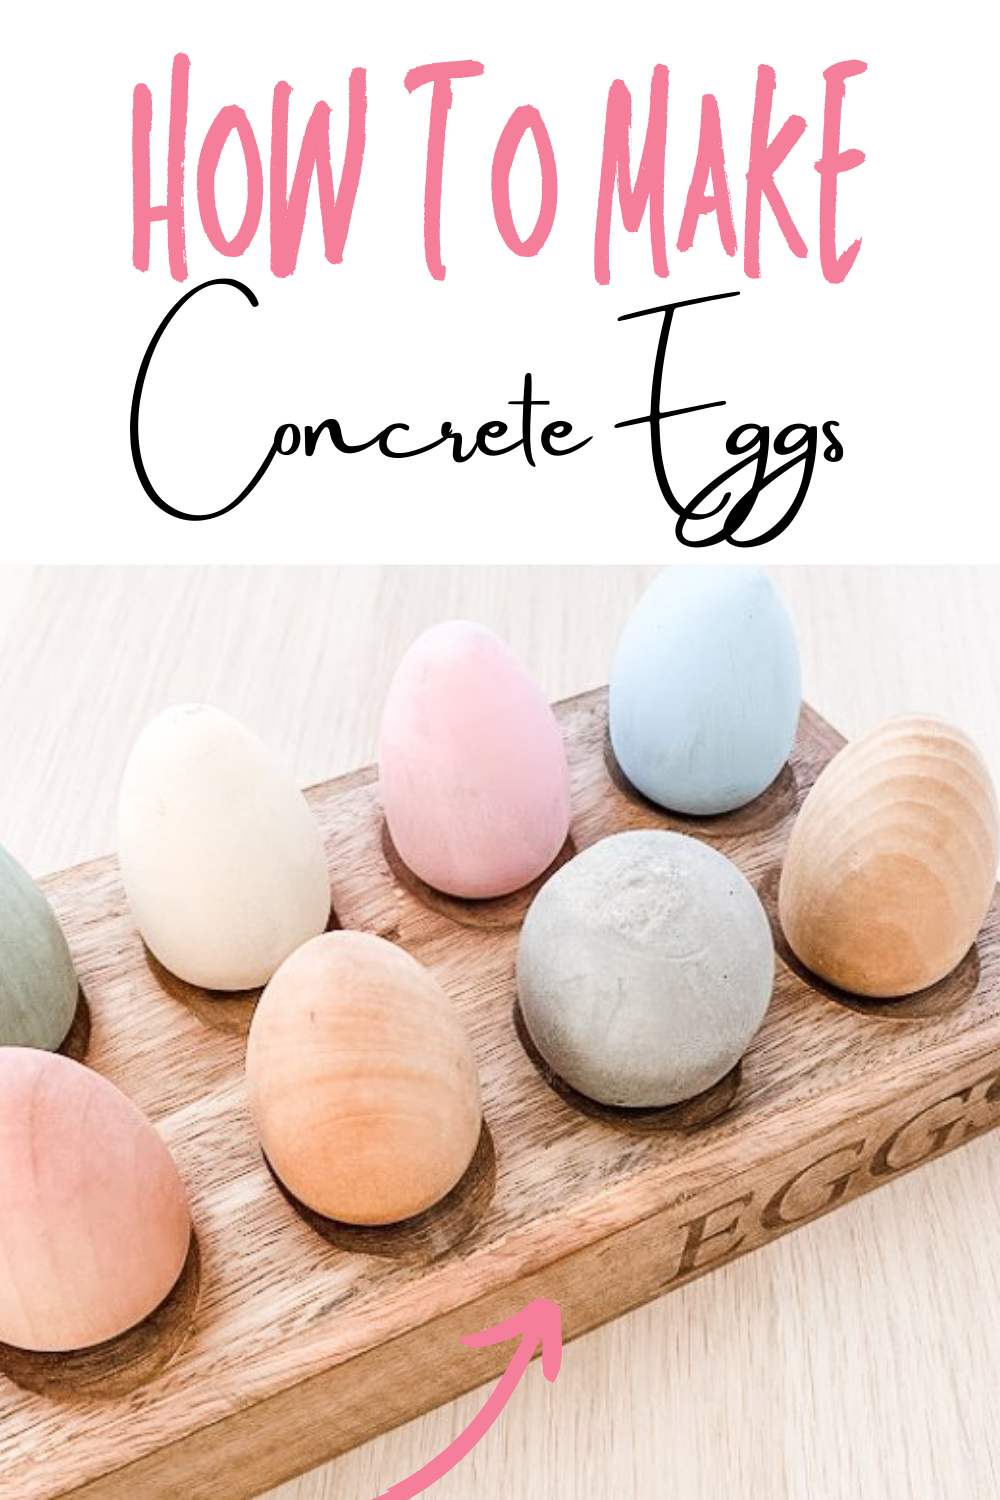
How To Make Cement Easter Eggs
Learn how to create these concrete easter eggs using a concrete mix, water, and drained eggs. This lovely DIY project is so easy to make and will mix in perfectly with your Spring decor.
I know we are still in February but when we had temps in the 80’s last week it got me excited for Spring. I even headed down to our local nursery and grabbed a few flowers to plant around the garden and some vegetables to start on my Spring Vegetable Garden.
The process is a little messy but really fun. And it goes surprisingly fast. This is a pretty simple DIY project, and you may have everything you need just sitting around the house, the only thing I didn’t have was cement BUT my neighbor was working on our gate so I just borrowed some from him and saved myself a trip.
I’m so excited to be joined by a group of talented bloggers who are sharing their Easter Eggs with you. You will have so many great ideas for your decor by the time Easter arrives. If you are here from Chalking Up Success, welcome, you are going to love Jayne’s pretty speckled Easter eggs made from clay! A big thank you to Janet for hosting this fun hop!
All cement will work for this craft but keep in mind, the finer the cement the smoother your eggs will look, Mortor mix has larger grains which gives you a rougher look. If you prefer a smoother finish you will want to find a finer concrete mix. It’s totally up to you and the look you are after. With that being said, if you sand your eggs in the end you will get a smoother look.
Affiliate links are listed below
Supplies:
I used Quickrete fast setting concrete Mix
Rockite Cement This cement would be much finer
Plastic container
Plastic Spoons or Wooden Sticks to use as mixers
Drained Eggs
Crafting Knife/Razorblade / Exacto knife
Egg crate
Water
Sand Paper
Used this Wooden Egg Holder that you see in the pictures. If it’s sold out, this is another great option
Directions
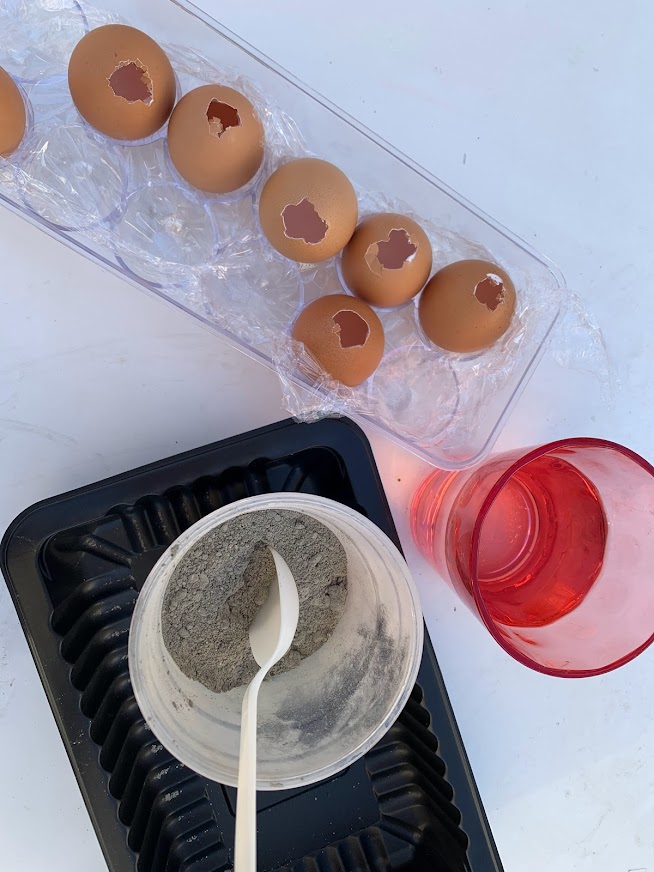
For your first step, you will want to make a small hole into the pointy end of the egg and peel away the shell and membrane, then drain the egg into a bowl. (make sure you save the eggs for breakfast)
Pour approximately 1/4 cup cement into the plastic container and add a tbs of water at a time. Mix the cement to make the concrete, you will want a glue-like/ honey-like consistency/ think pancake batter. It’s hard to give an exact ratio for this, just keep adding extra water until you have that perfect consistency. If you add too much water, you’ll have a goopy mess. Too dry and it will crumble. 1/4 cup of cement will fill 1 egg.
If you see rocks or large grains in the cement, run the mix through a strainer

Prop up your empty eggshells inside an old egg carton with the small opening facing up.
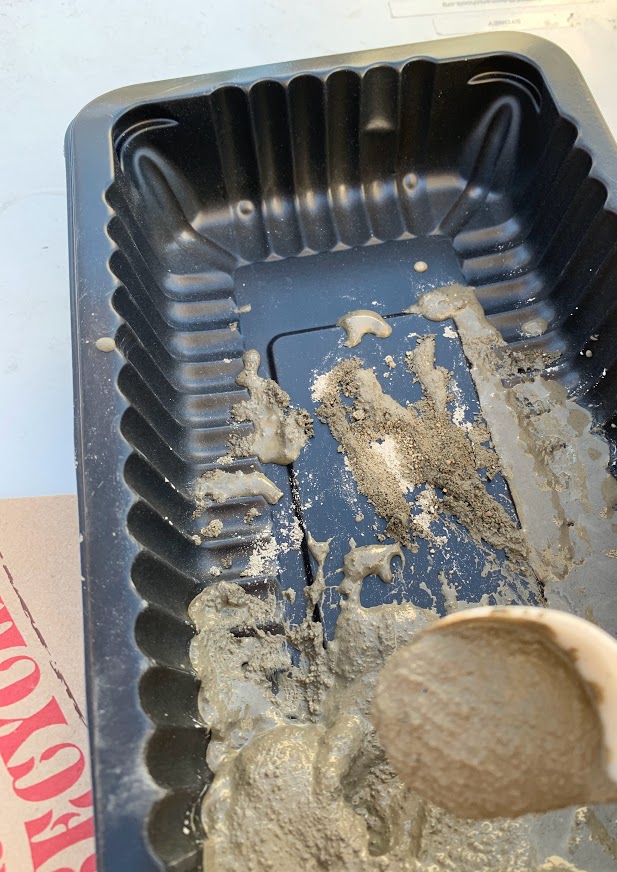
Start adding the concrete mix into the openings of your eggs, I used a spoon for this step.
Gently shake the egg to make sure it’s getting evenly distributed to prevent air bubbles. This is super important!
The cement hardens very fast so you need to work quickly.
Sit them upright in an egg carton so the concrete can settle. Wait for at least 24 hours to make sure the concrete is dry.
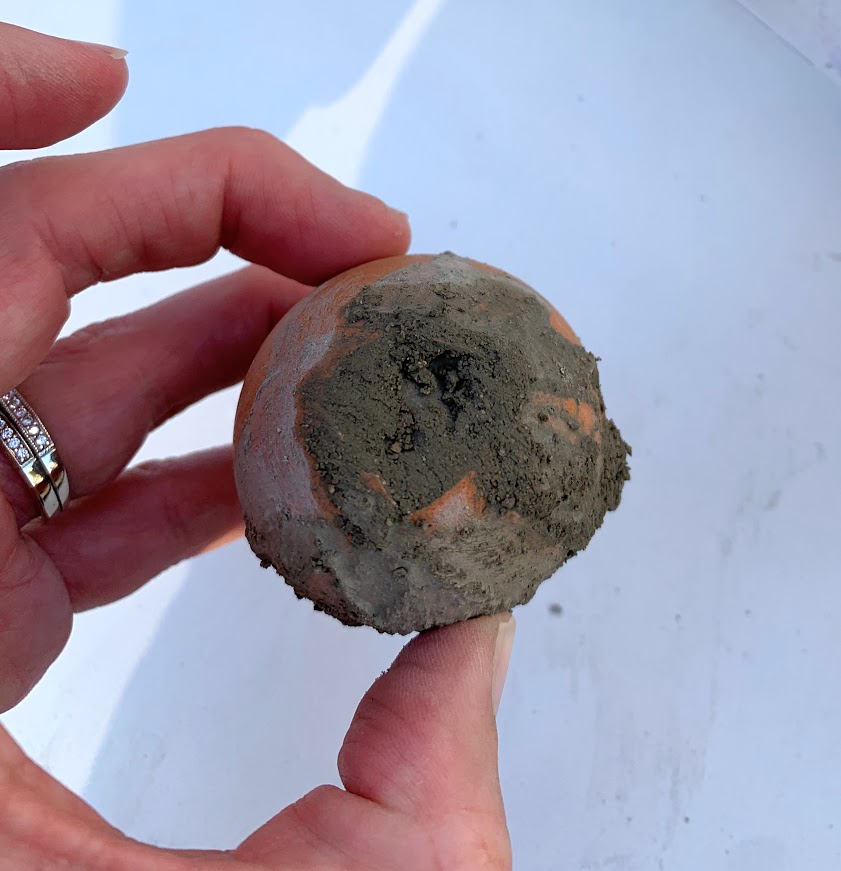
Using a craft knife or razor blade carefully peel off the shells. This is the hardest part of the project and takes a little patience, water helps as well.
If you have any rough edges or a bumpy surface on the egg, you can sand them down with sandpaper. I also sanded down the bottom of the egg to give it a flat bottom
so the egg can stand up straight.
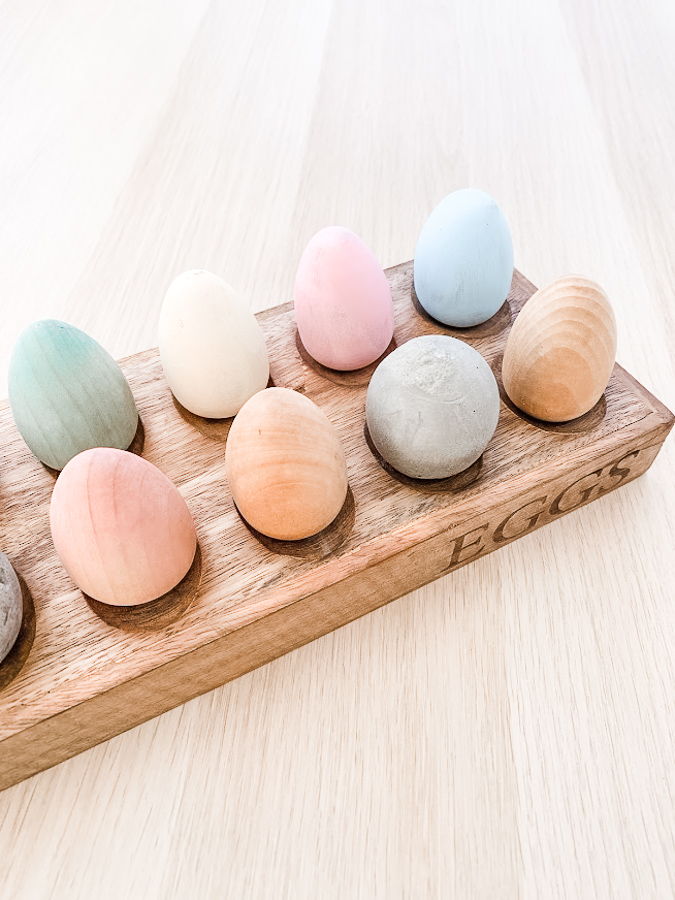
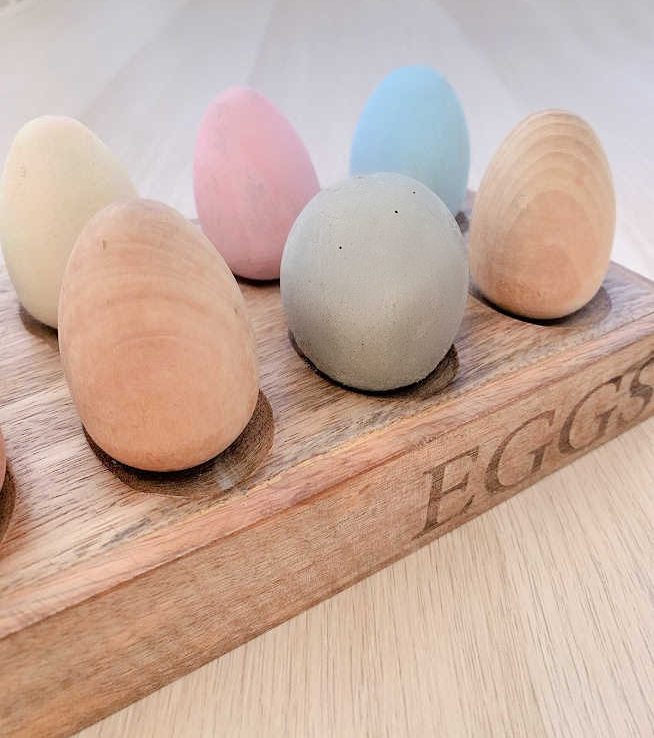
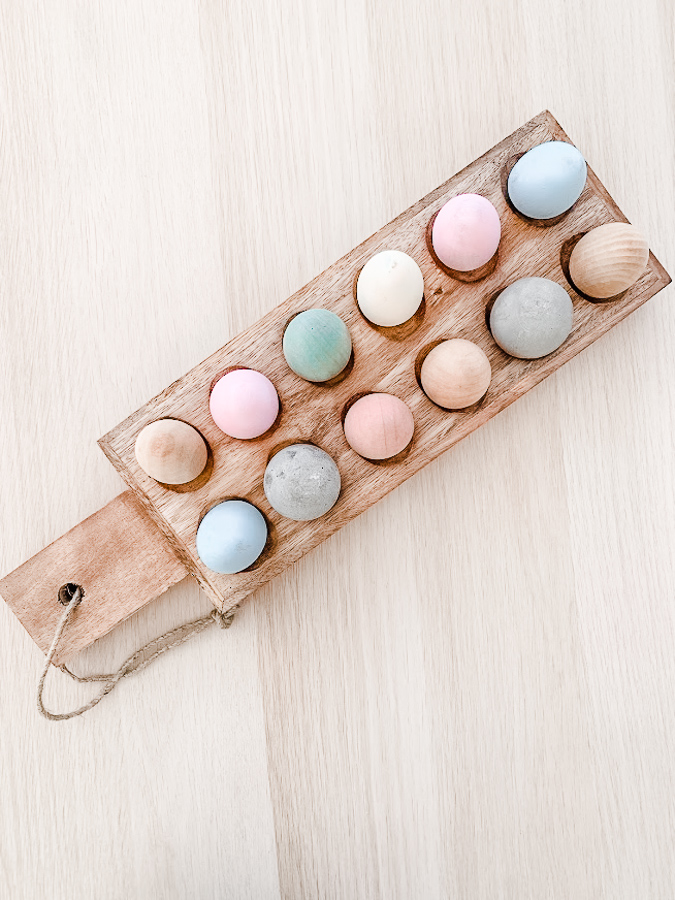
If you would like you can keep them as is, or you can paint them. I ended up painting a few of them in very light pastel colors and added some of my wood eggs for a fun display.
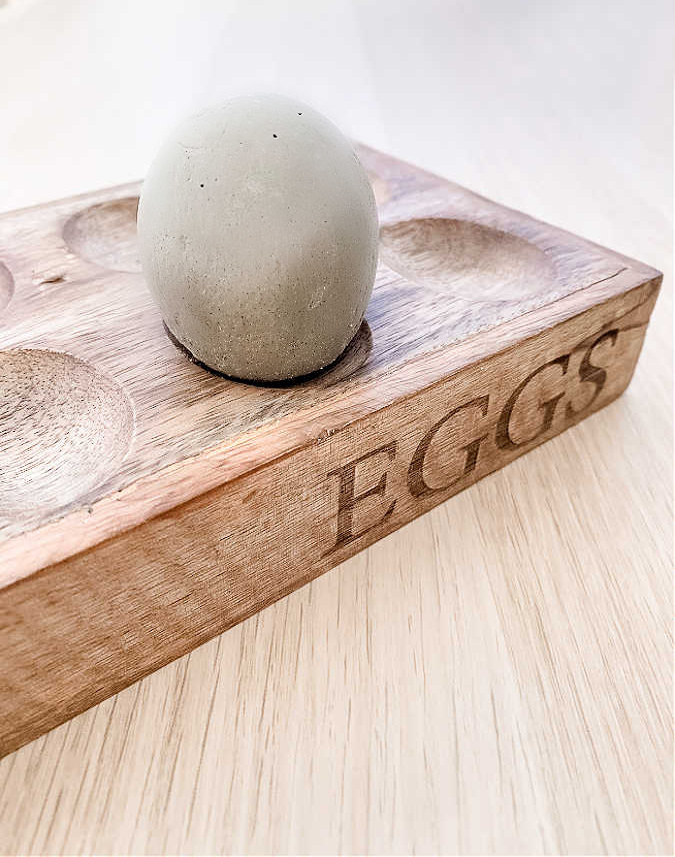
I love how simple these cement eggs were to make and they have such a minimalistic look I can’t wait to start scattering these around our home to add a little spring decor
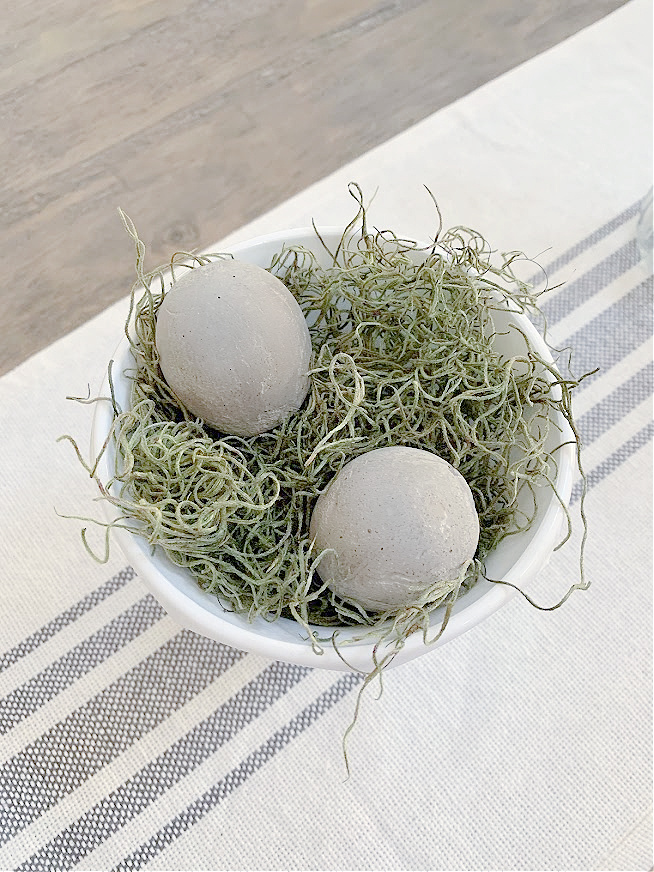
I love that they’re heavy and can stand upright on their own, so you can display them anywhere in your home.
Your next stop is Blue Sky At Home. Carol is showing you how to use Mod Podge to make beautiful eggs for Easter and decorative balls for your home decor.
Easter Egg Blog Tour
More Amazing Easter Egg Inspiration, a little something for everyone! Simply click on the links below the images to go straight to the post, Enjoy!

Chalking Up Success // My Uncommon Slice of Suburbia // Bluesky at Home

The Everyday Farmhouse // Saved from Salvage // Zucchini Sisters // Cottage on Bunker Hill

This Dear Casa // A Life Unfolding // A Life of Balance
Thank you so much for stopping in today!
Here are a few tutorials from the past you might enjoy


Concrete! Wow! So creative! I love the minimalistic look of these! I like them painted and just plain! You’ve got my wheels turning for concrete projects!
Thank you so much Jennifer
Wow! I love how simple and pretty your eggs turned out, and I have some leftover concrete in my garage that I now know what to do with it! Thanks for sharing. 🙂
Thank you so much Llibbie, It was a fun project!
Wow concrete. How creative and love the colors
Pinned
These are so flippin’ awesome!! I have never seen this technique before. Love how they came out!!
Thank you so much Jennifer
What a great idea! I like both the plain and painted pastel. They pair perfectly with your wood eggs!
Thank you so much Marie
These look amazing, Kristin! I didn’t know you can paint concrete. I love them both painted and unpainted. Thanks for sharing your technique. I have a huge bag of concrete left over from another project, so now I know what to do with it! Pinned 🙂
Thank you so much Rebecca!
What a creative idea Kristin. I would have never thought of using concrete to make eggs. They turned out beautifully. Thanks for joining the hop.
Thank you Janet and thanks for hosting
These are pretty Kristin; what kind of paint did you use? They almost look stained or like the cement was coloured 🙂
Thank you Sarah! The blue eggs are cement and I mixed a few colors of chalk paint to get a light blue. The other eggs are wooden eggs that I dipped in food coloring mixed with water to get that stained look. Tutorial coming soon on that 🙂
Super cute egg ideas.
Happy Easter,
Kippi
I love this idea! So perfect for Spring or Easter decor. I can’t wait to try making some for my house soon. Pinned so I don’t forget!
Cement eggs?? Who knew they could be this cute! Great tutorial Kristin! Pinned!
Thanks so much Cindy!
Not only are the cement eggs awesome the blog is looking eggcellent!
Thank you so much Bliss, still lots to do but at least the blog is up and running again.
These are so cool, Kristin! I love adding different textures to my decor, and these cement Easter eggs are a great option! Pinned, and I’m so glad to be featuring you at Tuesday Turn About this week!
Thank you so much Julie!
Love, love, love the way these came together, Kristin. I can’t wait to share them on my Friday Faves post this week. Loving and pinning as always sweet friend. They are fabulous! Hugs, CoCo
Thank you so much CoCo!! Wishing you a beautiful week ahead!
Do Not wear jewelry when working with fast drying concrete mix. Tiny particles Will get in and around stones and settings even with thorough washings. Learned the hard way. Mortar of any kind is designed to do this. Thank you for the tutorial. Great idea!
Thanks for the tip Cindy, I had no idea.
These eggs are fantastic. When I first saw them I wondered what kind of mold you could use for that. Sometimes the simplest of solutions really are the best ones. Brilliant idea and love your eggs.