
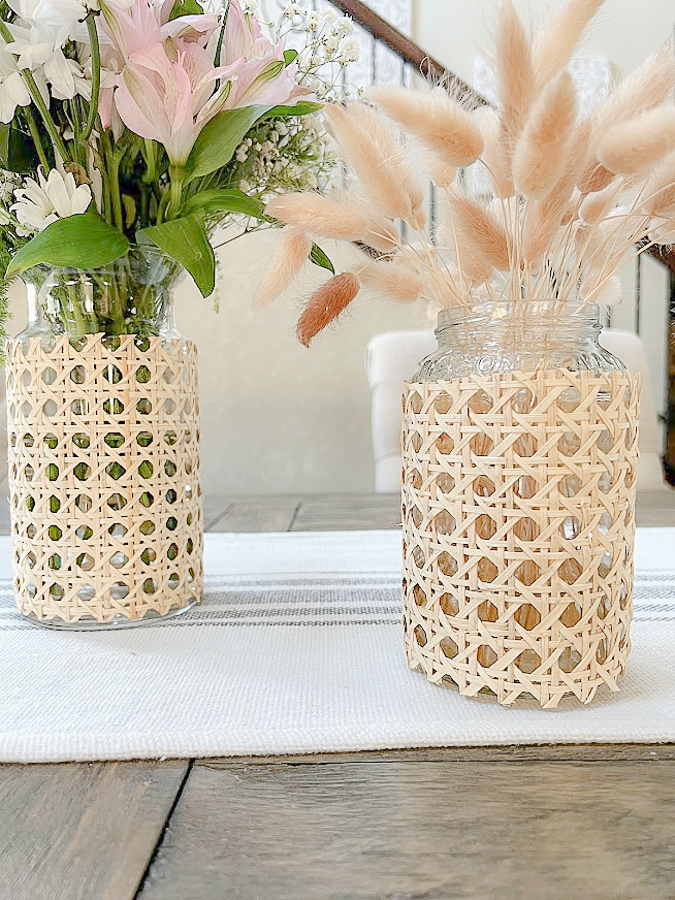
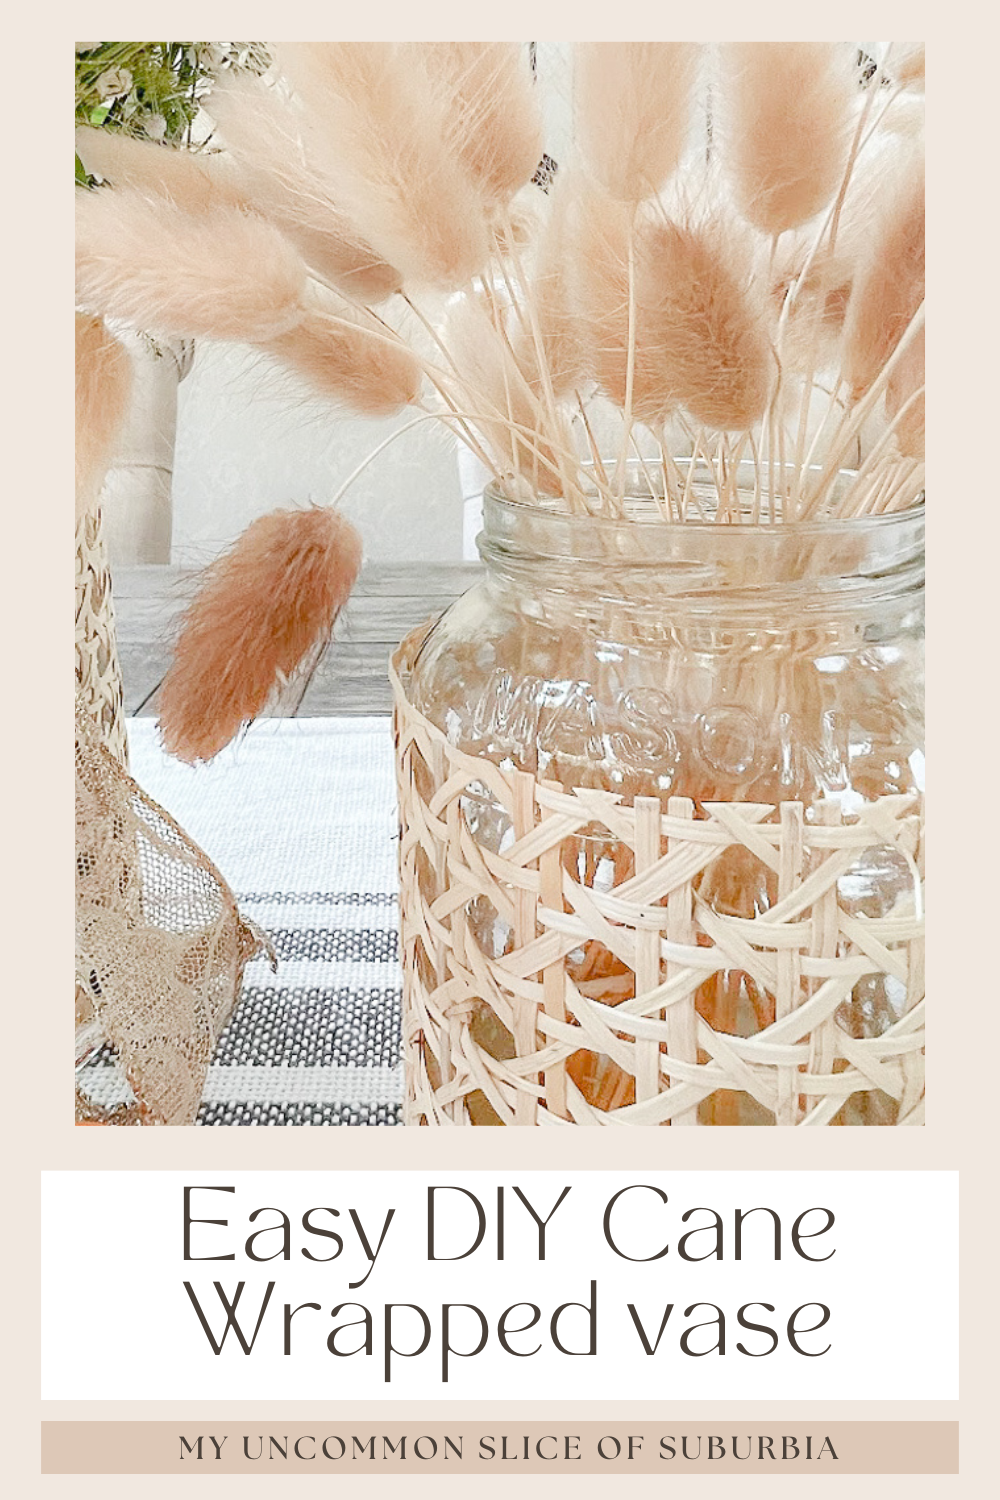
DIY Cane Wrapped Vase
DIY Cane Wrapped Vase
I love easy home decor projects, and this DIY Cane-Wrapped Vase is exactly that! Cane Webbing has definitely made a comeback over the past year.
Inspired by high-end cane furniture and Pottery Barn designs, this vase is easy to make and looks beautiful with fresh flowers, greenery, or even mini Christmas trees during the holidays. Plus, you can easily find most of the inexpensive supplies at your local dollar store or Home Depot.
This post was originally published Oct 2022 and recently updated
When I was planning my birthday, I was going for a light and airy, boohoo vibe and was on the hunt for a vase wrapped with cane webbing. Heck, I would have purchased a cane lantern and inserted a clear vase, but I couldn’t find anything. That’s when I decided to purchase the cane webbing and make my own.
If you shop through my affiliate links, I may earn a small commission
Supplies
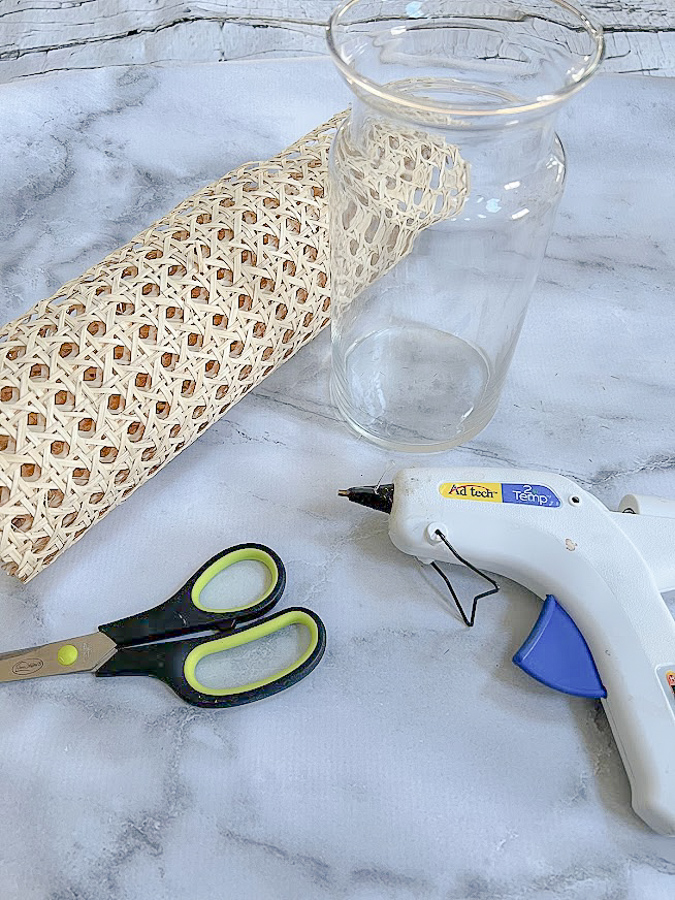
Cane webbing Or Rattan Reeds
Pair of scissors
Rubber Band
Hot glue gun and glue sticks
clear vase, flower vase, or glass vase (or even recycled glass bottles, mason jars are awesome or any clear glass jar from the dollar store)
optional: spray paint, ribbon, or trim for extra detail
Step-by-Step Instructions
Measure and Cut the Cane Webbing
Start by measuring your cane webbing around your clear vase. You want it to wrap nicely without overlapping too much. Cut the cane pieces to fit the height and circumference of the vase. If the webbing feels stiff, soak it in warm water for about 15 minutes to make it easier to work with. You could also wrap the cane webbing around the vase, and then mark the cane with a pencil where you want to cut, or just make a small slit with your scissors. You want the webbing to end right above the bottom of the vase.
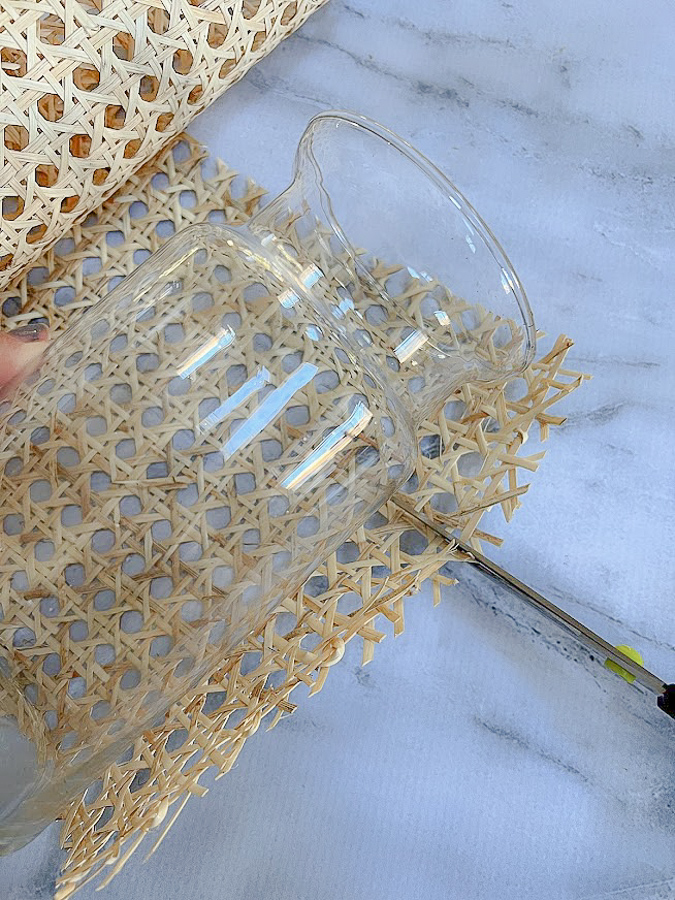
Wrap and Secure
Place a rubber band around the middle of your vase to hold the cane in place while you work. Position the cane webbing around the vase, adjusting until it’s straight up and even.
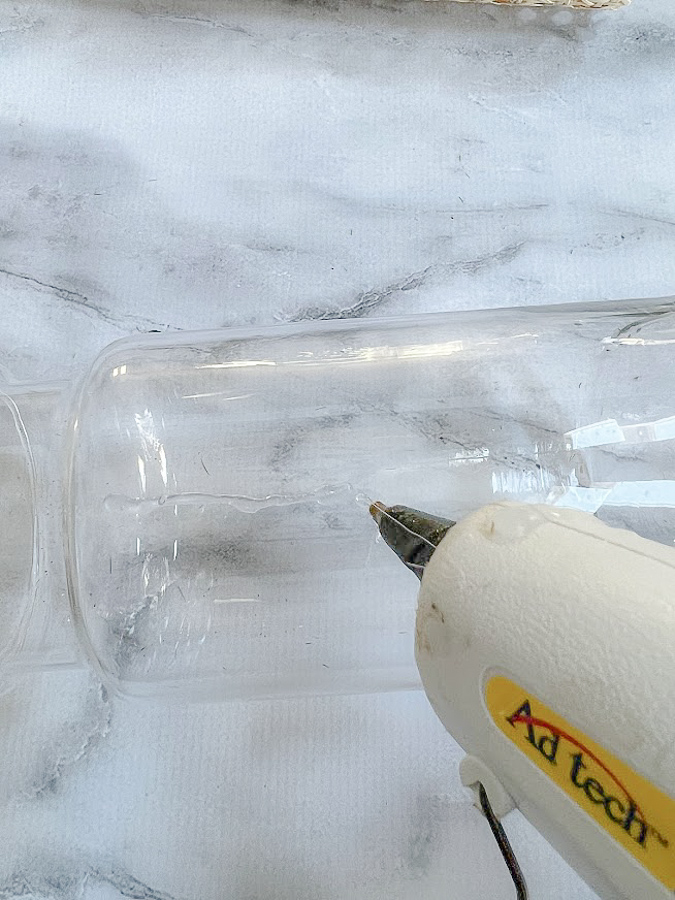
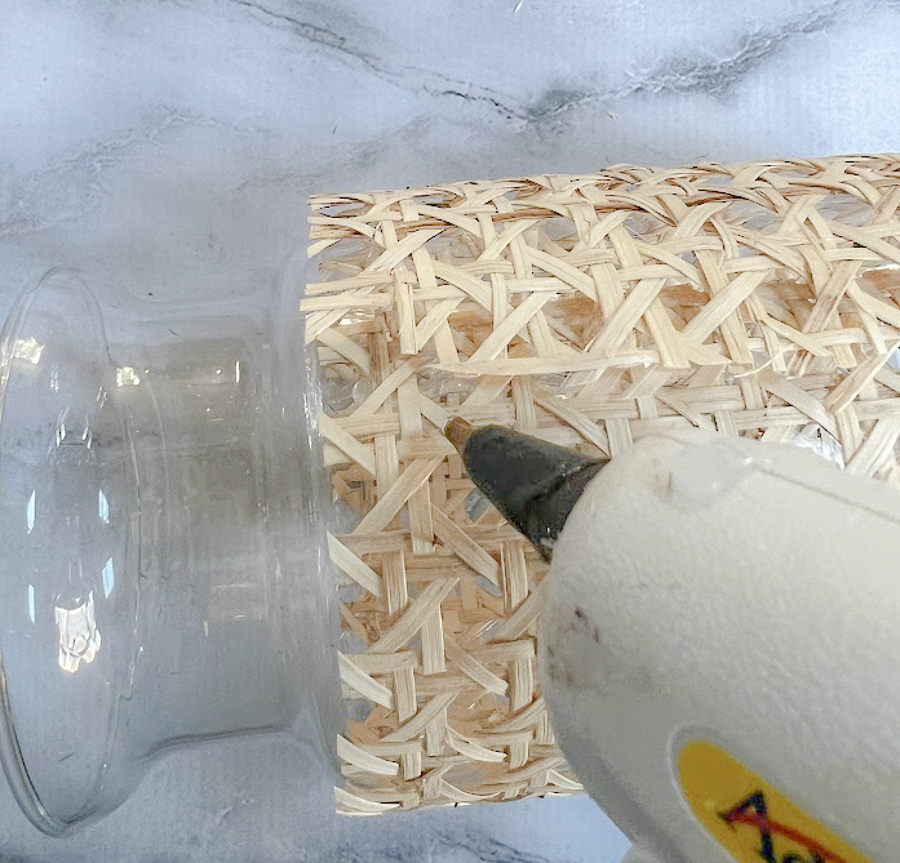
Glue the Edges
Run a bead of hot glue on the side of your vase and adhere the cane. Wrap the webbing around the vase, then glue the other vertical end onto the vase with glue. If those unfinished ends drive you nuts, you could always glue a strand from the cane sheets and place it at the top of the vase where your cane ends.
Embellish with ribbon, jute, or anything else that you love.
Style Your Vase
Once your vase is dry, fill it with fresh flowers, dried arrangements, faux flowers, or pine cones. Get creative. The natural texture vase pairs perfectly with other cute dollar store DIYs or neutral holiday décor. This would also be a great idea for a candle holder!
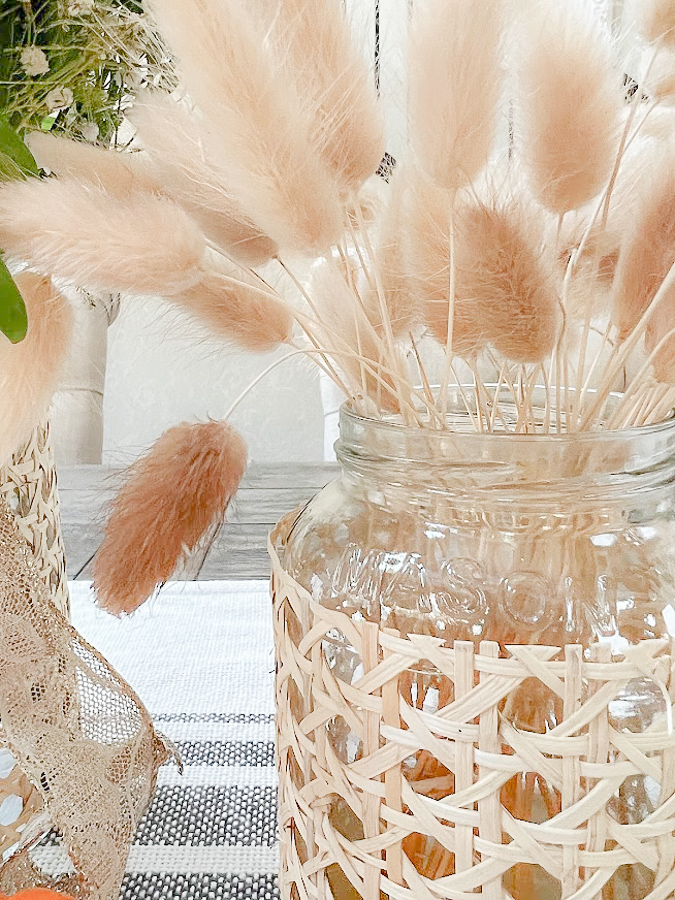
I love the little bunny tails
Optional: DIY Candy Cane Vase Twist
If you want to make it holiday-themed, wrap candy canes around the bottom of the vase using hot glue for a fun and festive touch. This diy candy cane vase makes an adorable addition to a holiday table. Candy cane centerpiece, tutorial coming soon!

This project may take a little extra time, but the result is a texture-rich, natural-looking vase that’s both timeless and trendy. Whether you use cane webbing, rattan reeds, or long reeds, each version adds its own charm.
I love how it adds such a light and airy look with a minimal amount of natural textures. I think it’s one of the easiest diy projects I’ve done in a long time, plus it was so much fun to make.
Thank you so much for stopping in today!
I absolutely love this DIY cane-wrapped vase idea! It adds such a unique touch to home decor. I can’t wait to try this out and customize it with different colors. Thanks for sharing this creative project!
What a beautiful and creative idea! I love how unique and charming the cane-wrapped vase looks. It’s such a simple project that adds such a warm touch to home decor. Can’t wait to try this out myself! Thanks for sharing!
This DIY cane wrapped vase is absolutely stunning! I love how you transformed something simple into a beautiful piece of decor. The step-by-step instructions are super helpful, and I can’t wait to try this for my own home. Thank you for the inspiration!