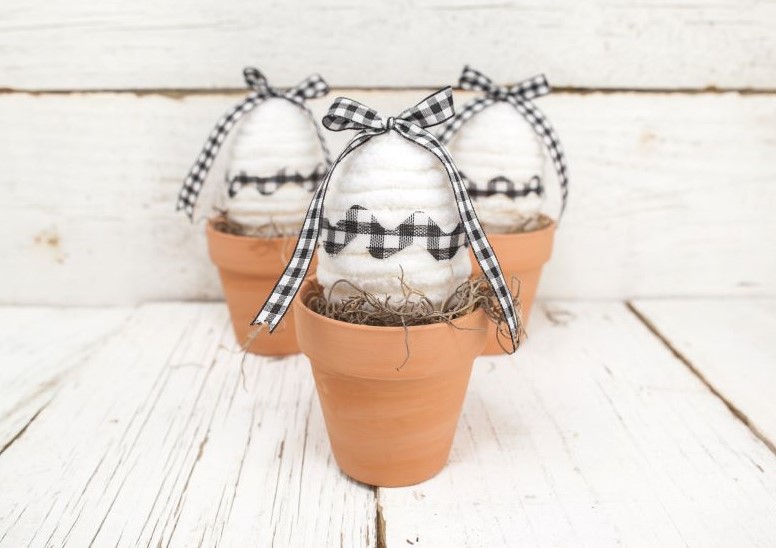
Buffalo Check Farmhouse Easter Egg Craft
If you love farmhouse decor you are going to love these Buffalo check chunky yarn easter eggs, plus they are so simple to make! You can display them just the way they are or you could pair them with name cards for an adorable table setting for Easter. They would look super cute on a tiered tray displayed with a few Spring items.
I was looking at the calendar yesterday and couldn’t believe Easter was just around the corner, for some reason I was thinking it was a few weeks away. Having spent it with just the boys and my husband last year, It will be amazing to be back with my family for our traditional Easter gathering. We will be fully vaccinated by then and so looking forward to returning back to a little bit of normalcy!
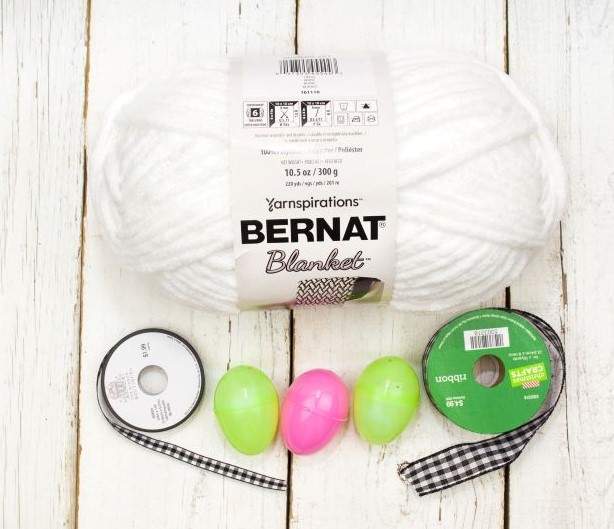
Supplies:
Affiliate links Listed Below
Plastic Easter Eggs
White Chunky Yarn
1” Wired Trim Buffalo Check Ribbon
3/8” Buffalo Check Ribbon
Tools:
E6000 Glue (can substitute with Hot Glue)
Scissors
A strip of Ric Rac Fabric Trim
Straight Pins
Time:
20 Minutes (without drying time)
1 hour and 20 minutes (with drying time)
Directions
Step 1:
Wrap plastic eggs with chunky white yarn. You’ll need approximately 1 yard and 3 inches to cover a standard plastic egg.
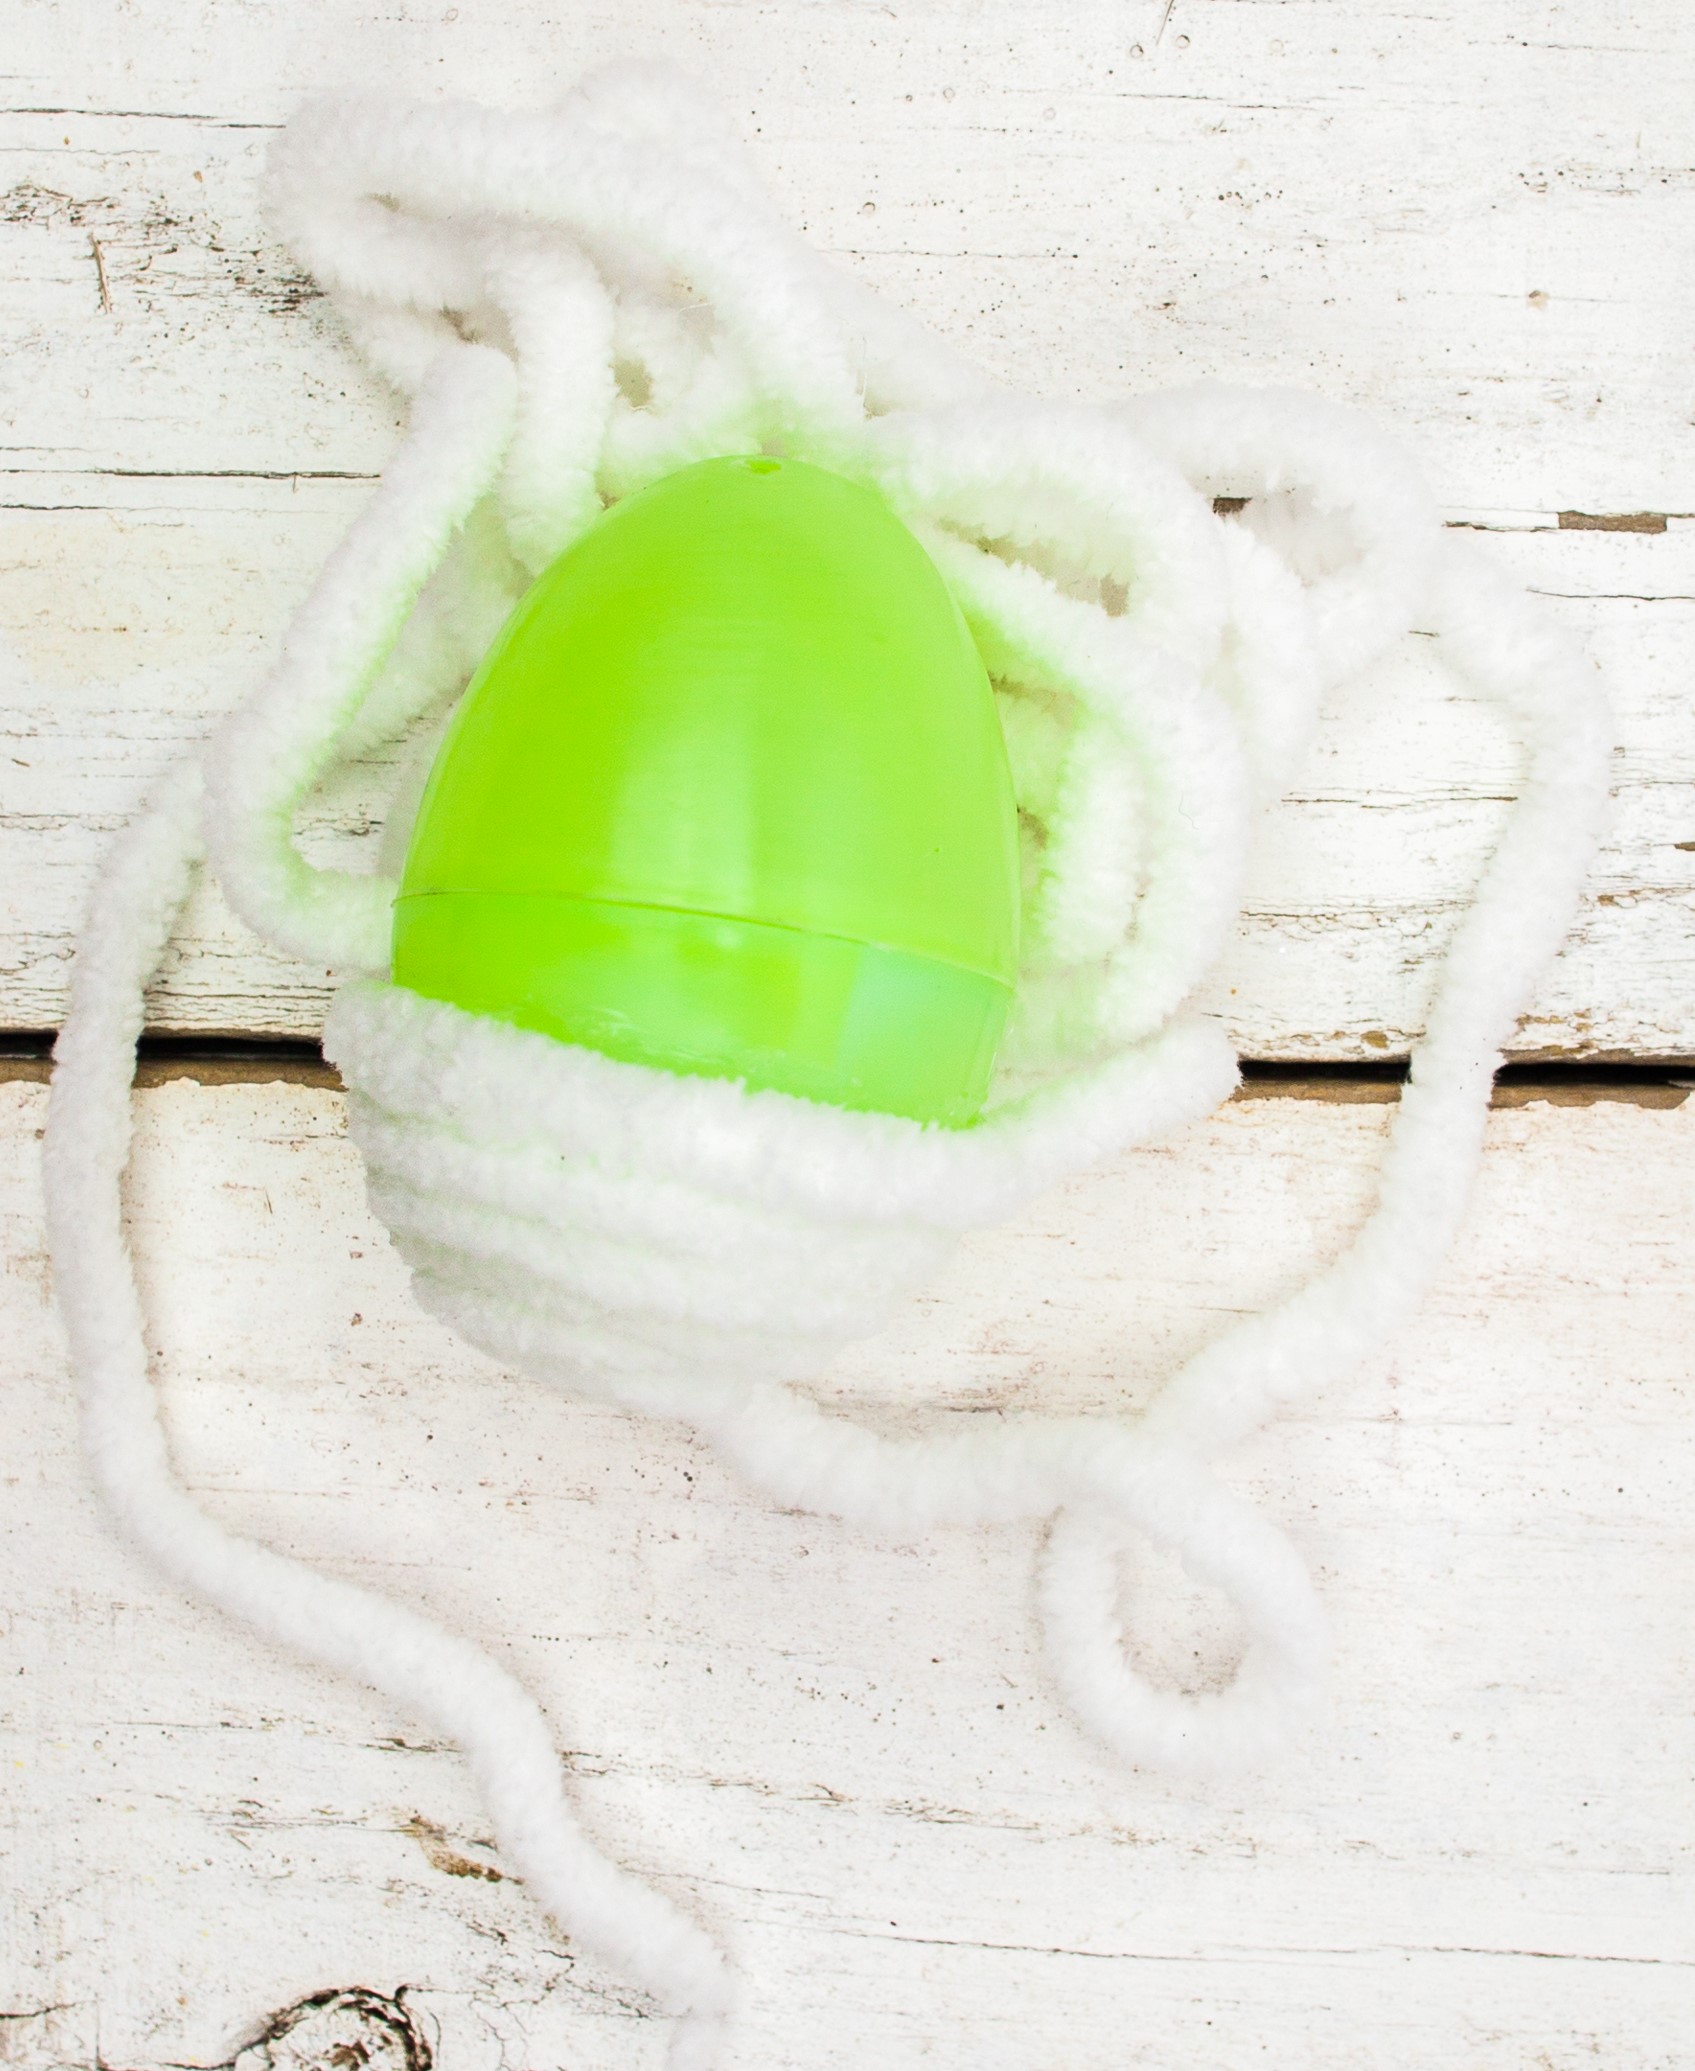
Start at the larger end of the egg and cover it with E600 glue. Spread enough glue to wrap the yarn approximately 4-5 times. To start wrapping, place the end of the yarn in the middle of the egg’s bottom and wrap it in a circular pattern. Continue until the entire egg is covered. Let the glue dry for about 15 minutes before handling the egg.
Note: You can use Hot Glue instead of E6000 glue. I did wrap one egg using hot glue and both types of glue will hold the yarn in place. With the E6000 glue, it is easier to adjust the yarn to make sure there are no gaps between wraps. I was able to slide the yarn around with the E6000 and it does not dry as fast as the hot glue.
Step 2:
Cut 7” strips of the 1” wide ribbon and apply a thin coat of Modge Podge with a foam brush. The Modge Pode will keep the ribbon from fraying.
Lay the ribbon strips on plastic (I used a small plastic garbage bag) and apply Modge Podge over the ribbons. The Modge Podge will seep through to the other side and onto the plastic. To help with drying time, once you’ve applied the Modge Podge, move the ribbons to another part of the plastic so they have a clean space to dry. Drying Time takes at least 1 hour.
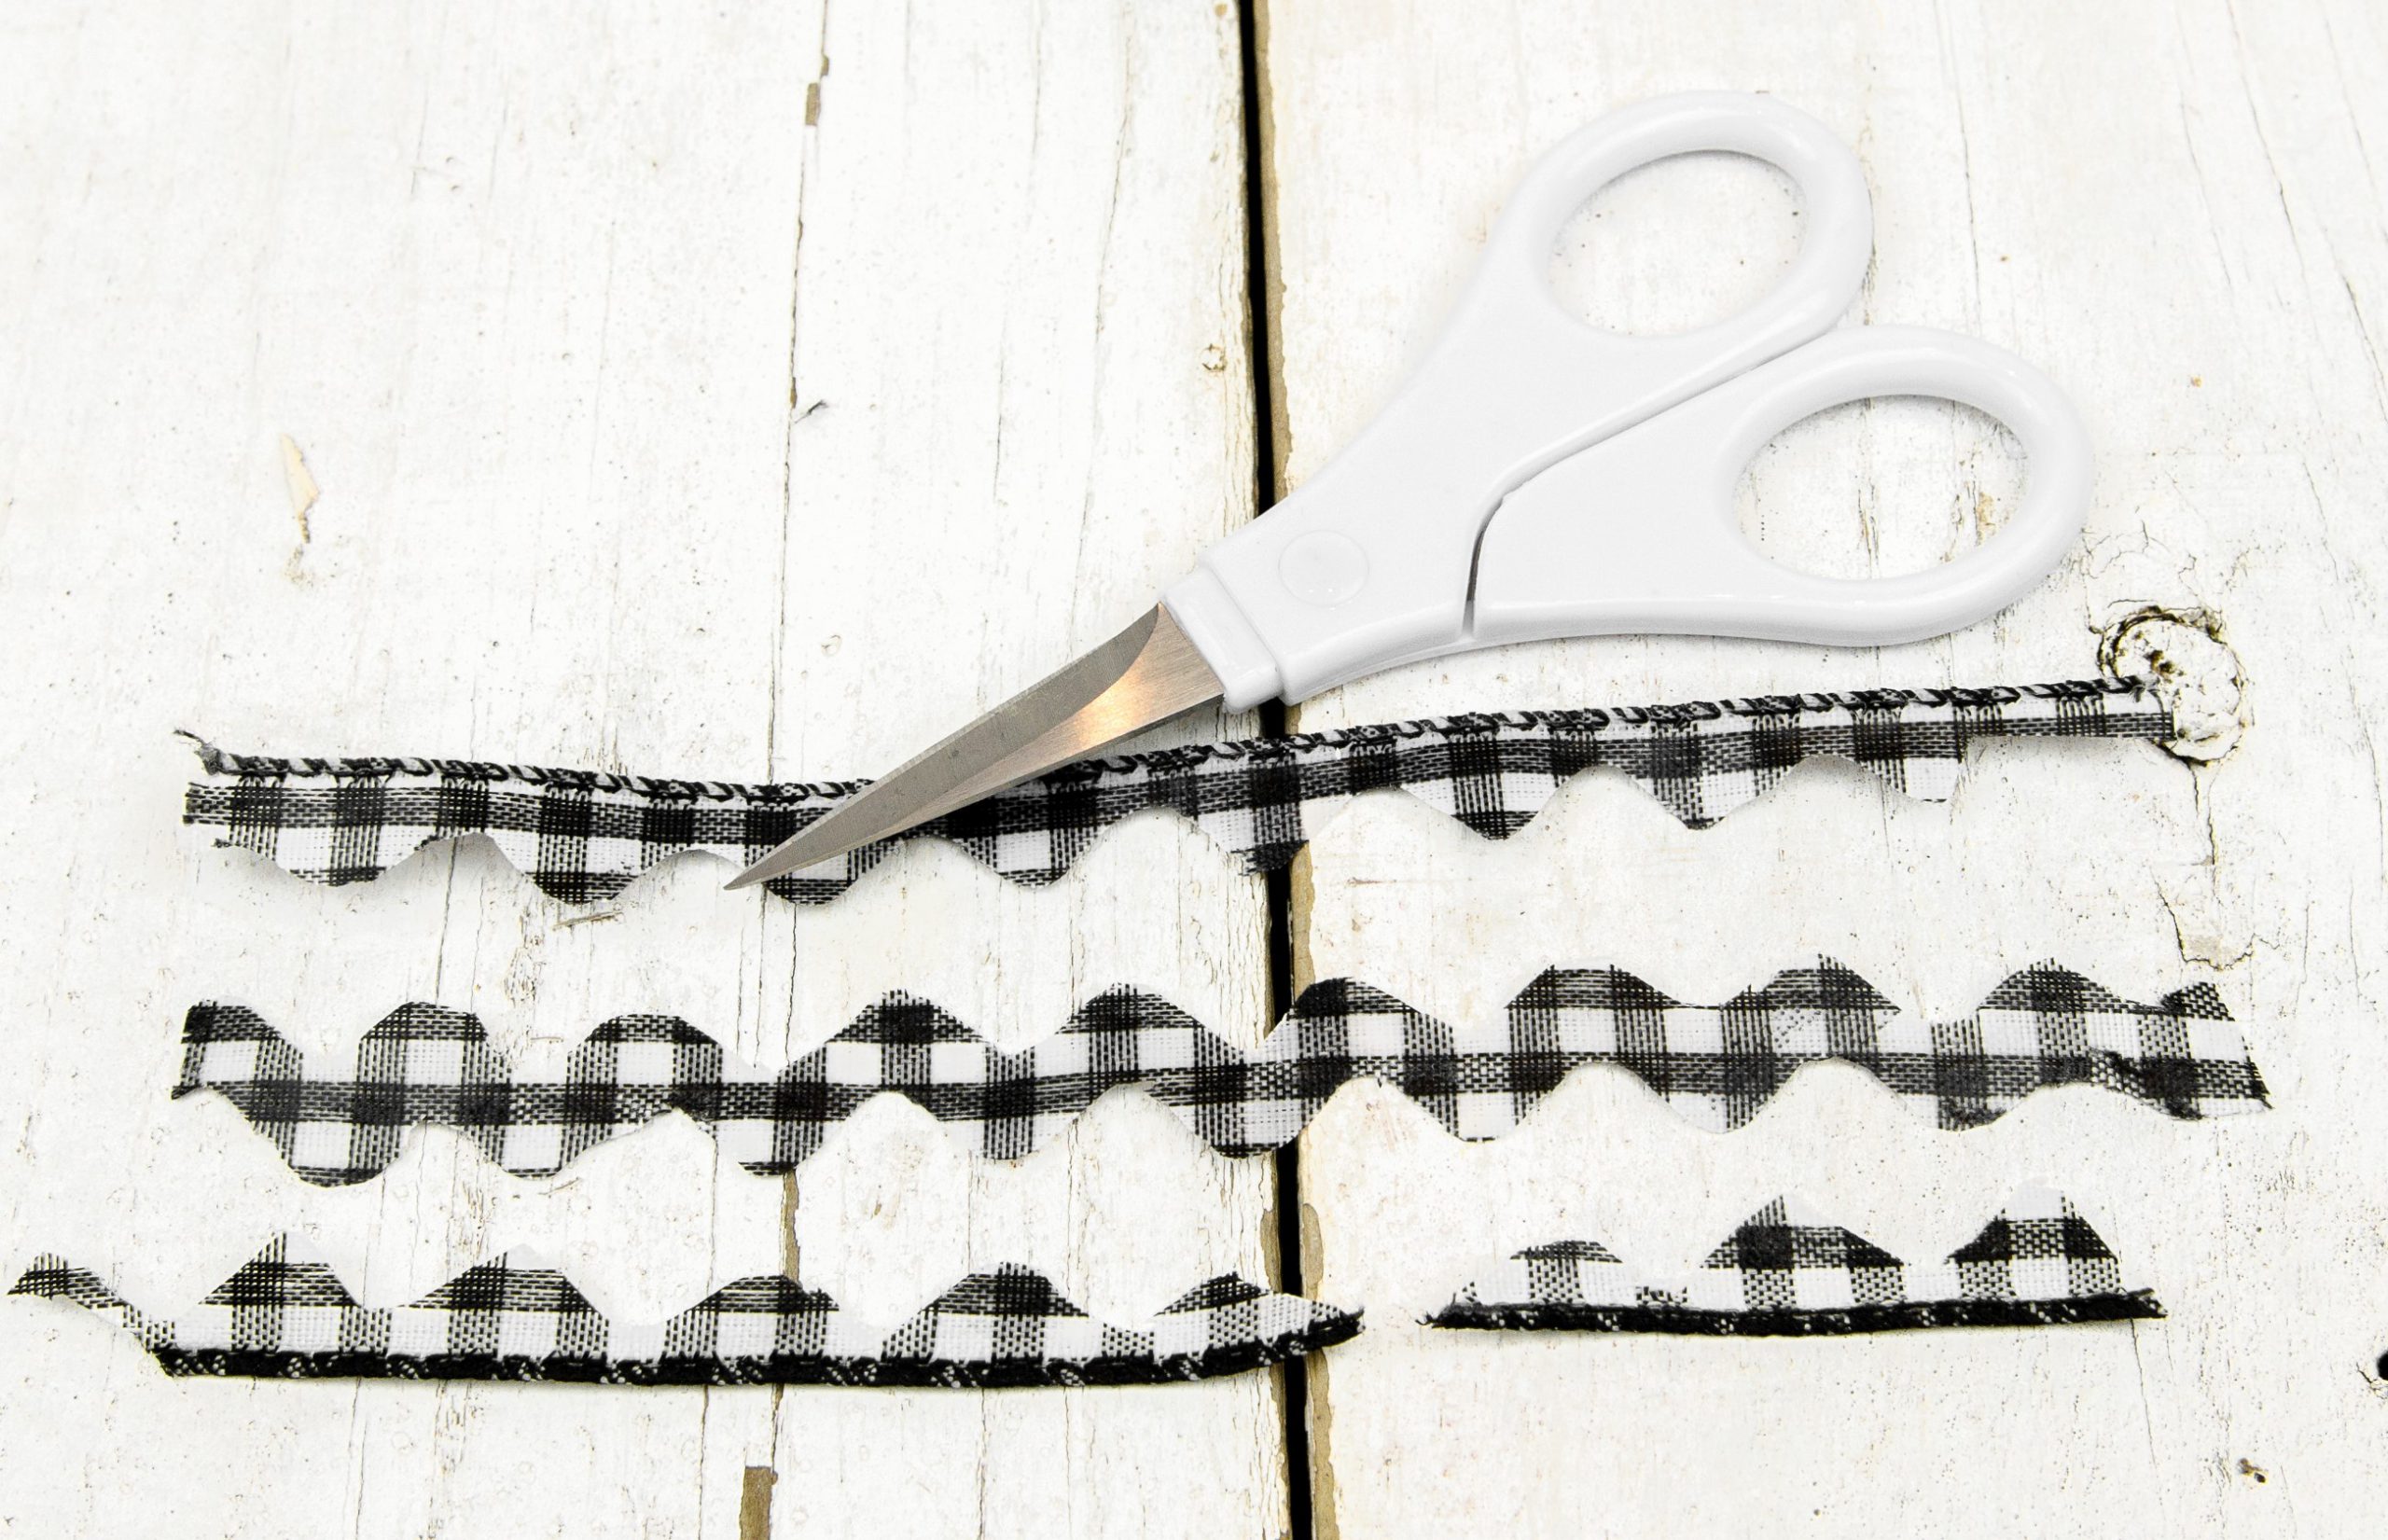
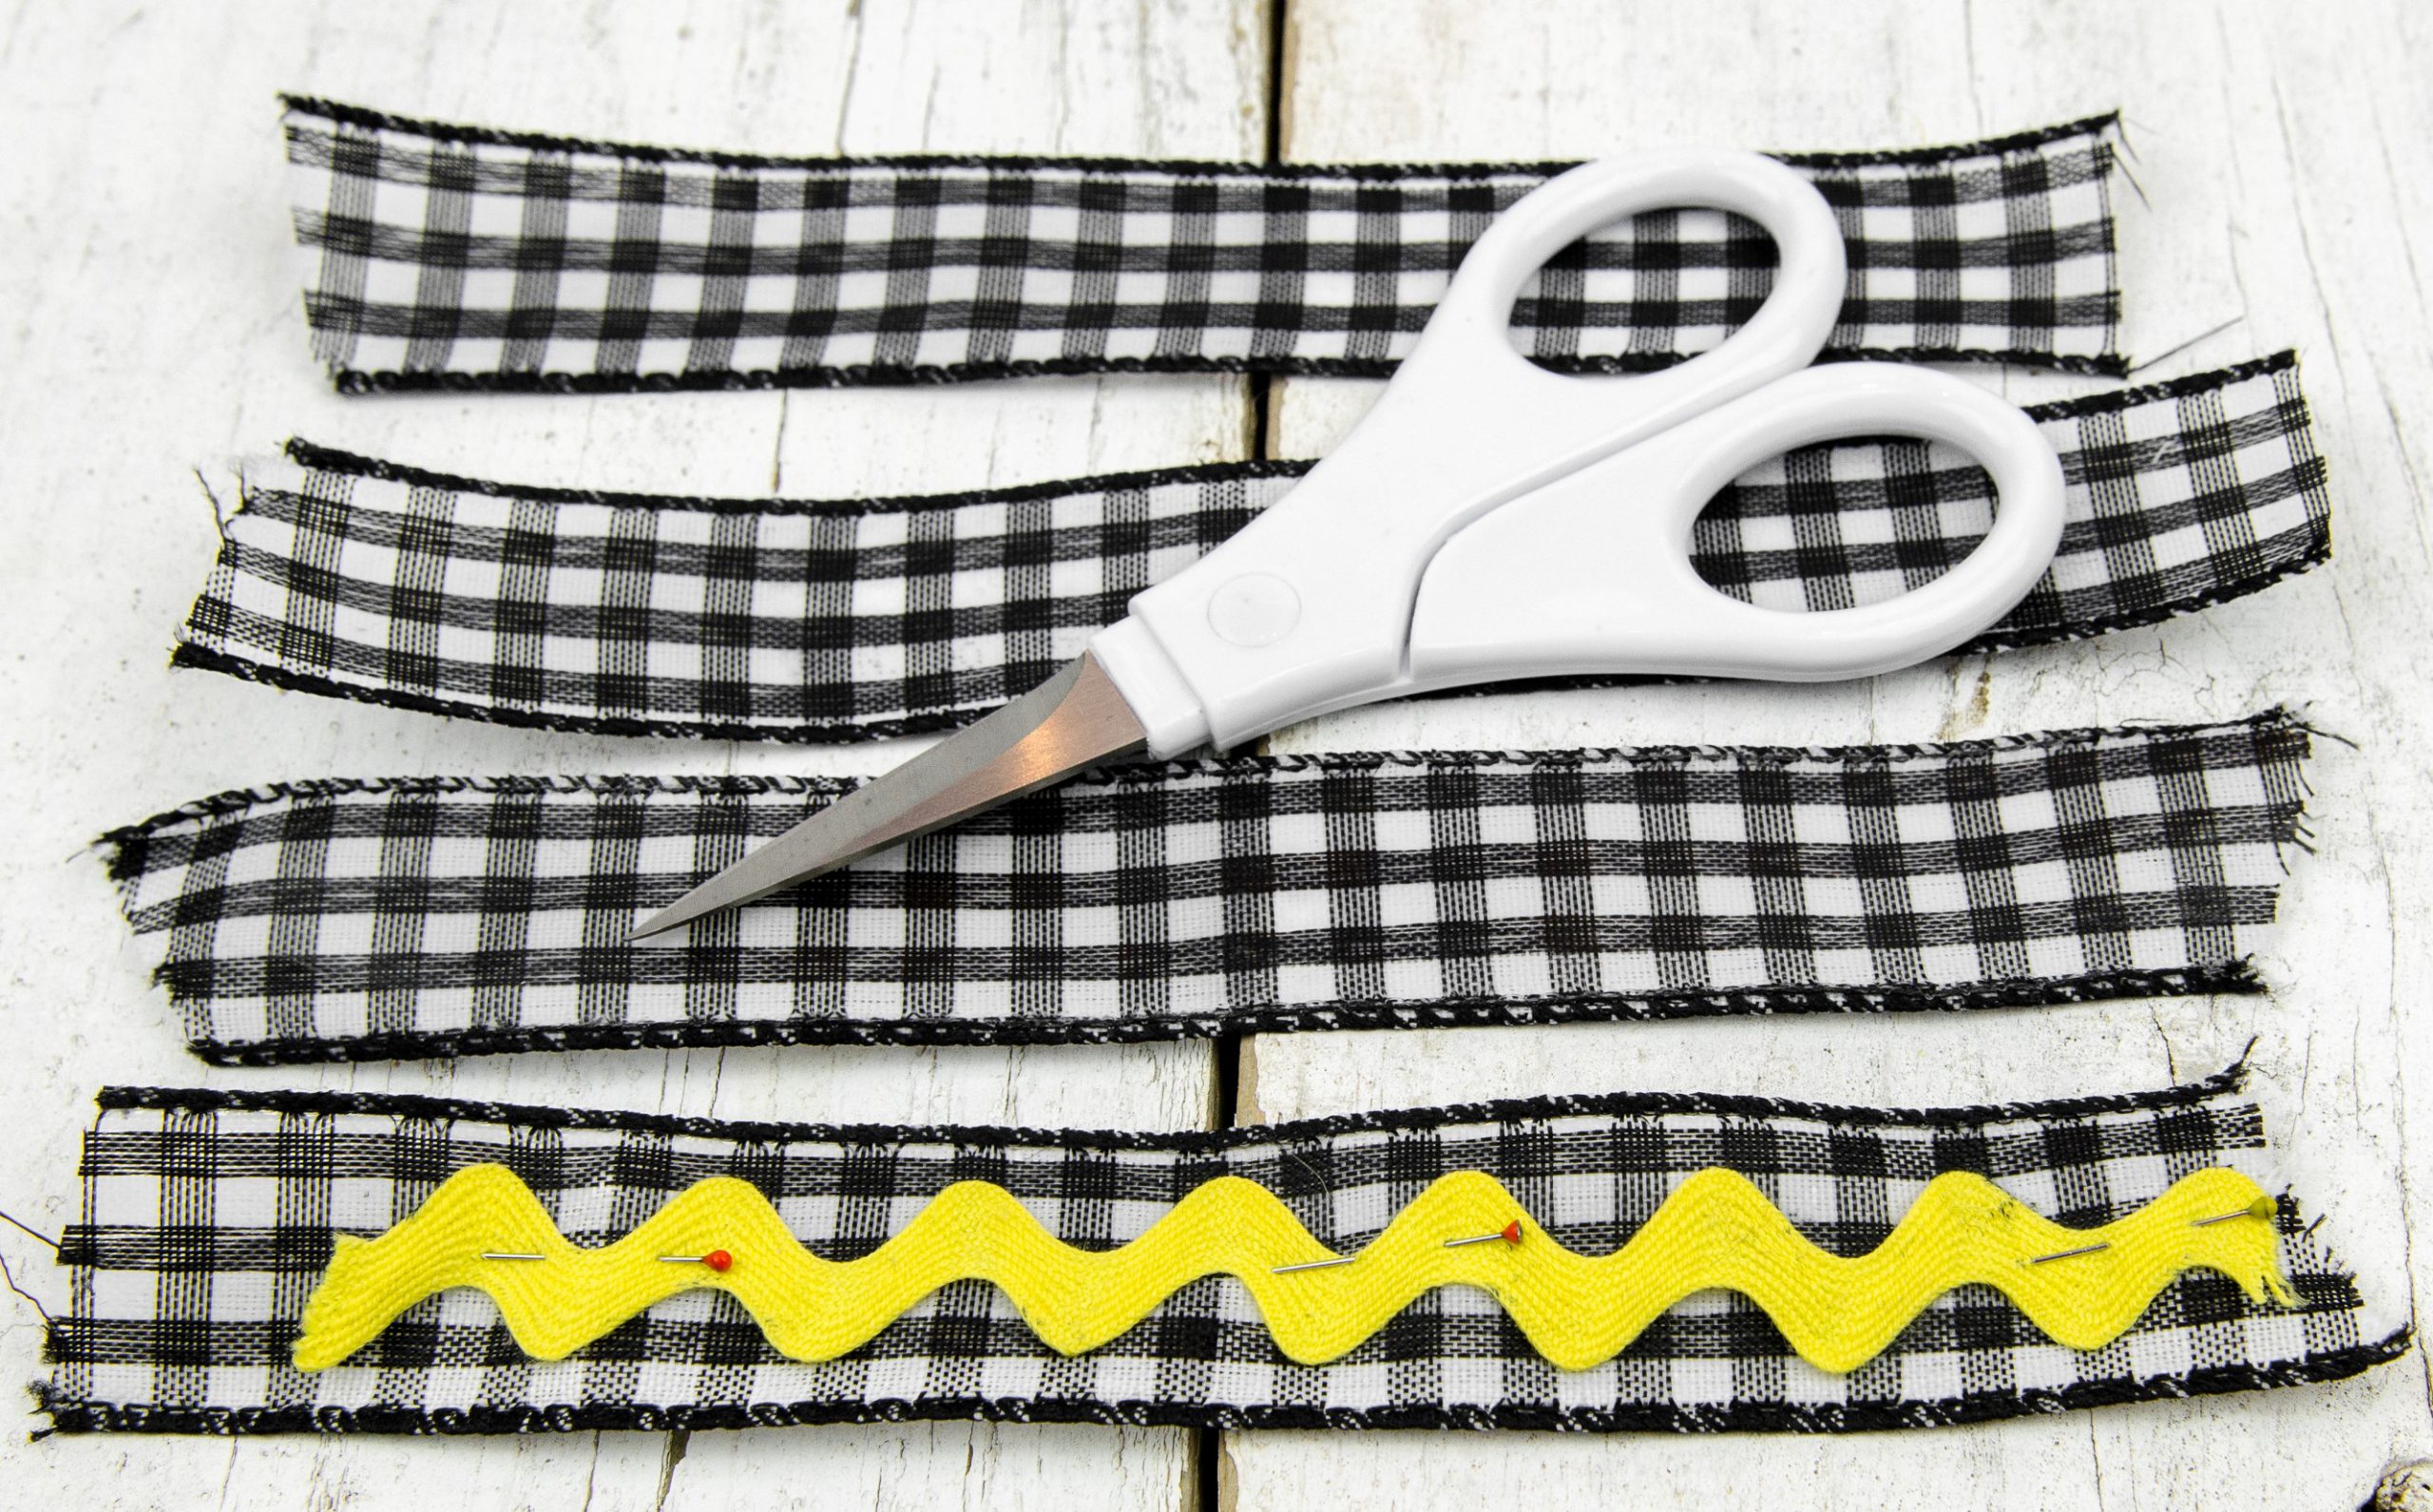
Step 3:
Pin a strip of Ric Rac Fabric Trim on top of the ribbon to use as a template. Cut along the outside edges of the Ric Rac trim.
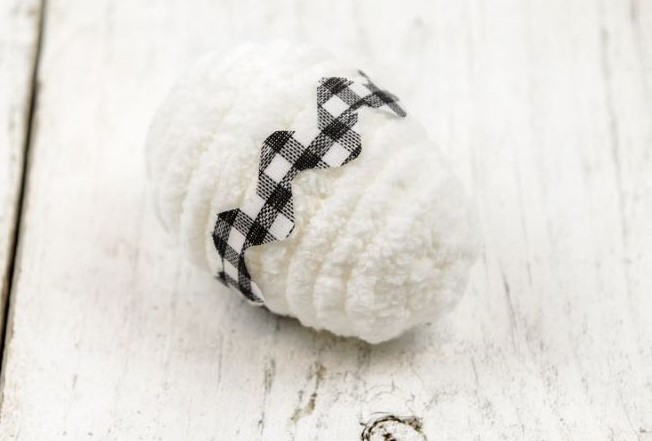
Step 4:
Glue the ribbon around the middle of the egg. I used a plastic toothpick to dip into the E600 glue and spread it onto the ribbon. Add dots of glue to the back of the ribbon as you wrap it around the egg. Adjust accordingly
Step 5:
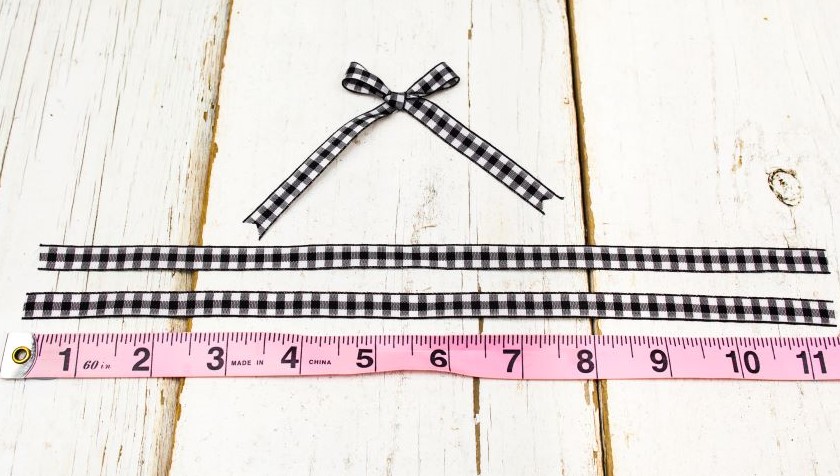
Cut 11 1/2” strips of the small ribbon to create bows.
Trim the ends of the ribbon into an inverted V shape. Fold the end of the ribbon and cut downward at a slant to make the inverted V shape.
Step 6:
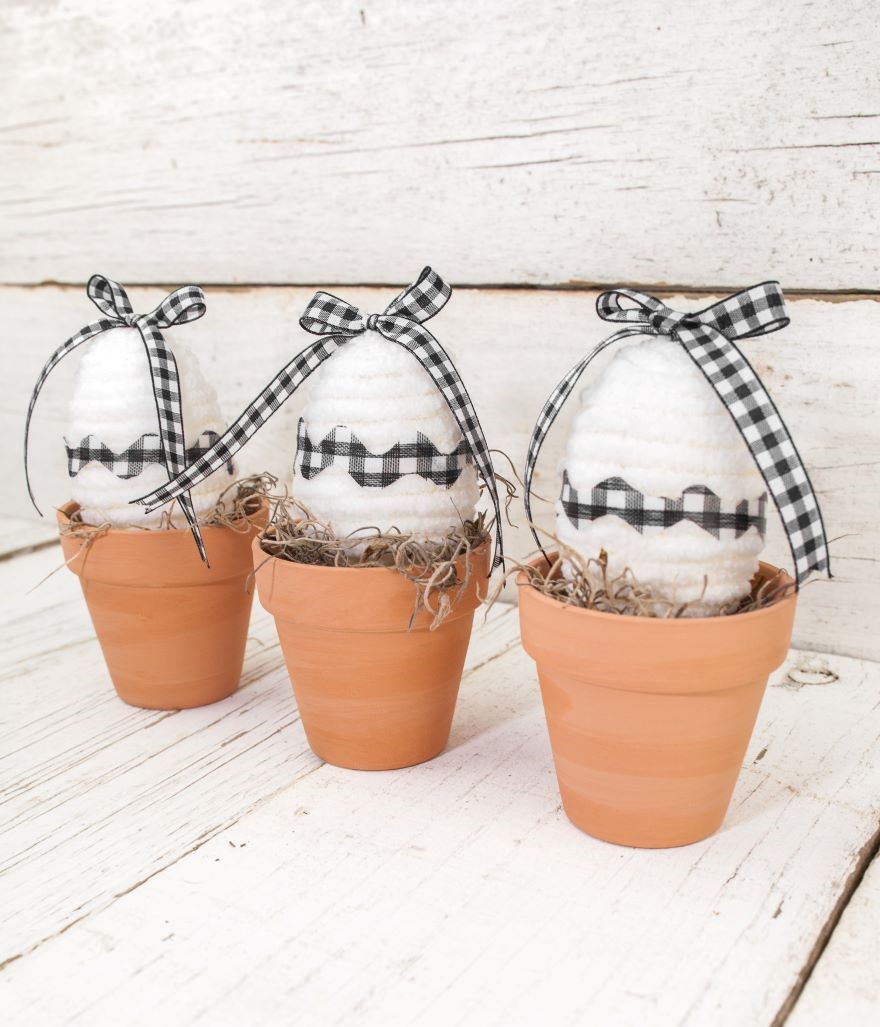
Glue the bows to the top of the egg. Add a dab of glue in the center of the bow and press it down onto the yarn and let dry.

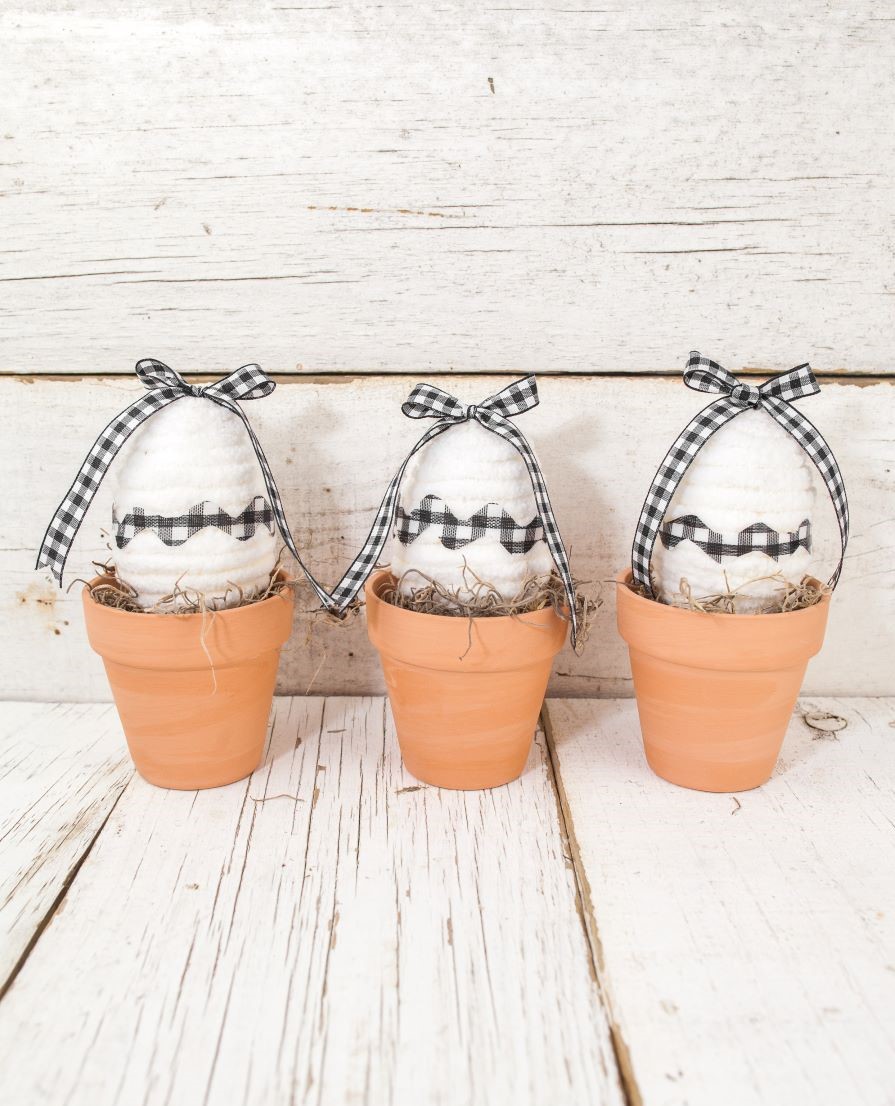
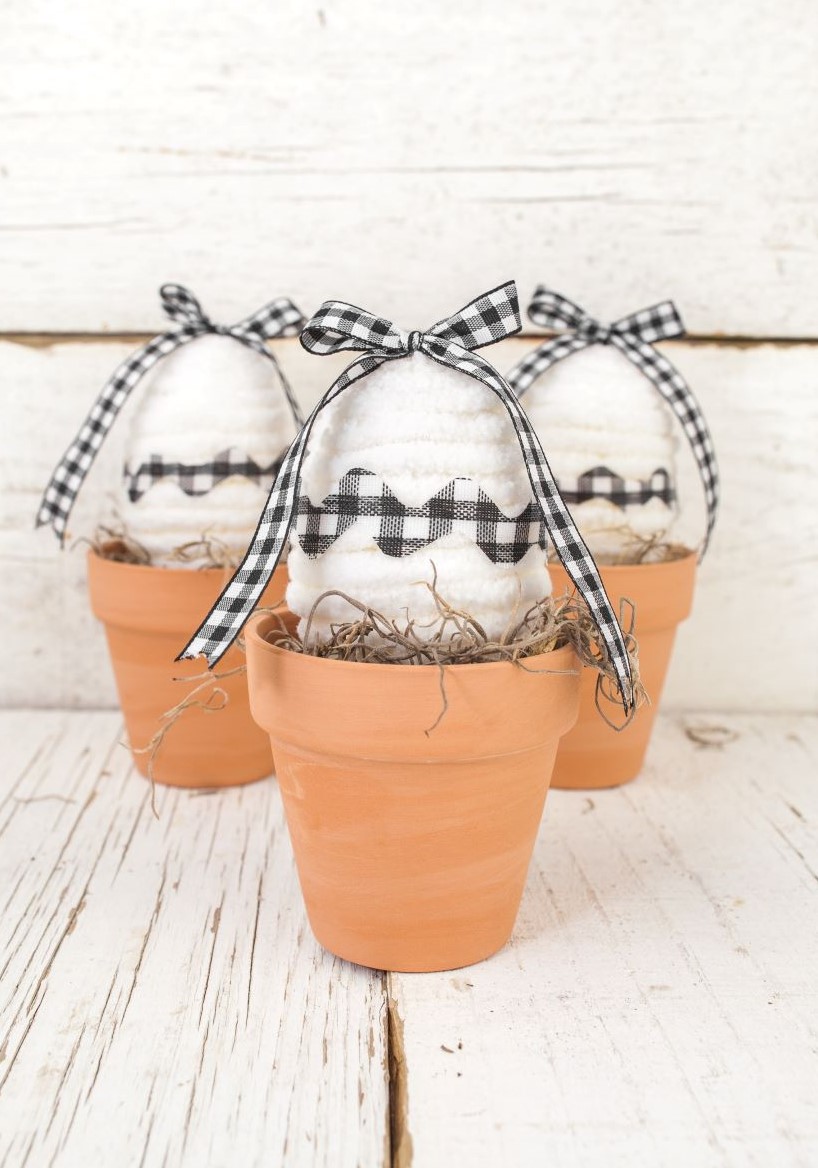
Aren’t they so cute!

I hope you will give these a try and If you prefer more of the bright and bold Spring decor, I have a fun tutorial for you coming up next week.