
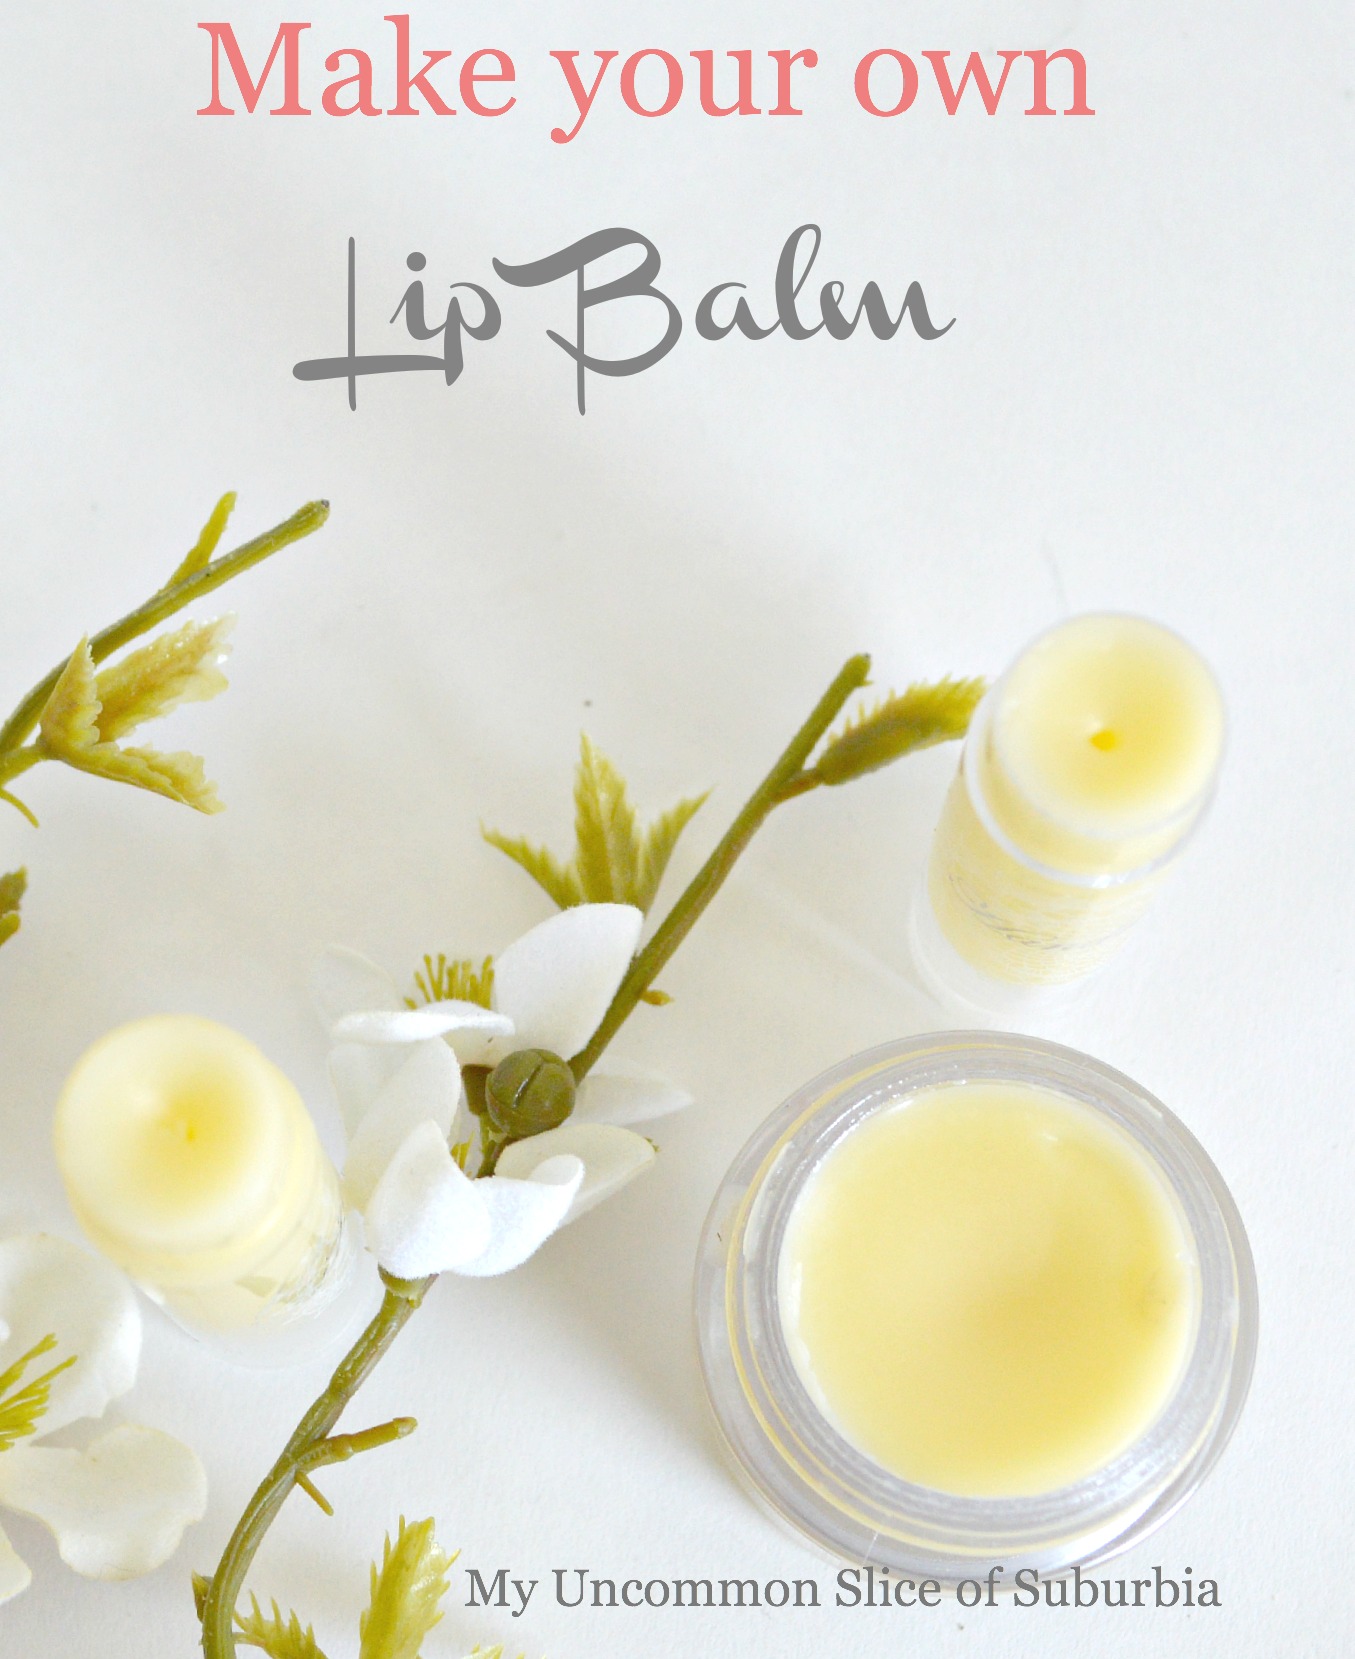
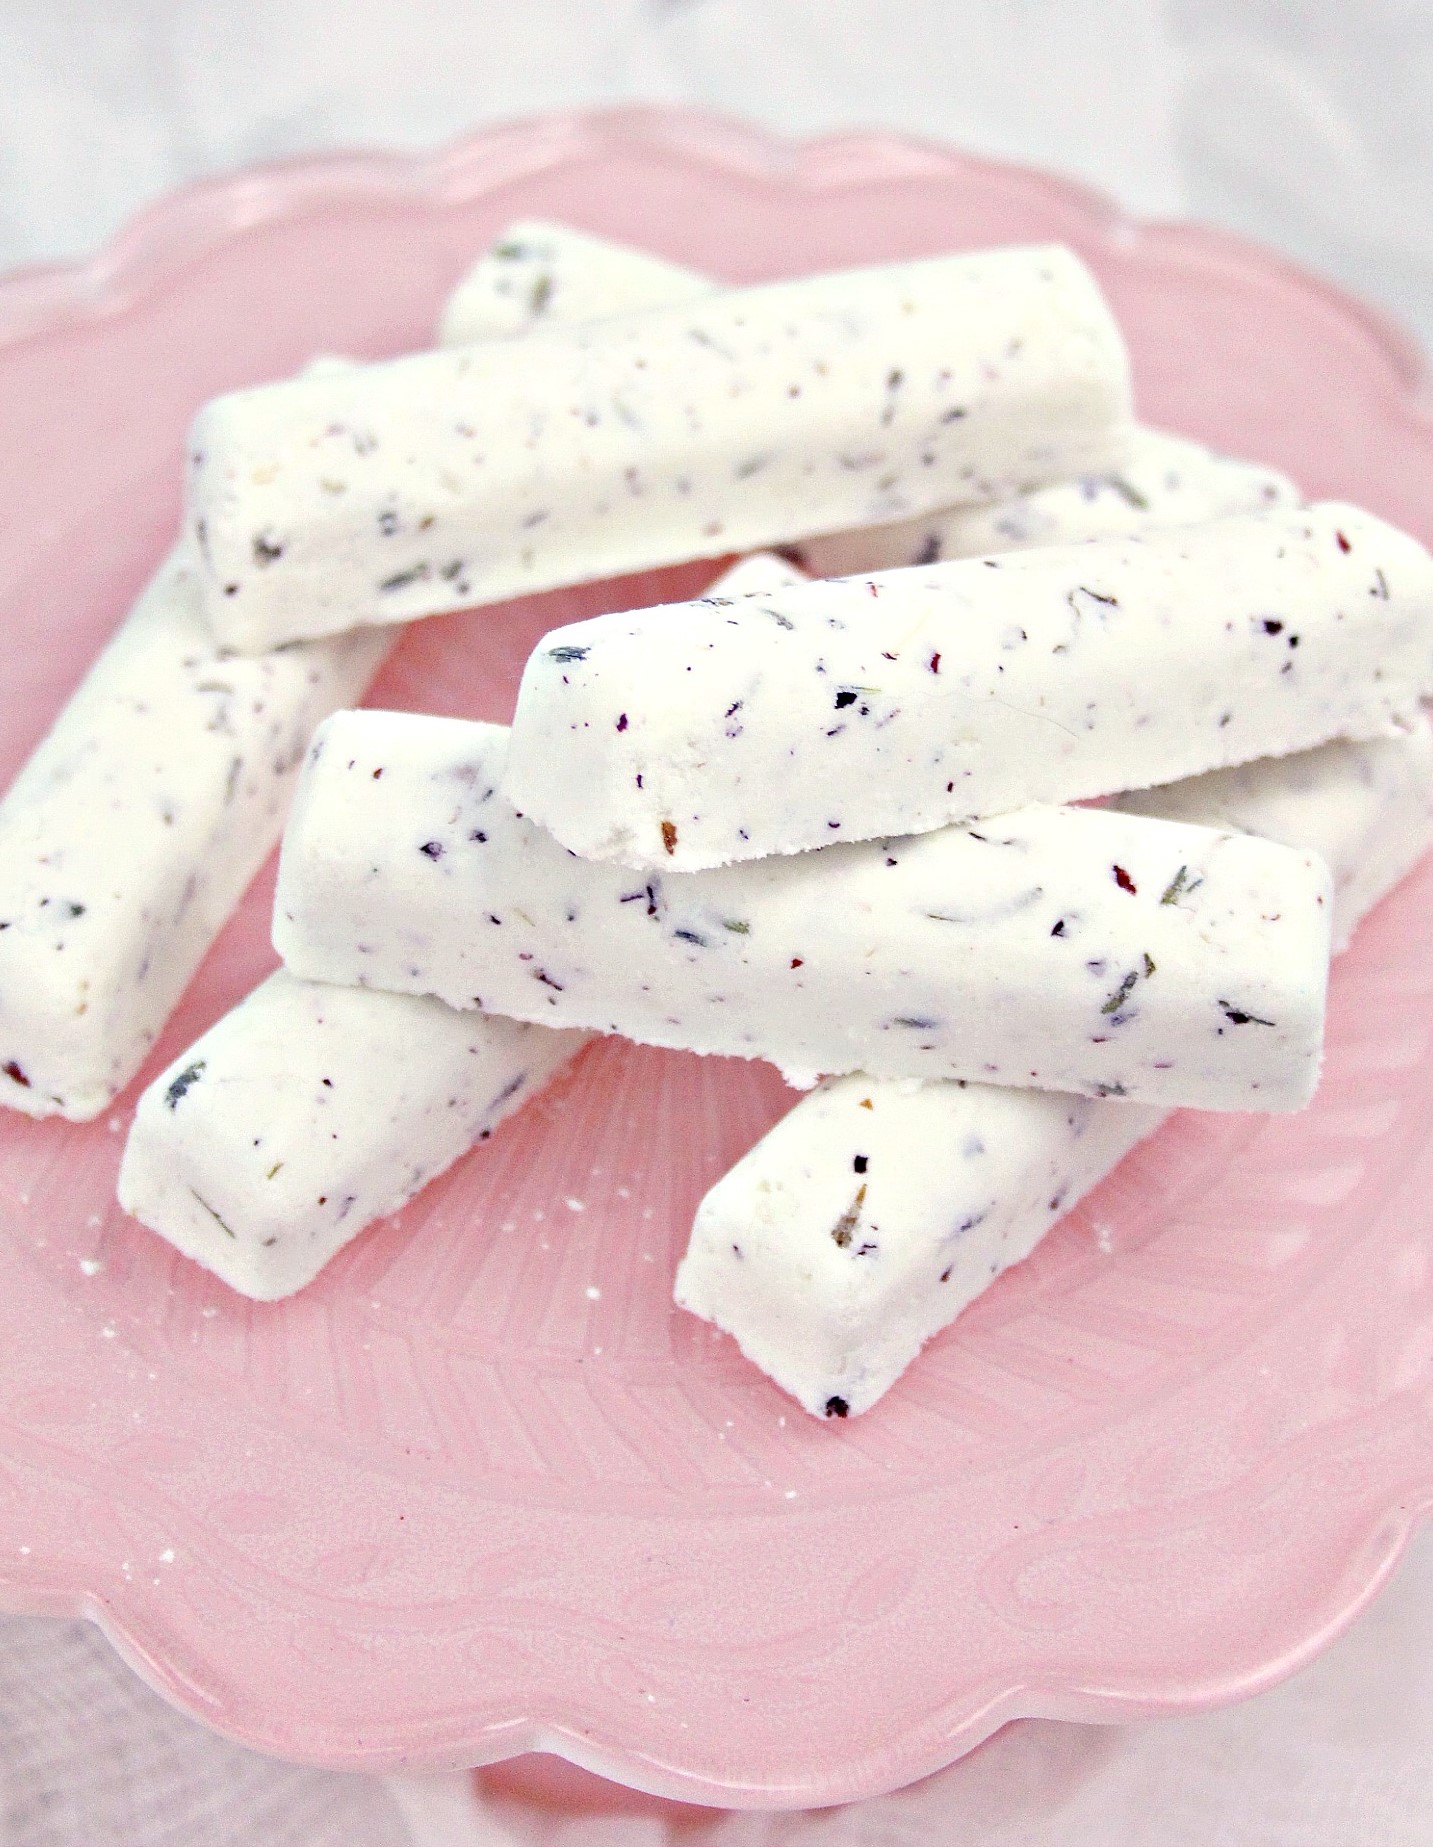
DIY ~Make Your Own Lip Balms~
There’s something so satisfying about creating your own beauty products, especially when they’re made with simple, natural ingredients you can trust. Lip balm is one of those everyday essentials that we reach for countless times, so why not make it yourself? With just a few ingredients, including beeswax, coconut oil, olive oil, vitamin E, and a hint of essential oil for fragrance, you can create a moisturizing and nourishing balm that keeps your lips soft and smooth. Not only is it a fun DIY project, but it’s also a great way to skip the store-bought versions filled with additives. Plus, homemade lip balm makes a thoughtful little gift for friends or a treat just for you!
I couldn’t believe how simple this was. Think of all the money you can save by buying organic at the store.
Amazon affiliate links are listed below
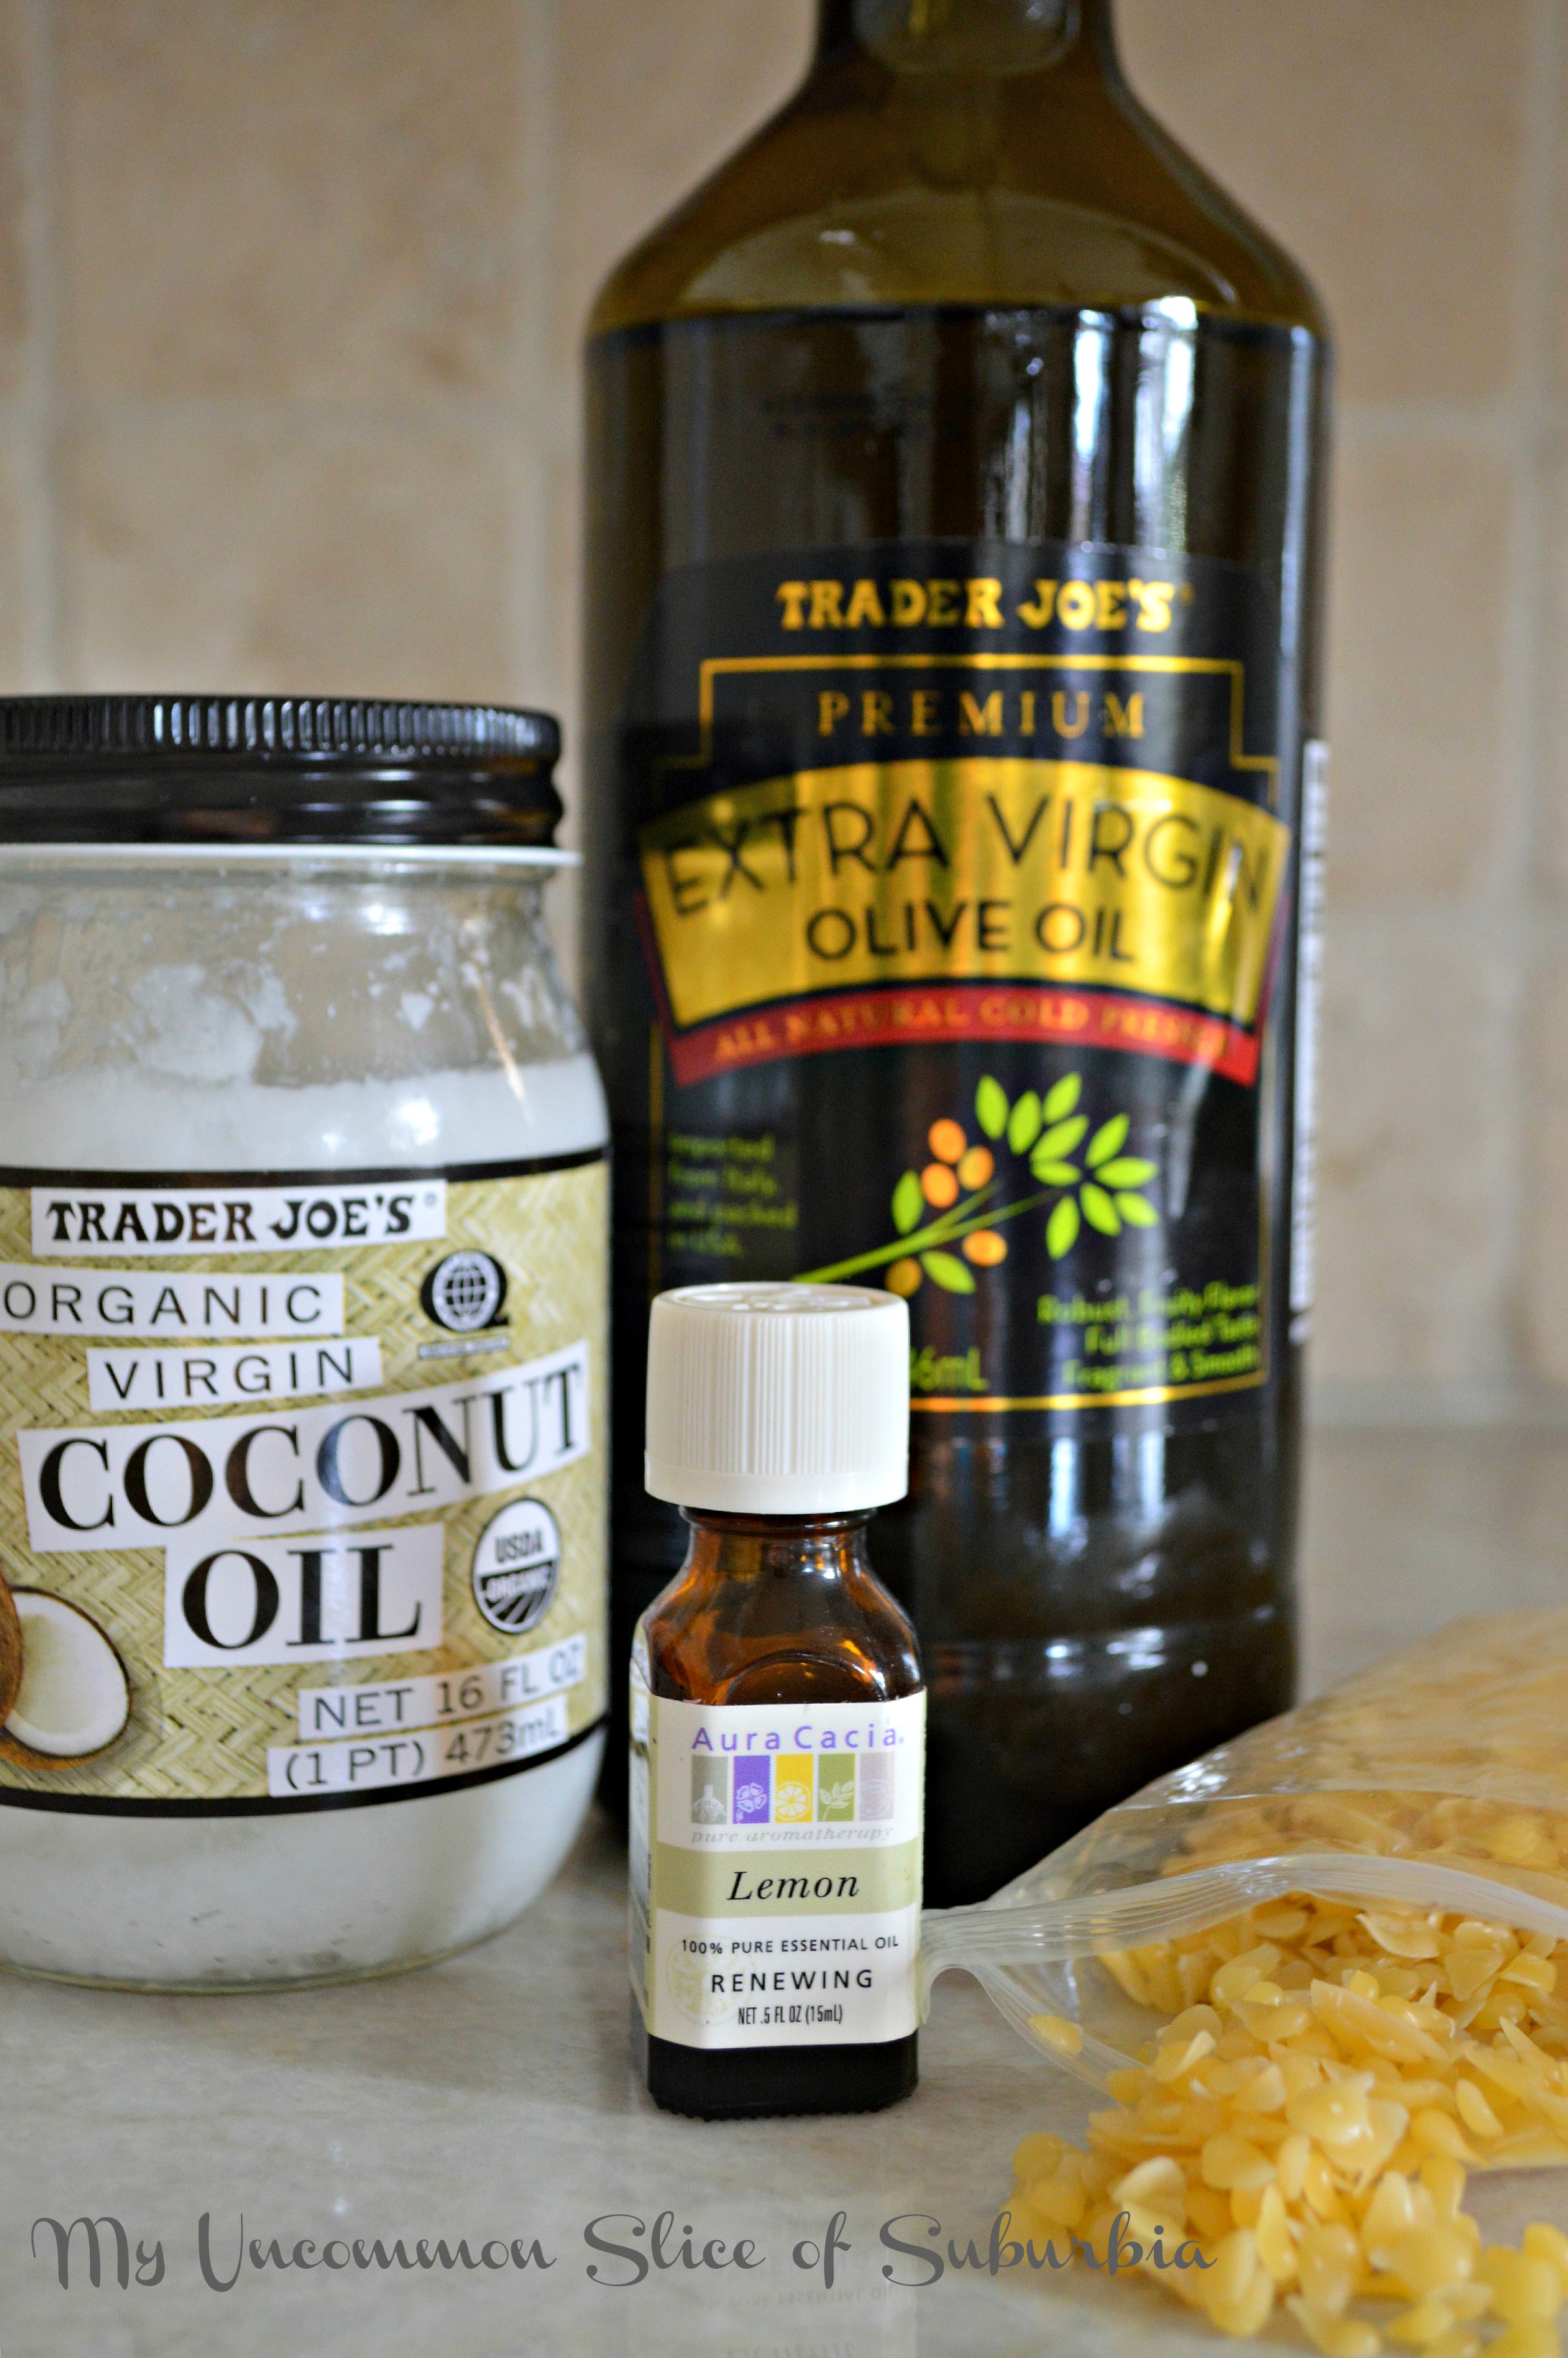
Ingredients
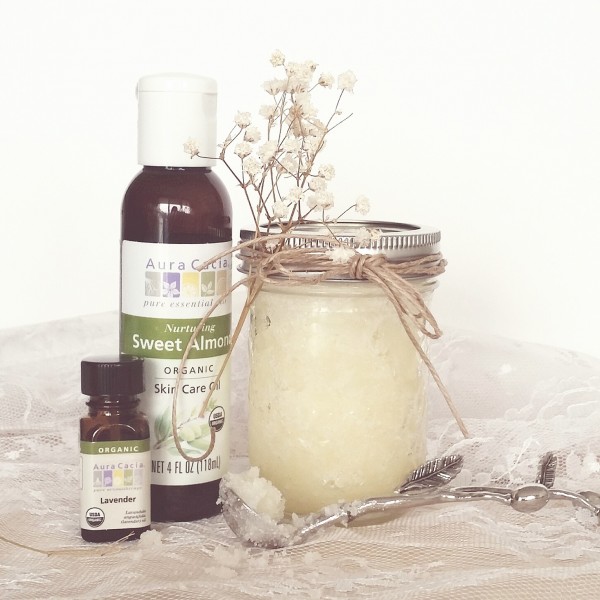
2 vitamin E capsules
1 Tablespoon beeswax
2 Tablespoons organic coconut oil
2 Tablespoons organic olive oil
20 drops essential oil (I used lemon)
Lip Balm Tubes
In a double boiler, melt down the beeswax, adding the coconut oil and olive oil when about half of the beeswax has melted. After it’s all melted and blended, break open the vitamin E capsules and stir in with the essential oils.
If you don’t have a double boiler, you could also follow the same instructions above and heat in your microwave. Just make sure you stir every 30 seconds until everything is melted together.

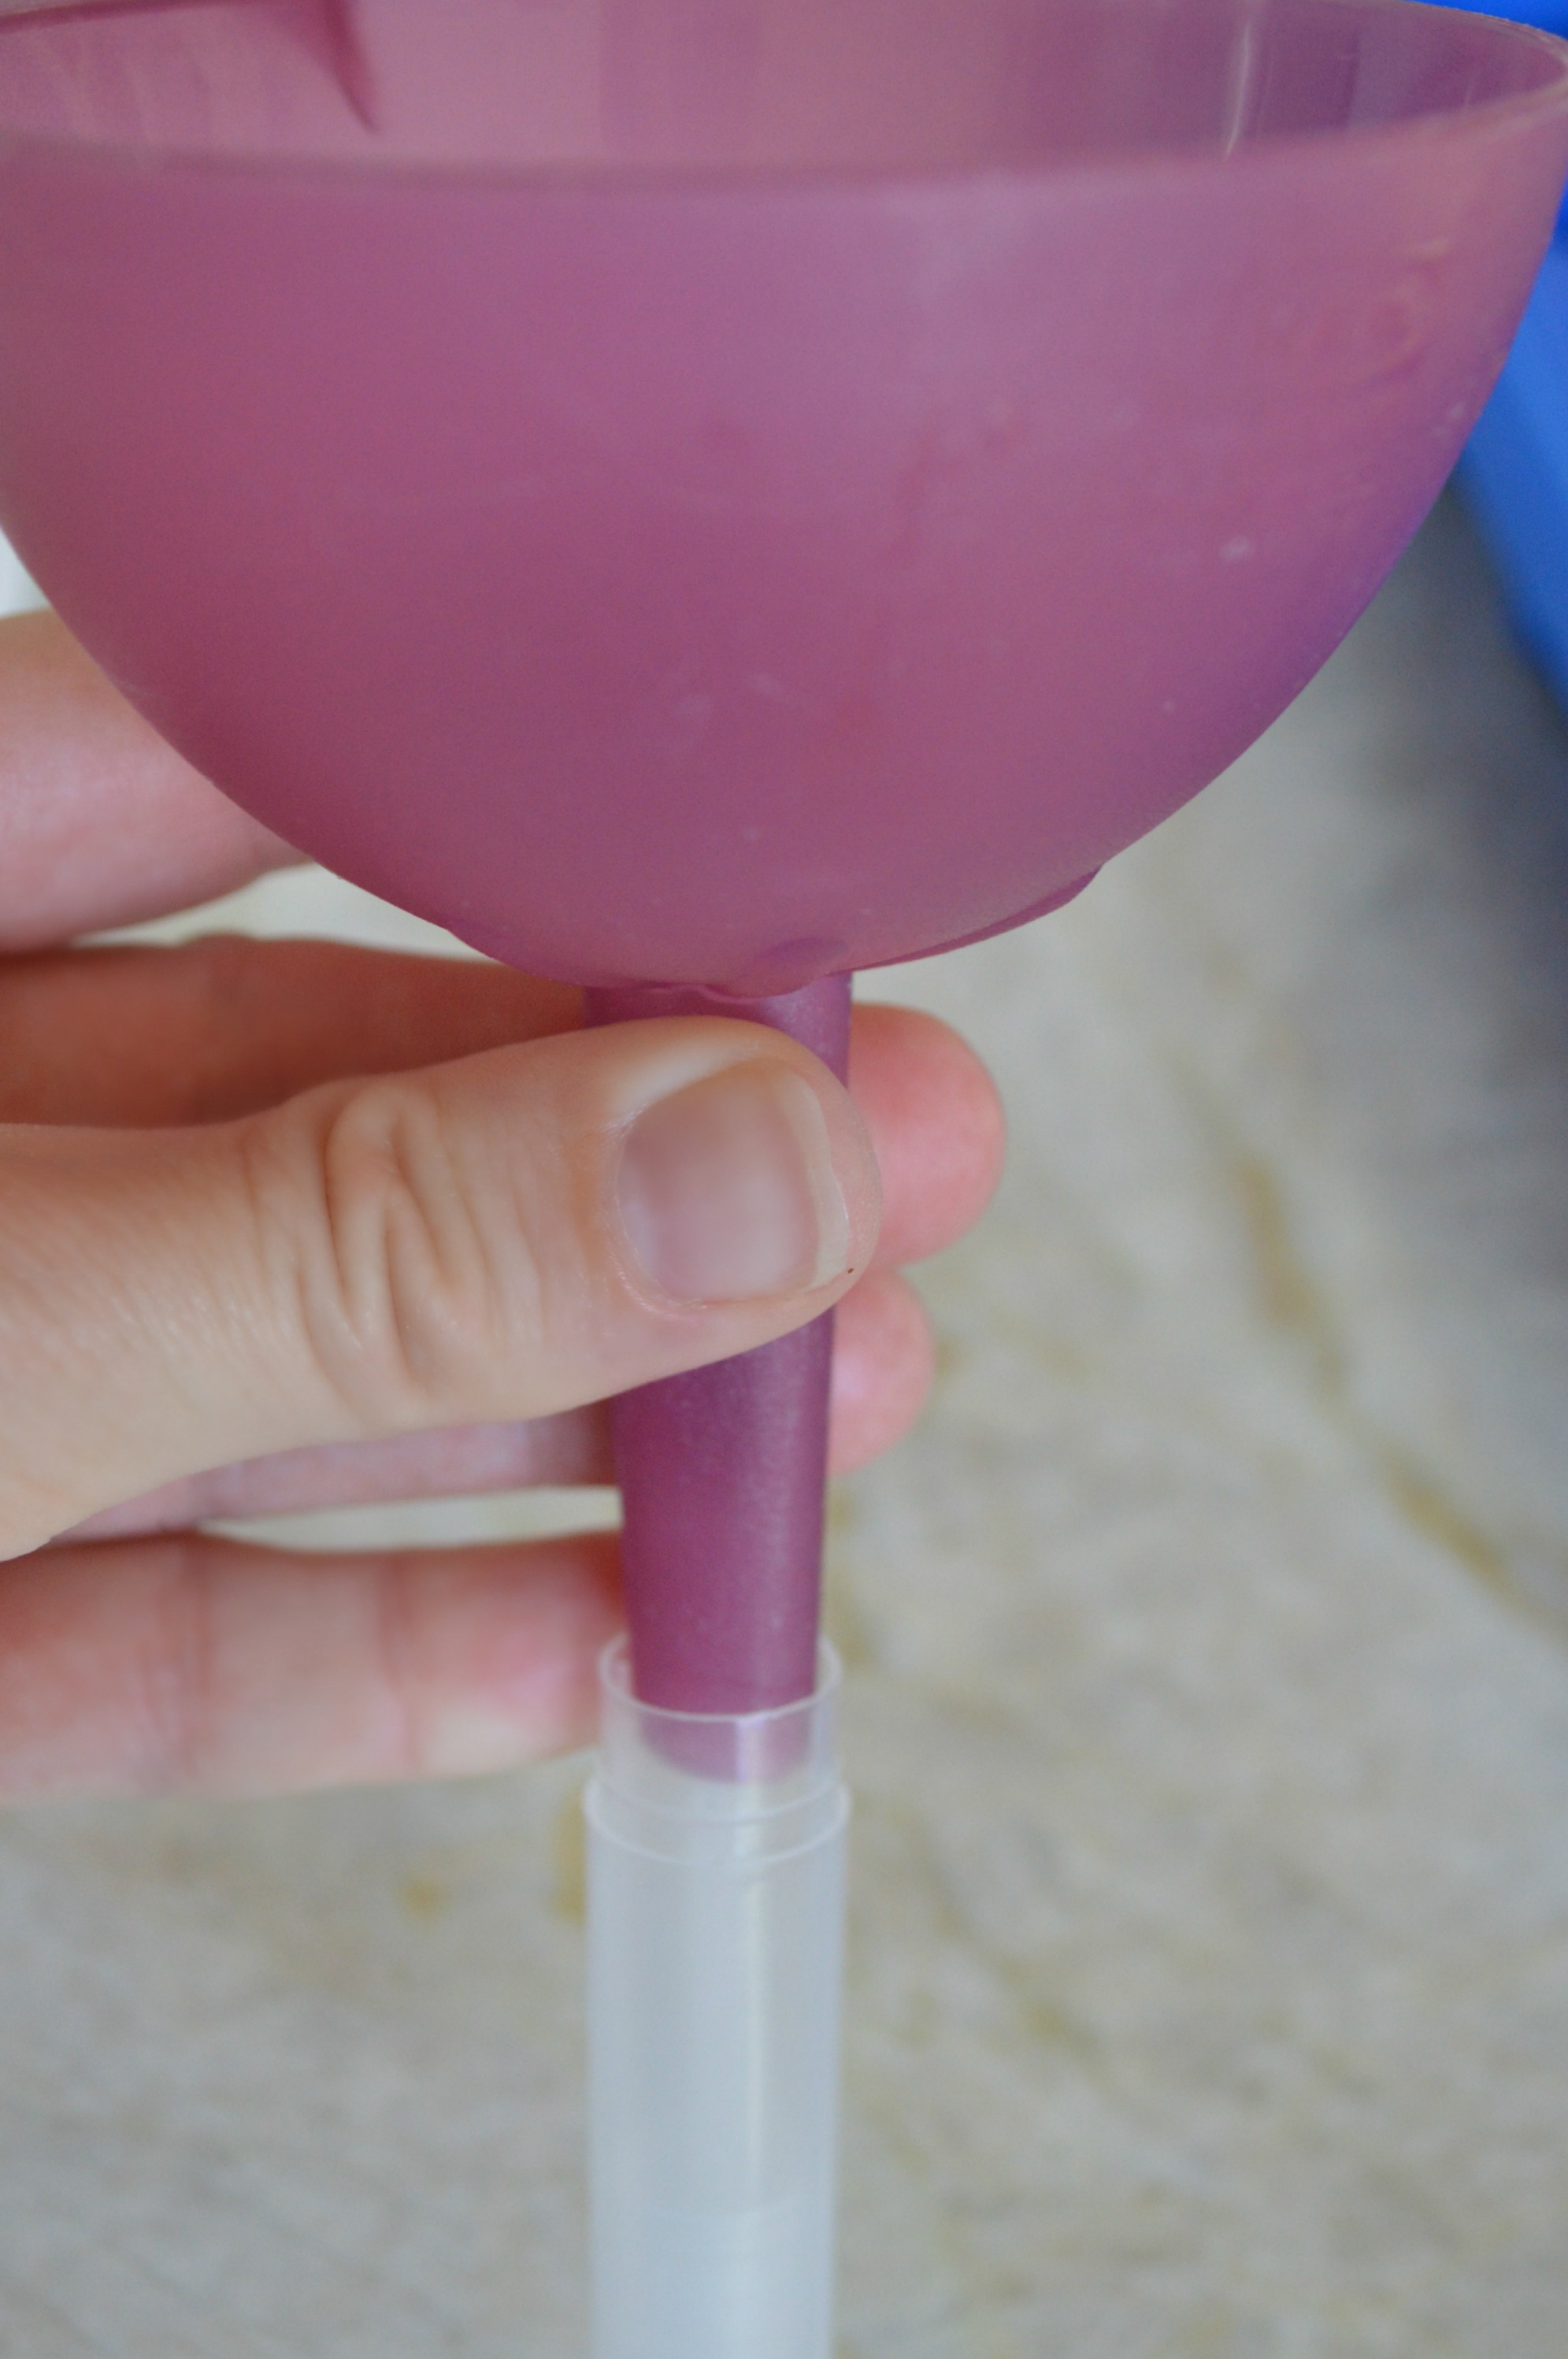
Pour the mixture into your tubes using a syringe or funnel, filling them all the way to the top and working quickly. If you don’t have tubes, a recycled eye cream jar works just as well. Let it cool completely, then add the lids—and enjoy soft, moisturized lips all summer long.
~Voila, homemade lip balm~


I love that all the ingredients are natural, and you can have fun using different essential oils, such as peppermint, for a cooling sensation on your lips.
Thanks so much for stopping in today!
I will have to try this! Love this idea Kristin! Seems so simple, too, which is always a plus. Your photos are beautiful.
This is easier than I thought it would be. Does anyone know how to make or add SPF?. Would it be zinc oxide?
I love these and plan to make these this week with a group of women from church. I was wondering where you got the clear labels from?