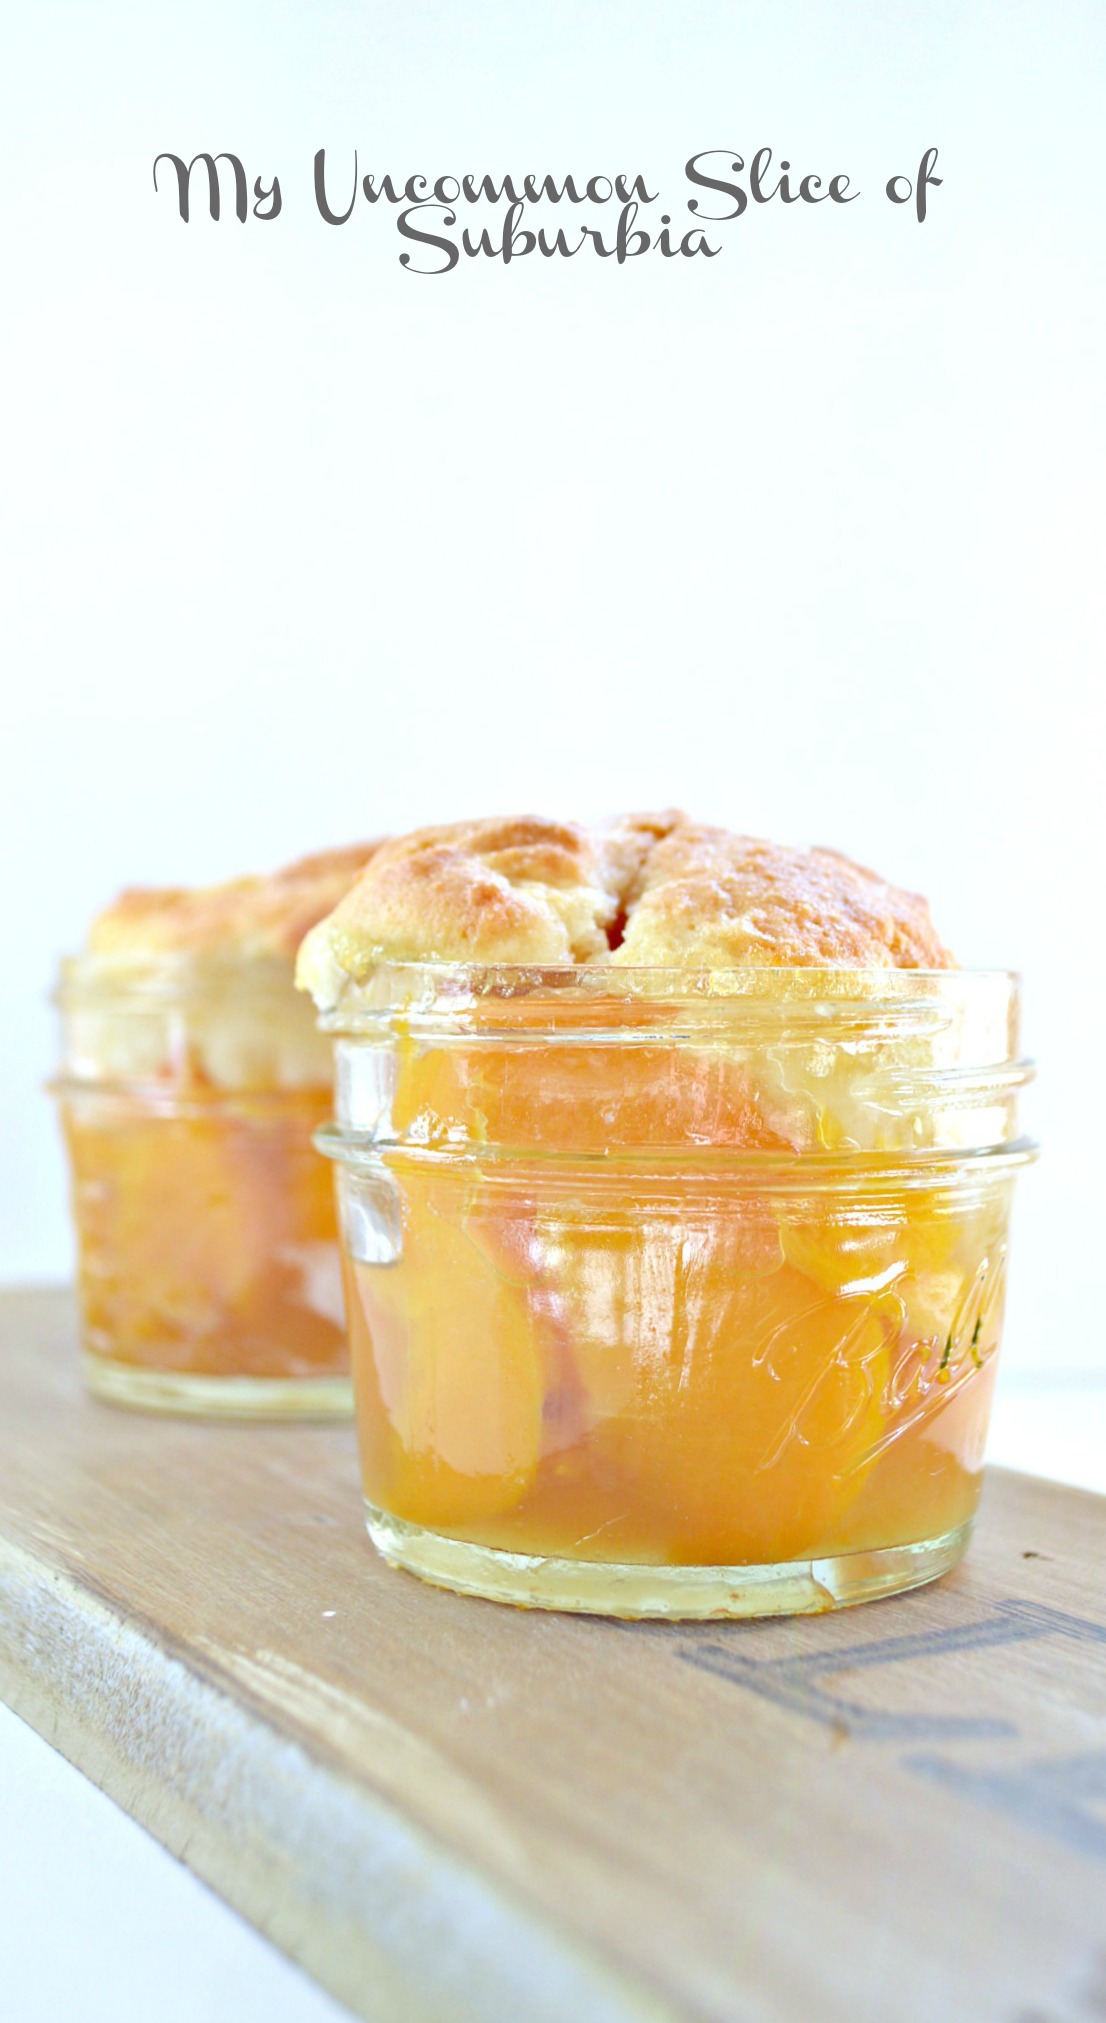
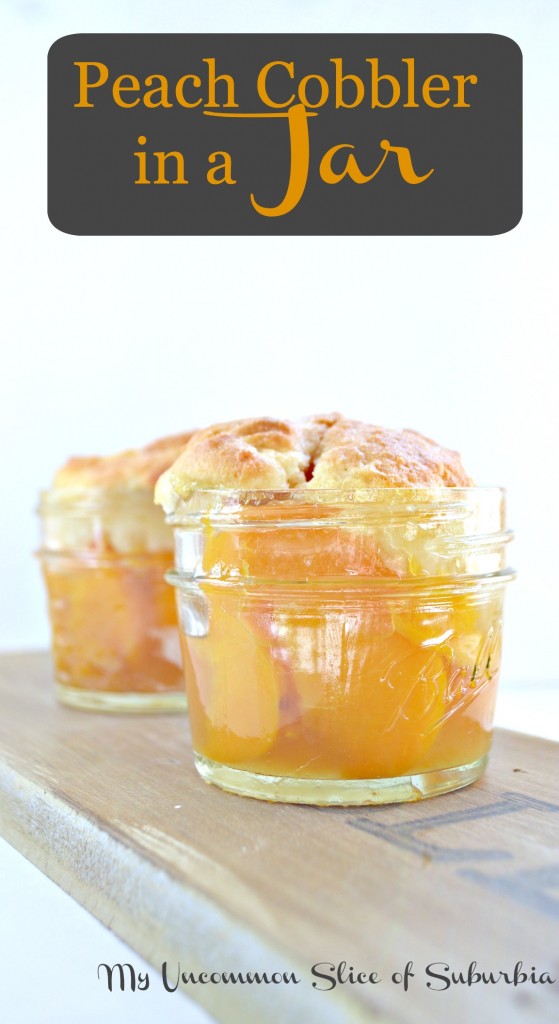
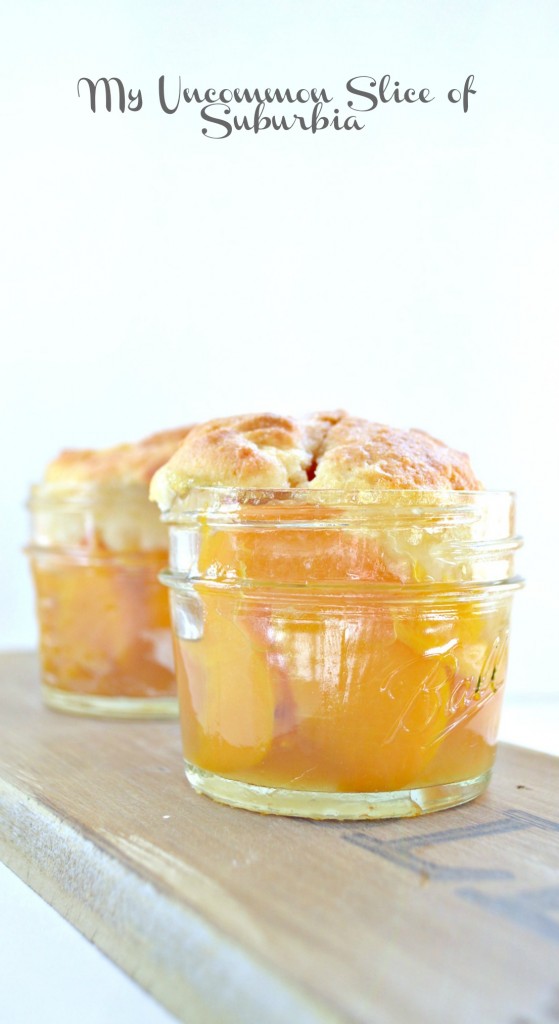
Peach cobbler in a jar
There is something about Fall that has me excited to start baking again, especially my family’s favorite, Peach Cobbler. I have so many childhood memories of walking through the doors from school and smelling the deliciousness coming out of my mom’s kitchen. Nothing comforts my soul more than being able to do the same for our boys.
In honor of Fall quickly approaching, and my mother whom I miss so much, I am sharing my Mom’s homemade peach cobbler recipe!
Ingredients
Unsalted butter
Flour
Sugar
Brown sugar
Juice from fruit
Baking powder
Cornstarch
Salt
Egg
Fresh peach slices (or canned)
Lemon juice
Ground cinnamon or nutmeg
This recipe yields approximately 10 jars
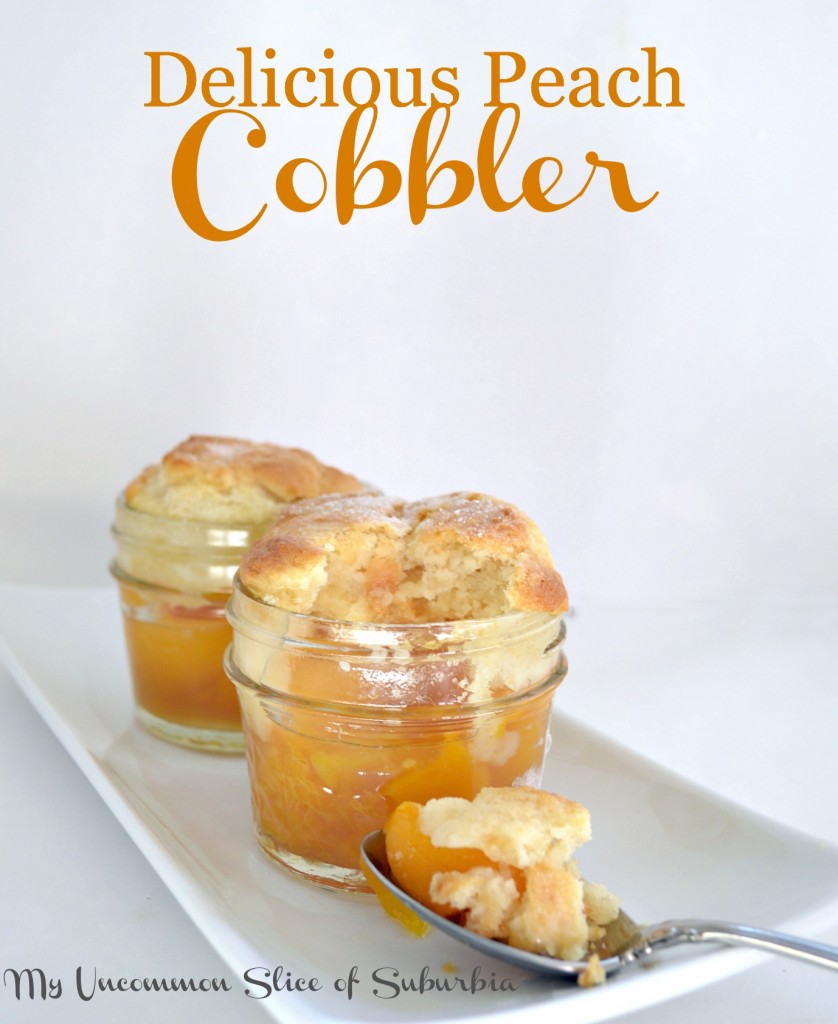
These are fabulously fun, the perfect serving size, and makes me think of my Mom every time I bake.
This recipe will also fit perfectly in a 9×12 baking pan cook just cook for approx 45 minutes.
Ingredients
Equipment
Method
- Preheat the oven to 350 degrees
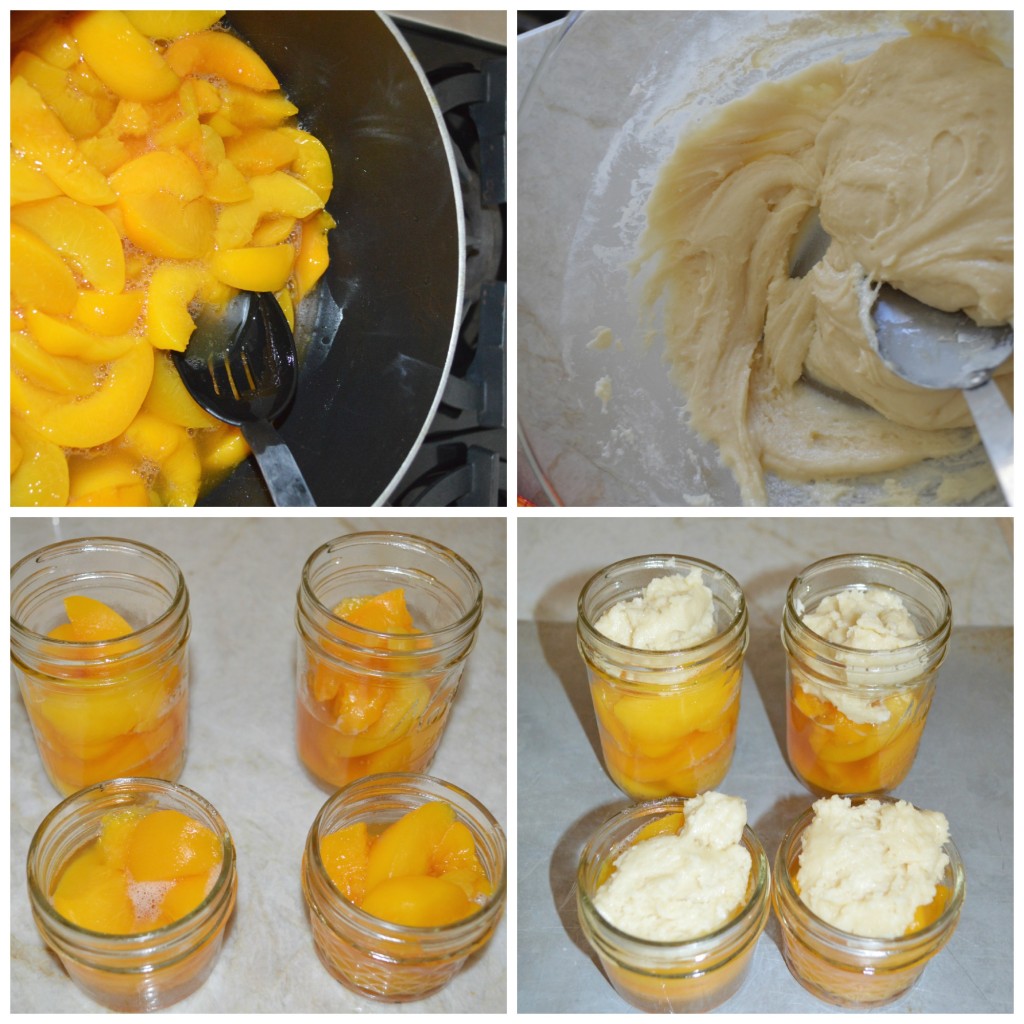
- Bring 1/2 cup sugar, 1/4 cup brown sugar, juice from fruit, cornstarch, and lemon juice to a boil over high heat, stirring constantly. Stir in peach slices and simmer about 10 minutes, remove from heat and set aside.
- In a large mixing bowl, cream together the melted butter and the remaining 1 cup of sugar
- Add in the flour, baking powder, and salt until well sifted.
- Add in the beaten egg and continue creaming together until it becomes a crumb mixture.
- Spray the mason jars with cooking spray. Place jars in a large casserole pan to help keep them stable.
- Fill up the jars approximately 3/4 of the way up, with the peach filling. Top the peaches evenly with the crumb mixture aprox 2 tablespoons of batter per jar.
- Sprinkle with cinnamon or nutmeg, if desired.
- Bake for 30-40 minutes or until the crumb top slightly brown.
If you are looking for more Fall inspiration, stop by my project gallery!
~Thank you so much for stopping in today, wishing you a beautiful day~


Oh my YUMMY! These sweet little cobblers not only sound delicious (anything from mom usually is) but the look so fun and scrumptious! A jar makes anything taste better! These are on my must-make list. I host book club this month and my girls will love these!
So fun to be partying with you!!!
Pinning!
Oh so scrumptious ! I can grab a jar right now for breakfast.
Oh those look SO good!! And how could you not love anything in a little mason jar?
Oooo, this looks delish! I love fresh peaches! What a cute way to serve it too 😉 Pinning! So fun to “fall party” with you!
Peaches + Mason Jars = Love! Great recipe, can’t wait to try it. Pinned and sharing on FB xoxo
Looks so good Kristin! Love anything in a mason jar 🙂
These look delicious and they are so cute in the little jars! Love this idea!!
Aw – thanks for sharing you Mom’s recipe Kristin! It looks absolutely delish! My boys will love this! So fun to join you in the fall hop! ~ Heather
Mmmmm. Love peach cobbler! Your photos are so pretty, too. Pinned it!
This looks delish! I am not quite ready for Fall yet, but this recipe may put me one step closer to embracing its arrival 🙂
These look so delicious Kristin! Love the individual servings in the cute little mason jars. And, so special that it’s your mom’s recipe. This time of the year puts me in the mood to bake, too.
These look positively delish! Your blog is darling.
That sounds sooo yummy Kristin!! I love anything with peaches!
I love peaches and this recipe looks and sounds delicious!
Thank you so much Mary Beth!
Today peach cobbler in a jar and tomorrow the world!
This sounds Delish! Can you tell me how many small 125ml jars this recipe will do?
about 10 🙂
such a great idea to have them in a jar! so practical!
Thank you
Can I freeze before cooking so I can send to friends?
Hi Teresa-
I have never frozen the filling prior but I don’t think it should be a problem. I would be a little worried of it becoming watery but I’m not certain. However, if you do try it, I would put the filling in a freezer bag, squeeze out the air then seal. Defrost it in the fridge. Let me know if you try it.
There is an * next to 350 in the first step of the recipe. Why? I don’t see a note explaining at the bottom of the recipe or page.
My apologies, the * was meant to be a (°) which stands for degrees. I have deleted that and put in the word 350 degree, hopefully that clears up any confusion.