How-To Spray Paint All Weather Wicker Furniture
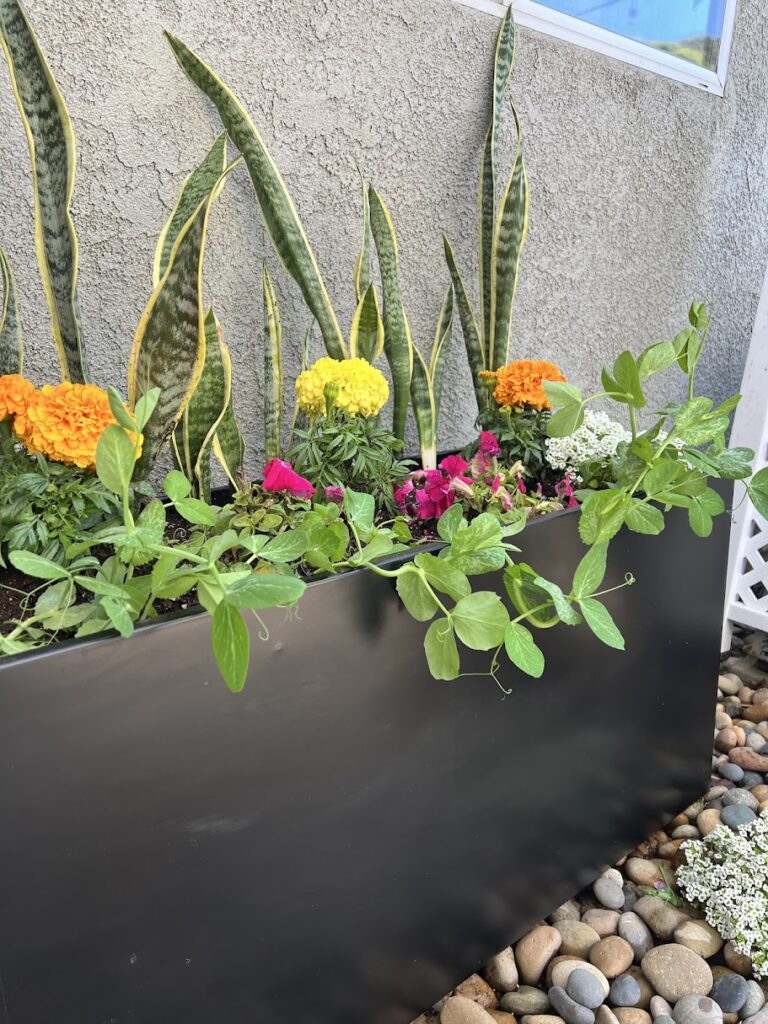
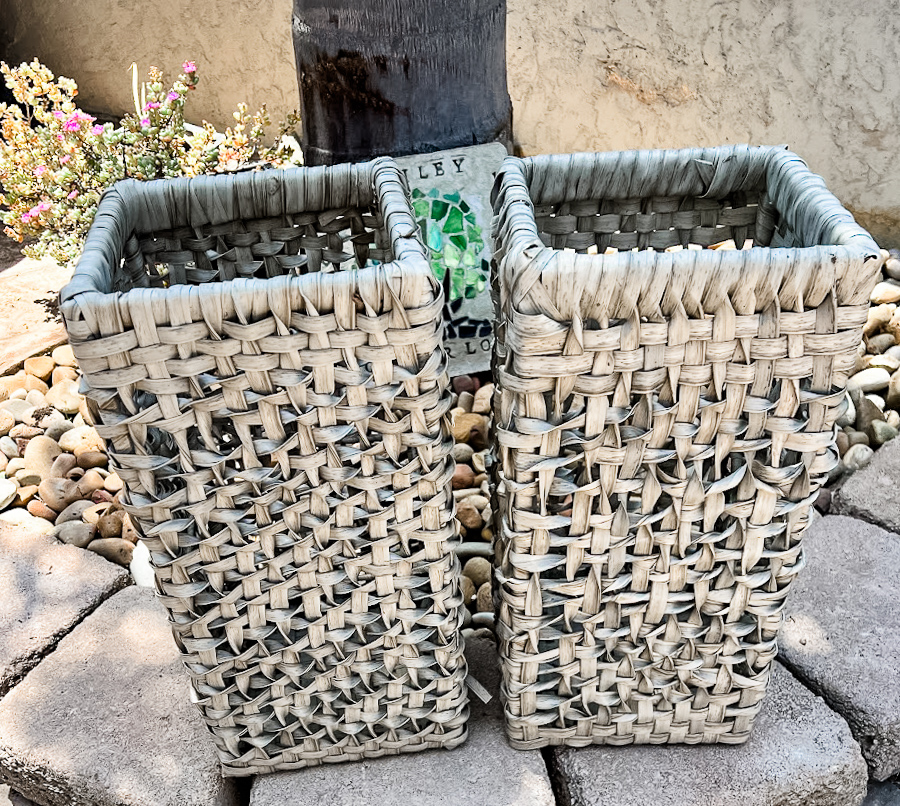
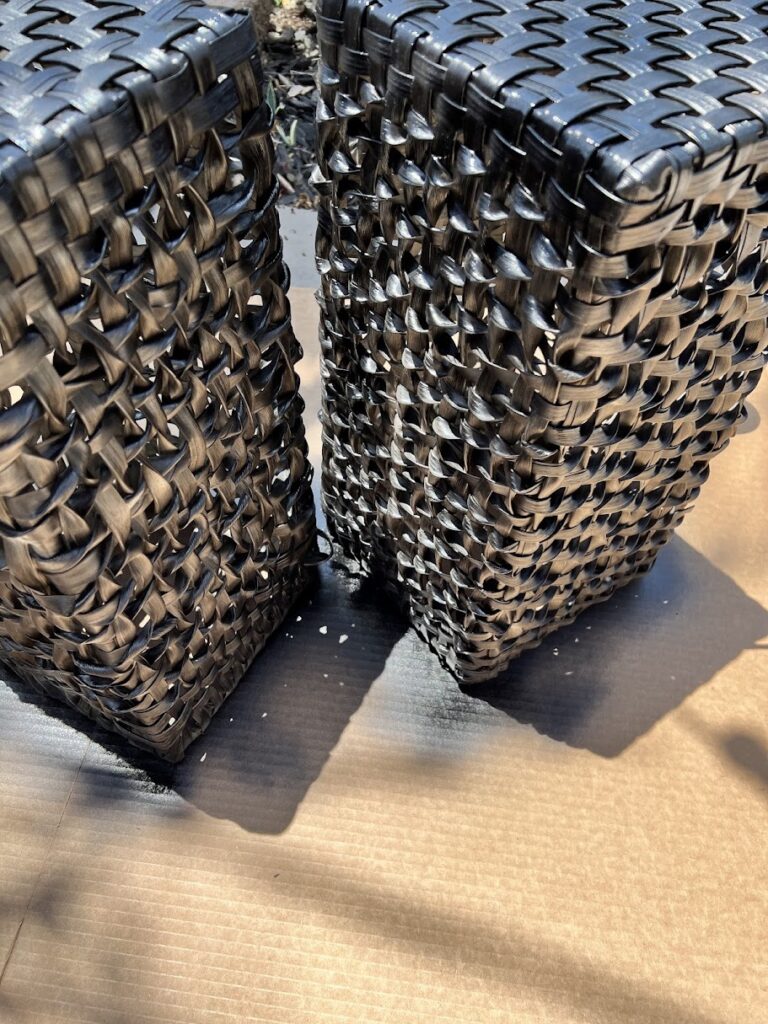
Spray painting all-weather wicker furniture is a great way to refresh a piece of furniture and extend its lifespan. Using 2 cans of spray paint, a drop cloth, soap, and clean water, I was able to give new life to these cute planters. I found these planter boxes on Facebook Marketplace about 4 years ago, I bought 2 small and 2 large for I believe around $20, what a steal. I was really into the grey at the time so it was exactly what I was looking for. Now that I have a few black accent pieces in the backyard I figured the best way to update these would be a new color, easy peasy!
All-weather wicker furniture is durable and perfect for outdoor spaces, however, over time, old wicker can fade or show signs of wear. Instead of replacing it, consider spray painting to give it a new lease on life. This DIY project is cost-effective and allows you to customize your furniture to match your outdoor decor. I did this years ago to a wicker chair, you can find that post here. (It is a very old post and needs some updating)
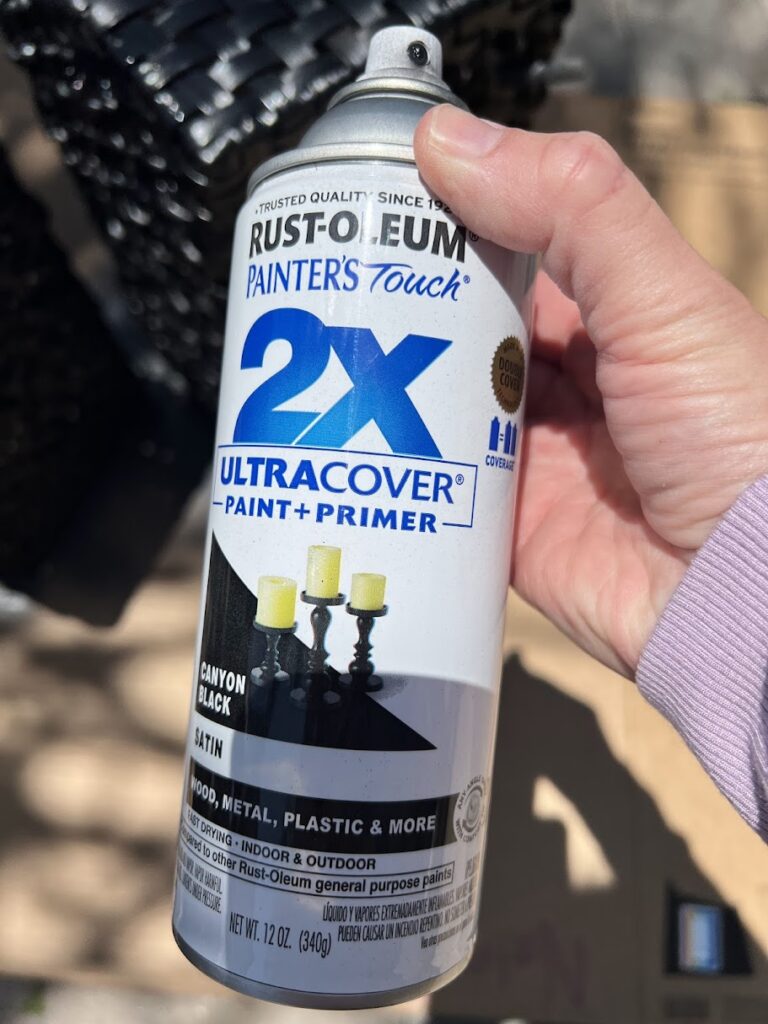
My favorite brand is Rust-Oleum American Accents Ultra Cover 2X paint, it covers twice the square footage of other spray paints and gives complete coverage. I have found that I don’t normally need a second coat of paint which saves me money on spray paint!
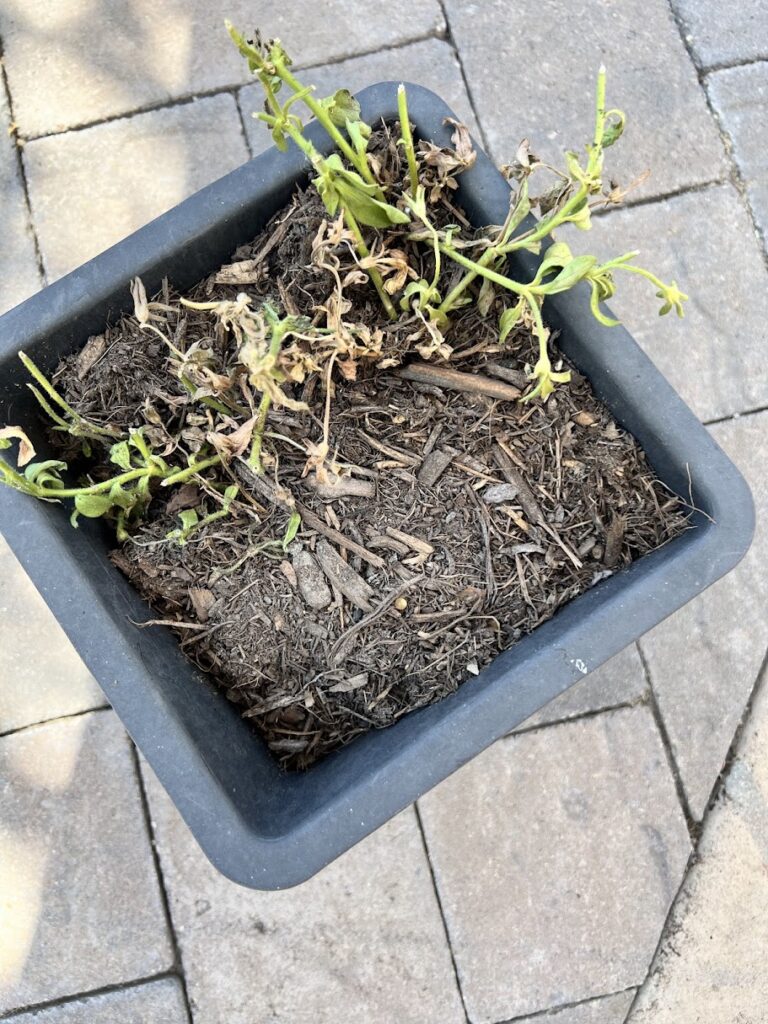
Here is my before
affiliate links are listed below, full disclosure policy can be found here
Materials Needed
- All-weather wicker furniture
- Spray paint suitable for outdoor use (choose a paint specifically designed for plastic or wicker) Rust-Oleum Painter’s Touch 2X Ultra Cover, Paint, and Primer Black (I used a satin finish)
- Sandpaper 220-grit sandpaper or Sanding block (medium grit)
- Drop cloths or newspapers to protect the surrounding area
- Painter’s tape (optional if needed to tape areas that are not wicker)
- Cleaning supplies (mild soap, water, and a sponge or cloth)
- Optional: gloves, mask, goggles, paint sprayer, Rust-Oleum Painter’s Touch Spray Paint, Satin Clear
Step-by-Step Guide
Preparation
- Clean the Furniture: As with any DIY project, preparation is the key to success so your furniture piece comes out with a smooth finish and the best results possible. Start by cleaning the wicker thoroughly to remove loose dust, loose dirt, and any residue. Use mild soap and water, and scrub gently with a sponge or cloth. Allow it to dry completely before proceeding, I let it dry overnight just to make sure! You can use a vacuum cleaner and/or wire brush if the piece is extra dirty. Even a pressure washer or garden hose would come in handy for cleaning.
- Sand the Surface: If the wicker has a glossy finish or rough spots, lightly sand it with medium-grit sandpaper or a sanding sponge. This helps the paint adhere better and smooth out any imperfections. Mine was completely smooth so I was able to skip this step
2. Tape-off areas
- Cover and Mask: Place your drop cloth down in your work area to protect your flooring. Make sure you are working on a flat surface
- Use painter’s tape to mask off any areas you don’t want to paint, such as metal or glass surfaces for your next step.
3. Prime (if needed)
- Apply Primer: Some spray paints require a primer for better adhesion and durability. Follow the manufacturer’s instructions for applying the primer evenly over the wicker. Let it dry completely before painting. I always purchase the paint and primer in 1 and have always had success this way and can skip the primer.
4. Paint Application
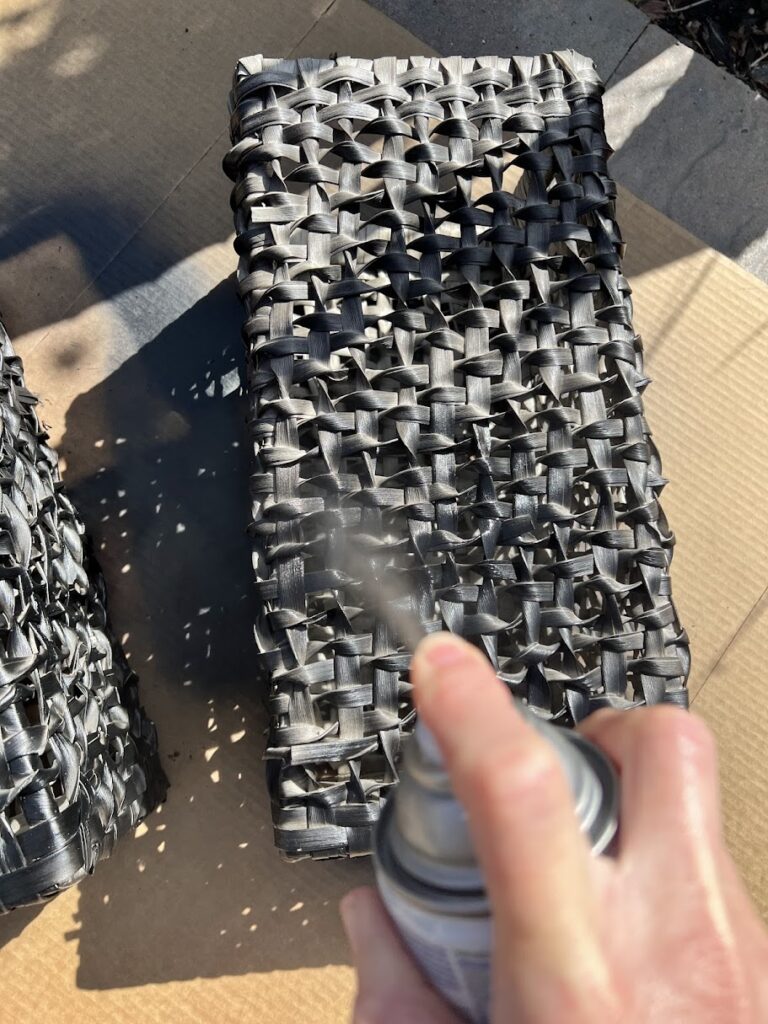
- Shake the can of Spray Paint: Shake the can thoroughly for at least one minute before spraying your first coat of spray paint. This ensures the paint mixes properly and prevents splattering.
- Spray in Even Strokes: Hold the spray can 8-12 inches away from the wicker and apply the paint in light coats. Start spraying before reaching the furniture and continue spraying off the other end to avoid drips, again make sure you are spraying thin coats.
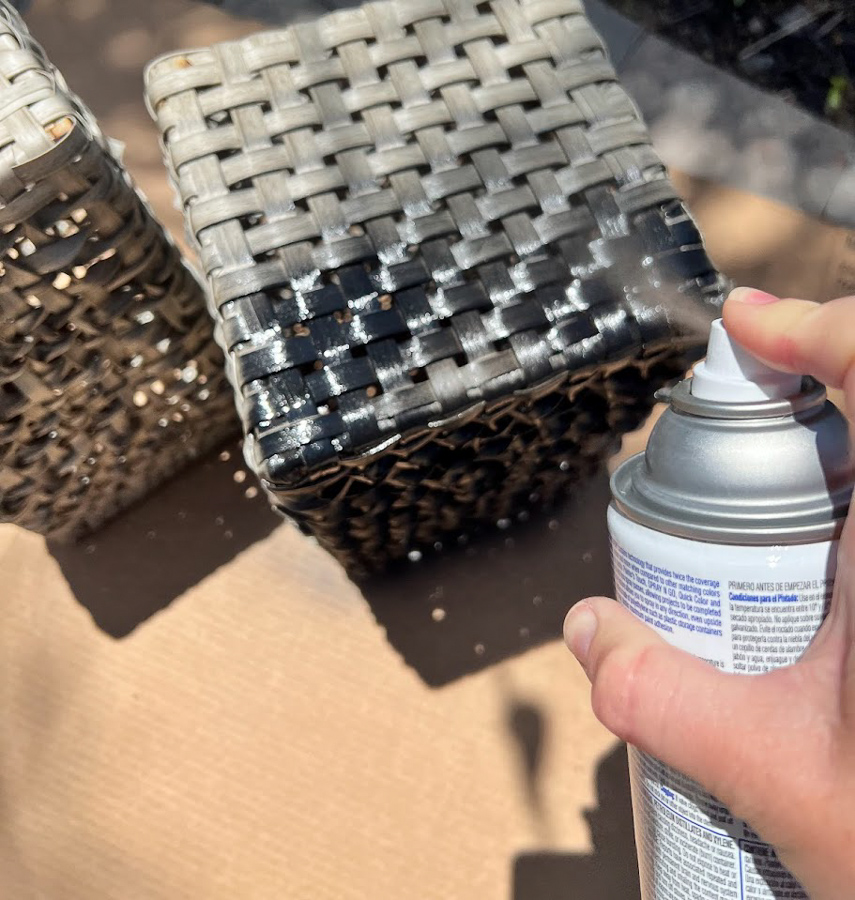
- Multiple Coats: Allow each coat to dry according to the manufacturer’s instructions before applying the next coat. Aim for 2-3 coats of paint to achieve a smooth and even finish, I was able to complete this in 2 coats but had to spot-spray certain hard to reach places areas since it was woven.
- Optional: Sand Between Coats: For an extra smooth finish, lightly sand the wicker with fine-grit sandpaper between coats. This helps to remove any imperfections or bumps.
5. Finish and Cure

- Final Touches: Let the furniture dry completely according to the paint manufacturer’s recommendations. Paint time typically takes several hours to overnight.
- Cure Time: Allow the paint to fully cure before using the furniture or plant boxes. This may take a few days to a week, depending on the weather conditions and the type of paint used.
- Optional: Add a coat of Rust-Oleum Painter’s Touch Spray Paint, Satin Clear if this will be placed outside to protect it from direct sunlight. Make sure to spray the entire surface.
Tips and Tricks
- Choose the Right Paint: Select a spray paint specifically formulated for outdoor use and suitable for plastic or wicker surfaces. I know some have used other kinds of paint on rattan furniture such as:
- chalk paint, oil-based paint, mineral paint, milk paint
- Weather Considerations: Plan to paint on a dry day with low humidity to ensure proper drying and curing.
- Ventilation: Make sure your work space has adequate ventilation or work in an area outdoors to avoid inhaling fumes. Consider wearing a mask and gloves for added protection.
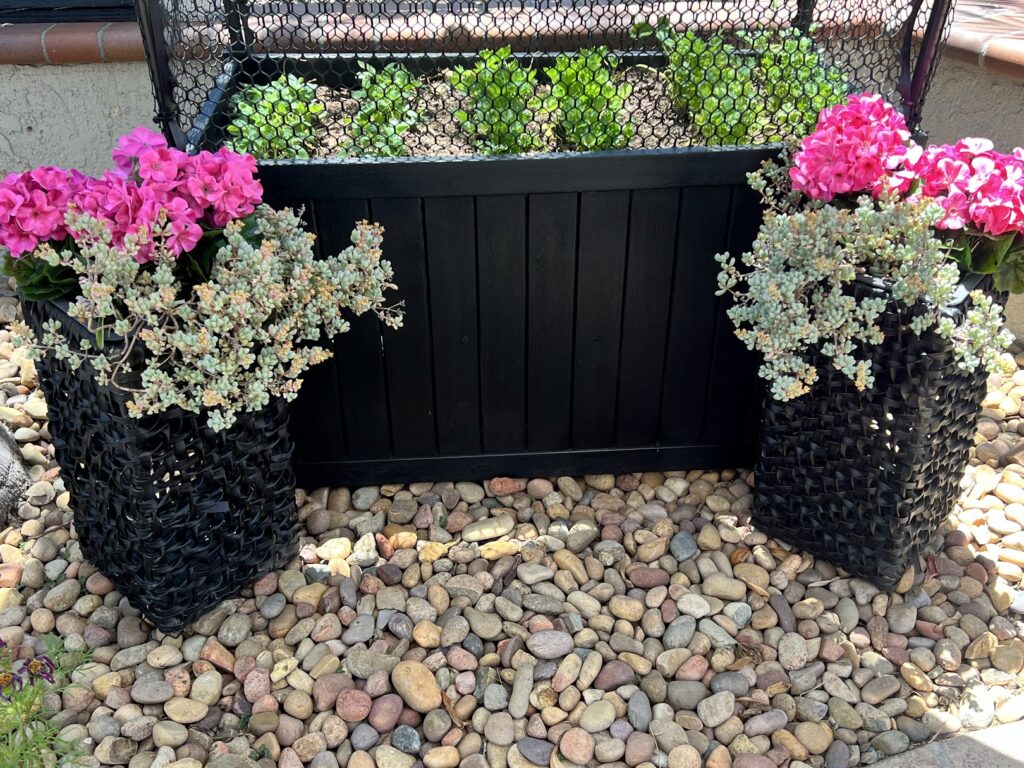
I had just planted beautiful flowers and the squirrels got to them. At least my garden is still safe, any advice that is not cruel to deter them?
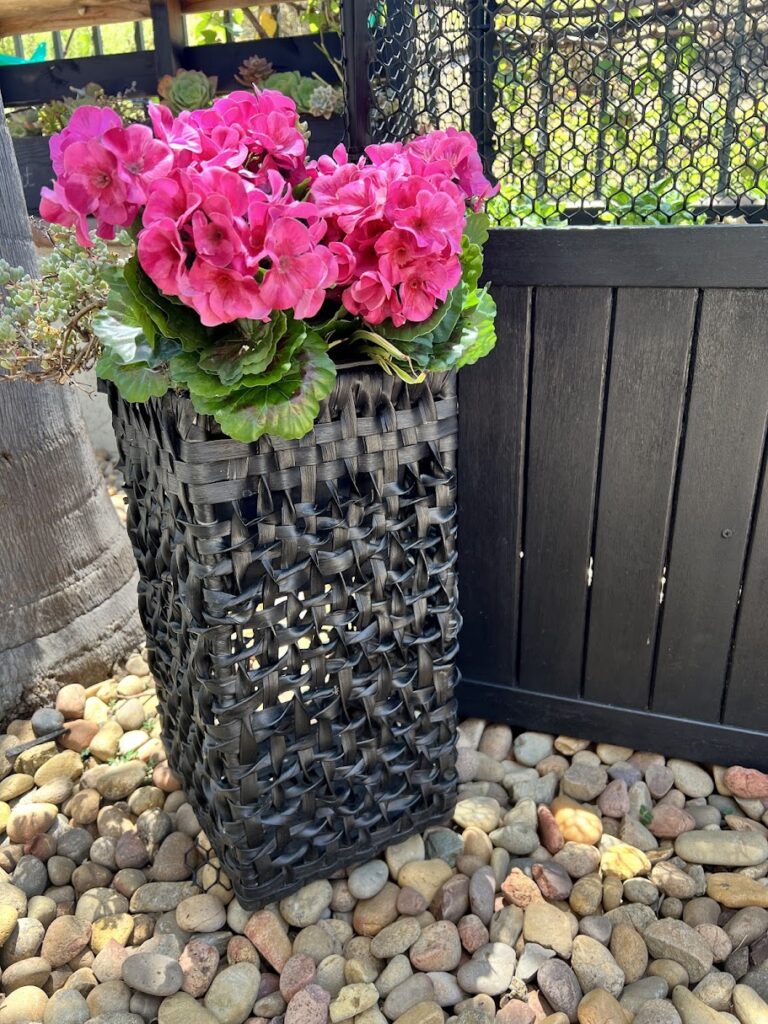
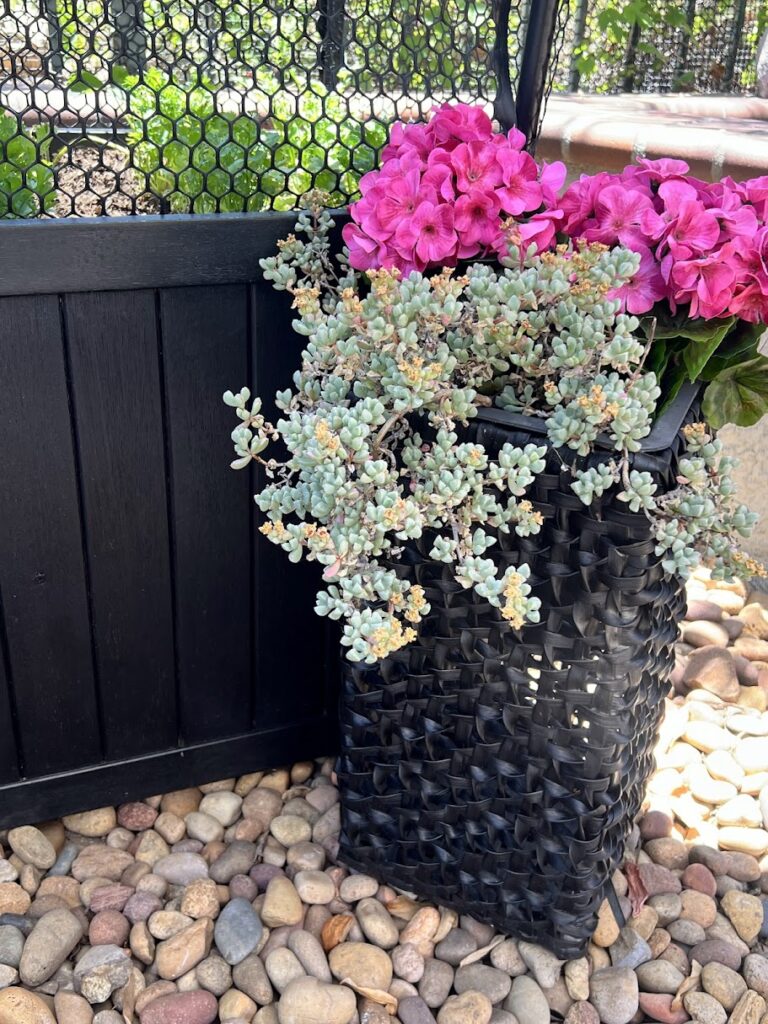
Adding a fresh coat of paint to these planter boxes gave them a much-needed update. If you have an all-weather wicker piece or an older piece, this is a great DIY project that can transform the look of your outdoor space. Enjoy your newly painted outdoor furniture for years to come, no matter what piece of furniture you use this method on, it’s going to be beautiful! Let me know if you try this technique out!
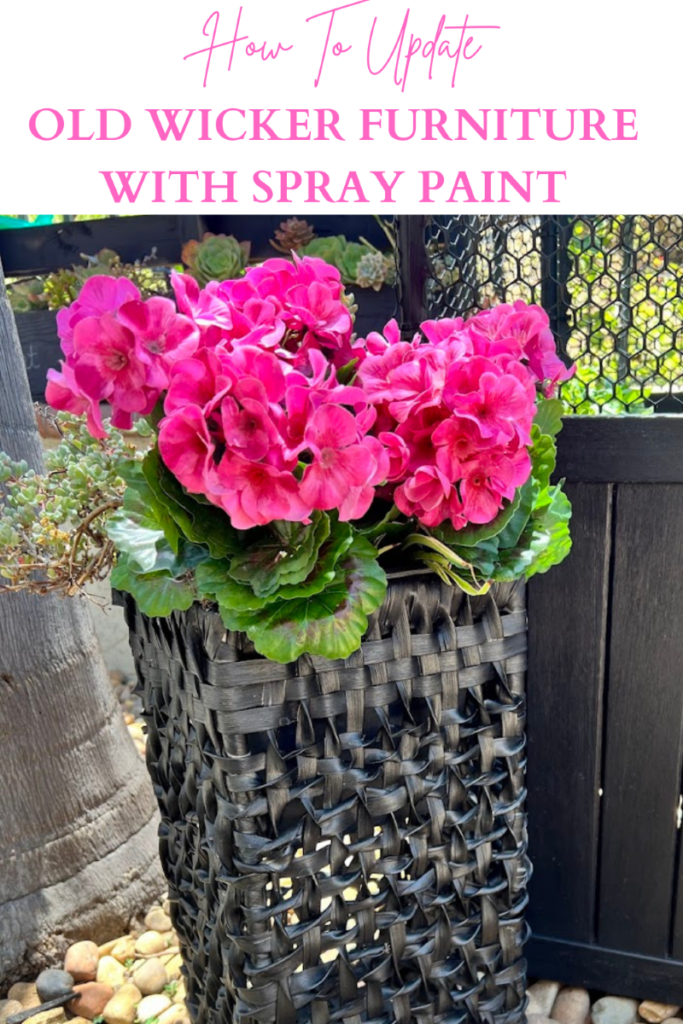
Here is my File cabinet planter
(and yes they ate all the flowers in here too, other than the snake plants)