
How to convert a fence into a gate
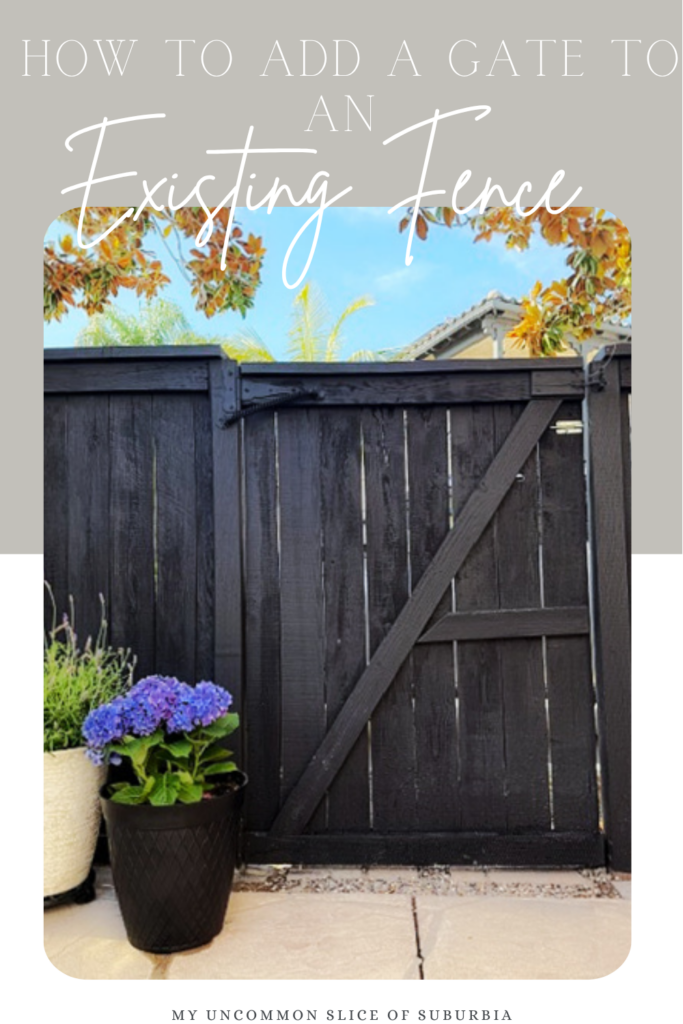
How to Add a Gate to an Existing Fence
Adding a gate to an existing fence is one of those weekend DIY projects that looks way harder than it actually is. My husband, Ray and I tackled this project to create a shortcut between our yard and our neighbors, who also happen to be our best friends. We couldn’t be more grateful for that! Whether you’re looking to create a backyard exit, simplify your daily routine, or just add more function to your outdoor space, converting a section of your existing fence into a gate is a straightforward project that most people can complete in a day.
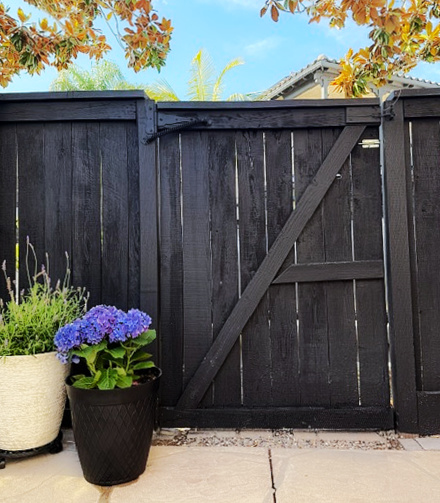
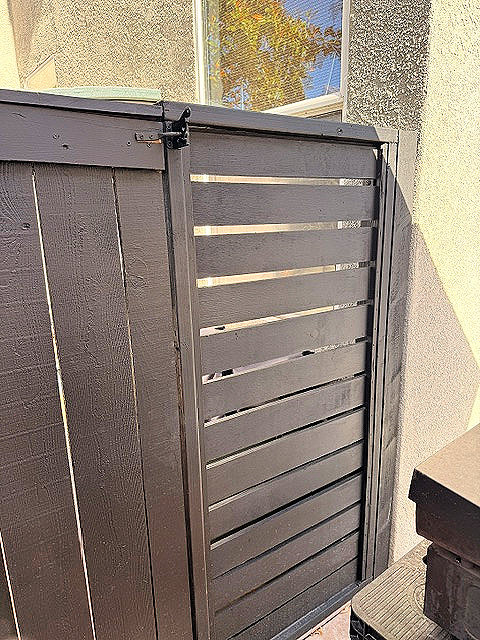
One important note before you get started: after a few years of heavy use, our gate became wobbly because we didn’t add a post on the latch side. I’ve updated this tutorial to include that step so you don’t run into the same issue down the road. It makes a huge difference in long-term stability! We have also recently updated the color of the fence with black paint.
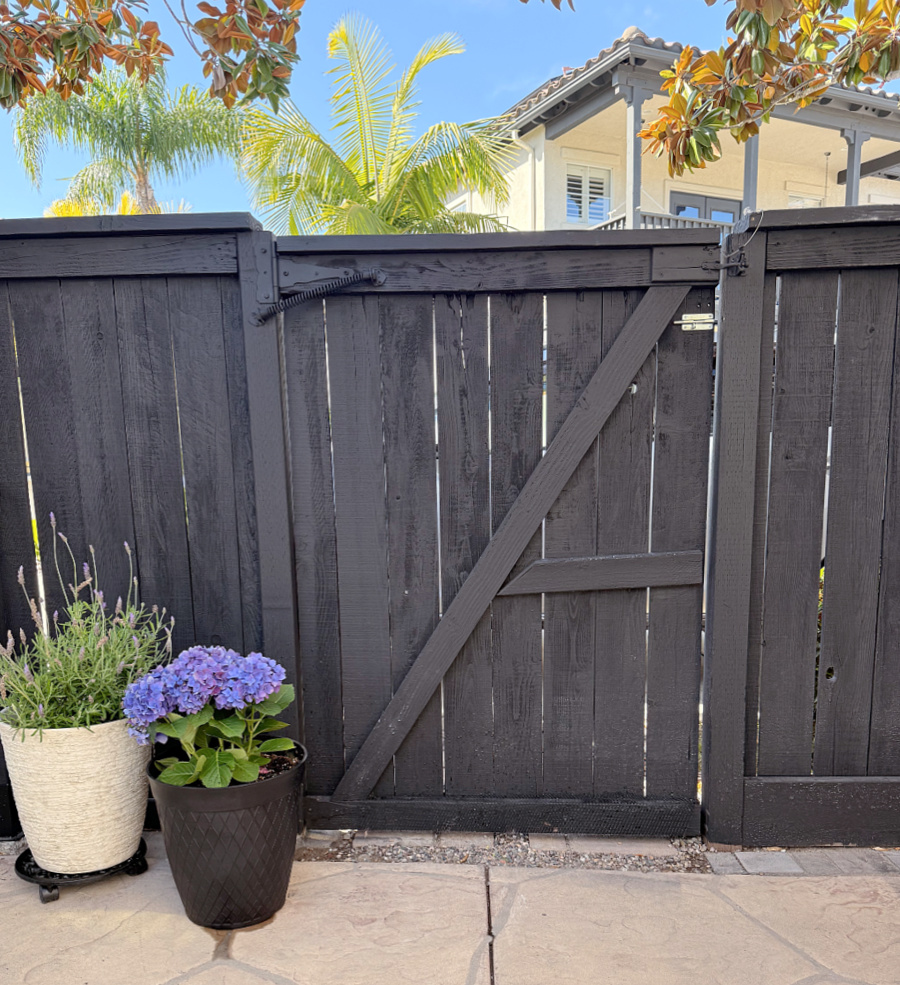
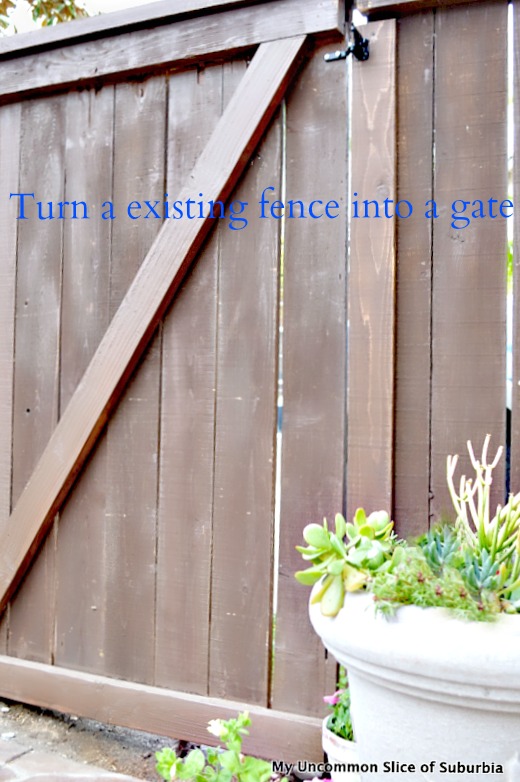
This is the color we had for many years, up until recently, in 2026

A little note — this project was originally shared back in 2014 and has been updated in 2026 with new steps, tips, and lessons learned from years of actually using this gate every single day! The fence color looks a little different in some photos since they were taken years apart — just wanted to give you a heads up!

Amazon affiliate links are listed below.
This will be a little different based on the size and the type of fence that already exists. It’s safe to assume you’ll need the following.
Materials:


Level
Drill
Tape measure
Circular saw
Pencil
Wood (2×4 boards for bracing)
Hinges
Gate Latch
Bolts and screws
Concrete mix (if adding a post — highly recommended!)
Post hole digger (if adding a post)
4×4 fence post
Stain: Dark Walnut
Updated Stain: Black Stain
Tutorial
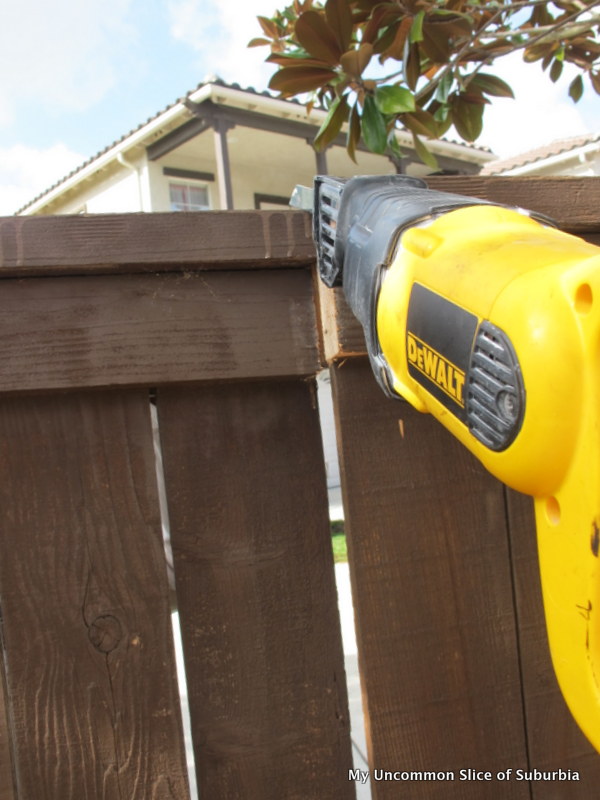
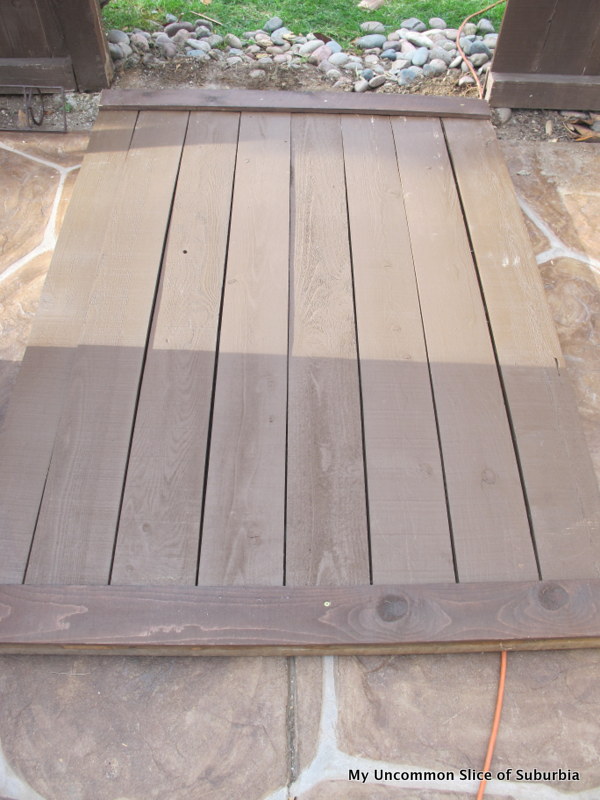
This is what the fence looked like before Ray started on the gate. You can see he had put one cut in on the top before I said, “WAIT, I have to snap a picture!”

Step 1
Determine Your Preferred Gate Size and mark for cuts on each side, top, and bottom.
Step 2
Where you made your marks, cut down that line at a 50 to 60-degree angle so the gate doesn’t bind when it’s opened or closed.
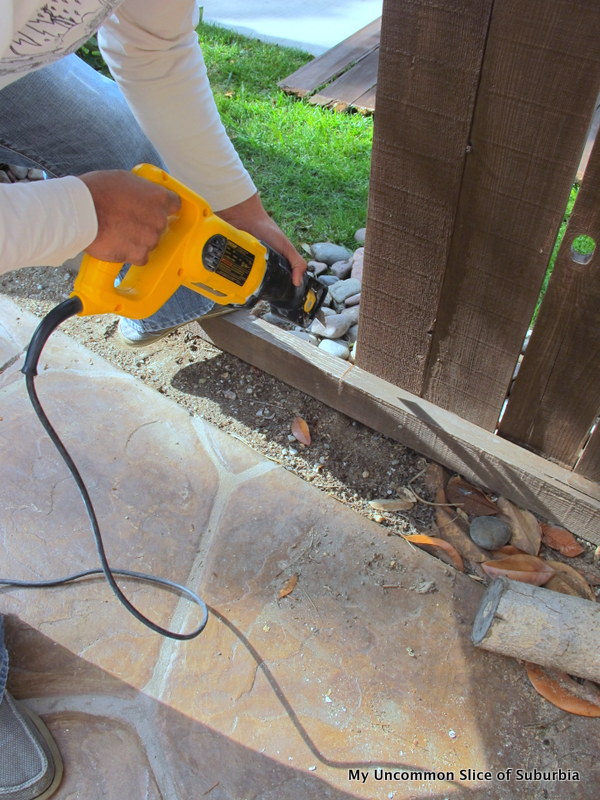
Step 3
Carefully take the gate down.
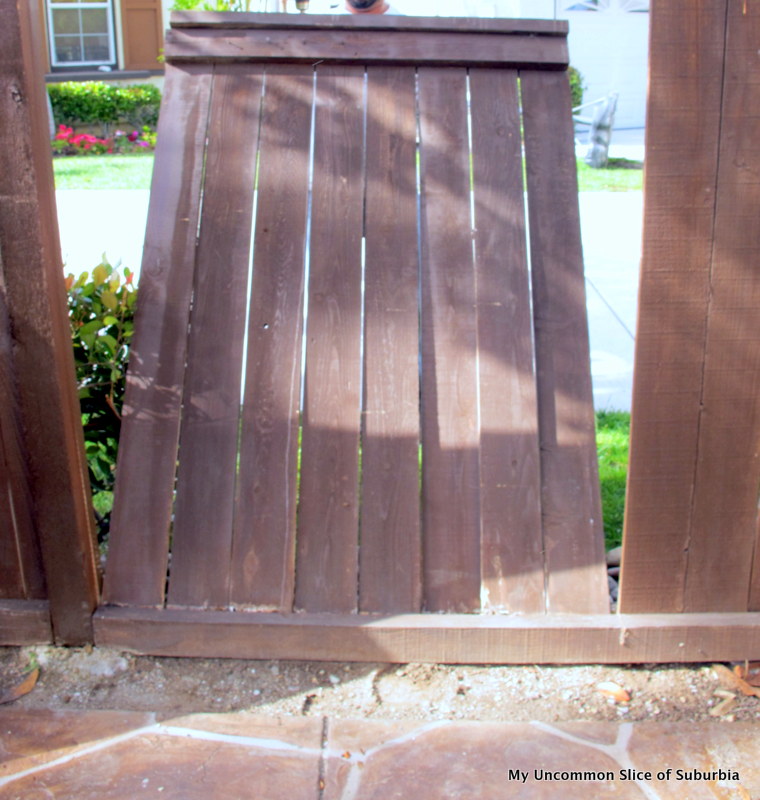
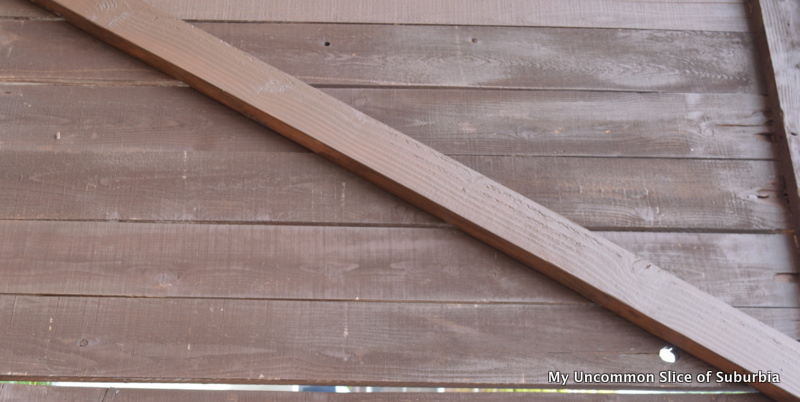
Step 4
Next, you need to reinforce the gate. First, we added 2 horizontal boards, one on the top of the gate and one at the bottom. Next, we added a diagonal board from the upper right-hand corner to the bottom left-hand corner.

Step 5
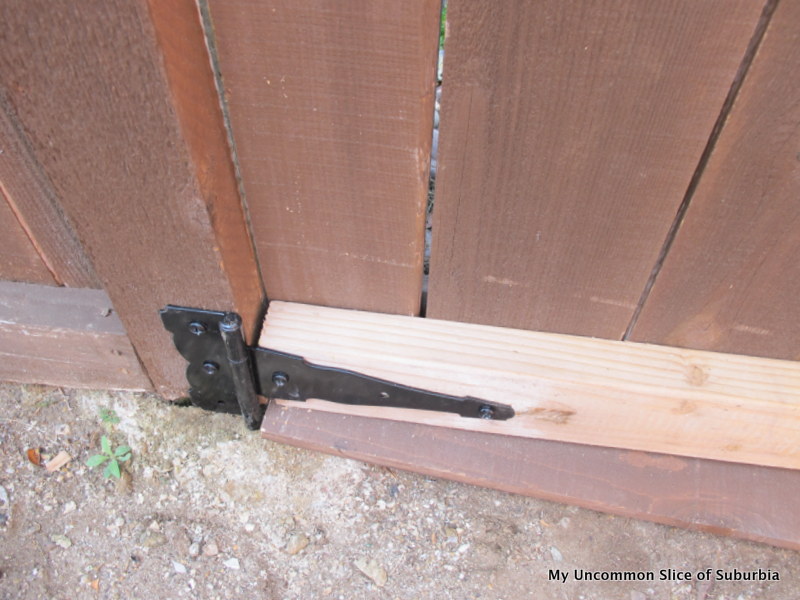
Attach the gate to the fence posts.
Tip: Add a piece of wood on the ground to help keep it level while another person helps hold the gate.
Screw one side of the hinges to the fence post, align the gate between the adjoining gate posts, and screw the other side of the hinges to the gate. Do this for the top and the bottom, using a leveler. It should be attached so that the bottom is about an inch off the ground.
Step 6
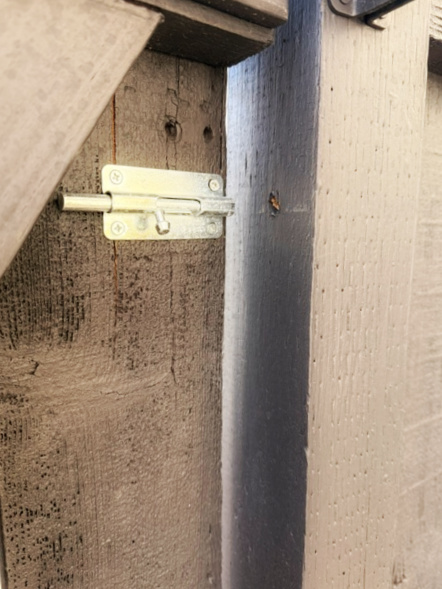
Install the gate latch and, if you would like, a gate spring.
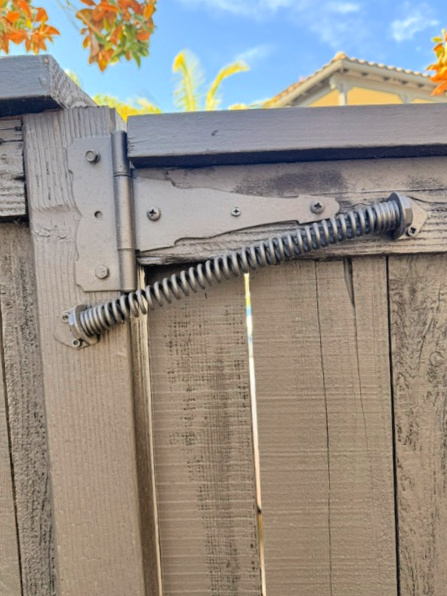
We also added a secondary lock for extra peace of mind whenever we are away from home — a small but worthwhile addition!
You will most likely have to stain any of the wood that does not match as well.
Step 7 — Add a Post on the Latch Side (Highly Recommended)
This is the step I wish we had included from the beginning! When we originally built this gate, we attached the latch directly to the existing fence panel. It worked fine at first, but after a few years of daily use, the gate became wobbly, and the latch side started to sag.
The fix is simple — add a proper 4×4 fence post on the latch side for a sturdy anchor point:
Remove the section of fencing where you plan to attach the latch. Using a post hole digger, dig down at least 24 inches into the ground — deeper if you live in a colder climate with frost. Pour quick-set concrete into the hole, set your 4×4 post into the wet concrete, check that it is perfectly level, and brace it while the concrete cures. Most quick-set concrete is ready in 20–40 minutes. Once cured, attach your gate latch to the new post.
We’ve now had the post in place for several years, and the gate is rock solid. Don’t skip this step!
Frequently Asked Questions
Does the gate swing in or out? Ours swings outward. When you install your hinges, the direction the gate swings will depend on which side you attach them and your personal preference. Just make sure there’s enough clearance on whichever side you choose so the gate can open fully without hitting anything.
Can you add a gate to a wrought iron fence? Yes, but it requires different tools and techniques than a wood fence. To cut wrought iron, you’ll need a hacksaw or an angle grinder for the cleanest cut. The trickier part is reattaching the cut section — you’d need to weld or use heavy-duty metal connectors. For a wrought iron gate, I’d recommend consulting a local metal fabricator or fence company for the best results.
Why does my gate sag or become wobbly over time? This almost always comes down to not having a proper post on the latch side. If your latch is attached to an existing fence panel rather than a solid post set in concrete, the gate will eventually sag from the weight and daily use. See Step 7 above for how to fix this!
What kind of hinges should I use for a fence gate? Use heavy-duty exterior gate hinges rated for your gate’s weight. Lighter hinges will bend over time. We used these hinges, and they’ve held up great. Make sure to use bolts rather than just screws for maximum strength.
Do I need to stain the new wood? Yes — any new wood you add for bracing or framing should be stained or sealed to match your existing fence and to protect it from the elements. We used Black stain, which blended in perfectly.
How wide should a fence gate be? Standard fence gates are typically between 36 and 48 inches wide. If you plan to use the gate to haul equipment, furniture, or yard waste through, err on the wider side. Ours is on the narrower end since it’s mainly a walkthrough gate between properties.
This is one of those projects that pays for itself almost immediately — we use our gate every single day, and it has made so many projects easier over the years, from hauling materials through the yard to those casual evenings popping next door. If you’re on the fence about tackling this one (pun intended!), I promise it’s more manageable than it looks. Just don’t forget to add that post on the latch side, and your gate will stay sturdy for years to come!
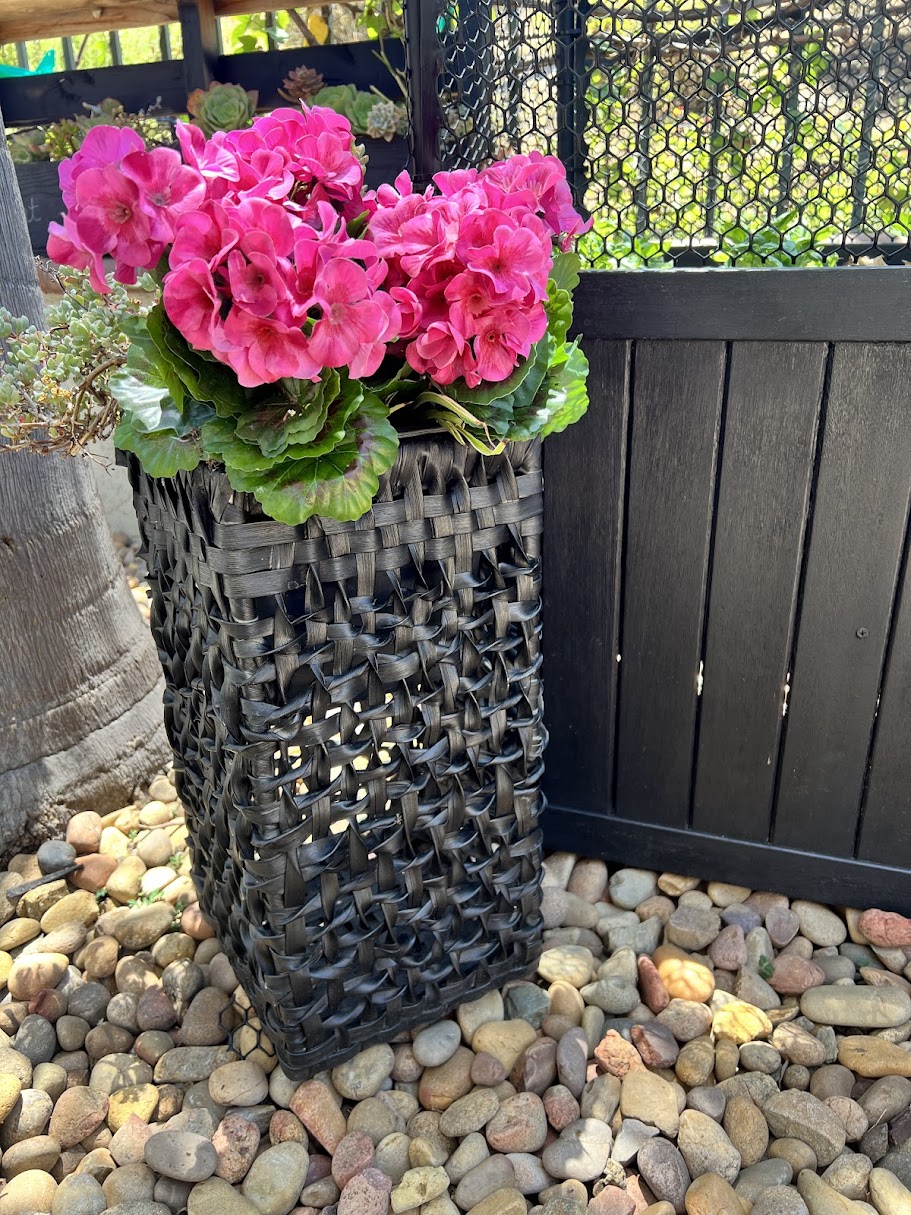
You now have a new entrance. This has already come in handy for our next project. We have completely demolished our old fountain that did not work and we are replacing it with a fireplace. We were able to haul the cement out of the backyard just a few steps away instead of all around to the front. And just recently, Ray built a pergola over the BBQ area and a privacy fence. I’ll be sharing all of the details soon, promise!
~Thanks for stopping in today~

Isn’t it a blessing to have nice neighbors! Love the gate and so much easier now to pop over to the neighbors! We are grateful for our good neighbors, too.
Fabulous tutorial!….and can not wait to see your finished fireplace! I know it’s going to be beautiful!
Nancy
Thanks Nancy, I am super excited about it 🙂 have a great weekend.
Wow! Kristin. It looks great! And it doesn’t look too hard either. Thanks for the tip.
I am so happy you are safe and sound from the fires last week. That must have been so scary.
Make it a great weekend!
Meegan
That is very clever of you, love that DIY!! The new new gate looks great too, like it was always there!!
THanks Heather, it has definitely come in handy!
You said this could be done with other fences made of other material. We have a wrought iron fence around our porch. It looks lieit wouldn’t be to hard but I don’t know how. Our son is a quadriplegic and has not been able to get access to ou new home because of the stairs/fence arrangements. Any ideas? Love ur site btw!
Hi Sandy, gosh that is a hard one. I know it wouldn’t be difficult to cut if you had a hacksaw or a right angle grinder which would give the closest, smoothest cut, however, I’m not sure how you would then attach it back together. I wish I could be of more help. I wish you all the best with your son!
That gate will swing in? Looks like hinges that only swing out. Raf
Correct, it swings out.
It looks like you attached a vertical piece of wood to the side of the fence where the latch goes. Am I seeing that correctly? Just wondering if there might have been a step missing in your instructions before I get started? I love how simple this. I’m hoping my husband will help me get this done this summer!!
So, yes and no. When we originally turned it into a gate we did not add the post on the right. The picture is deceiving, the latch is actually just attached to the existing fence. However, over time because the gate is used so much the gate became wobbly and we took out the piece of fencing (where the latch is attached) and added a post. He did this by digging down into the dirt, adding cement, and placing the post into the cement. It’s super sturdy now.
Great tips! I never thought about using hinges to create a gate from an existing fence. The step-by-step instructions make it easy to follow. Can’t wait to try this out in my backyard!
Great tips! I never thought about using hinges for a simple fence-to-gate conversion. Can’t wait to try this out for my backyard!