Easy epsom salt ornament
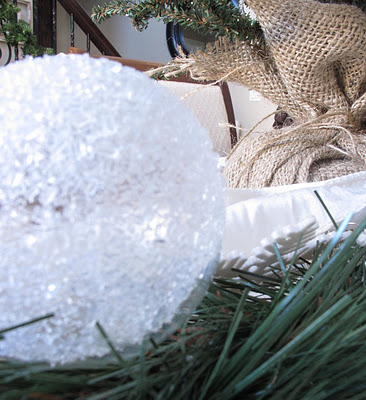
These easy Epsom salt Christmas ornaments were fun to make and are an easy way to add a touch of sparkle to your holiday decor and Christmas tree. They make beautiful and thoughtful gifts for friends and family this holiday season that they will adore! Making ornaments and baking delicious treats has always been one of my favorite Christmas traditions!
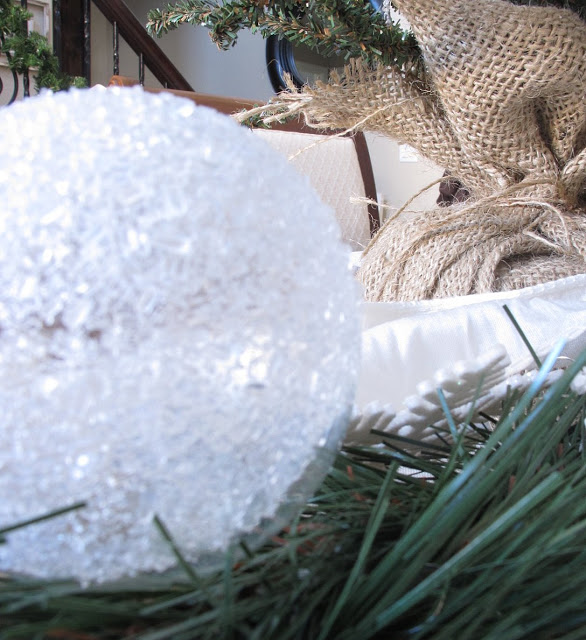
I went to Tai Pai Trading Company, oh my goodness, I was like a kid in a candy shop! I had never been, my brain was on overload just looking at all the fabulous ideas and gorgeous displays. I loved the simplicity of their glass ornaments, they looked like snowball ornaments with a little shimmer. The price tag was a little on the steep end so I decided to make my own using simple ingredients, Epson salt and glue!
Full disclosure: This post was originally published in Nov 2011 and updated in Sept 2024.
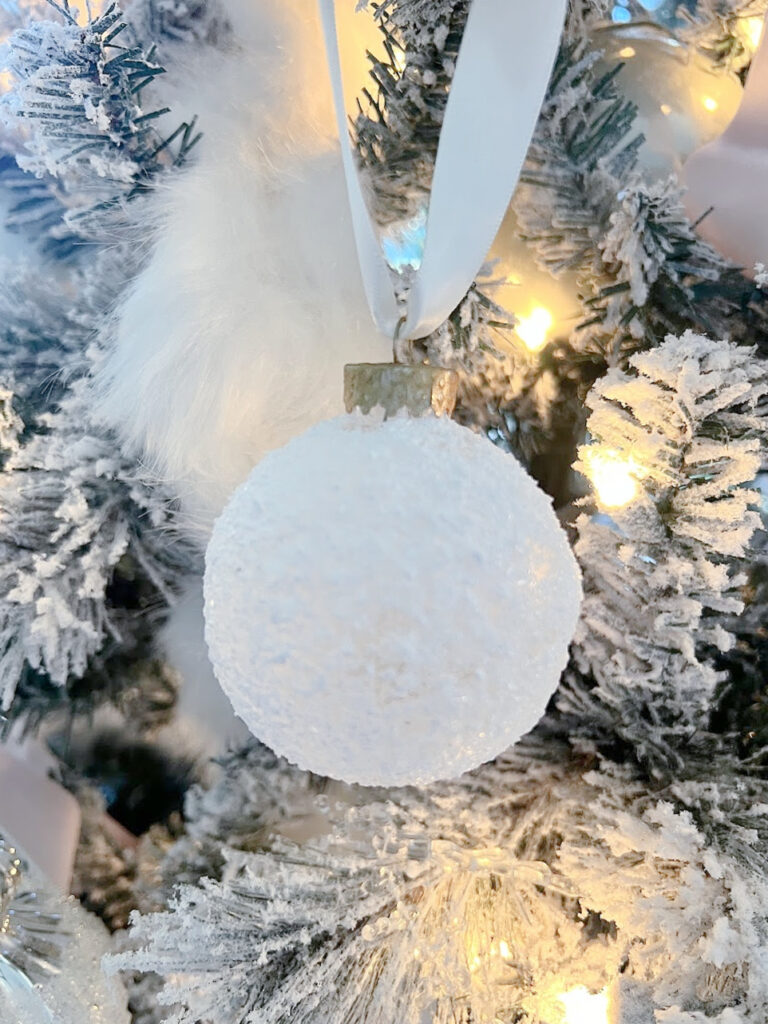
Supplies:
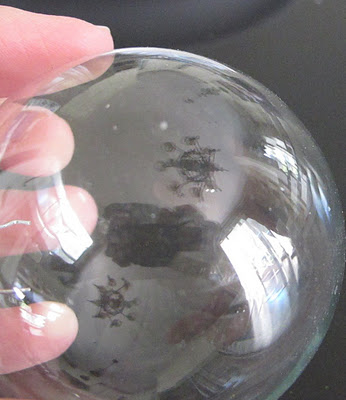
Glass ornaments or plastic ornaments
Epsom salt. You could also use sea salt
Glue Sticks or Mod-Podge
optional Spray Sealer
Ribbon Here is the Velvet Ribbon I used
Metallic paint, I use Rub N Buff in the color gold leaf
Directions:
Remove Ornament Tops:
Carefully remove the tops of the ornaments to make them easier to paint. Set aside the tops for reattachment later.
 Set up a “drying rack.”
Using chopsticks, skewers, or cake pop sticks, slide the ornaments and tape the base to the chopstick. Push the chopstick into a piece of foam. I did not have any on hand, so a box did the trick; they just didn’t stand up as straight. You could also use an egg crate; just make sure it is on a flat surface.
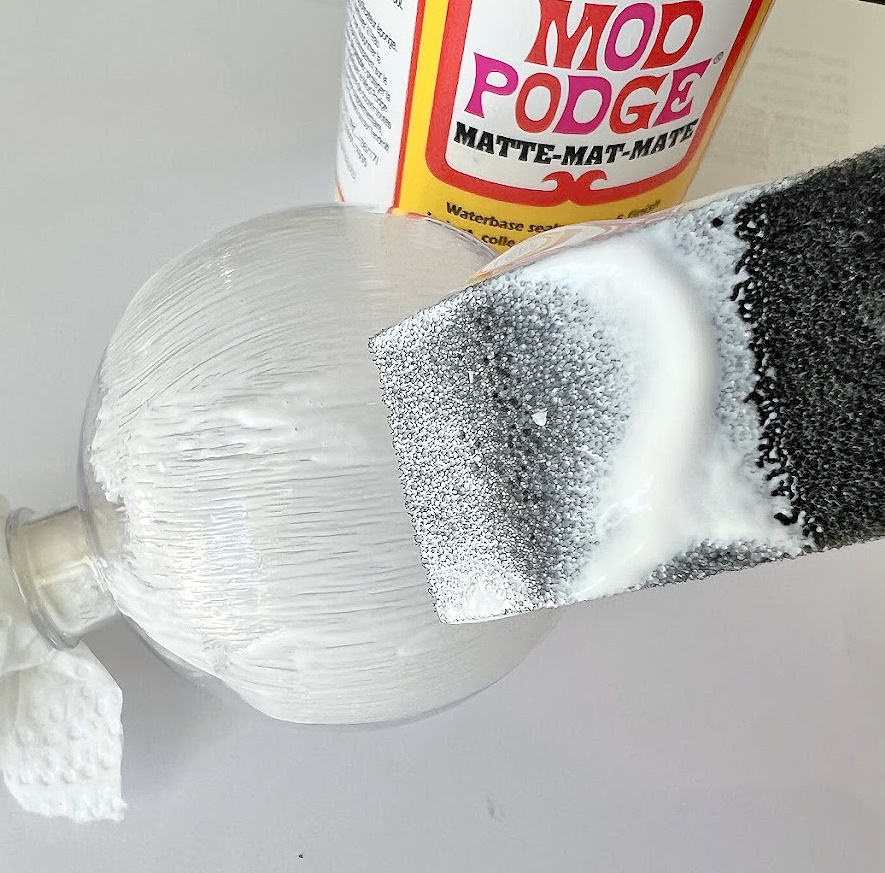
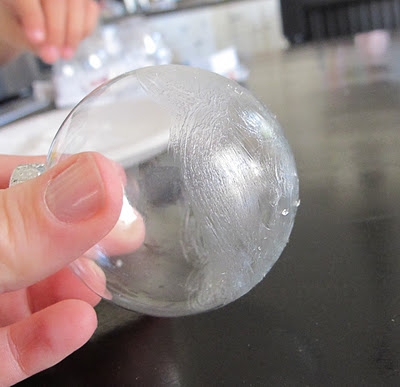
Apply Glue
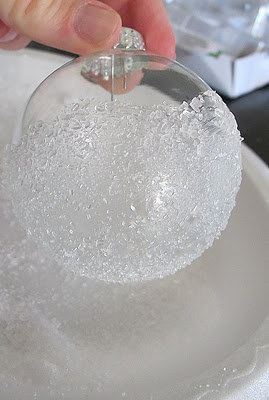
Dip your foam brush into the Mod Podge and apply it to the ornament. If you are using a glue stick, coat the whole ornament. If you want a whimsical effect, glue about 3/4 of the ornament, leaving a little bit of a swirl design on top, meaning don’t have it as a straight line.
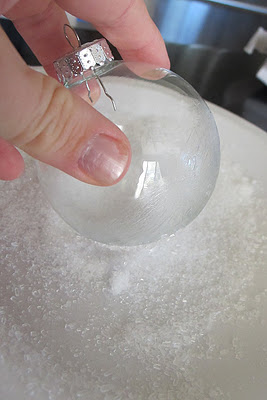
Add Salt
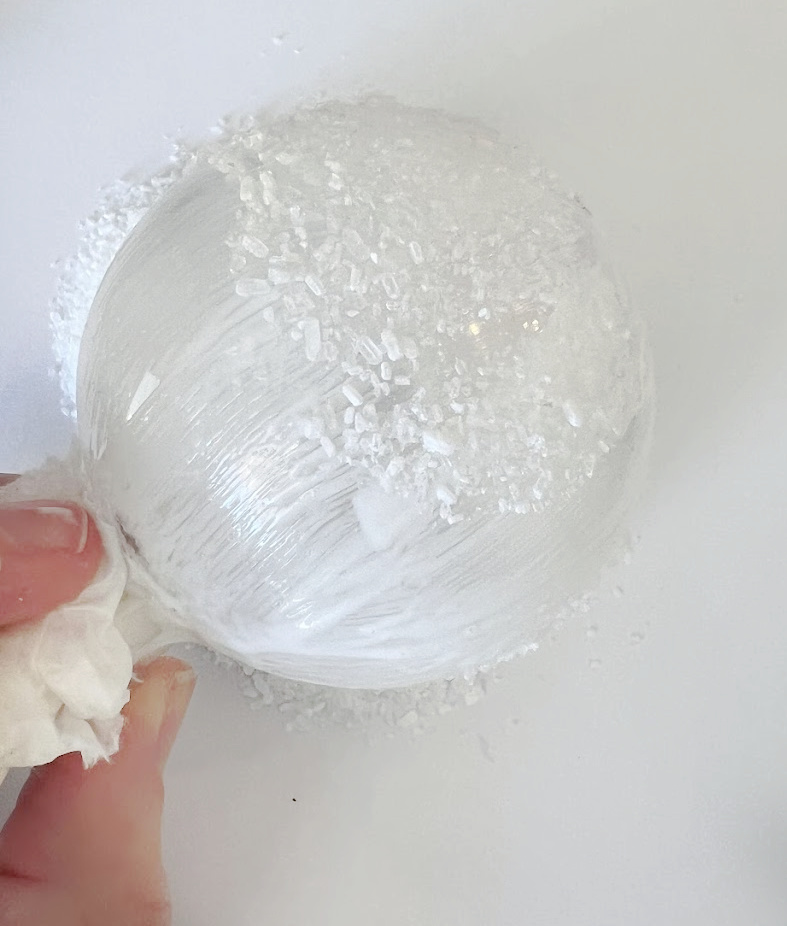
Allow to Dry
Flip the Epsom salt ornament over and set it in an egg crate to dry carefully, or back onto the chopsticks. The glue takes about an hour to dry to the touch, but don’t hang them for about another 24 hours so the glue has a chance to dry completely.
Painting Tops
You can leave the tops as is, or you can paint the tops Using a little rub and buff in the color gold leaf. I gave the tops a quick coat using a craft brush.
Replace the top of the ornament
Once the tops and the ornaments are completely dry and sealed (if desired), reattach the tops.
Isn’t it just beautiful!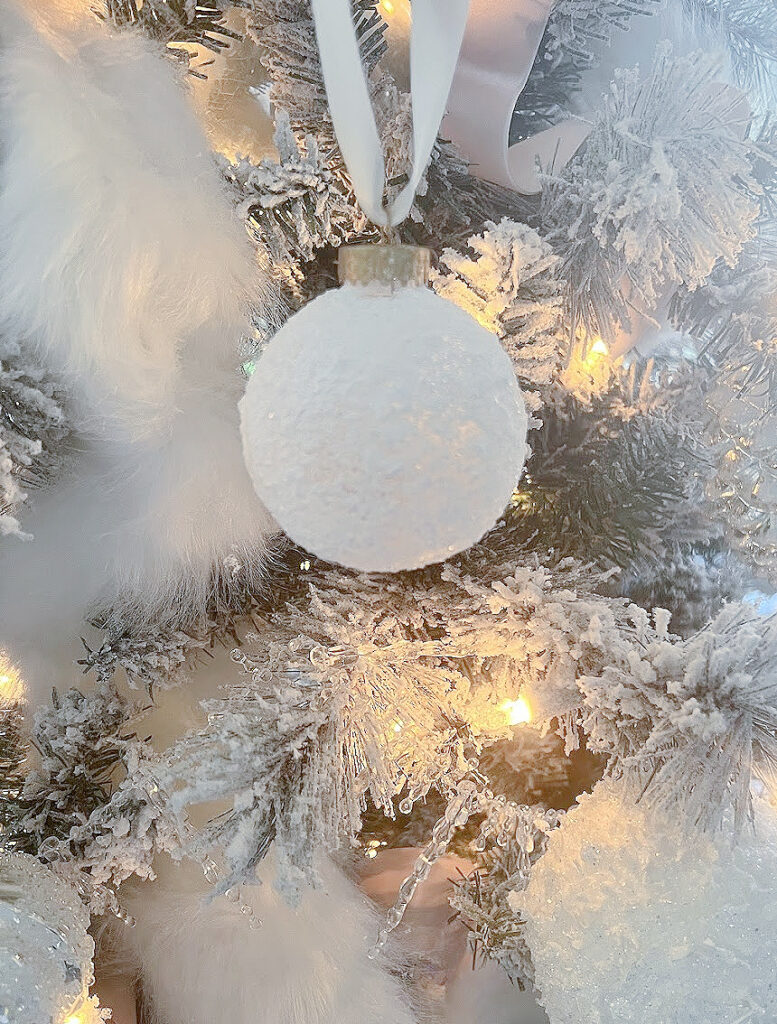
Seal and Protect
For your last step, use a spray sealer to help protect the Epsom salt from falling off. 1 quick coat will do the trick.
Adding Ribbon
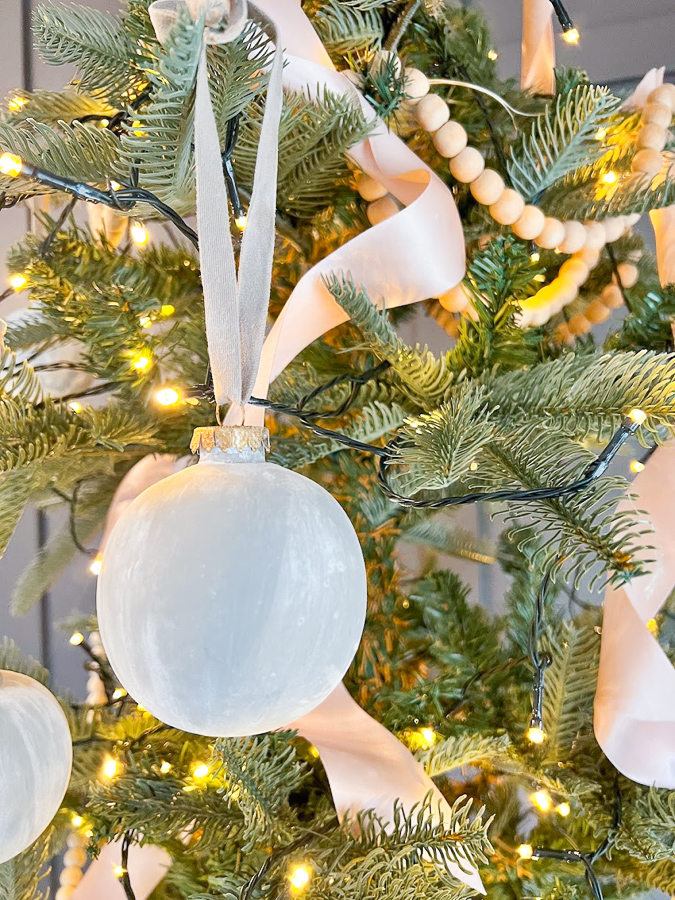
Thread a ribbon through the tops of the beautiful ornaments for hanging. Choose a color that complements your holiday décor, and tie a knot or bow for a finishing touch.
More Easy Ideas.
You could add a gift tag to the ribbon for an easy gift idea. Or leave them as is and scatter them around for beautiful holiday vignettes.
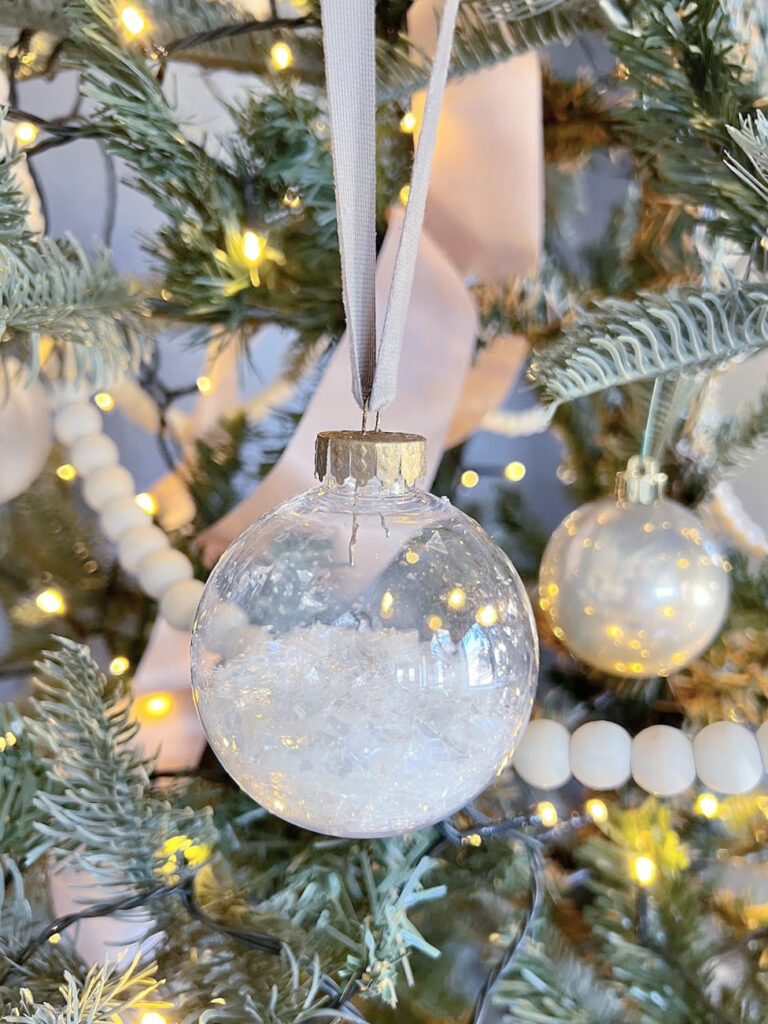
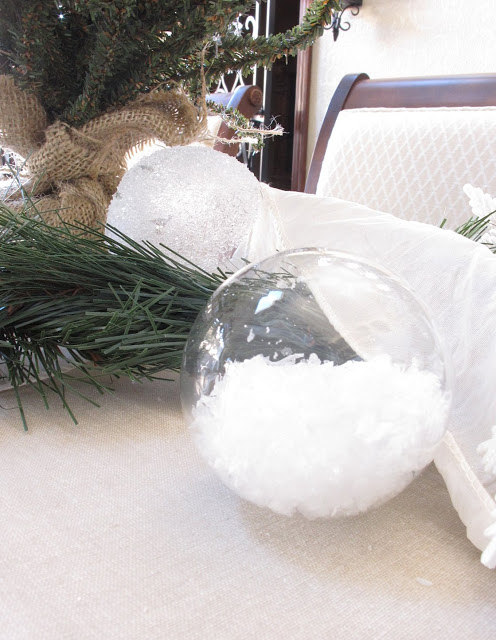
Add faux snow on the inside to a few other ornaments. Here is an easy tutorial for you.
Add sparkle to your ornament by mixing glitter with the Epsom salts.


That was easy! And very pretty, too! Epson salt is on my list!
Very cute! Thanks for the tutorial.
I really like Tai Pan Trading Company too.
Have a great day.
Pam
What a great idea! They're so pretty!
evie @ brown paper packages
So many amazing ideas..this is great Kristin!
xoxo
Karena
Art by Karena
What a GREAT idea!
Well~How easy and cute is THAT idea? I think I might have a kid or two licking the salt off~ They turned out just darling! xo Diana
They turned out so great and they look stunning on your table, Kristin!! Thanks for the tutorial. Wishing you a wonderful week ahead ~ x
What a wonderful idea! Great for on the tree, for a centerpiece, or on the mantle! Cannot wait to try! Thanks!
xoxo
I am so excited to give that a try!! They are beautiful!
Love these, Kristen! Thanks for sharing with us. Glad you are enjoying your weekend.
Hug,
Marie
So pretty, and so simple! The ornament just sparkles with the Epsom salts, i think i might try that, i'm a sucker for sparkly things…
Cindy
These turned out darling!! I have to give it a shot!
XO,
Jane
I did some pine cones this year with epsom salt but your ornaments are more sparkly! I love them! They look like snowballs.
How pretty and sparkly! You are so clever to use epsom salts! Your table looks lovely, Kristin. Sounds like it was a great holiday weekend.
So classic! I just brought my Epsom salt out tonight to put in mason jars with tea lights, but I also found 4 clear glass ornaments – so this is the PERFECT project for me!!! Thanks 🙂
Wow! I think even I can do that, Kristin! lol! Those turned out so pretty! Who'd a'thunk…..???
xoxo laurie
O- ME!!!! Yes Kristin. you bet. i will give it a try. SO beautiful and so easy!! Thanks for sharing!
I just bought a bunch of these glass ornaments myself and have not decided how to decorate them…yours turned out gorgeous. I like the snow inside also. Very simple! Come by for a visit if you are interested:
http://ponderedprimedperfected.blogspot.com
so cute! I'm betting that you can just wash it off too so you can re-use those ornaments at a later time too!
Just wrote epson salts on my grocery list! Think I'll have to give this a try. I made a few mercury glass votives just in time for Thanksgiving after seeing your post on DIY Mercury Glass. Thank you!!! They turned out great. (Posted about them and linked back to your directions.)
gorgeous! love love love! Will be doing this tomorrow, thank you Kristin!
I LOVE these!
You're such a smarty pants! I love these! 🙂
I like this idea. Anything difficult is not appealing to me today. This looks so fun to do too.
So cute and easy!! Love this idea.
Heather
So very pretty!
Thank you so much for sharing this. I also have the glass balls, and some fake snow too. And if I check the bathroom I bet I'll find a carton of epson salts. Nothing to run out for!
did you put the snow on outside of on inside of the ones you used the epson salts on? linda gerig
Your ornaments turned out beautiful! Thanks for sharing! I have all the items here, I think I might just make a few for myself!
Beautiful ornaments!
Team Craftwell
ecraftbycraftwell.blogspot.com
I'm always on the lookout for easy crafts and this one fits the bill! I wonder if the epsom salts could be dyed with food coloring…
Try color glitter.
that sounds fun, I will try that, thank you!
I saw this on pinterest and just had to come on over to tell you thank you for posting this….I love this idea….and can't wait to make some….tfs
Cute ornaments!
TAI PAN IS DEADLY! OMG I almost died the first time I went in there. I was there again today – windier than all get out! But – NO PROBLEM! Hit there and then hit the new Hobby Lobby! Have you ever been there? It's deadly too.
Love it!
HAGD! Karen
Very pretty and looks easy to do. Will give it a try. Thanks for sharing.
Audrey Z. at Timeless Treasures.
Love, love, LOVE your blog! Lost my original note to you so trying again. Peace & blessings, Lynne
Love how easy this is! I'm a new follower too. Stop by and enter to win my Vintage jewelry Heirloom ornament..only 1 day left to enter. Warm wishes
Thank you for the tutorial. I’m going to try this with fine sand for a beach themed ornament. Thanks again for sharing.
Add scents, like peppermint or cinnamon to the epson salt then create the snowballs
This is so cute. Just wondering how long it should take to dry.
just about an hour 🙂
I am going to try putting food coloring on Epson salt to try some of those wonderful balls. Thanks
sounds like a great idea!
And the salts don’t come off? Should there be some kind of sealing spray coat?
You will have a small amount of remittent salt if they are touched. This was my third year pulling them out of the box and this was the first time I saw a little bit of yellowing. Hope that helps.
What a eye opening, really looks a great craft, Going to give it a try, and in form my daughter, you are so inspiring
Thank you
Thank you so much, Patricia!