
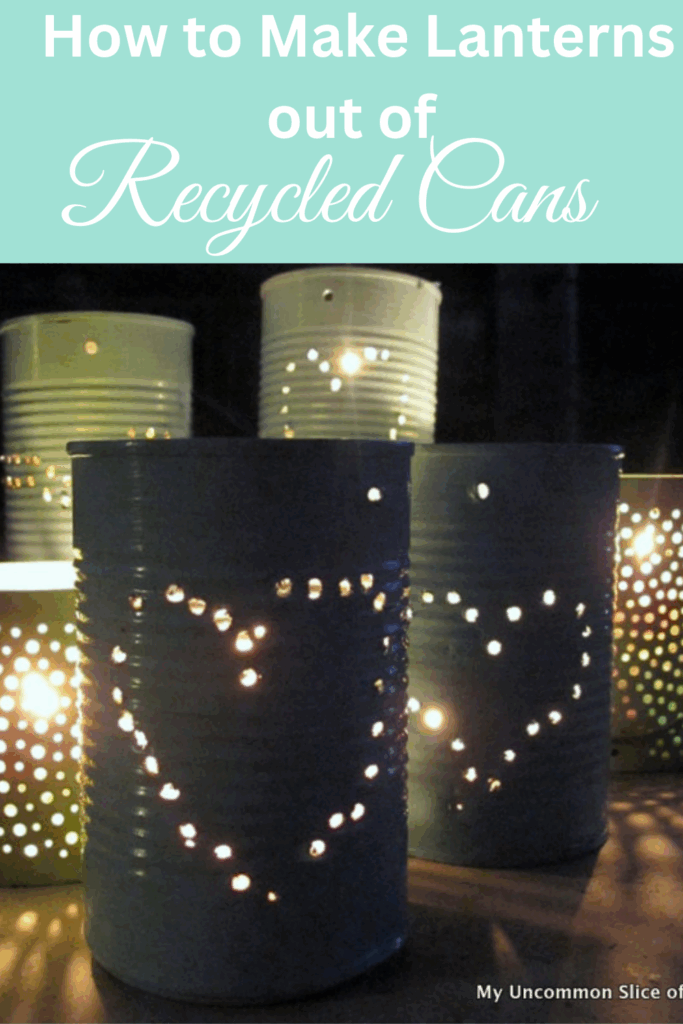
DIY Tin Can Lanterns
How to Make Lanterns Using Recycled Cans – A Fun DIY Tin Craft for Any Time of the Year
If you’ve ever glanced at your recycling bin and wondered what to do with all those empty cans, here’s a great way to give them a second life—turn them into beautiful lanterns. This DIY tin project is budget-friendly, eco-conscious, and perfect for adding charm to your outdoor space.
This post was originally posted in 2013 and has been updated.
Are you looking for an easy and eco-friendly way to decorate your home? Discover how easy it is to create your own beautiful, one-of-a-kind luminaries from recycled tin cans. With just a few simple steps and materials, you can create beautiful, glowing works of art that will add a special touch of decor to your outdoors!
Over the weekend, one of my best friends threw a glow party for her daughter’s birthday, so I decided to make some DIY tin can lanterns to create pretty light patterns for the backyard.
")
A few years back, I had purchased some at Target but knew they could easily be replicated for free, so I gave it a shot. After making spaghetti sauce, I always have a ton of tin cans left over. If you are not up for making your own, you can purchase some here!
Affiliate links are listed below
Materials You’ll Need
-
Ordinary tin cans in the size of the can you want (soup, coffee, or even large vegetable cans work great)
-
Spray paint in your different color choices. You could also use regular paint.
-
Steel wool (to remove labels and any rust)
-
Permanent marker for your own design
-
Masking tape (optional)
-
Piece of paper (to create a stencil for different shapes or straight lines) (optional)
-
Votive candles, LED lights, or battery tea lights
-
Gloves (to protect from sharp edges and rough edges)
Top tip: If you can, use a can opener that leaves smooth edges to make the first can safer to work with. I love this one!
Step-by-Step Instructions
1. Prepare Your Cans
Rinse and dry the cans thoroughly. Remove any labels using warm water and steel wool. If you find rough edges, file them down.
2. Plan Your Design
Use your piece of paper to draw straight lines, different shapes, or patterns. Tape it to the side of the can with masking tape. You can also draw directly on the can with a permanent marker for a simple design.

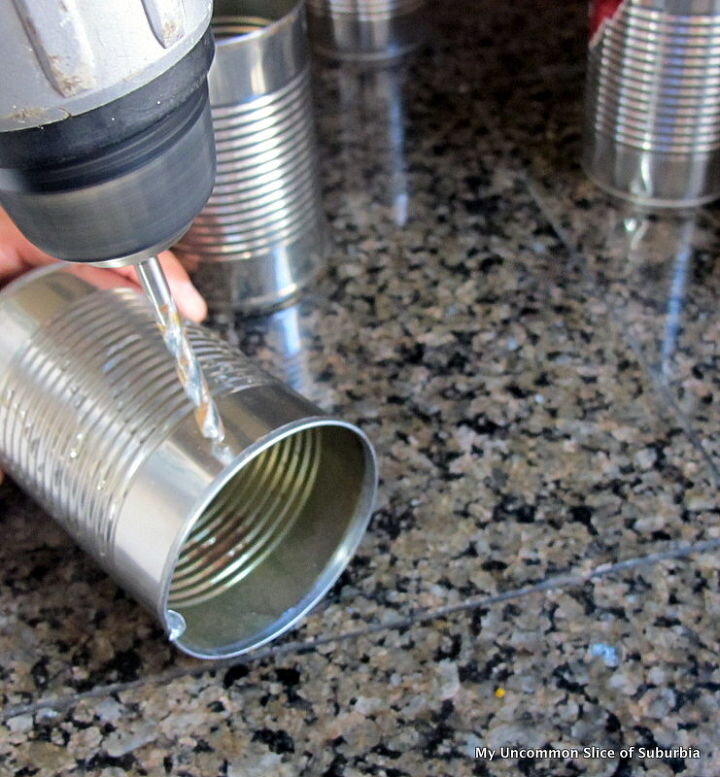
3. Make the Holes
Years later, I have found that if you fill the can with water and freeze it, this prevents denting when you drill or hammer.
Use your drill bit or hammer and nail to punch holes along your design. Once done, let the ice melt and dry the can.
I carefully drilled over each dot, creating a hole. Make sure you wear your safety goggles.

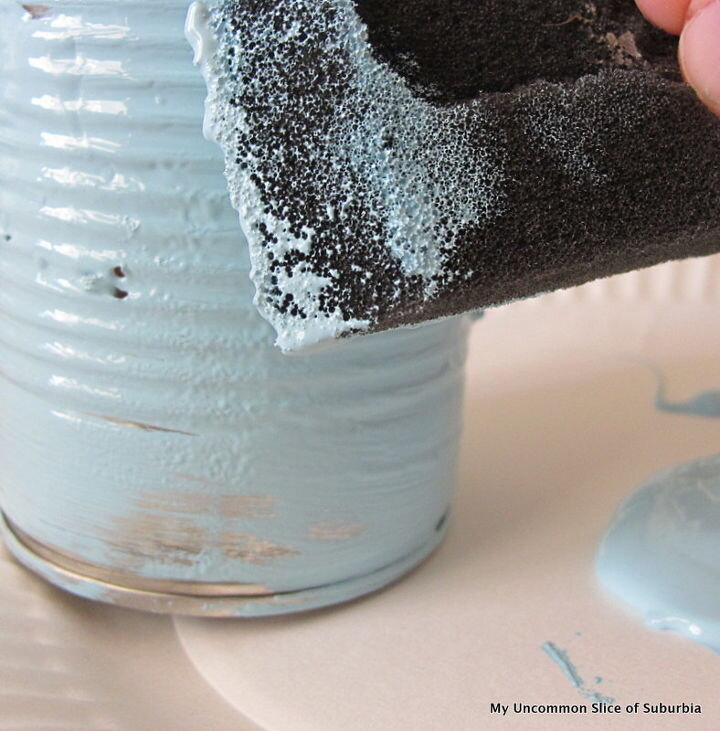
4. Add Color
You can leave the cans as is or paint them. Spray or brush a coat of paint in your chosen color. You can find plenty of options at your local craft store or dollar store. Allow the paint to dry completely before moving to the next step.
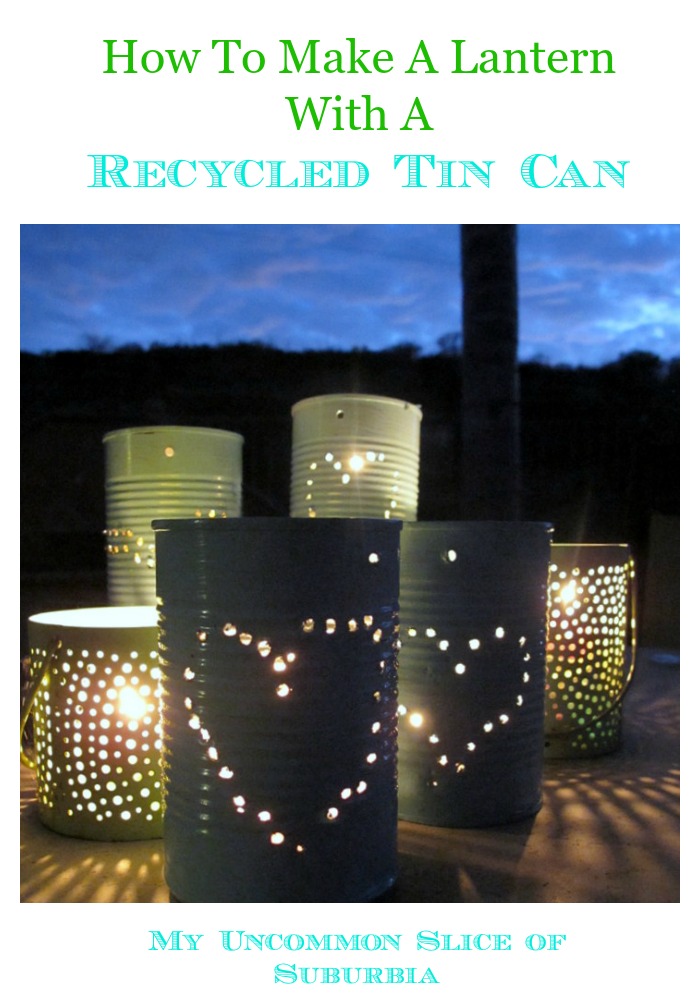
5. Light It Up
Place votive candles, LED lights, or battery tea lights inside. If using real candles, keep them away from small children, always supervise, and make sure they are on a fire-safe surface.
Enjoy the flickering patterns.
Here are some more fun outdoor projects!
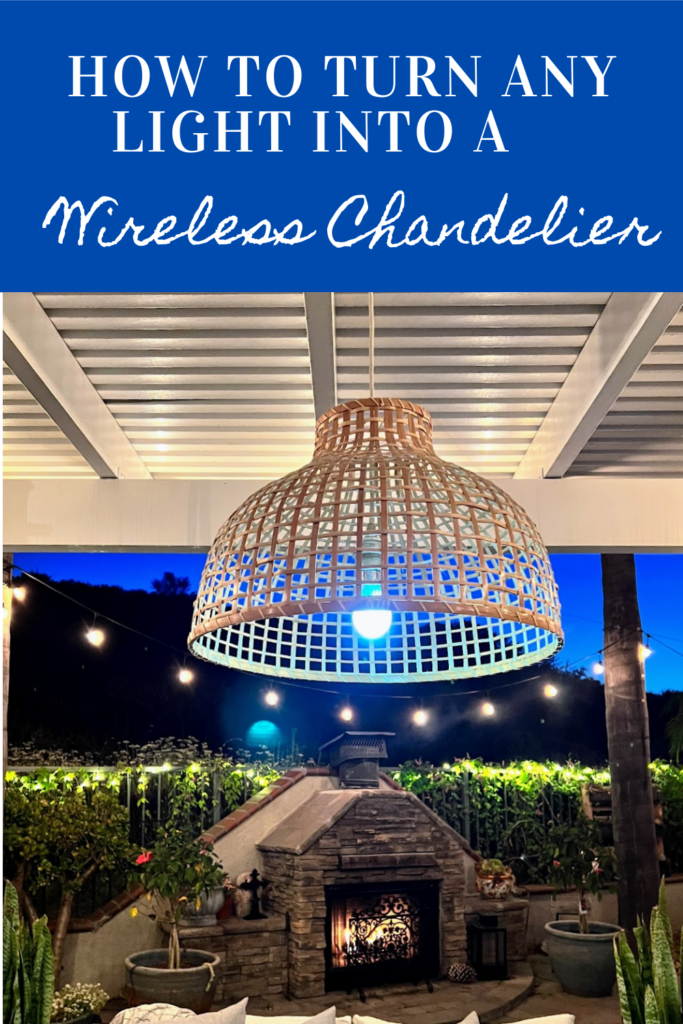
Turn any light into a wireless chandelier
Thank you so much for stopping in today!


Nice!!!!
Love this idea! So pretty.
CUTE! What a clever idea! I think the kids were having a blast!! xoxo
Very Nice & easy!
Tx
How fun these are! They look so pretty at night. Very clever project and a great way to use those cans instead of tossing directly into recycle. It would be fun to line our pathway for Halloween!
Another super cute idea!
Your tin can lanterns are adorable. Such a great way to recycle.
Wow – such a pretty patio scene at night!! What a fun atmosphere you made with your lanterns!!
These are so cute, Kristin! How romantic to have them on a patio.
xoxo
Denyse
Kristen, these are so sweet and they look great! What a good holiday for Halloween, too! Thanks for sharing – pinning! Have a happy Monday!
They look fantastic… all glowing… adore! Pinning!!
So pretty!
ALTERNATIVE METHOD, fill cleaned can with water and freeze solid, draw design, use different sized nails and tap through tin, ice will prevent tin from crushing, safer than using a drill with small children, too! I have made these using the method I have described.
Fill the cans with water and freeze them before punching the holes – makes it easier to punch the holes without bending the can.