DIY Speckled Robin’s Eggs
Today is the first day of Spring so I thought it would be fun to share some DIY Robin’s Eggs. I love the look of robins eggs, something about their soft beautiful colors. OK and I’ll admit, the chocolate robins eggs are my absolute favorite!
This is such a simple project and most likely you have all the supplies needed at home.
Plastic eggs
Soft blue craft paint
Brown craft paint
Toothbrush
Small paintbrush
I simply mixed some blue craft paint with a dab of white to give it a soft blue tone.
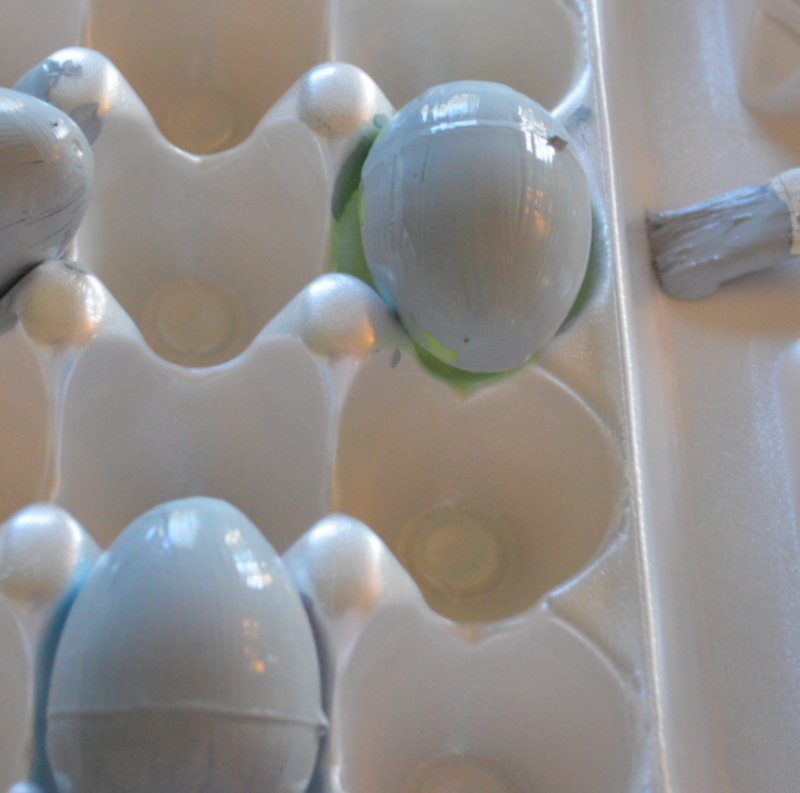
I painted the plastic eggs, allowed them to dry, flipped the eggs over and painted the other side.
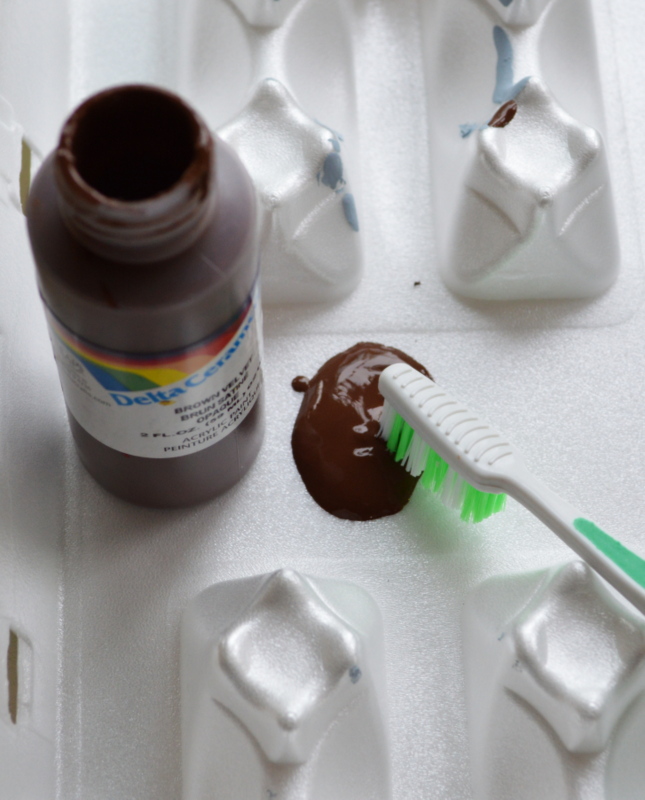
 To add the speckles, I dipped a toothbrush into the brown paint and lightly dabbed around the egg to achieve a random, lightly dotted pattern.

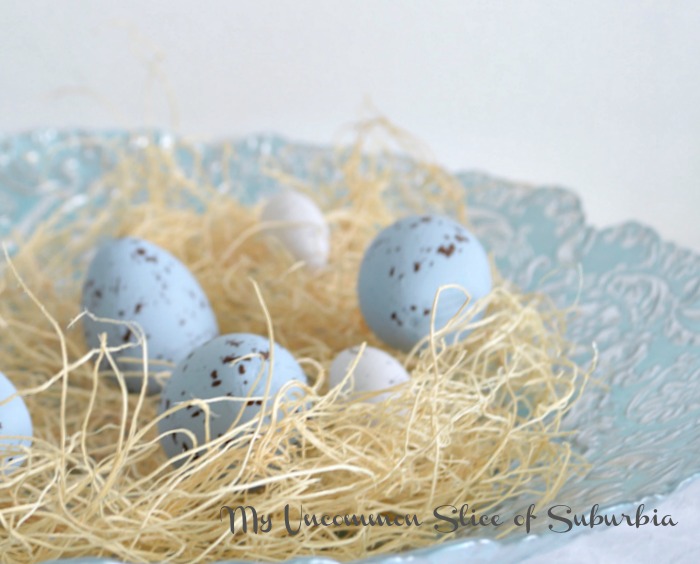
So simple yet so pretty!
They look so soft displayed on top of my Grandmother’s tea cups, this would be a perfect setting for Easter brunch.

 Thanks so much for stopping in today and Happy first day of Spring!
You can find more of my Spring and Easter crafts here.
Linking up


They are super cute!
Adorable, have to try them!
Those are so sweet! I love that you put the in your grandmother’s tea cups. So special.
Geez…I just attempted this, yesterday and what a flop for me! How did you paint you ends, so neatly? Mine just showed my fingerprints from hold LOL!
Yours turned out just the way I wanted them for my mailbox nest. I’m happy with my alternative eggs, though!
Have a great weekend!
JP
I placed the eggs in a egg carton and painted one side, make sure you let them dry before painting the other side. Today the paint should be completely dry, just paint right over your finger prints it and you should be good to go 🙂
Kristin… I love them, especially styled so beautifully in your Grandmothers tea cups! Just perfect for an Easter place setting… perhaps with a few surprise chocolate ones mixed in?!?
so pretty! And I do have everything on hand!!
So easy and beautiful. Love the colors. Thanks for sharing. Pinned 🙂
Very cute, I like your eggs DIY!! Thanks for your tutorial!
So sweet and delicate! Love it nestled in the tea cup too. Happy day K 🙂
Wow – I love the simplicity of your project and the chic results! Displayed in your grandmother’s tea cups is the perfect touch to a spring tablescape! Clever!
These look so realistic! Great idea, Kristin!