
DIY Painted Flower Pots
Have you ever looked at your old plastic planters sitting on your front porch and thought they needed a little love? Maybe they are faded, cracked, or just plain boring. Well, I have great news — with a can of spray paint, a little creativity, and a few easy steps, you can completely transform your garden pots into something fabulous! This is one of those diy projects that costs almost nothing and makes such a big difference in your outdoor spaces.
Whether you have plastic pots, resin pots, or terra cotta pots, this easy way to refresh your plant containers will become your new favorite home decor trick. Let me walk you through exactly how I did it!
Psst… If you look really hard, you will see the purgula that Ray built in the background and a little bit of our BBQ Island we re-tiled! Photos coming soon, promise!
This post was originally posted in 2018 and has been updated in 2026

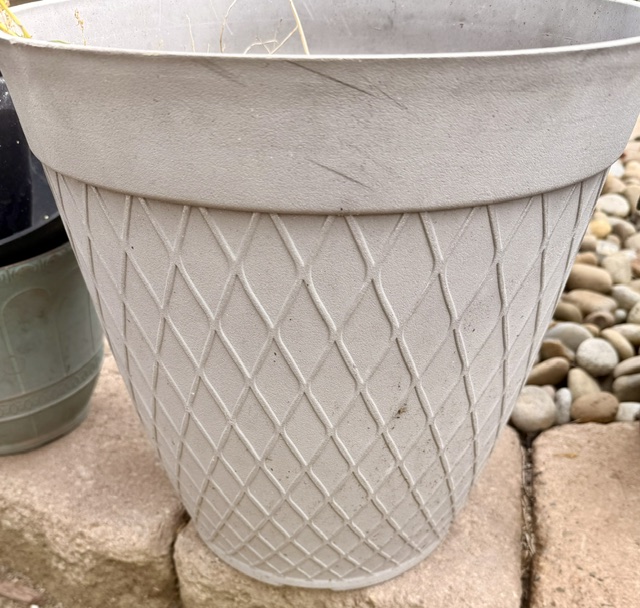
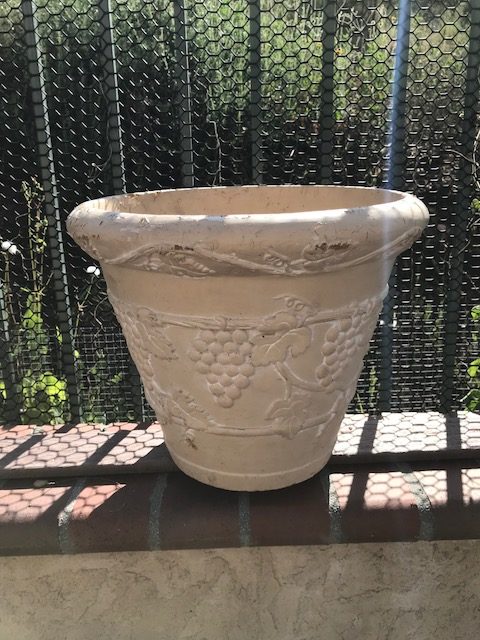
I have two of these pots that had been outside collecting dust and becoming faded, so I went to work!

Supplies
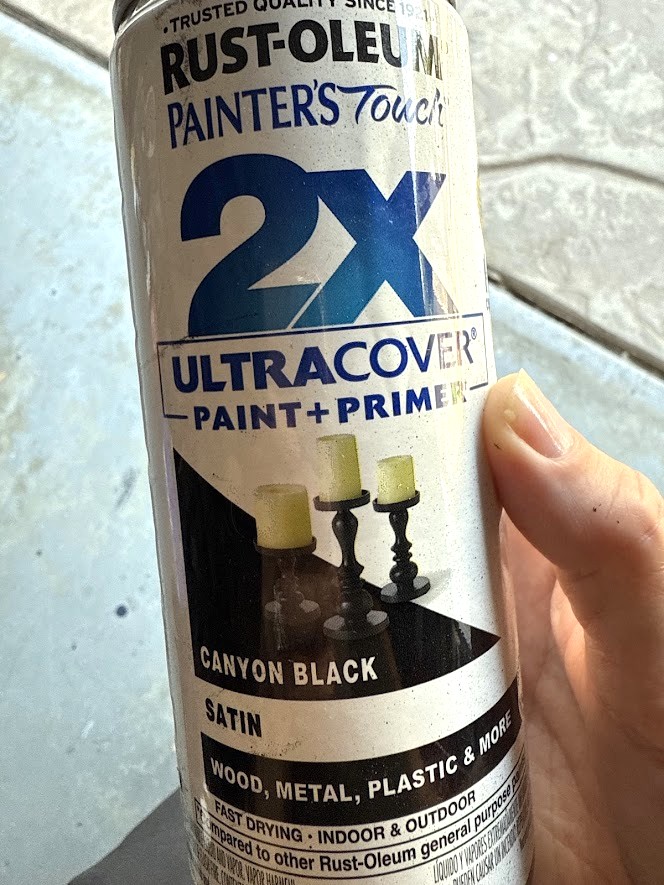
A Can of spray paint, Rustoleum Painters Touch 2x ( Satin Black)
You could also use Outdoor spray paint or fast-drying paint in your favorite fabulous colors
Wax or Spray Protectant to seal
Fine-grit sandpaper
A drop cloth to protect your workspace
A damp cloth or an old rag for cleaning
old flower pot, plastic container, or resin pot
If you decide to distress:
White Paint
Paint Brush and craft brush
Directions
First Step — Clean and Prep Your Pot
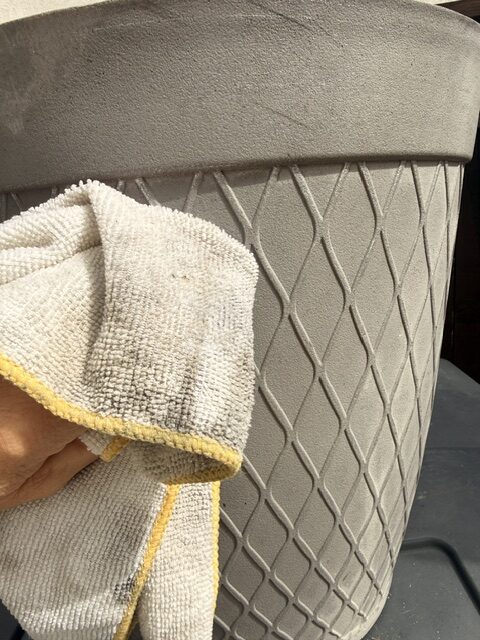
The first step is always prep and it makes all the difference in your finished pot. Start by wiping down the outside of the pot, the inside of the pot, and even the bottom of the pot with a damp cloth to remove any dirt, dust, or residue. You want a clean surface so your paint adheres properly.
Once it is clean and dry, lightly sand the entire surface with fine-grit sandpaper. This gives you a roughened surface for the paint to grip onto and ensures good coverage. This is especially important for plastic pots and resin pots, which can be a little slippery for paint. Just a light pass is all you need — you are not trying to remove material, just scuff the surface enough to help the paint stick.
Next Step — Set Up Your Drop Cloth and Get Outside
The next step is to take everything outside! Spray painting indoors is never a good idea — the fumes are strong, and the overspray gets everywhere. Head to your front porch, driveway, or backyard and lay down your drop cloth to protect the surface underneath.
Place your flower pot on top of the drop cloth. Make sure you have good ventilation, and you are working in a spot that is not too hot, too cold, or too windy. Ideal conditions mean your paint will dry evenly and smoothly.
Apply the Base Coat
Now for the fun part! Shake your can of spray paint well for about a minute before you start. Hold the can about 10-12 inches away from the pot — this is the sweet spot for good coverage without drips or runs.
Using a sweeping motion, apply your first coat — your base coat — across the top of the pot and work your way down. Keep the can moving at all times and apply light coats rather than one heavy coat. It is much better to build up thin even layers than to try to get full coverage in one pass. Light coats also help prevent drips, which can ruin the look of your finished pot.
Let the base coat dry completely before moving on. Most outdoor spray paint and fast-drying paint varieties dry to the touch in about 20 to 30 minutes, but check your specific can for timing.
While I was working on the pots, I also did the stand, with the same process!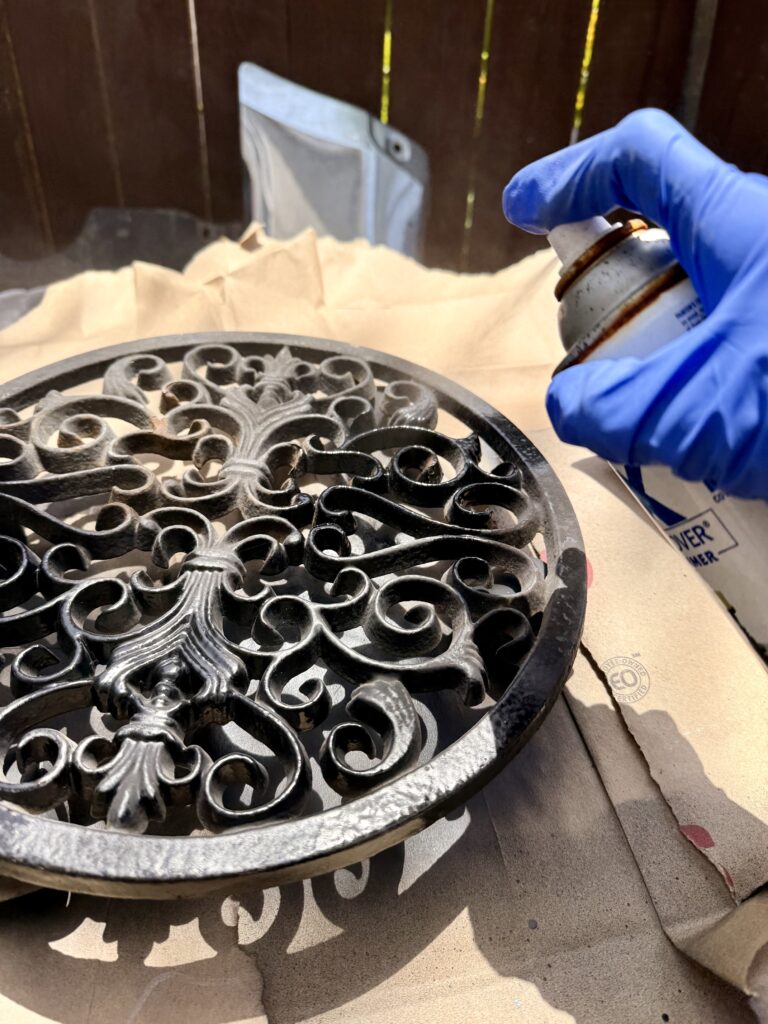
Build Up Your Coat of Paint
Once your base coat is dry, apply a second coat of paint in the same sweeping motion, again holding the can 10-12 inches away from the surface. This second coat of paint is where you really start to see the transformation happen. If you are going for a solid color like a beautiful green pot or a warm terracotta shade, two coats usually gives you all the full coverage you need.
If you are feeling creative, this is also the time to add intricate designs or a pop of color using a second shade. Acrylic paint applied with a small brush works beautifully over spray paint if you want to add a personal touch to your pot. Even a little paint in a contrasting color along the rim or around the base can make your pot look truly custom.
I added just a little bit of white paint by dry brushing it on. Add a little bit at a time until you have the desired effect.
Seal It With a Top Coat
Once you are happy with your coat of paint and everything is fully dry, finish your pot with a clear coat or top coat to protect your work. This step is especially important if your pot will be living outside, exposed to the elements. It will protect your paint from rain, sun, and general wear and keep your pot looking beautiful for seasons to come.
Apply the top coat the same way you applied your spray paint — light coats in a sweeping motion, held 10-12 inches away, letting each coat dry fully before adding another.
Wax will also seal the pots. Simply use a rag to seal the flower pot for more protection.
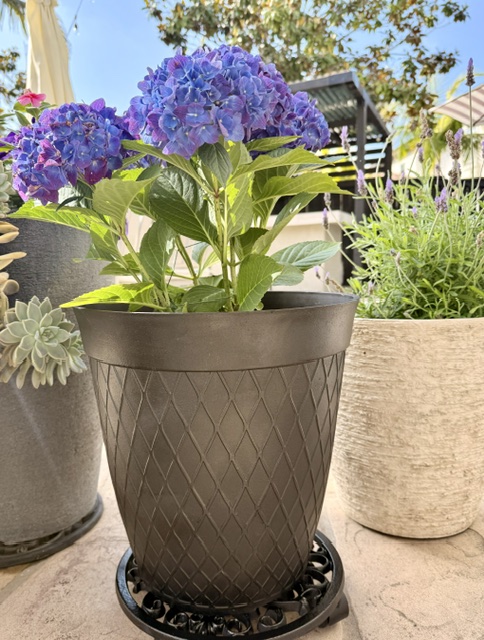
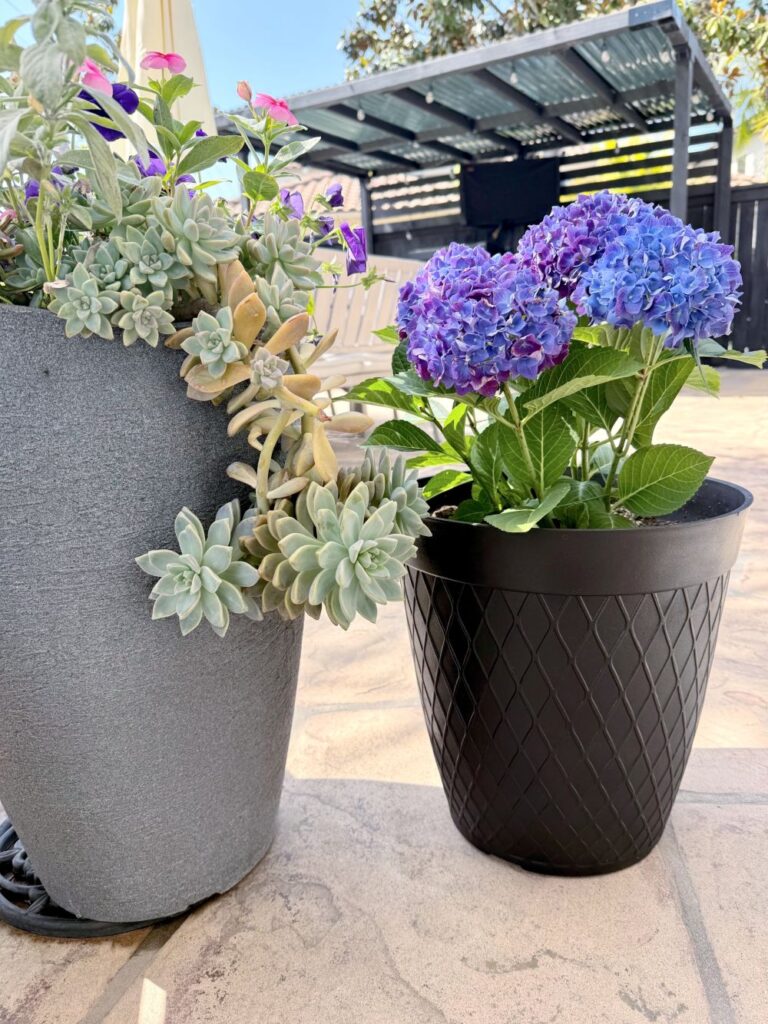
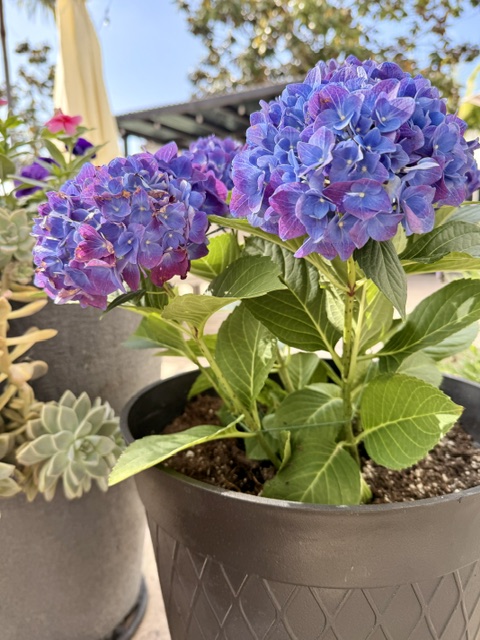
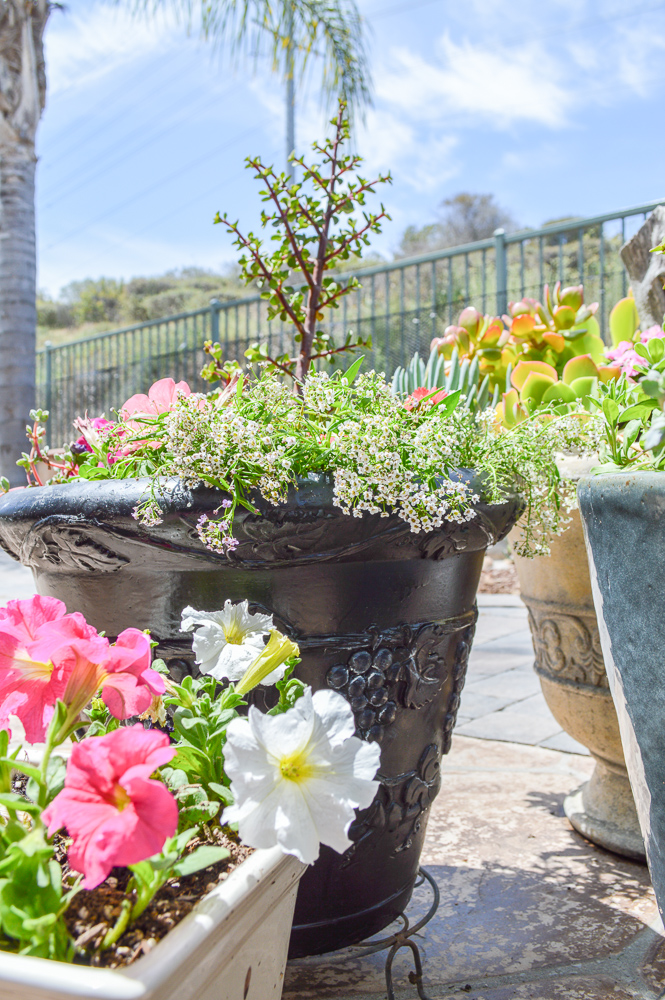
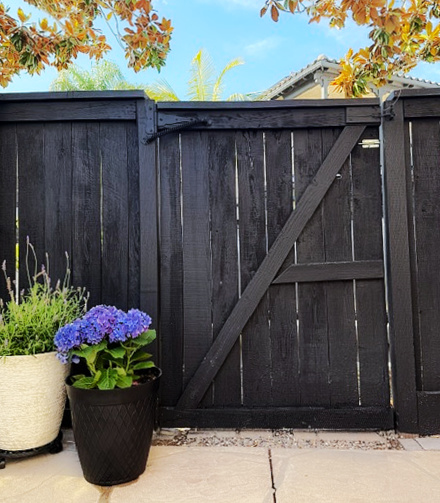
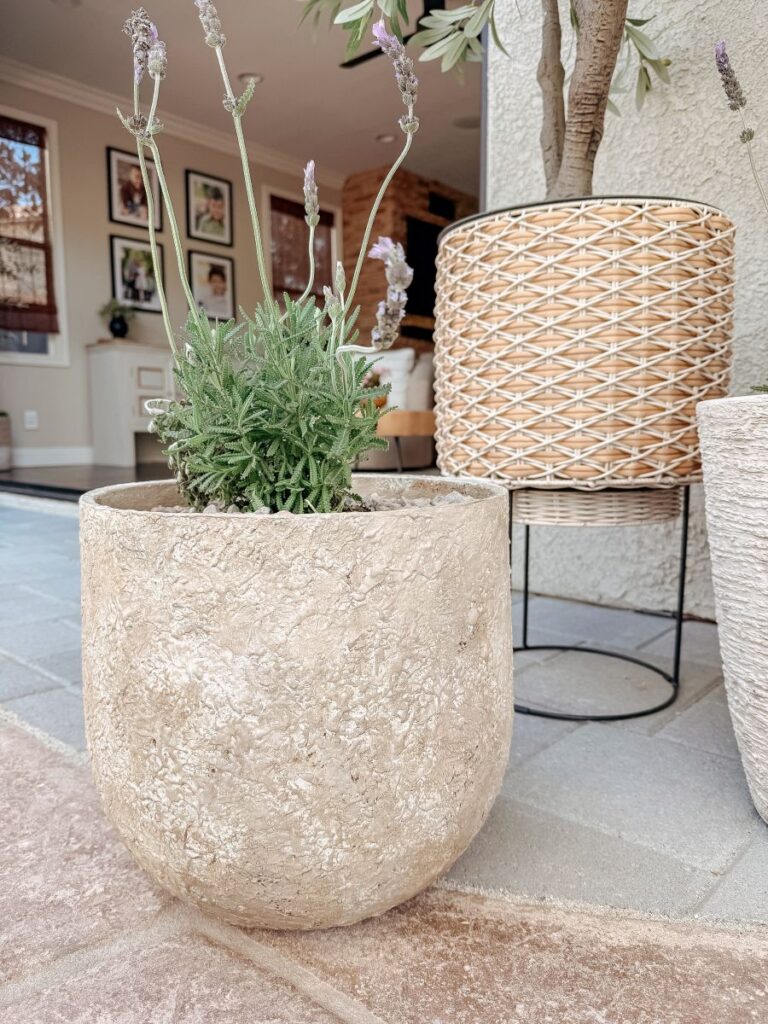
Once your pots are dry, you can then fill them with your favorite flowers. My beautiful neighbor gave this to me my favorite hydrangea plant for Mother’s day.
Good reasons to start in a pot
I’ve lost way too many hydrangias over the years, and this is what I have found, and it’s been successful.
You can test light conditions
Hydrangeas are picky about sun. Most prefer:
Morning sun
Afternoon shade
A pot lets you move it around and see where it thrives before committing.
It helps establish roots first
A young hydrangea can grow stronger in a controlled container environment before dealing with ground competition from tree roots or poor soil.
You can improve the soil gradually
Hydrangeas love rich, moisture-retaining soil. Pots let you control drainage and nutrients.
Useful if the weather is extreme
In hot areas like Southern California, container growing can protect a young plant while you learn its watering needs. Here in San Diego I don’t need to worry about the weather but need to find the perfect spot!
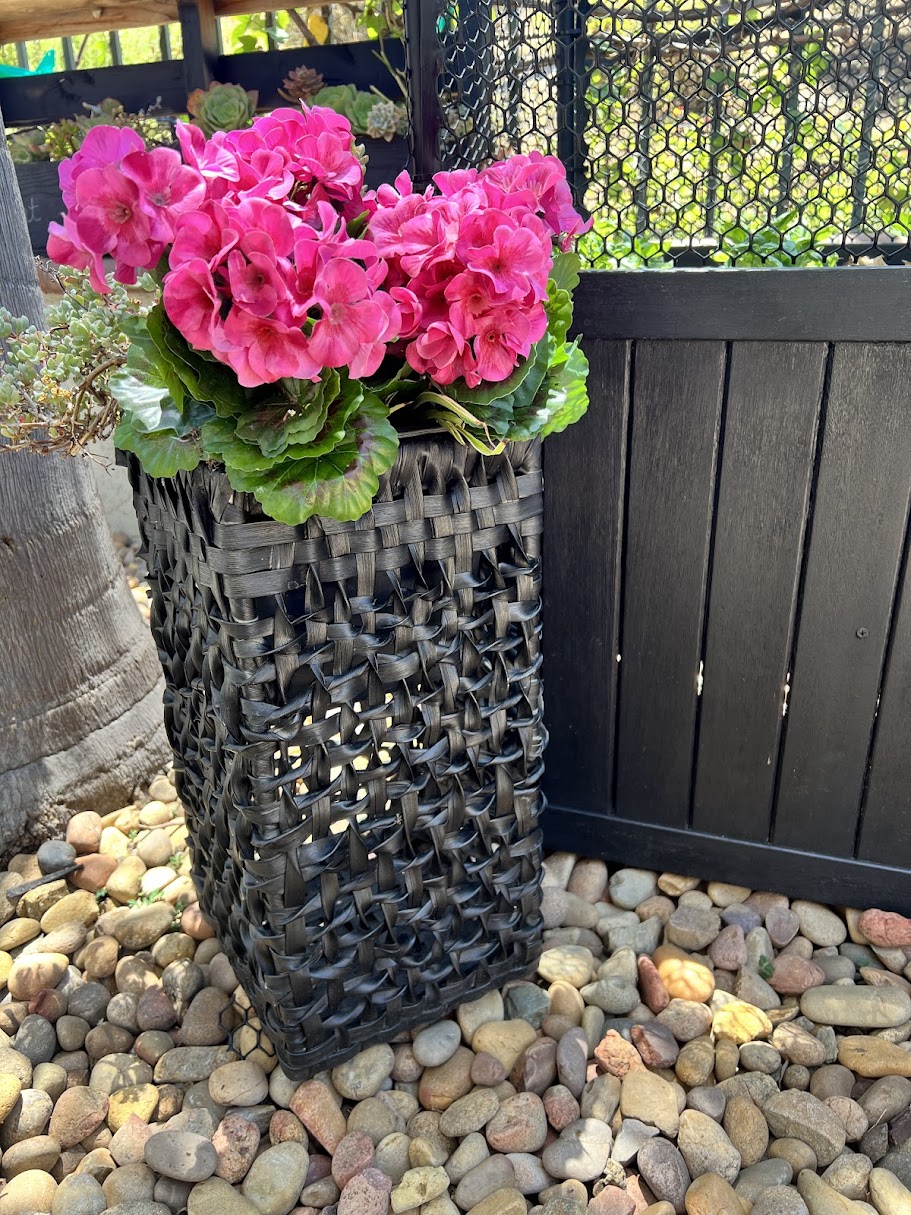
I love how these succulents overhang the sides of the pots!

The rusty old plant stand looks brand new!
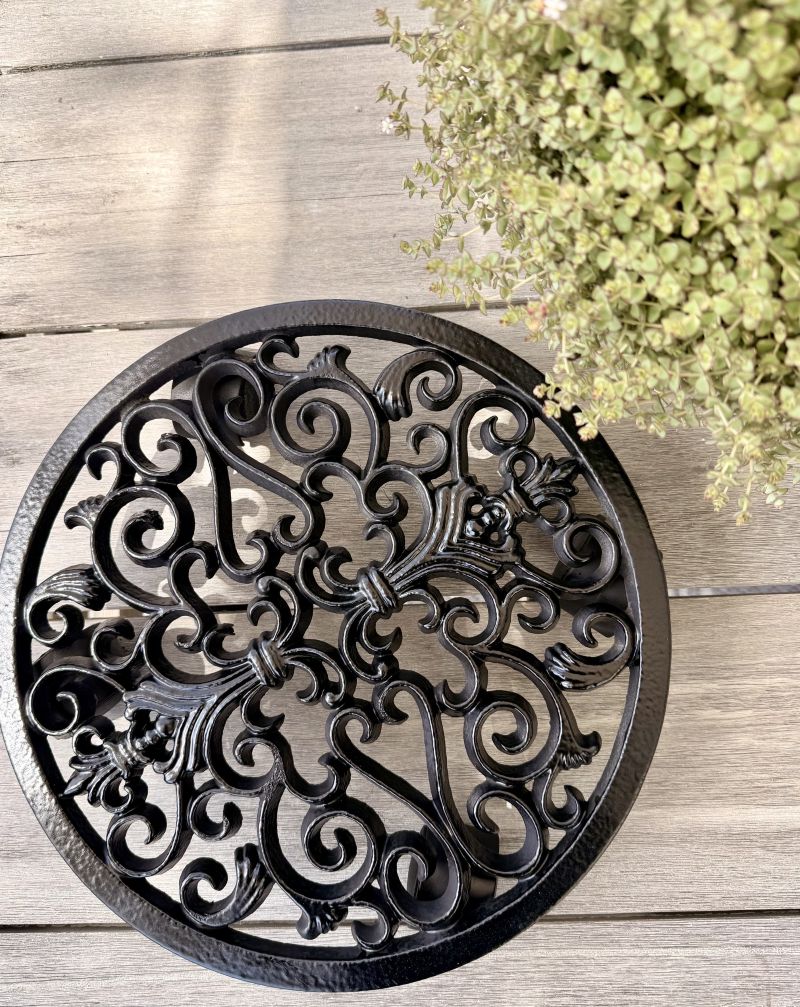
These pots I painted 8 years ago, and they are still standing strong!

Tips for Painting Different Types of Pots
Not all pots are created equal, so here are a few tips depending on what you are working with:
Plastic pots and plastic plant pots — always sand first and use a paint formulated for plastic. Sanvo acrylic spray paints work beautifully on plastic containers.
Terra cotta pots — these are very porous, so they absorb paint quickly. Apply a thin base coat first and let it soak in before adding more layers.
Resin pots — these are smooth and non-porous, so the sanding step is especially important to create a roughened surface for the paint to grab onto.
Old plastic planters — give them a good clean with a damp cloth first to remove any chalky residue from years of outdoor use before you start spray painting.

The Easy Way to Transform Your Outdoor Spaces
This whole project, from start to finish, takes about an hour, and the results are absolutely stunning. It is such a simple way to add a pop of color to your front porch or garden and breathe new life into pots that might otherwise end up in the trash. With just a few simple steps and one can of spray paint, you can completely transform the look of your outdoor spaces without spending a lot of money.
I hope this inspires you to grab a can of spray paint and get creative! It truly is one of the easiest and most satisfying diy projects you can do, and the finished pot will make you smile every single time you walk past it.
Have you tried spray painting your garden pots? I would love to see what you create
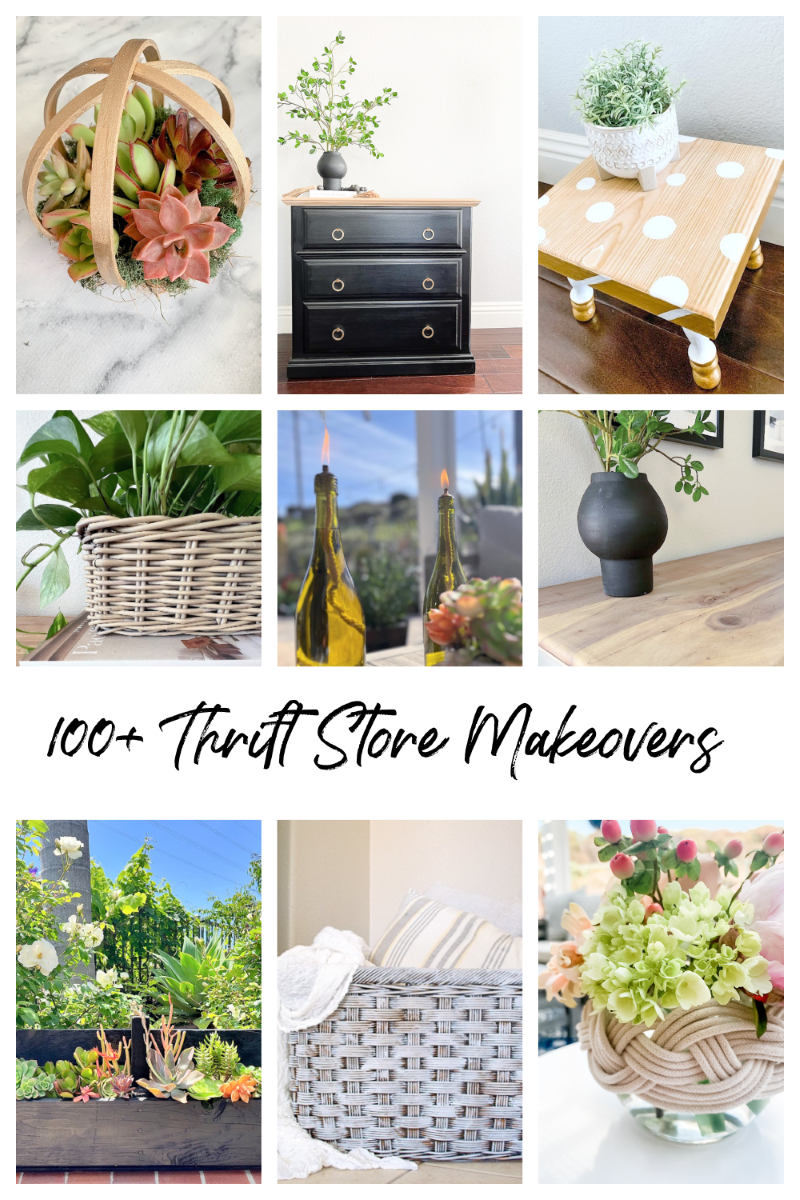
Time to see all the other beautiful transformations!
Basket Wreath Makeover
Easy Patriotic Decorations
Small Wooden DIY Pedestal Planter Made with a Spindle
Thrift Store Tray Makeover
Jewelry Hanger from a Refreshed Memo Board
Vintage Tea Towel Calendar
1960’s Wooden Salad Bowl Repurpose
DIY Painted Flower Pots
Thanks so much for stopping in today. Have a wonderful rest of the week.
You can find more of my past thrift store makeovers below!


I was just getting ready to donate some old pots to the thrift store. I think I’ll try painting them up instead!
I have always loved your yard! The pots look amazing and will be so lovely this summer while entertaining outside!
I’ve got some old pots that could use some sprucing up!