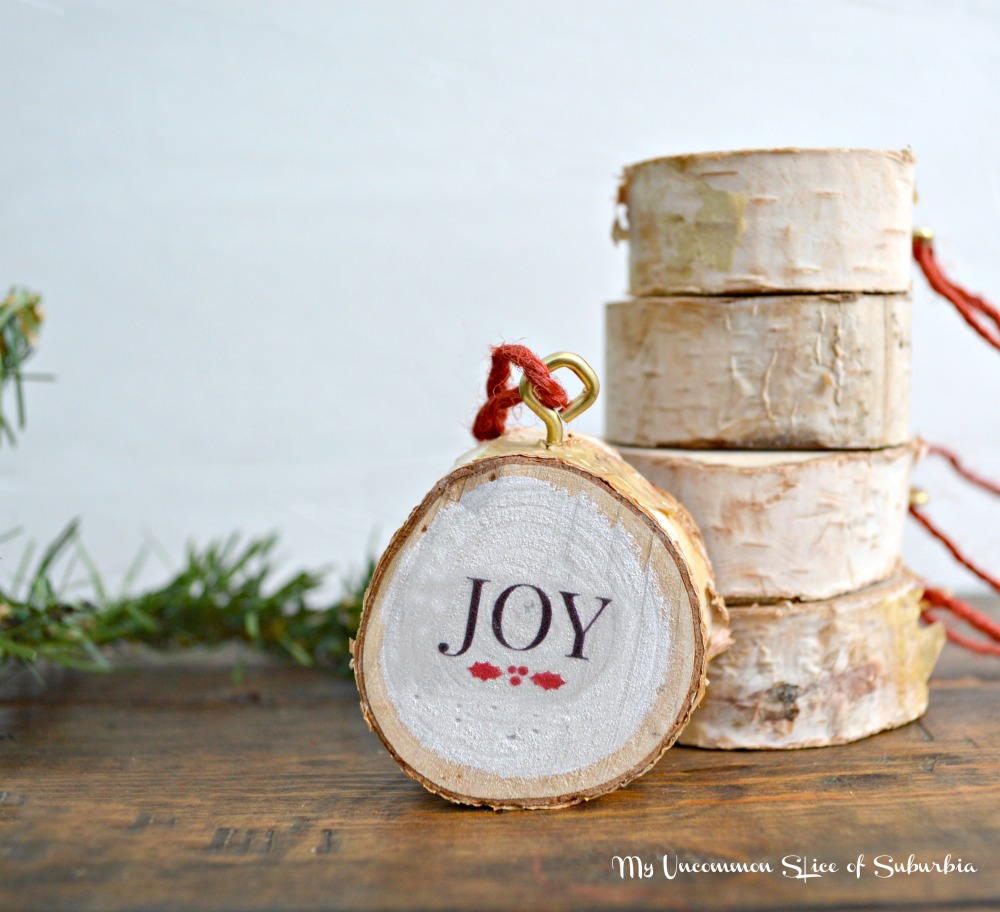
DIY Birch Wood Ornament
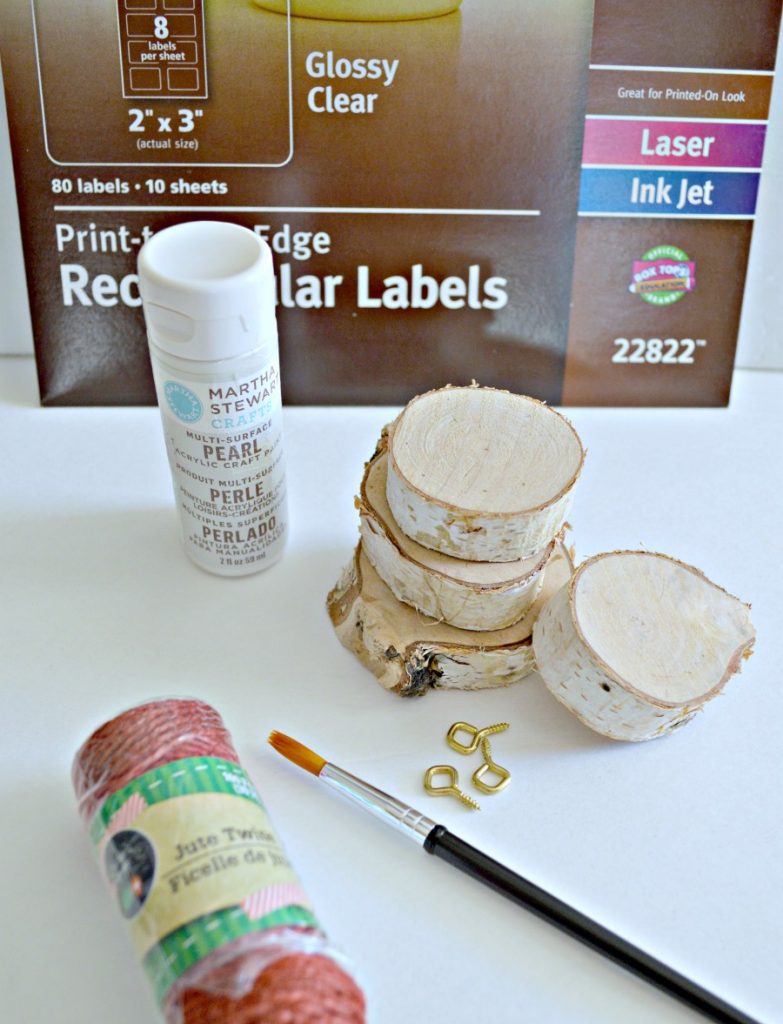
Supplies
This post may contain affiliate links for your convenience.
Mini Birch Wood Slices
Glossy Clear Labels
Screw Eye Rings
Acrylic Craft PaintI used: Martha Stewart Multi-Surface Pearl
Baker’s Twine
Scissors
Craft Paint Brush
Ribbon/Baker’s Twine
I’m not an artist, at all! SO if you have some talent on that end, skip the labels and just use a sharpie! Or you could use one of my other transfer methods I show here and here.
Directions
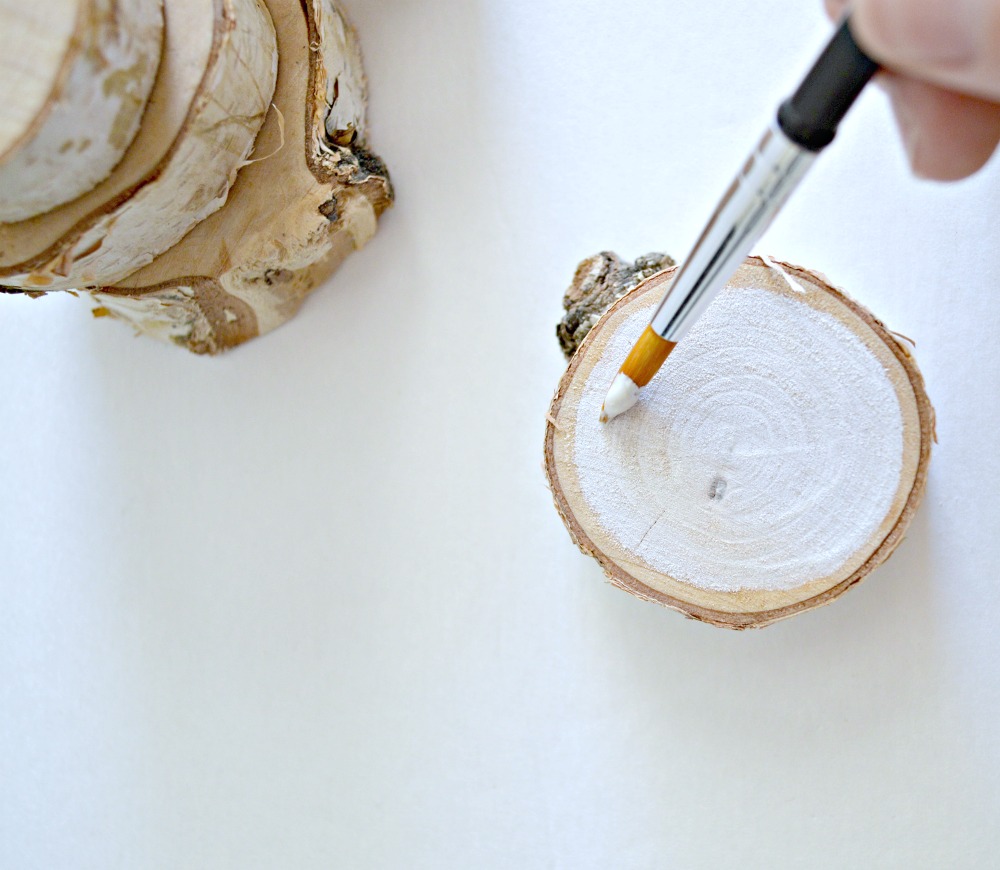
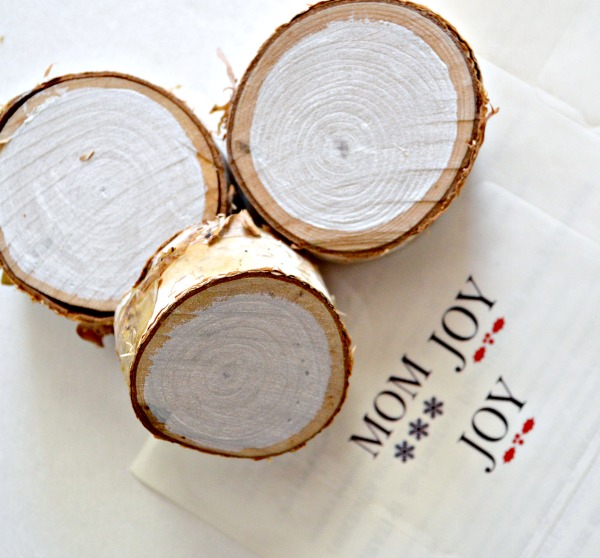
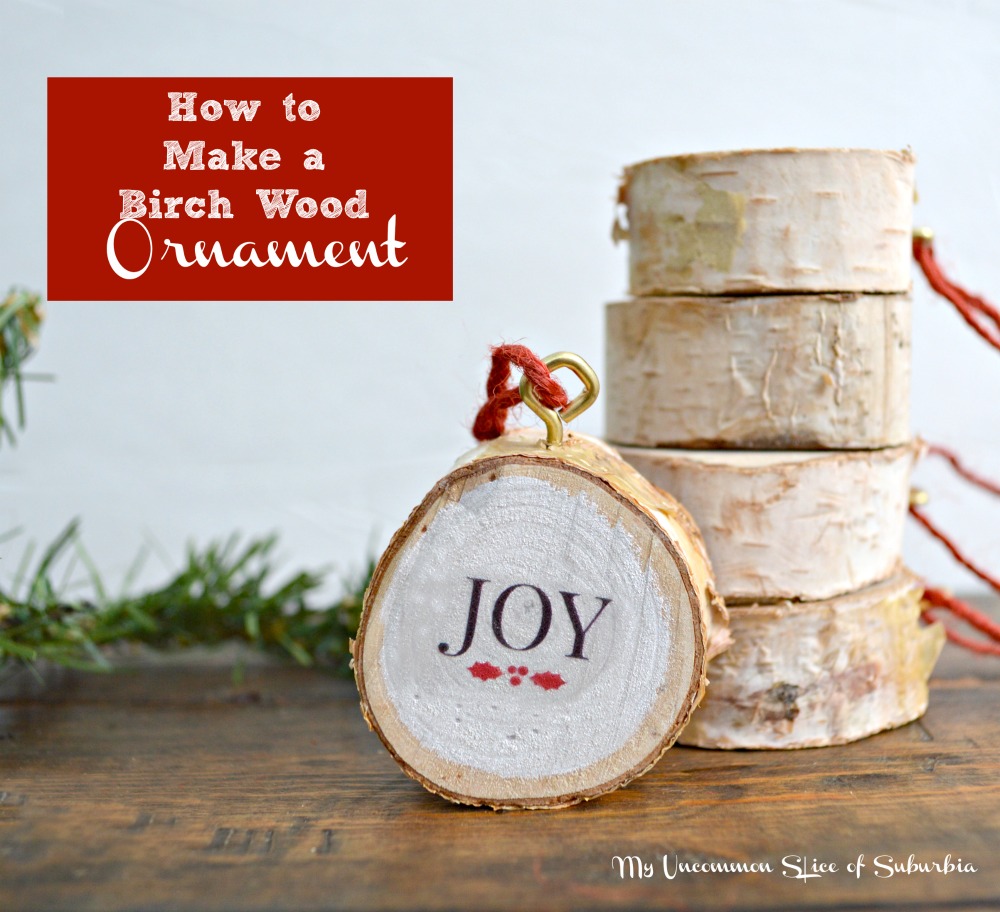
Dab a little bit of paint in the center to form a circle almost covering all of the birch on top.
Create your graphics on the computer and print them out. Get creative with the design, Picmonkey is perfect for creating any graphic! Cut out the graphics and stick them onto the birch log.
Screw in the eye rings and attach the ribbon or twine.
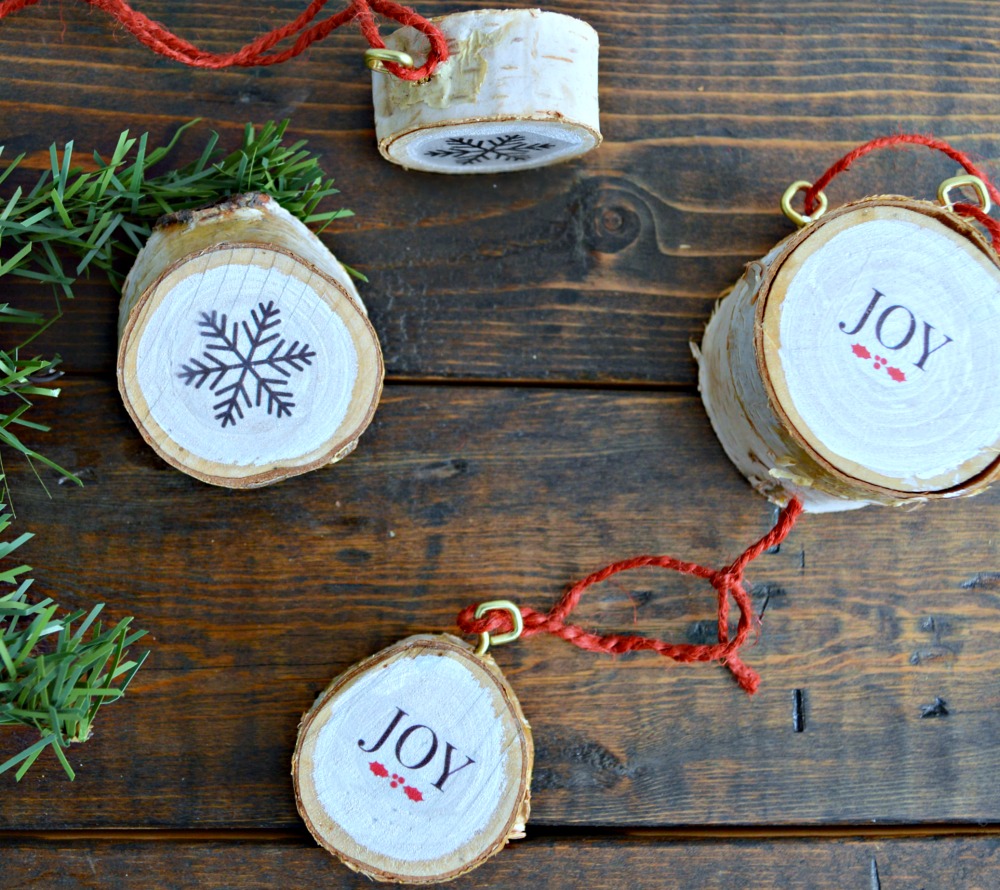
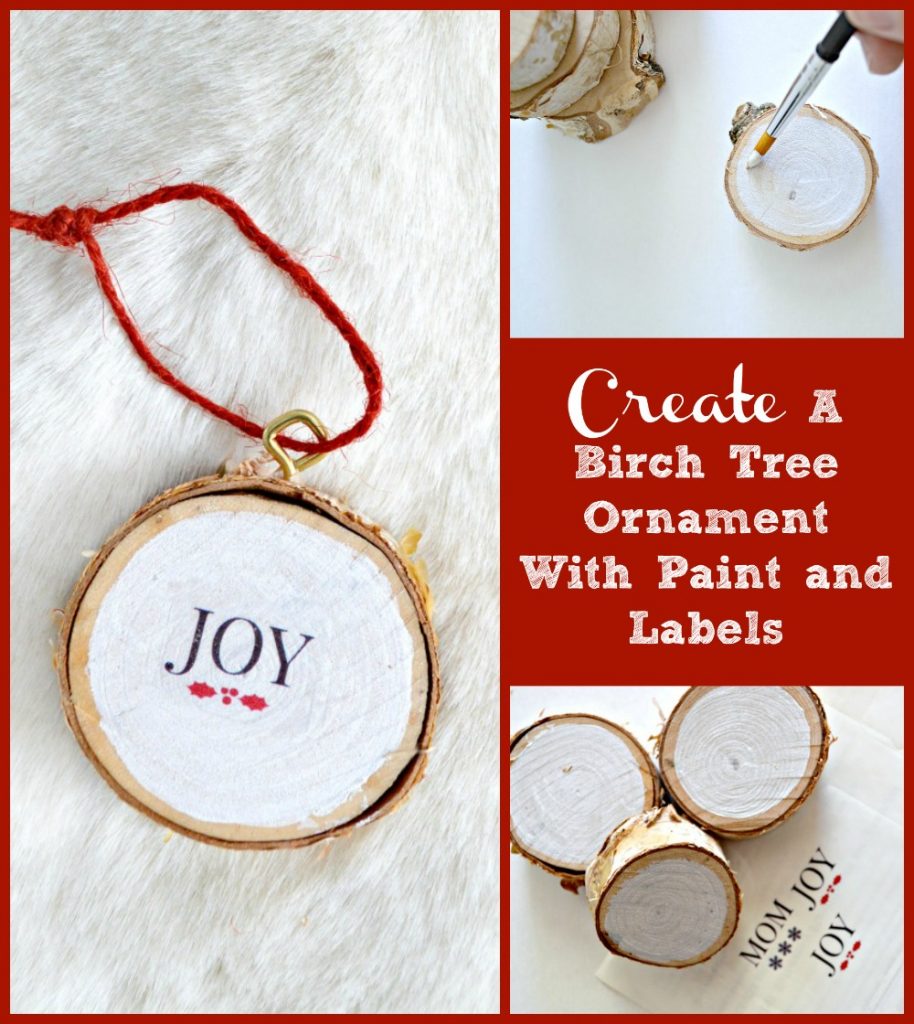
You can use these as gift tags on packages or as a Christmas ornament, they would even make cute little gifts!
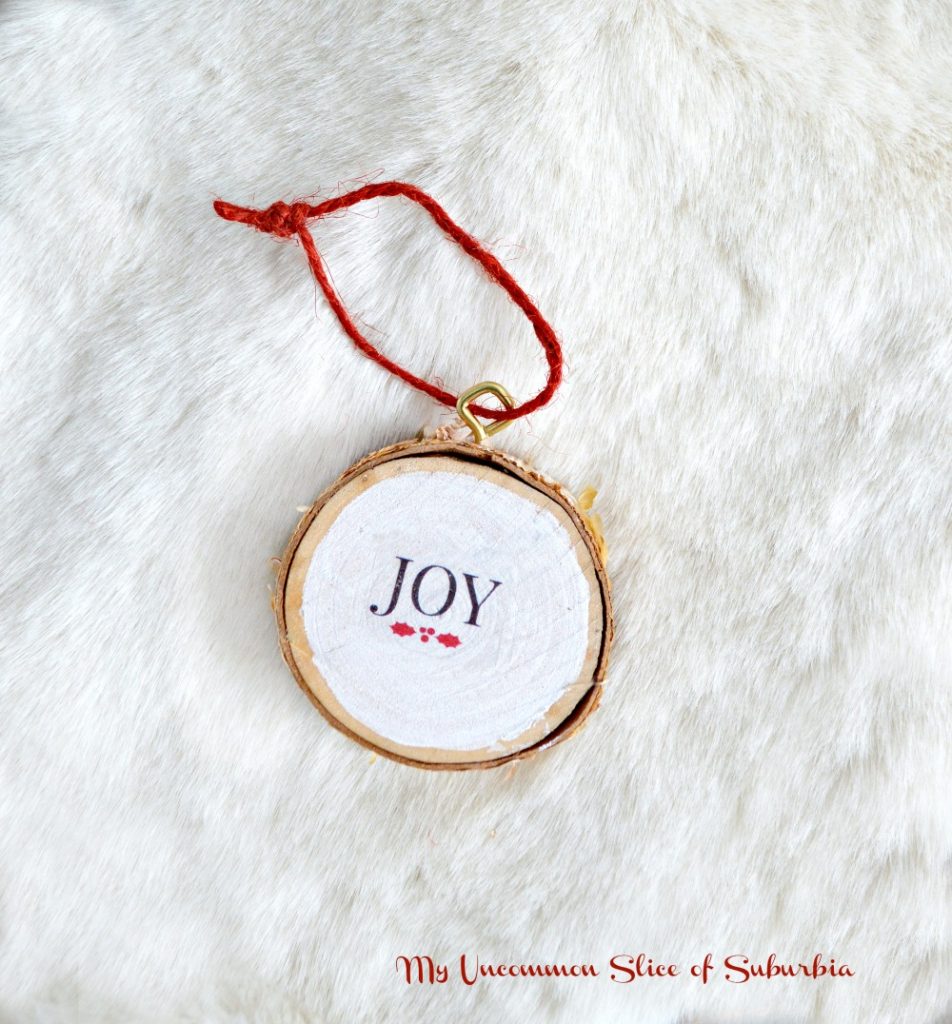
The hop keeps going and the next stop is one of my favorites, Christy from My Southern Home! Head over to see her DIY Snowflake Ornament and all the other creative bloggers ornaments!
Here are all 31 Bloggers in order of their appearance:
Here are all 31 Bloggers in order of their appearance:
Day 1 – The Silly Pearl :: Day 2 –Yesterday on Tuesday
Day 3 – Cupcakes and Crinoline :: Day 4 – An Extraordinary Day
Day 5 – Knick of Time :: Day 6 – Pet Scribbles :: Day 7 – Simply Kelly Designs
Day 8 – Town and Country Living :: Day 9 – Petticoat JUNKtion
Day 10 – The Everyday Home :: Day 11 – Up on Tippy Toes
Day 12 – Remodelando la Casa :: Day 13 – DIY 180 :: Day 14 – 504 Main
Day 15 – Sum of their Stories :: Day 16 – At Home with Jemma
Day 17 – The Kim Six Fix :: Day 18 – Shabby Art Boutique
Day 19 – Morena’s Corner :: Day 20 – My Uncommon Slice of Suburbia
Day 21 – Our Southern Home :: Day 22 – Domestically Speaking
Day 23 – The Crafting Nook :: Day 24 – Sweet Pea
Day 25 – Dukes and Duchesses :: Day 26 – Heathered Nest
Day 27 – Lovely Etc. Day 28 – Stone Gable Blog :: Day 29 – Mod Podge Rocks
Day 30 – Running with a Glue Gun :: Day 31 – All Things Heart and Home

So cute! They’d be adorable for place settings!
so cute and easy…I would love a bunch of these on my tee!
O Wow! Do I ever LOVE these Kristin! Your little rustic beauties can be used in so many ways beside the tree too!
I’m so glad you’ve joined us again for the blog hop!
Very cute! These are going to look great on your tree.
I love making graphics on picmonkey, and printing them onto clear stickers seems like such a great idea. Thanks, this is such a versatile idea.
OOOOh!! Love the rustic look to this ornament!!
I love how the white paint accentuates the tree rings. Love the rustic look of these ornaments.
Thank you so much Cami!
So cute!!! I so want to make some ornaments like that with wood slices! Yours turned out so so pretty!!!
Hugs
So lovely!
Thanks Morena
These are so pretty, Kristin! And sticking the designs is for sure the easiest and fool proof way to get amazing results.
Thanks cristina, perfect for someone like me who has no skills at free hand 🙂
These are so sweet!!
Thank you Kerryanne!
Kristin, I absolutely adore these. I think you might be seeing them on one of my trees this year. 😉
I love these wood ornaments, especially that they are made with birch wood — so light and pretty!
Thank you Laura 🙂
I love those little woods slices and this is such a fun use for them! Cute!
Thank you Amy!
These are so cute, Kristin! I love the rustic look but also how downright pretty they are.
Thank you Mary Beth!