
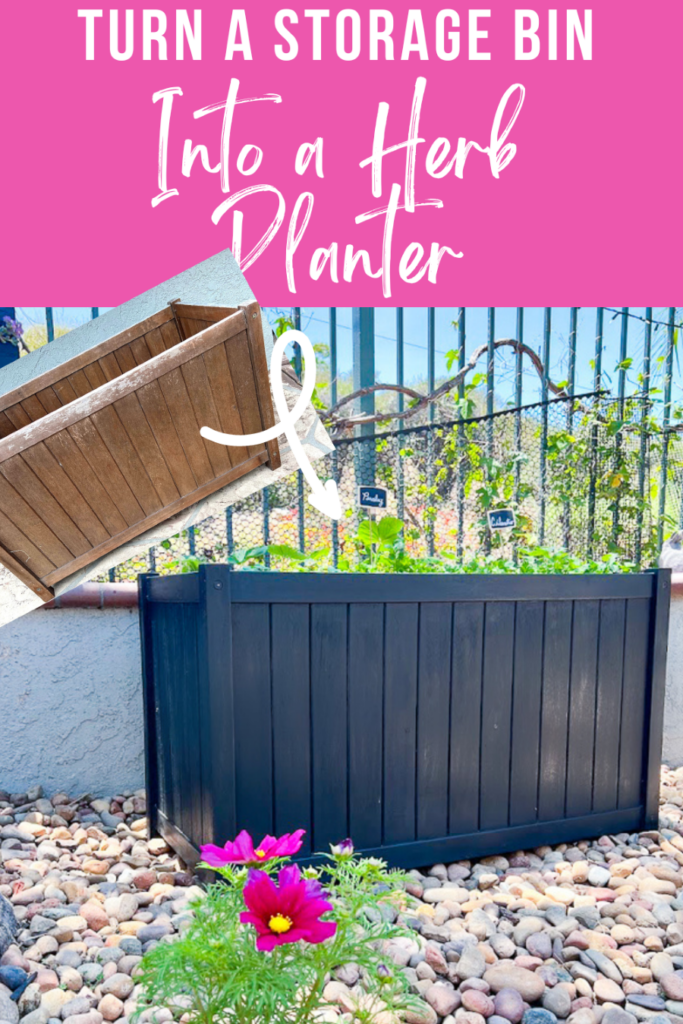
How To Turn a Wood Storage Bin Into a Planter
Turning a wood storage bin into an outdoor planter is a great way to repurpose an old item and add some greenery to your outdoor space. Planter boxes can be expensive, but with this easy project, you will have a beautiful DIY planter box in no time at all.
Our dear neighbors and friends moved out of state over the weekend, we are going to miss them so much, but on the bright side, we will have a new place to go visit, Texas! I have never been, so we are looking forward to it! Last year was TN, FL, and Alabama to visit Ray’s sister and our best friends who had just moved. My neighbor was so kind to give us a few items including this storage bin. It was still in good condition, it just needed a little update!
I know what you’re thinking, this is similar to last month’s thrift store makeover, You’re right! I get so happy when summer comes around and I can start planting all my flowers and my garden. And well, you can’t beat FREE!
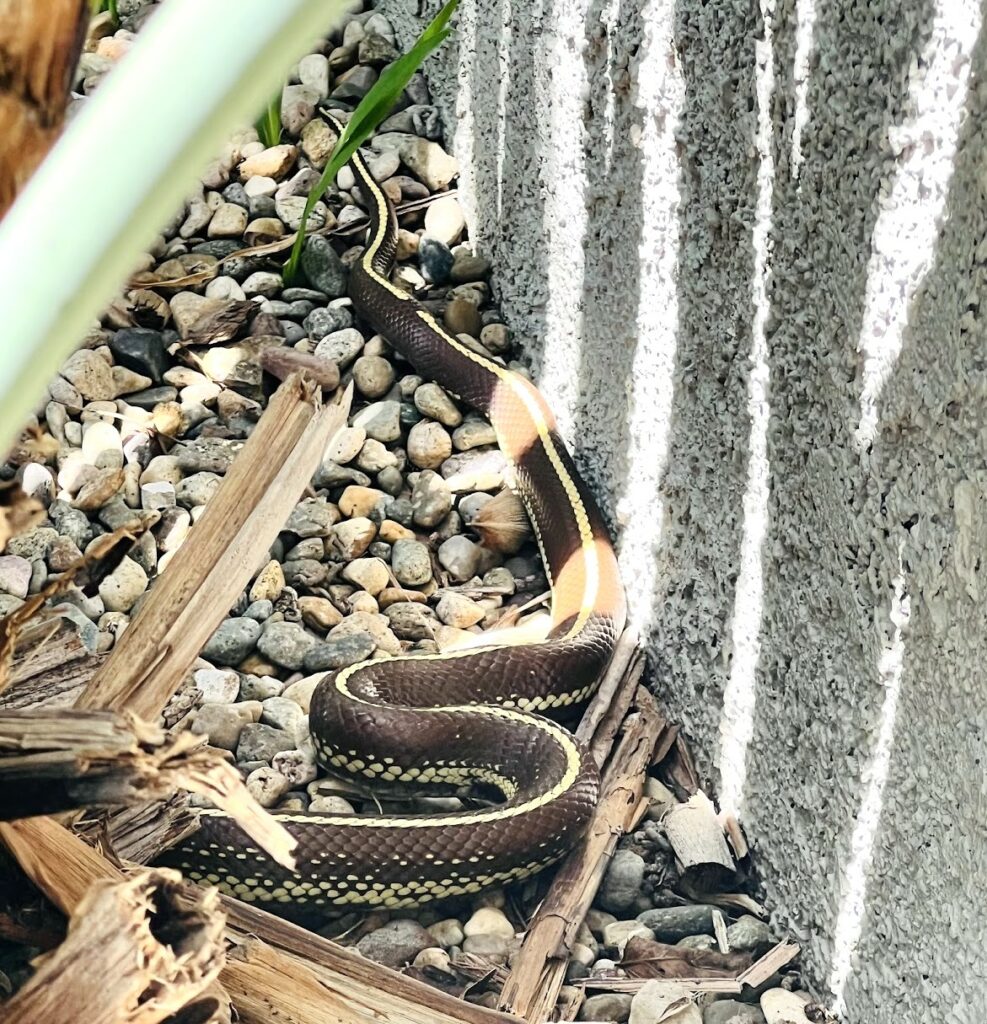
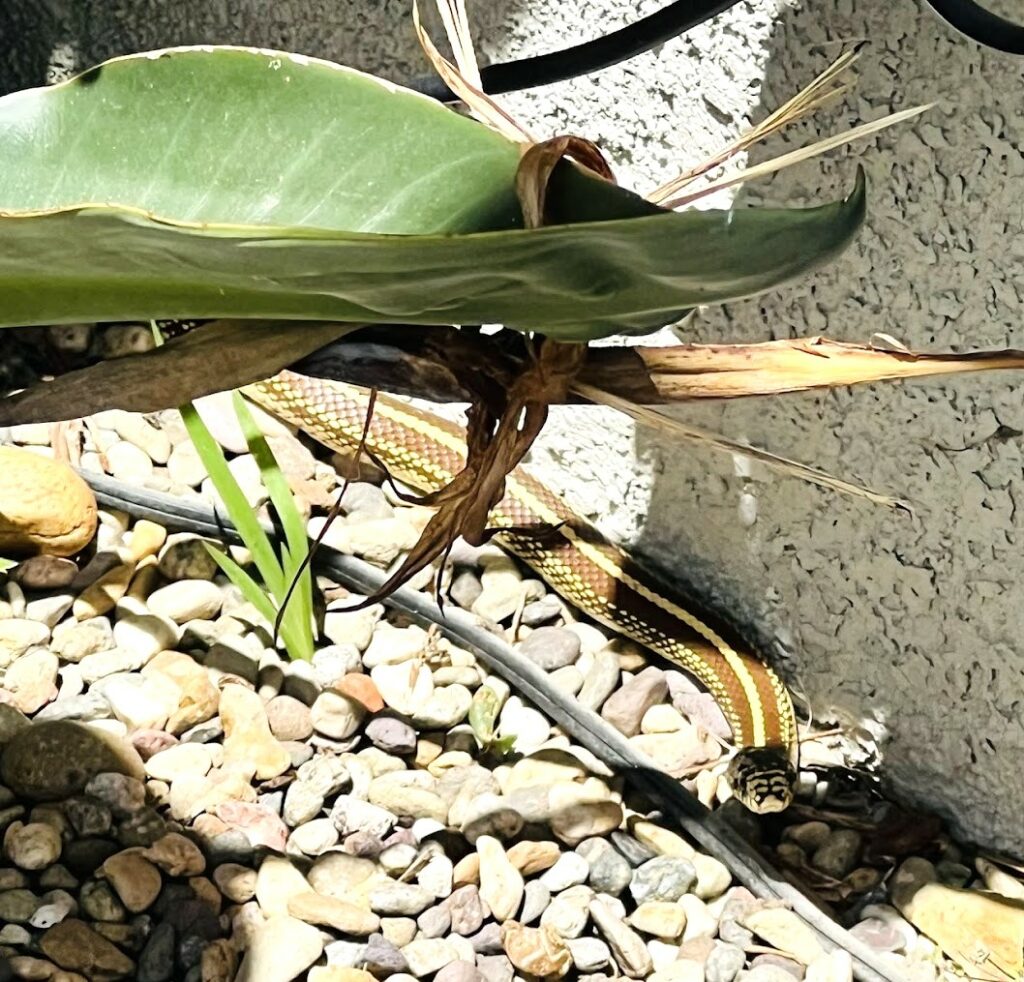
I had some visitors while I was working on the project, these Striped California King Snakes decided to visit me, not 1 but 2! I almost stepped on the first one and screamed so loud my neighbors came running over. Ray was gone with Nate looking at colleges up north, thank God for amazing friends and neighbors. We were going to relocate them far away but once we got them over our fence they slithered out of the trash cans. At least they weren’t rattlers, we usually get a few of them each year, Winston our pup was bitten when he was a baby, and we almost lost him, so scary.
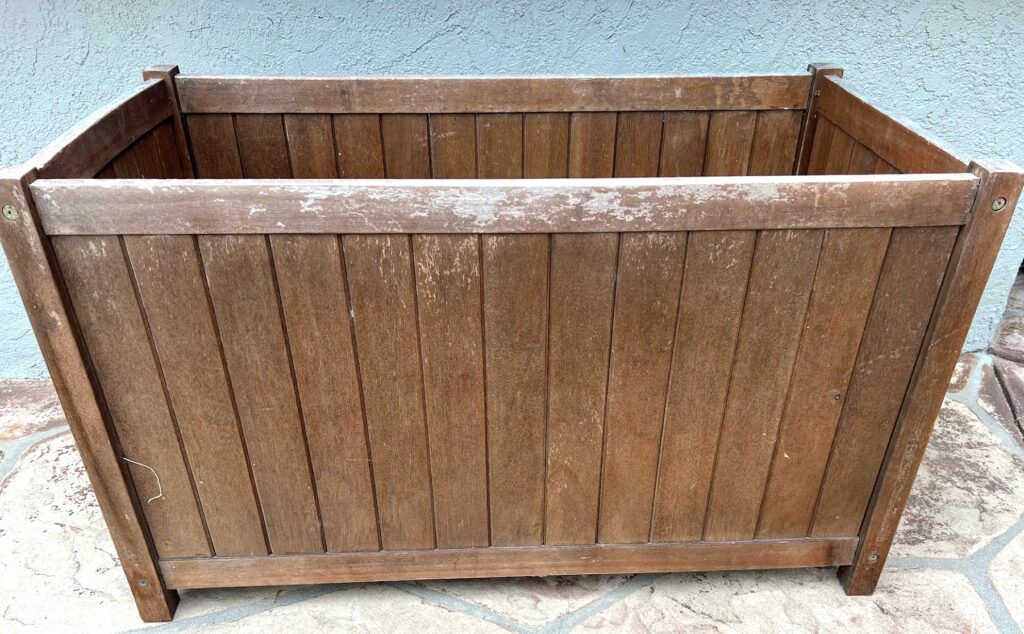
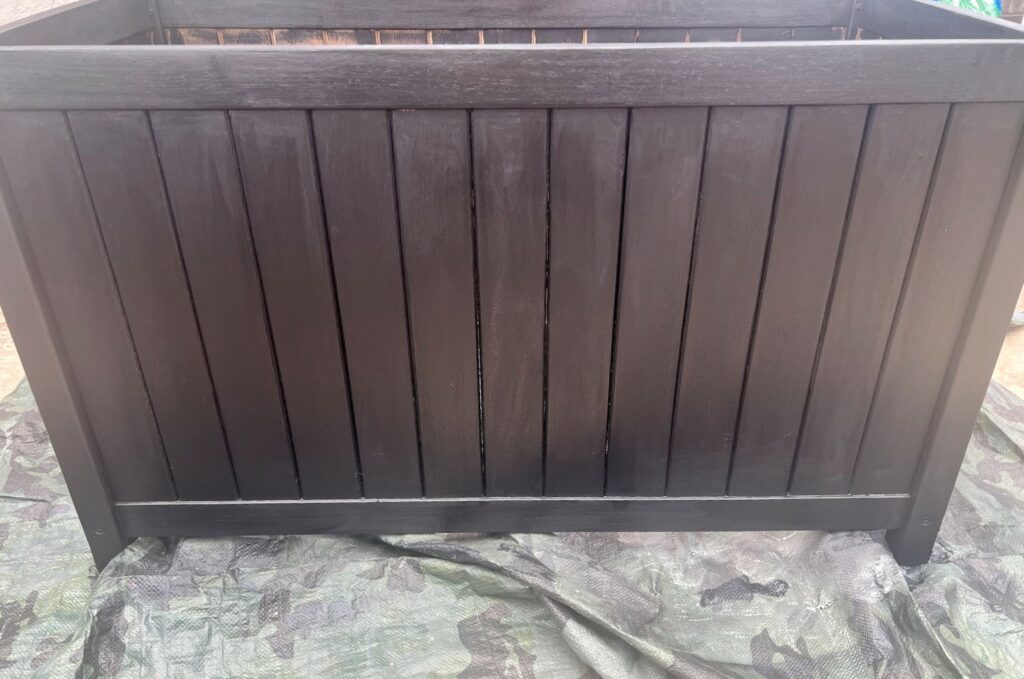
Here is the before, they used it for all of their pool toys.
Affiliate Links Listed Below You can read my full disclosure here

Materials Needed:
Wood storage bin
Sand Paper 120 grit and sander (optional)
Verathane Gel Stain Black or Outdoor paint or wood stain
Plastic liner or waterproof sealant
TSP
Bags of garden soil
Rust-Oleum Painter’s Touch Spray Paint, Satin Clear+
Plants or seeds
Gloves
Paintbrushes
Drill and screws
Scissors
Staples and staple gun
Wooden Chalkboard Stakes
Clean and Prep the Bin
First step, Start by cleaning the wood storage bin thoroughly to remove any dirt or debris. Because Gel Stain is an oil-based product, I recommend cleaning it with 50/50 denatured alcohol and water or TSP. I then wiped it all down with water and let it dry overnight.
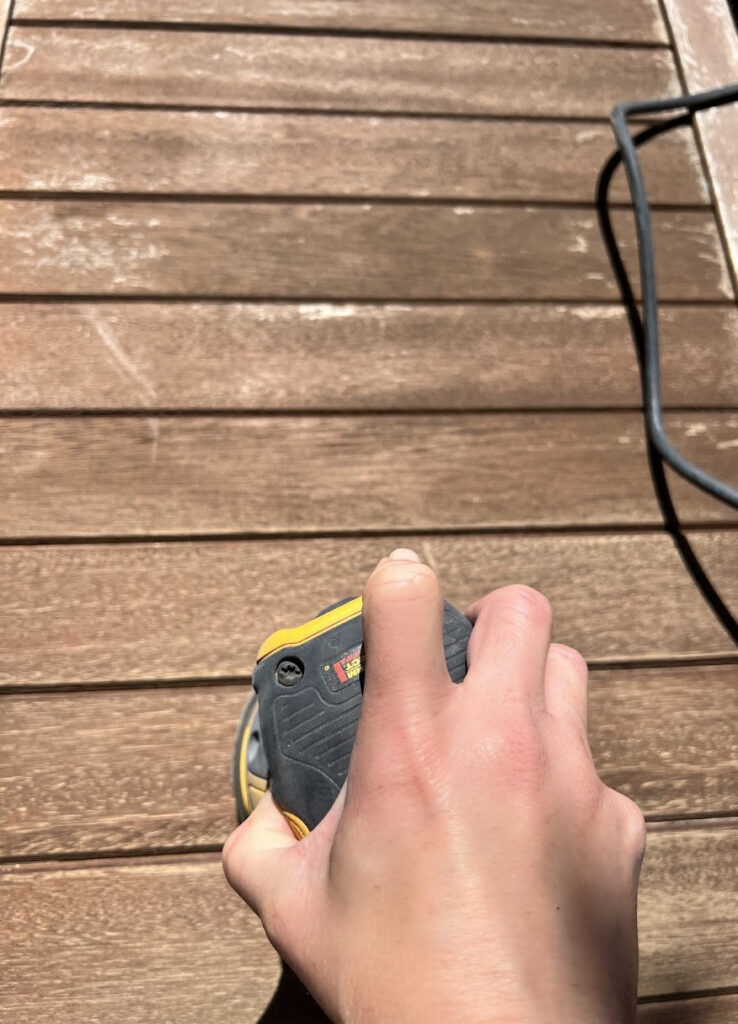
Sand
Give the bin a light sand, you can do this by hand or you can use a sander but don’t press too hard as you don’t want to scratch the finish. Use a tack cloth to get the dust off the bin.
Apply Gel Stain
Alternatively, you can use wood stain or paint. Pick out the stain of your choice, Home Depot, and most hardware stores will carry gel stain.
Give the gel stain a good stir, I used a plastic spoon for this. There are so many ways to apply gel stain, I used a craft brush and an old sock. A chip brush would work well for this project as would a rag.
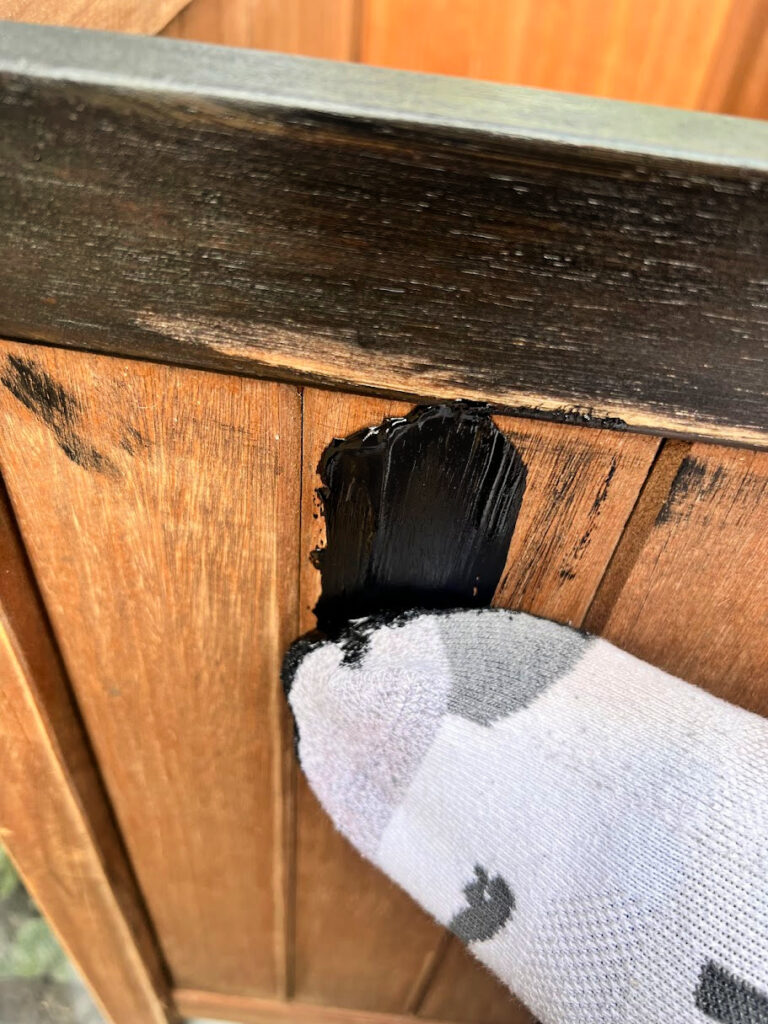
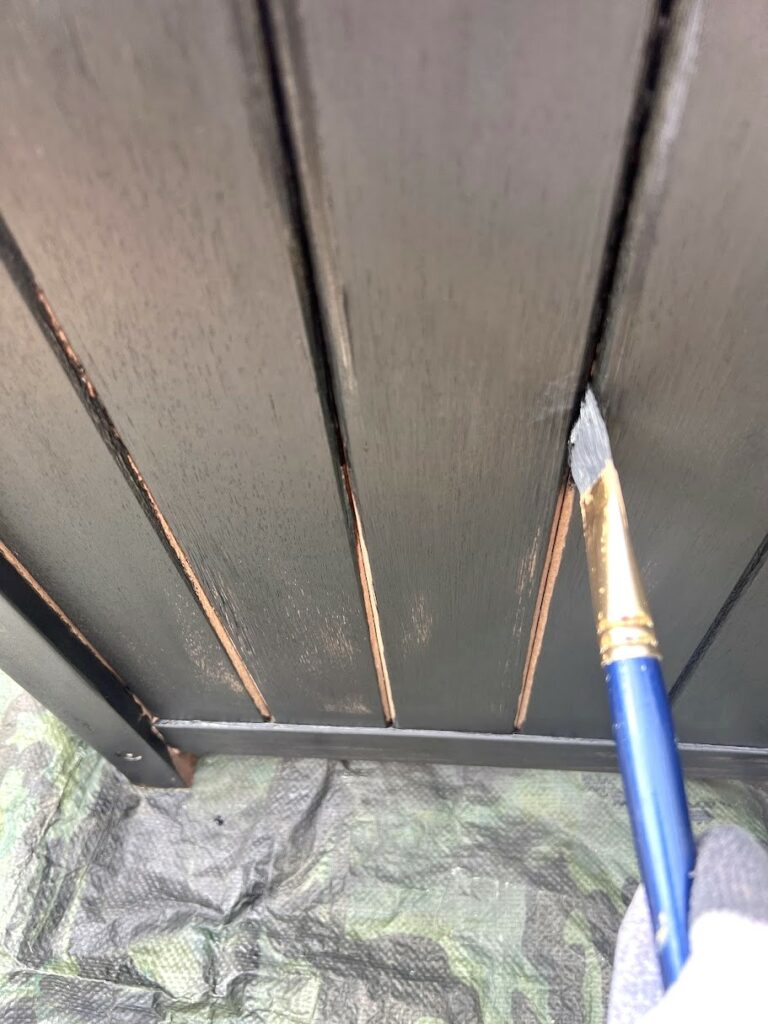
I dipped the sock into the container and applied the gel stain to the entire surface working in small sections and using thin, even coats. I used a small craft brush for the areas in between the wood planks.
Use a clean rag to wipe off any excess. Do not wait too long, as it will become tacky and won’t dry properly. Make sure to read the directions on the gel stain can, as it will tell you how long to leave on the gel stain on before wiping it off.
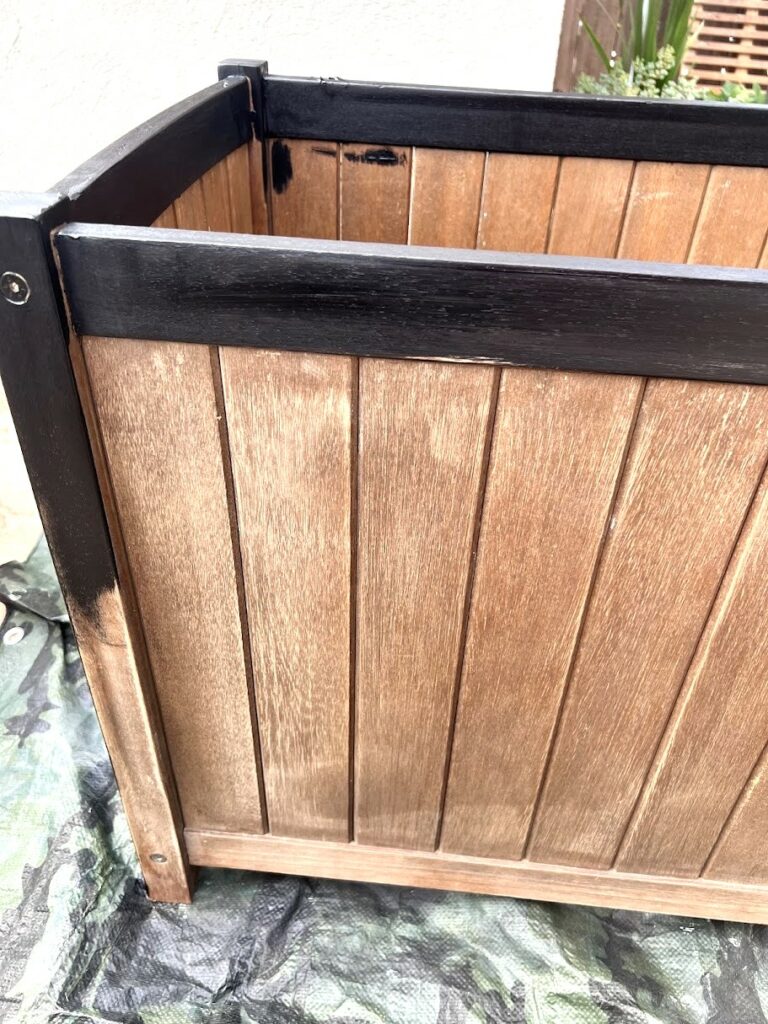
If the first coat is not dark enough, apply additional layers to darken the effect. Most suggest 6 to 8 hours of dry time in between coats; make sure to look at the directions to see what the brand suggests. This was after 2 coats on the outside and 1 coat on the inside.
Protect The Outside Of The Entire Cabinet
It’s recommended to let the gel stain dry for 72 hours before adding your top coat to protect your piece. I know my dressers took about 1 week to completely dry; there are so many variables, including the weather and how many coats you added. It’s always a good idea to protect the outside. You can apply a water-based topcoat or oil-based over this oil-based stain, but it MUST be 100% dry!
![]()
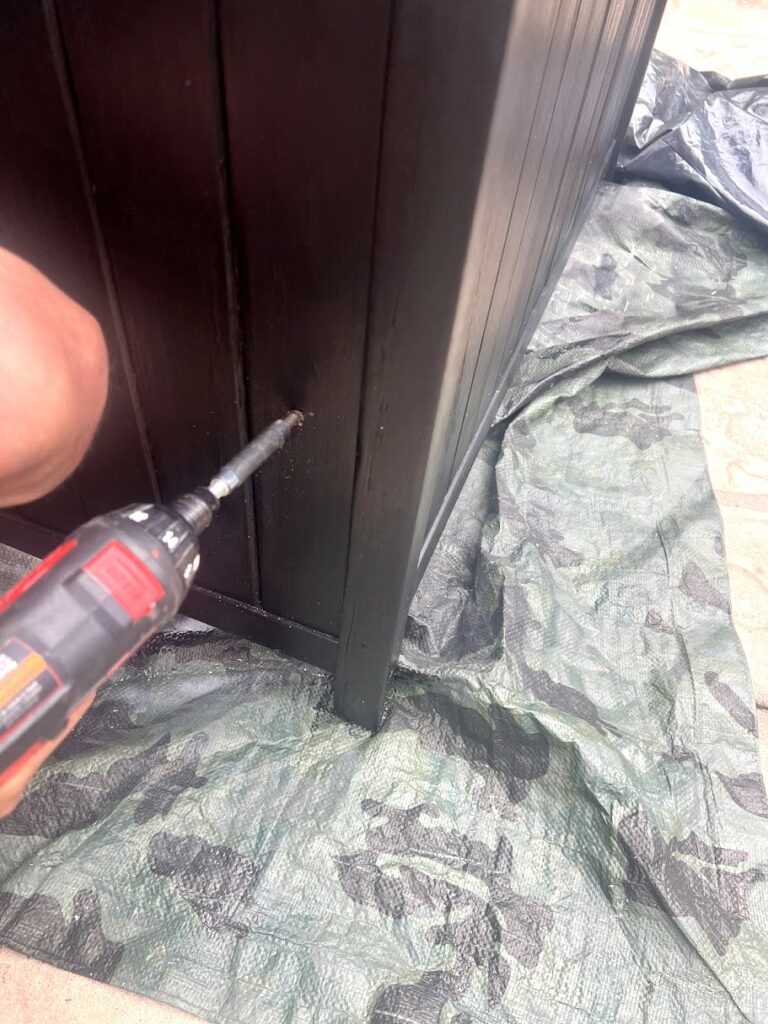
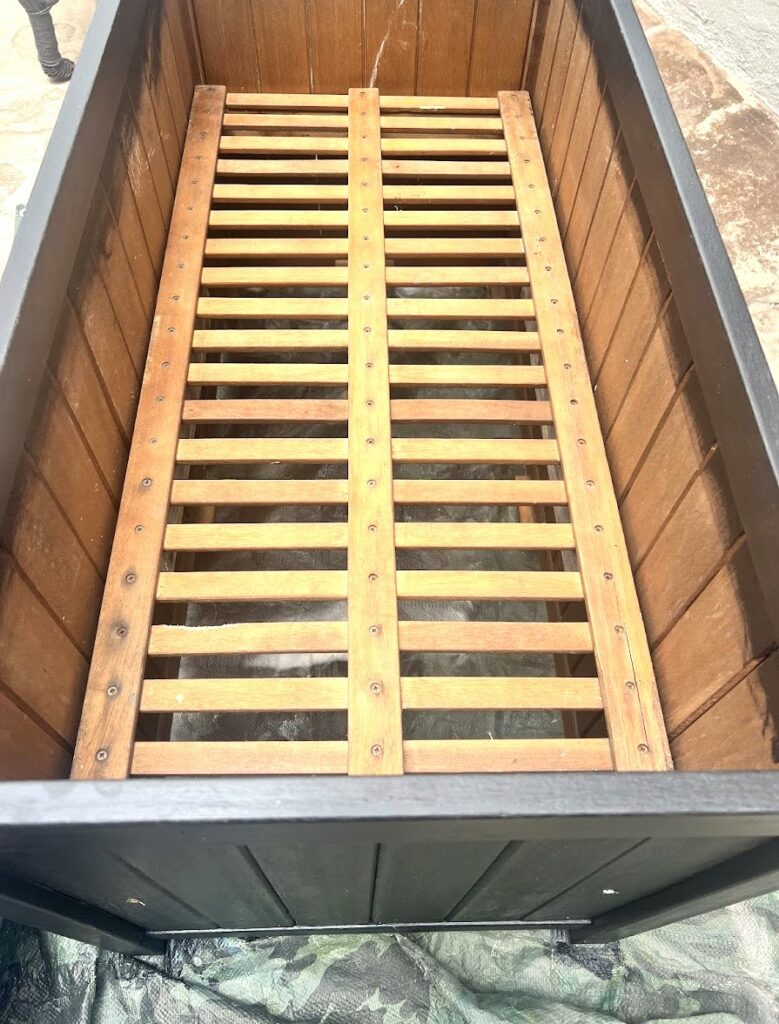
Raise the bottom of the box (Optional)
I did not want to waste a bunch of soil so we raised the bottom a little more than halfway up. We reinforced it using 2×4 on all 4 sides and used wood screws. We simply cut some scrap wood that we had lying around.
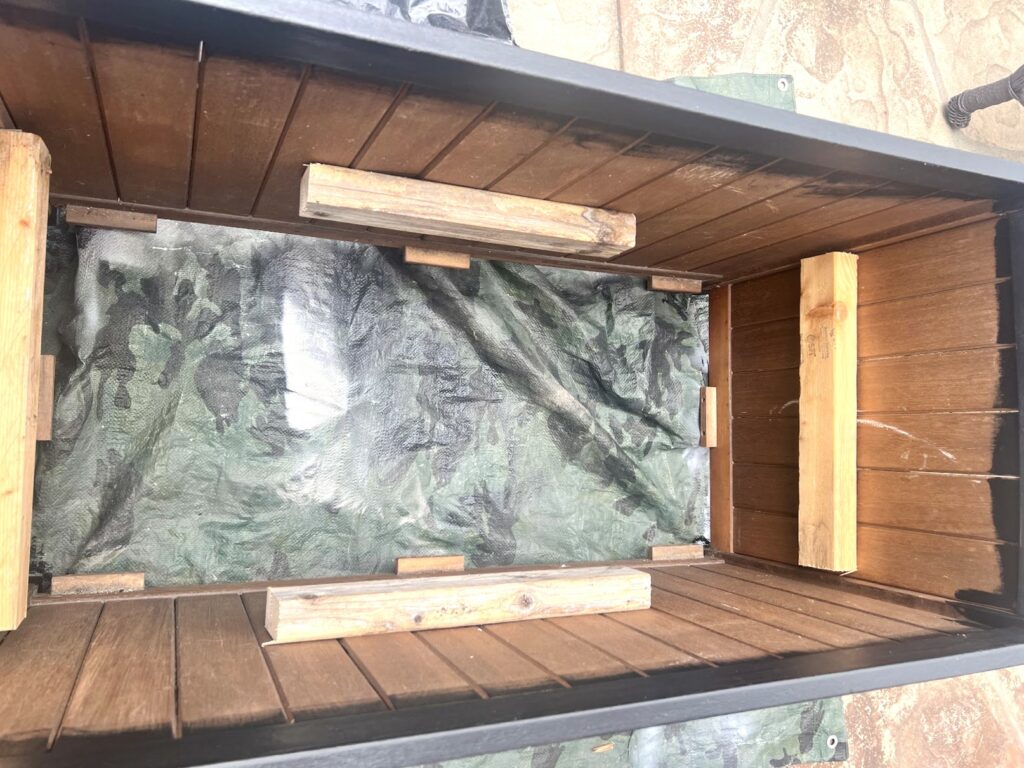
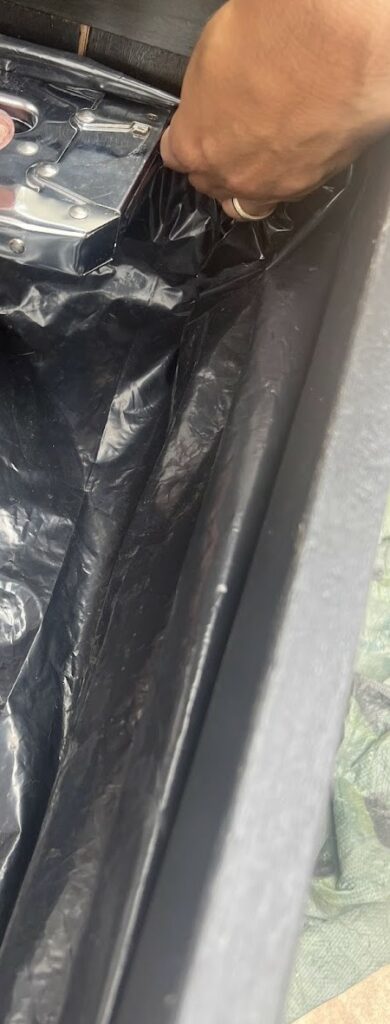
Line the Bin
For your next step, you need to protect the wood and prevent water damage, line the bottom of the planter and the sides of the planter with a black plastic liner. I cut drainage holes in the plastic to prevent excess water from pooling at the bottom and for good drainage. We used a staple gun and staples to keep the liner in place.
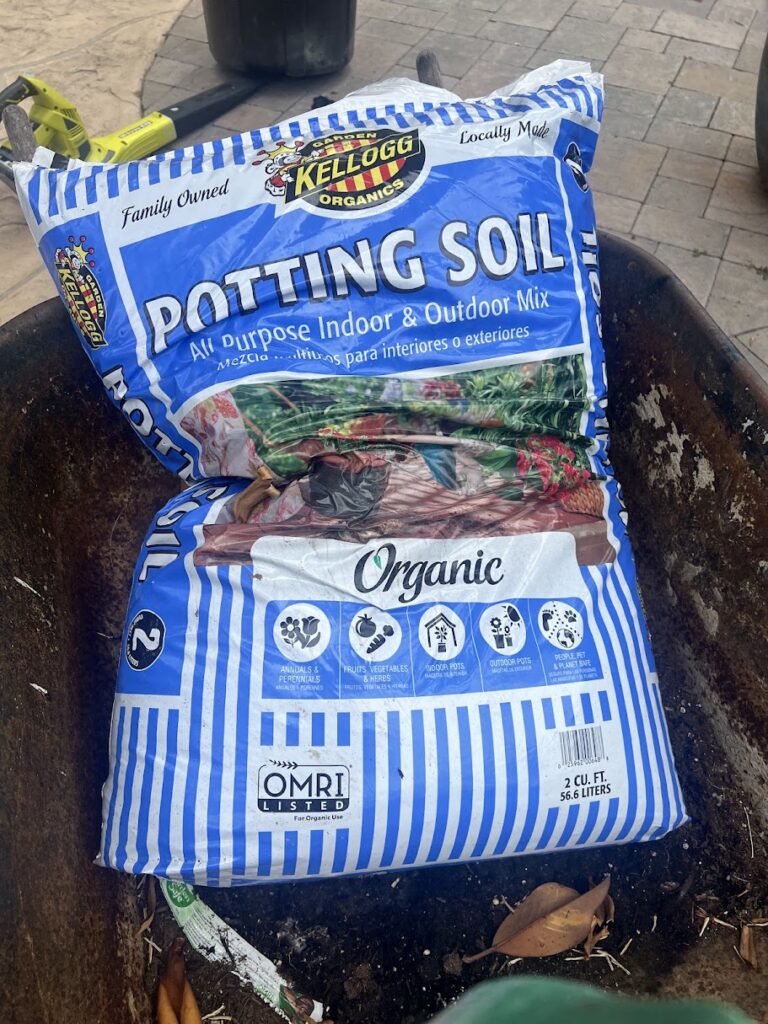
Fill with Soil
Fill the wooden planter box with potting soil, leaving enough space at the top for your plants.
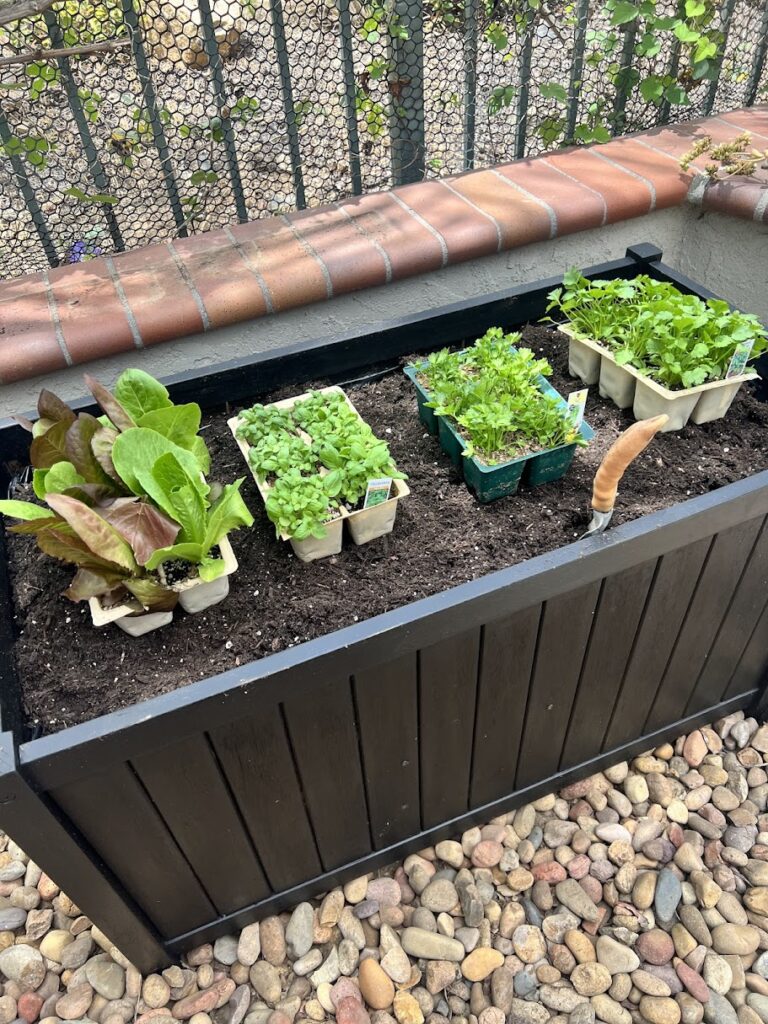
Plant Your Greenery
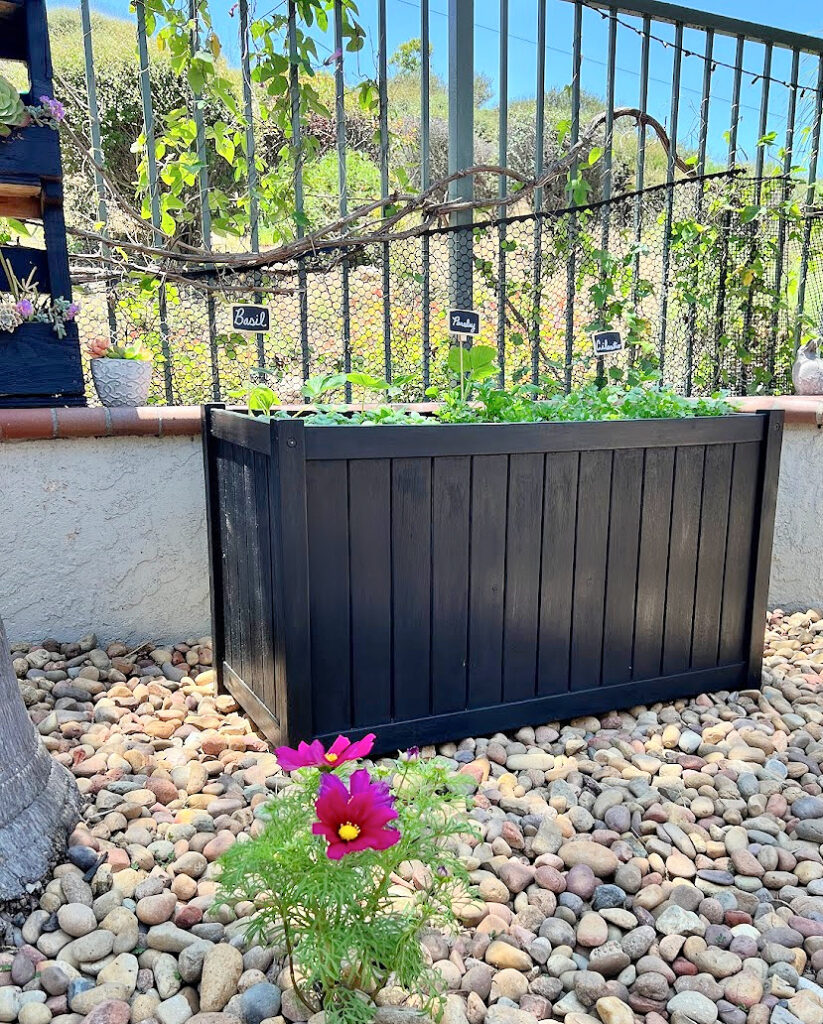
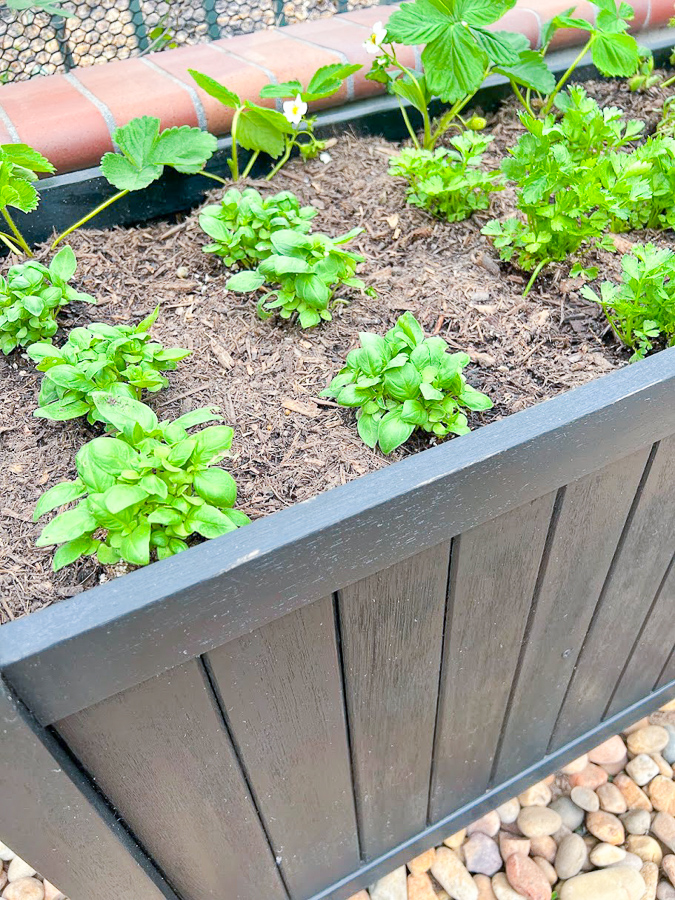
Now it’s time to add your plants or seeds to the planter. Choose a variety of flowers, herbs, or vegetables to create a visually appealing arrangement. I made this into a herb garden, I can’t wait for them to all start growing! There was not enough room for the lettuce so I’ll plant that in a different garden bed.
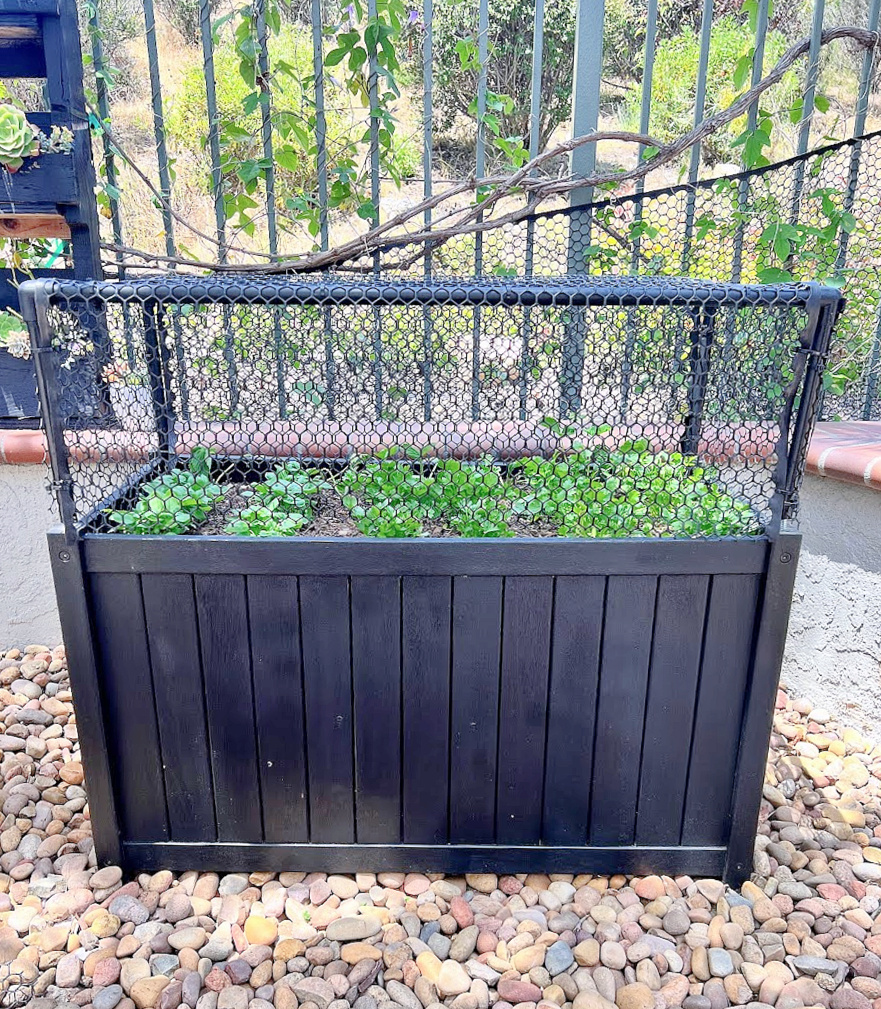
We have double snake fencing and they still get through!
Water and Maintain
After planting, water the soil thoroughly and place the planter in a location that receives the appropriate amount of sunlight for your chosen plants. Be sure to water regularly and monitor the moisture level to keep your plants healthy.
Optional: You could add a lattice panel in the back to support tomato plants or flowering vines.
For some extra detail, I added some cute chalkboard labels!
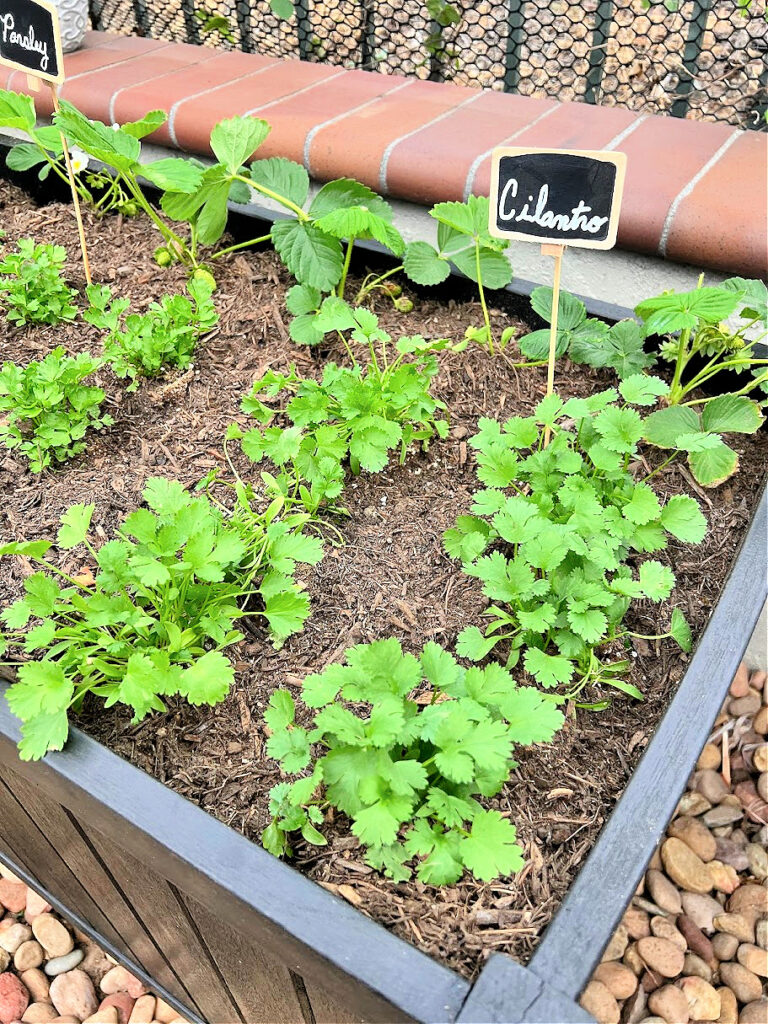
Enjoy! Once your planter is complete, sit back and enjoy! The darker stain made a huge difference and modernized it! Between this and the file cabinet planter, they were a simple way to create a fun planter box! Let’s see what I can come up with for next time thrift store post! Let me know if you give this DIY project a try, I would love to see your finished product!
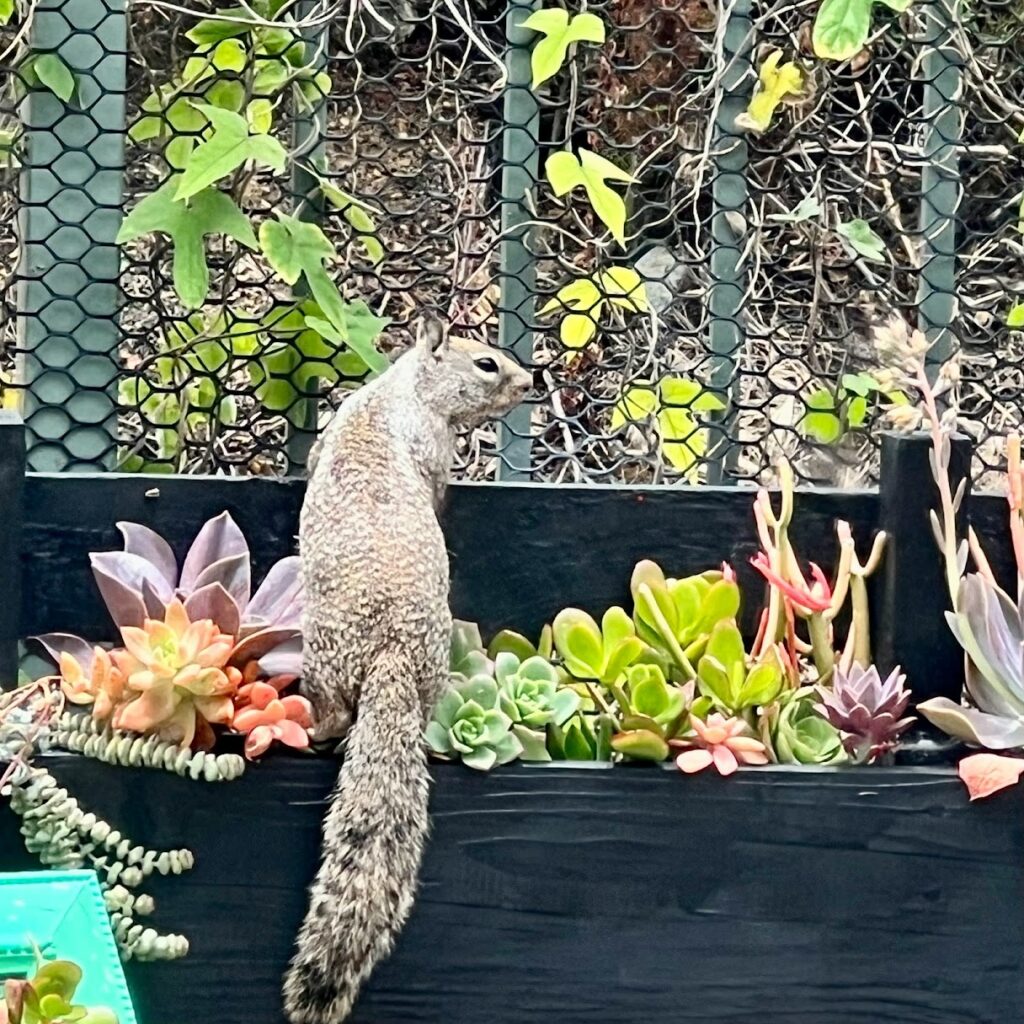
And I need to make some tops before the squirrels get to the herbs, they already ate my lettuce.
UPDATE! My husband made me a RAISED GARDEN BED COVER! He simply used PVC pipes, snake fencing, and zip ties. He even spray-painted the pipes black for me, genius!
You can buy Snake Fencing right here!

These wooden planters are so versatile and can be used in various locations whether you have a large space or a small space.
Gardens: They are commonly used in gardens for planting flowers, herbs, vegetables, or even small shrubs.
Patios and Decks: Placing wood planter boxes on patios or decks can help define outdoor spaces and create a cozy atmosphere.
Balconies: For those with limited outdoor space, wood planter boxes can be placed on balconies to create a mini garden. They are perfect for growing herbs, small vegetables, and flowers.
Front Porch or Entryway They would look so beautiful and give a nice warm welcome on your front porch.
Walkways: Placing a wood planter along a walkway is a charming way to showcase your flowers.

It’s time to see what everyone created with their thrift store finds for June, I can’t wait!
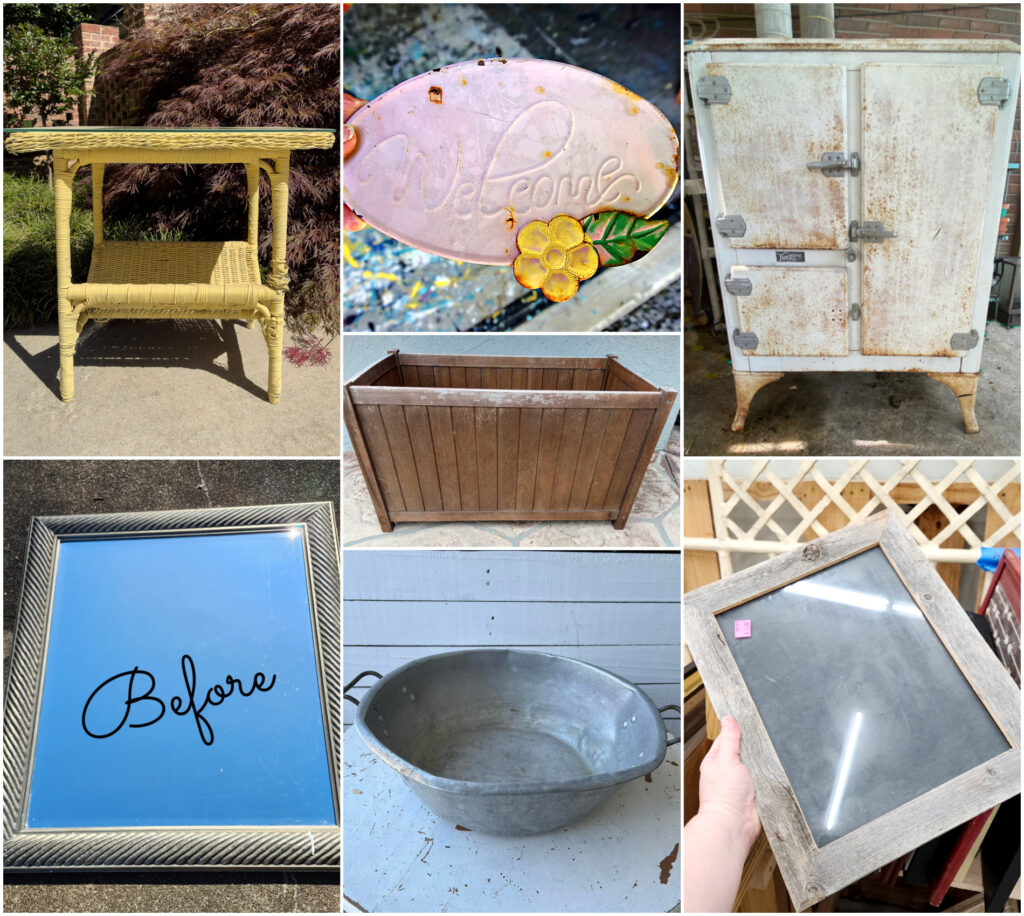
Wicker Table Makeover Our Southern Home
Welcome Wreath Petticoat Junktion
Antique Ice Box Refresh Shop At Blu
Turn a Storage Bin into a Planter My Uncommon Slice of Suburbia
Old Mirror: New Look My Repurposed Life
Vintage Aluminum Wash Basin Hanging Planter Organized Clutter
Framed Coastal Wall Art on…Sandpaper Sadie Seasongoods
Thank you so much for stopping in today!
,l
Kristin, you said the magic word FREE! Oh my with the snakes. We’ve seen more here in Alabama with this early extreme heat. Stay safe! Can’t wait to see that beautiful garden when it fills out! Pinned!
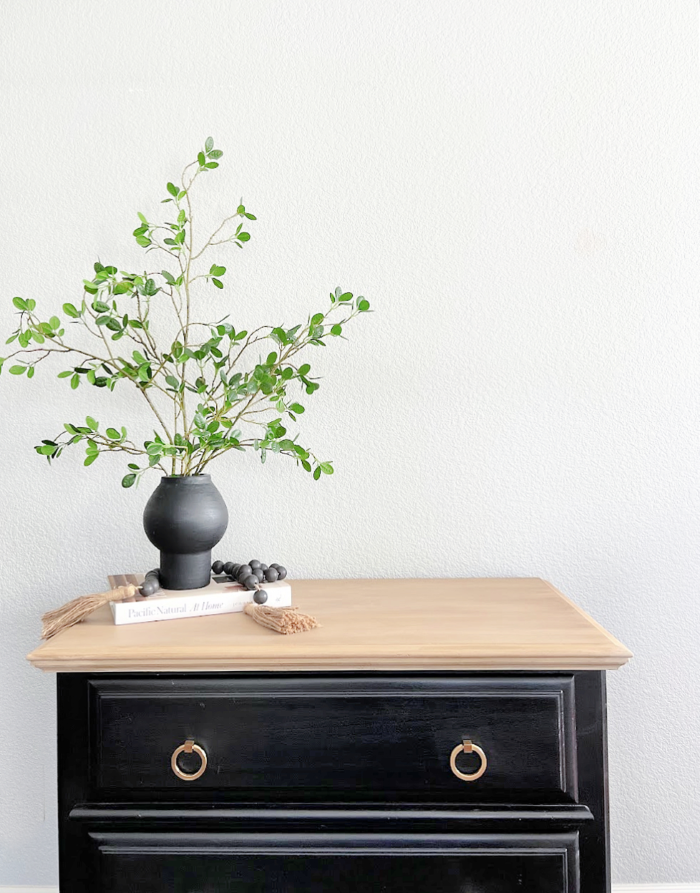
The storage bin planter really turned out great! I love the size and the dark finish.
My neighbors would have heard me scream, too! Snakes are not on my fave list, at all! Thanks for sharing at Tuesday Turn About. I’ll be featuring you at this week’s party! Pinned!
First! Let me say that I would NEVER grab my phone/camera to take a picture of a snake! I would have a story to tell, but no photos. I am so cautious at the Hideaway, because I’m terrified of even the smallest snake. LOL
I love how your project turned out, and the tips are fabulous. I guess I would have realized that it was too deep for planting, but I love your workaround for it.
Pinned!
gail
Thanks Gail, it was a fun project to do minus the snakes. lol Oh the bloody screams that came from me were pretty hilarious but once everyone was here and they weren’t going anywhere I was able to get some pictures. These were ca striped ca kings, so not venomous, they were actually pretty docile and my neighbor was able to grab them with his hands (gloves of course).
This is a first…..reading a blog post and being terrified and laughing! I detest snakes. We are overrun by squirrels this year so can relate. Seriously, this is a fabulous upcycle. I need my herbs in a raised bed. Your hubby is so smart to create squirrel-proofing. A++ this month!!!
Thank you so much Christy, I can’t stand snakes, even if they are the good kind lol. Darn lettuce got all my lettuce again, I should have planted it in the new planter 🙂
Oh my goodness! I am petrified of snakes and my neighbors would have heard me too!
Your planter project came out great! What a wonderful and creative upcycle! Pinned!
Thank you so much Lynne, thank goodness no more snakes since.