
How To Install Luxury Vinyl Plank Flooring
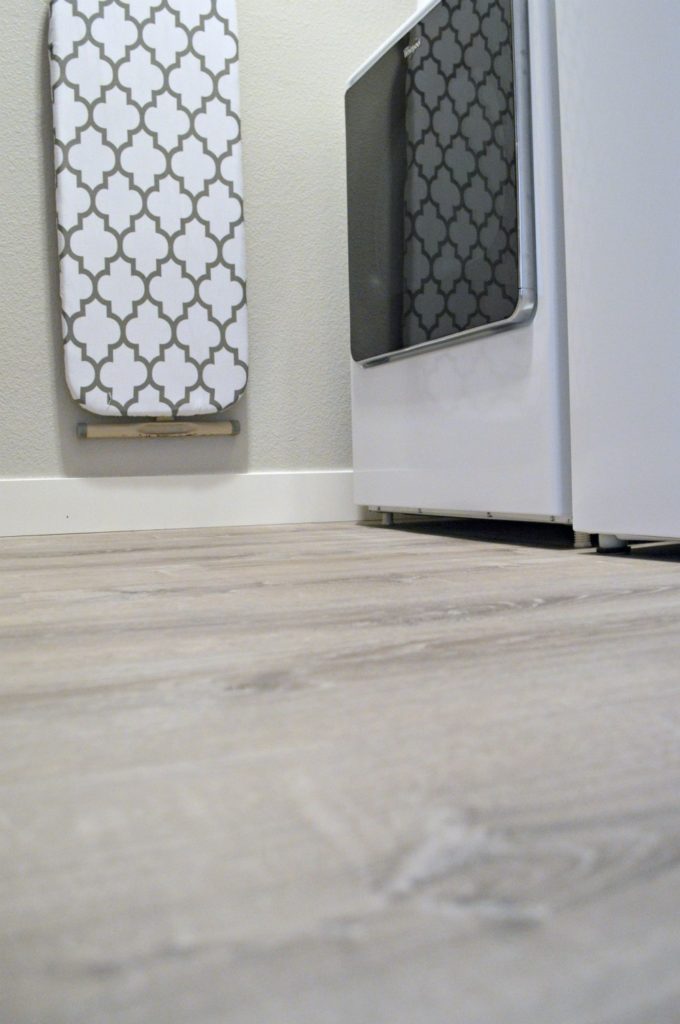
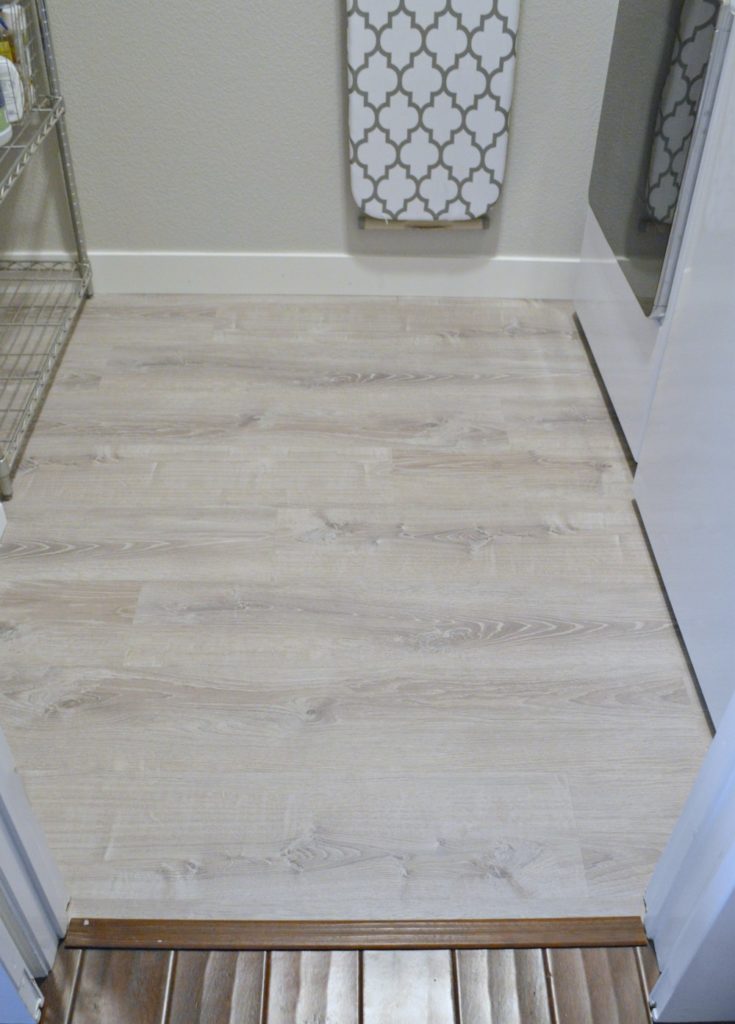
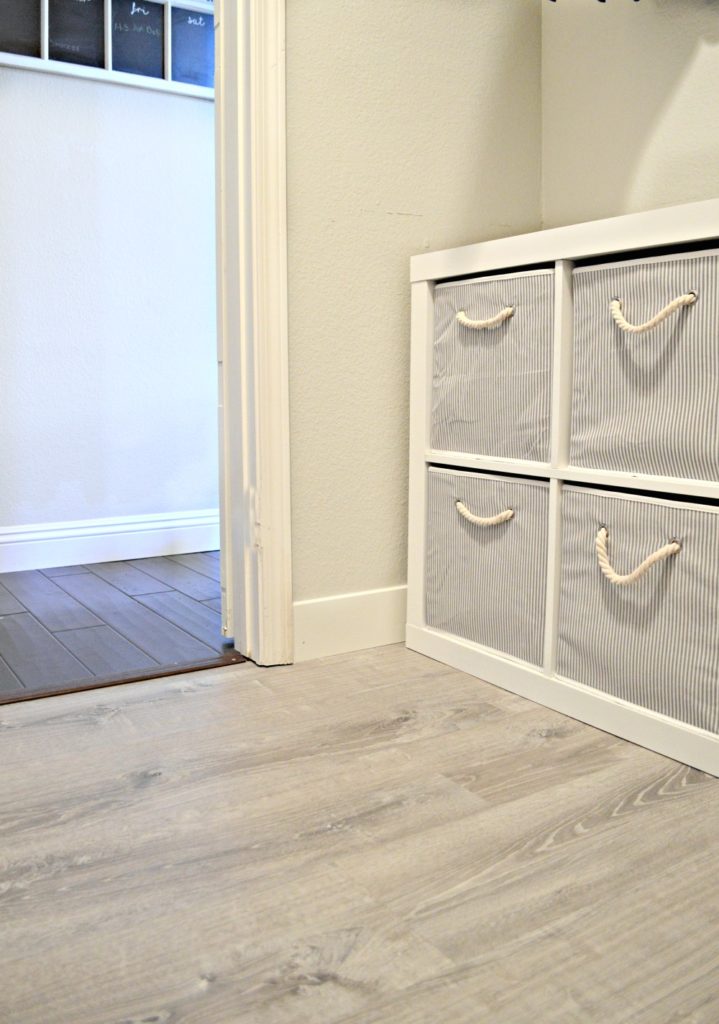
I’ll be honest, we completed this room makeover a while ago, and I’m now just getting around to writing about it. When we moved into our home about 17 years ago, we had linoleum installed that came with the house, with the intention of tiling over it. I had my eye on some beautiful patterned tiles, and then I saw the price tag. So, the tiles never happened, but I’m actually OK with that. Over the years, flooring has undergone significant changes, making it enjoyable to install a relatively new product in this small space. We chose LifeProof Luxury Vinyl Plank Flooring in the color Sterling Oak. The planks are 8.7 in. x 47.6 in. It’s light gray with warm undertones, exactly what we were looking for. Considering how small this space is, the flooring and new coat of paint really brightened up the space!
Advantages of Luxury Vinyl Plank Flooring:

Waterproof
Mimics the appearance of natural materials
Wide variety of colors to choose from
Easy to Install
Affordable
Thick
Comfortable Under Foot
Easy Maintenance
Durable
Beautiful
Affiliate links below
I’ll share how my amazing hubby installed the flooring, but as always, be sure to read all the instructions provided with the product for best results.
Supplies:
Lifeproof Luxury Vinyl Plank Flooring
Tapping Block
Rubber Mallet
Tape Measure
Straight Edge
Pencil
Floor Cutter or Utility Knife
Spacers
Handsaw or Dremel
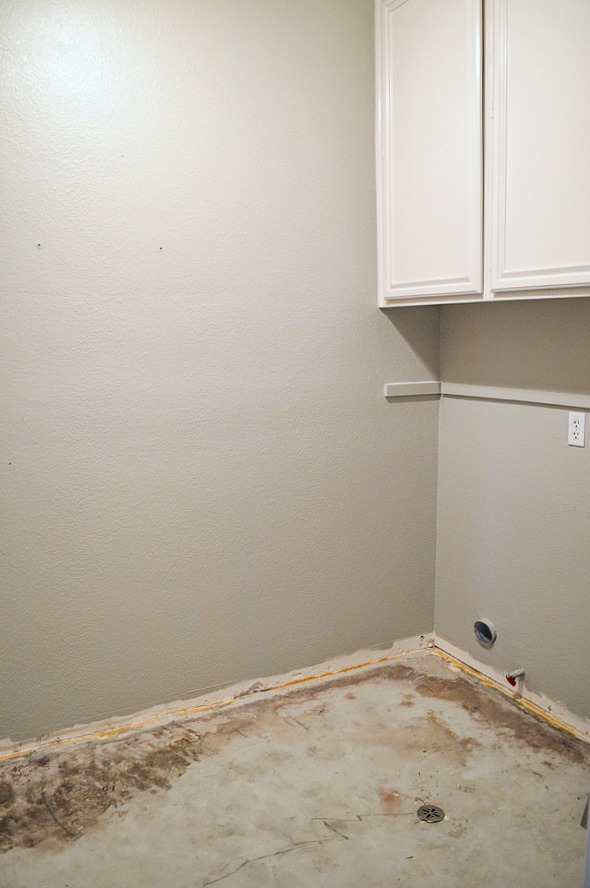
Here is a picture of the floor after we pulled the linoleum up. I was looking through all my pictures of the laundry room before, but I must have excluded the flooring from all of them. Just imagine the 80’s ugly, you get the picture.
Directions:
Calculate the square footage of the area you want to cover.
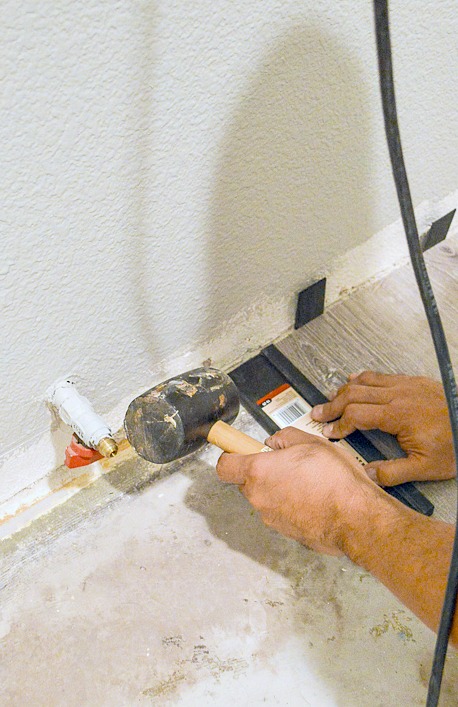
Tear of whatever flooring you had and clean the subfloor. In our case, we had glue residue on the concrete and had to scrape it off.
Decide if you will by laying your flooring horizontally or vertically.
Start in a corner of the room and lay down the plank running it down the length of the wall, you will want the tongue facing the wall.
Use spacers between the wall and the planks.
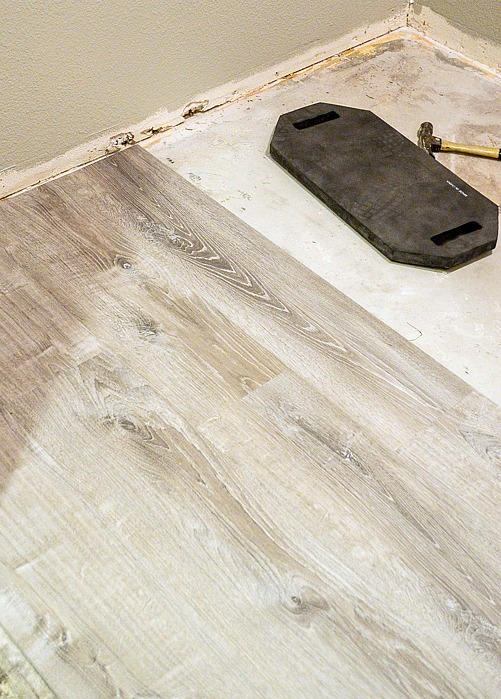
Continue adding planks end to end by clicking into place and then tapping with a rubber mallet so the flooring is level. If you take time and really tap it into place, the seam will disappear. Continue with this before moving on to the second row.
When you get to the last plank in the first row, you will most likely need to cut the plank. To do this, you will need to use a utility knife (unless you have a floor cutter).Measure and mark with a pencil where you will need to cut. Run the knife lightly across the face of the plank several times, using the straight edge as your guide. Flip the board over and snap. Install the cut plank to finish off your first row.
Use the left over piece that you just cut to start off row 2 if it is 12″ or longer.
Use the tapping block to make sure it’s flush with the neighboring plank when you click the plank into place.
Repeat and continue with consecutive rows until the project is complete.
Instead of making cutouts in the vinyl for around the door, we decided to cut the door molding. We simply slid the flooring under the door molding.
Lay a piece of scrap leftover vinyl next to the door molding. Using a hand saw or a Dremel, cut out the underside of the door moldings and add your plank.
If you take your time, the floor will come out beautifully. This took Ray about 3 hours.
Storage cubes are from Walmart
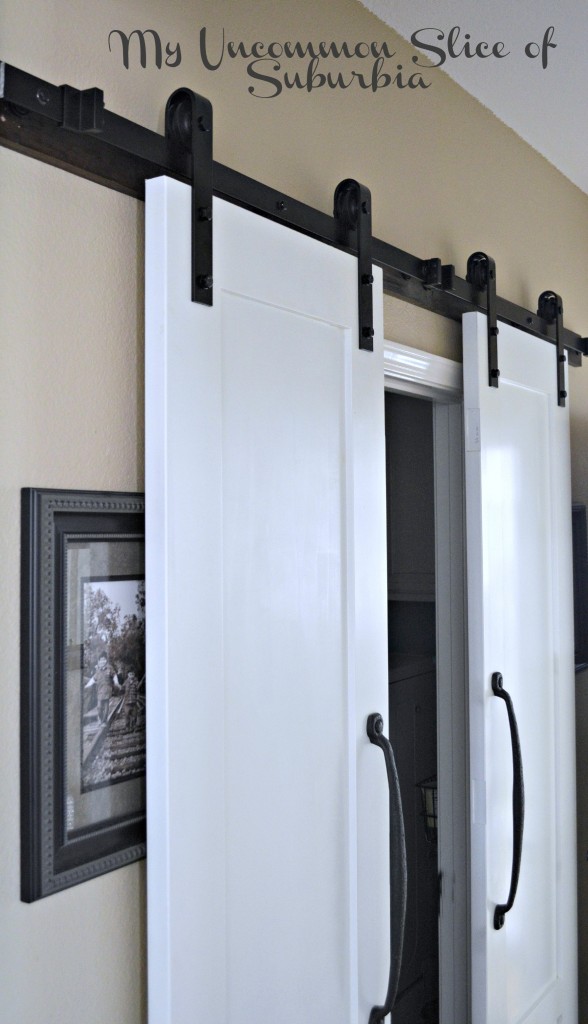
I’ll be sharing the full laundry room reveal, hopefully, later this coming week. Until then, you can check out how we installed the barn doors leading into the laundry room.
Thank you so much for stopping in today. hope everyone is having a fantastic weekend!
OMG, your floor is fabulous. I love tge color you selected to. Thank you for tge step by step tutorial. All the advice and tips are also very helpful to know, because I plan to do this soon.
What color is used for your laundry room walls?
When I initially left a comment I seem to have clicked the -Notify me when new comments are added- checkbox and now each time a comment is added I recieve 4 emails with the exact same comment. Is there a means you are able to remove me from that service? Cheers!|
Oh no Marayalice, I’m so sorry, let me see if I can go in and change that on my end.