
How To Trim Out A Window
This isn’t one of those amazing DIY posts but it sure does add a lot of charm to any room. Over the past few months, we have been finishing trimming out all of the windows with molding and I have an easy tutorial for you today. These little details are such an easy upgrade that allows you to add your own personality and character to your builder-grade home.
I apologize in advance for the photo quality, windows are so difficult to photograph.
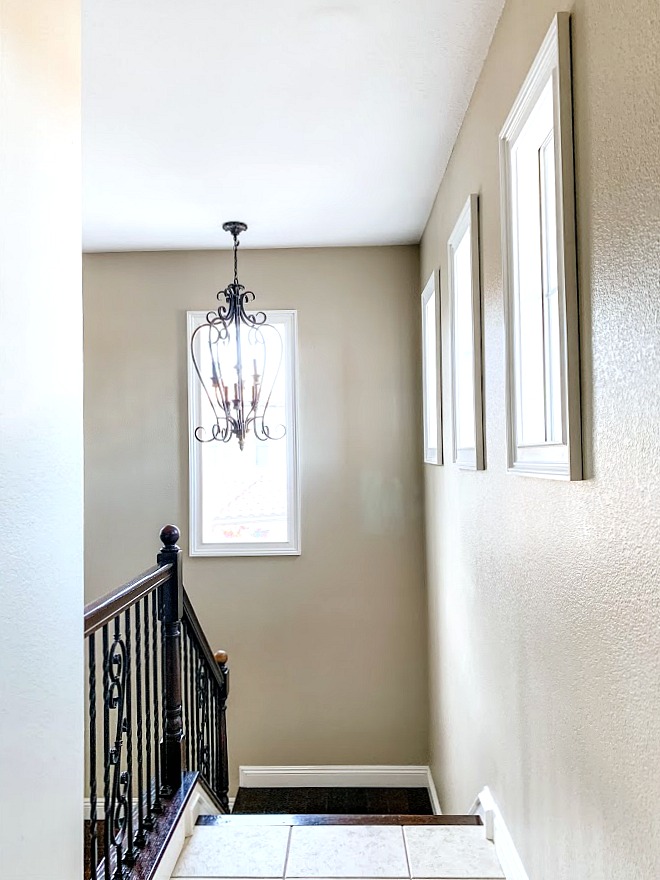
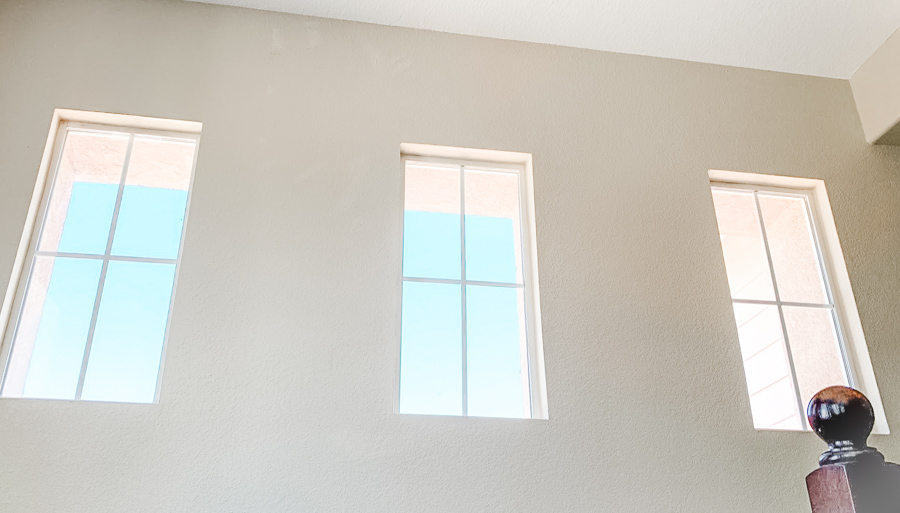
I can’t believe we have lived in our home for almost 20 years, at that time we trimmed out all the bedroom windows. Eventually, we worked on the downstair windows and what was left were windows way up high which is scary, and three tiny windows above the stairs. It feels good to finally be DONE thanks to my amazing hubby who has mad skills!
The whole window box was built on the ground, however, you can also build in place, nailing to the window framing. We have trimmed out windows many times using different techniques, my husband said this was the fastest and easiest especially if you’re having to go up and down stairs over and over.
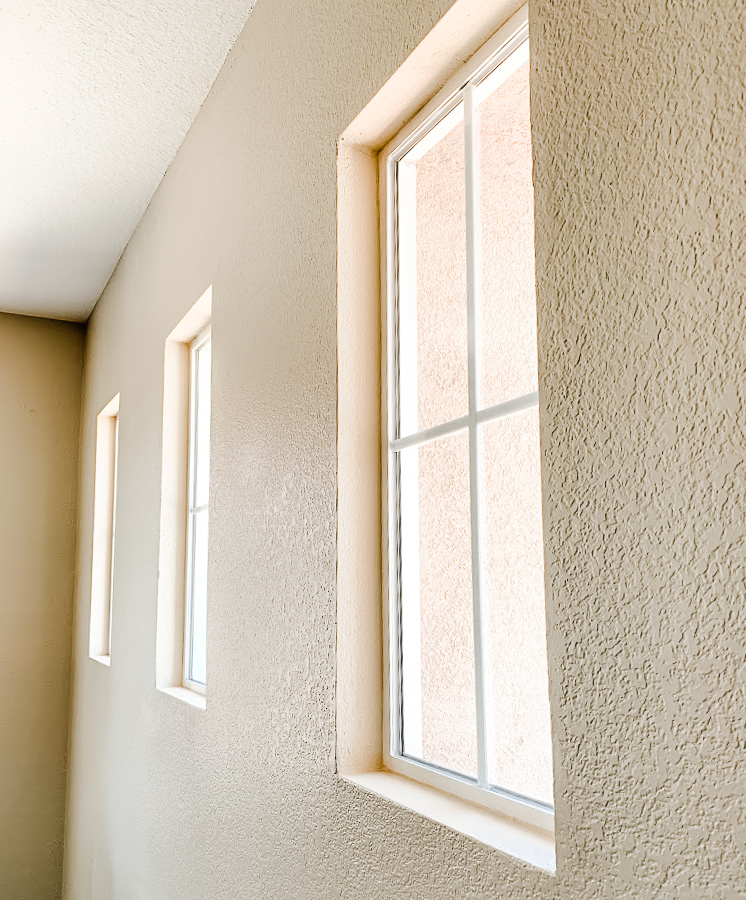
Here are a few before pictures
Amazon affiliate links are listed below.
Supplies:
- Air compressor
- Wood-Filler
(this is my favorite, very easy to work with)
- Nail gun
- Caulk gun and Caulk
- Hammer
- Miter saw
- Safety Glasses
- Utility knife
- Nails
- Paint and Paintbrush
- Sandpaper
- Wood Glue
- Molding of your choice
- MDF Casing
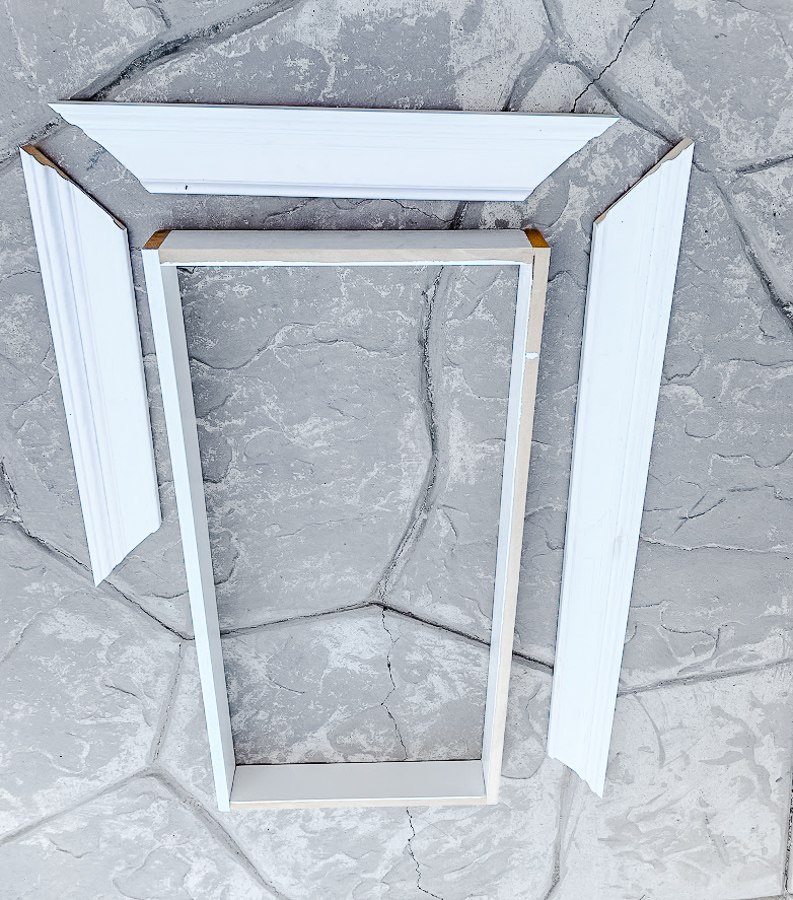
Step 1:
Create a box that is flush with the inside of the window. (MDF casing at any local hardware store works well for building your box)
Measure the length width and depth of the inside of the window. Cut all four sides for your box.
Leave about ¼ inch of space when measuring so your inside box has room to slide into the window
Assemble the box using a nail gun at each corner. Make sure to watch your hands when using a nail gun. You can use wood glue to add strength to your corners.
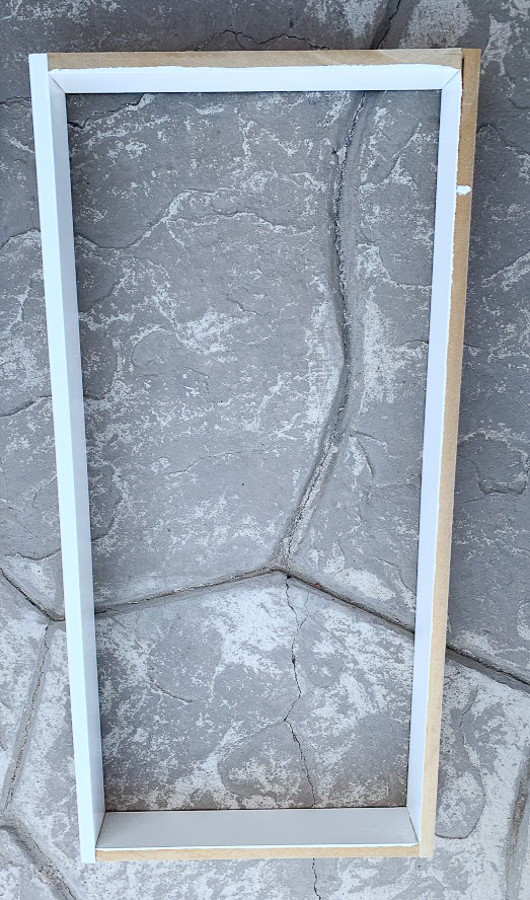
Step 2
For the Frame:
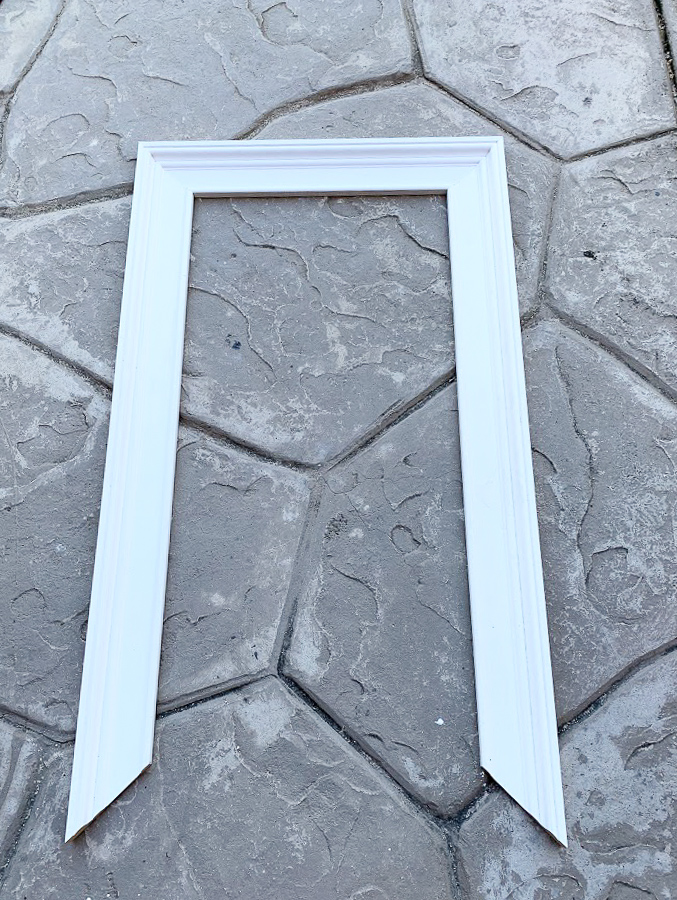
Measure from the inside corners of your box and create a frame that will overlap the box.
Cut your 45 degree angles to make a frame.
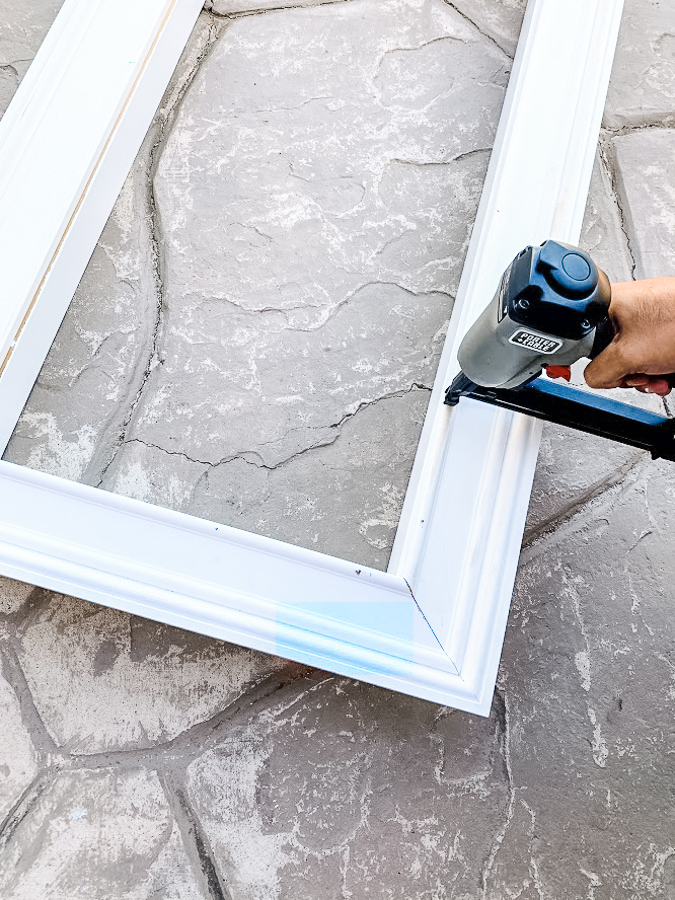
Nail your frame to your box. (You can use wood glue to add strength to your box)
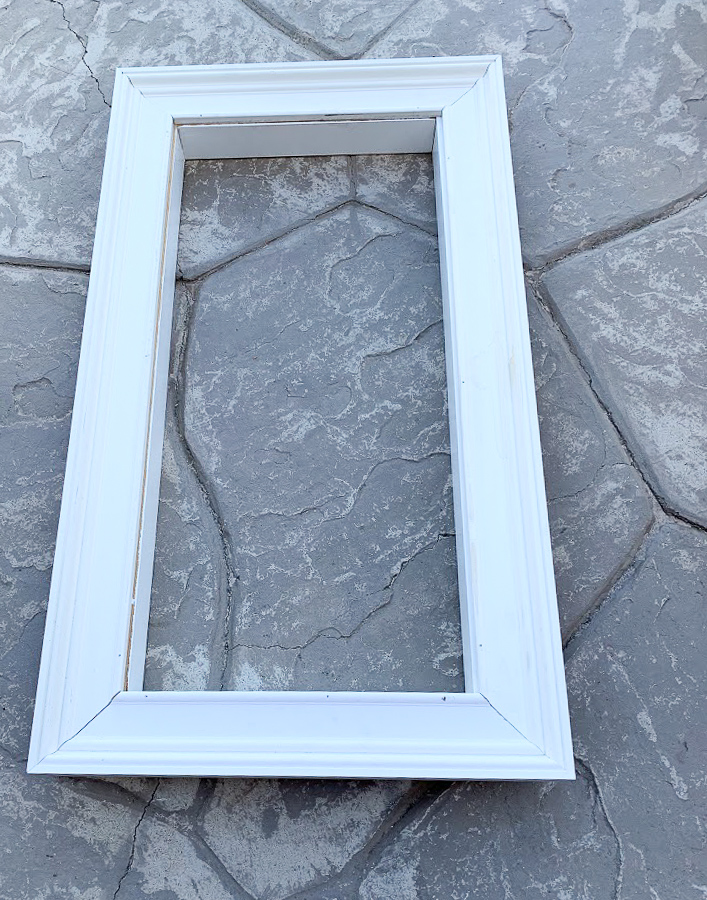
Step 3
Start caulking and/or apply wood filler to any gaps you want to cover before painting.
Paint the inside of your box and your outside frame. (Keep in mind you will need to do touch up’s after you nail the frame to your window)
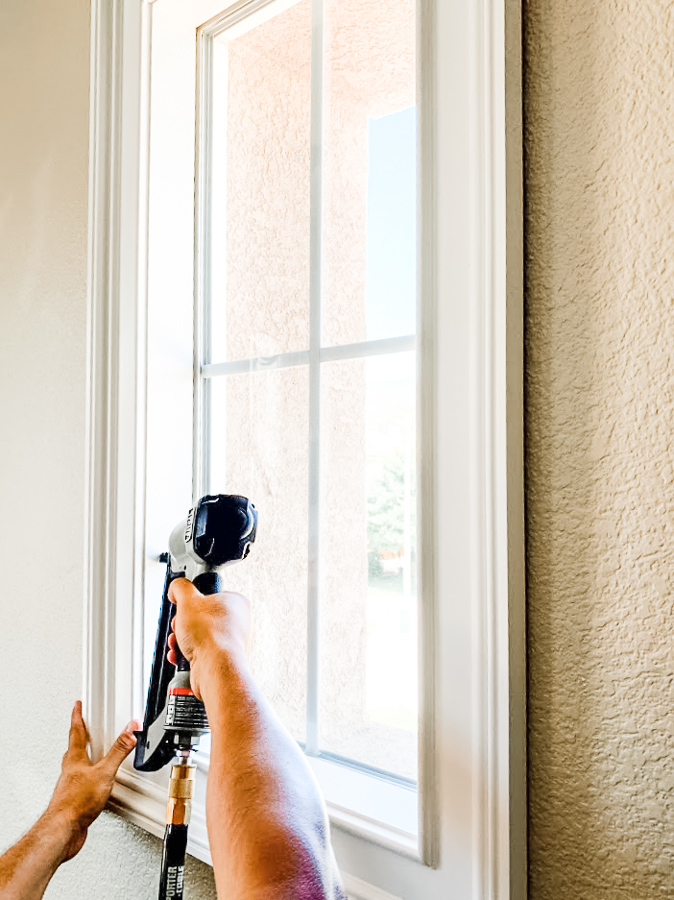
Step 4
Place the whole frame and trim inside the window
A rubber mallet is the best tool to use if it’s a little snug.
Once in place use your nail gun to nail the frame to your studs of the wall. You will need long enough nails to penetrate your frame and drywall to reach the stud.
Step 5
Once the frame is installed, fill the nail holes with wood putty. Push putty into the holes. Use a putty knife to smooth the filler material and scrape off any excess. You’ll then need to wait for it to dry. If it doesn’t look smooth, sand down the excess filler with 120-grit sandpaper.
Step 6
You might need to apply caulk around the trim. Spread the caulk all the way around the trim, smoothing the caulk with a moistened cloth or finger.
Step 7
Paint the areas where you used painter’s putty.
Enjoy your new windows!
Before/After
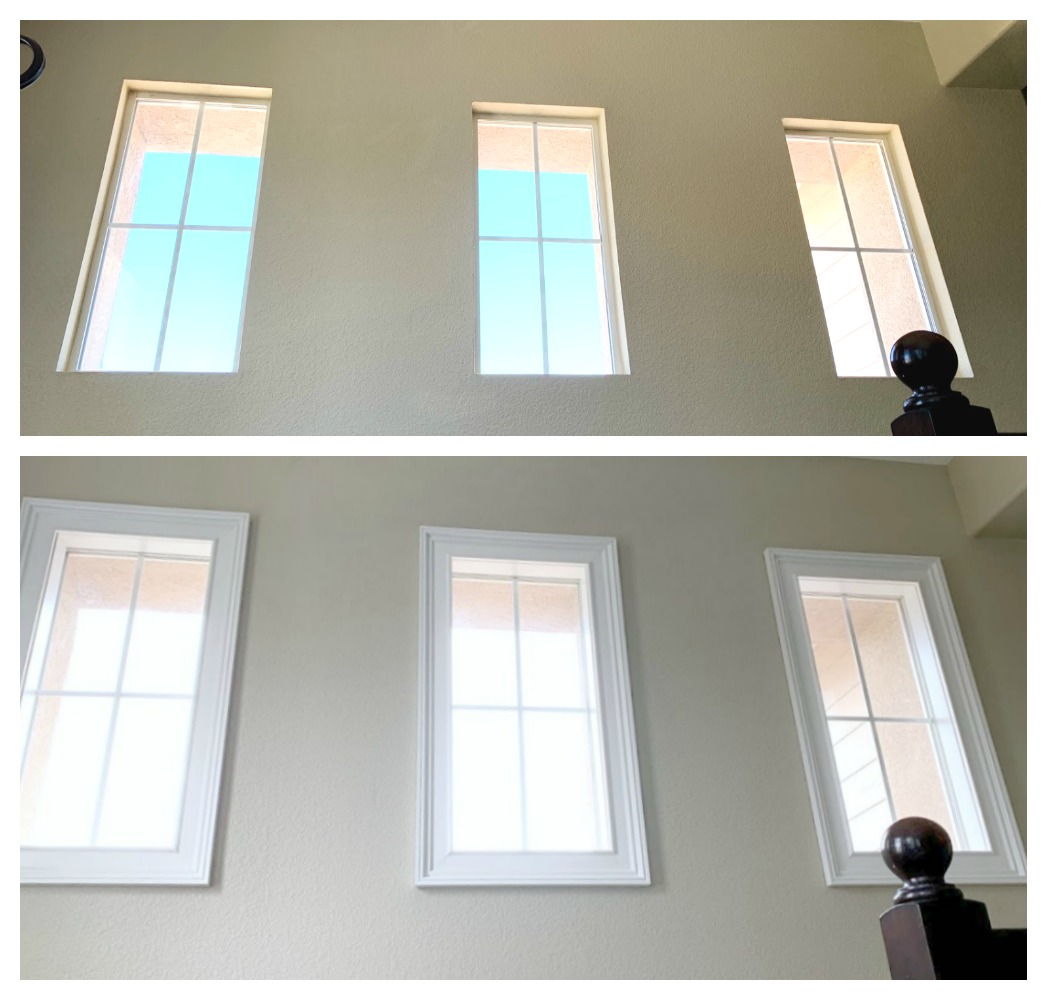
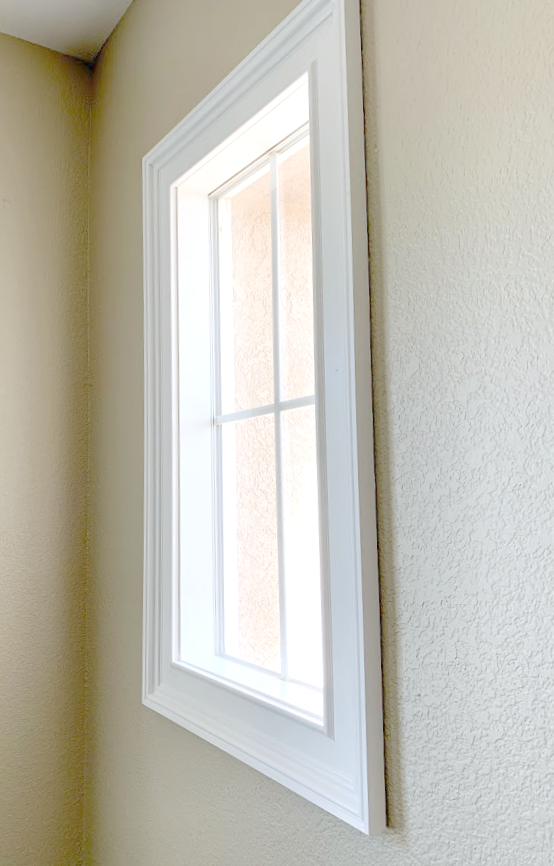
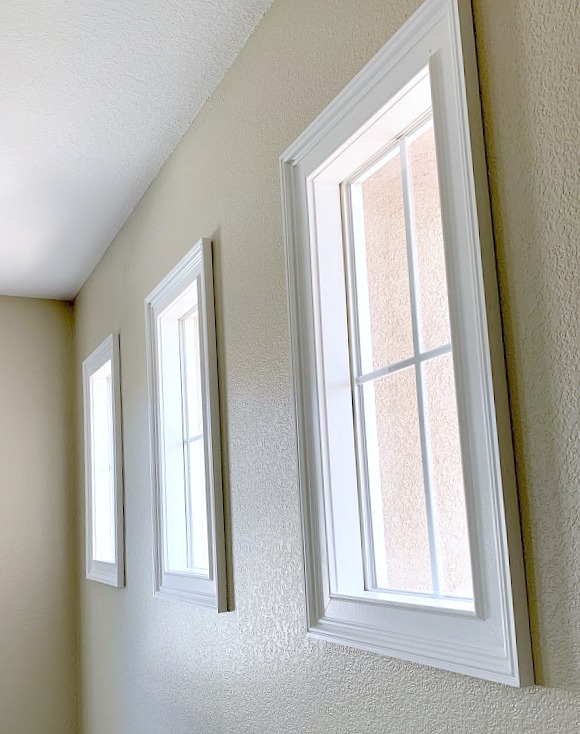
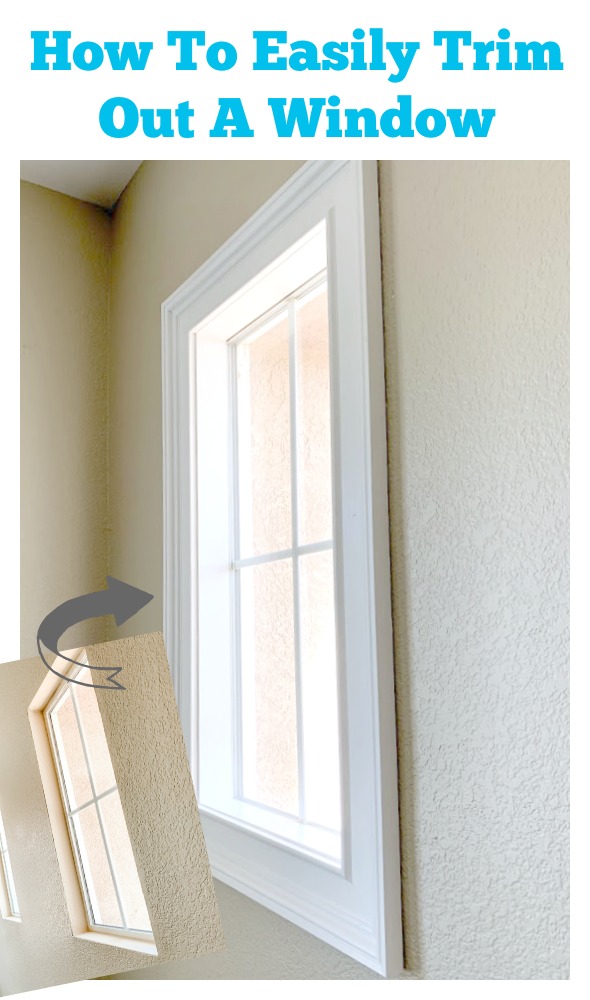

Those boring windows are now little focal points, a whole lot of bang for your buck!

It looks great, lady! I get those ‘not the most glamorous’ posts, but super-helpful. I had one of those today, too! It’s amazing how just a little change can make such a big difference to a window! Pinned!
thank you so much Julie!
What a difference! I’ve trimmed all my windows so I know how difficult it is to go up and down a ladder all the time, this was genius!!