How to Decoupage a Vase Into a Vintage Crock (Napkin Method)
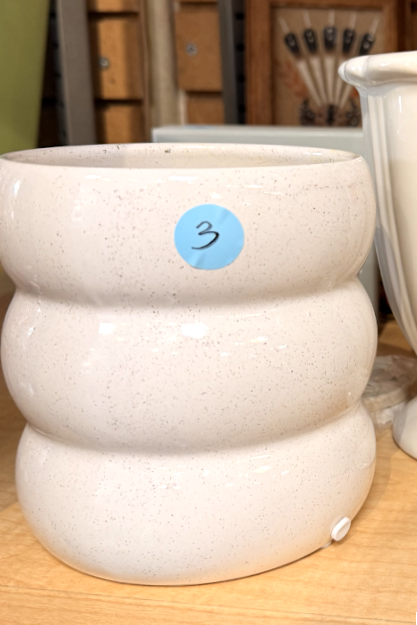
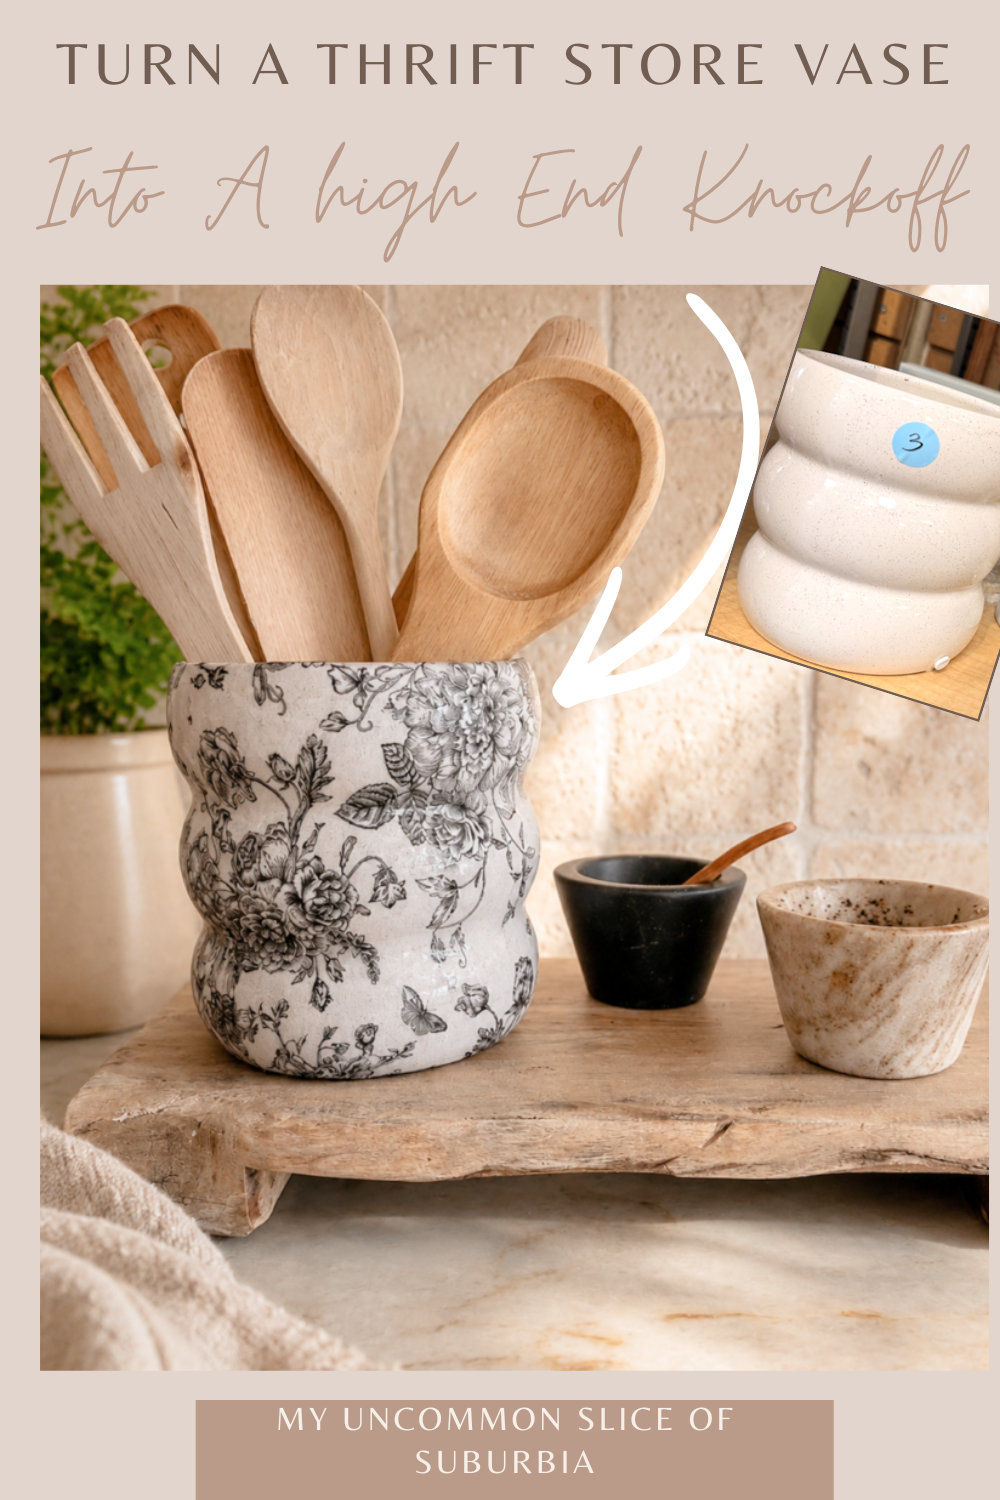
I’ve been wanting to try this easy project for a while now, and I’m so glad I finally did. The kids are back home for college so one of the first things we did was head to the thrift store, and I found a gorgeous bubble vase for $3! I have been wanting to try a decoupage project, and this was the perfect piece to try it on! Turns out all it needed was a napkin and some Mod Podge. But of course I had to be extra and add a few steps along the way.
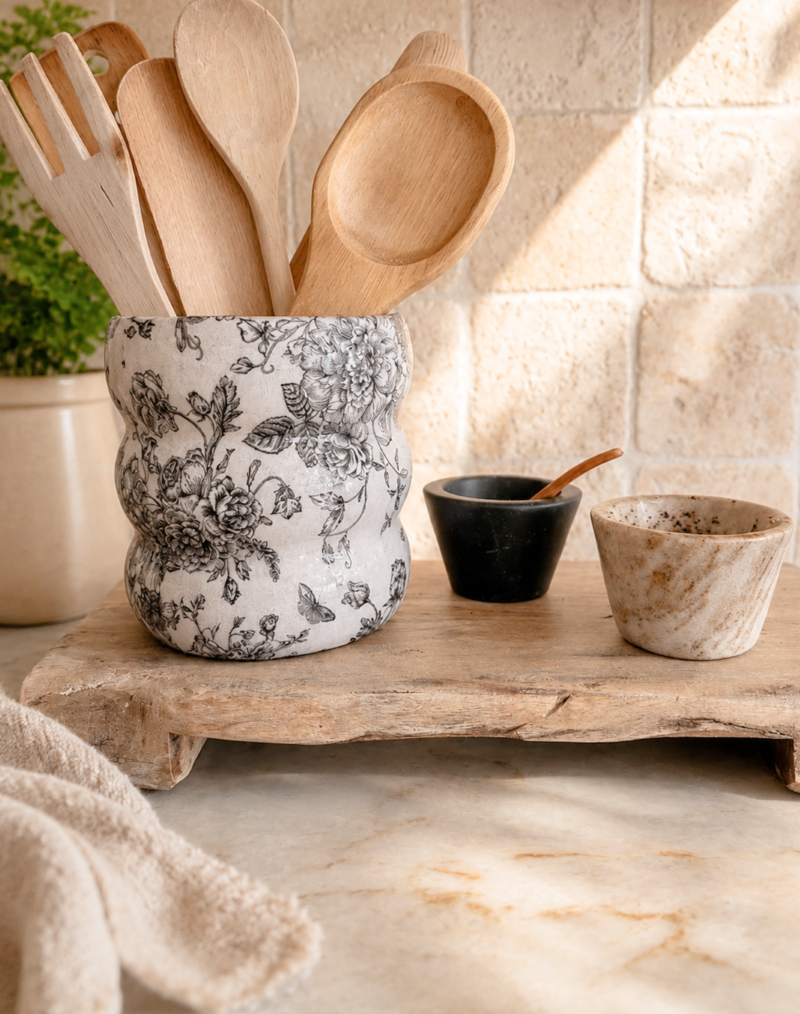
If you’ve ever seen those gorgeous vintage crocks at antique stores and thought “there’s no way I’m paying that much for a vase,” this project is for you. It’s such an easy, budget-friendly way to get that same look at home.
It’s thrift store decor day, so make sure you check out all of the amazing makeovers at the end of this post! Here is my Before, found it at our local thrift store that supports the Humane Society!
I already had similar napkins in my bin of “kitchen stuff,” but I linked a similar one below.
Amazon affiliate links are listed below. This post contains affiliate links, and if you shop through them, I may earn a small commission at no extra cost to you.
Materials:

Supply list
- Mod Podge
- Floral paper napkins
- Craft brush
- Dark wax
- Vase or container of your choice
Optional
This post contains affiliate links. If you shop through them, I may earn a small commission at no extra cost to you.
Step 1
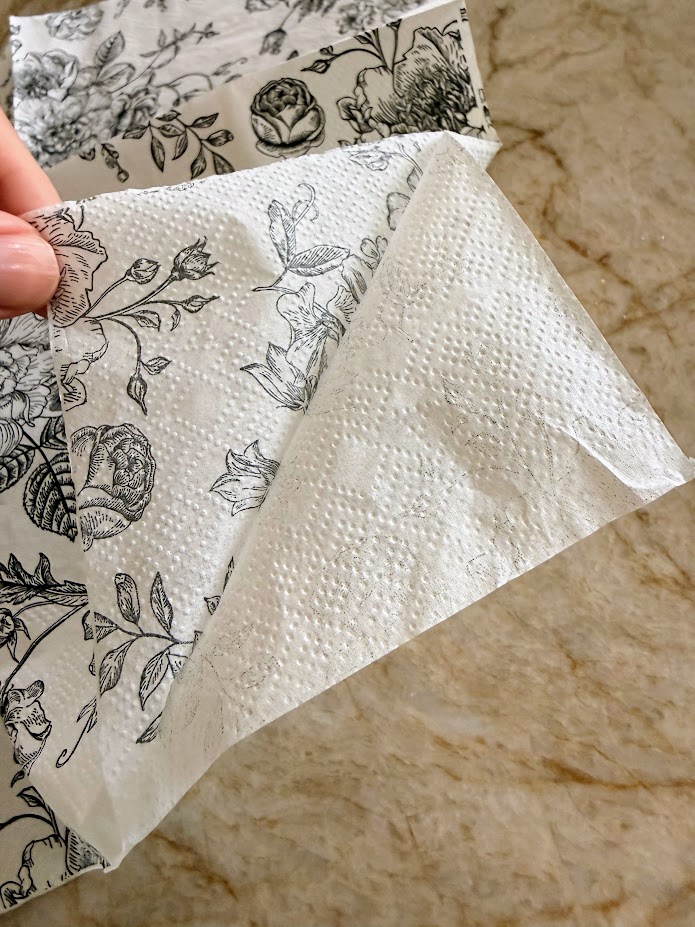
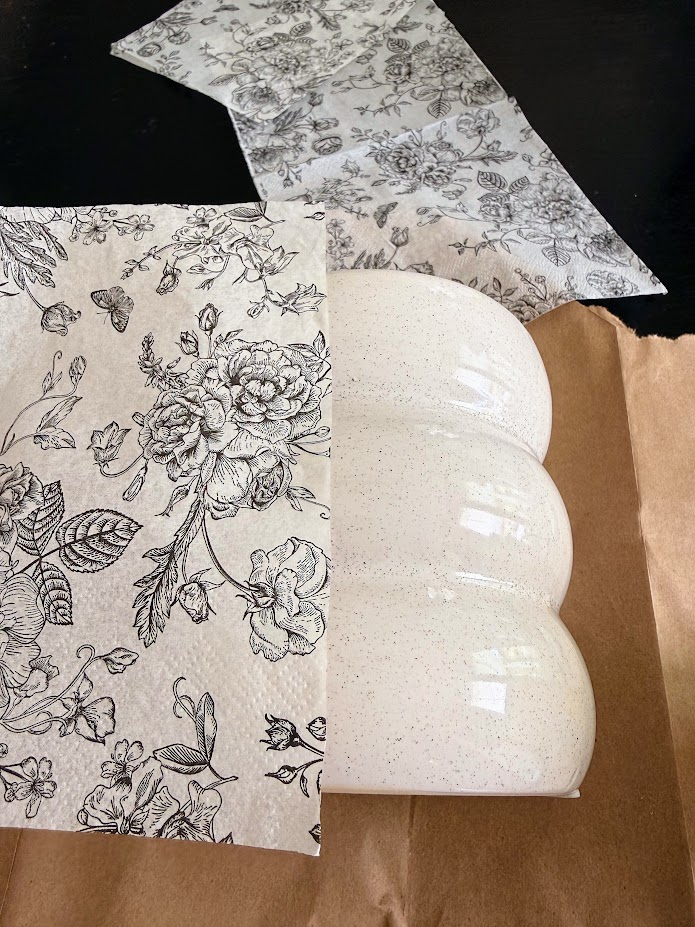
Separate your napkin. Most napkins have two or three layers of paper, but you only want the printed top layer, so peel the plain white layers off and set them aside. Sometimes there will be more than 2 layers; mine had three!
Step 2
Tear or cut the napkin design into smaller pieces, working in sections rather than trying to wrap one giant piece around the entire vase at once. It’s just easier to control this way. .
Step 3
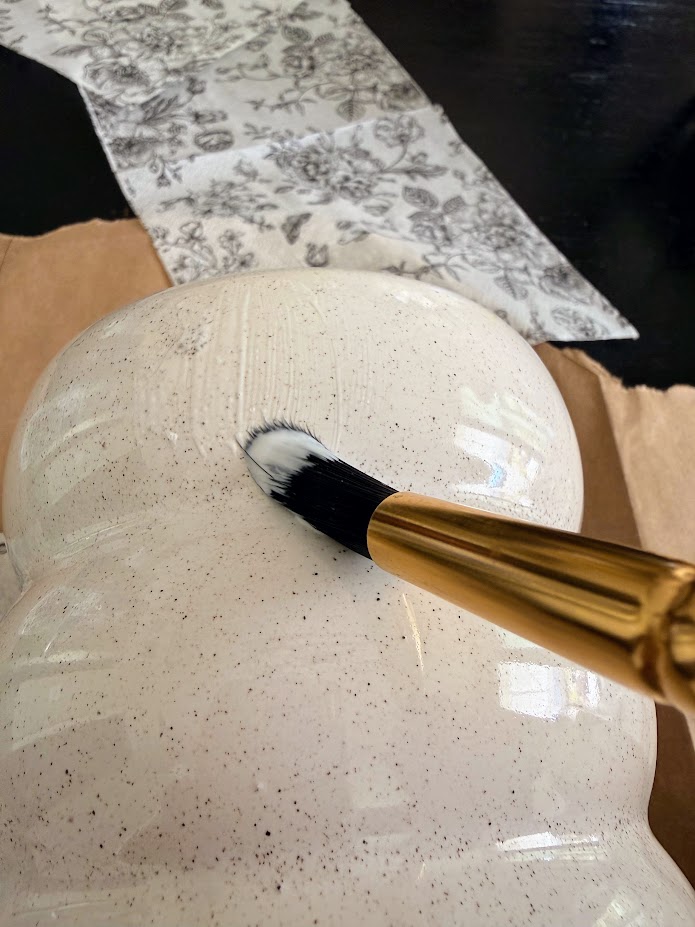
Brush a thin layer of Mod Podge directly onto the vase, lay your napkin piece down, and smooth it out from the center using your fingers or a piece of plastic wrap. This is the best way to avoid large wrinkles and air bubbles. Once you take the plastic wrap off, I put the plastic wrap in a ball and gently tap any wrinkles to smooth them out. Continue this method, slightly overlapping the napkin layers as you go.
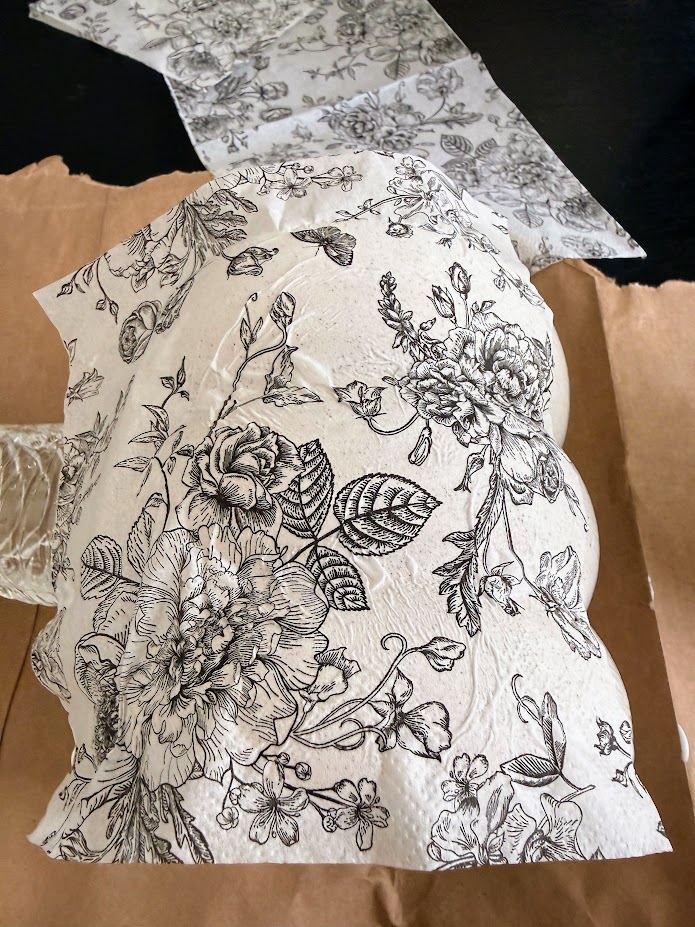
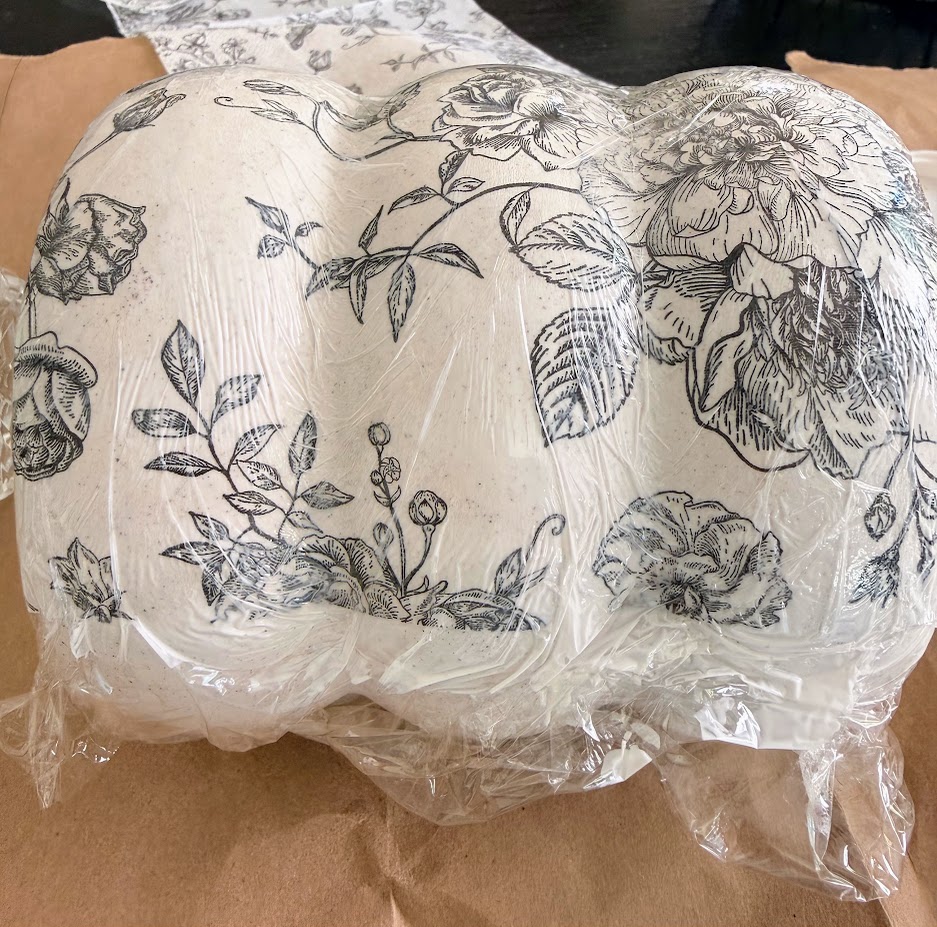
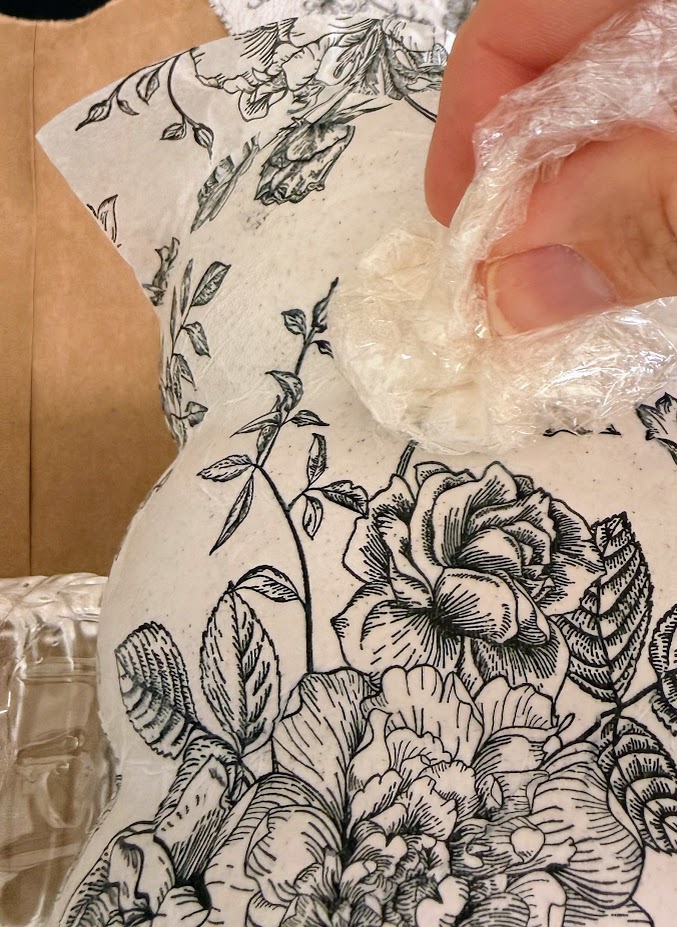
Continue this process working in smaller squares. I didn’t measure precisely, just eyeballed it and cut the paper napkins
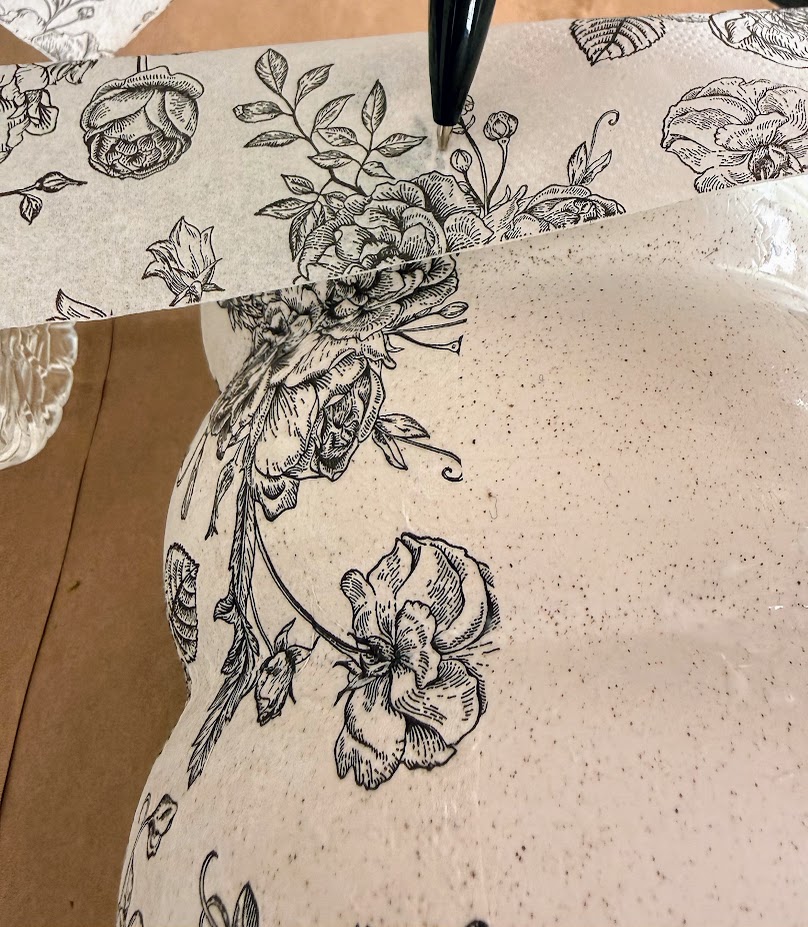
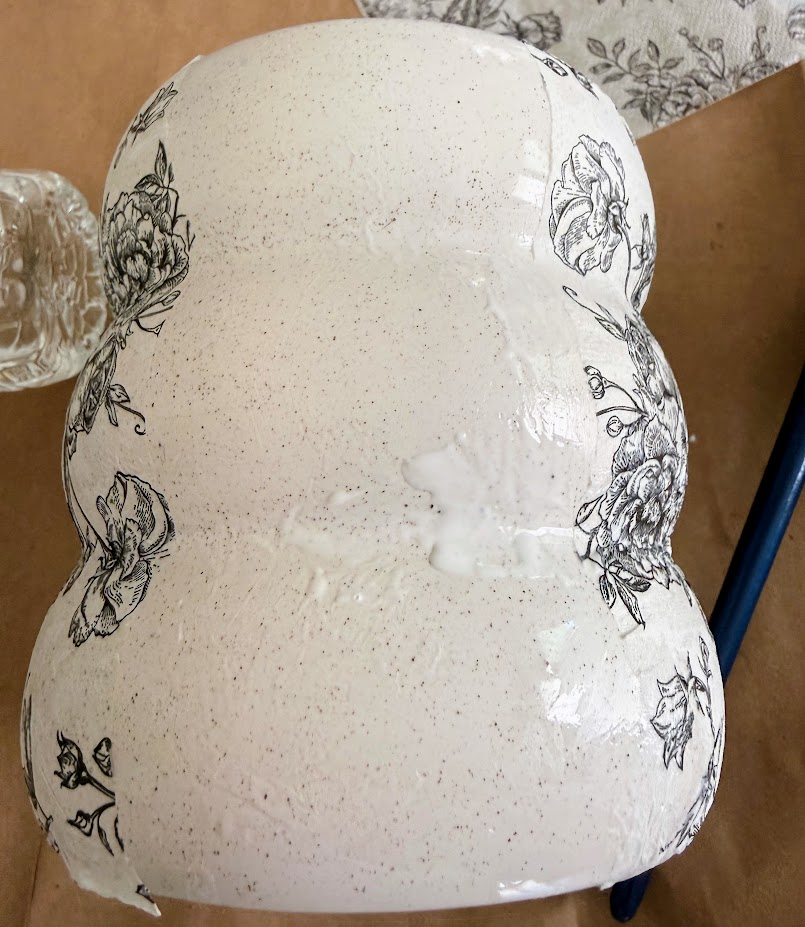
Step 4
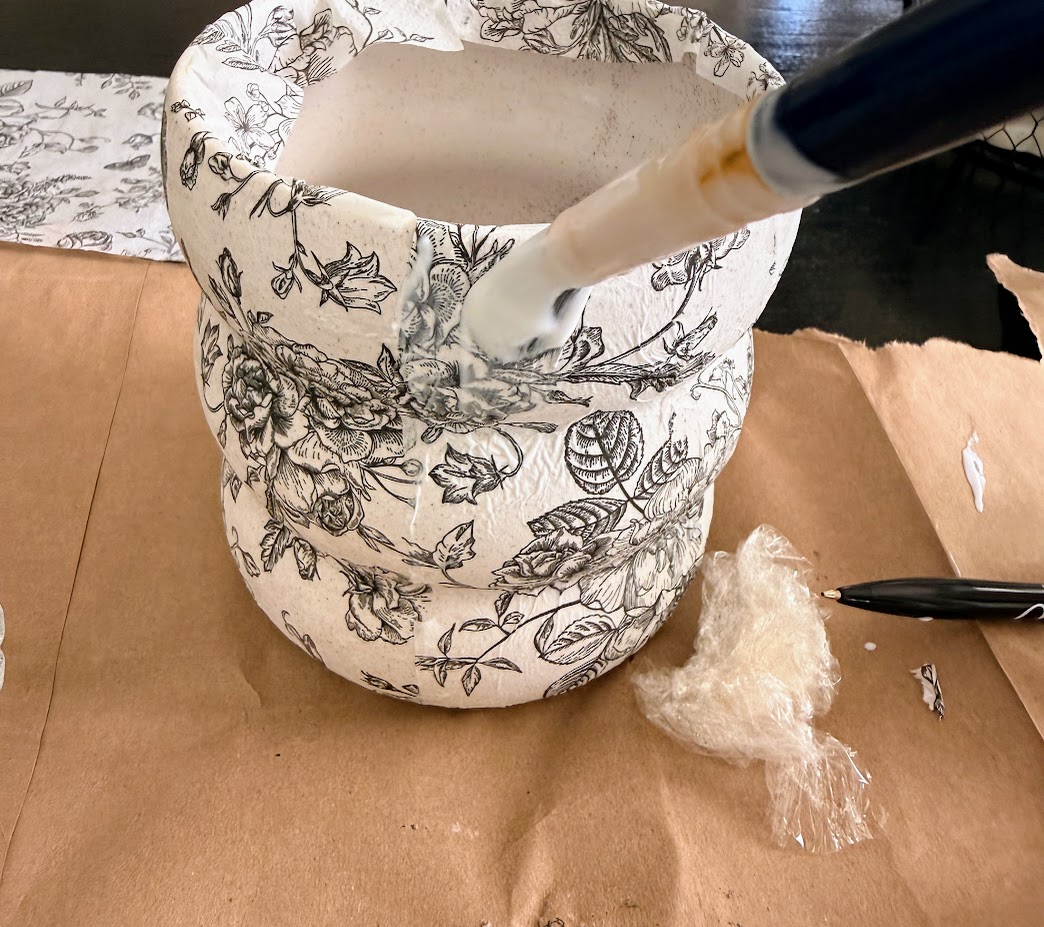
Once your design is fully applied, brush another thin coat of Mod Podge over the top of the entire vase to seal everything in. This step is what gives it a protected finish. Let it dry completely.
Step 5
Here’s the part that really sells the vintage look: once everything is dry, lightly sand the top and bottom edges. It gives that vintage, worn-in look, like it’s been sitting on a shelf for decades instead of on your craft table.
Step 6
Grab your dark wax, dip a rag into the wax, and gently dab the top of the vase to give it more of a worn look.
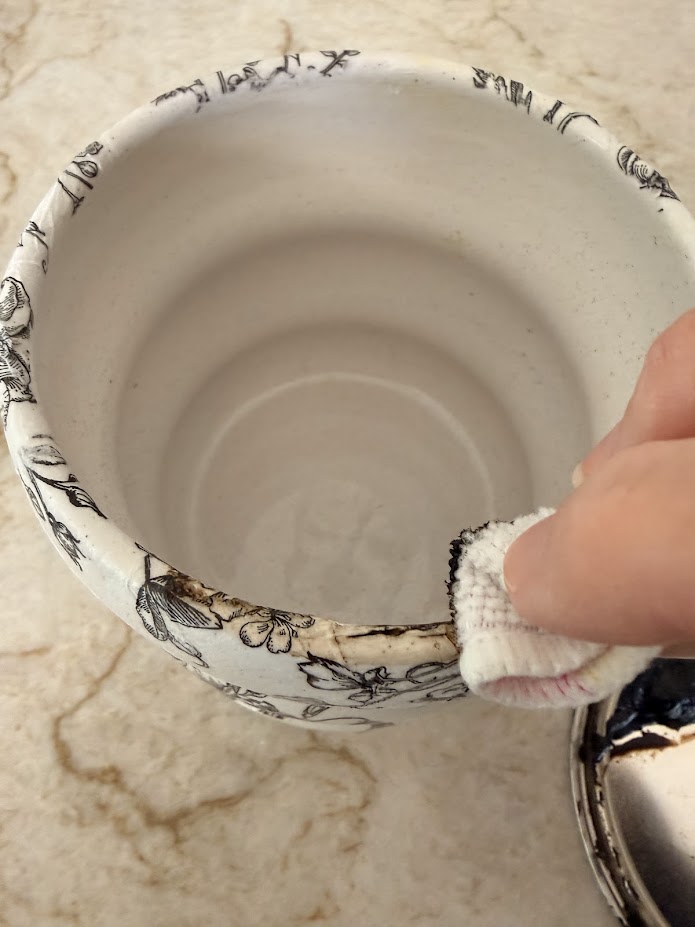
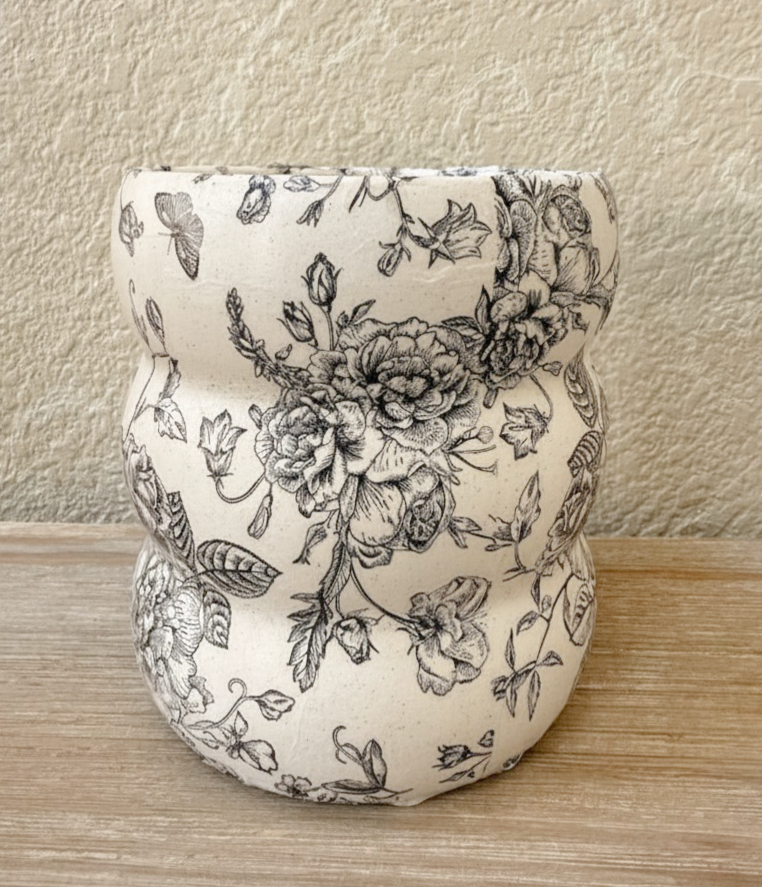
At this point, you can be done with your project, or you could take it to the next level. I had all of the supplies on hand, so I thought, why not! Here is how it looks before the epoxy. Still looks great, just shows a little of the wrinkles and isn’t shiny.
Optional: Adding an Epoxy Top Coat
What you’ll need:
Note: If you buy the epoxy, most of them come with a kit of all the supplies you will need
A two-part epoxy (resin + hardener),
Mixing cup and stir stick (Most of the kits come with all of this)
Foam brush
Disposable gloves
A turntable or Tumbler
Something to catch drips (wax paper or a disposable tray under your workspace)
Work in a well-ventilated area. Epoxy fumes can be strong, so I like to do this near an open window or out in the garage with the door open.
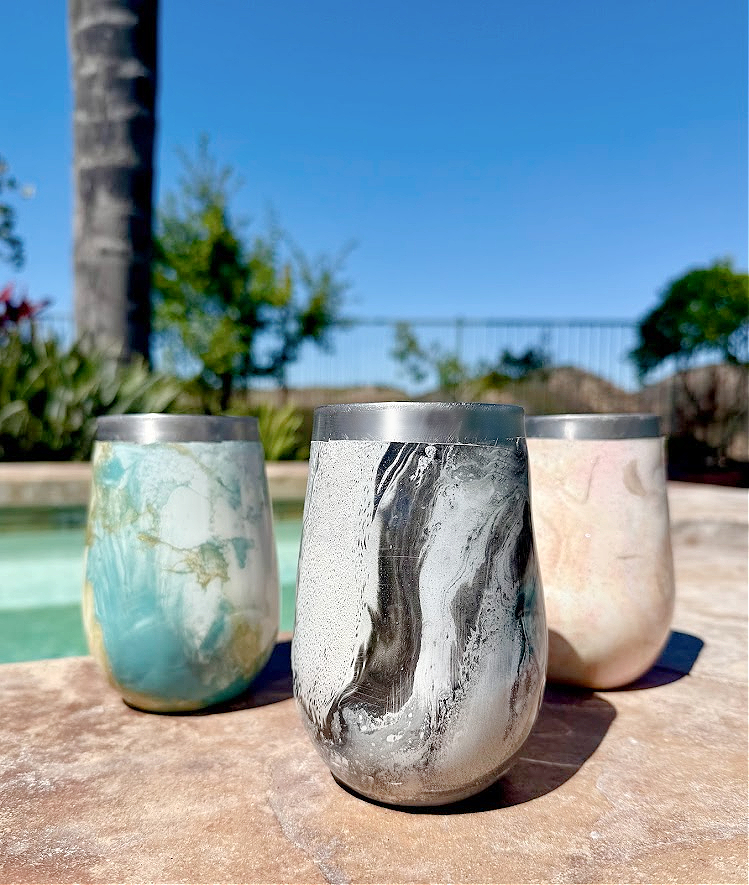
You can find my Epoxy Tumblers here
Step 1
For the best results, make sure your decoupage vase is completely dry and cured — I’d give it a full 24 hours minimum before adding epoxy on top. If there’s any moisture trapped underneath, it can cause bubbling or cloudiness in the epoxy.
Step 2
Mix your epoxy according to the package instructions — this part matters more than people think. Too much or too little hardener and it won’t cure properly, so measure carefully rather than eyeballing it.
Step 3
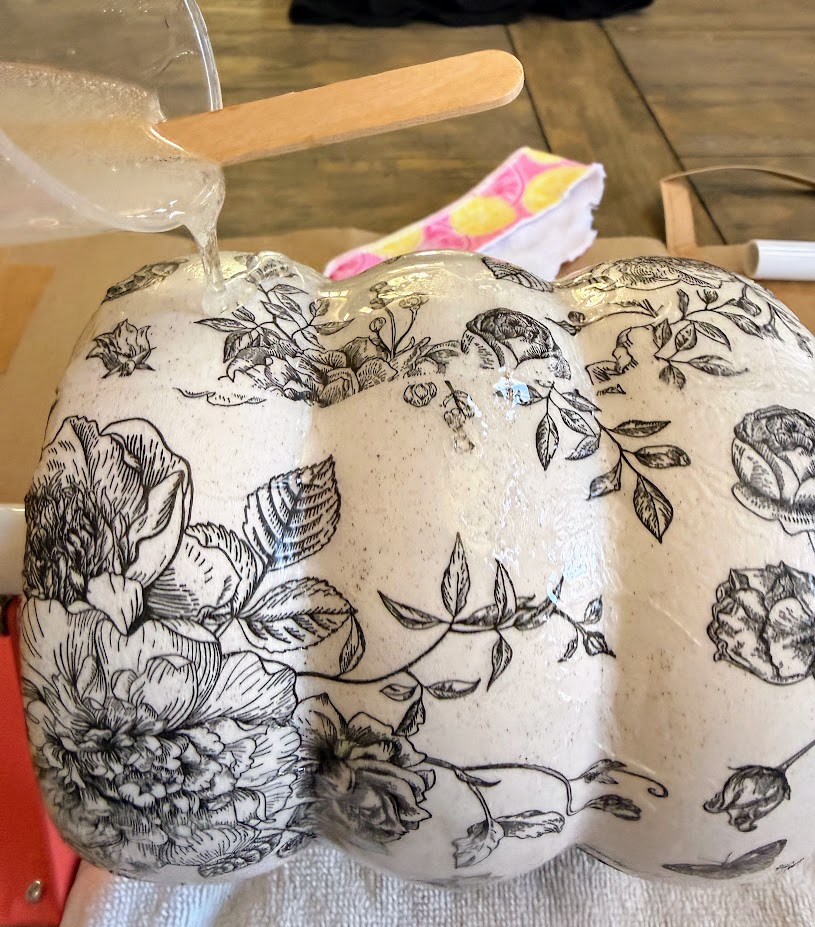
Set the vase on your turntable. Using your foam brush, apply a thin, even coat of epoxy over the entire vase, working in one direction to avoid streaks. Thin coats are easier to control than one thick one, and you can always add a second coat once the first is cured if you want more shine. Give it a slow spin every few minutes for the first 20–30 minutes
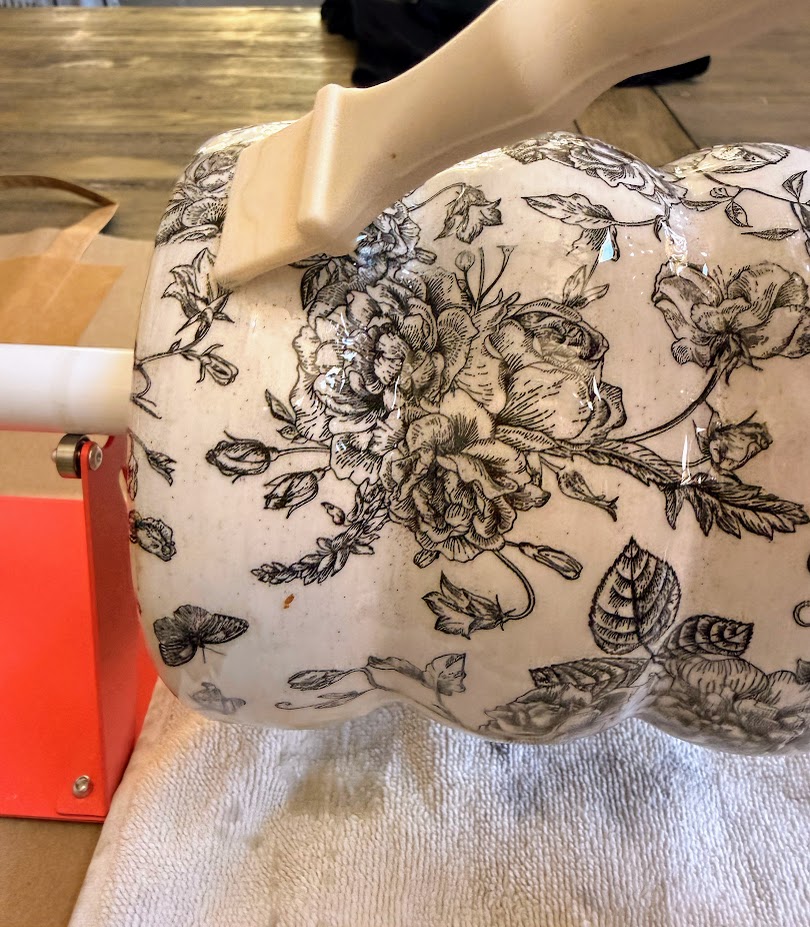
Since I have the tumbler, it makes this step really easy. I just pour and spread. The tumbler then spins it for the next 10 hours.
Step 4
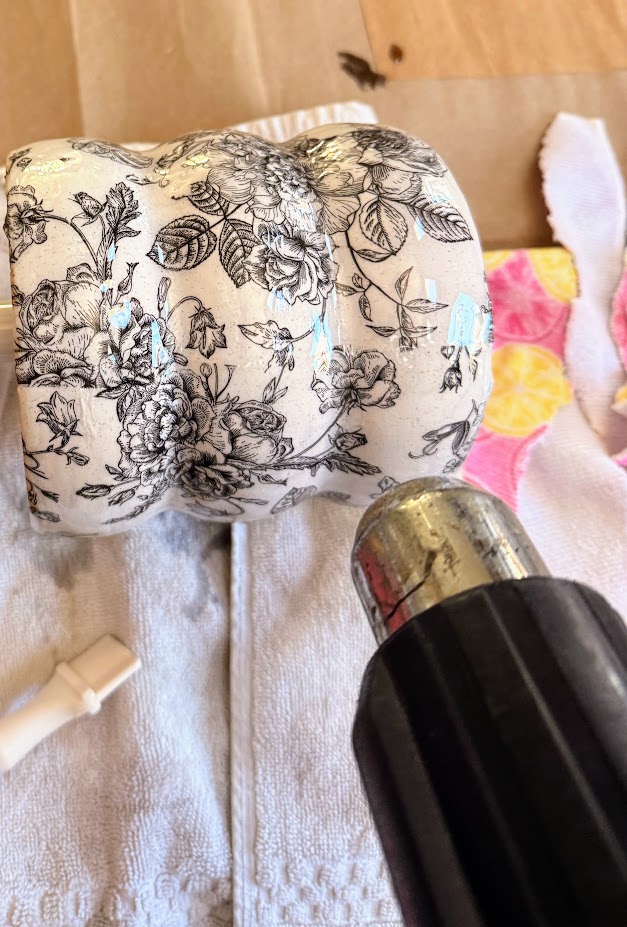
Use a heat gun to get out any bubbles once you are done pouring and spreading out the epoxy.
Step 6
Let it cure fully before touching it or using it for flowers — most epoxies need 24–72 hours to fully harden, so check your specific product’s instructions.
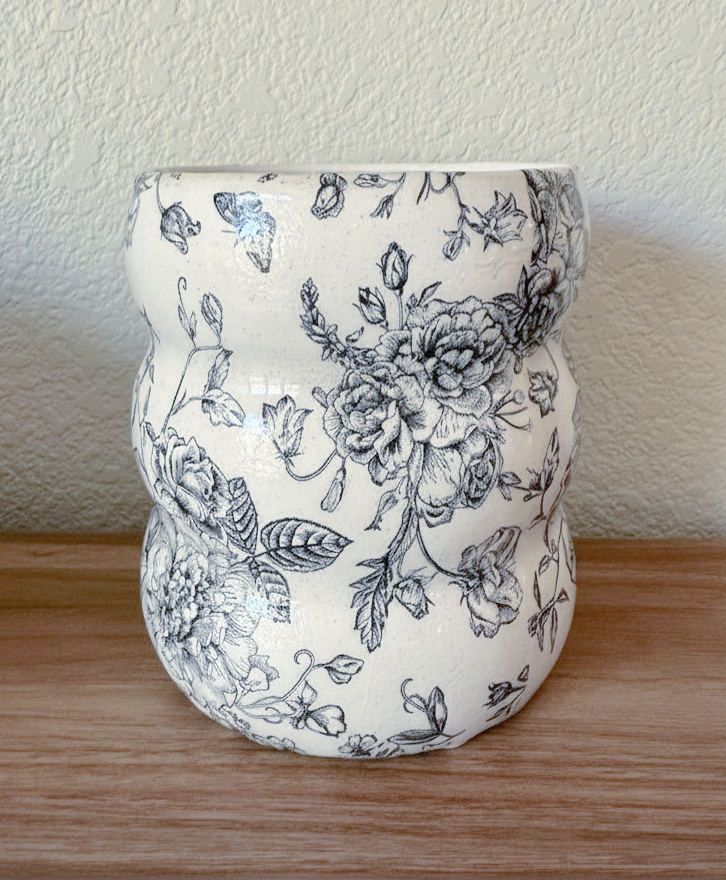
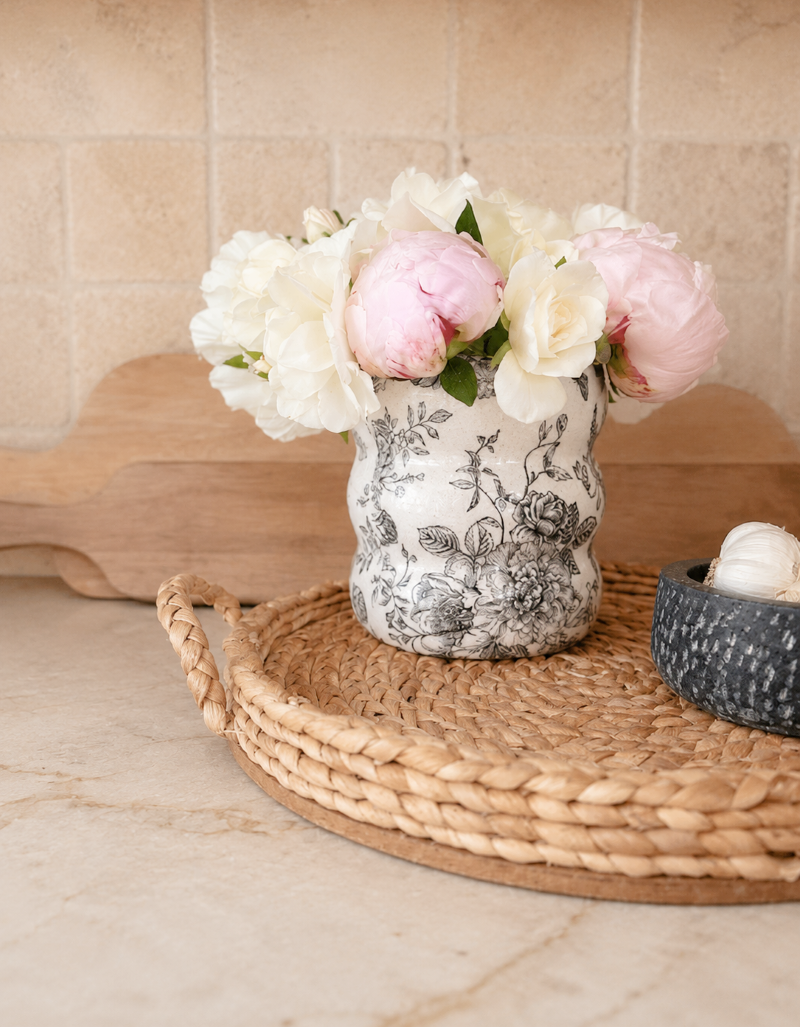
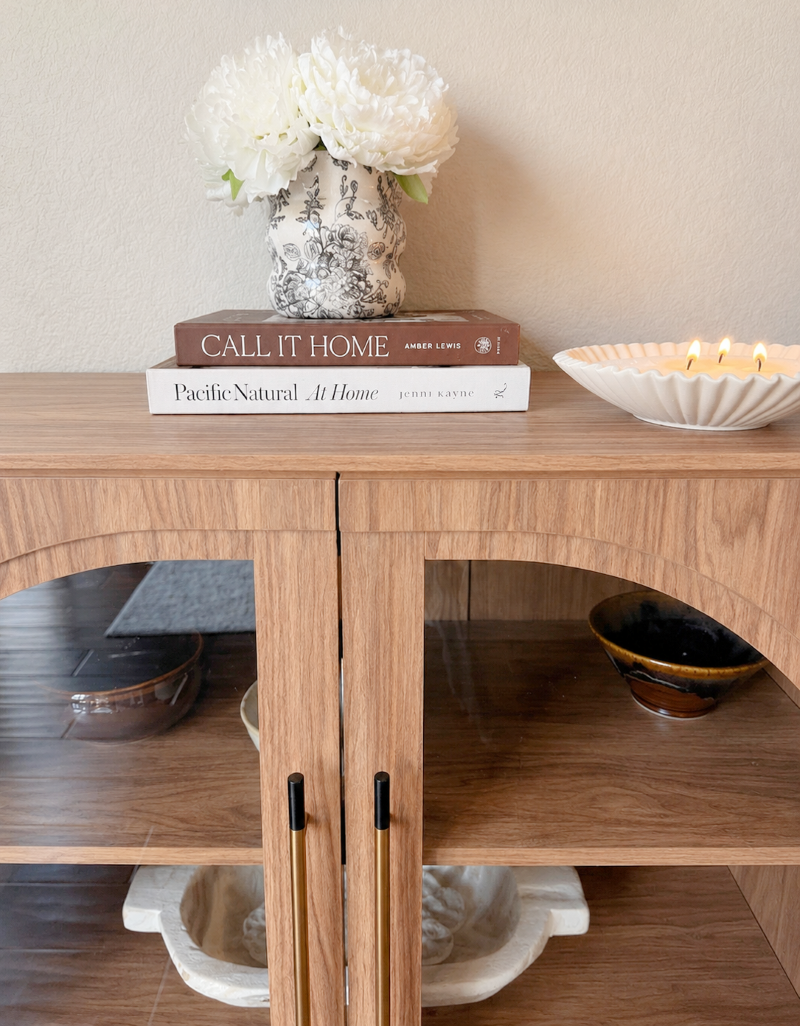
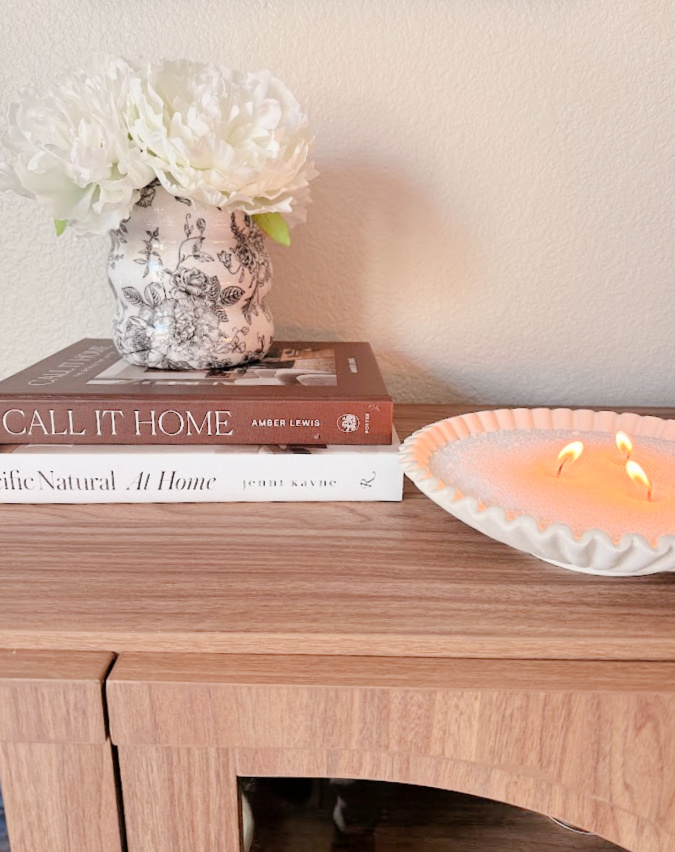
Here it is all glazed up! I love this little crock or vase in the kitchen, holding flowers or wood utensils; this little guy is super versatile!
You can see how I made the sand candle here
Frequently Asked Questions
Can I use tissue paper instead of a napkin?
Yes, though tissue paper tears more easily, so go slow and use smaller pieces.
Will this hold up with real flowers and water? The napkin and Mod Podge are on the outside of the vase, so as long as you’re not soaking the whole thing or scrubbing it, it should be fine. If you want extra peace of mind, a coat of epoxy or a waterproof sealer over the top gives you more durability, as I did.
What if I get wrinkles or bubbles in the napkin? Work in small sections and smooth outward from the center as you go. If you do get a stubborn wrinkle, a tiny bit of extra Mod Podge brushed over the top usually flattens it right back down.
Do I need to paint the vase first? Nope, this one uses zero paint. If your napkin design is a little sheer, though, painting the inside of the vase using white paint or chalk paint beforehand can help the print pop more. You could also spray paint the outside if you’re worried.
What if I get a little tear while adding the Mod Podge? Don’t stress about it — this happened to me; however, small tears actually blend in more than you’d think once everything’s dry and sealed. Just gently press the tiny piece of the torn edges back down with a little extra Mod Podge on top. If it’s a bigger tear, patch it with a tiny scrap from your napkin pieces. A little unevenness actually adds to that vintage, worn-in look, so don’t worry about making it perfectly seamless.
How do I get a nice glossy finish?
If you want more shine, use a gloss Mod Podge instead of the matte. A couple of thin coats of the gloss formula will give you a nice sheen — just make sure each layer dries completely before adding the next so you don’t trap any cloudiness underneath. I
This has quickly become one of my favorite projects. It’s such a fun way to give an old vase a whole new life, and it costs practically nothing to try. I already have a few more of these lined up using different napkin prints, so I’ll be sharing those as I go!
Let’s see what everyone created for the month of July!

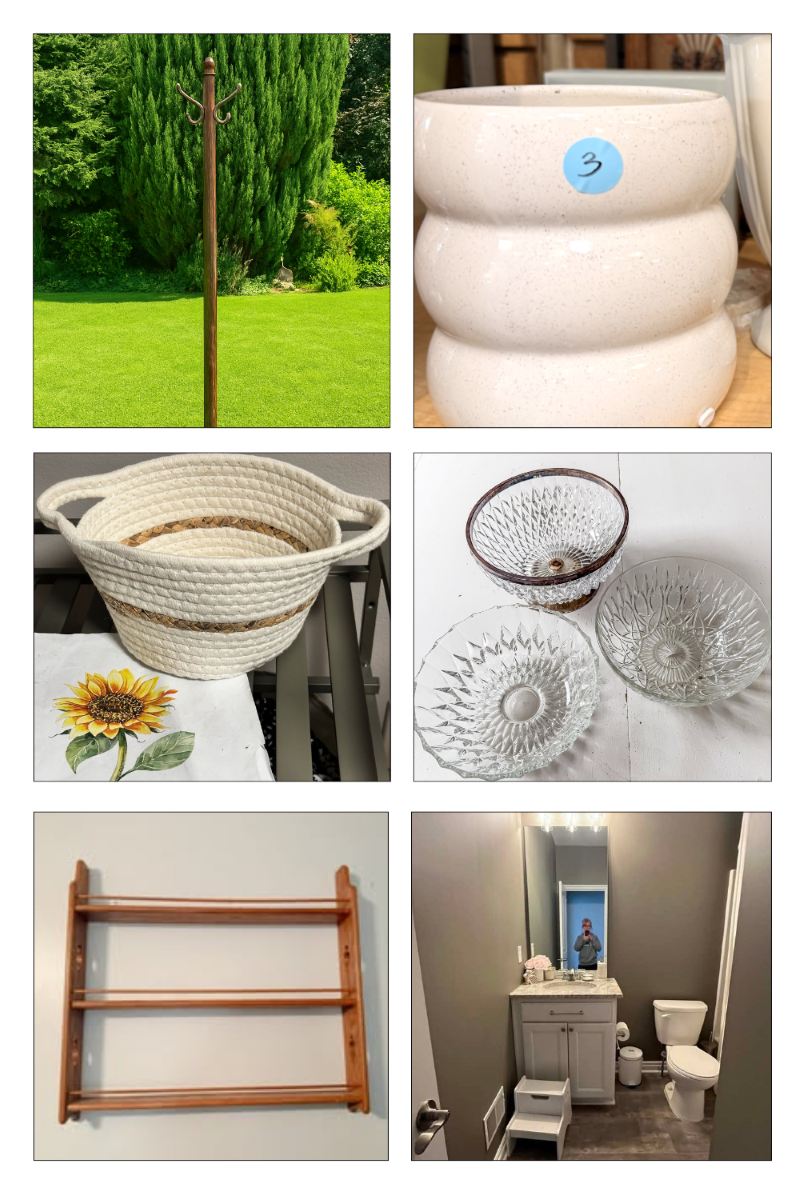
See how Funky Junk Interiors’ forgotten coat rack got a 2nd life as a charming DIY hanging plant stand. Perfect for an outdoor patio!
Kristin transformed a $3 glass vase into a high-end vintage crock with a simple napkin decoupage technique.
Learn how to update a Dollar Tree rope basket with Mod Podge and a sunflower printable. A budget-friendly gift basket from Our Crafty Mom.
Songbirds is showing us how easy it is to make elegant glass domes from thrift store crystal bowls!<br>
See how you can update a wood stain finish to match your favorite wood tone on an Oak Plate Rack from Shop at Blu.
Redhead Can Decorate is showing us how black paint can make a stunning impact in a small space!
~Thanks for stopping in today~
Shop the look
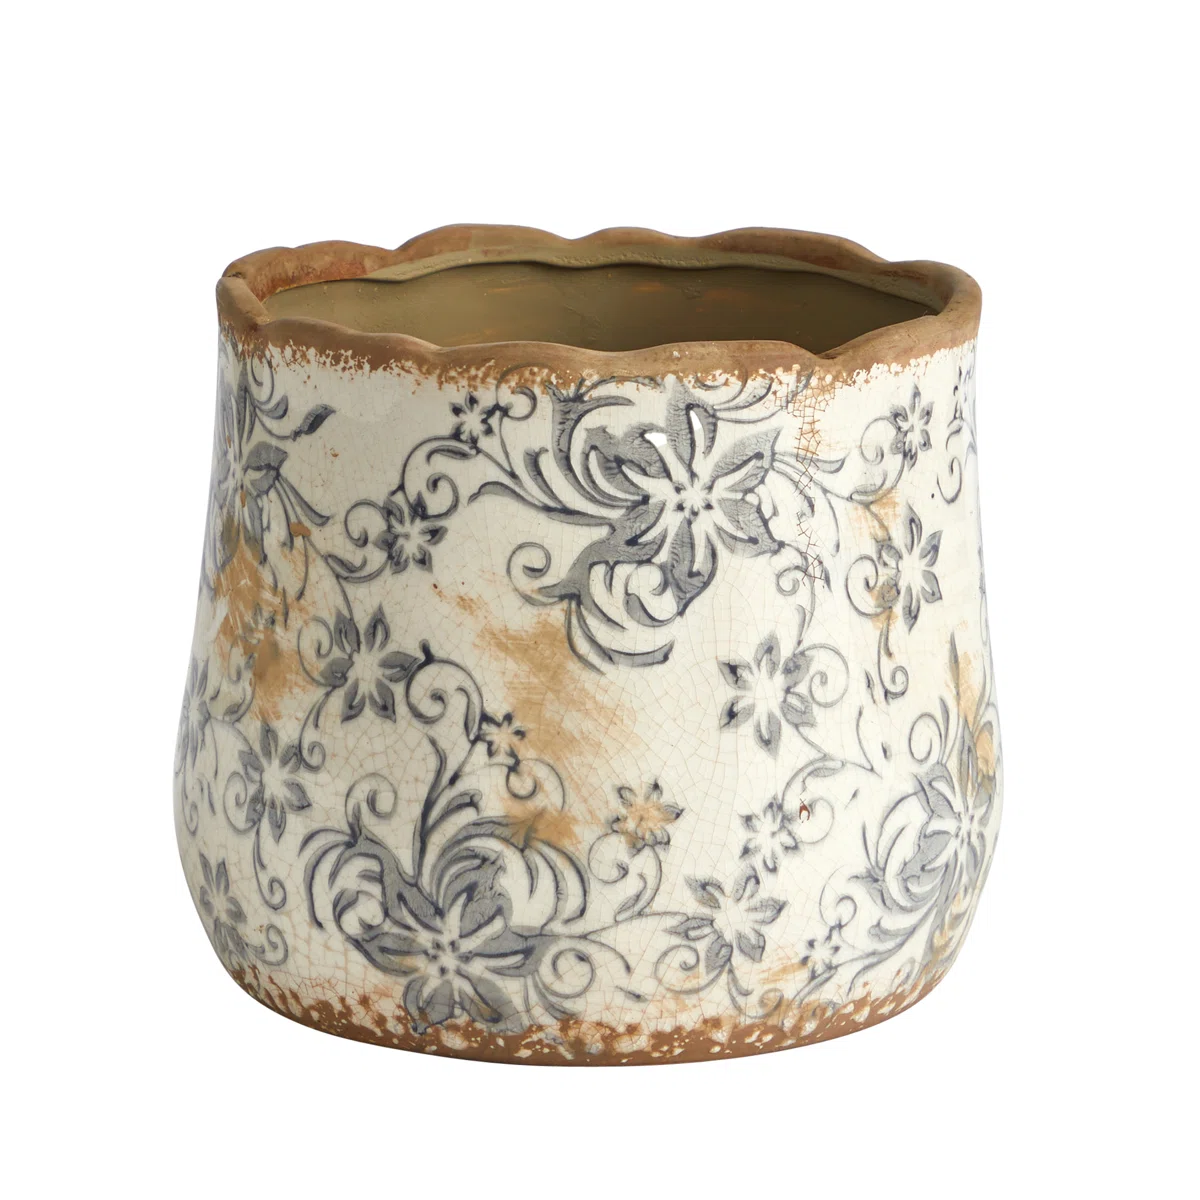
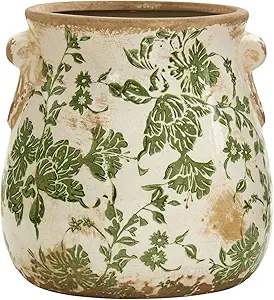
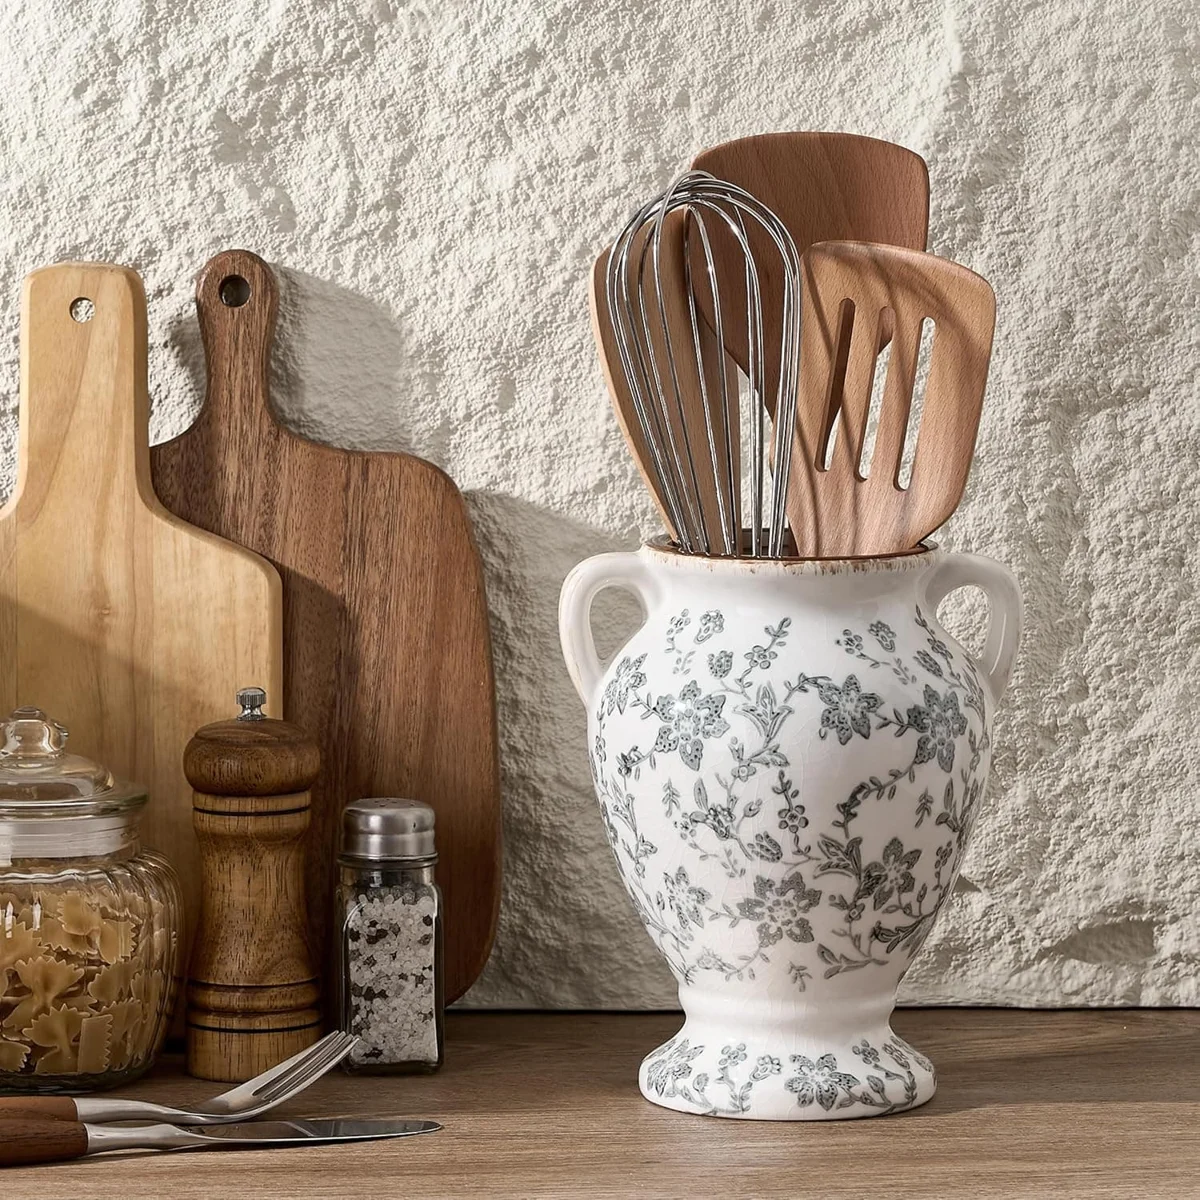
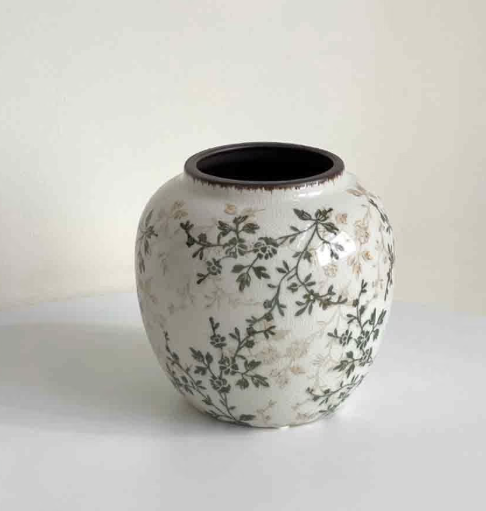
Love the vintage crock look but want to skip the DIY? Here are a few of my favorite ready-made finds.
This post contains affiliate links. If you shop through them, I may earn a small commission at no extra cost to you.