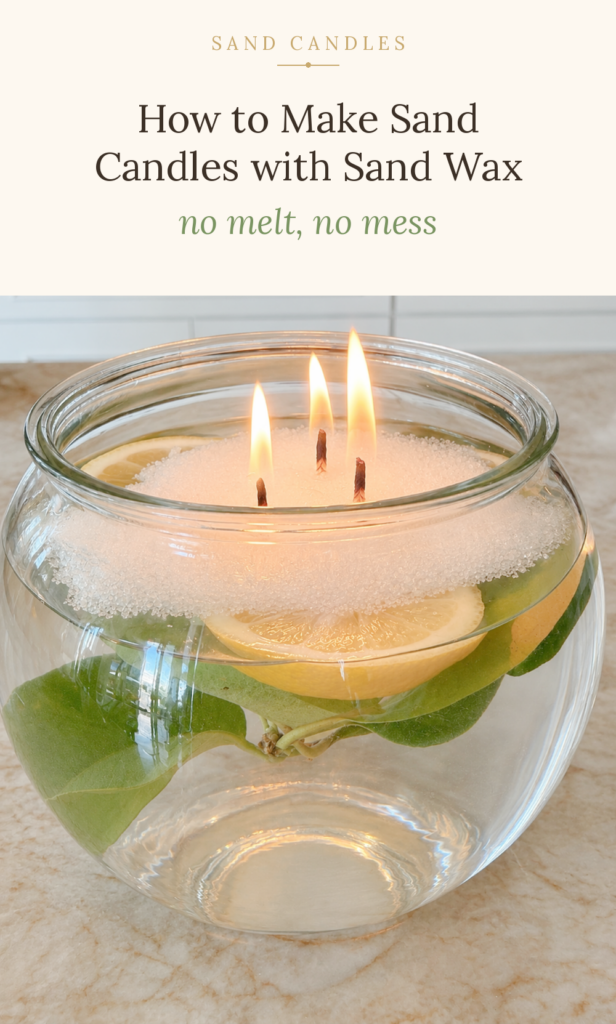
How to Make Sand Candles with Sand Wax — No Melt, No Mess
How to Make Sand Candles with Sand Wax — No Melt, No Mess
What is Sand Candle Wax?
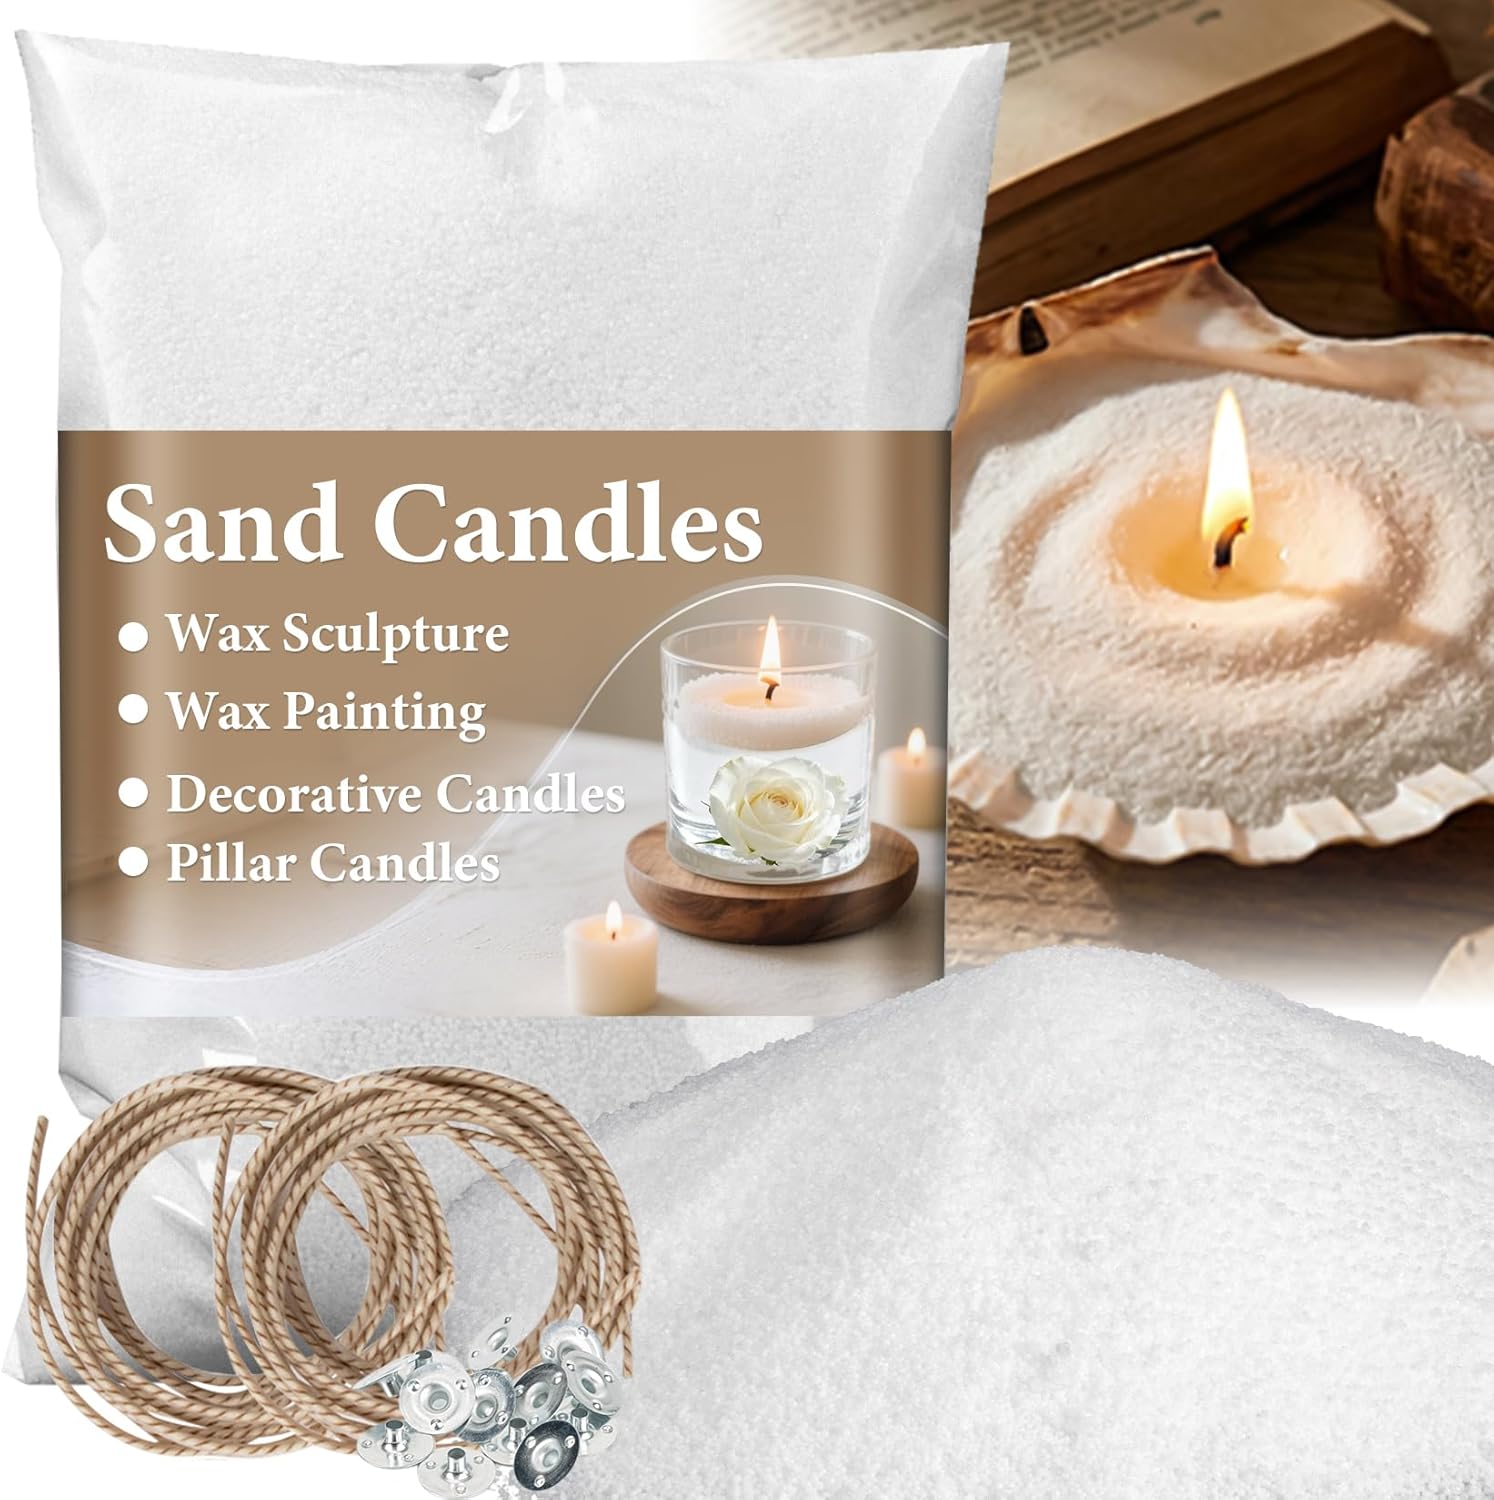
Candle sand wax (sometimes called pearl candle wax) is a granular texture wax that looks and pours like fine grain sand. Unlike traditional waxes that require melting, this natural vegetable wax comes ready to use straight from the bag. No melting point to worry about, no hot wax burns, and no complicated setup. It’s a popular choice for DIY projects because of its ease of use, creative freedom, and unique texture that gives every candle a one-of-a-kind, sand-like form.
Affiliate links are listed below, where I may make a small commission.
What You’ll Need

To get started with your own candles, gather the following:
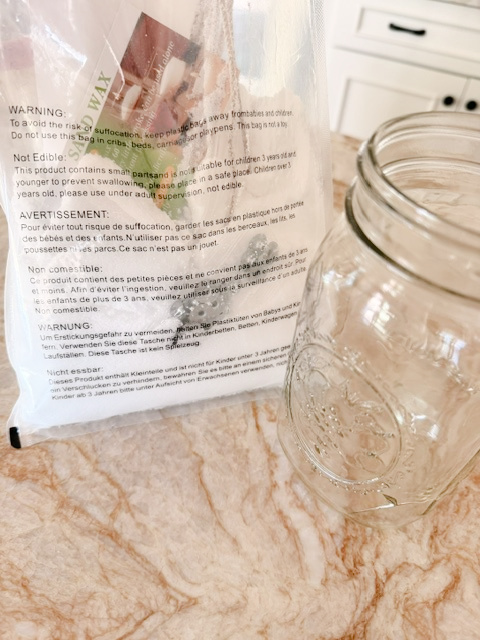
A heat-resistant container of your choice — ceramic bowls, large vases, small vases, or even a concrete basin — all work beautifully. You’ll also need candle wicks, your CCS granulated sand wax, fragrance oil or essential oils, and any colorants if you want to experiment with various colors or different colors of candle sand for a unique look.
Supplies Needed

Supplies I Used
Sand Wax Kit that comes with wicks
If you go with a different brand, you can buy the wicks here
Essential oil
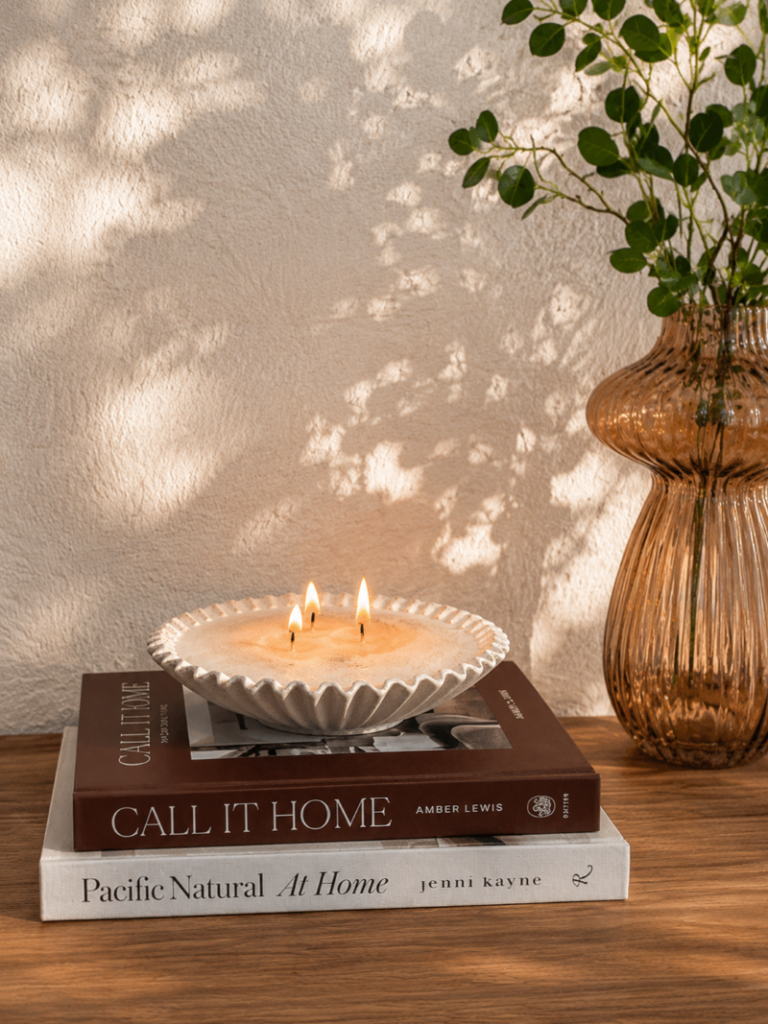
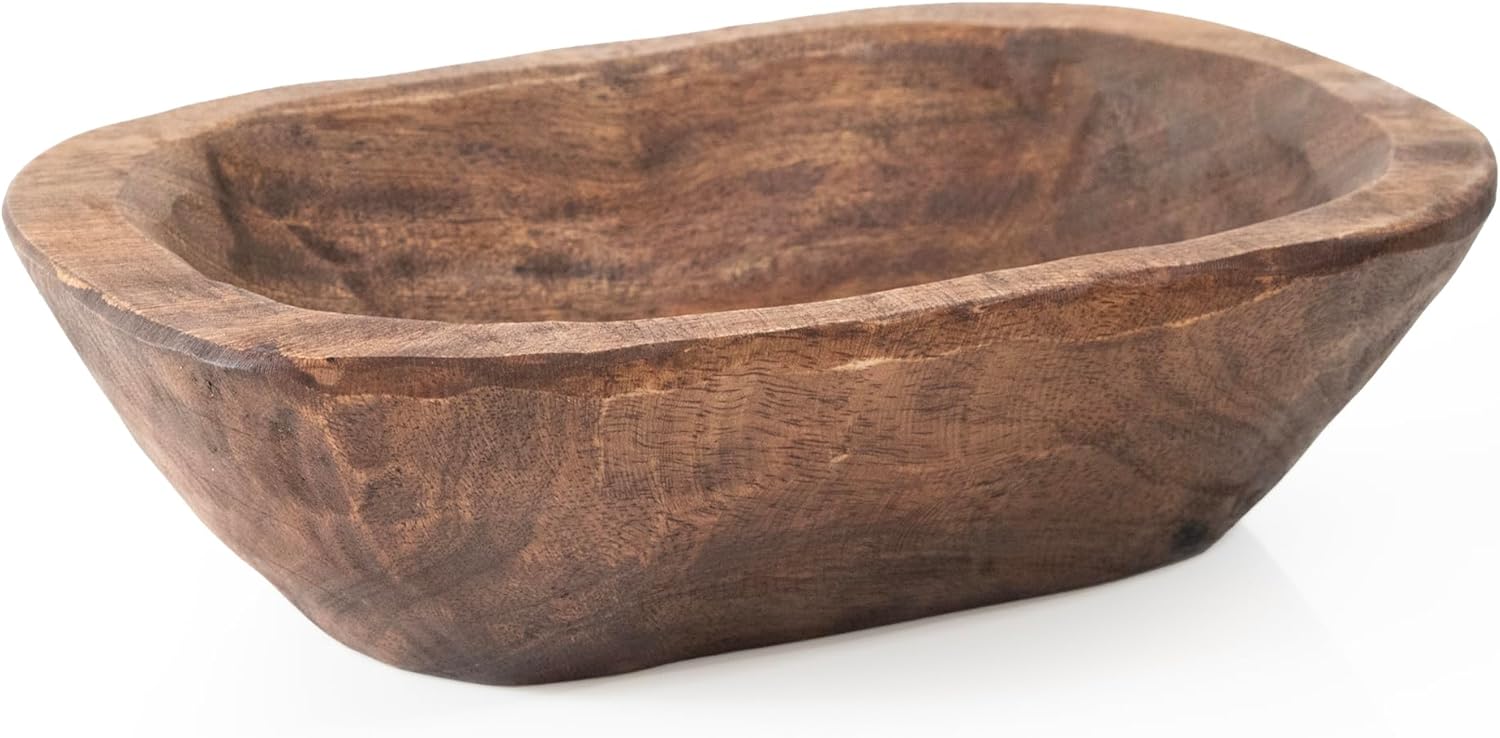
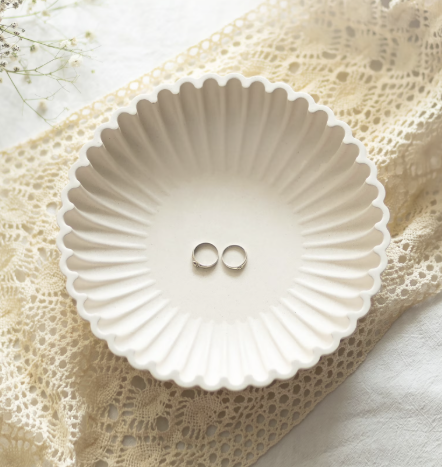
Wood Bowl or Ceramic Dish
Step-by-Step Instructions
I highly recommend you transfer the wax very carefully to a jar or you may end up with tiny wax beads everywhere.
Pour your granular wax into your vessel, filling to your desired level. This is where the creative ideas really start to flow — you can layer different colors of sand wax, create a specific pattern, or keep it simple with a solid color for a clean, modern aesthetic appeal. You might need to separate a few little clumps with your fingers

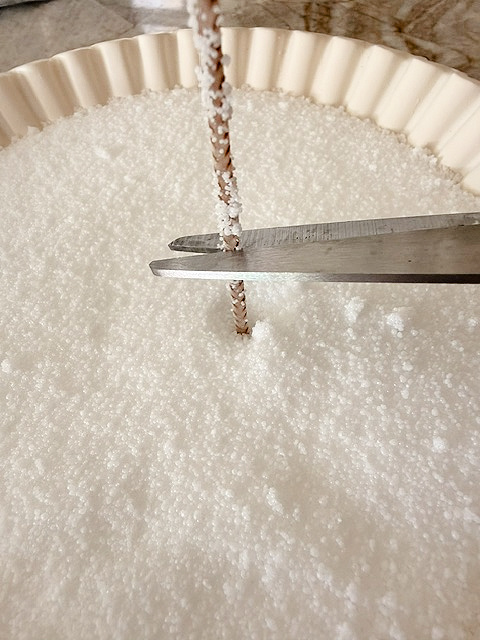
Place your wicks into your wax. You want the wick approximately a ¼ inch above the surface of the sand candle wax, so cut your wick accordingly. Place your new wick or wicks at the center of the candle, or place a few of them a couple of inches apart, making sure it stays upright. It does not need to touch the bottom of the container you are using.
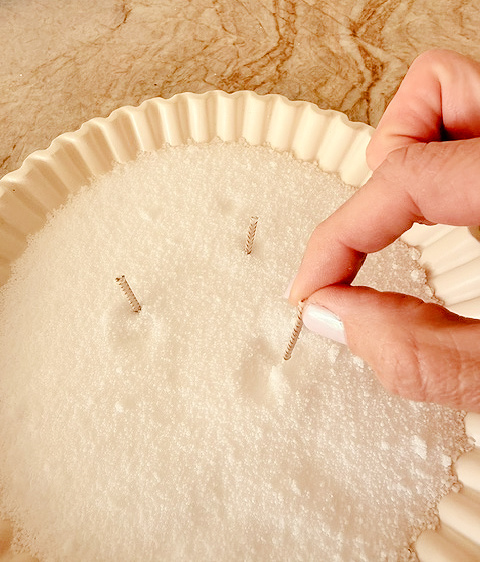
You can cut the wicks before or after you add them to the sand.
Once filled, add a few drops of fragrance oil or essential oils directly into the wax near the wick, and gently mix for an even scent distribution. The best part? There’s no waiting for anything to set or cool. Your candle is essentially ready.
Enjoy your new Candle!
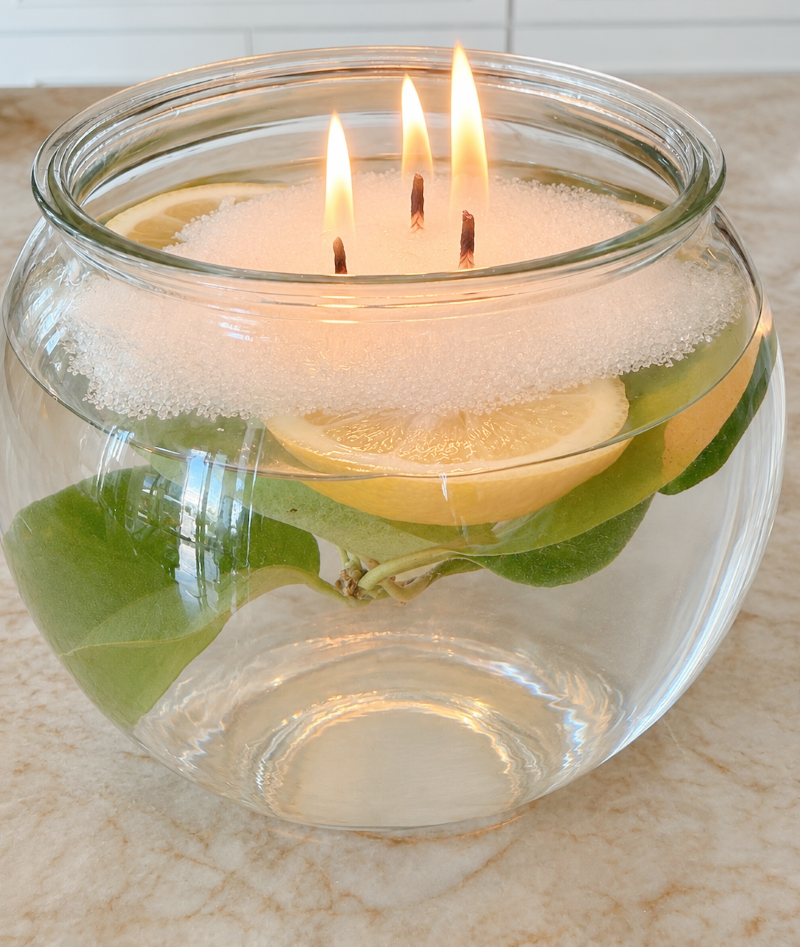
One of my favorite parts of working with this wax was just playing around with it. I filled a container with water, added a few lemon slices for a little pop of color and texture, and then poured the sand wax right on top. It settled in this really pretty layered look, with the lemons floating just below the surface. It’s such a simple twist, but it completely changes the vibe of the candle — perfect if you want something a little brighter and more playful for spring or summer.

Clean-up
One of the best things about sand candle wax is how easy it is to clean up and reuse — both the wax and the container.
Once the wax has cooled and hardened, lift out both the wick and the solidified wax together.
If you’re done with that candle, save any unused wax for your next project.
Want to reuse the same container? Top it off with fresh sand wax, and add a new wick, Easy Peasy.
Why Candle Makers Love This Wax
Beyond its ease of use, candles work beautifully for special occasions and events. Wedding planners have discovered that custom sand wax candles make stunning centerpieces, and experienced crafters love using various sizes of heat-safe containers to create entire collections. The customization options are virtually endless — intricate designs, unique designs, various colors, and even the ability to reuse old candles by refreshing them with new wax.
From an environmental standpoint, this natural vegetable wax has a lower environmental impact than many traditional candle waxes, produces less waste, and burns cleaner, which is better for indoor air quality.

Tips for Best Results
Use heat-proof containers with enough depth to support your wick and allow for a proper burn time. Store any leftover wax in sealable bags for future use — one of the many perks of this type of wax is that nothing goes to waste. If you’re making candles for your own luxury event or gifting custom candles, consider layering different colors of candle sand for a warm ambiance that feels intentional and beautiful.
Tips & Facts
- ✓A 2-inch wick will burn for about 3 hours, and the candle will go out on its own. The longer the wick, the longer the burn.
- ✓Let the top layer of wax completely dry, then lift off the thin layer and discard it. The remaining sand can be reused.
- ✓The wick’s length and the size of the container determine the candle’s burn time.
- ✓Beginners can easily make sand candles by following simple step-by-step guides — the process is straightforward and requires no advanced skills.
- ✓To reuse the container, simply add more sand if needed and pop in a new wick.
Whether you’re making candles for special events, exploring creative candle-making projects for the first time, or simply want to fill your home with warm ambiance, sand candle wax gives every candle enthusiast — beginner or experienced crafter — the ability to create beautiful candles without the stress.
You can find my DIY Wax candles here.
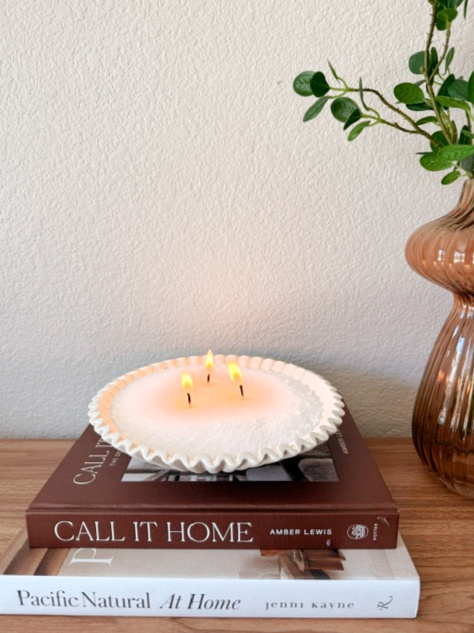
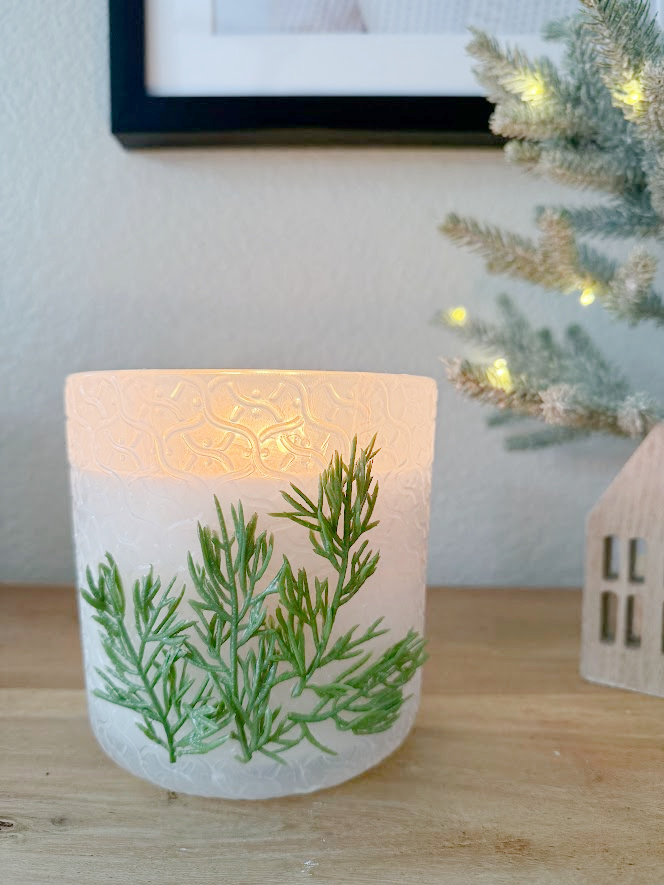
Candle Projects I’ve Made


Safety First
- ●Never leave a burning candle unattended.
- ●Keep it away from flammable materials, curtains, and anything that can easily catch fire.
- ●Keep lit candles out of reach of children and pets.
- ●Trim the wick before each burn to keep the flame controlled and even.
- ●Place your candle on a heat-safe surface and avoid moving it while lit.