DIY Mason Jar Lamp
Hi there, my name is Kristi and I blog at Chatfield Court, where I share fun and easy DIY projects as well as the home improvement projects that we’ve done while fixing up our small 1950’s brick ranch. I’m honored to be here to guest post at My Uncommon Slice of Suburbia. I’ve been reading Kristin’s blog for many years, way before I started my blog, so it’s a real thrill to guest post for her while she’s spending the holidays with her family.

I’m all about fun and easy DIY, so when I found a large mason jar at a thrift store for $1.99, I knew that I could make an awesome lamp with it. I wasn’t sure how I was going to transform the jar when I started this project,…I could fill it up with something pretty, or I could paint it…but, because I had so much fun turning an old window into a mirror a while back, I decided to use the mirror effect spray again to turn it into a mercury glass mason jar.

To start, I worked on creating the mercury glass look by first giving the jar a thorough wash and dry. Then I sprayed a coat of the mirror effect spray, immediately followed by a light spritzing of a mixture of 1 part vinegar to 1 part water all over the outside of the jar (you want the water to bead up and not run down the sides). I set the jar on cardboard to dry a few minutes and then I took a wet but well wrung out paper towel and lightly blotted the beaded water up.
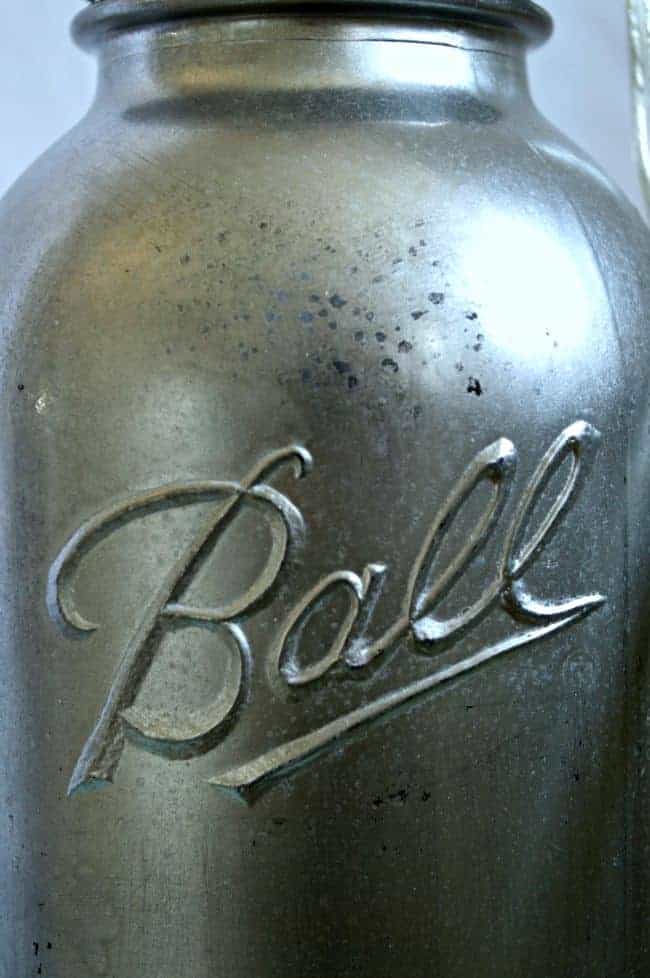
This is where you get the antique, mercury glass look because the water mixture prevents the spray from adhering to the glass. I had to spray, spritz and blot 3 times before I was satisfied with the coverage but it is a really quick process (just be sure the jar is dry before adding more coats). After I was sure the jar was dry, I sprayed a coat of clear enamel to protect the finish.
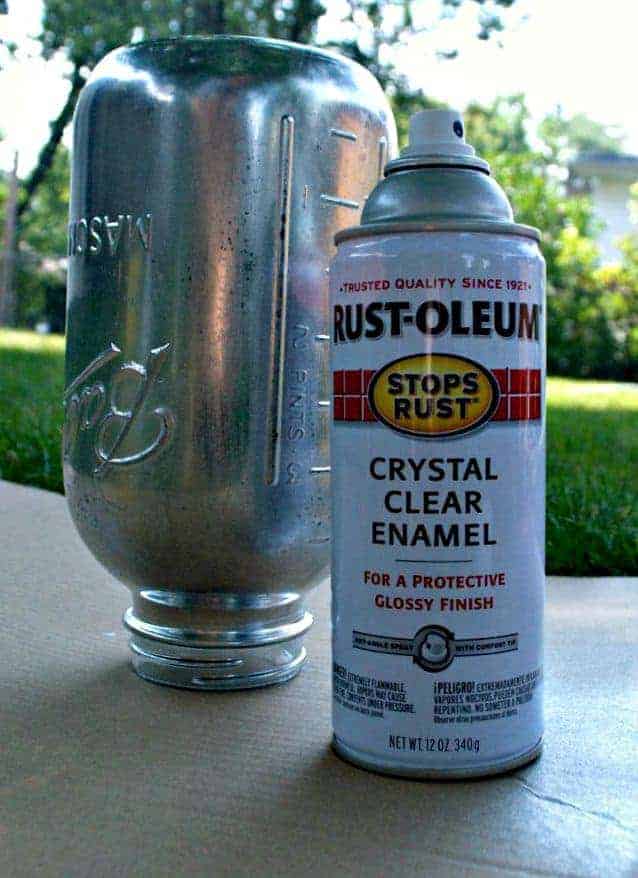
With my jar all finished, it was time to add my lamp kit. I’ve posted the steps to working with a lamp kit before if you want to check it out.

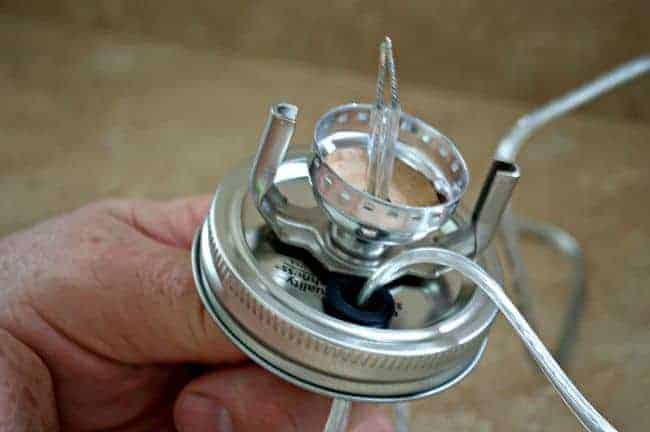 We used a regular mason jar lid, with two lid inserts for extra stability, and quickly wired it all up. I thought about drilling a hole in the jar to bring the cord through but I didn’t want to do that, so we just drilled a second hole in the lid, added a rubber grommet and brought the wire back out (as shown in the picture above).
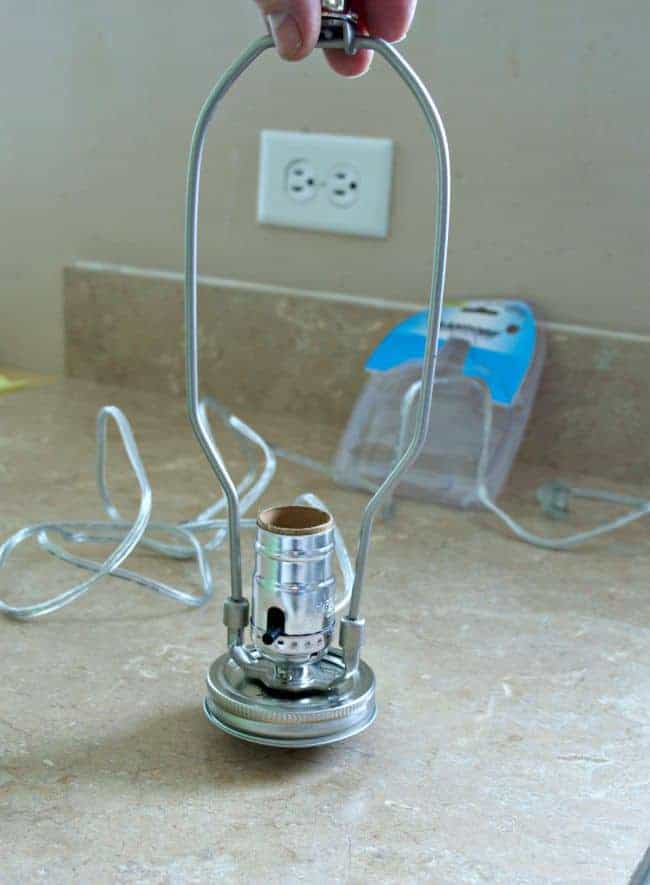
That’s it, 5 minutes and the lamp was ready for a shade. I was going to make a burlap shade but I found a really inexpensive one at World Market, and I got a discount (yay!), so I saved myself some time and just used store-bought this time. I did add some black ribbon that I had in my stash to style it up a bit.
 I love it in my new (almost complete) kitchen and it was so fun and easy to make! I hope you’ll stop over to Chatfield Court to check out our kitchen reno progress and all of the projects we’ve done to transform our small, dark space into a light, bright and useable space.
Thanks so much for having me over Kristin. It was so fun sharing my mason jar lamp with your awesome readers! Happy New Year’s to you all!
Thank you so much for guest posting here today Kristi!


