DIY Burlap Silverware Holder ~A Bountiful Harvest~
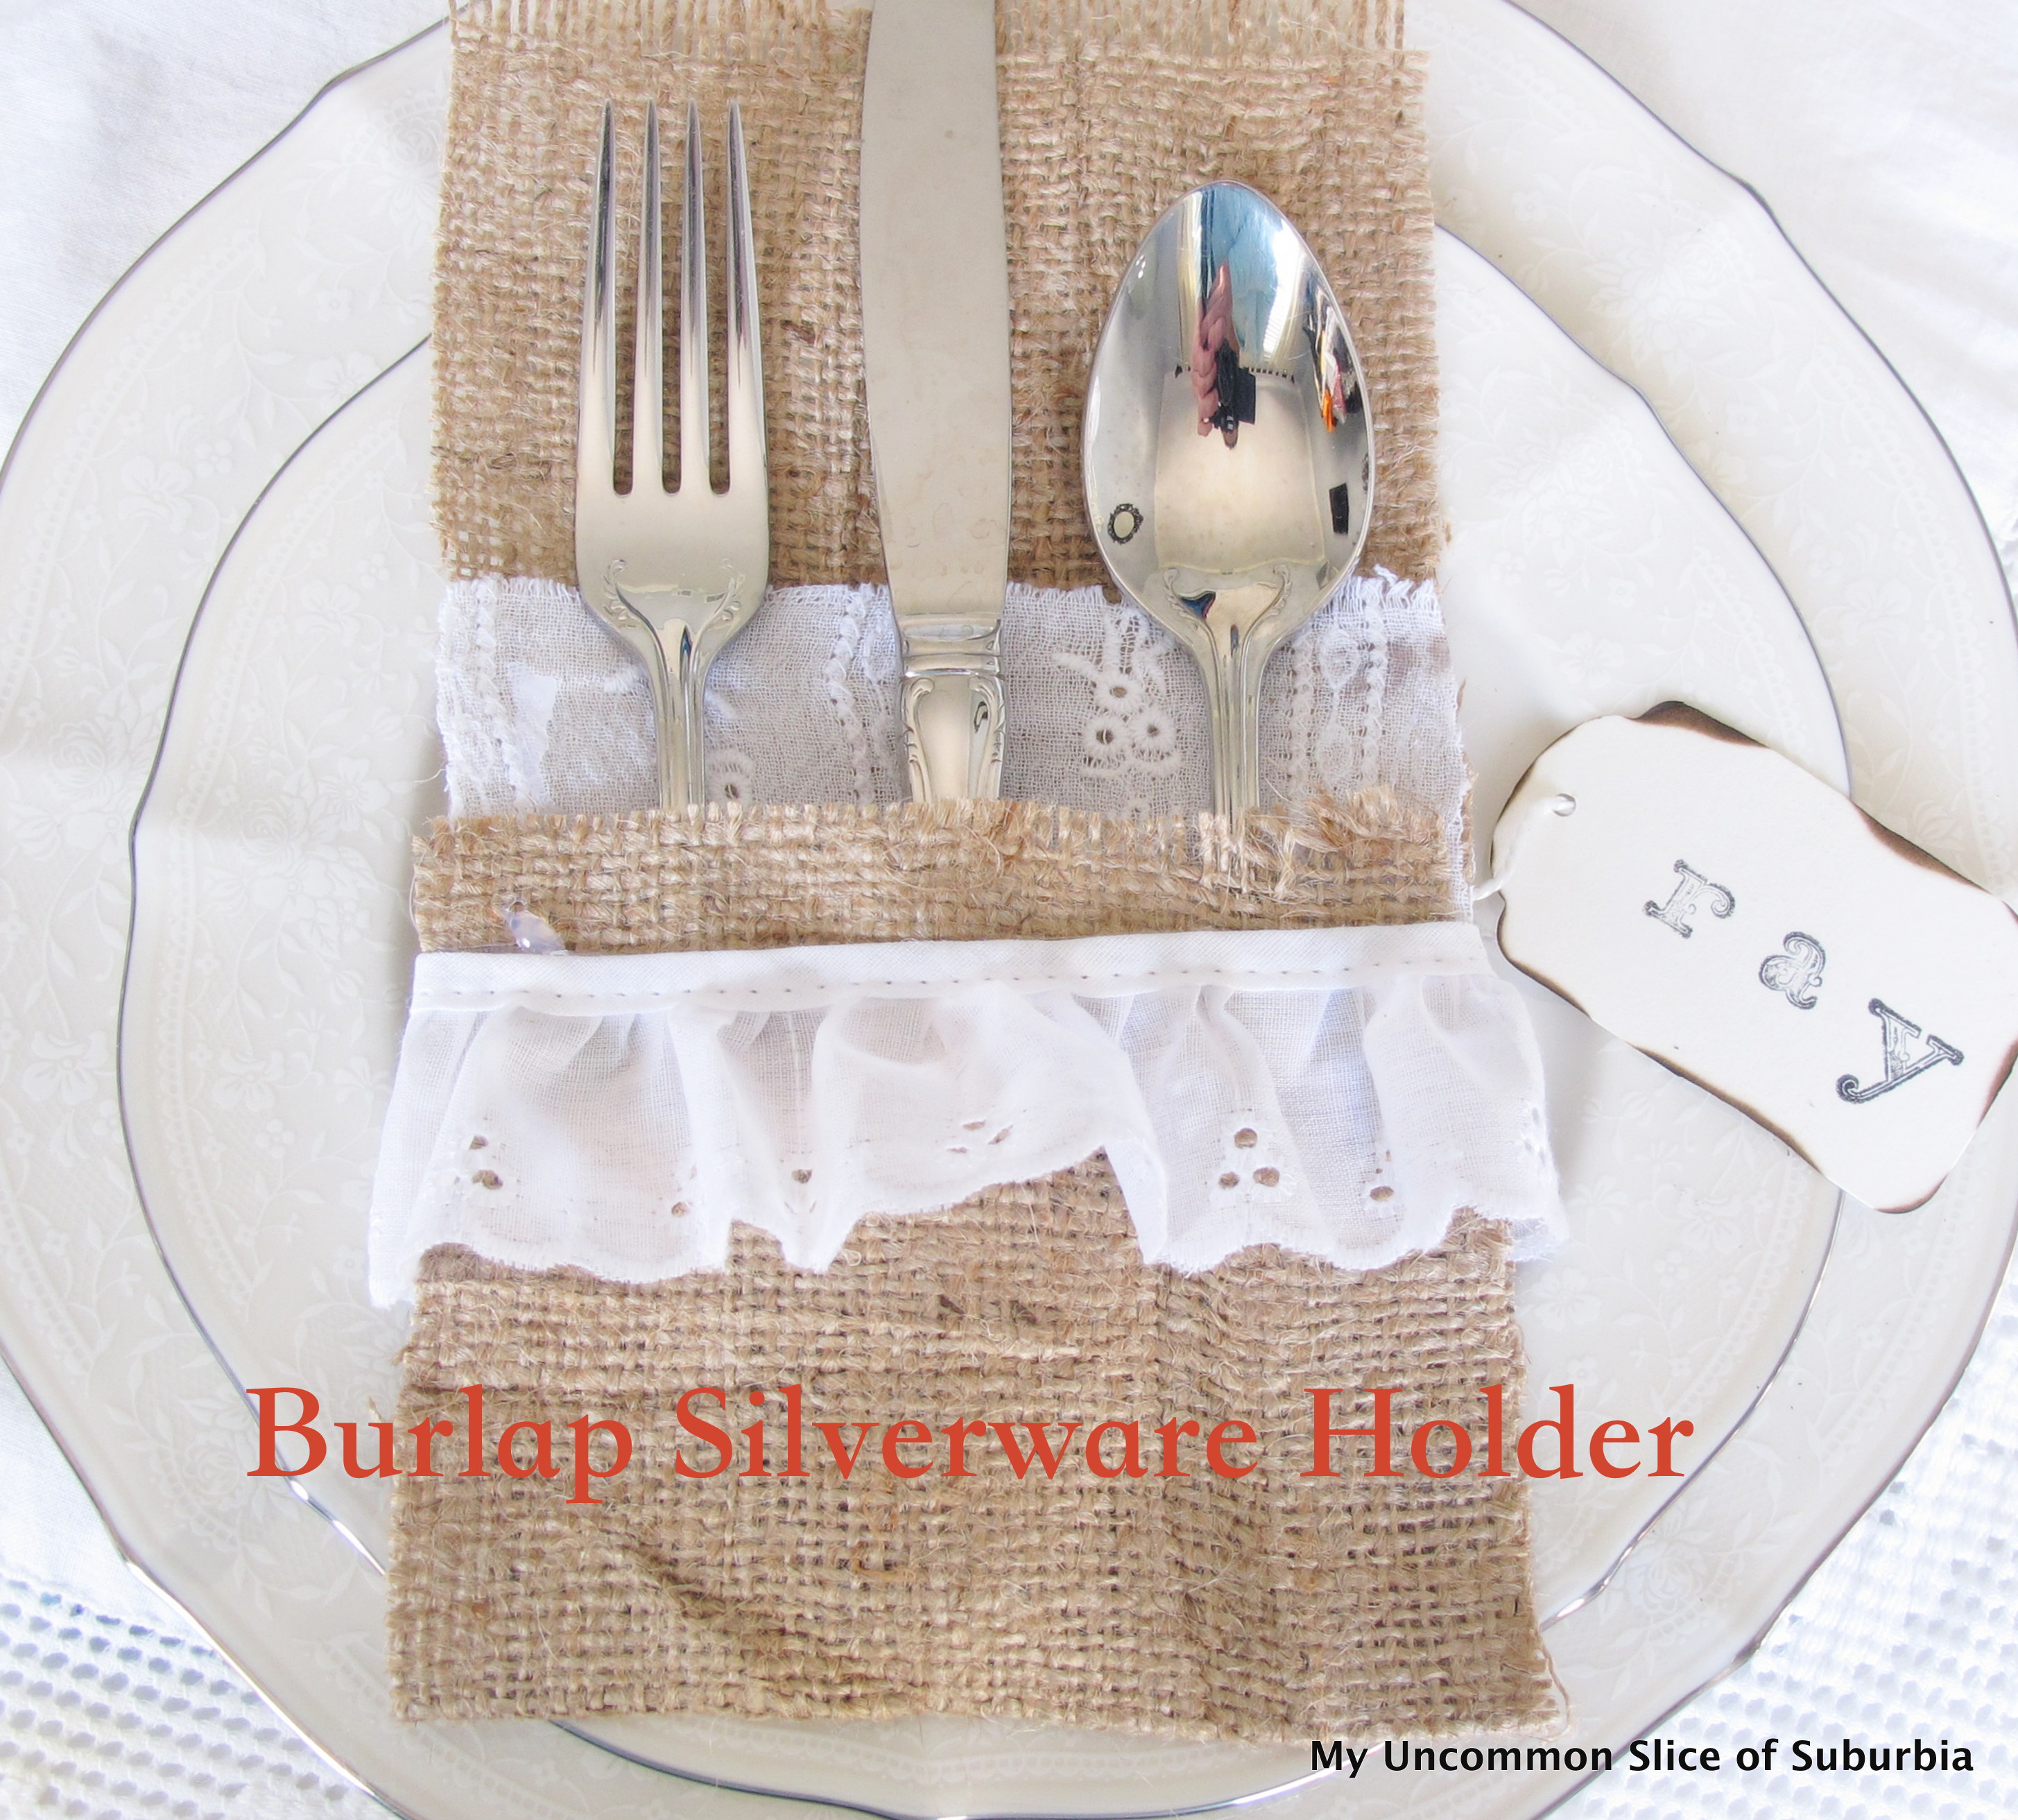
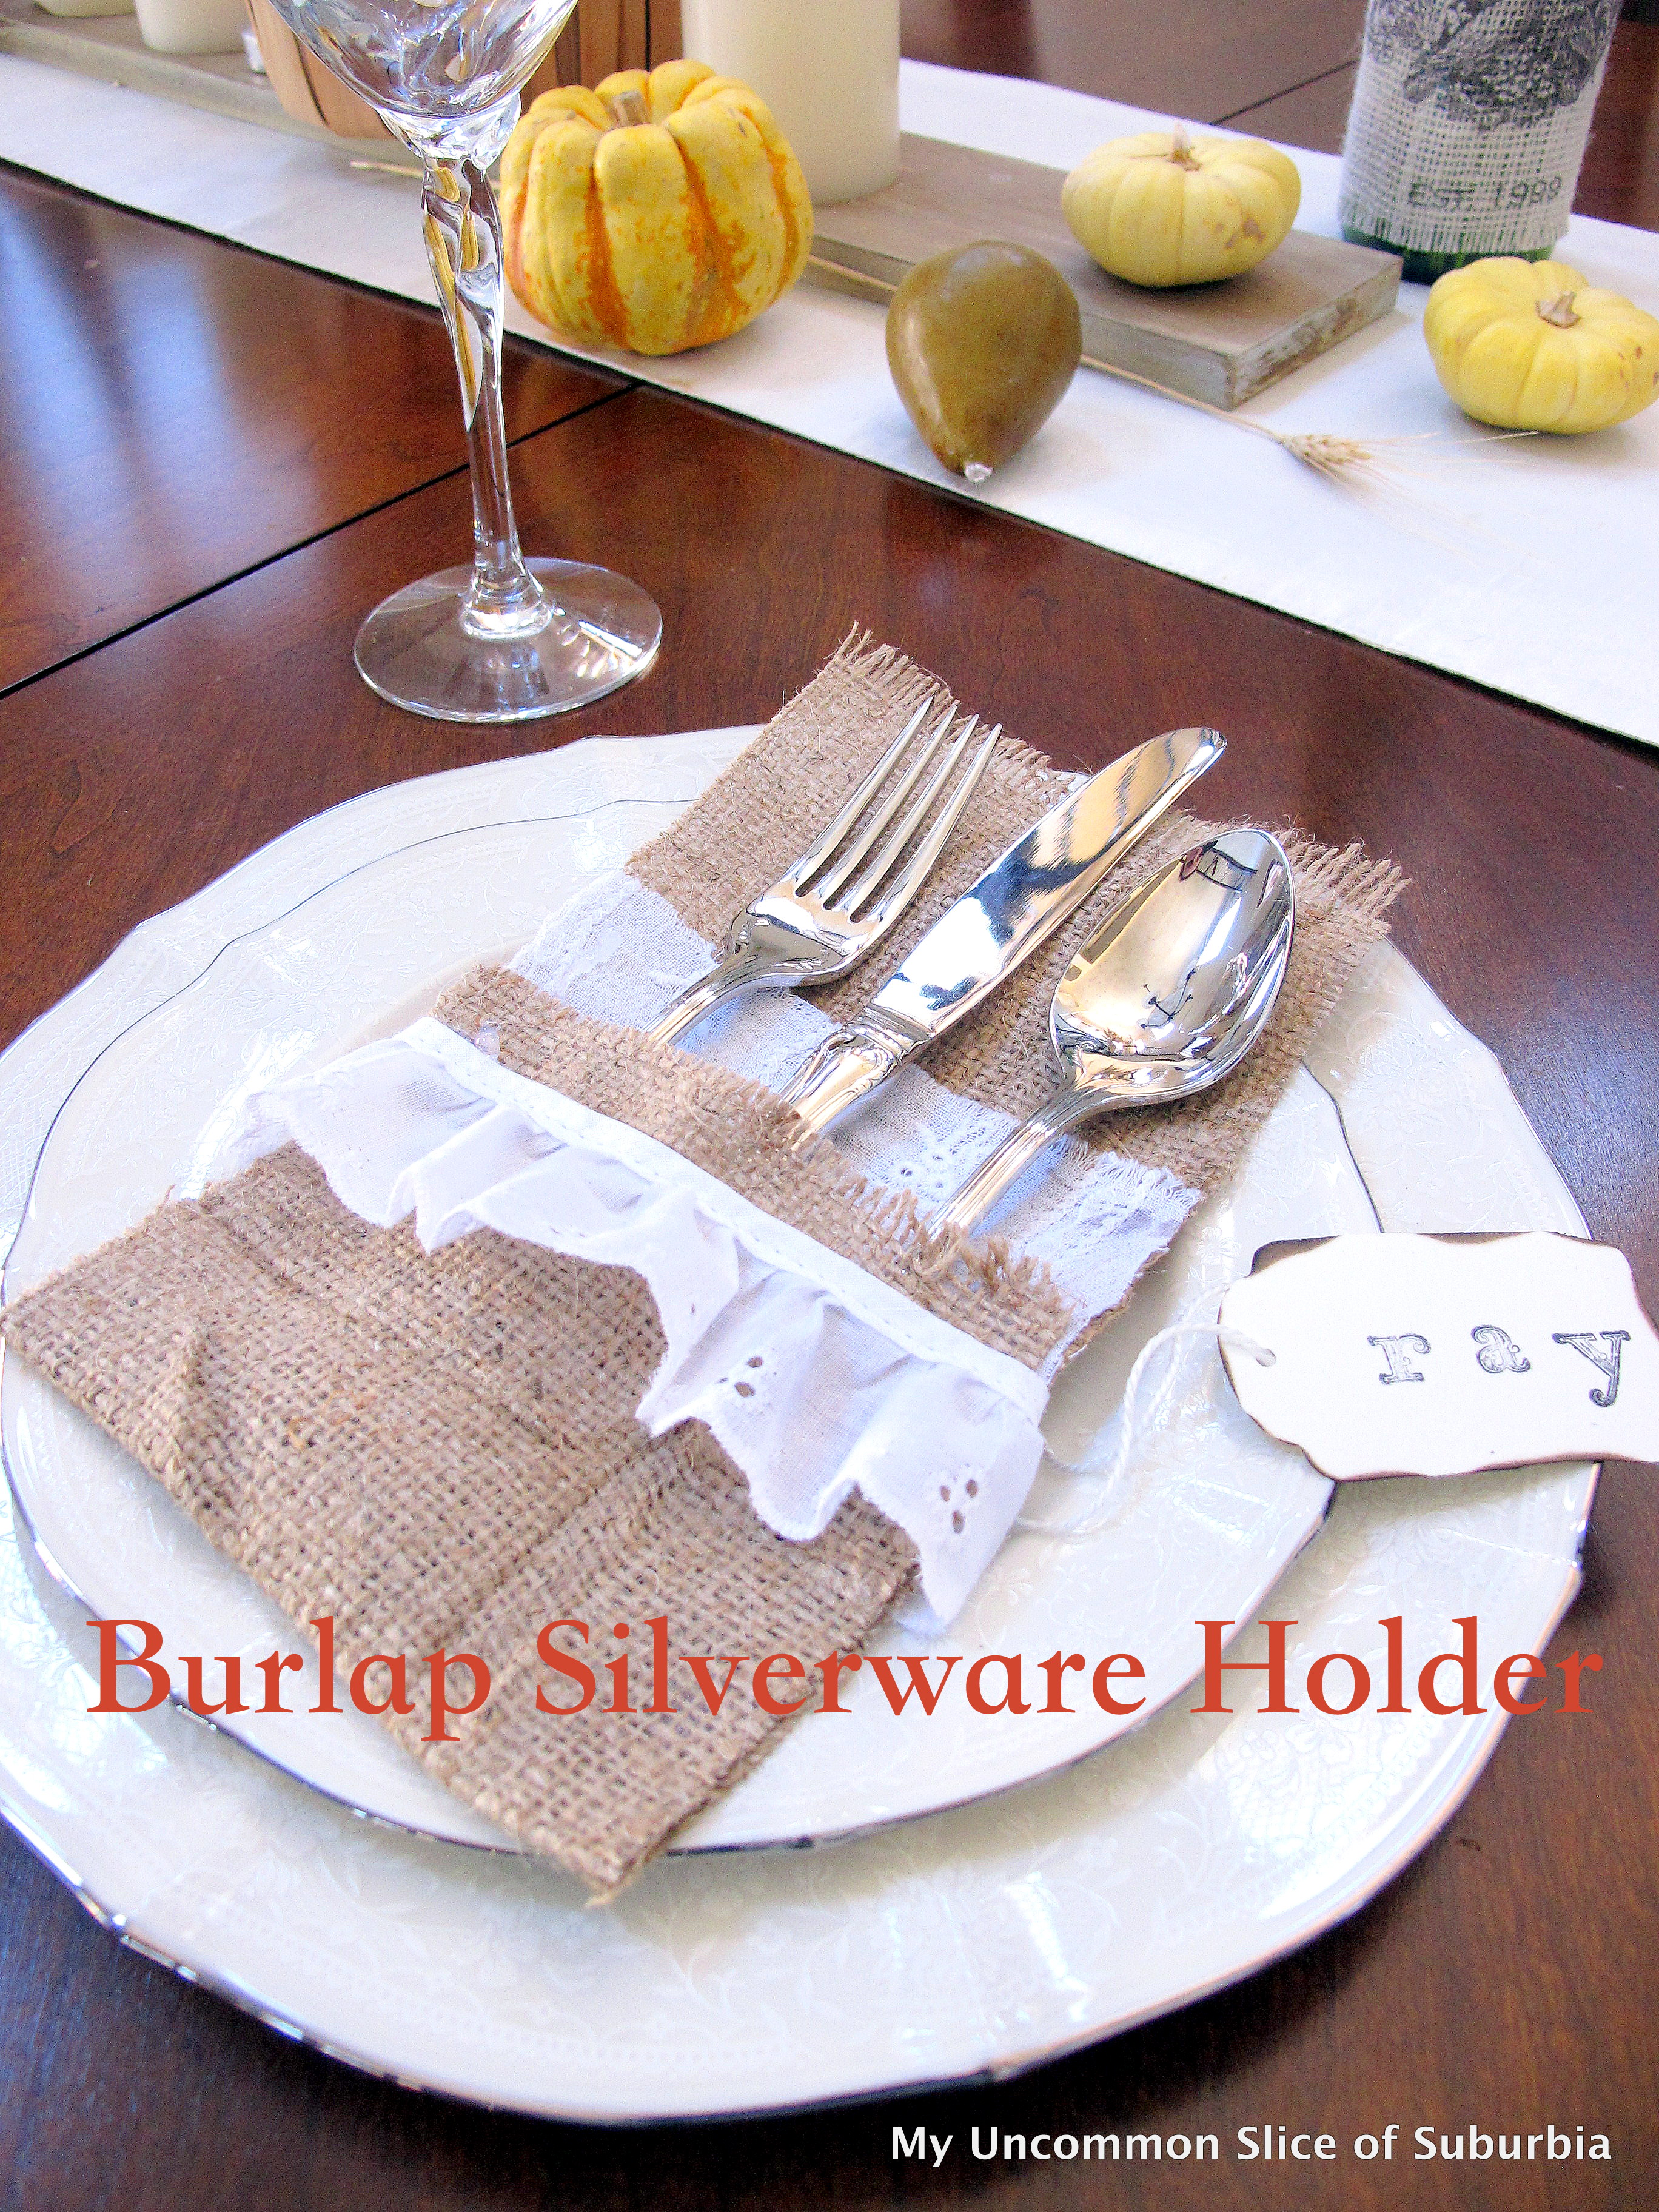
I love Thanksgiving for so many reasons; food, friends, family, falling leaves, scents of cinnamon and pumpkin, leftovers but most importantly I love to reflect on all of our blessings. This year especially I feel very grateful and appreciate everything I have, this mama doesn’t take anything for granted! To make our guests feel loved, I created these DIY burlap utensil holders for Thanksgiving dinner. They were quick to make and NO SEW!
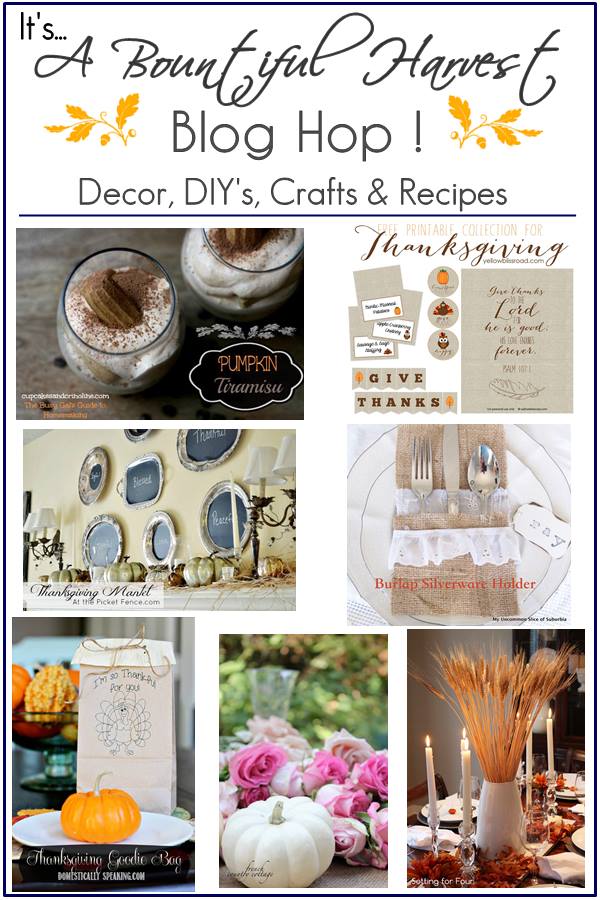
The best part, the fun doesn’t stop here. I’m joining forces with 6 of my blog buddies to inspire you just in time for Thanksgiving.
To make the silverware holder you need just a few supplies
- Burlap
- Embellishments: ribbon, lace, buttons, etc. get creative!
- Scissors
- Hot Glue
Cut out a strip of burlap, approximately 6 inches wide by16 inches long but double check it is wide and long enough for your silverware. Iron the burlap out as best you can, if the wrinkles don’t come out don’t worry, this is a very rustic look.
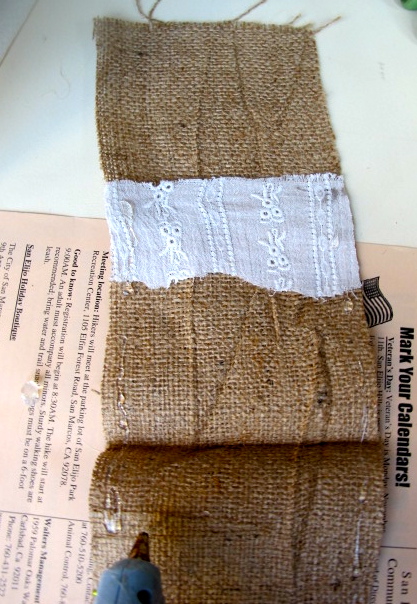
From the top of the burlap measure about 3 inches down and add a piece of lace or eyelet material, hot glue it onto the burlap. (don’t worry if the bottem of the material is not cut staight, you wont be able to see it.
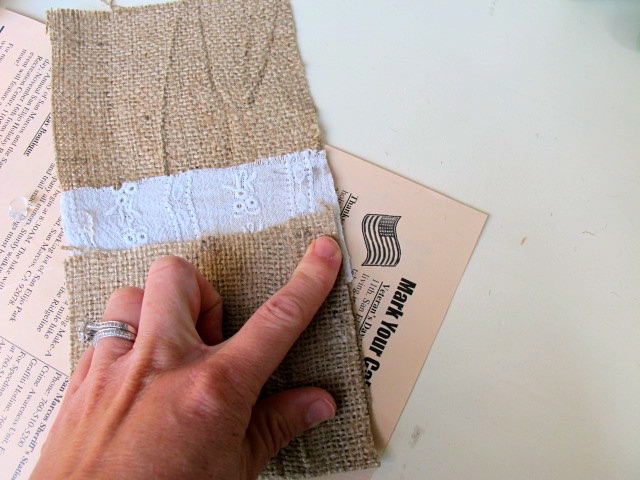
Bring the bottom of the burlap up about 4 inches and hot glue the sides together.
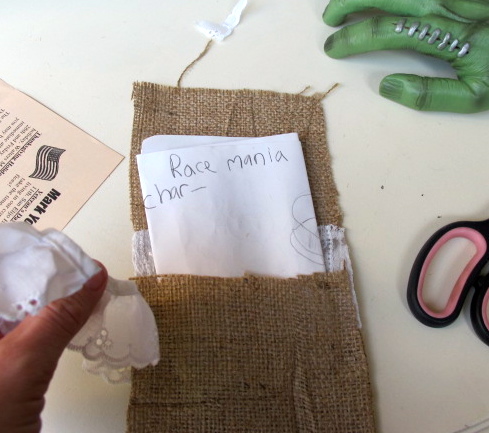
Next add a strip of lace with hot glue. The glue may leak through so stick a piece of scrap paper in between so you don’t glue the holder shut. (Pay no attention to the green hand, I did this 2 weeks before Halloween)
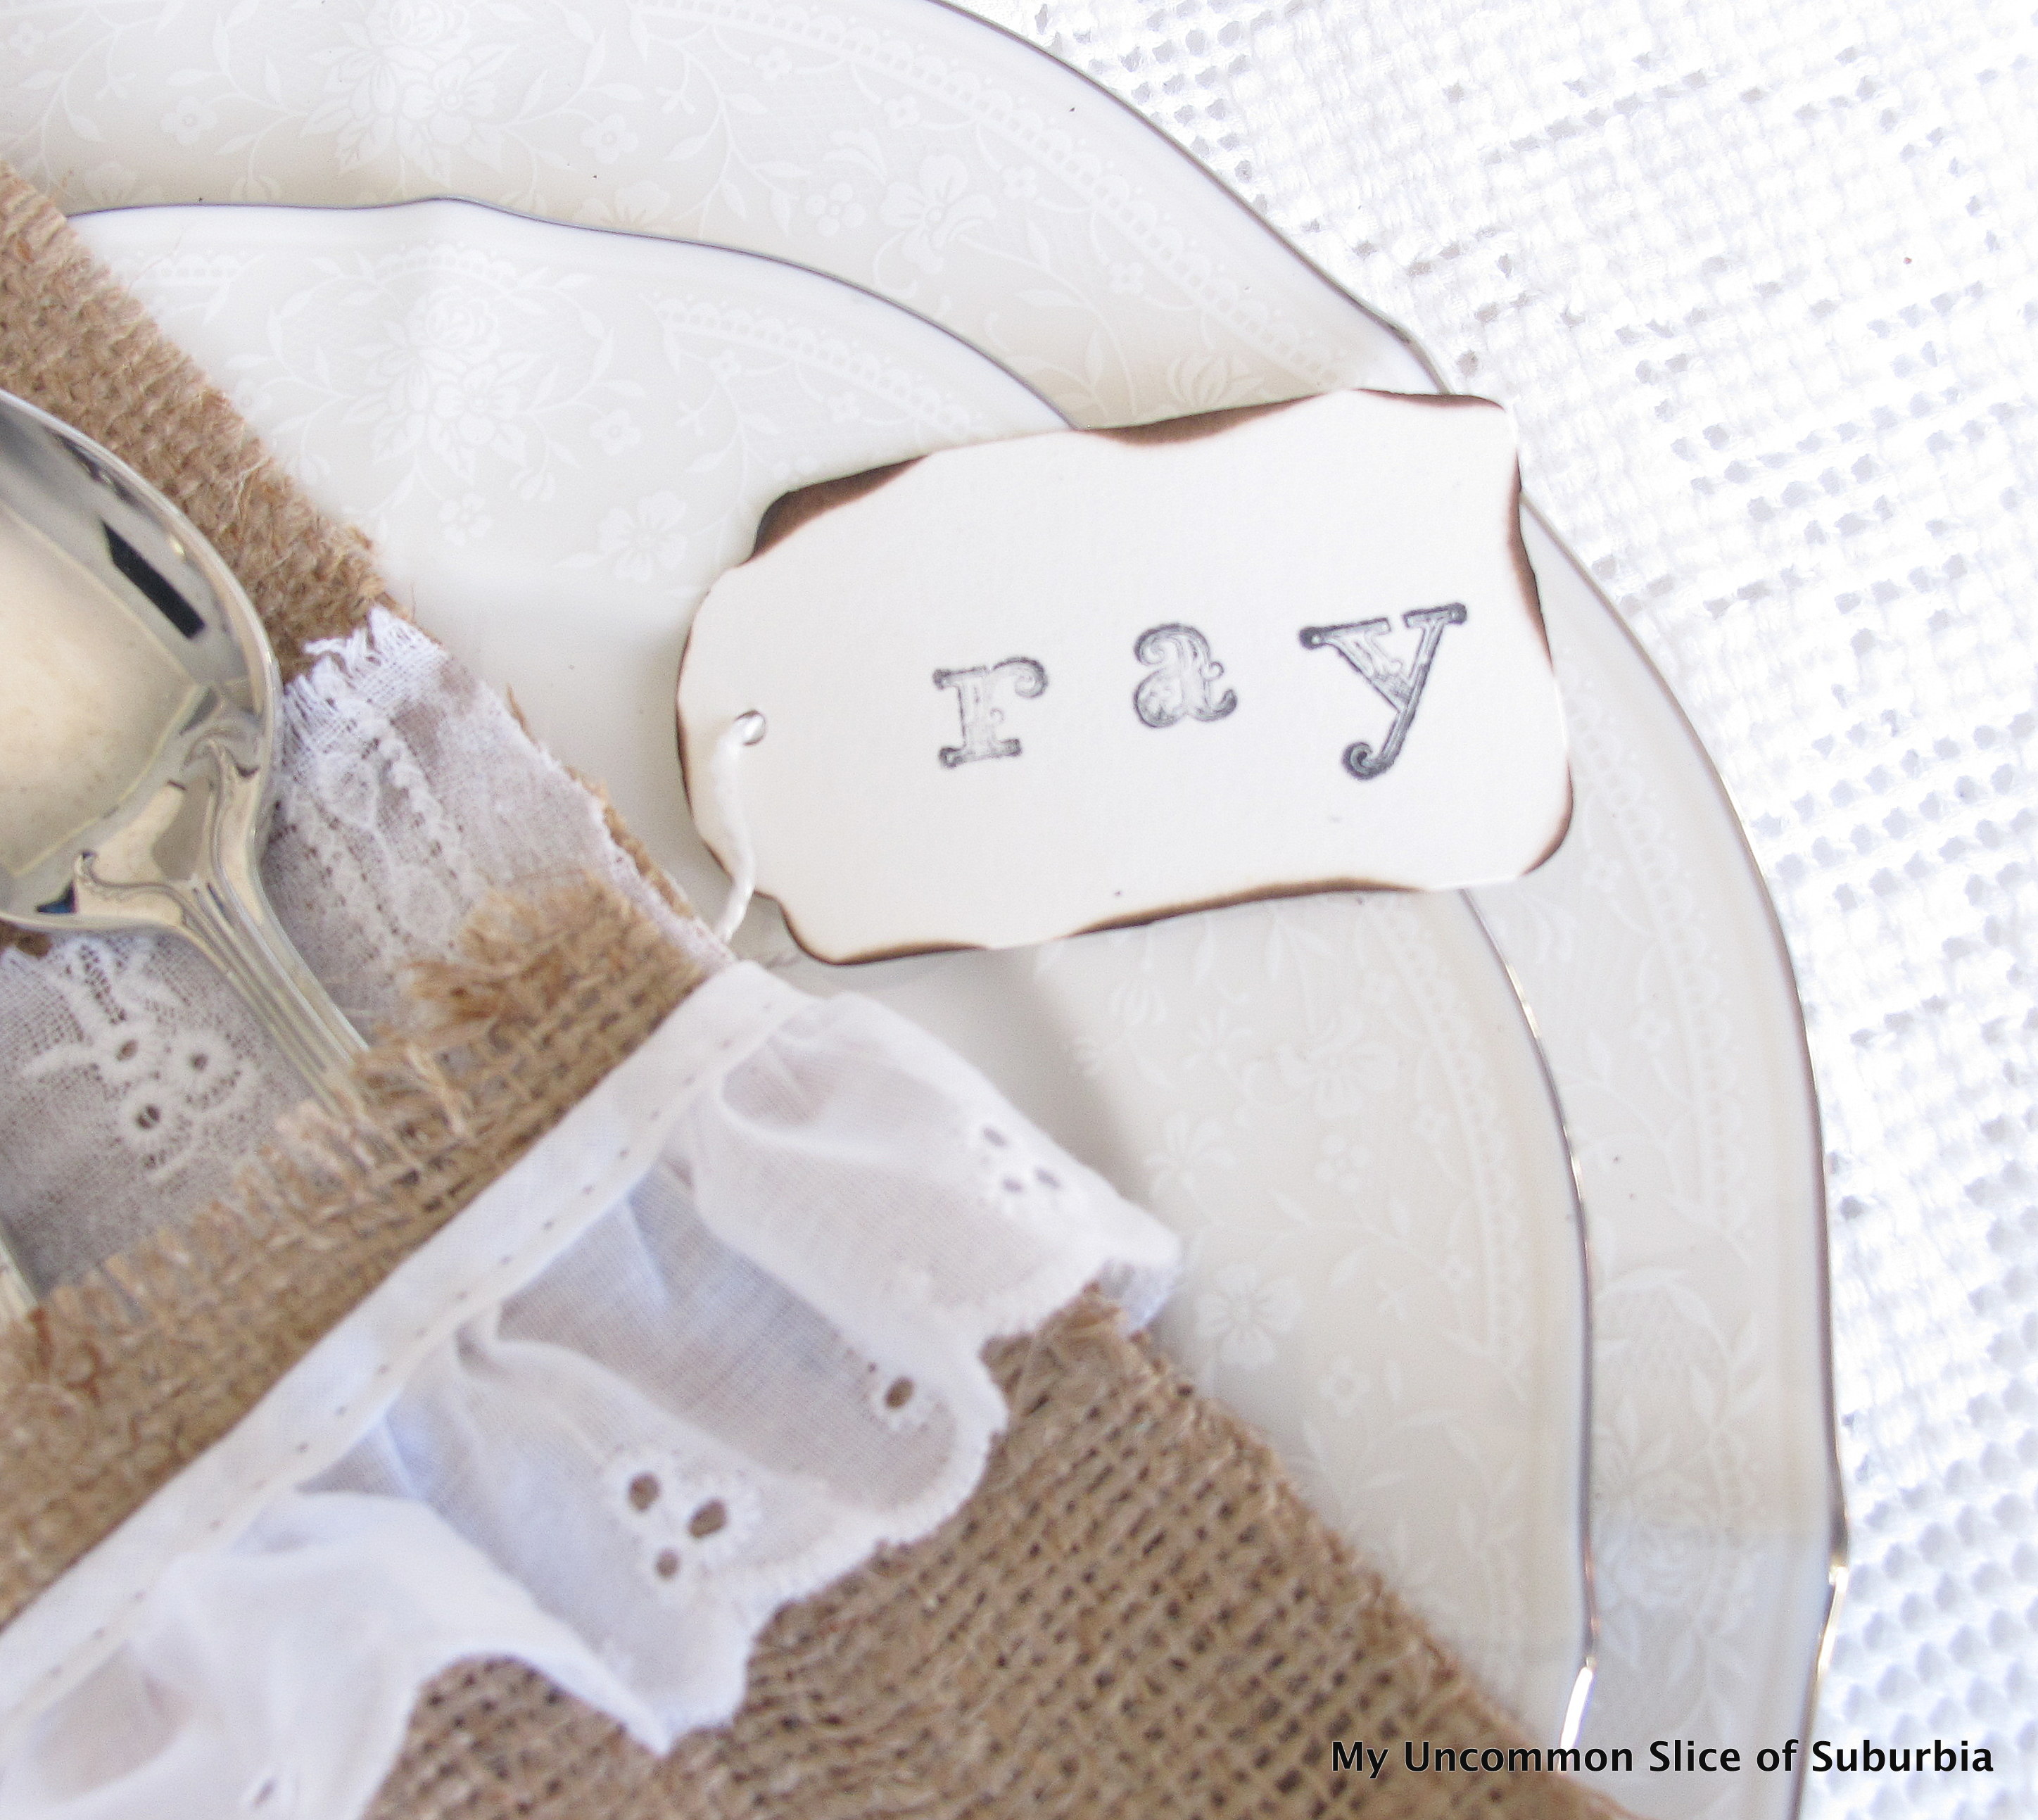
At this point you could add embellishments, I opted for a name tag. I simply stamped the names onto a tag and aged it by burning the edges. (make sure to do this over a sink so you can simply drop it if you don’t blow the flame out in time)
These will add the perfect touch to our Thanksgiving table!
Ready for more Thanksgiving inspiration? Head on over to my friends, I promise you will be so happy you did!
Heather and Vanessa at At The Picket Fence
Mary Beth at Cupcakes and Crinoline
Maryann at Domestically Speaking
Courtney at French Country Cottage
Kristin at Yellow Bliss Road
Heather at Setting for Four
Wishing you a wonderful weekend and thank you for taking a little moment of your day and spending it with me.




Love the lace and burlap combination! Rustic elegance! Thanks for sharing your beautiful craft idea Kristin – it’s been fun partying with you again! xo Heather
Pinning & sharing on FB today Kristin ~ Very cute!
Oh I just LOVE them Kristin!! They’re so sweet and simple which make them perfect for Thanksgiving because they leave time to just enjoy the holiday. And that green hand seriously made me laugh out loud!! Love being apart of the blog hop with you friend! 🙂
Vanessa
So pretty! I love the contrast of the burlap and lace. I think I’ve found my weekend craft. Pinned!
Love burlap and lace! Working on a table runner! xo
So pretty~ love burlap and lace- and you combined them perfectly!! Pinning!!
Adorable.
Kristen, this is so pretty and I love the eyelet with the burlap! Thanks for sharing the lovely inspiration and pinning! Have a happy Sunday!
This is so pretty, Kristin. I love the burlap and lace. I never tried to age the edges of anything by burning it ~ you’re so smart! oh…and the green hand…in a house full of boys I always have something like that around even when it’s not Halloween.
Have a week filled with joy!
Hugs, Mary Beth
You already know I love this, Kristin! I may have to go dig out some burlap. 😉
xoxo
Denyse
Cute!
That is beautiful! And who doesn’t just LOVE burlap??? Cute!
I love the burlap with the lace. Perfect for a Thanksgiving table! (And I am a sucker for anything eyelet!)
Super cute!
Kelly
These are just so pretty! I love them – thanks for sharing the tutorial! xo