DIY Beaded Trees
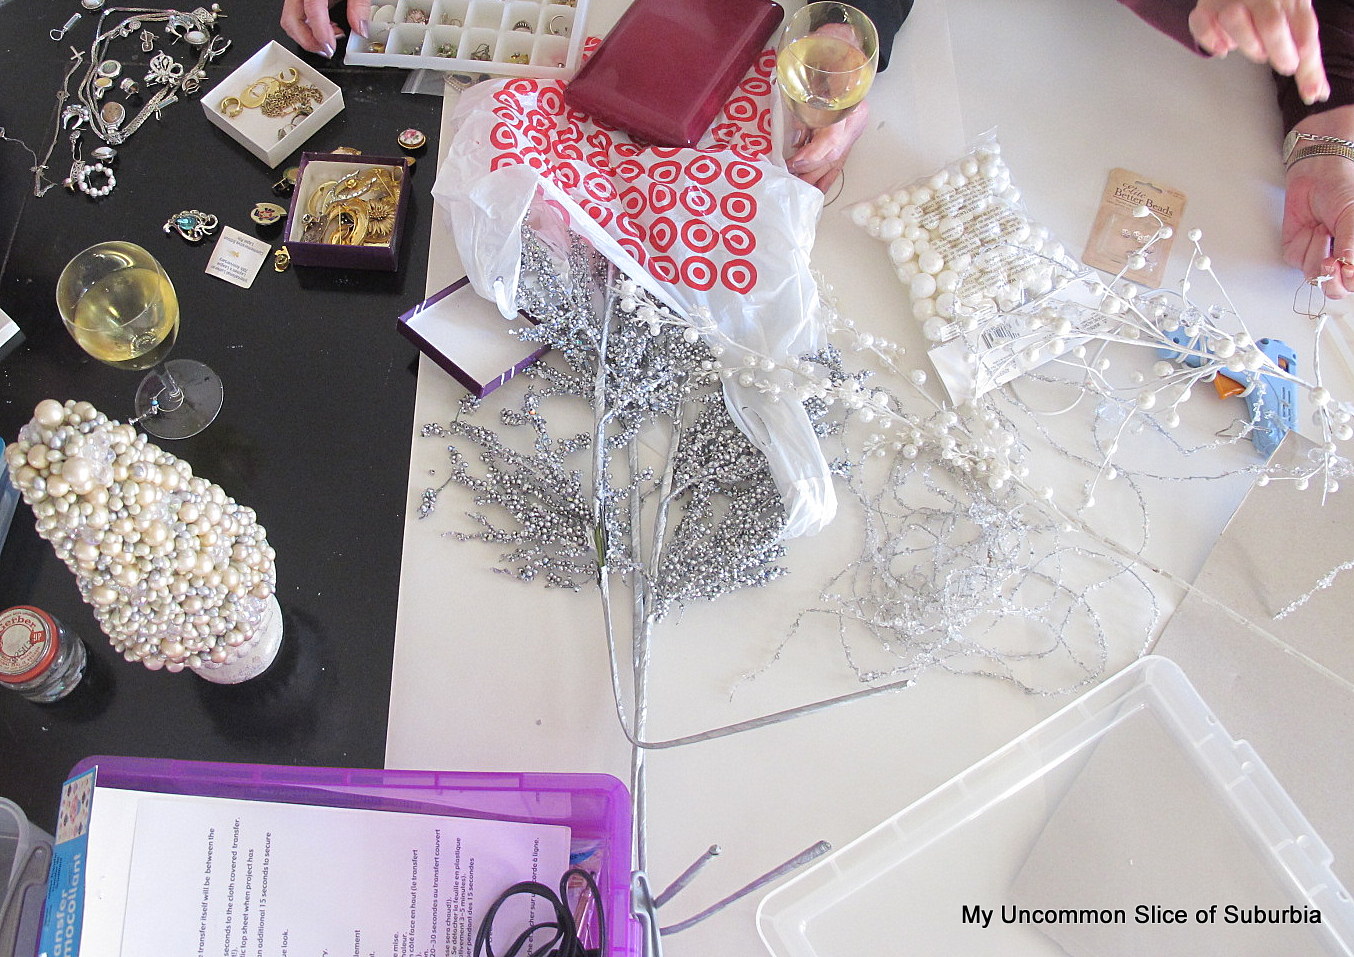
I love getting crafty with my girlfriends! Last weekend we took out all of our bling and got busy!
OK I’m a little embarrassed to say but I had trouble making a cone, seriously! I had to look it up, I can’t even believe I”m telling you. The fact that it was on the Internet means I’m not the only one, right? Right, let’s just stick to that.
Cut a circle out of a piece of cardboard or stiff paper. The height of your cone will be determined by the radius of your circle. The larger the radius, the taller the cone. This kid’s plate gave us a mini tree that my girlfriend made.
Fold the circle twice, unfold and cut out one of the triangle sections.
Fold by overlapping the edges a little, and tape together.
Take some hot glue and start adhering to all of your pieces. I found everything at the bottom of my Christmas craft bins other than the iridescent balls which I purchased at Michael’s for $2.50 with my coupons.
I love the pops of deep red mixed with the pearls my girlfriend used on her tree.
Getting closer!
Have a fabulous weekend friends!


It looks fabulous, Kristen! Can’t wait to see your house next week on the tour!
Gotta make this. I have made some burlap and yarn trees. Cant wait for the house tour!!
I love it! You are so creative…I am excited to see all that you have done for Christmas…
Those are darling. I see a beaded tree session coming up with my daughters! Great job and thanks for the tutorial- xo Diana
Great, easy way to make a cone. See, you’re not the only one, I didn’t know that either!
The trees look so fabulous, so blingy and pretty. Great stuff.
(P.s. I saw that little line about glass of wine and blurry pic, lol!)
I love it Kristin! I am going to fish through my supplies and make one of those today! And I would NOT have known how to make a cone, so thank you for explaining it! I google stuff like that all the time too 🙂
I love how that looks against your tree. So pretty!
I loved your shiny white tree tree so much I pinned it on my Tabletop Tree Board at Pinterest. So sweet! Thanks for the idea.
I didn’t know about making a cone that way, either, so you’ve taught me something.
Ohhh, Kristen, how much do I love this??? I want to redo my fireplace this year with all trees and I am totally doing this! LOVE!!! So gorgeous! Thanks for sharing and pinning! 🙂
So pretty!! I’m so ready for the holidays!
Cuteness! What a fun holiday craft. My girls would love this.